Happy President’s Day friends!
When I was in school, we got 2 Mondays off 1 right after the other. Now that I have kids, things have changed a bit; they get 1 whole week off! It’s even called “presidents week” because it falls between President Lincoln’s and Washington’s birthdays.
If that wasn’t cool enough, my daughter who will be my weekly crafting partner has a birthday during the week. That got us thinking, what IF you have a birthday during “presidents week”, and share a birthday with one of them, or maybe you know someone who does? If you can believe it, we know someone whose birthday is today! We created a fun card to celebrate presidential birthdays or just one to celebrate presidents day. So, get ready to use construction paper and cotton balls!
*Click on photos for a closer look
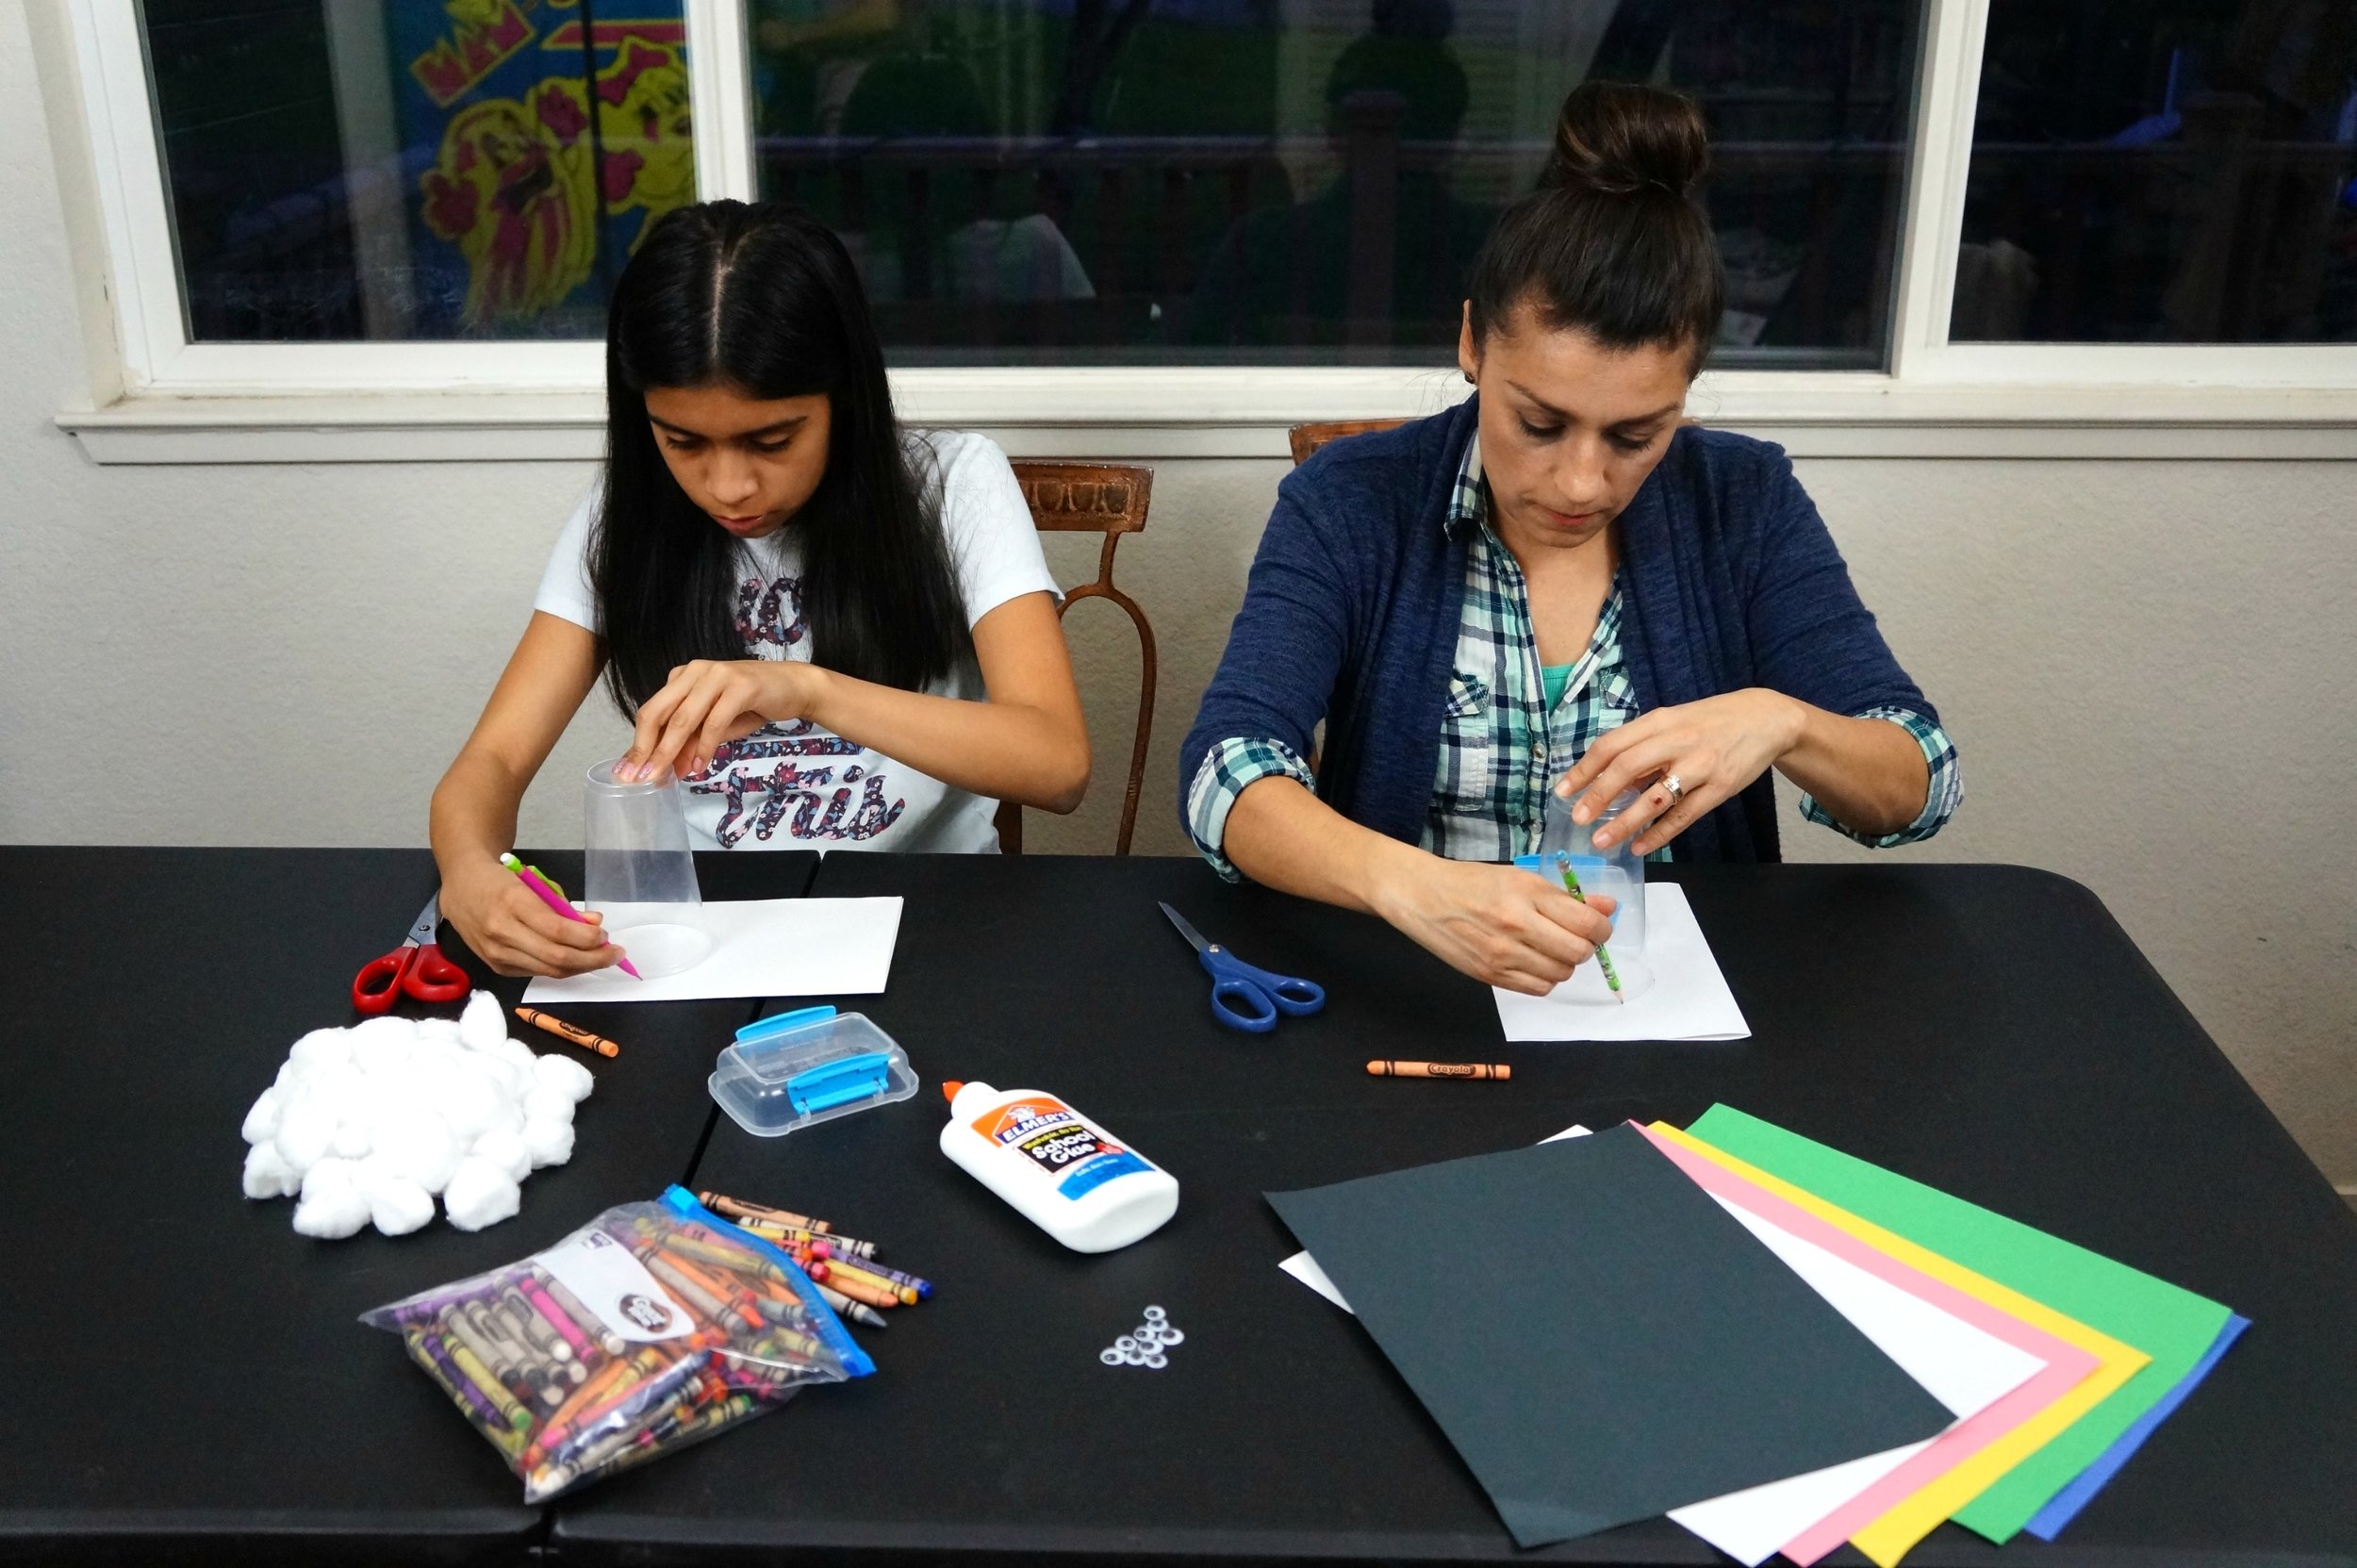
What You'll Need
Construction Paper (white,black, blue)
Scissors
Glue
Pencil
Cotton Balls
Wiggly Eyes
Crayons/Markers
OPTIONAL: other colored/pattern paper, cup/small bowl, small rectangle
*Project can also be completed with just white paper and crayons.
The Steps
CARD BASE
For either card, use one sheet of white construction paper and fold it in half.
2. You can decide to make a tall card or a short one by the way you turn your paper. Once you decide, use a pencil and a small cup/bowl to trace a face.
*Make sure to leave enough room for the body and hat.


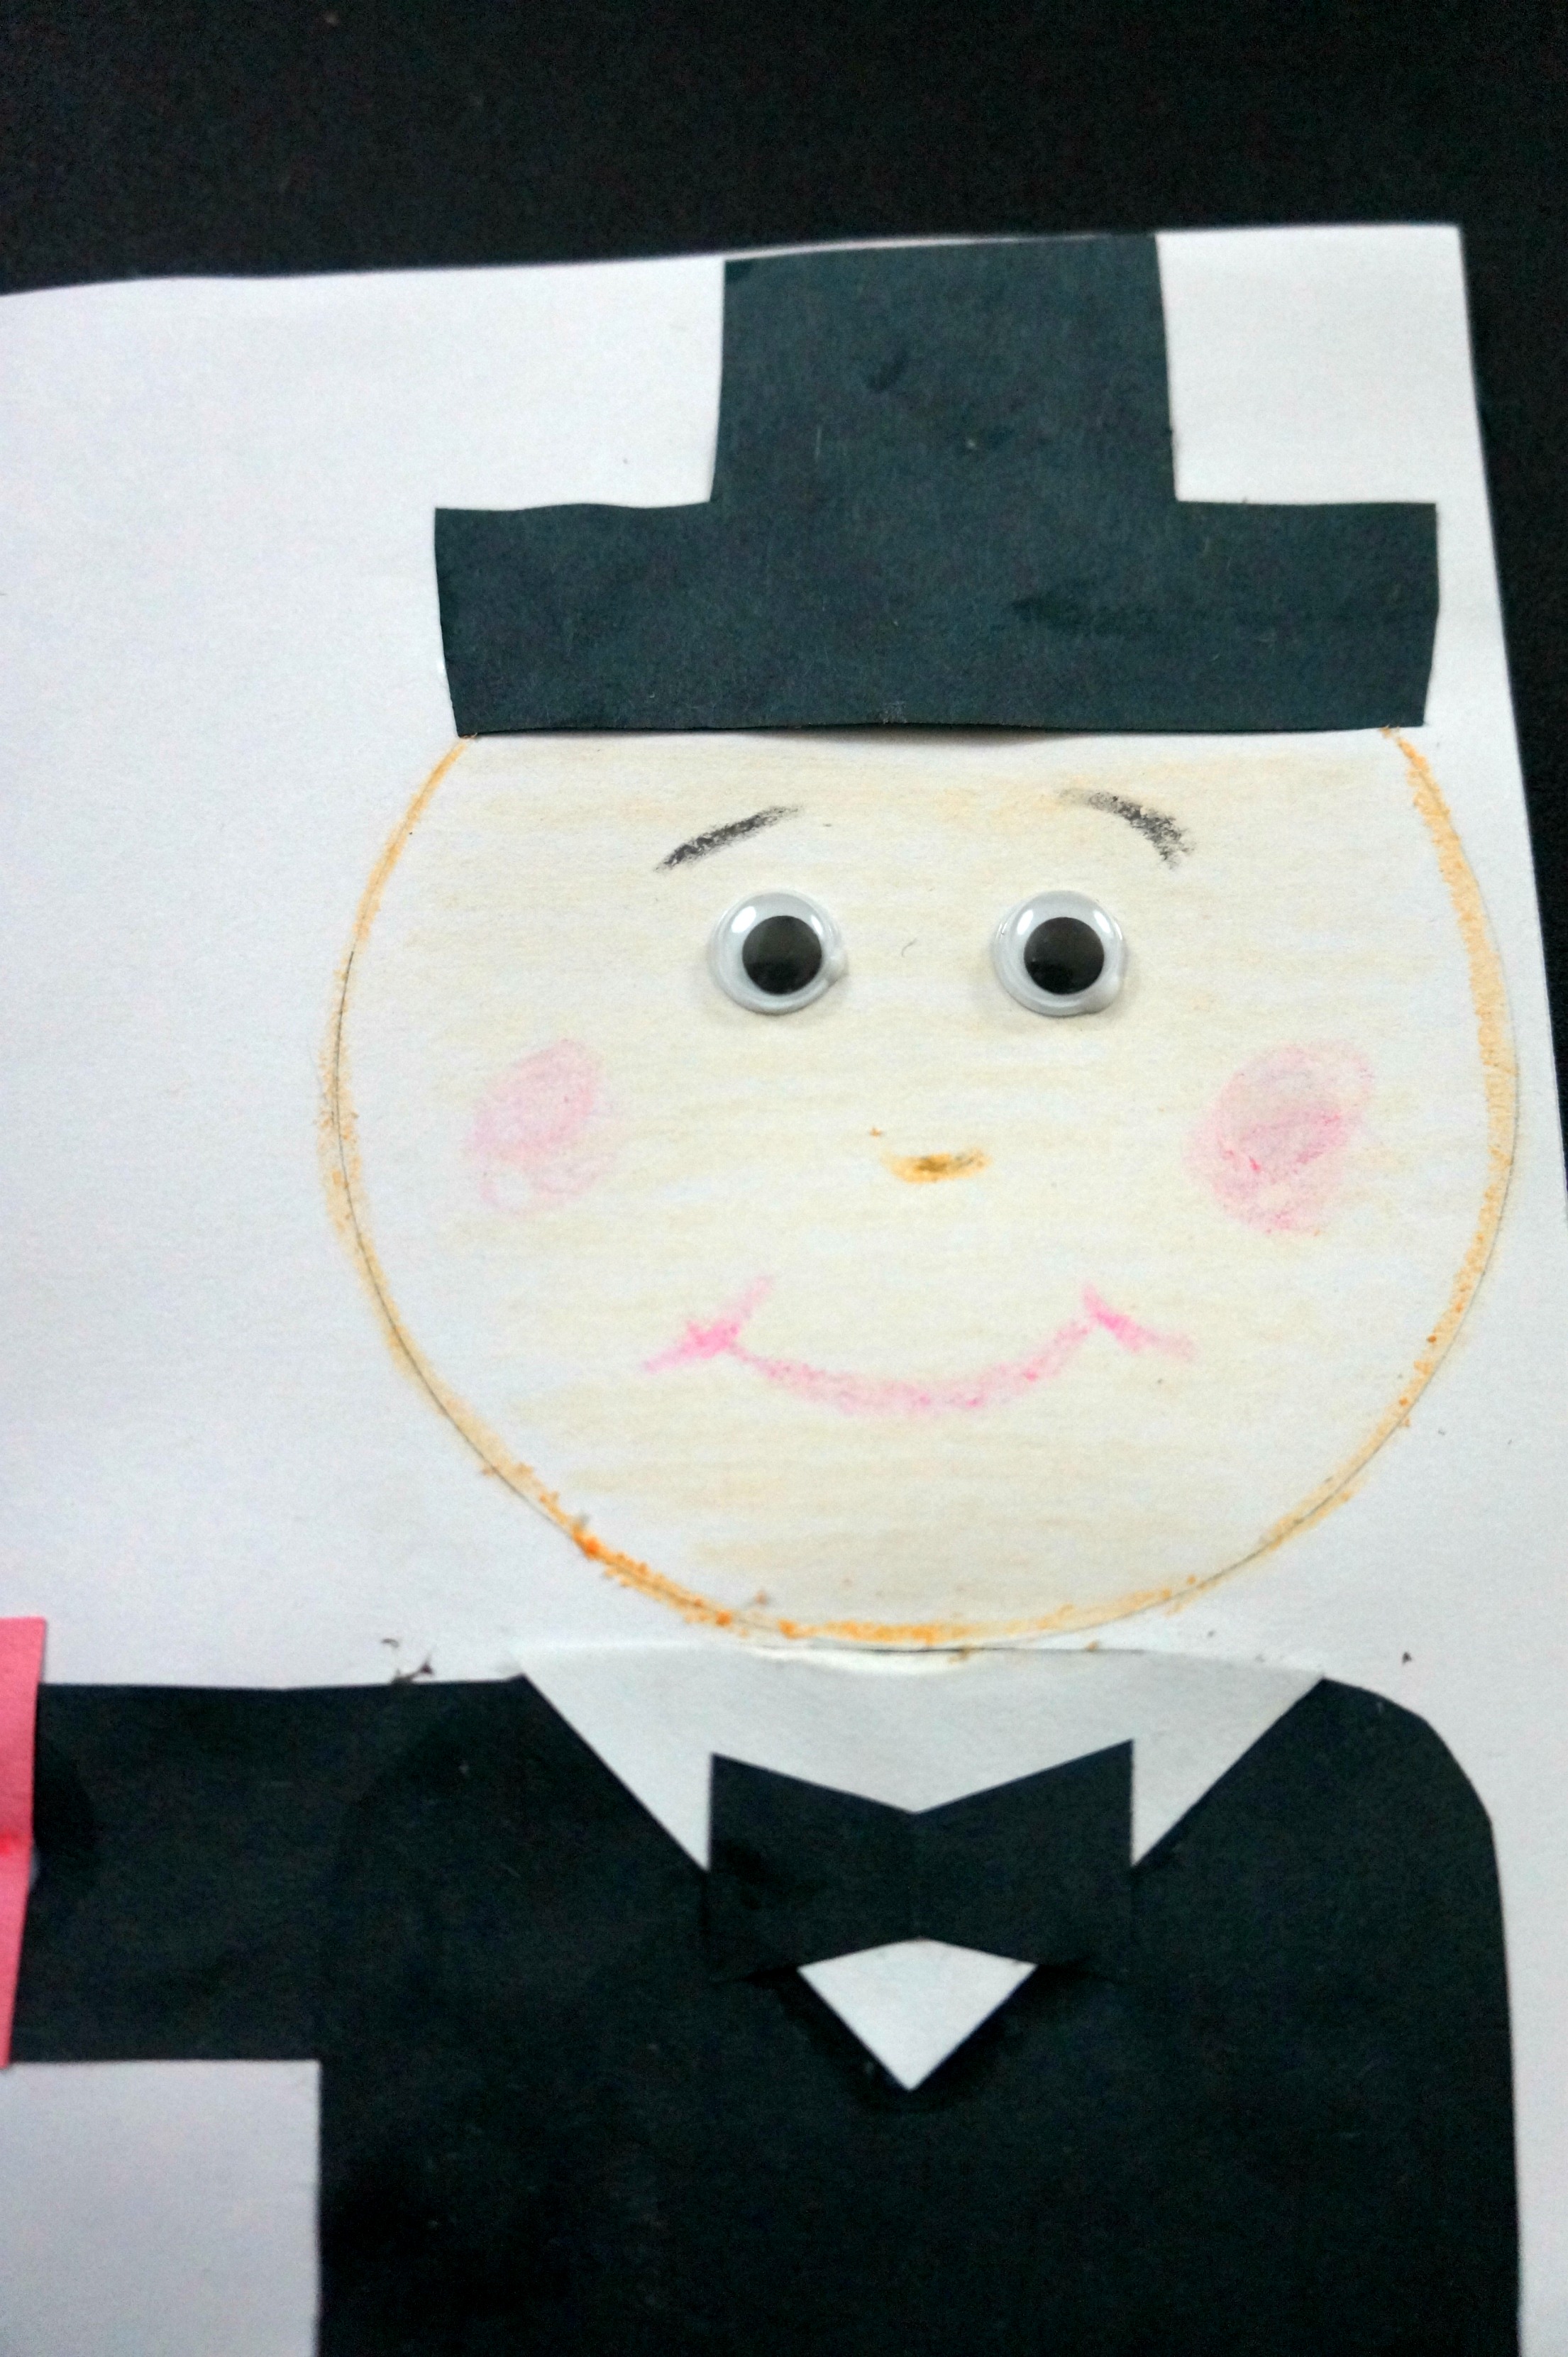
PRESIDENT DETAILS
Grab black or blue paper and use a rectangle shape to trace a body. Carefully cut out and set aside, as well as the other pieces you will cut.
We then used the shorter end of the rectangle to give us the width of the hats.
a) Abe’s hat- draw 1/2 inch lines up from the left and right edges, draw 1/2 inch lines in, on left—> and <—right, where you last left off, and then draw up and across to finish off the hat.
b) Washington’s hat- start on the left side and draw a short flower petal or cloud shape, followed by a larger one in the center and lastly a small one on the right.
3. Cut out a small rectangle shape for the arm from black or blue paper.
4. Abe’s shirt- cut out a small triangle from white paper.
5. Abe’s bow tie- instructions to the right
6. Washington’s shirt- (not shown) trace out a cloud-like shape and cut out.


ASSEMBLY & DETAILS
Glue all the pieces onto the white card including a small rectangle for the gift (use any colored/patterned paper) and draw on the ribbons.
Color the skin before gluing the eyes, then draw the eyebrows, rosy cheeks, nose, and smile.


3. Draw on the yellow details of Washington’s hat.
4. Stretch out the cotton balls and glue them around the side of Abe’s face and chin. For Washington’s face, glue them on the sides of his cheeks (below).
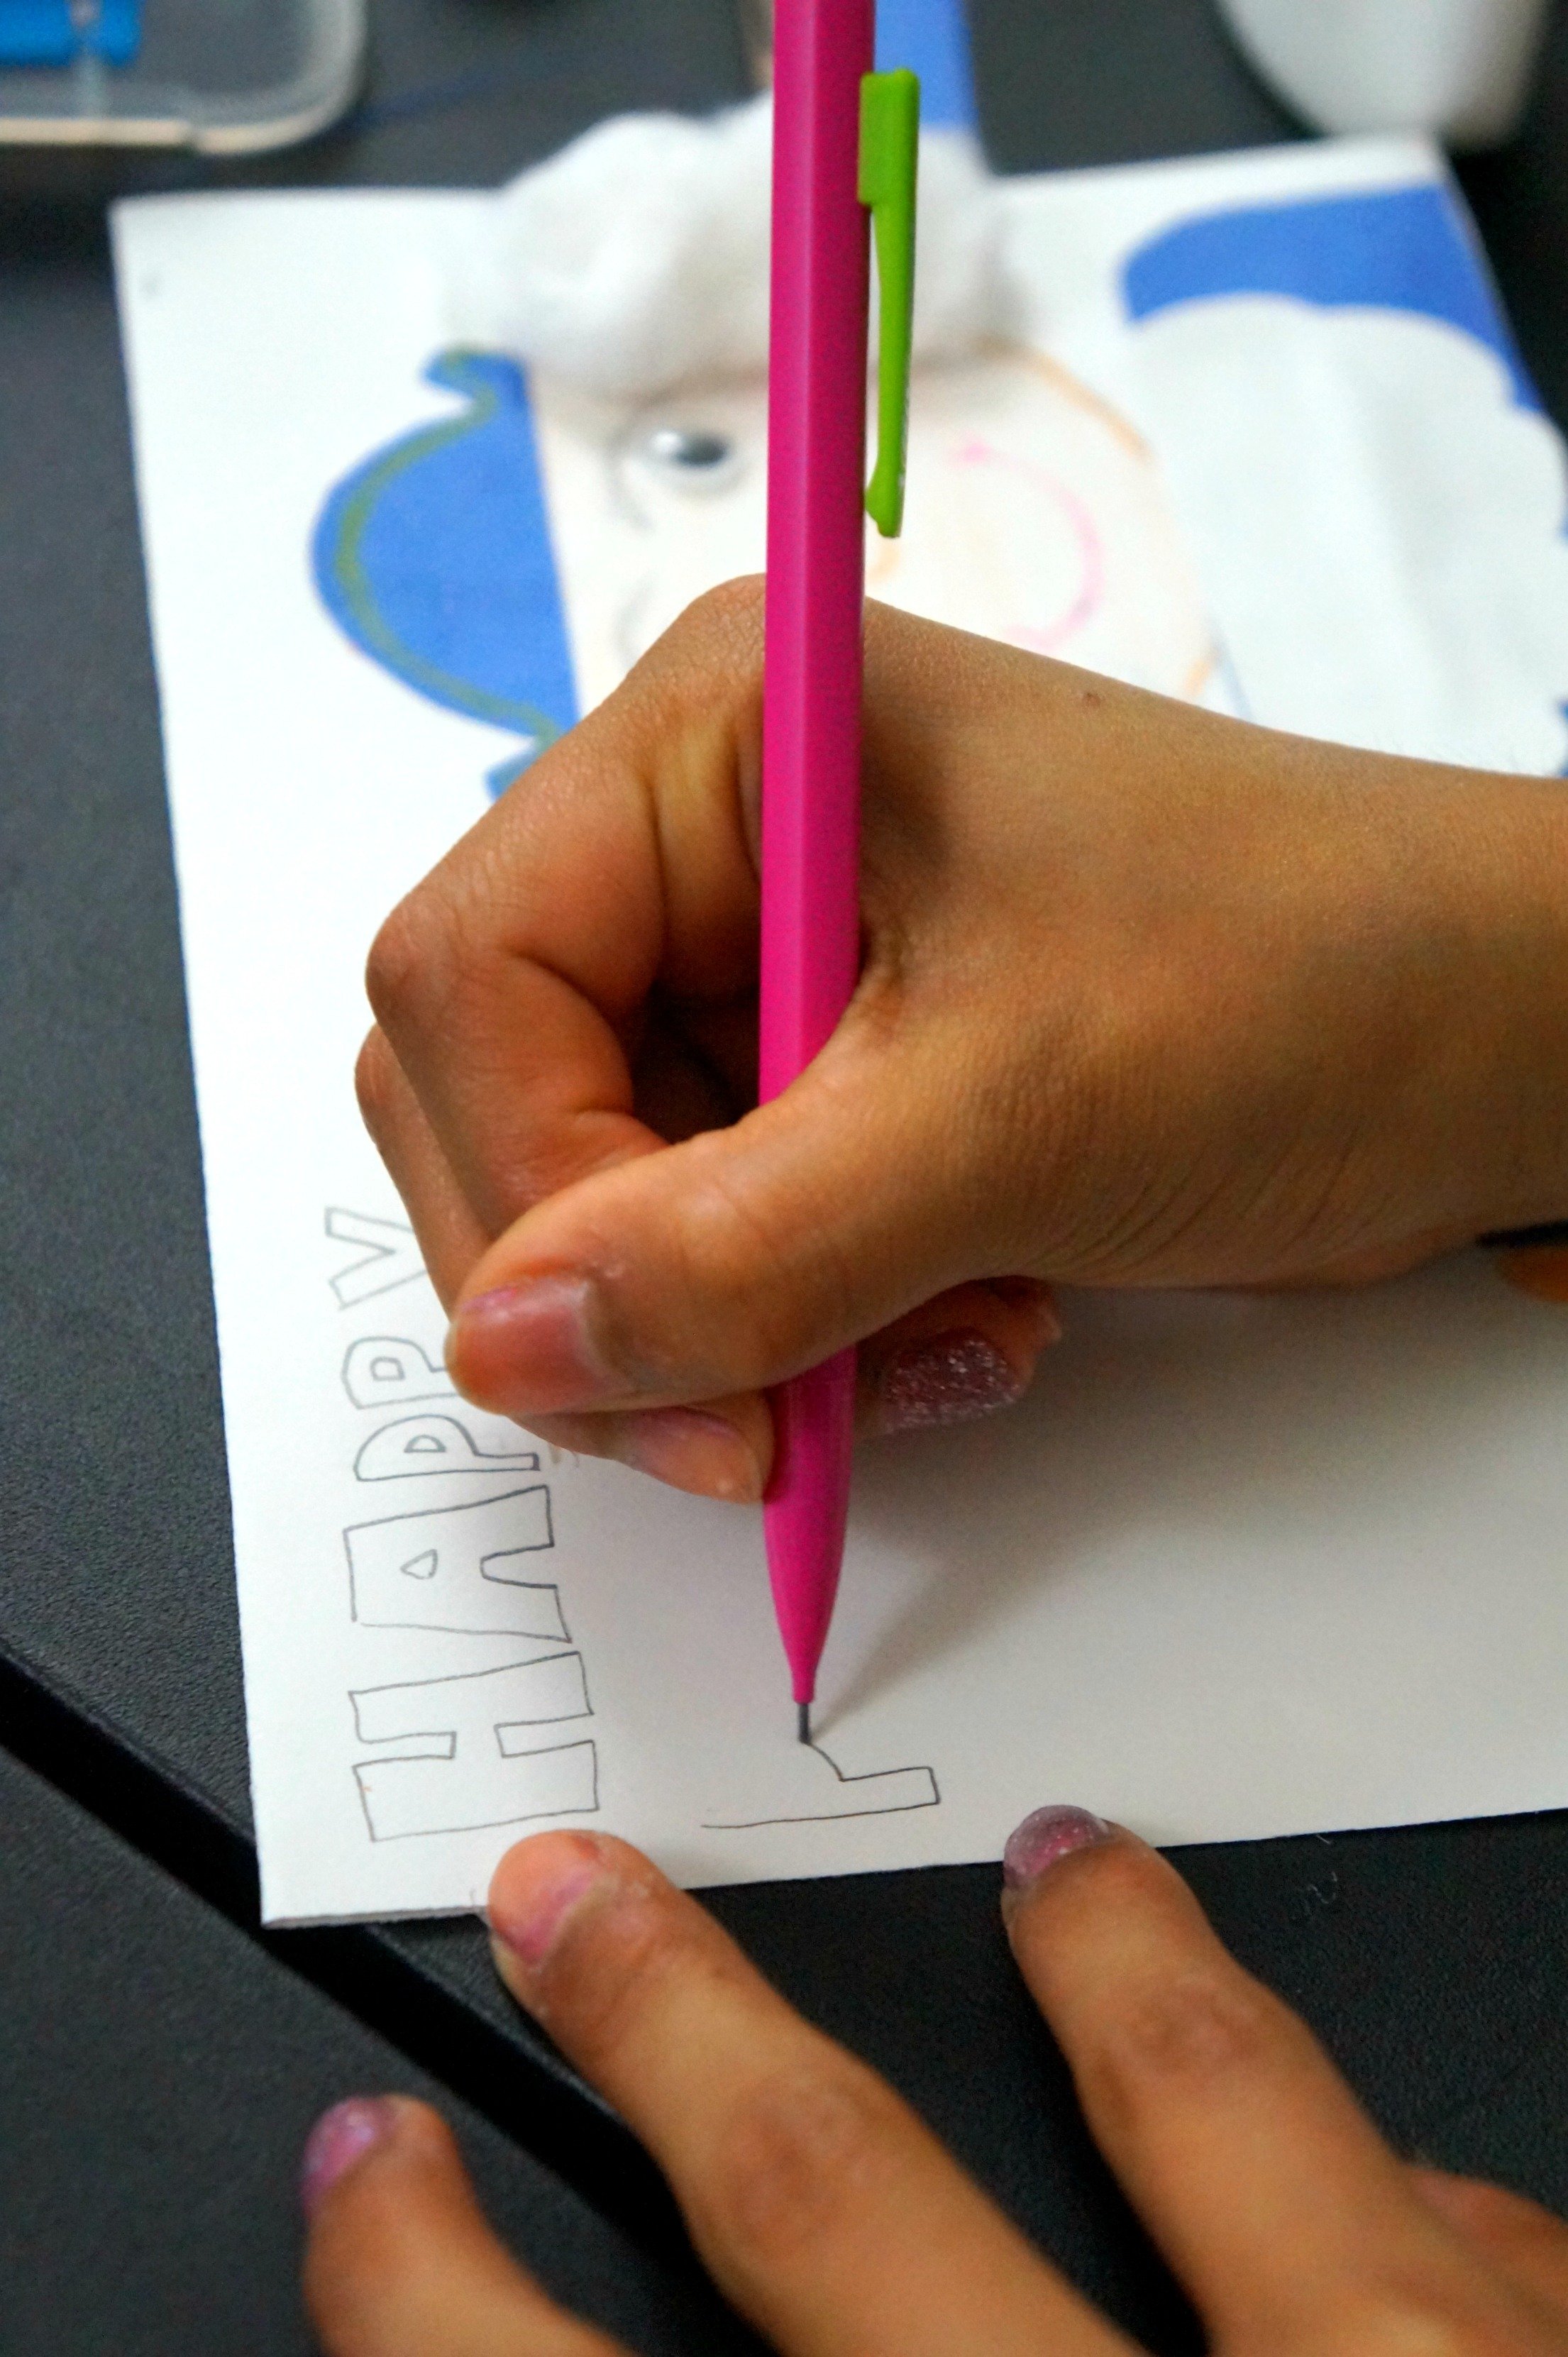


5. Write out your message of choice: “Happy Present- Dential Birthday” or “Happy Presidents Day!” on the front and your personal message inside.
That’s it!

Happy crafting!
Amanda and Naomi
To share: take a photo of your craft and let us see it! Click on photo submission and submit.