

Hi friends,
This weekend, we escaped the mountains of homework and took a much-needed fall break, inspiring our Fall Superstar Characters. We went on our first of two annual trips to Apple Hill- a large area of local apple farms in CA, with multiple varieties, other fruit & vegetable offerings, activities, holiday decor, gifts, craft/art vendors, and LOTS of yummy treats. Seeing all those fall staples gave me the idea for today’s craft! Check it out below.
*Click on the photos for a closer look
What You'll Need
White Construction Paper
Color Pencils
Pencil
Optional: Apple, Mini Pumpkin, Leaf, Markers
The Steps
We want to see your craft! Click PHOTO SUBMISSION, then submit the photo.


PREP
CUTTING & TRACING creates a fun discussion about the outer/inner textures, scents, color differences, seeds, ridges, etc. For adults only, OPTIONAL
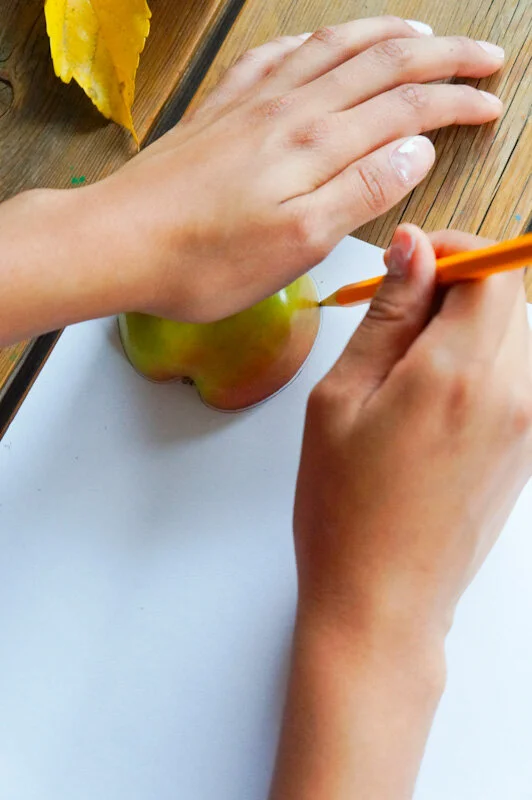
With a large, sharp knife, cut your apple and mini pumpkin in half, from top to bottom.
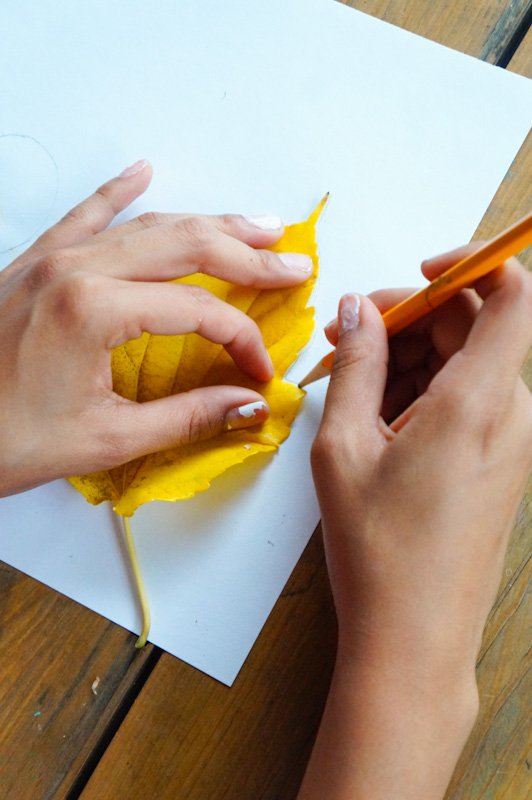
Place the items in any order, then trace them.
DRAWING
Look up photos of each item or have the items in front of you.
Draw each version on your paper.


DETAILS
After tracing/drawing, draw the face, arms, legs, and other features for each fall character.
Color your characters with the colored pencils.
MESSAGE
Write Fall Superstars on the page with a colored pencil or marker.
Lastly, come up with your own silly names or use ours!
That’s it!
Naomi’s fall superstars- Bonnie Appleseed, Mr. Pumseed, & Mrs. Leafling
My fall superstars- Miss Appley, Mr. Leafer, & Pumpky Jr.
This was super easy, minus the pumpkin cutting, which took a little more effort.
They came out super cute, too!
And some of the treats we picked up = )
Happy crafting!
Amanda and Naomi
To share: take a photo of your craft and let us see it! Click on photo submission and submit the photo.


