

Hi friends,
Today’s Bunny Hopper craft highlights the bunnies we’ll start seeing in stores for Easter and the real ones most of us don’t have access to. Check out our bunny hoppers below.
Click on photos for a closer look
What You'll Need
Oatmeal Canister(2 bunnies)
Thin Cardboard
Scissors
Knife
Glue
Pencil
Pipe Cleaners (eyes & nose/mouth)
(12 -15) Cotton Balls (per bunny)
(48 -54 in) Yarn/String or (24- 27 in) ribbon.
Optional: Ruler, Hot Glue, White Paper, White & Pink Paint, Paintbrush, Newspaper/Table Cover
The Steps
Our bunnies are cute, soft, and easy to make using recycled materials and can be used as a small gift basket.
Some adult help is needed to cut the cardboard and a used oatmeal, hot chocolate, or nut canister. Then watch as they hop along: hold the string, lift up, and repeatedly plop down.


BODY- Tall Canister
Remove product label and estimate where the halfway mark is or use a ruler, to create dashes along the center of the canister.
Carefully slice the container in half and use glue(hot glue is quick) on the fully opened one to attach the lid permanently.
BODY- Short Canister
Remove product label and discard the lid.


BUNNY EARS
Trace something small and circular for the bunny ears on cardboard, repeat for multiple bunnies, and cut out.
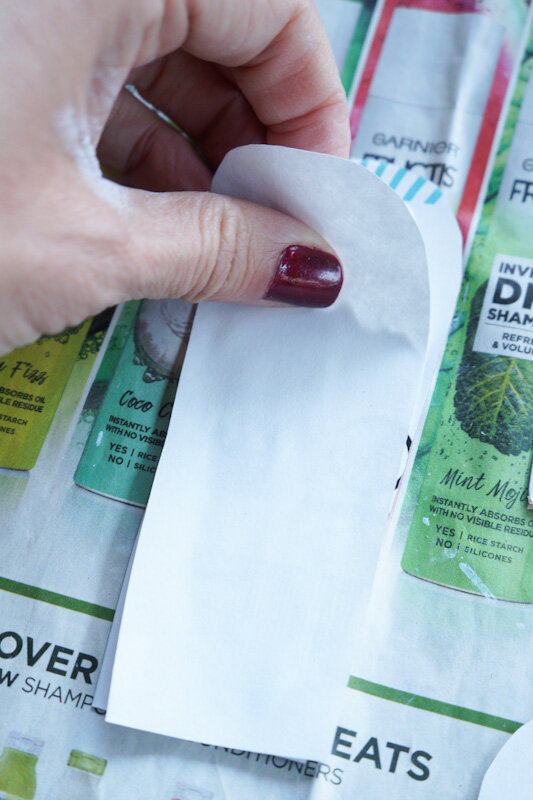
IF your cardboard has writing, trace white paper, cut out, and glue on to cover up.


EARS & STRING
Optional: Paint canister and top/lid white or leave as is.
Paint your ears white and pounce the pink in the center to soften the color. Fold down the ends a bit when dry IF you’re not making the basket.


BASKET OPTION: make a hole near the top instead of the bottom.
2. With a knife or something long, carefully poke a hole 3/4 - 1 inch down from the top, and on each side. Avoid seams.
3. Fold your string in half and feed the folded part into the canister then knot, repeat with the opposite side. If using ribbon, do not fold.
optional- add hot glue to the knots.


BODY
1. Unroll 8-10 cotton balls per canister, cut in half 2x (into fourths), and spread apart some.
2. Lay your canister on the side, add plenty of glue, and start laying down the spread apart cotton pieces. Continue all around.


3. Glue your ears to the top (hot glue is quickest).
4. Unroll 1-2 cotton balls, prep as you did previously, and glue to the top, covering the bottom of the ears.
5. Glue 1 cotton ball in the back for the tail and 2 in the front for paws.


NOSE & MOUTH
Cut a pipe cleaner in half for the nose/mouth.
Use 1 half, fold it in half, twist around your pinky, and curl up the ends.


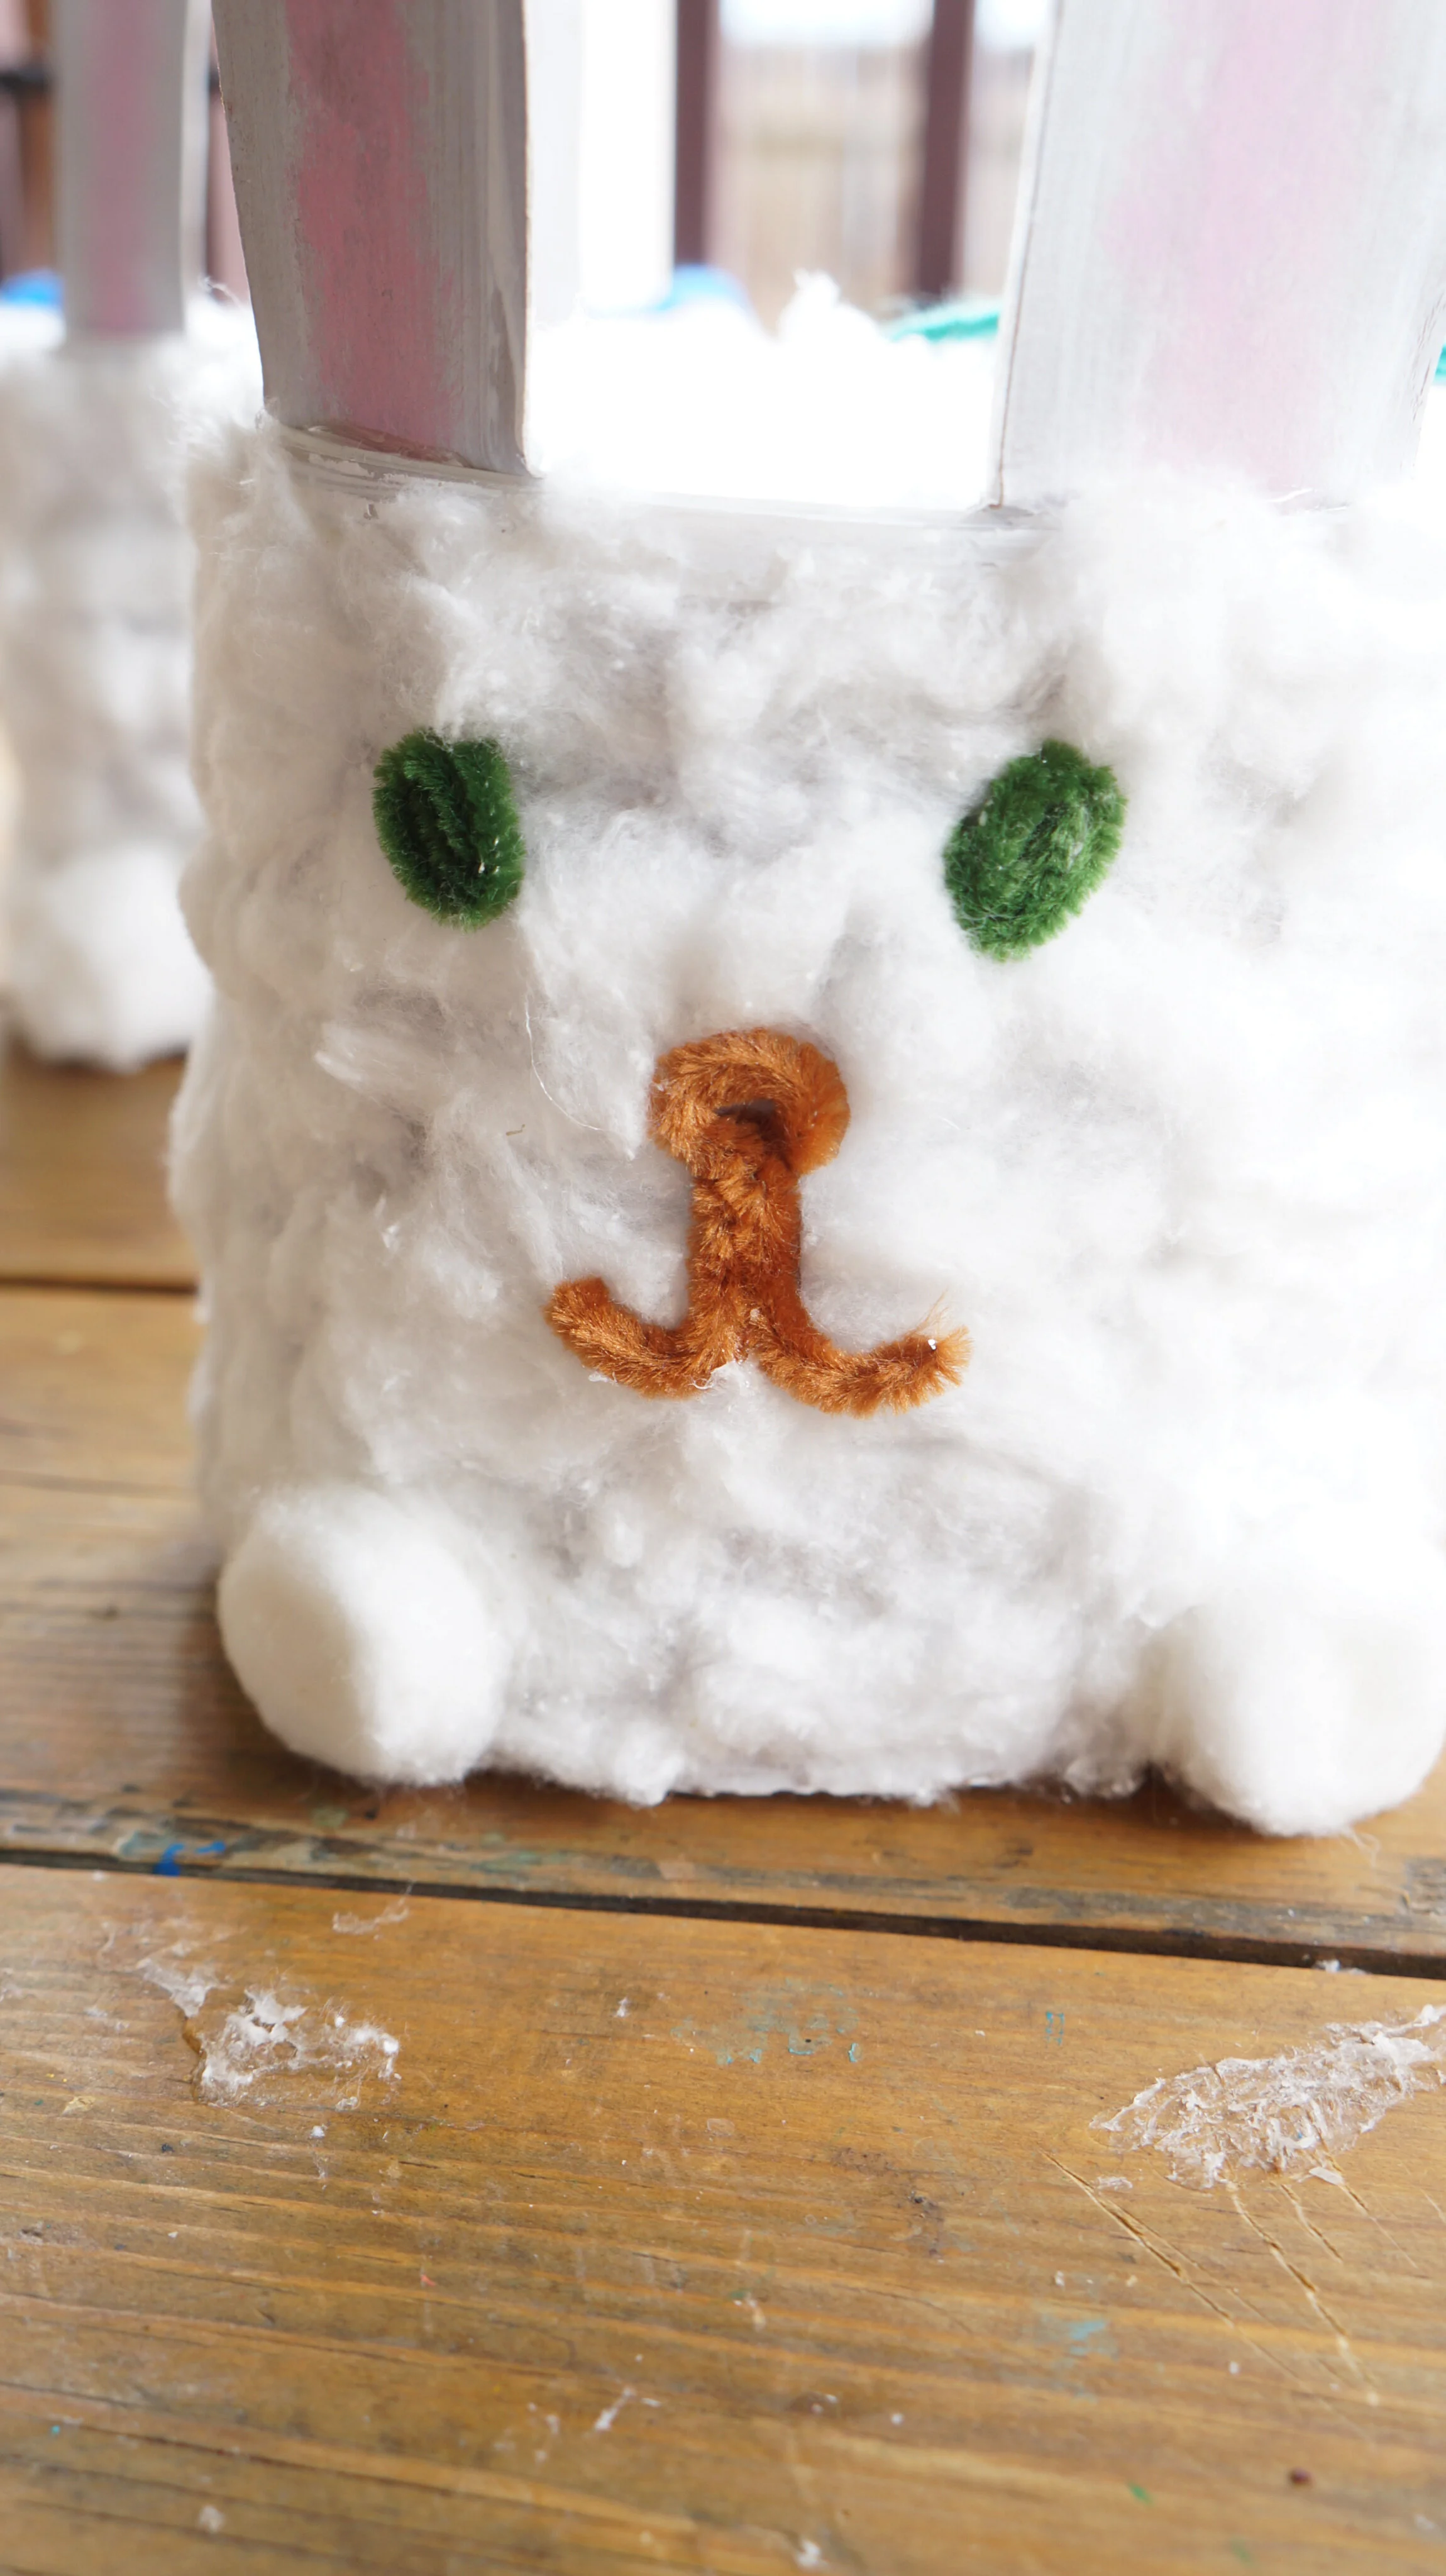
EYES
1.Cut a pipe cleaner in half (any color and 1 per bunny) and roll each half into oval shapes.
4. Glue your eyes and nose/mouth on.
That’s it!


Aren’t they cute?!


Here’s my little helper Micah, hopping his bunny along.
Happy crafting,
Amanda and Naomi
To share: take a photo of your craft and let us see it! Click on photo submission and submit the photo.


