

Hi friends,
This week, we have a fun and easy beach-inspired craft, highlighting a striped surfboard. We recently celebrated my hubby’s birthday, with DIY beach decor, this surfboard, and an absolutely mandatory trip to the beach = ) The surfboard is light and easily customized to your liking for parties, photo booths, or themed rooms. Check out our 5ft retro-striped surfboard below.
*Click on photos for a closer look
What You'll Need
(2) Foam Boards
(16) Craft Sticks
(1) Roll Craft Paper
Scissors
Serrated Knife
Paint Brush & Paints
Pencil
Double-Sided Tape
Hot Glue
Optional: Ruler or Cookie Sheet, Stencils, Stamps, Water to thin paint
The Steps


BASE
Turn your boards vertically, with the ends meeting.
Space out your sticks over the seam, with 4 together on the outer edge followed by 2, 4, 2, and 4.
Hot glue the sticks in place and add glue on the center seam as well.
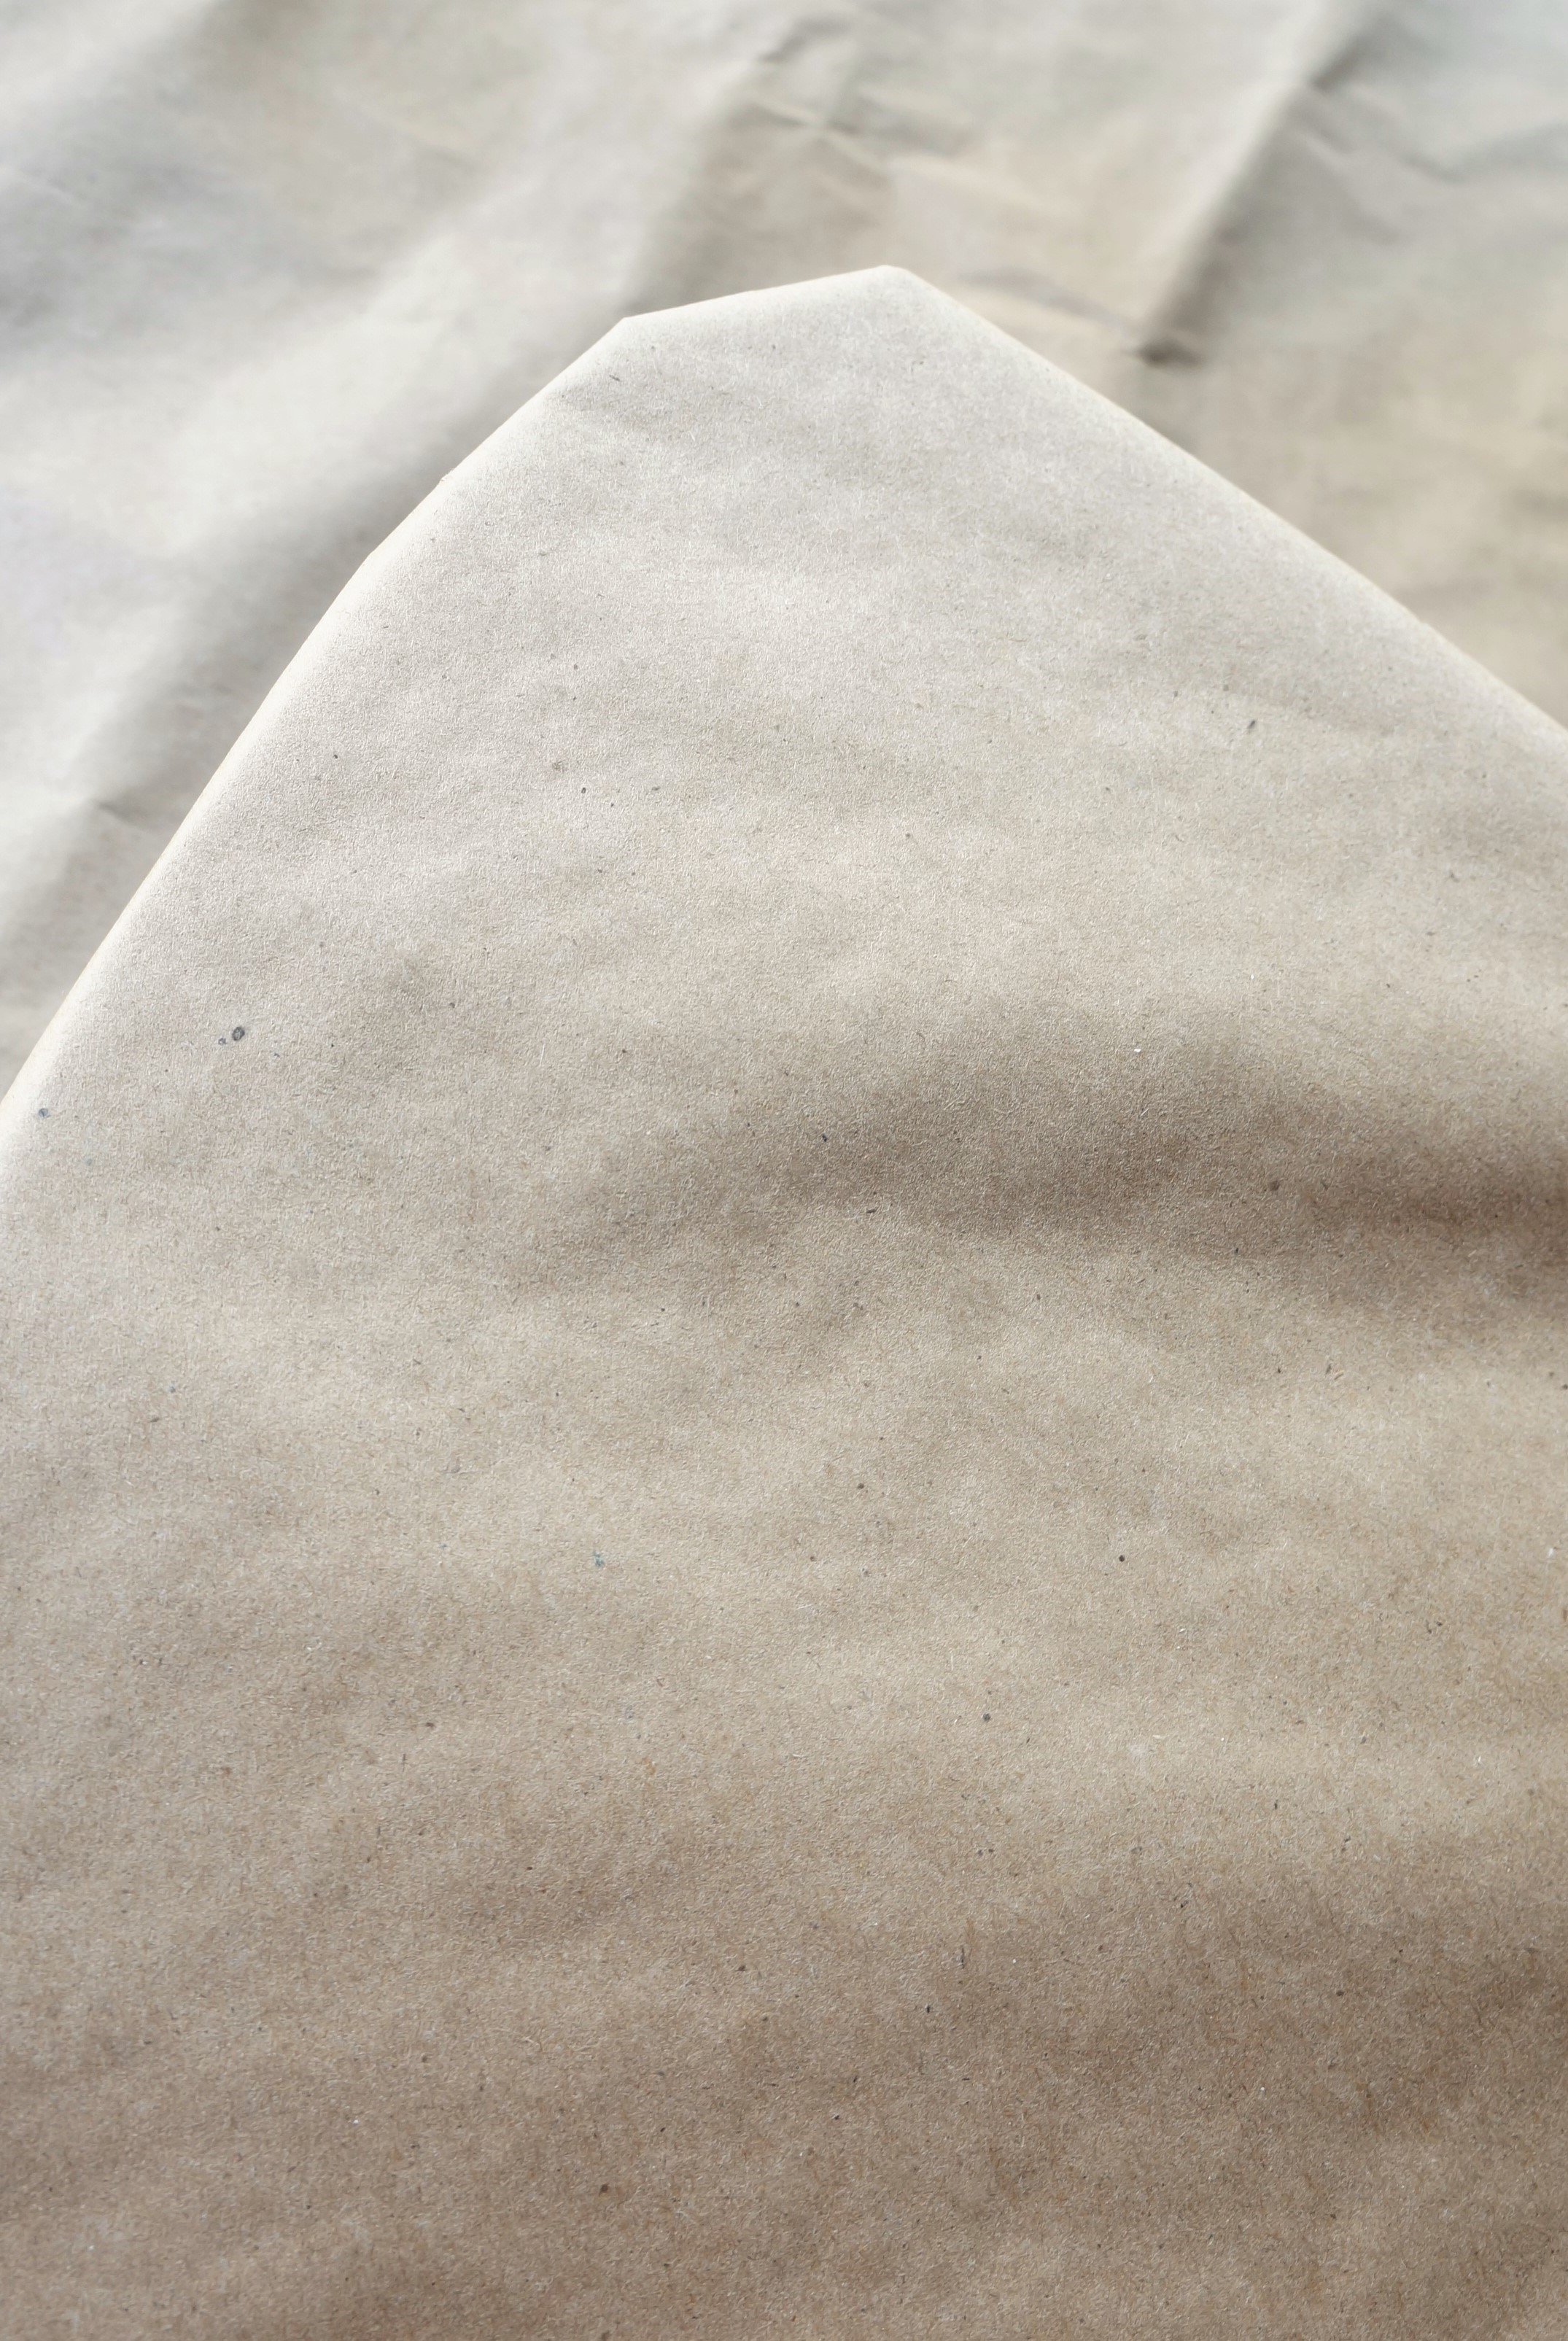
With the pencil draw a rounded peak and carefully cut out with the serrated knife.
COVER
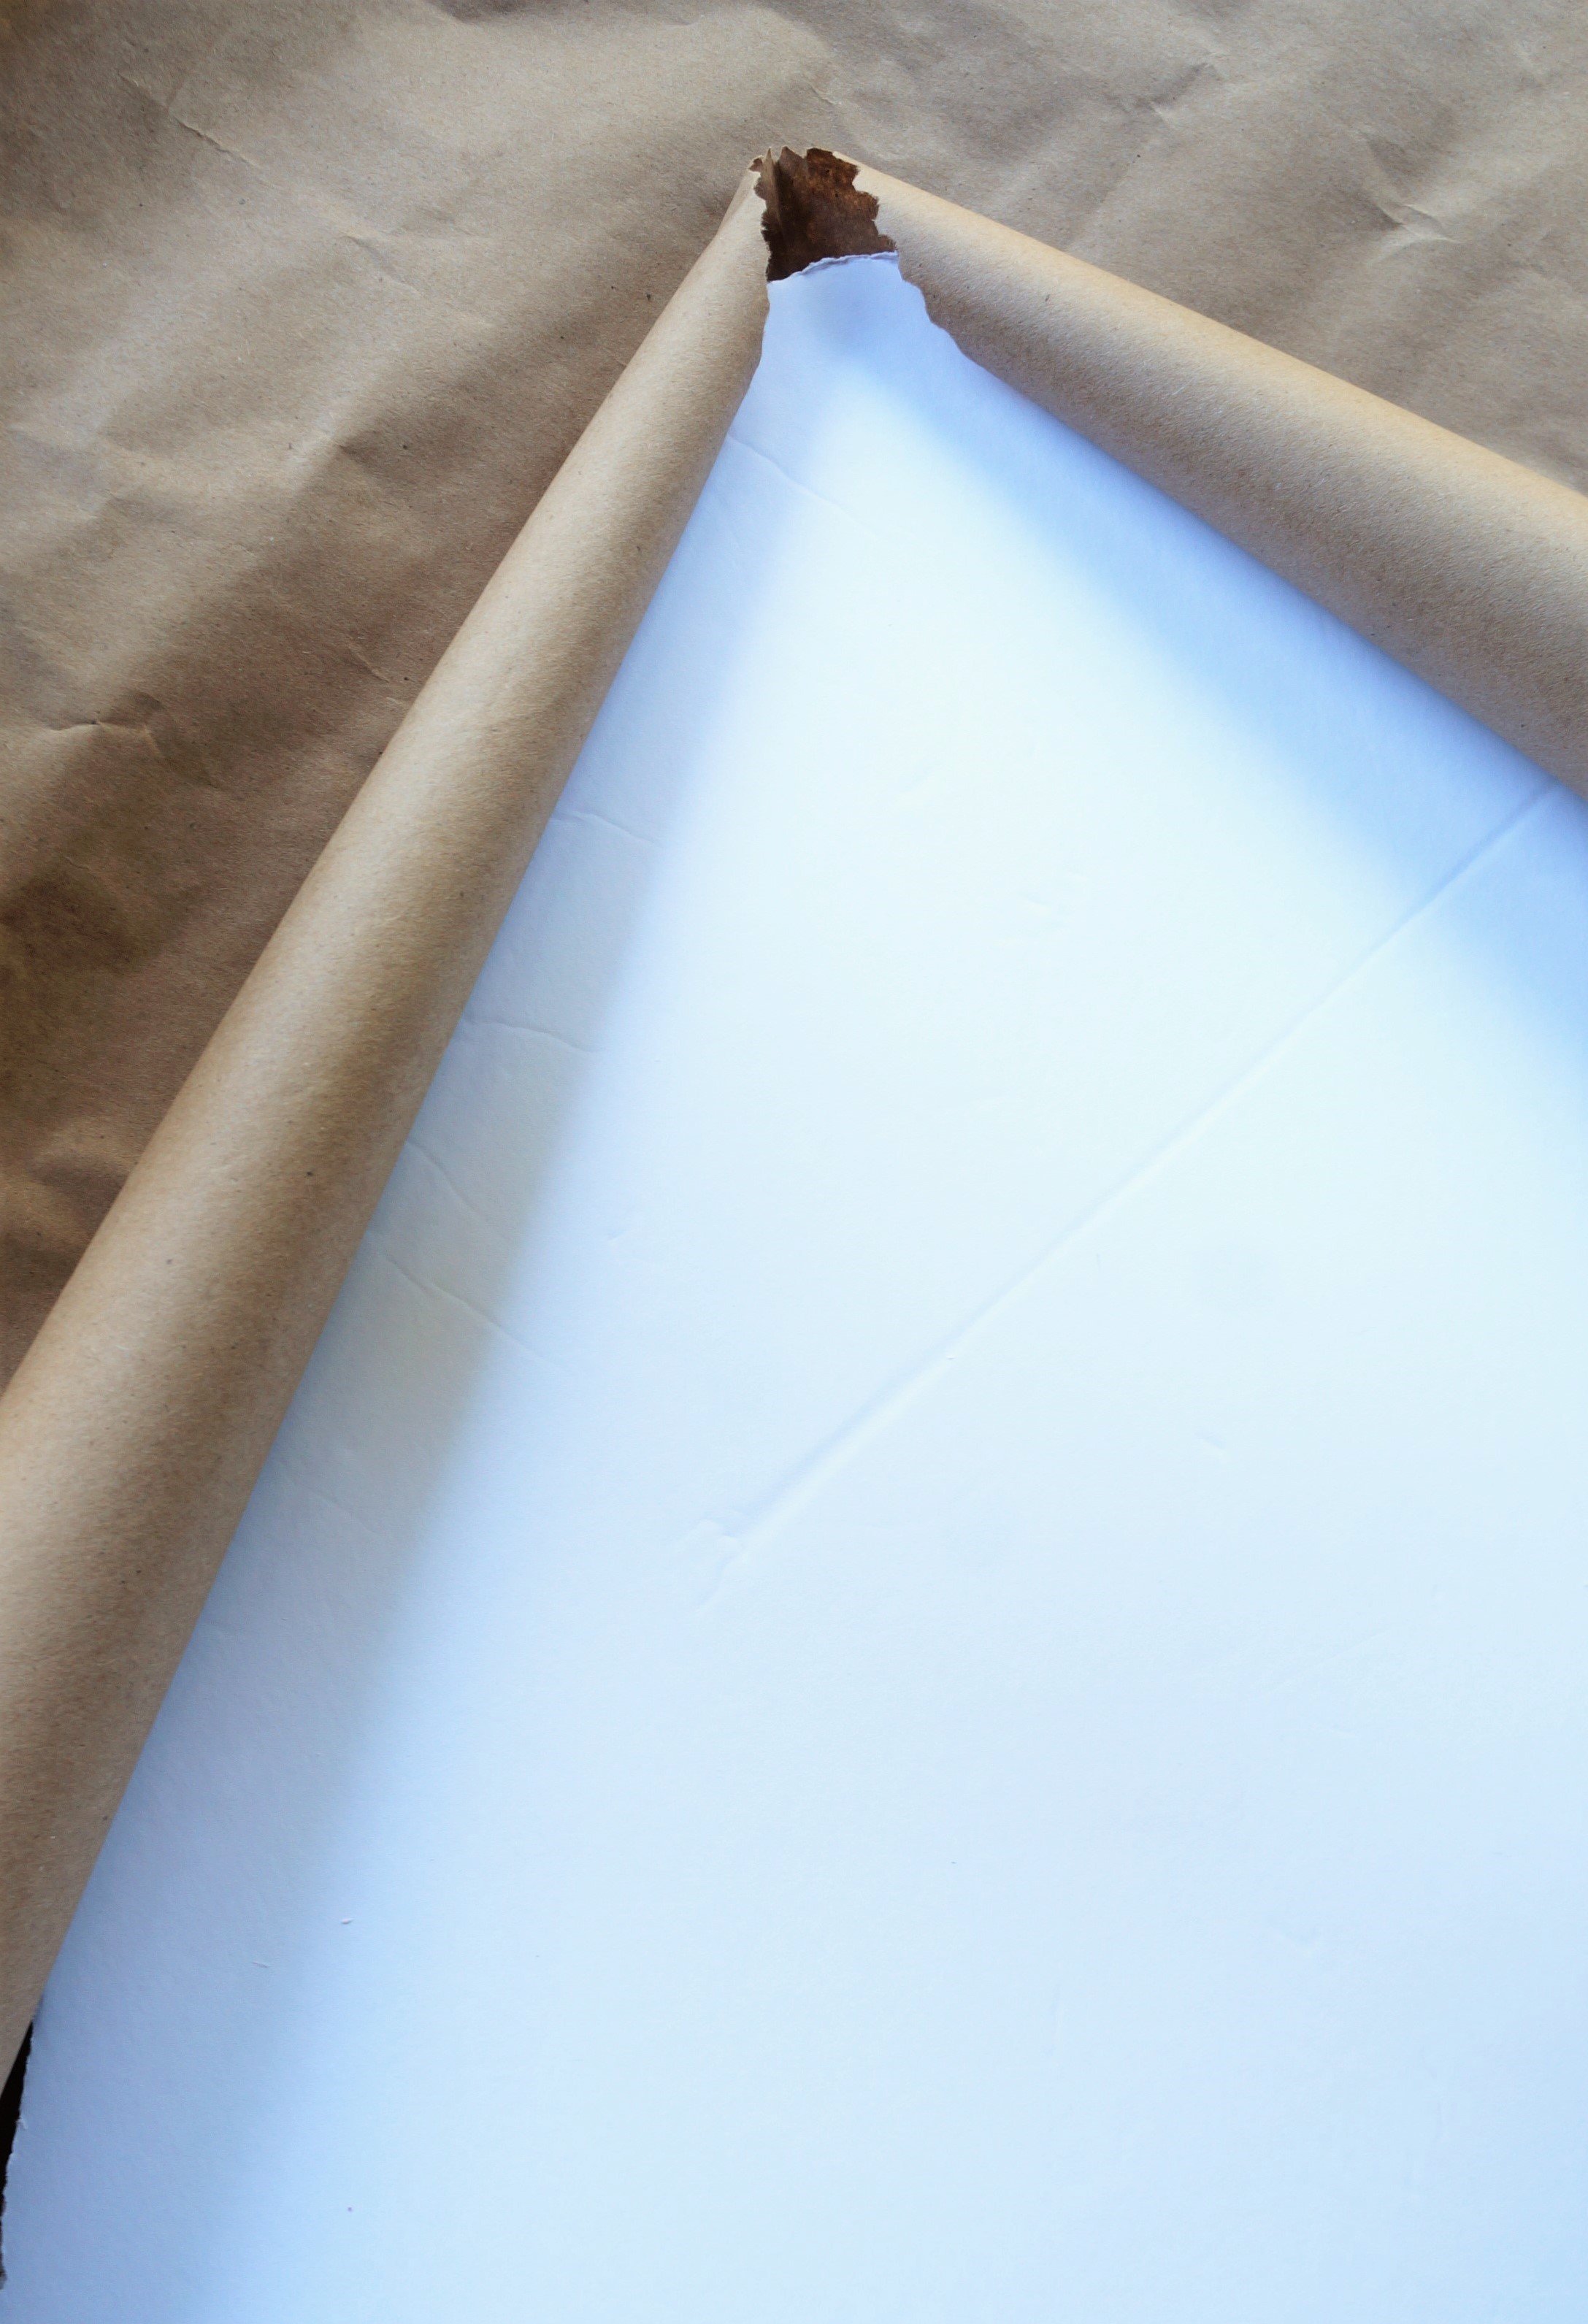
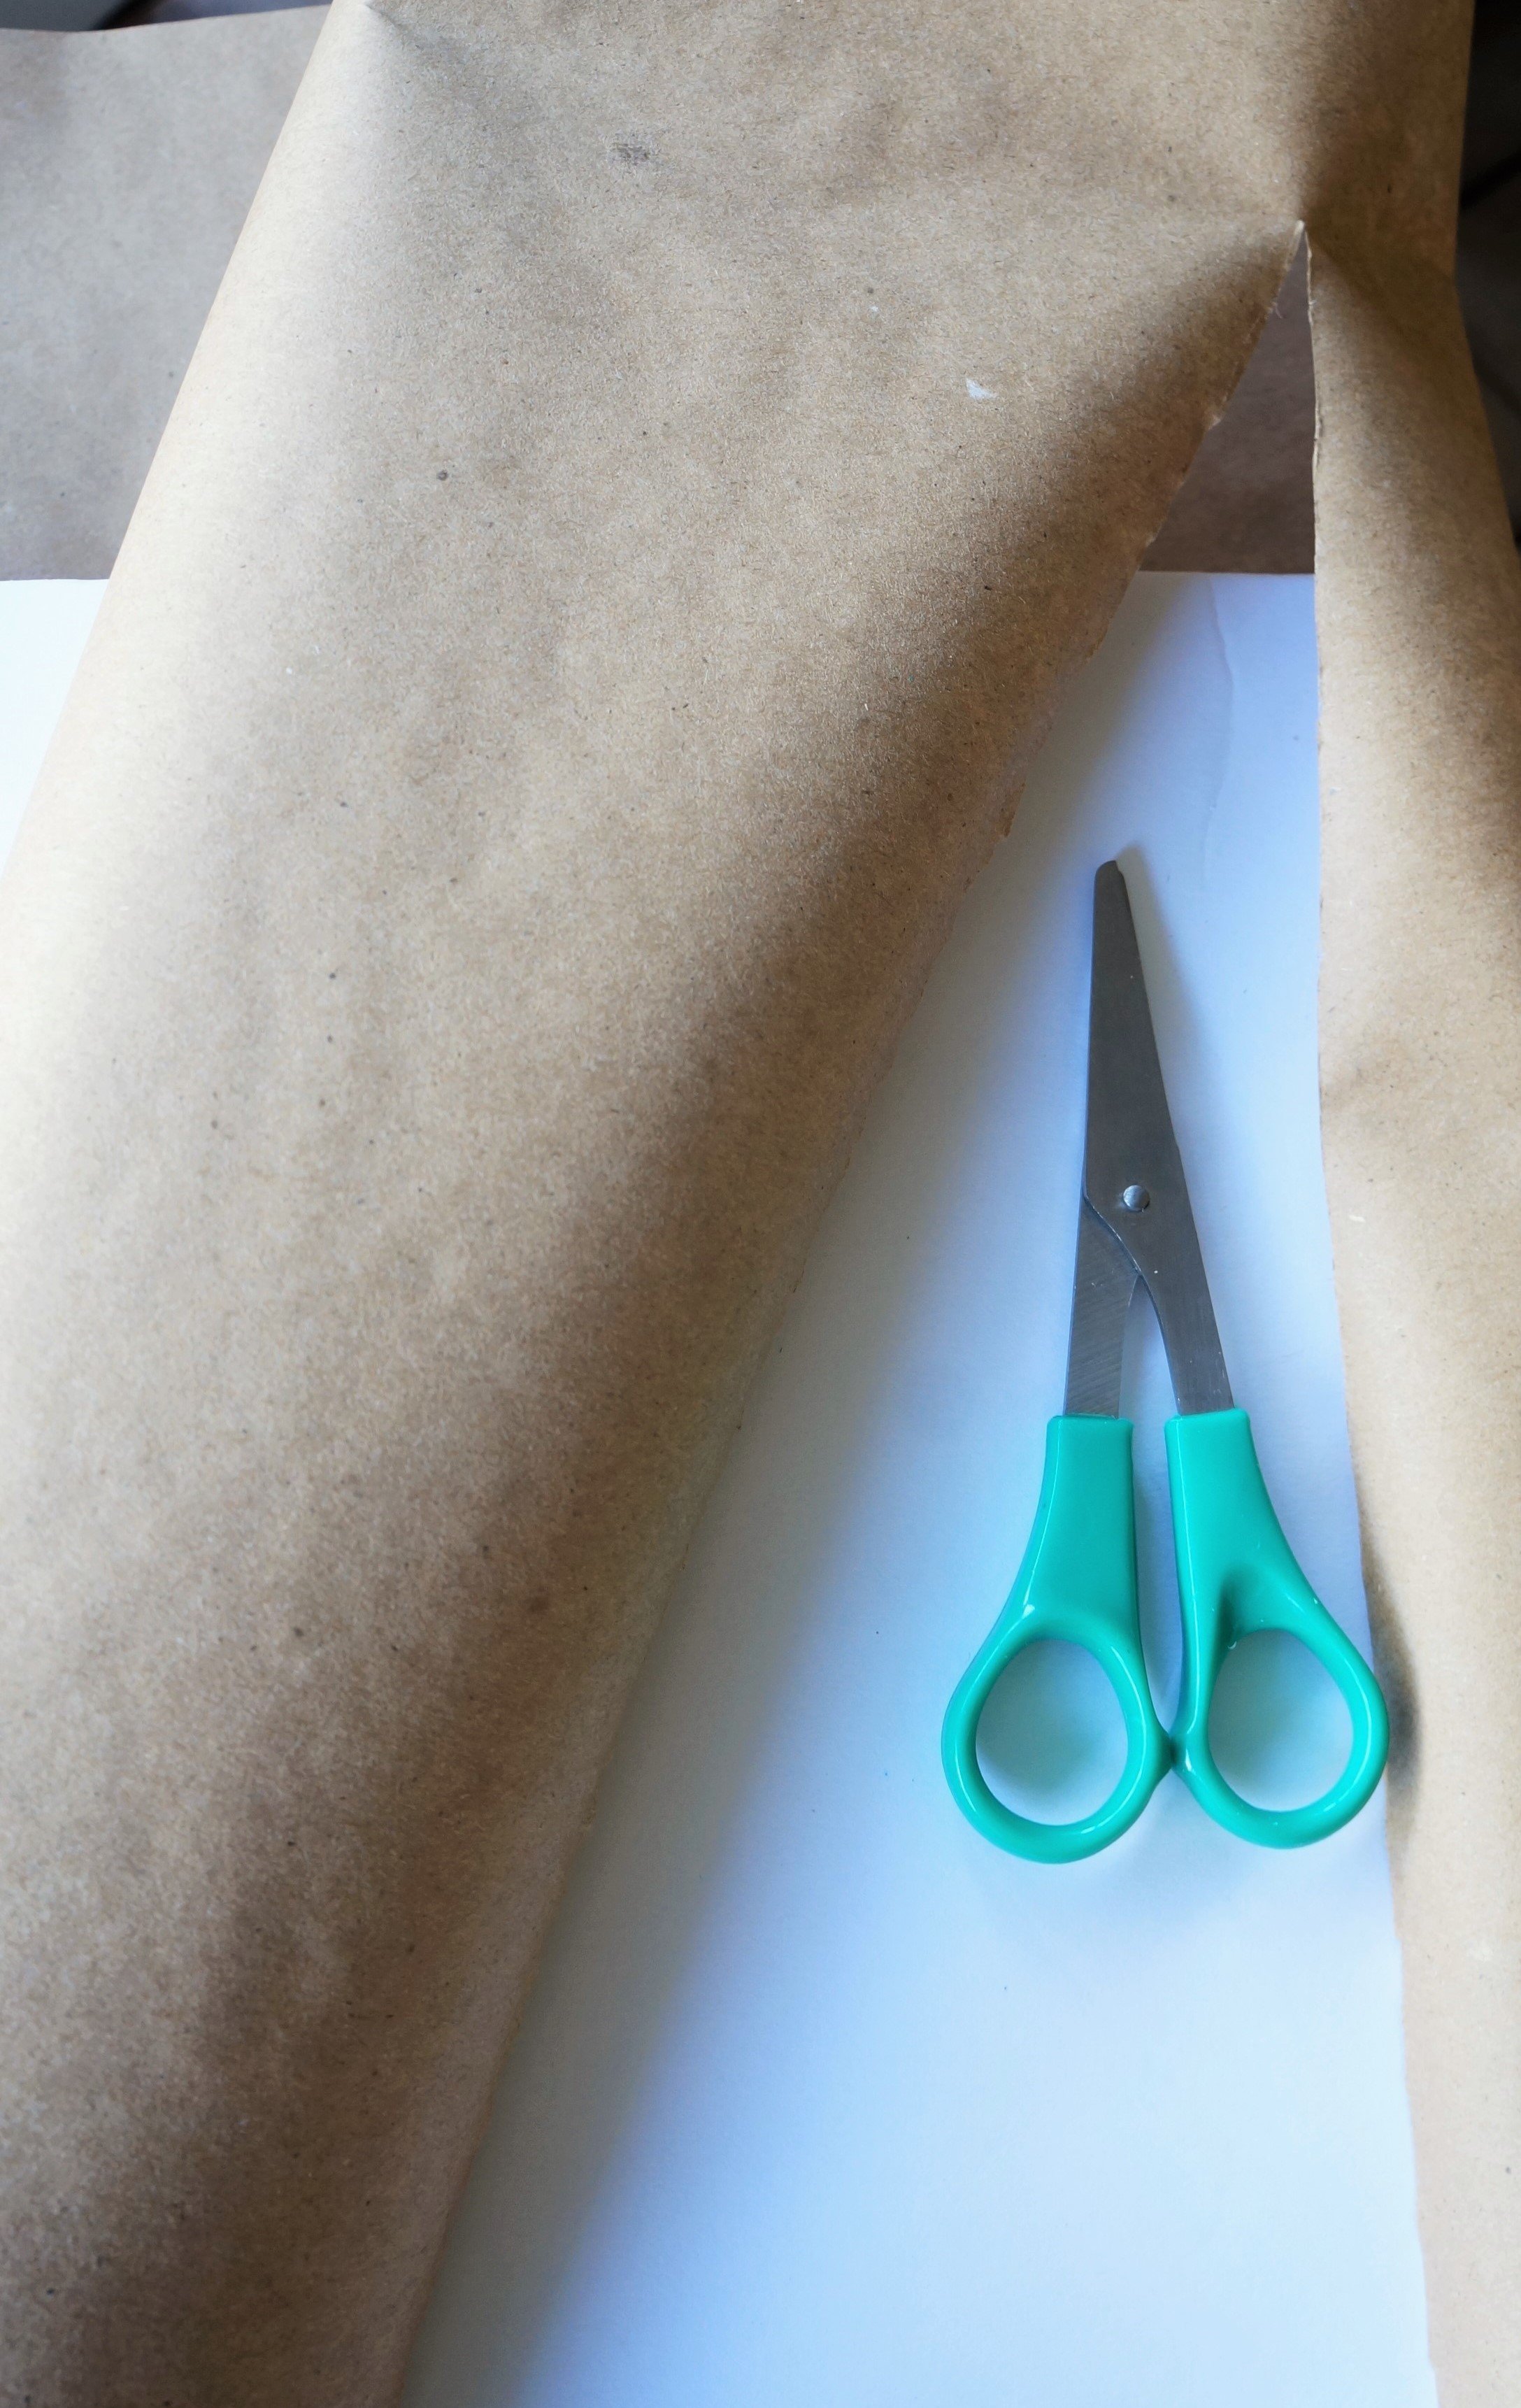
Unroll the craft roll and cut a 5 & 1/2 feet long piece of paper.
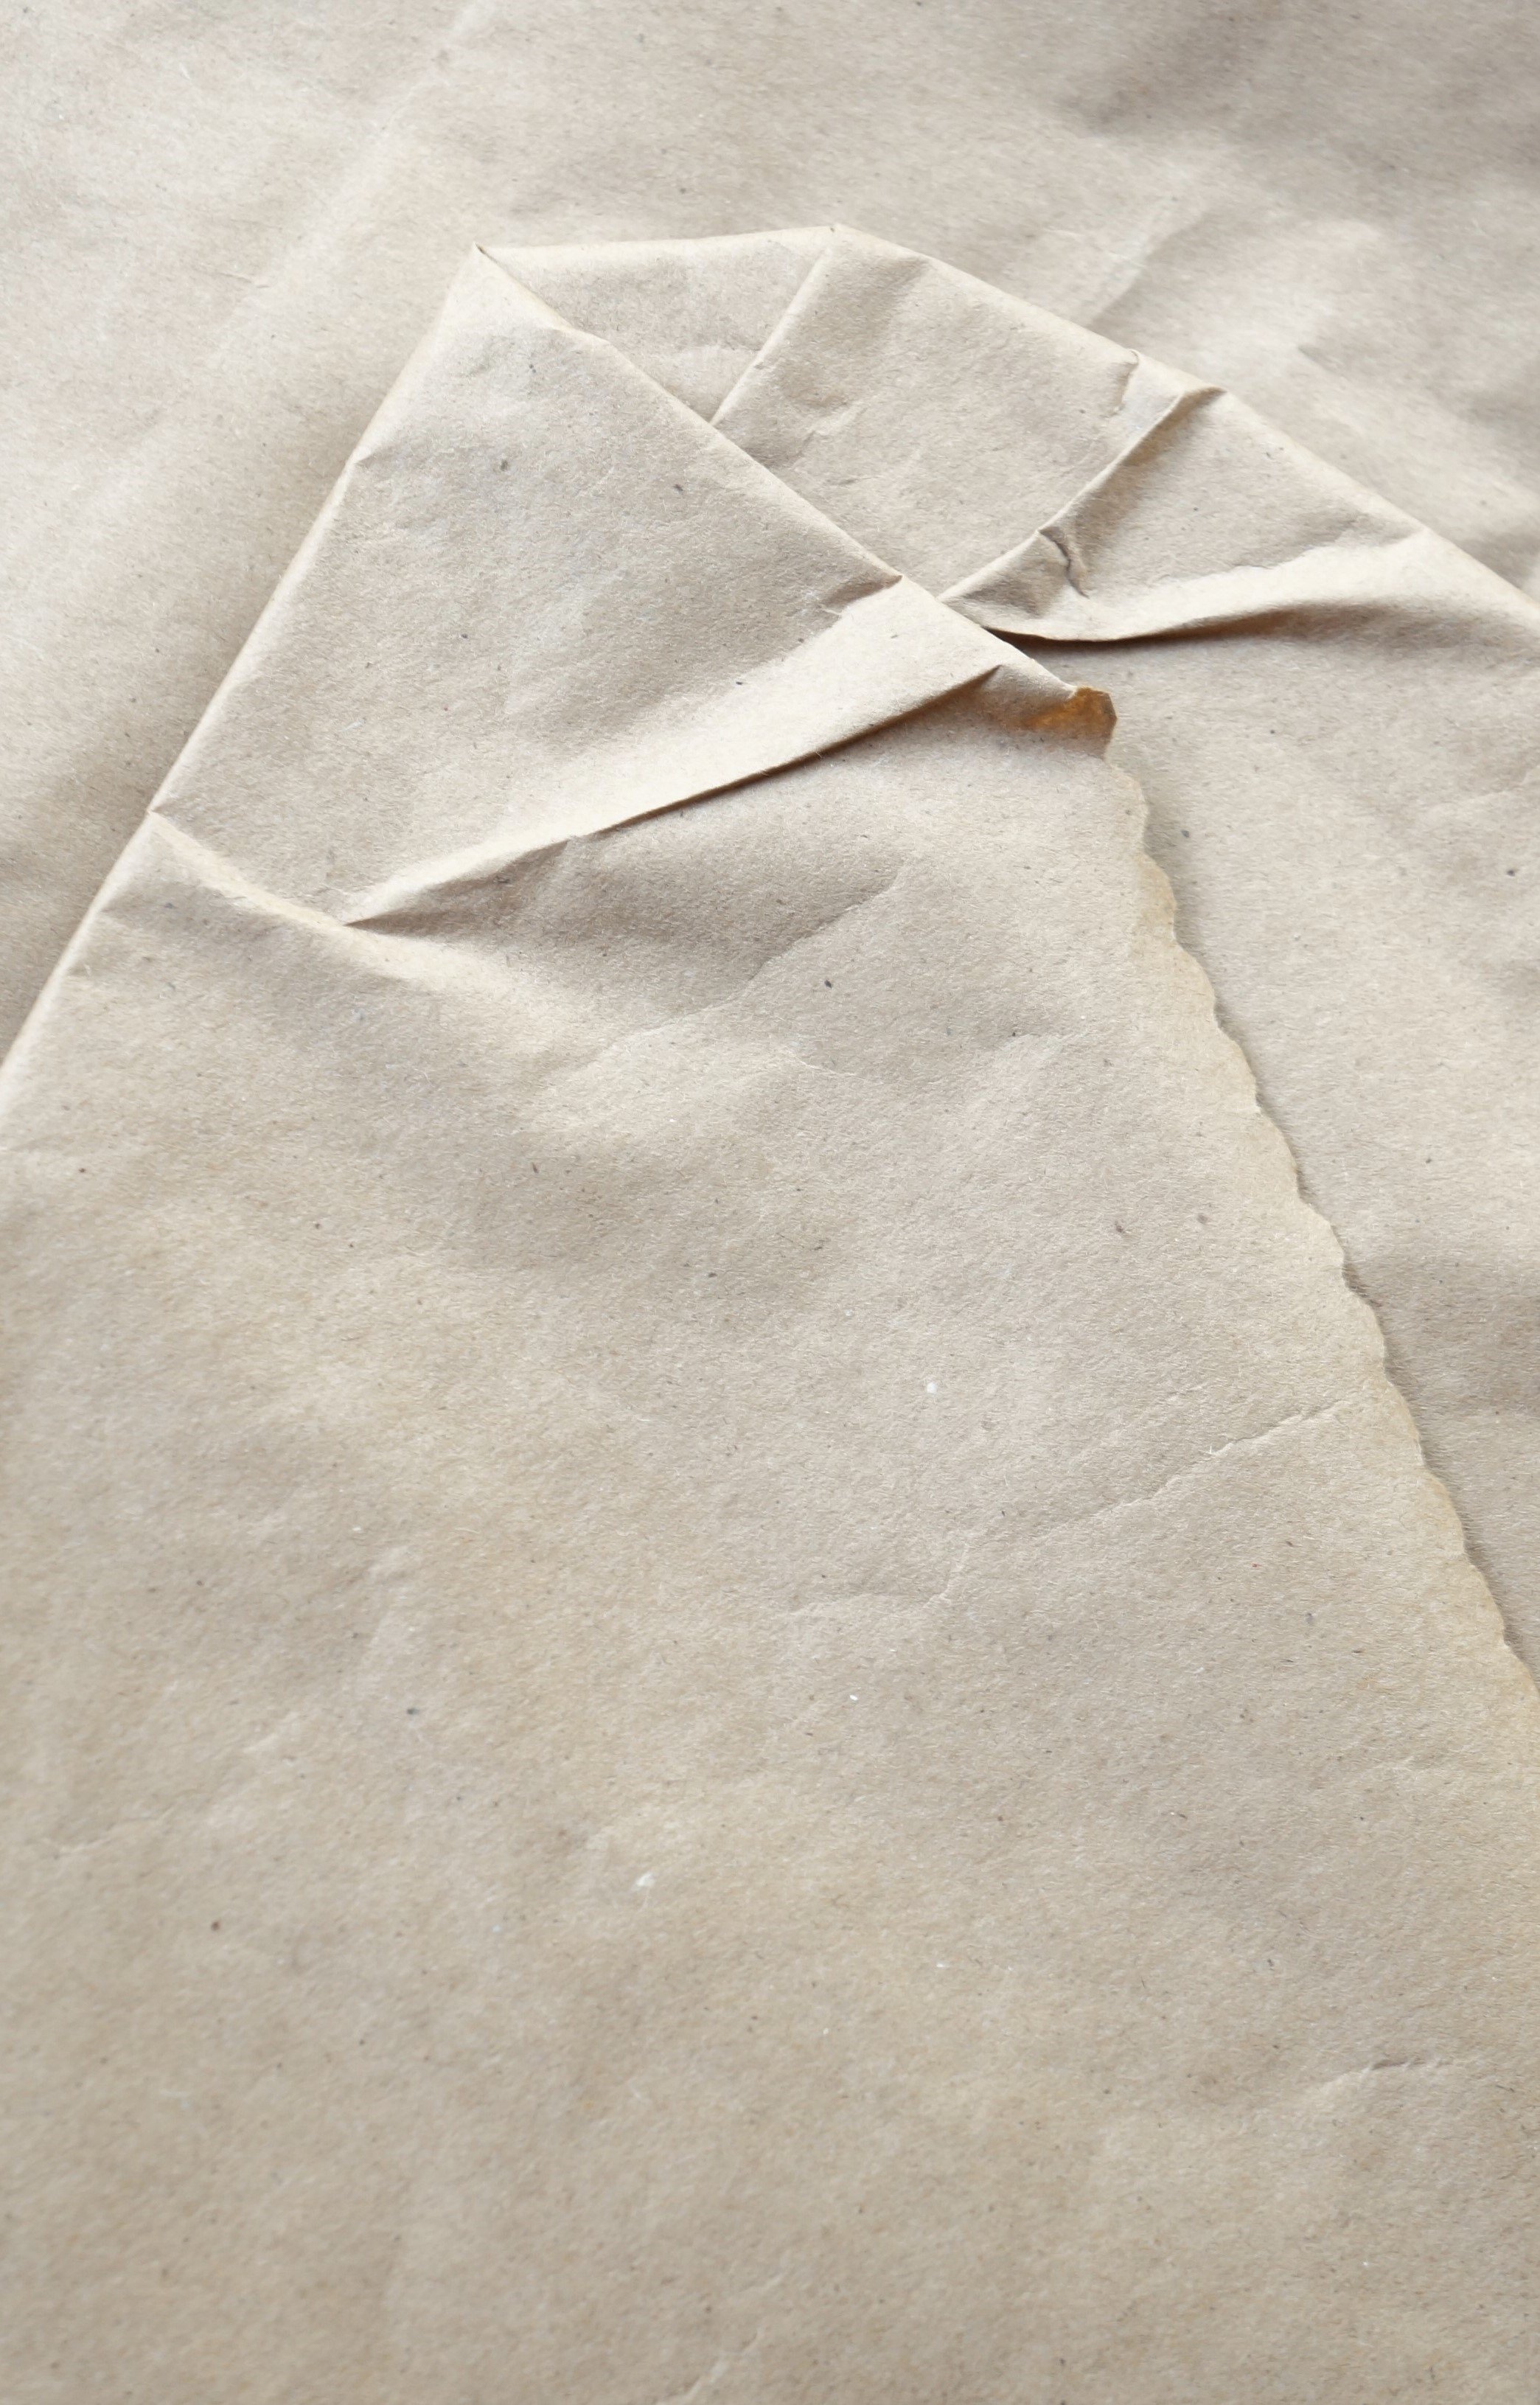
Center the length of the board over the paper with a slight overhang and begin taping the peak first, the sides, the bottom, and finally any rounded edges near the top.


DESIGN
Use a ruler or cookie sheet(easier to stabilize and draw longer lines with) to draw your lines.
I thinned out the paint in some areas and in others intentionally left unpainted streaks to create a weathered look.
Let it dry for 10- 15 minutes.
That’s it!
Happy crafting!
Amanda and Naomi
To share: take a photo of your craft and let us see it! Click on photo submission and submit.


