

Hi friends,
We’re sharing our large Sour Patch Kids cutout, perfect for party decor, a photo booth, or a kids-themed room.
We shared the smaller versions (seen above) a few weeks back and made the large one the main focus for my son’s birthday. Customize these candy cutouts, large or small, in a favorite color, and add glitter if you like. Check it out below, including our leaning/handheld version.
*Click photos for a closer look
What You'll Need
Poster Board (2) any color
Small Container & Bowl
Pencil
Scissors
Matching Marker
White/Black Marker
Tape
Optional Version: Everything above plus
Foam Board (2)
Small Knife
Wood Hanger Piece (2)
Hot Glue
The Steps
We want to see your craft! Click on PHOTO SUBMISSION and submit


UPPER BODY
Turn your 1st poster board horizontally(shown vertically here) and trace a small bowl/large mug four times about 3 inches down, 18-19 inches wide.
Draw the sides of the face about 12 inches long on each side and connect it to a ^raised left arm, ending at the bottom of the poster board.
^optional: use the small cup for arms/legs


LOWER BODY
Overlap the poster board over the 2nd one by 1/2 inch and tape the outer sides together.
Draw the other arm down from the neck area, into the 2nd poster board.
Draw a rounded torso and two legs down to the bottom edge.
Carefully flip over the two poster boards and tape fully across the back to secure them.


DETAILS
Flip the poster boards over and trace the opening and bottom edges of the small container to create the rings around the eyes.
Draw an open mouth, then trace everything with the white/black marker and color in the eyes and mouth with a matching marker.
Cut out the candy character and tape/pin up.
You can add white glitter, but it will take quite a bit including the glue.


SOUR PATCH KIDS PROP
:)
SOUR PATCH KIDS PROP :)
LARGE STANDING/HANDHELD PROP
Make the large cutout first.


PREP
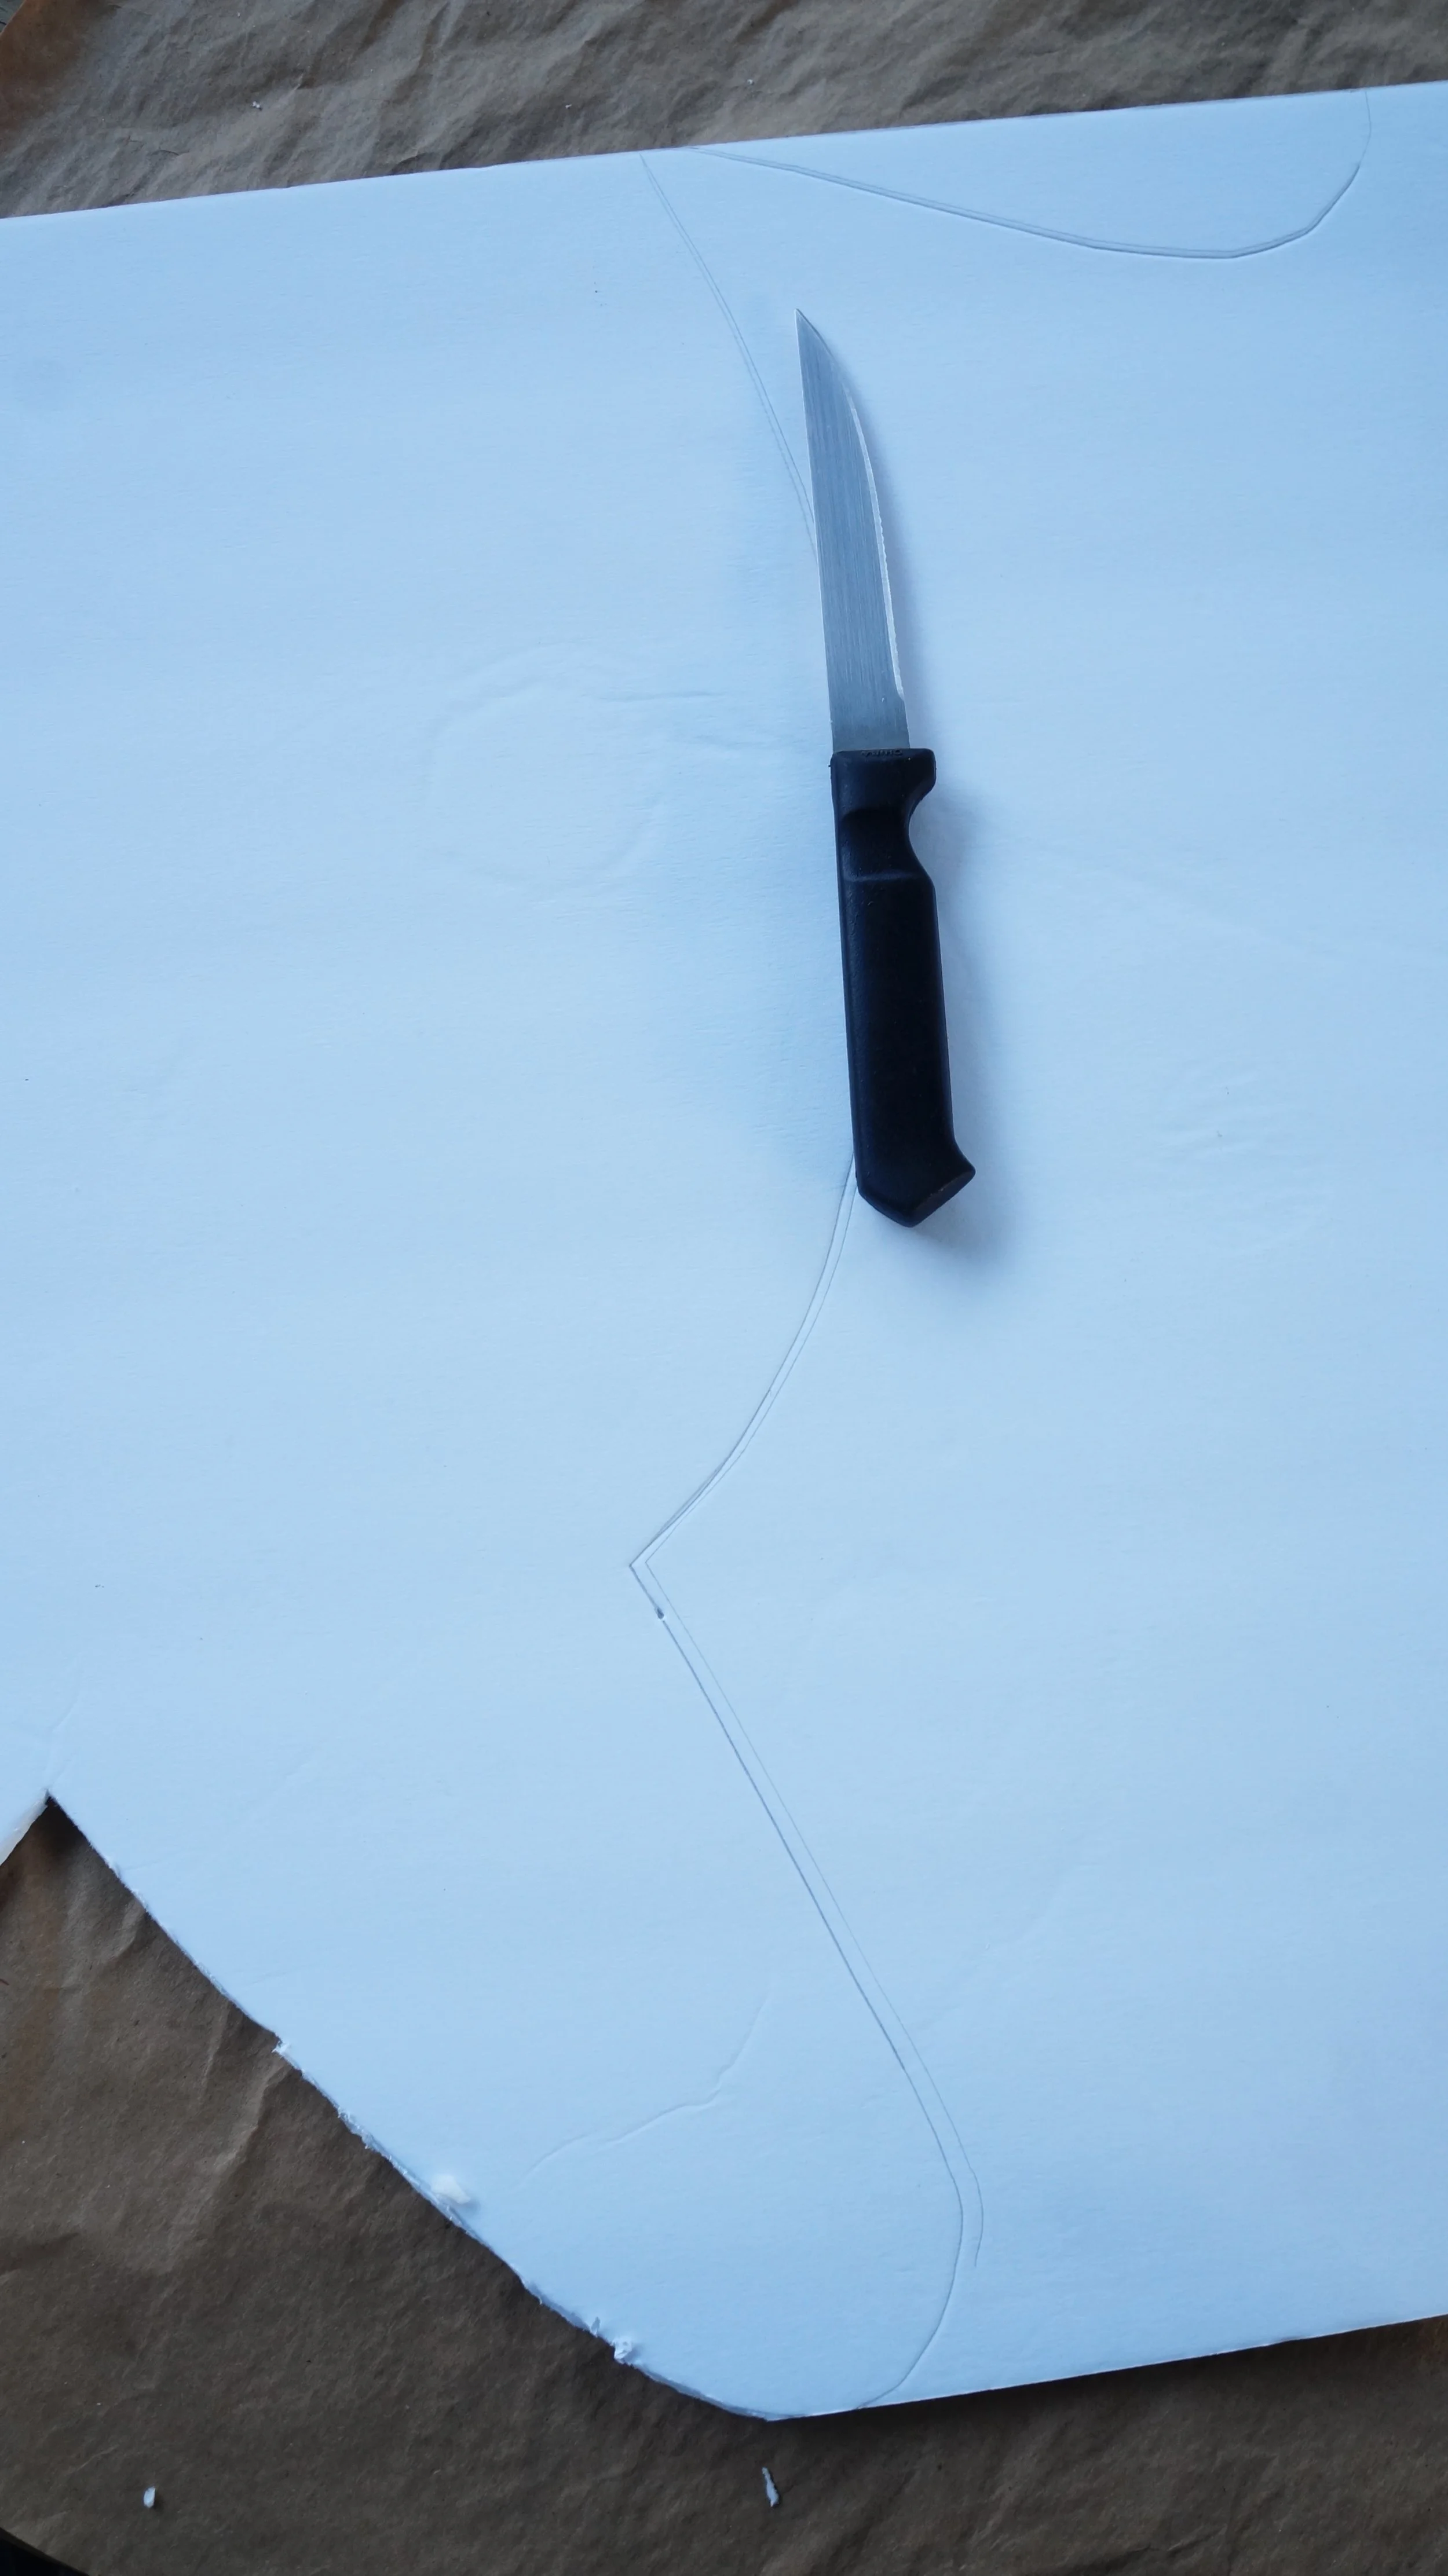
Trace the upper half of the giant Sour Patch Kid onto the horizontally positioned foam board and the lower half on the second horizontally board.
Carefully cut through the foam boards with the knife, making short cuts all the way around.
Tape the top and bottom pieces together.
If your wood pieces have strings, remove them, and connect both with just one.


ASSEMBLE
Add glue to the front of the foam board and press the giant cutout onto it.
Flip the foam board over and add hot glue to the neck and torso area, carefully pressing the two boards down.
That’s it!
You can hold up the prop for photos or lean it against a photo wall.
Happy crafting
Amanda and Naomi
To share: take a photo of your craft, click on PHOTO SUBMISSION on the upper right, and submit.
We’ll share it with everyone here!


