
Hi Friends,
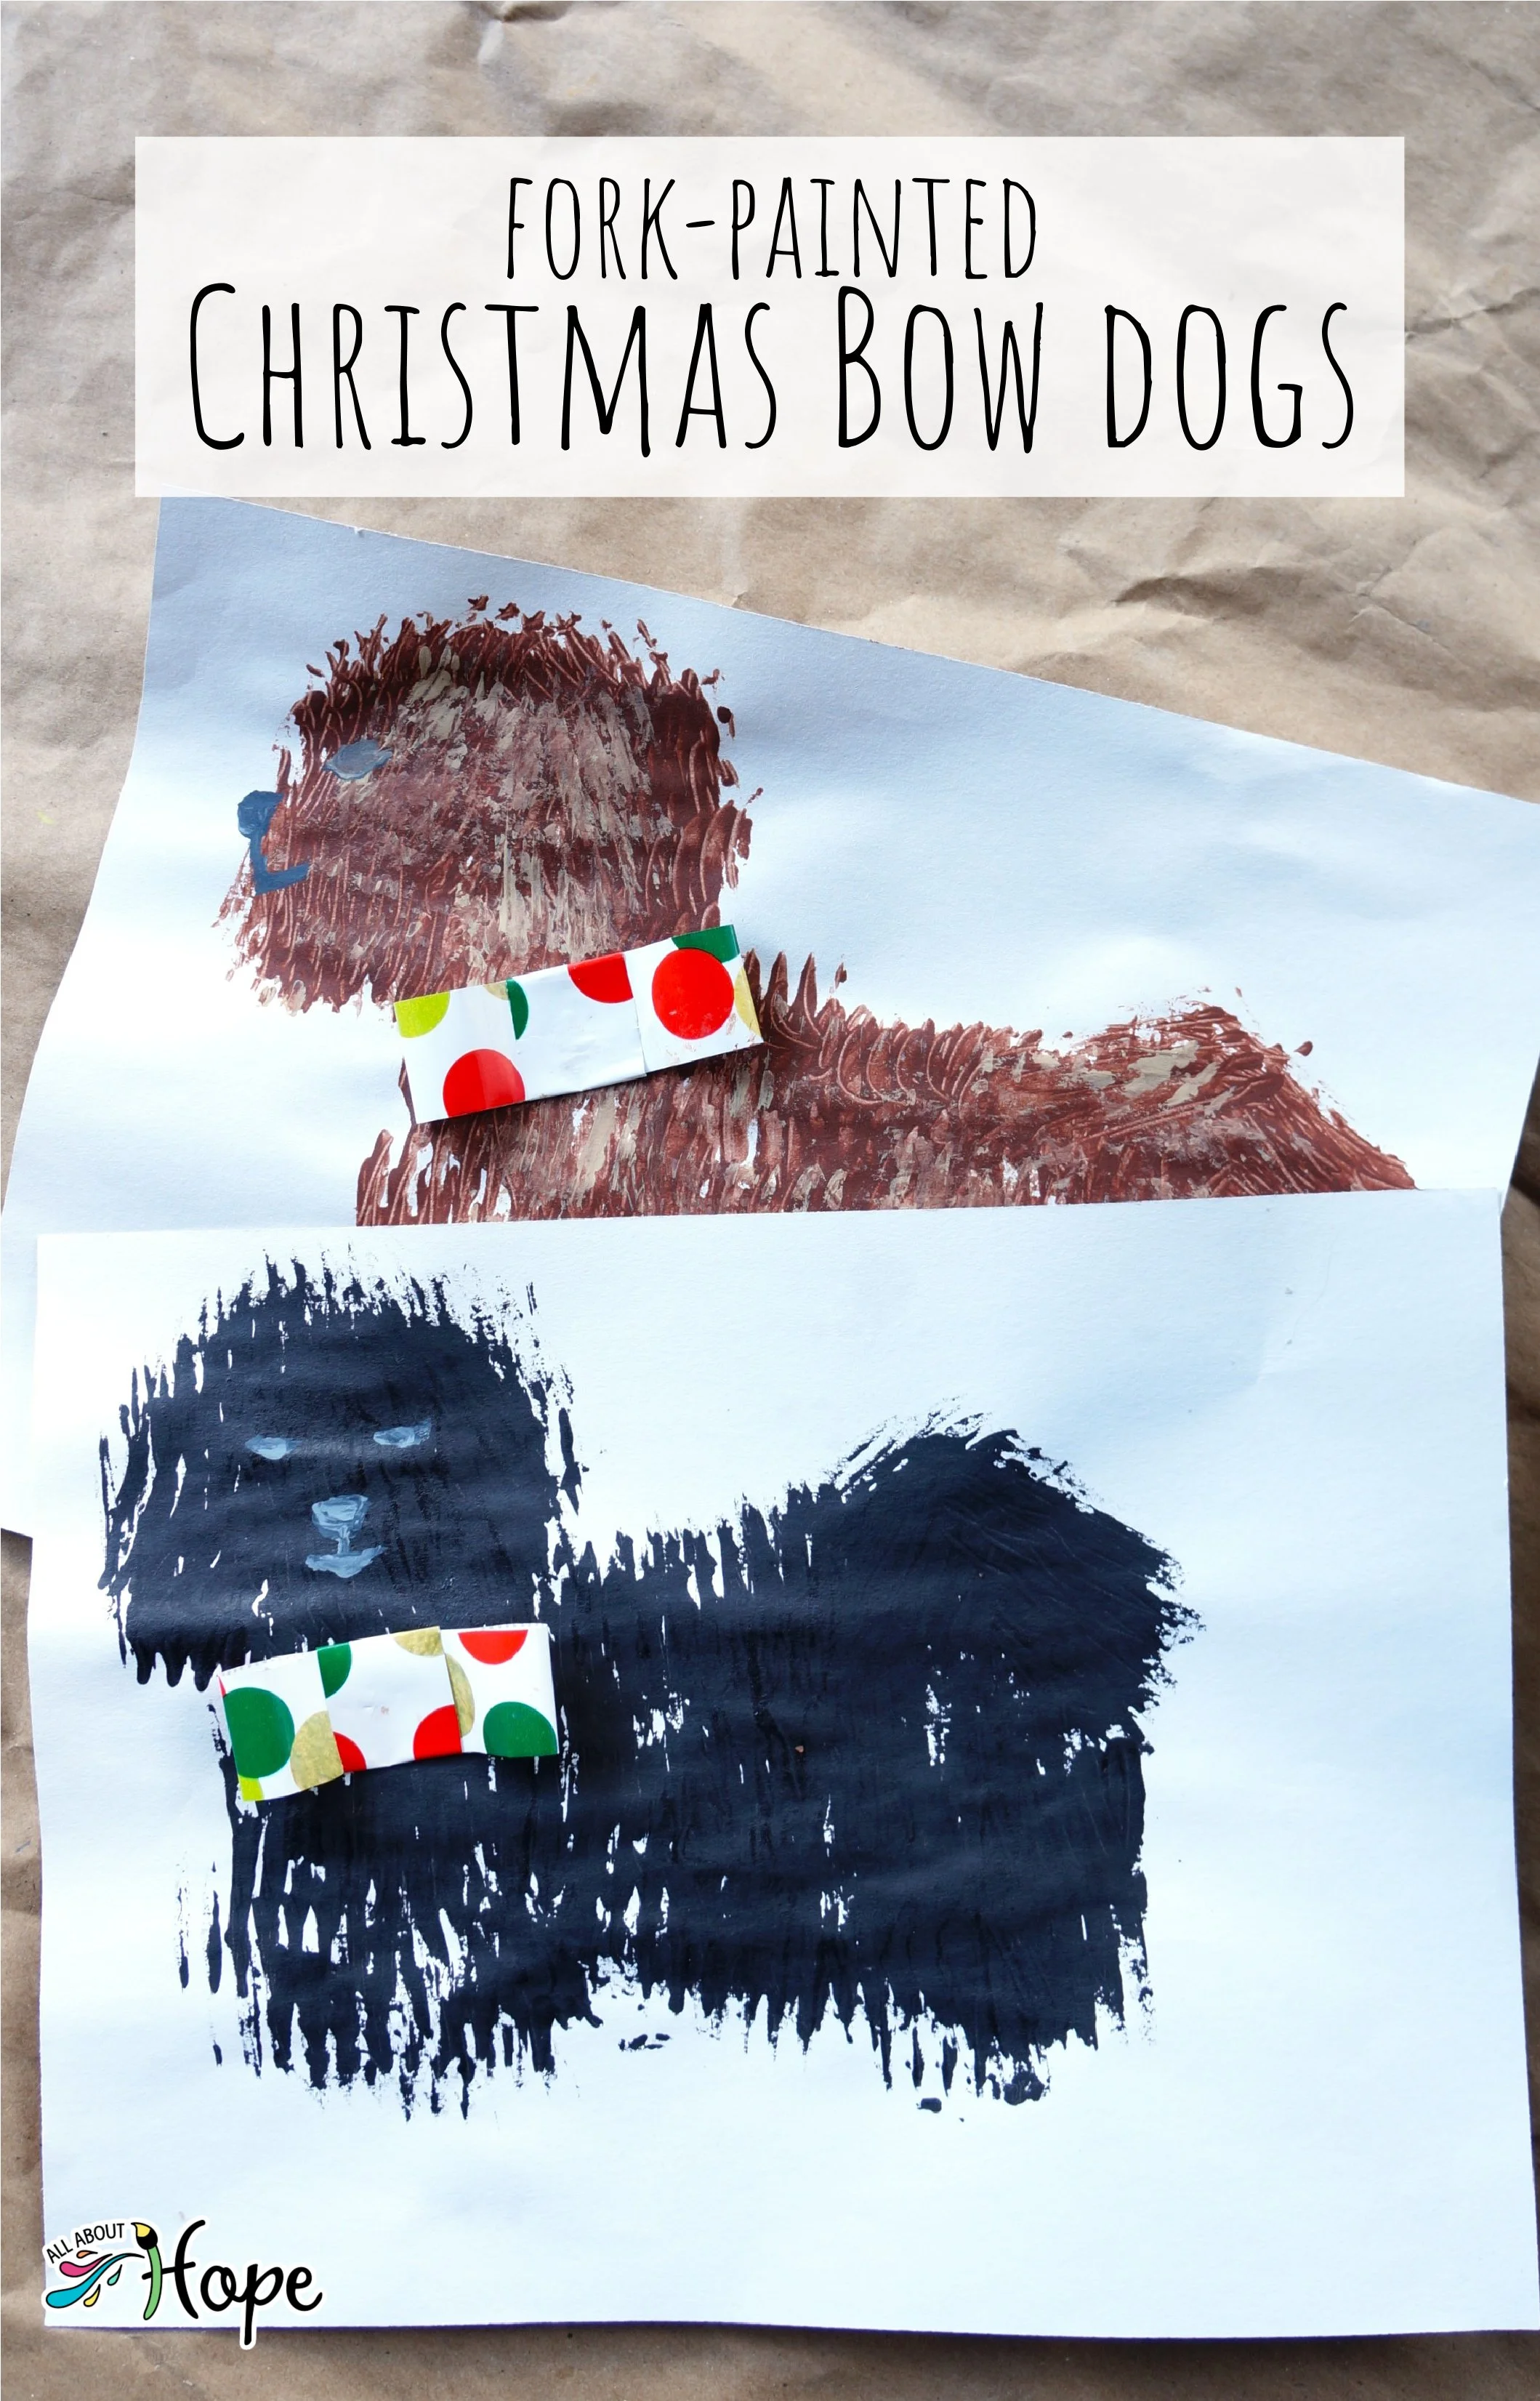
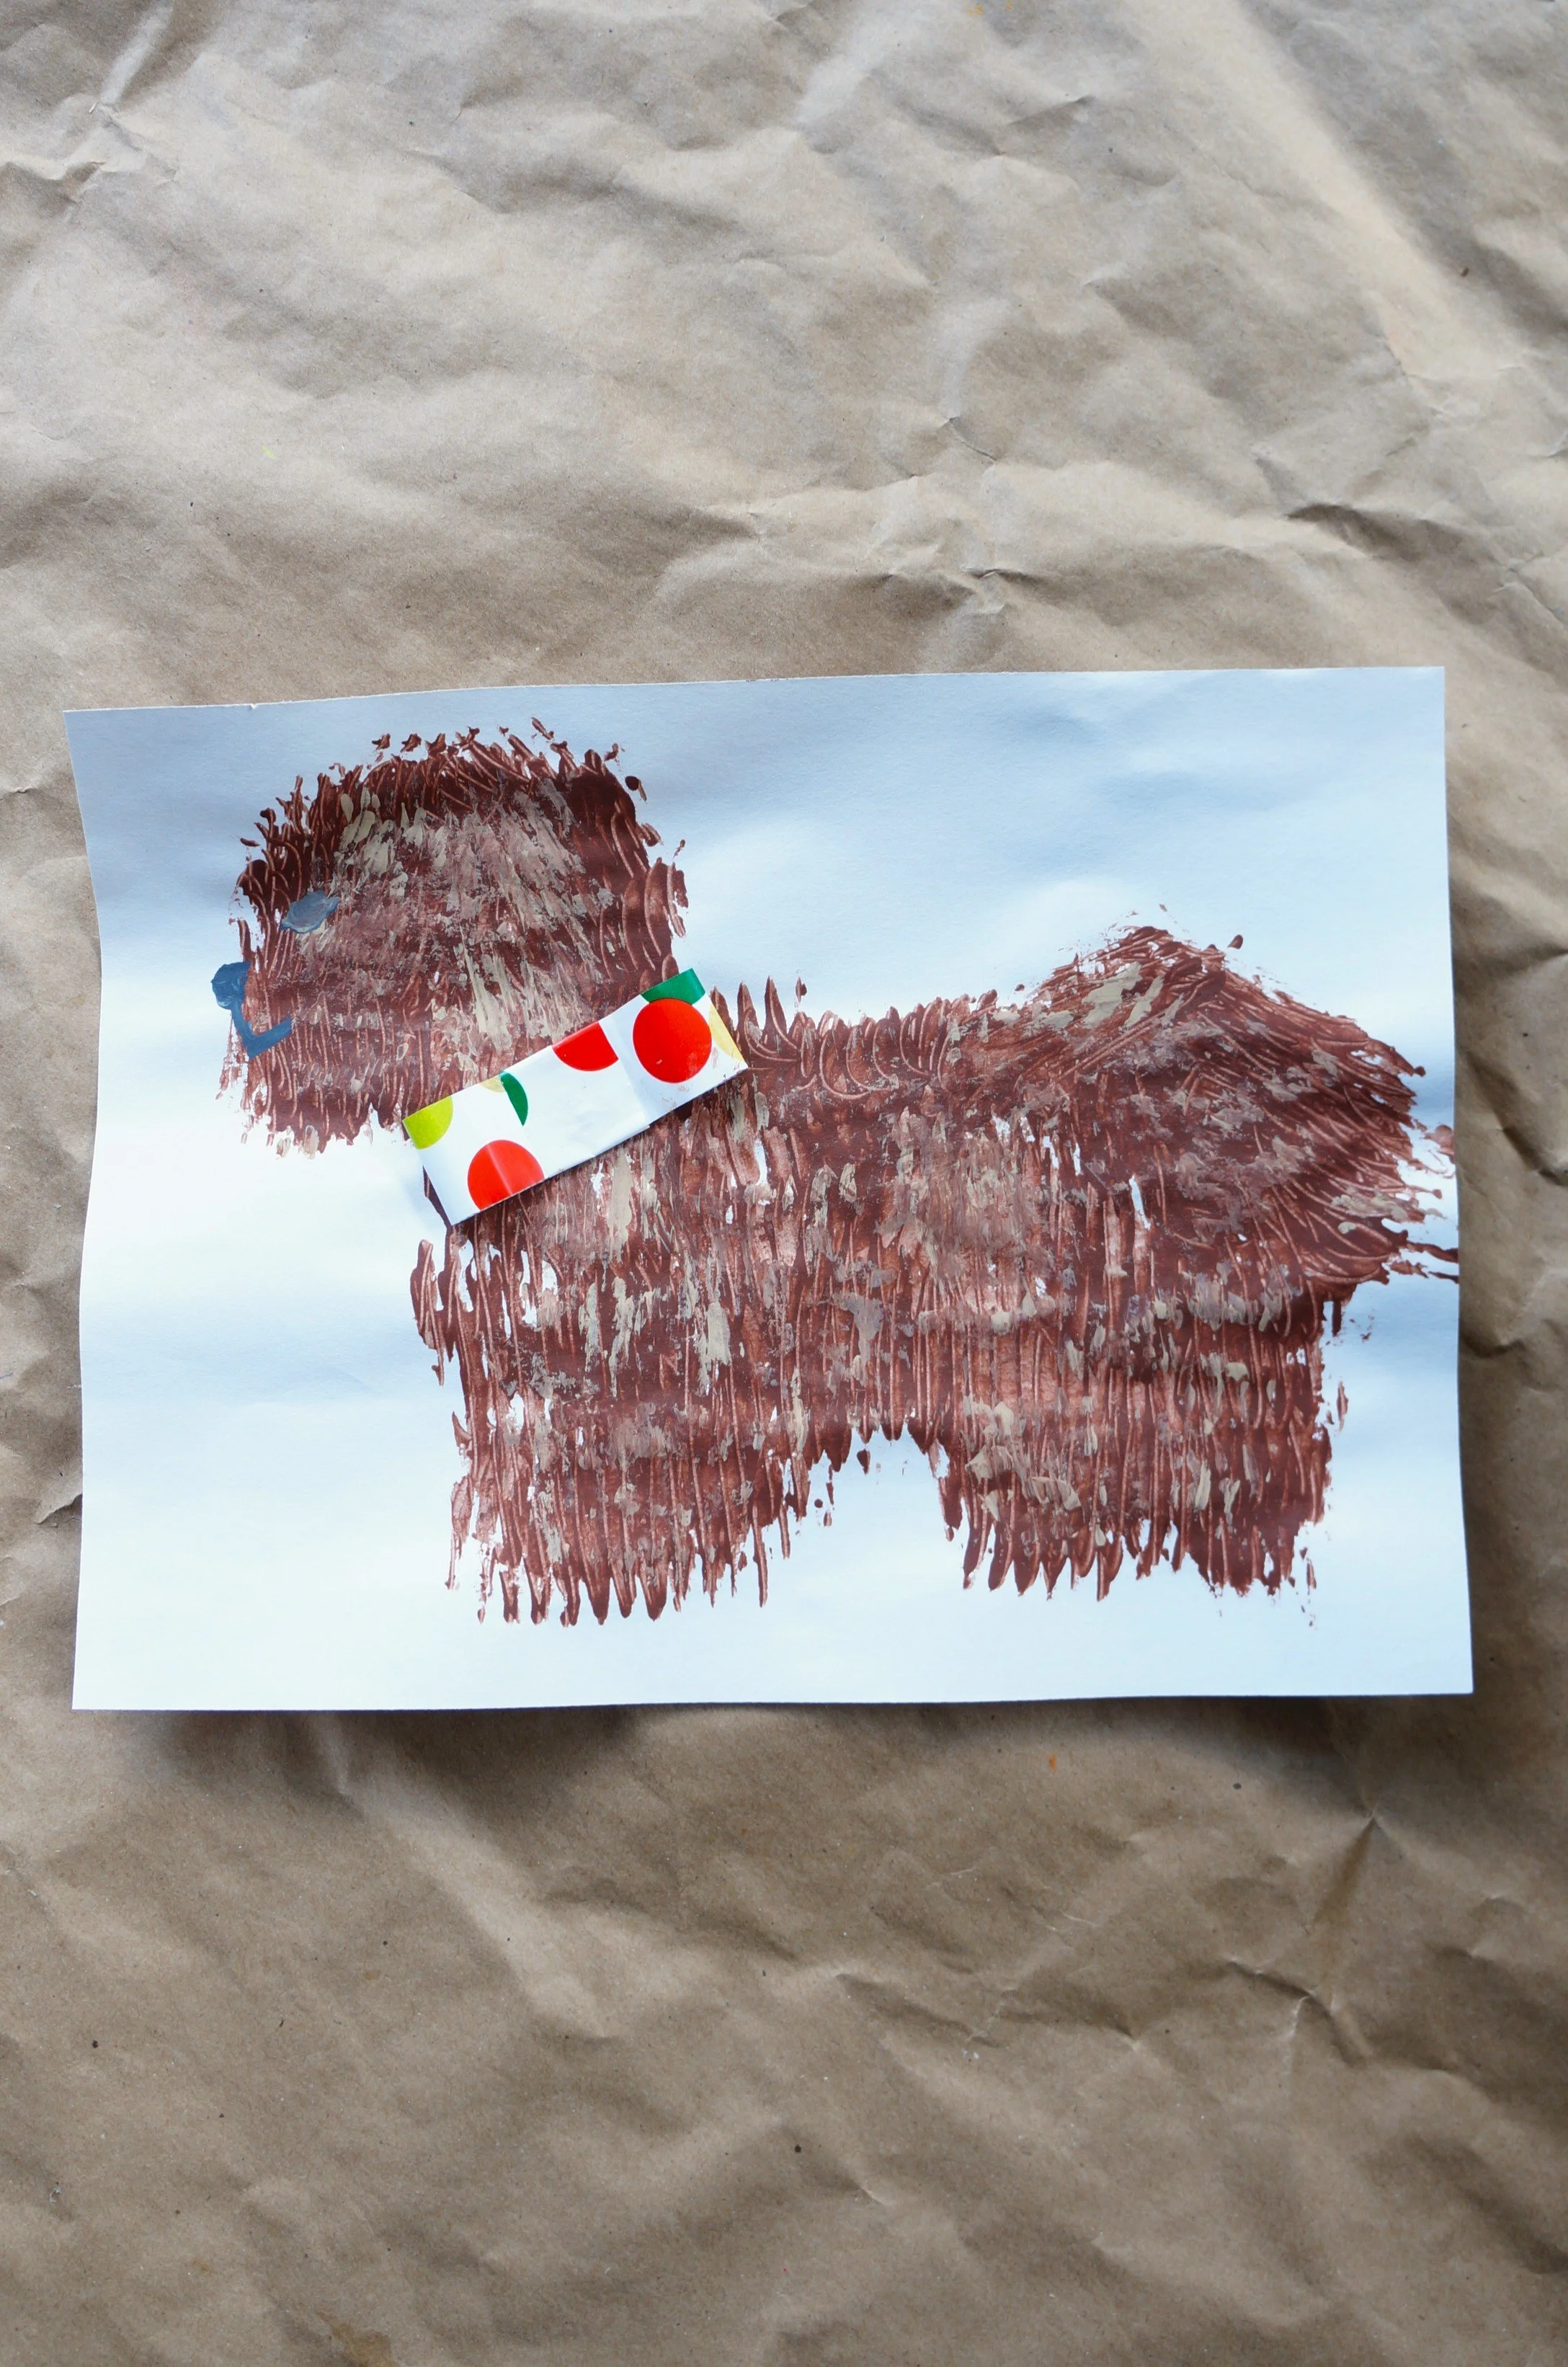
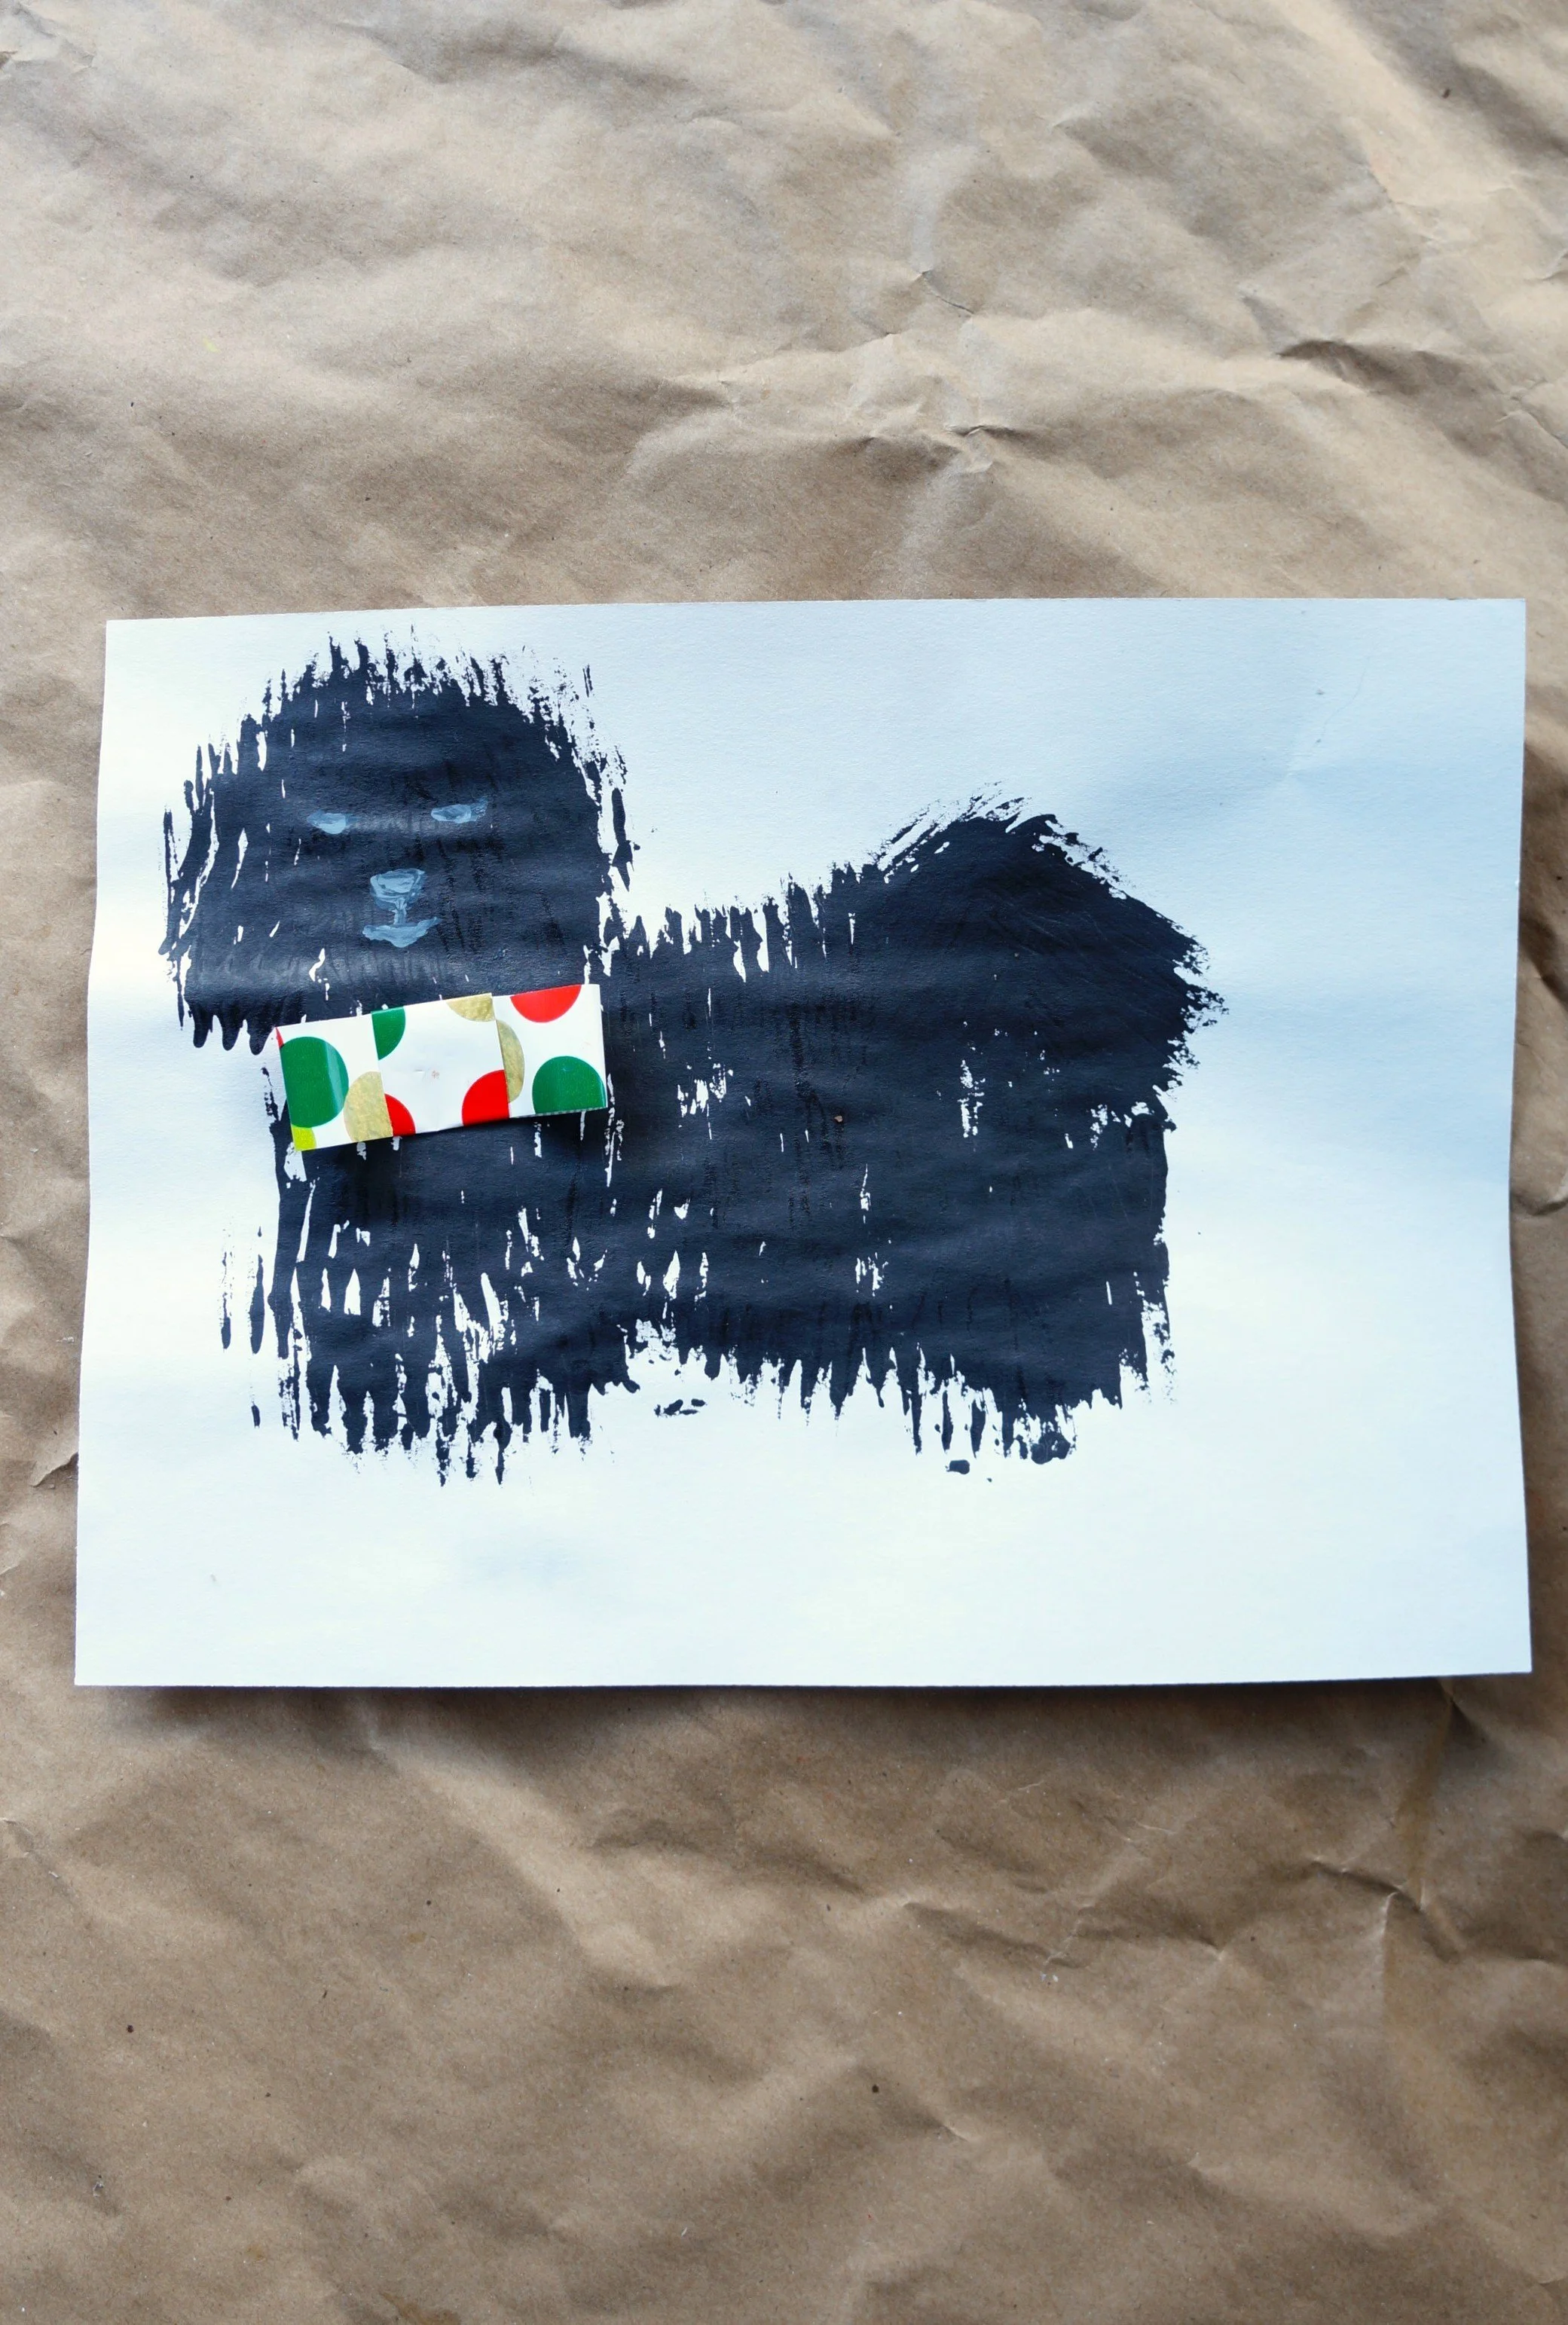
This week, we’re showing you how to make these cute, long-haired, Fork-Painted Christmas Bow Dogs.
For this craft, you’ll need a small amount of Christmas wrapping paper or scrapbooking paper. It’s also a perfect time to use gift-wrap scraps. Check it out below.
*Click on the photos for a closer look
What You'll Need
White Paper
Disposable Plate
Craft Paints
Forks
Small Paint Brushes
Scissors
Festive Paper
Glue Stick
The Steps
We want to see your craft! Click PHOTO SUBMISSION, then submit the photo.
DOG
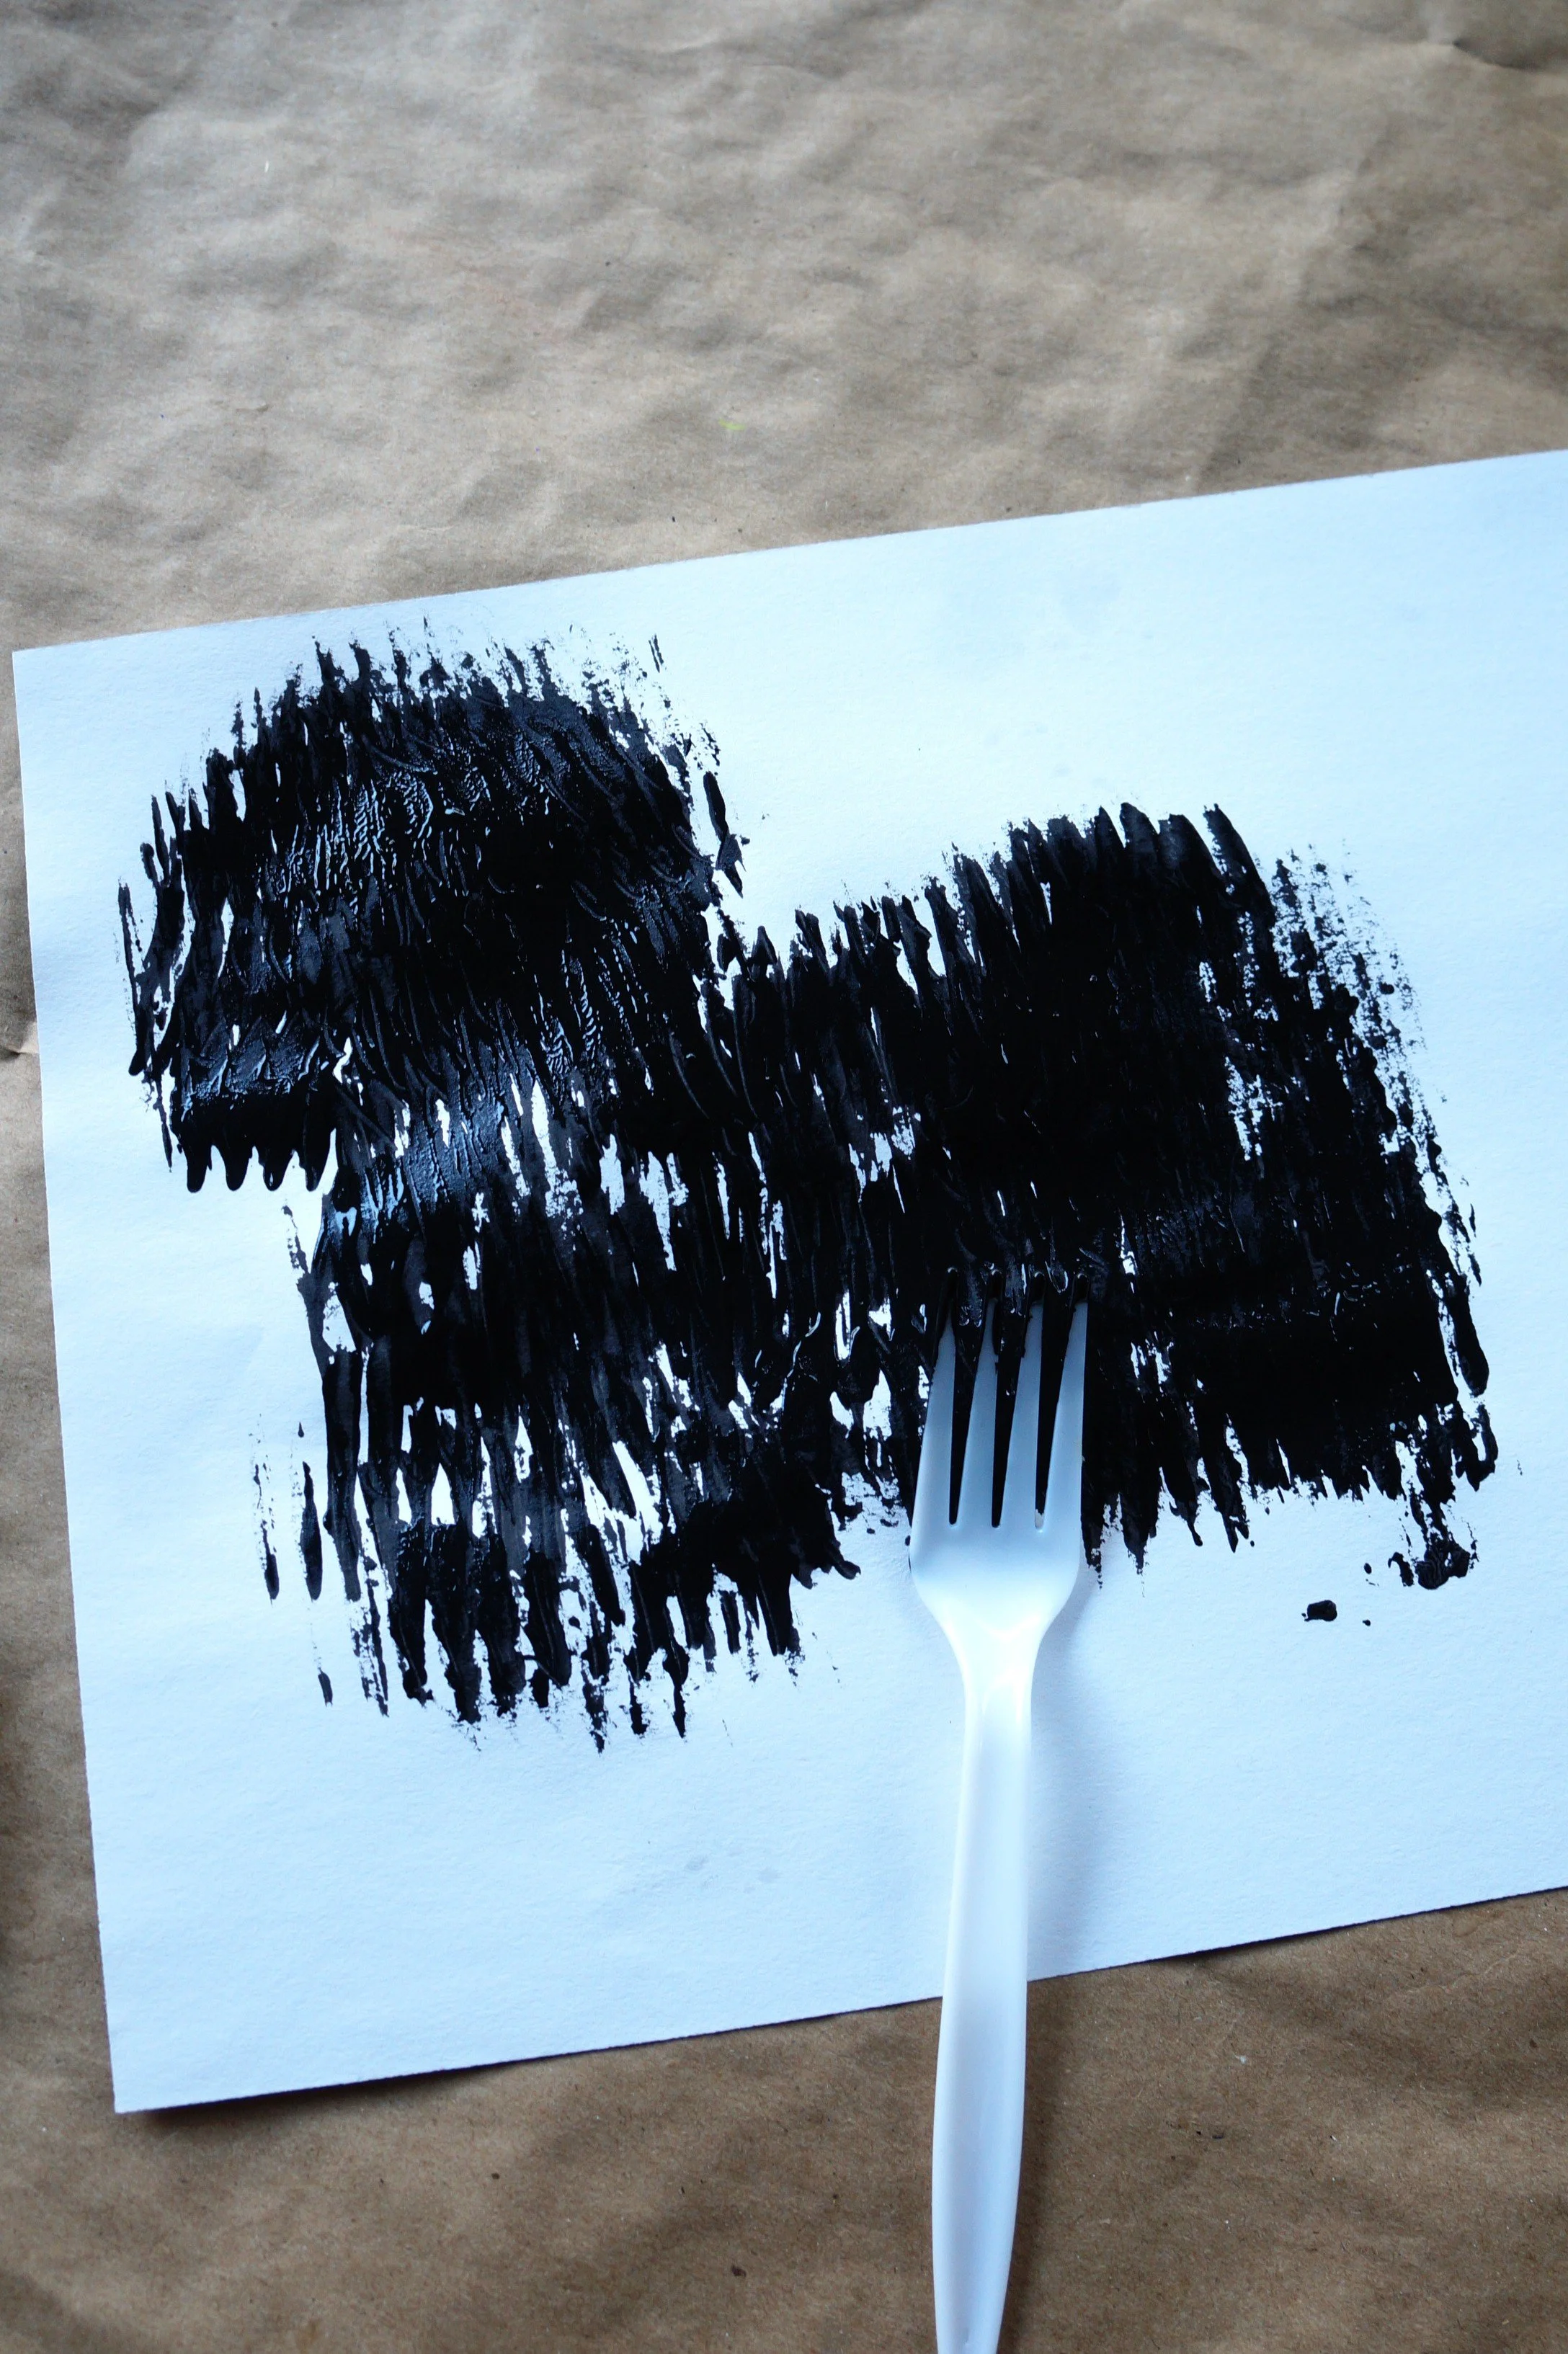
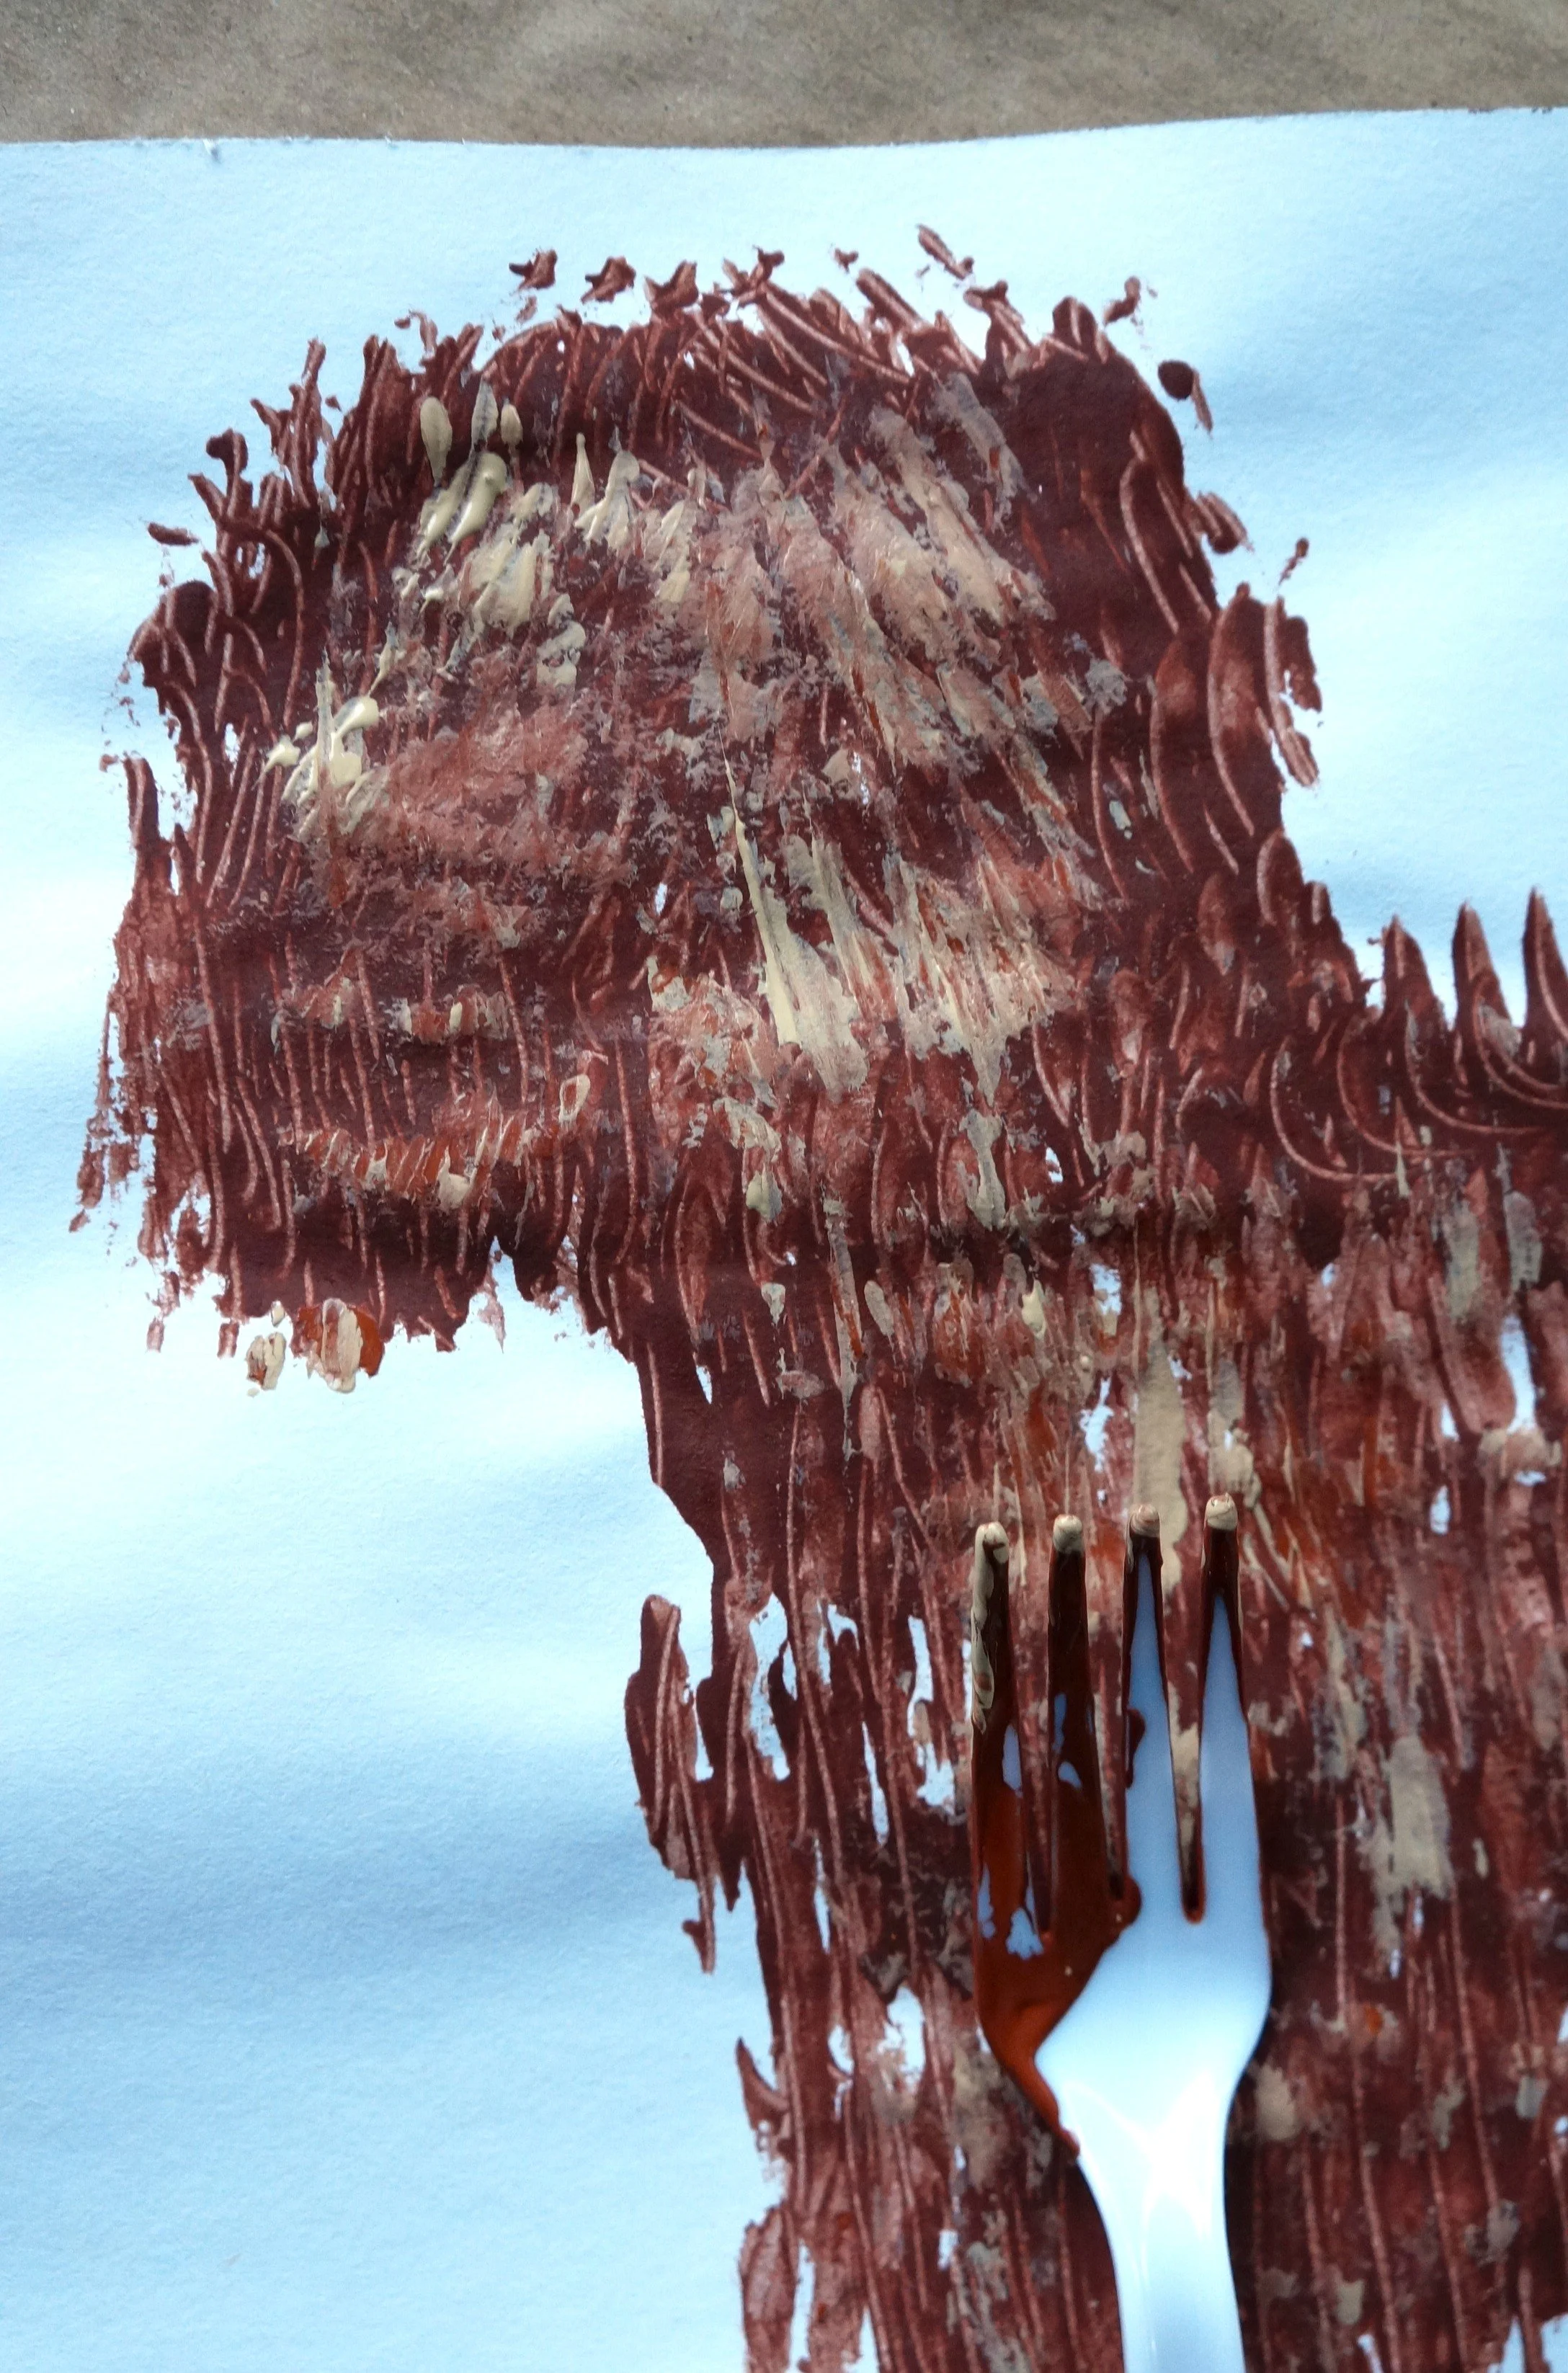
Squirt your paint/s onto the plate.
Forward-Facing Dog: make the head upright; no neck is visible.
Side-Facing Dog: Lean the head and neck out.
Turn your paper horizontally, and with the fork and paint, begin to form the head/neck, chest, body, legs, and tail.
Let the dog dry for about 10 minutes or use a hairdryer to speed it up.
BOW
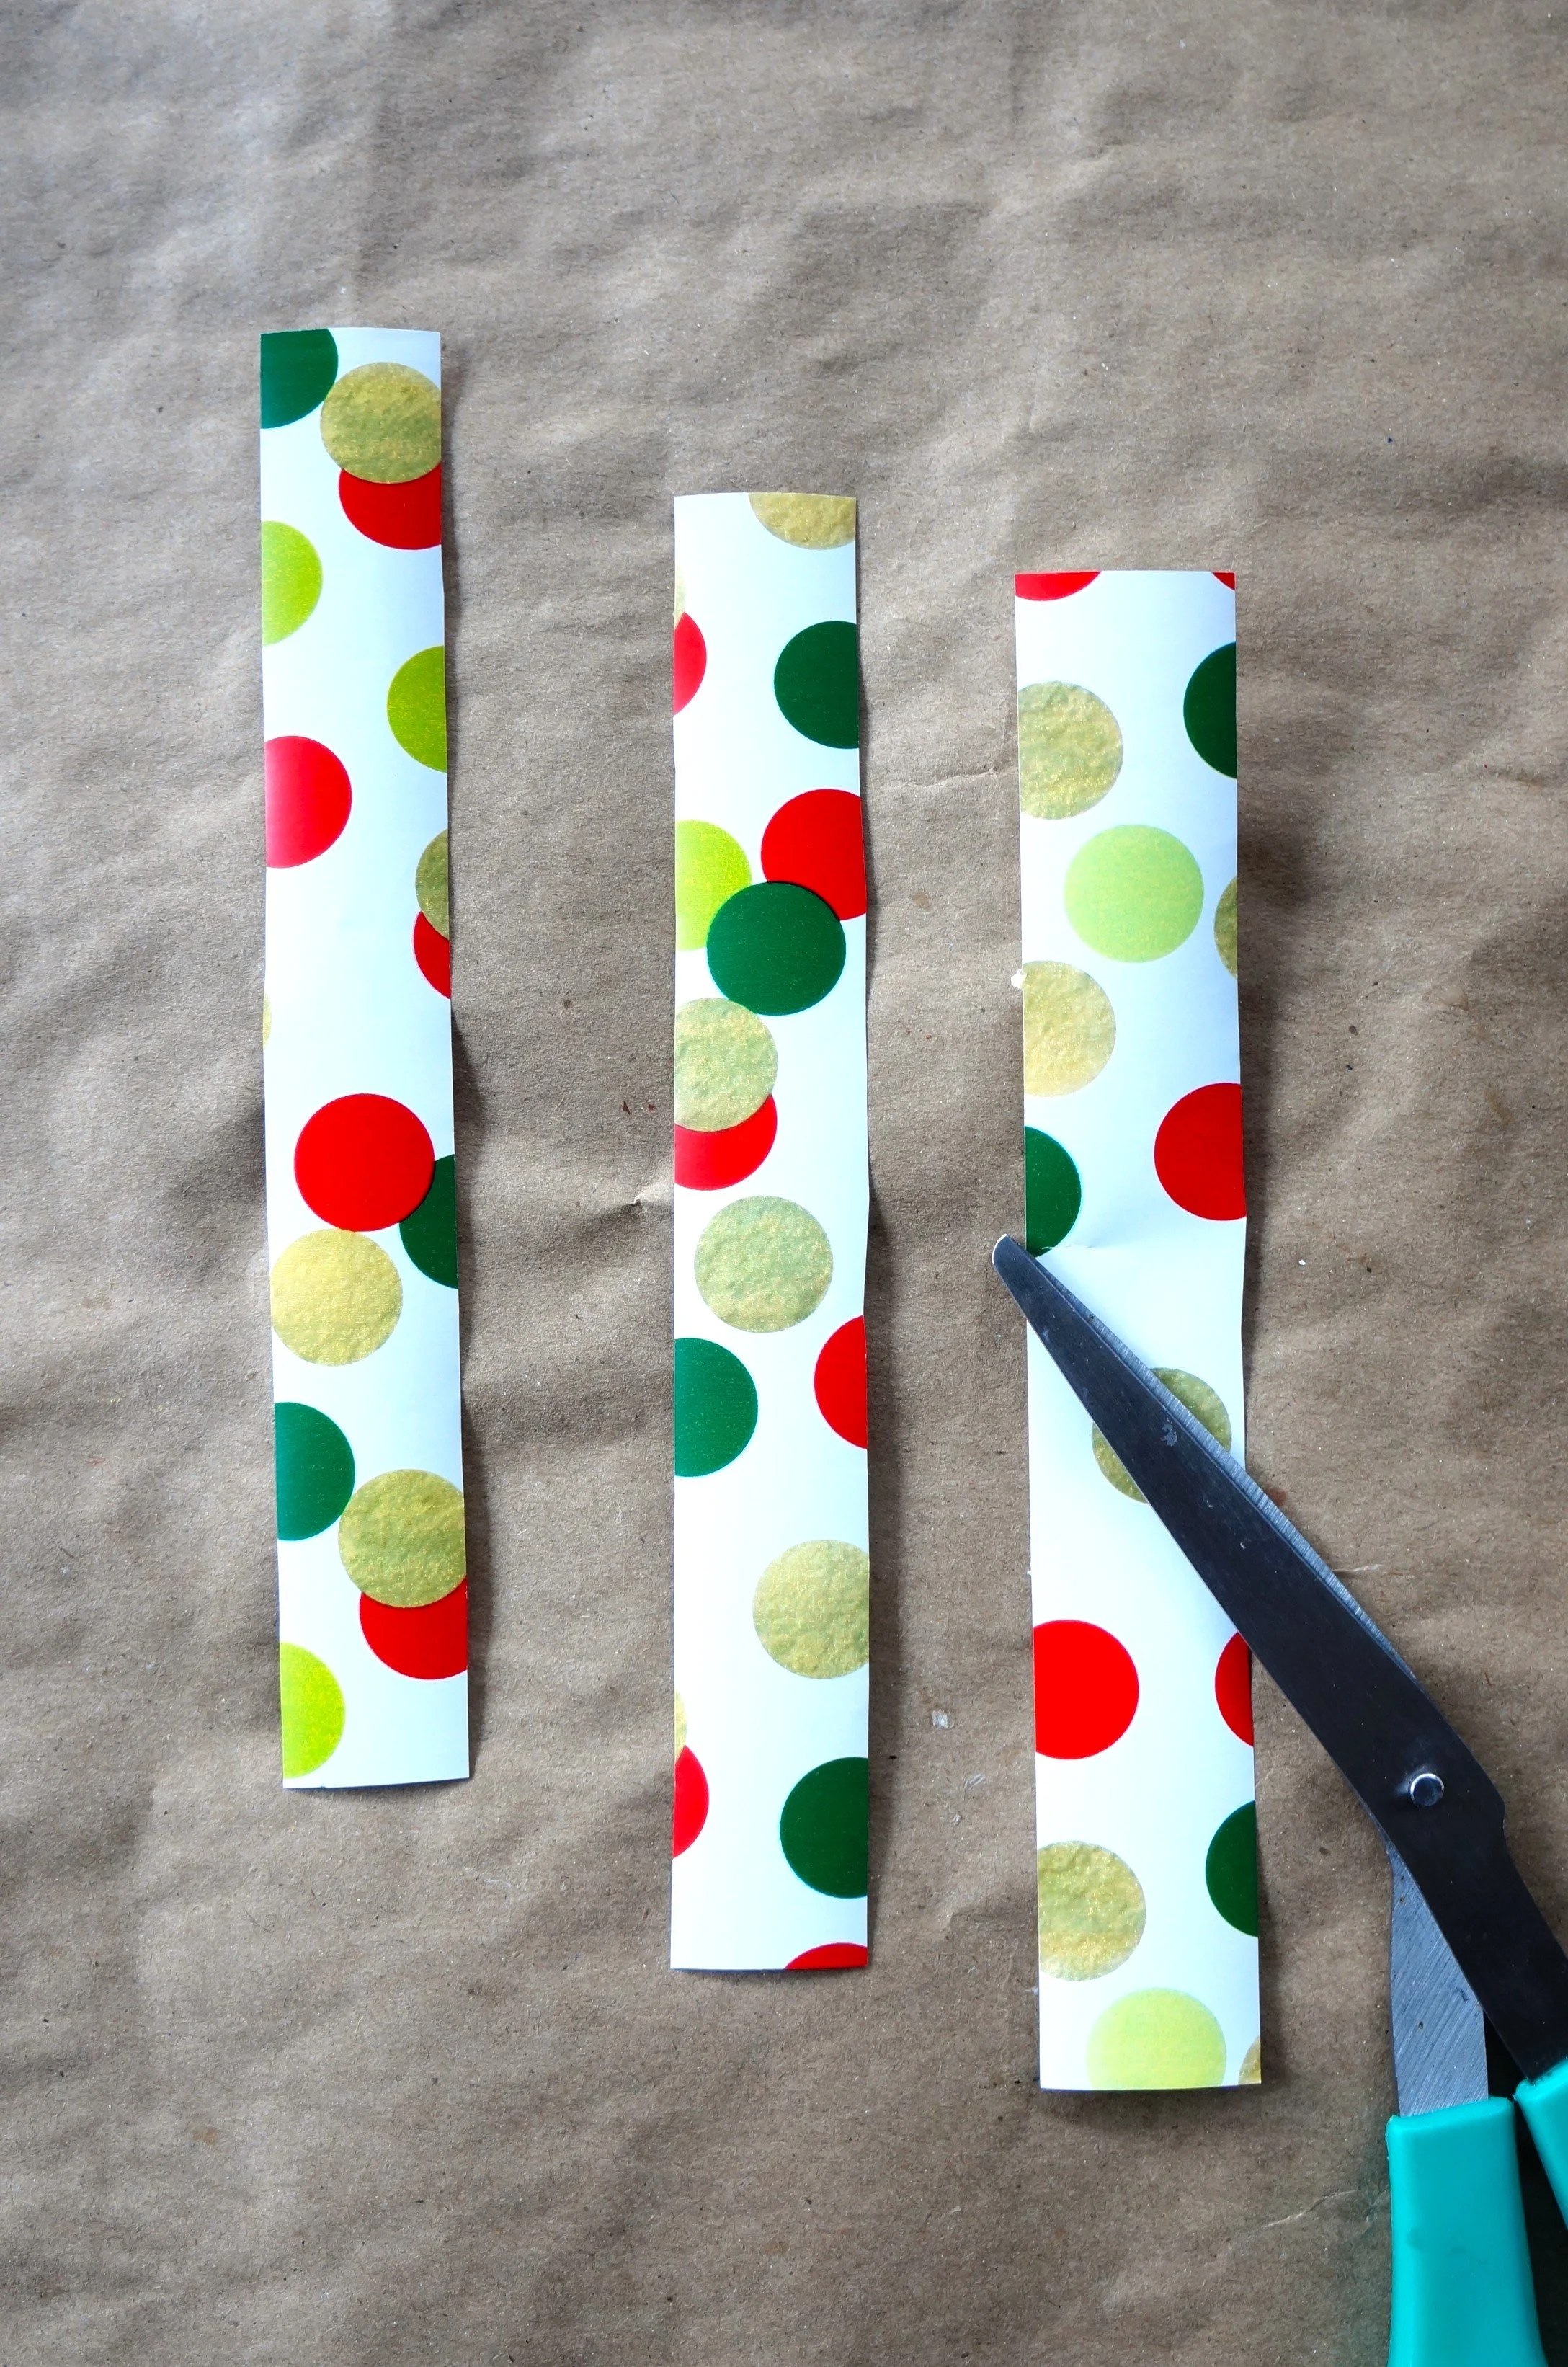
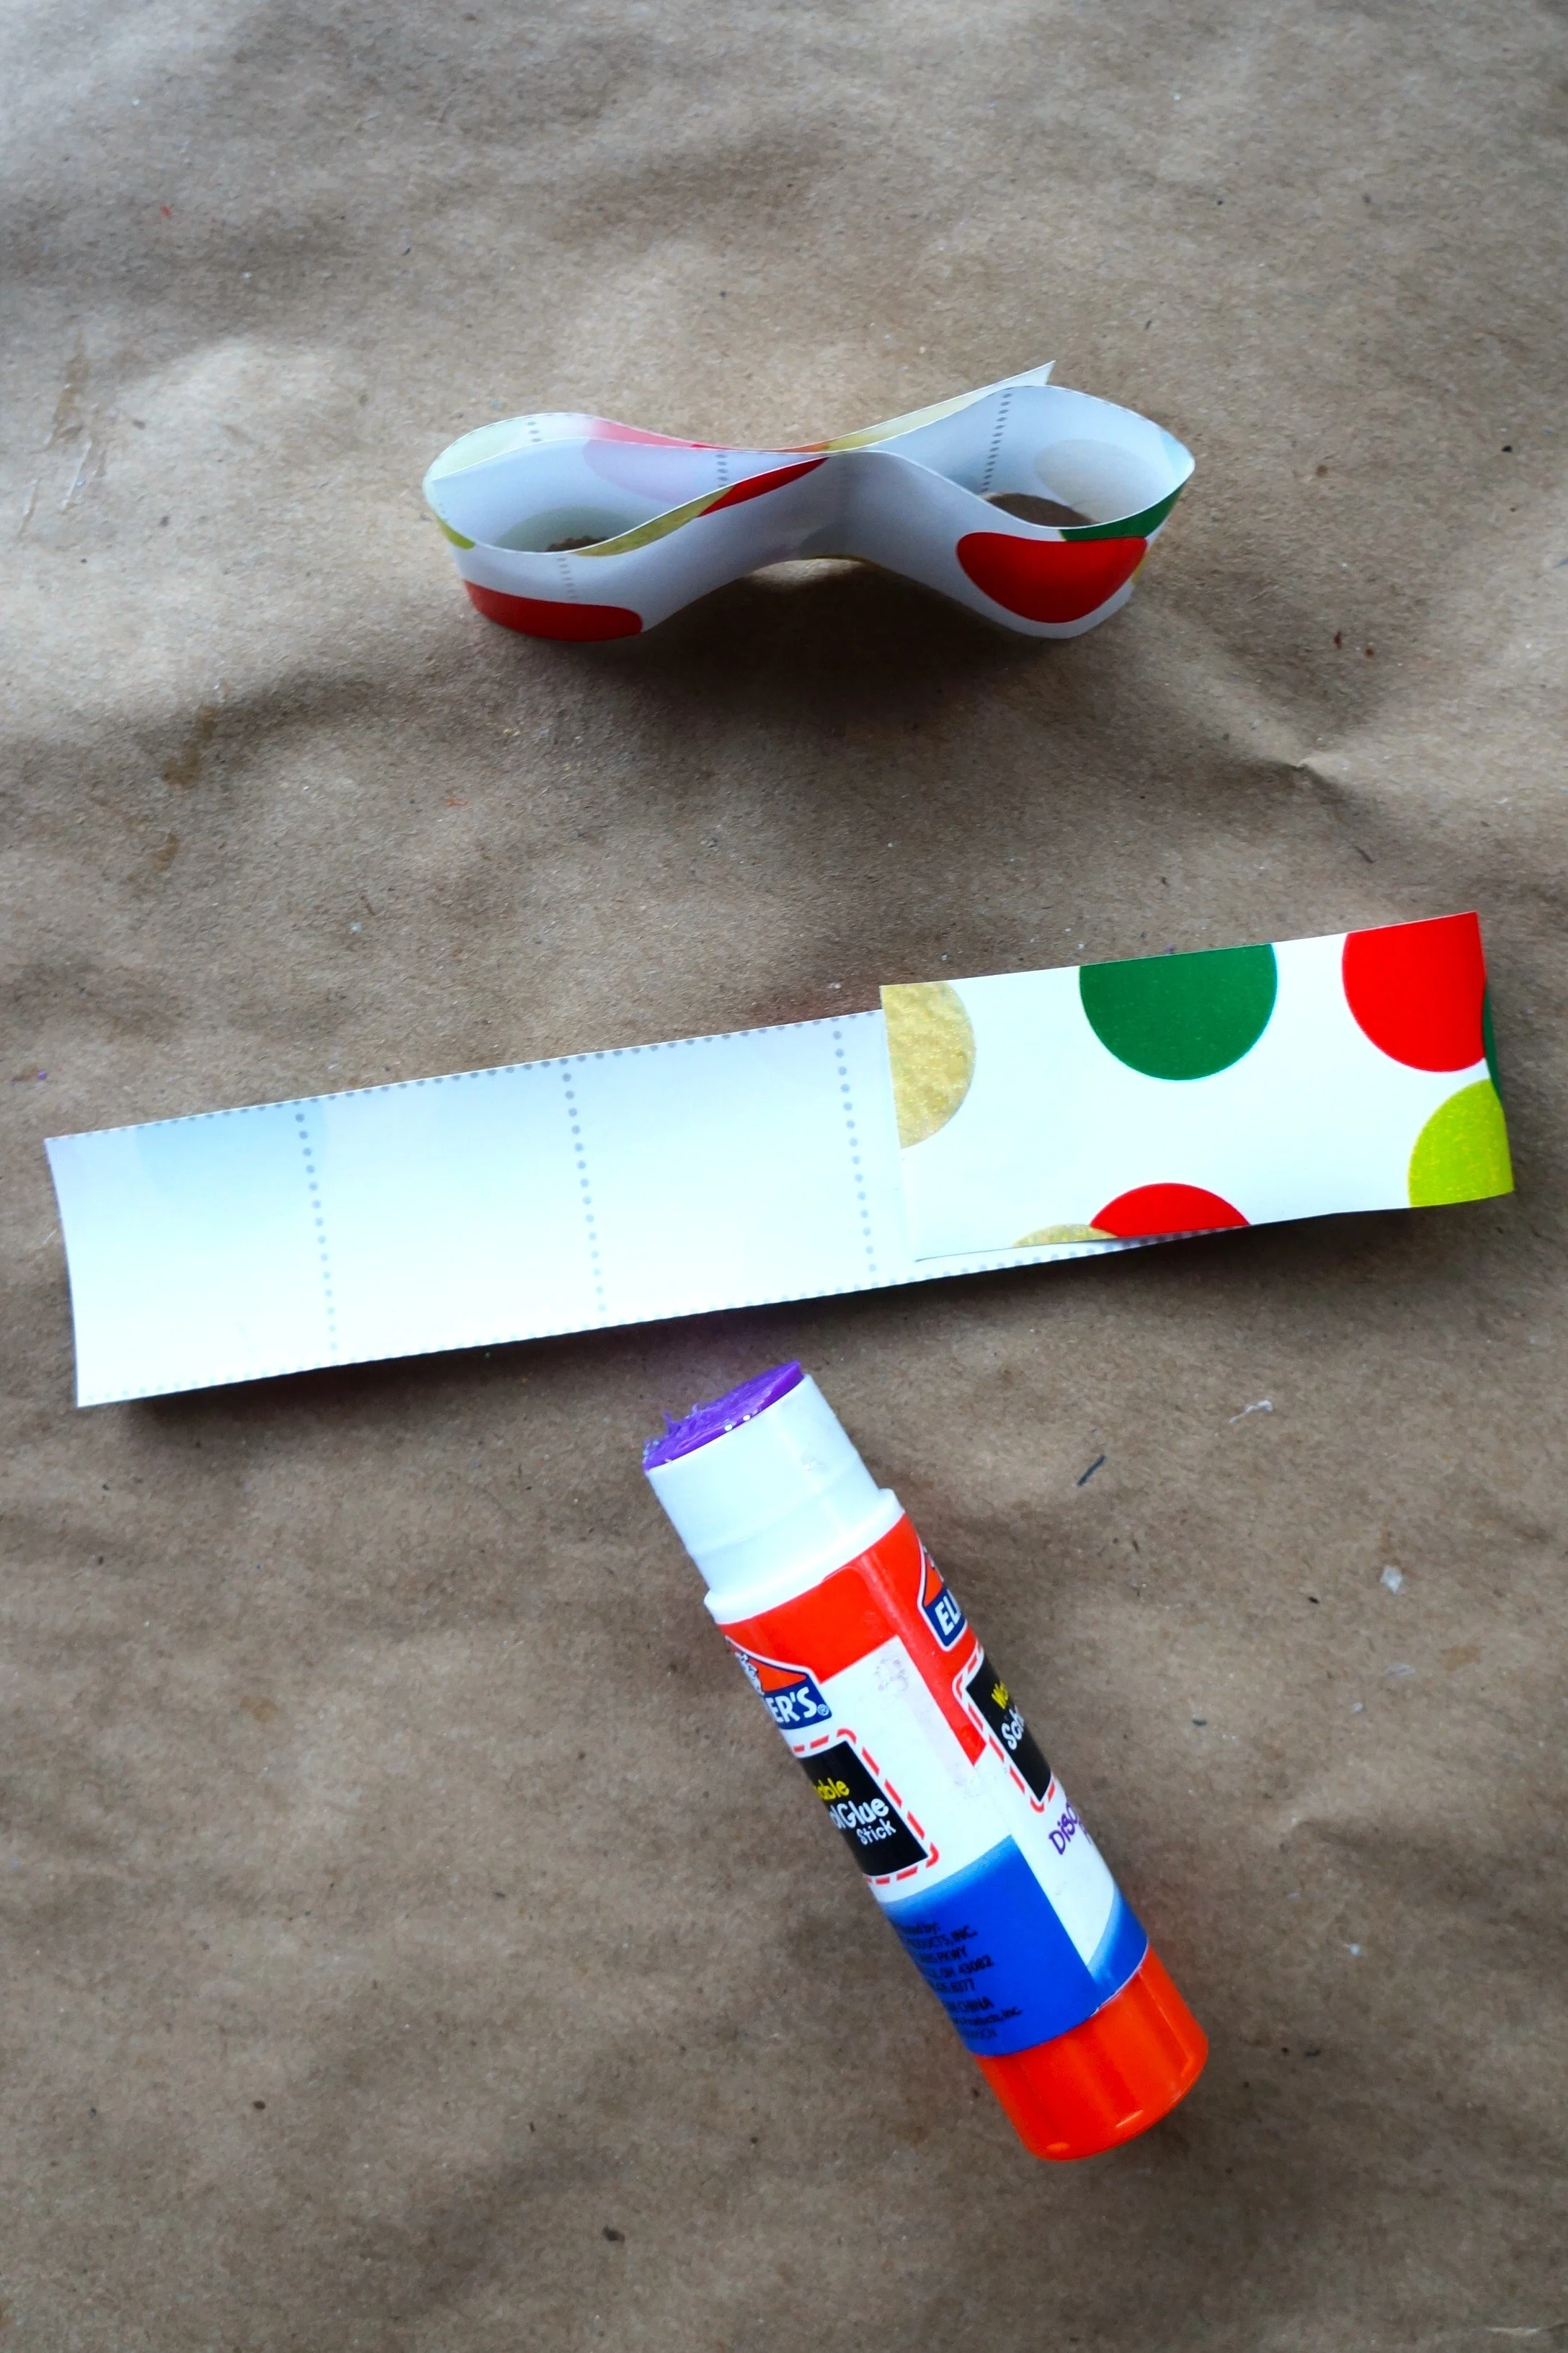
Cut two strips, measuring 1 inch x 7 inches.
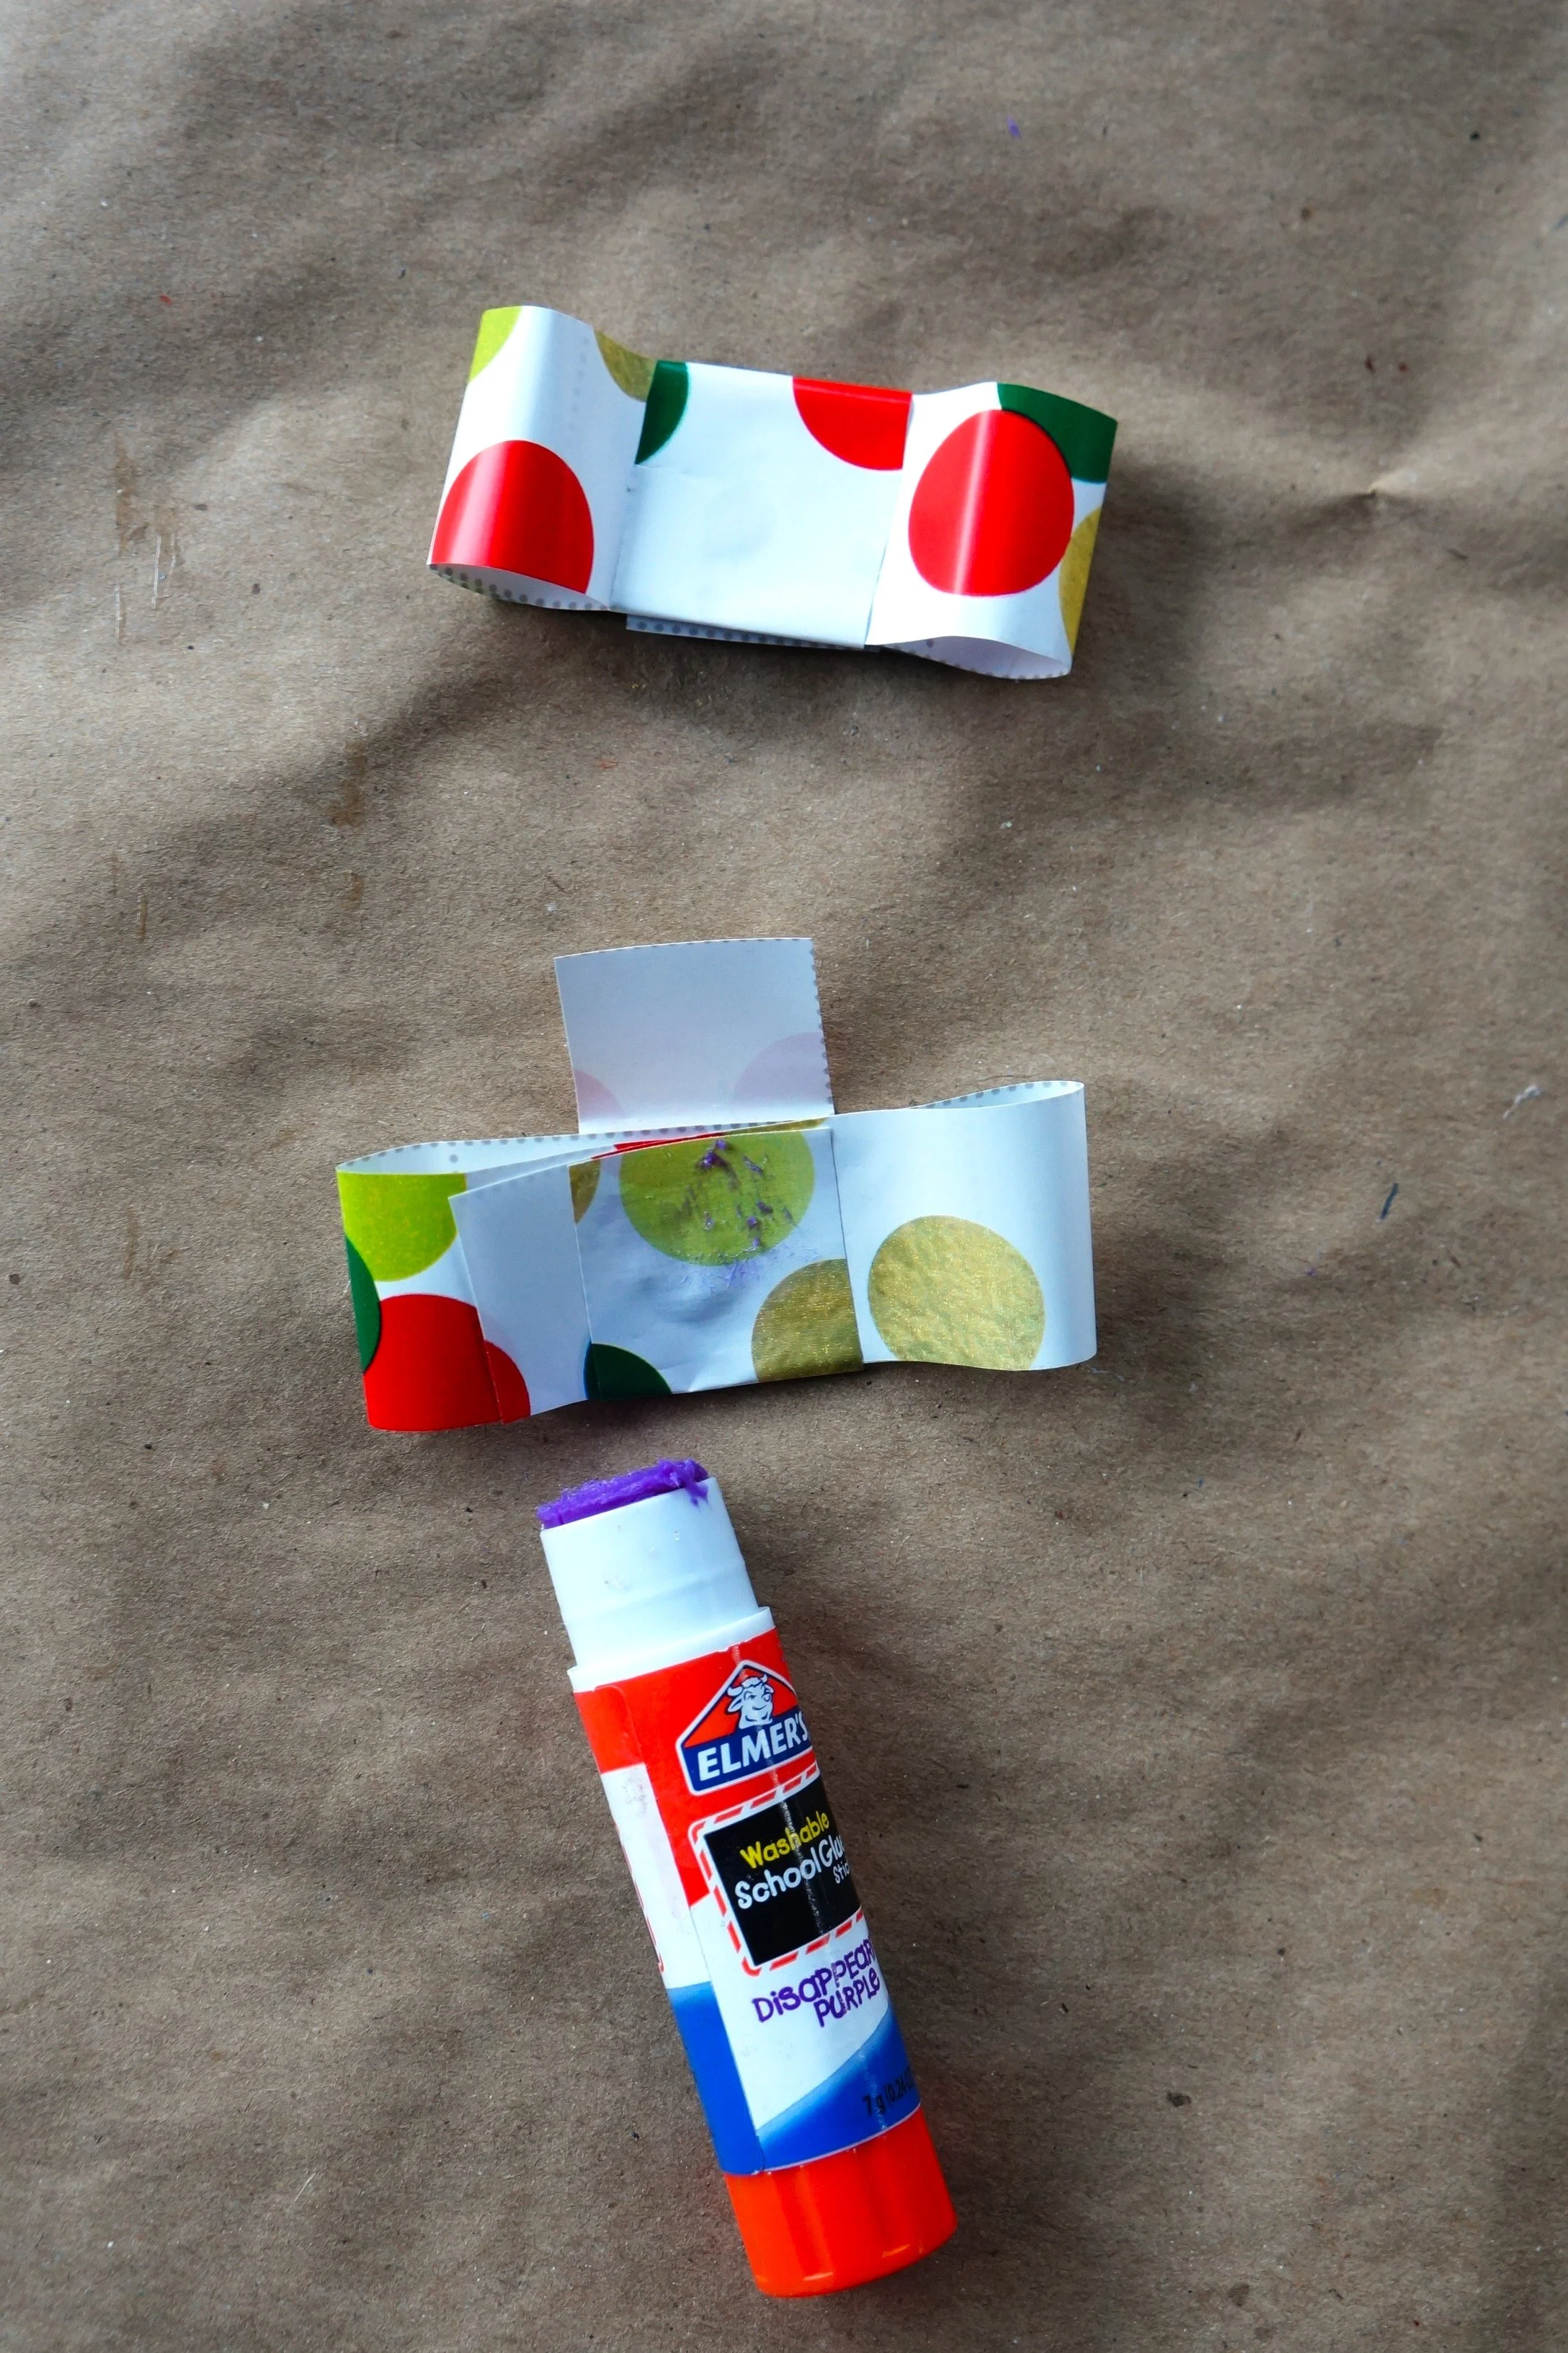
Fold in one end and glue near the center, then glue the opposite end to the center spot. For a smaller bow, overlap the ends a little more.
Cut a portion of the second strip to glue around the center of the bow.
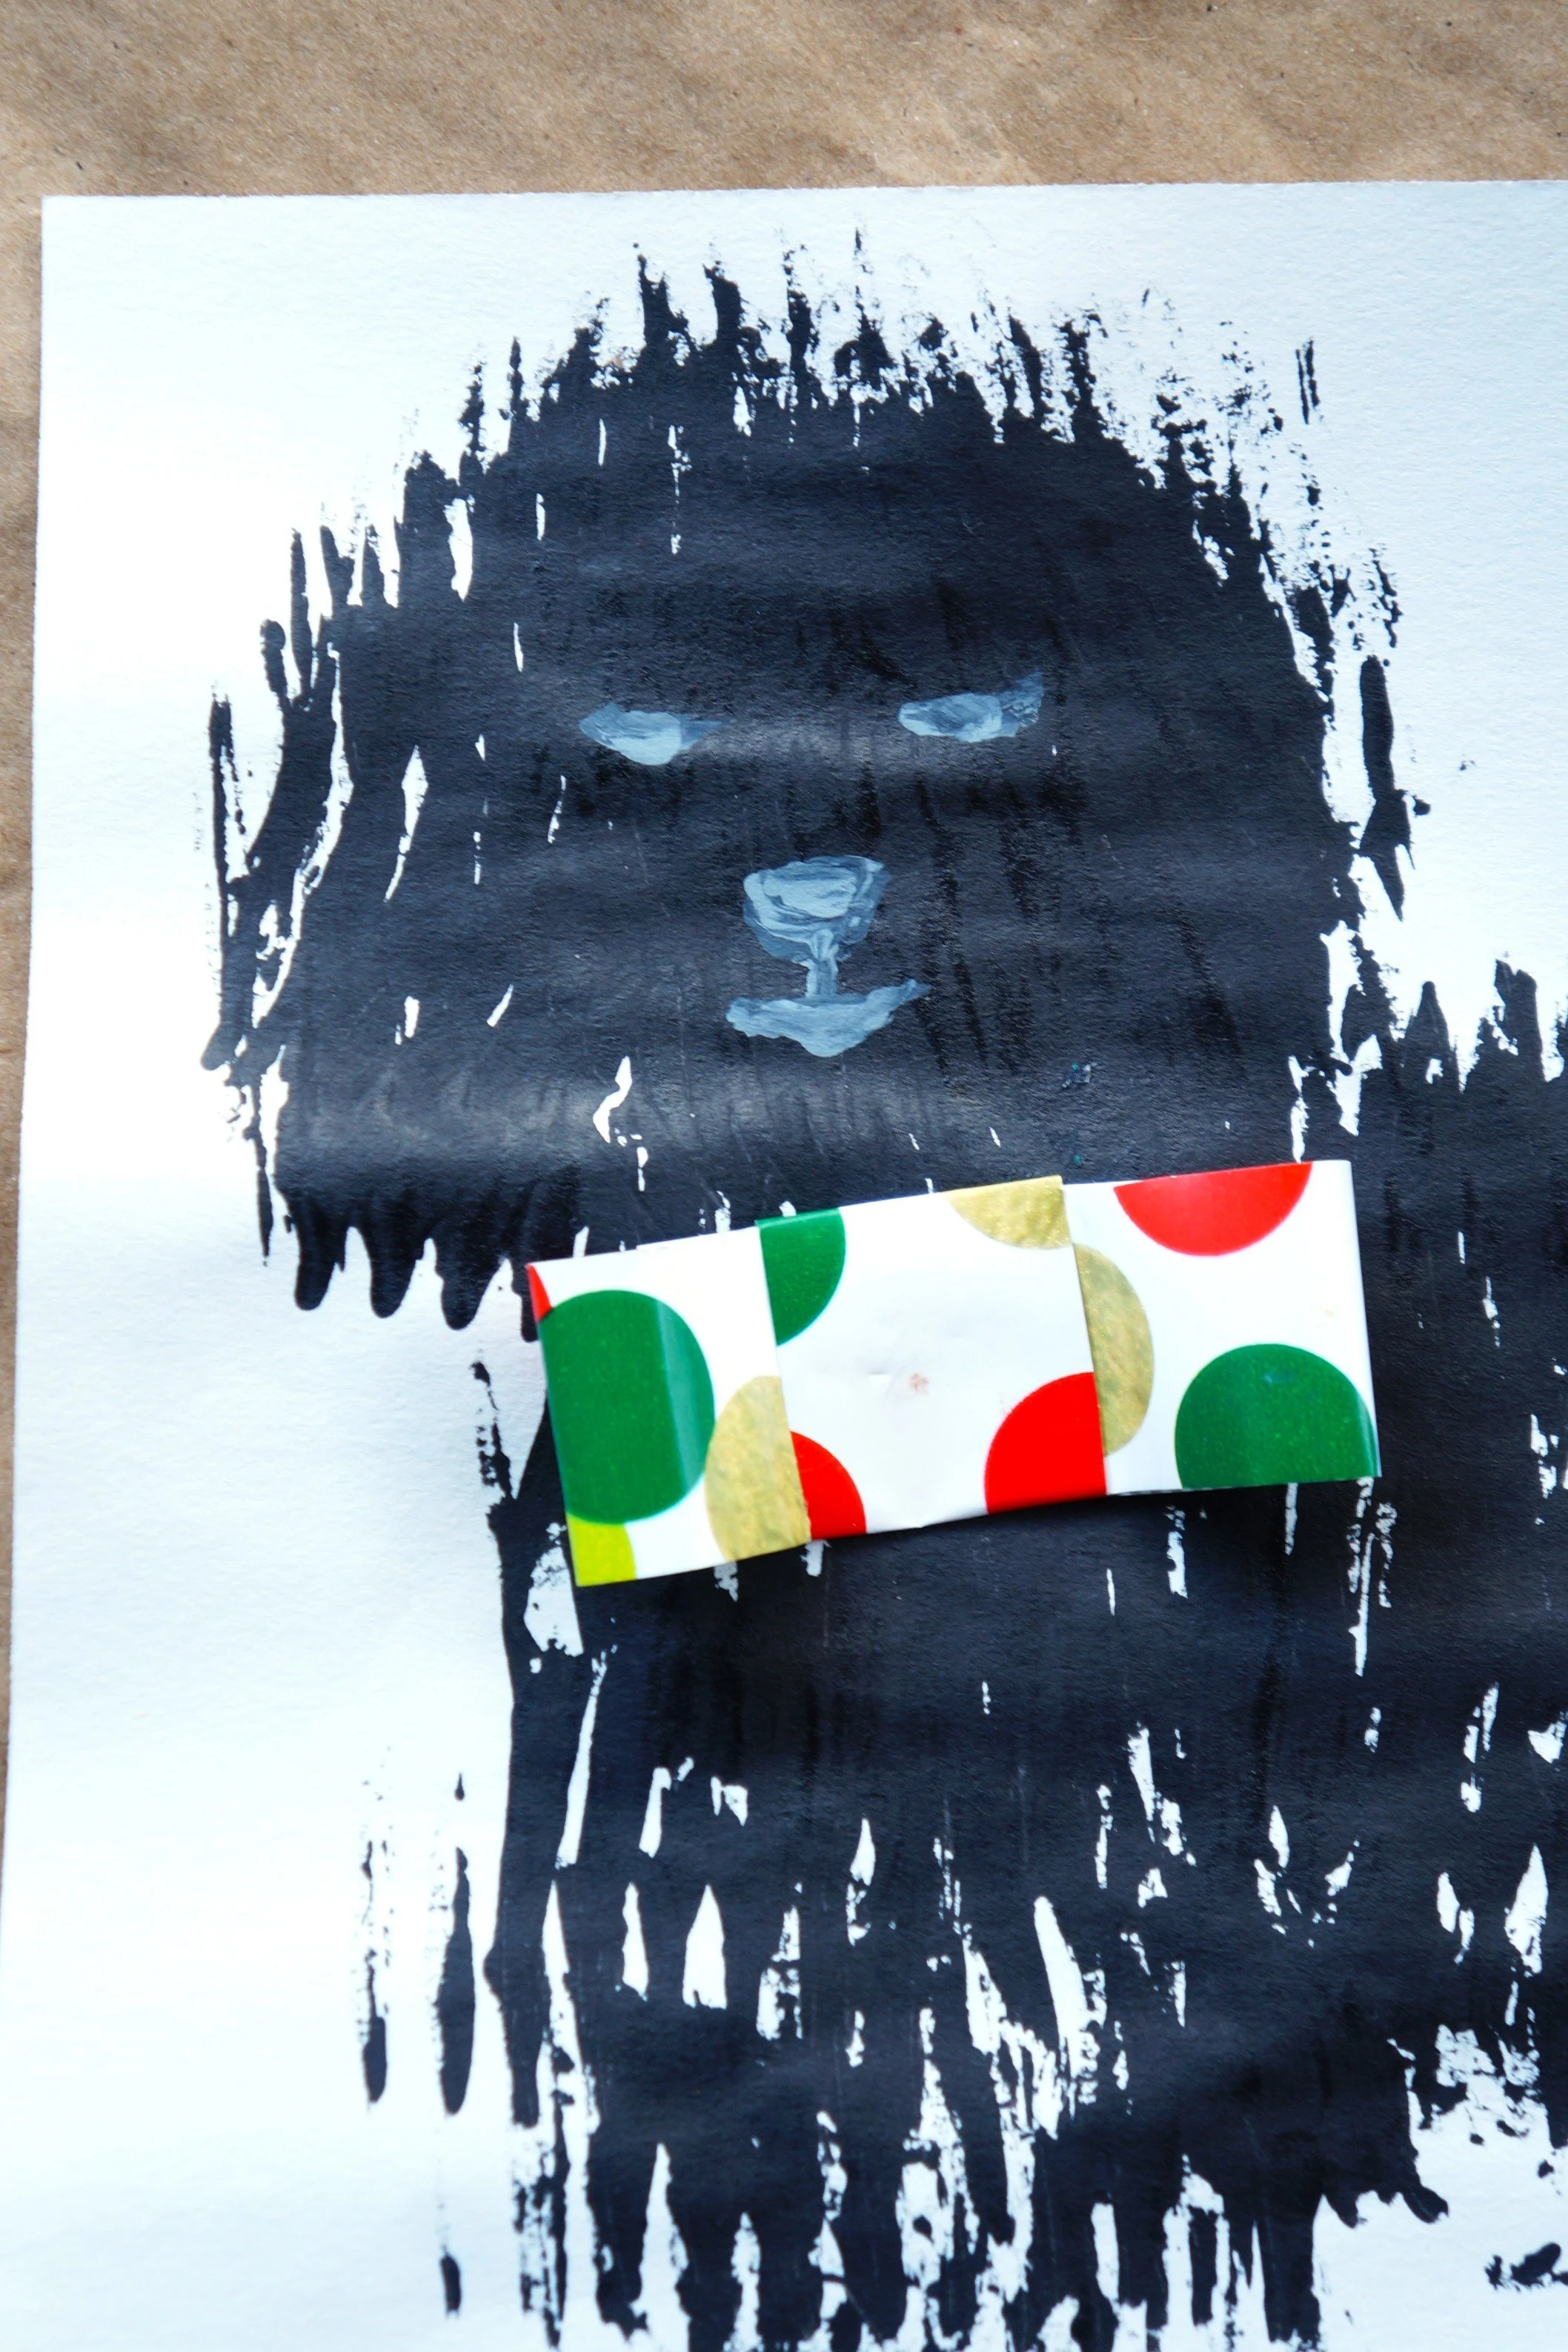
FACE & BOW Pt 2
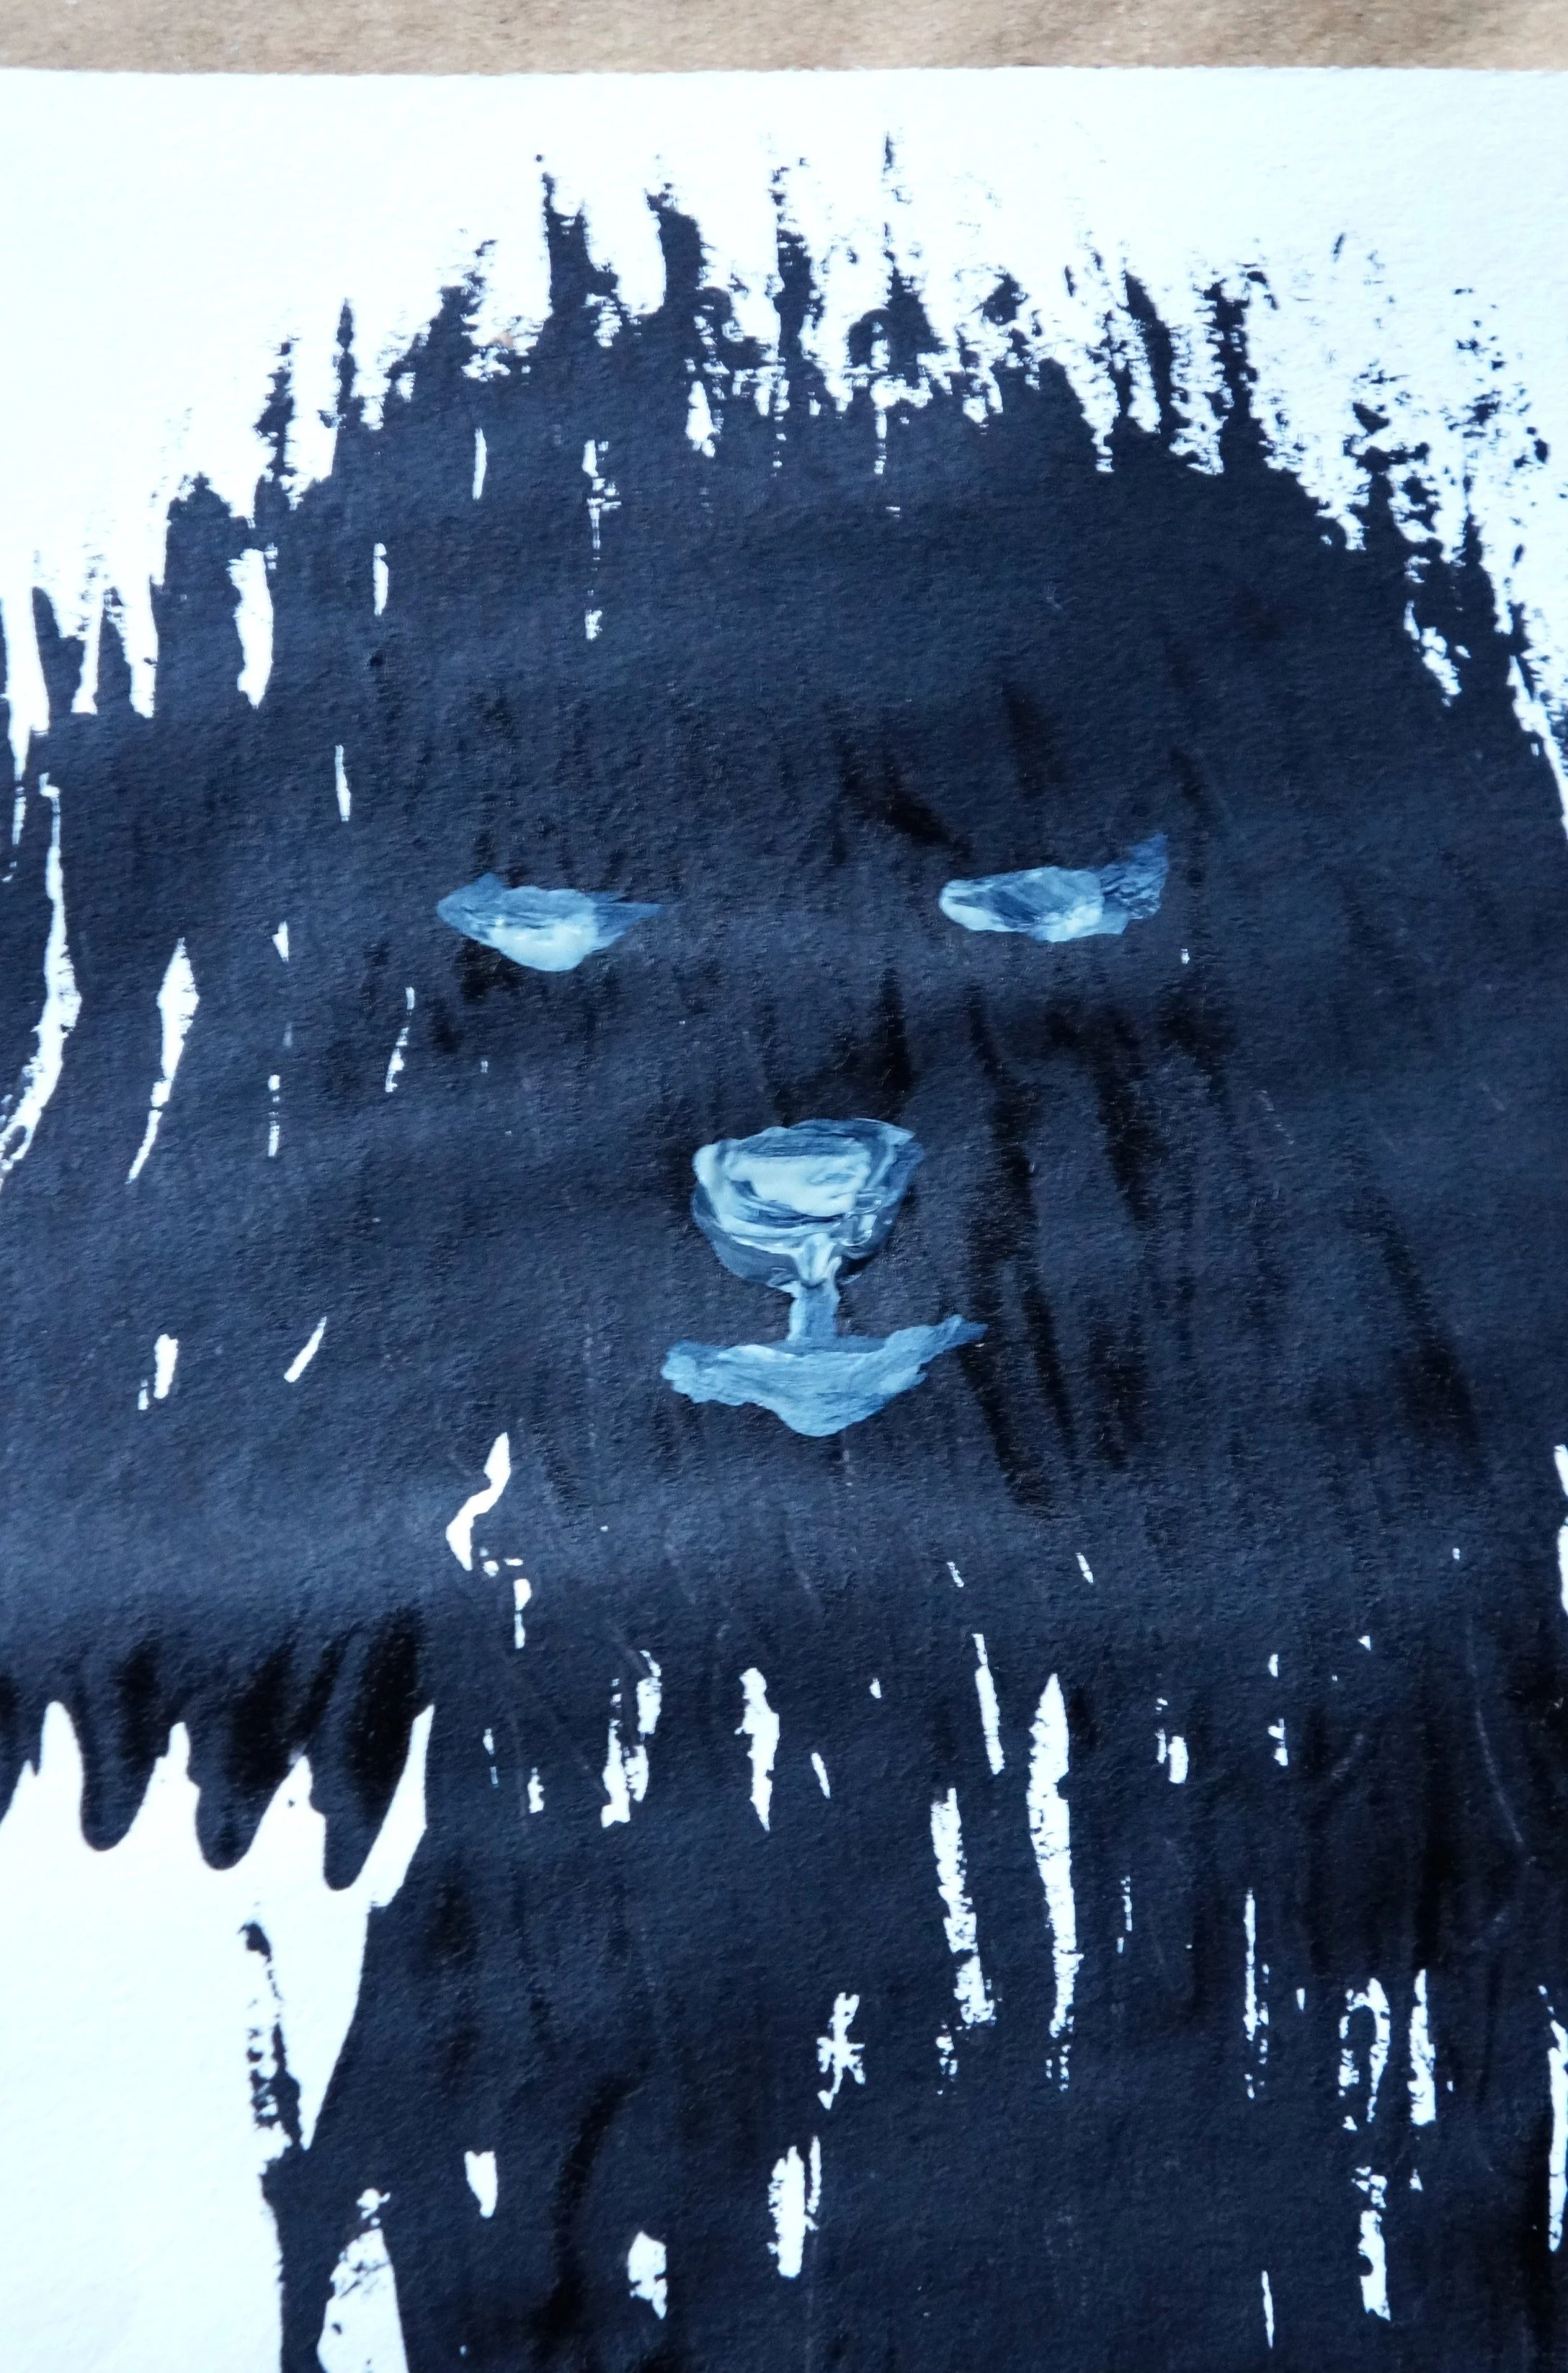
Forward-Facing: Use the lighter colored paints to add two eyes, a nose, and a mouth.
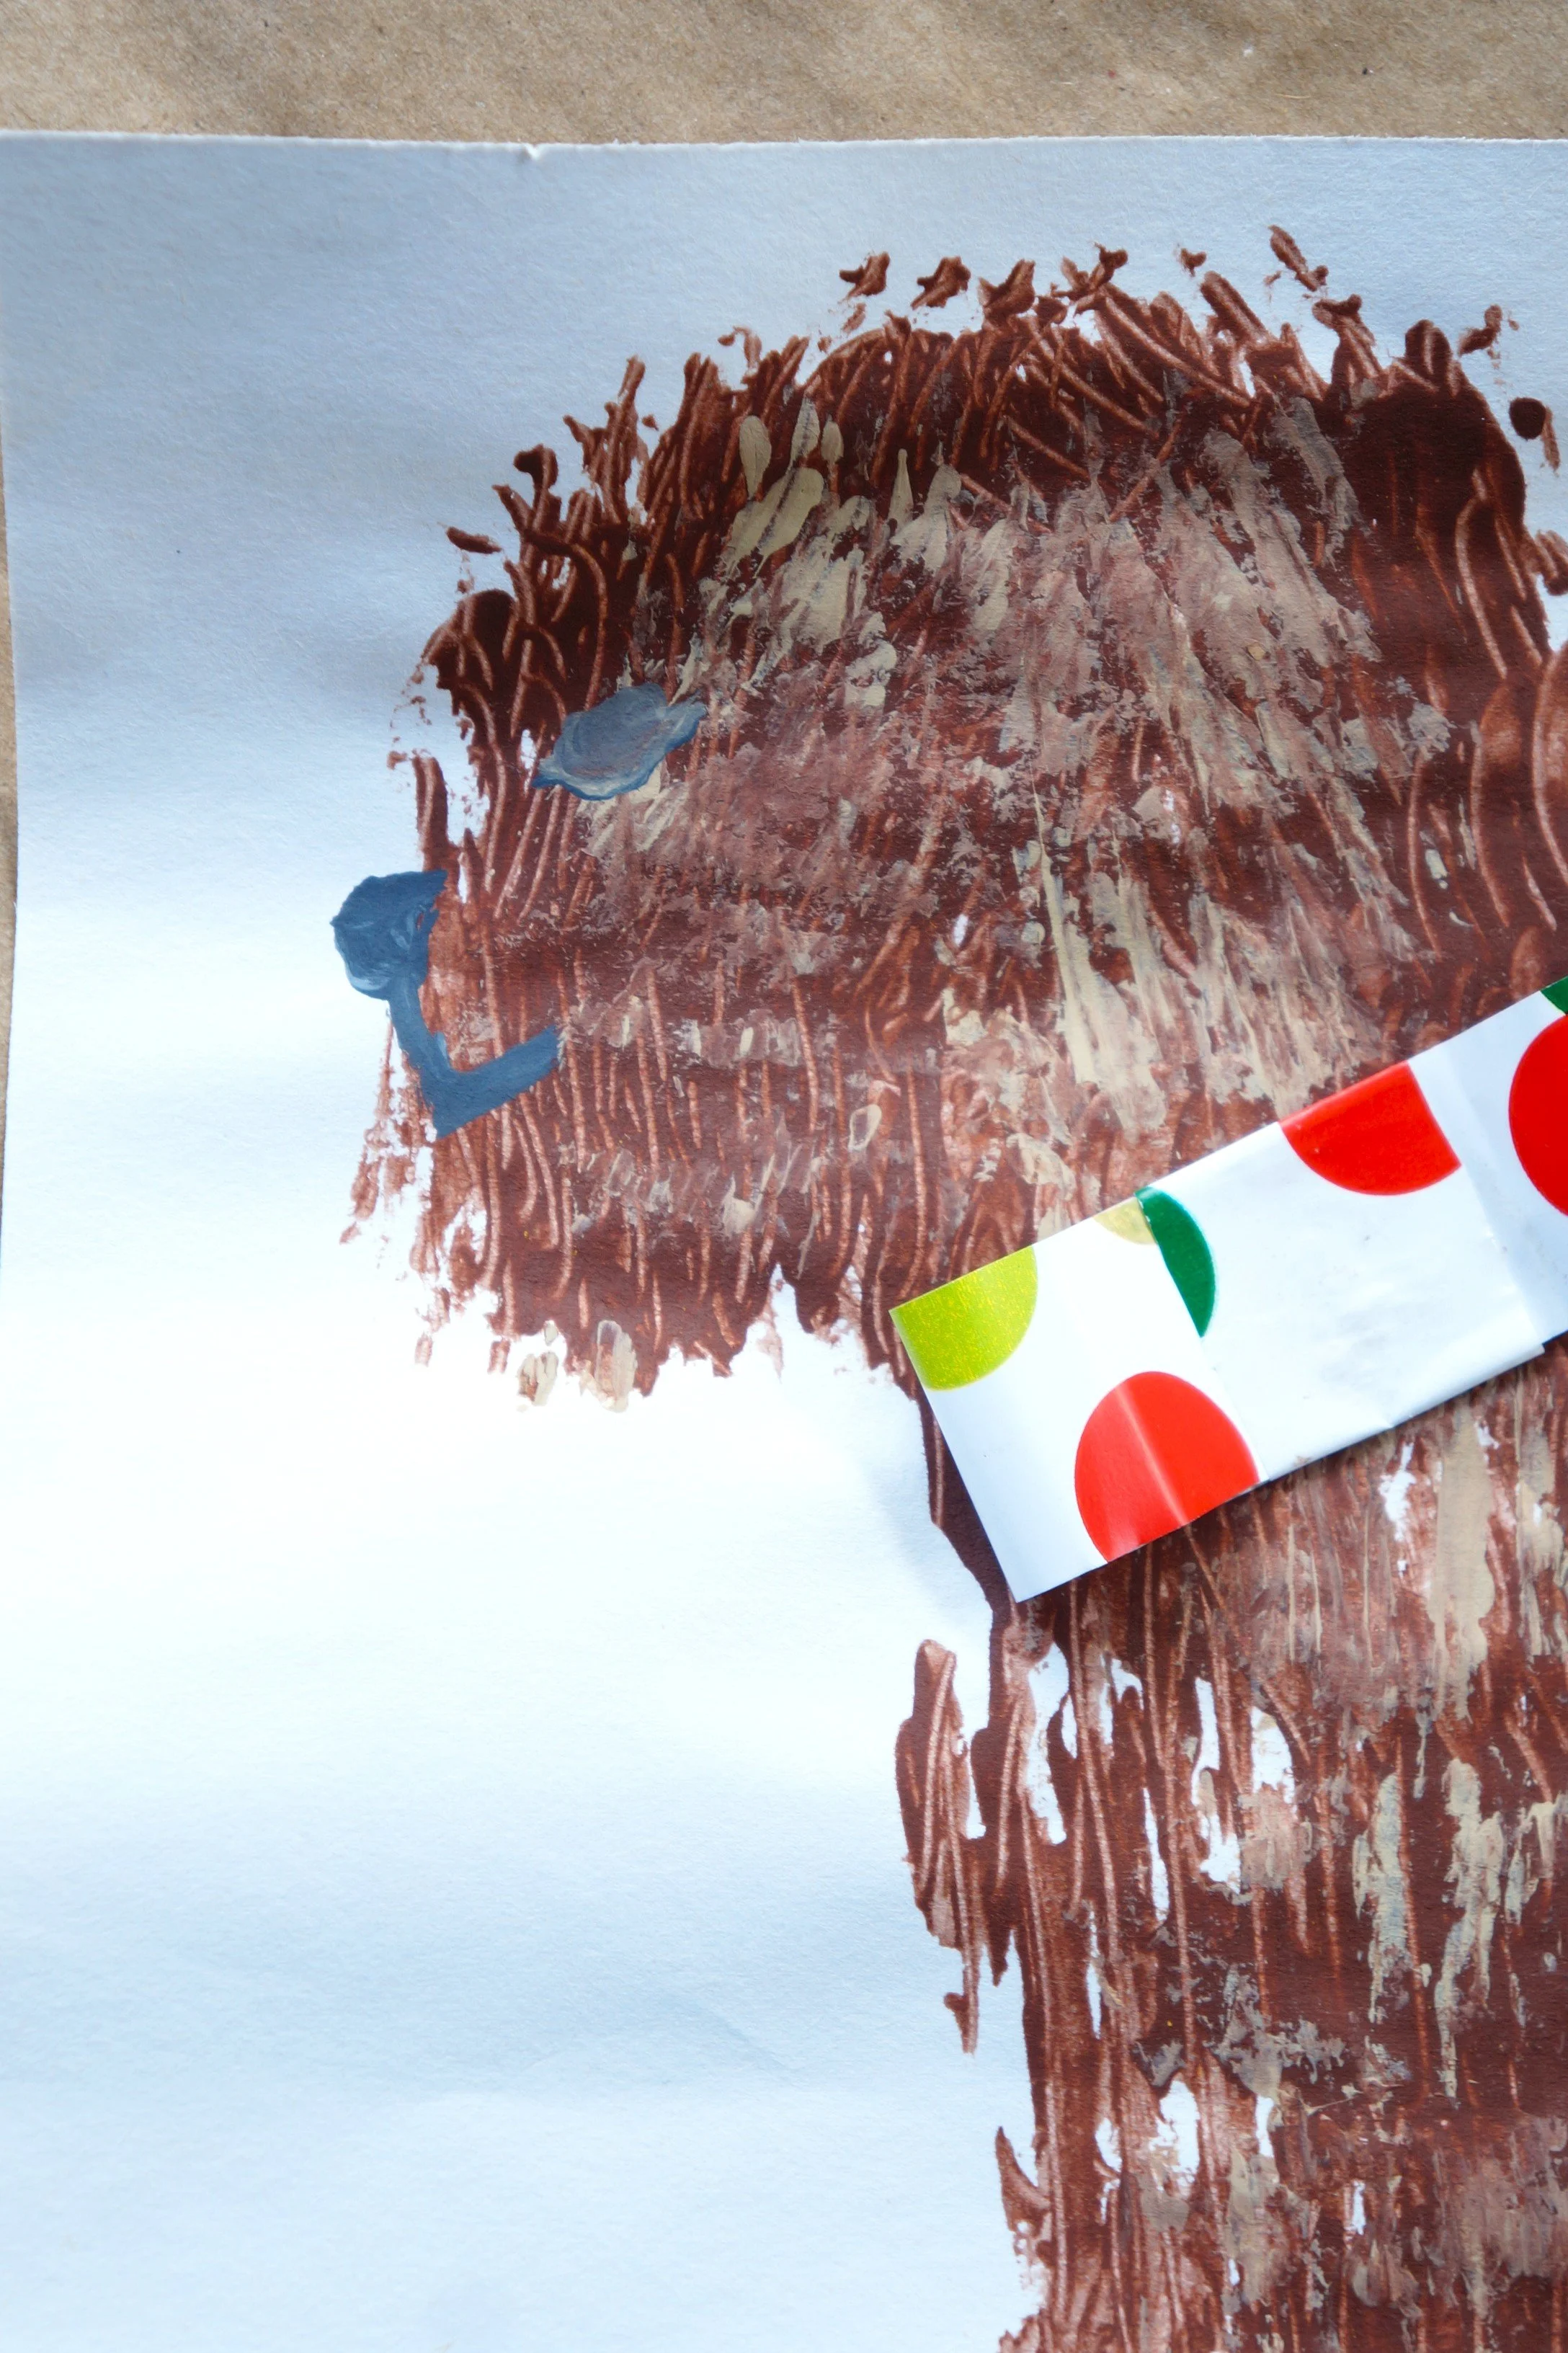
Side-facing: Add one angled eye, a protruding nose, and half a mouth.
Add a bit of glue to the neck area and press the bow down firmly.
Let everything dry for about five minutes.
That’s it!
Happy crafting,
Amanda and Naomi
To share: take a photo of your craft and let us see it! Click Photo Submission, then submit the photo.