

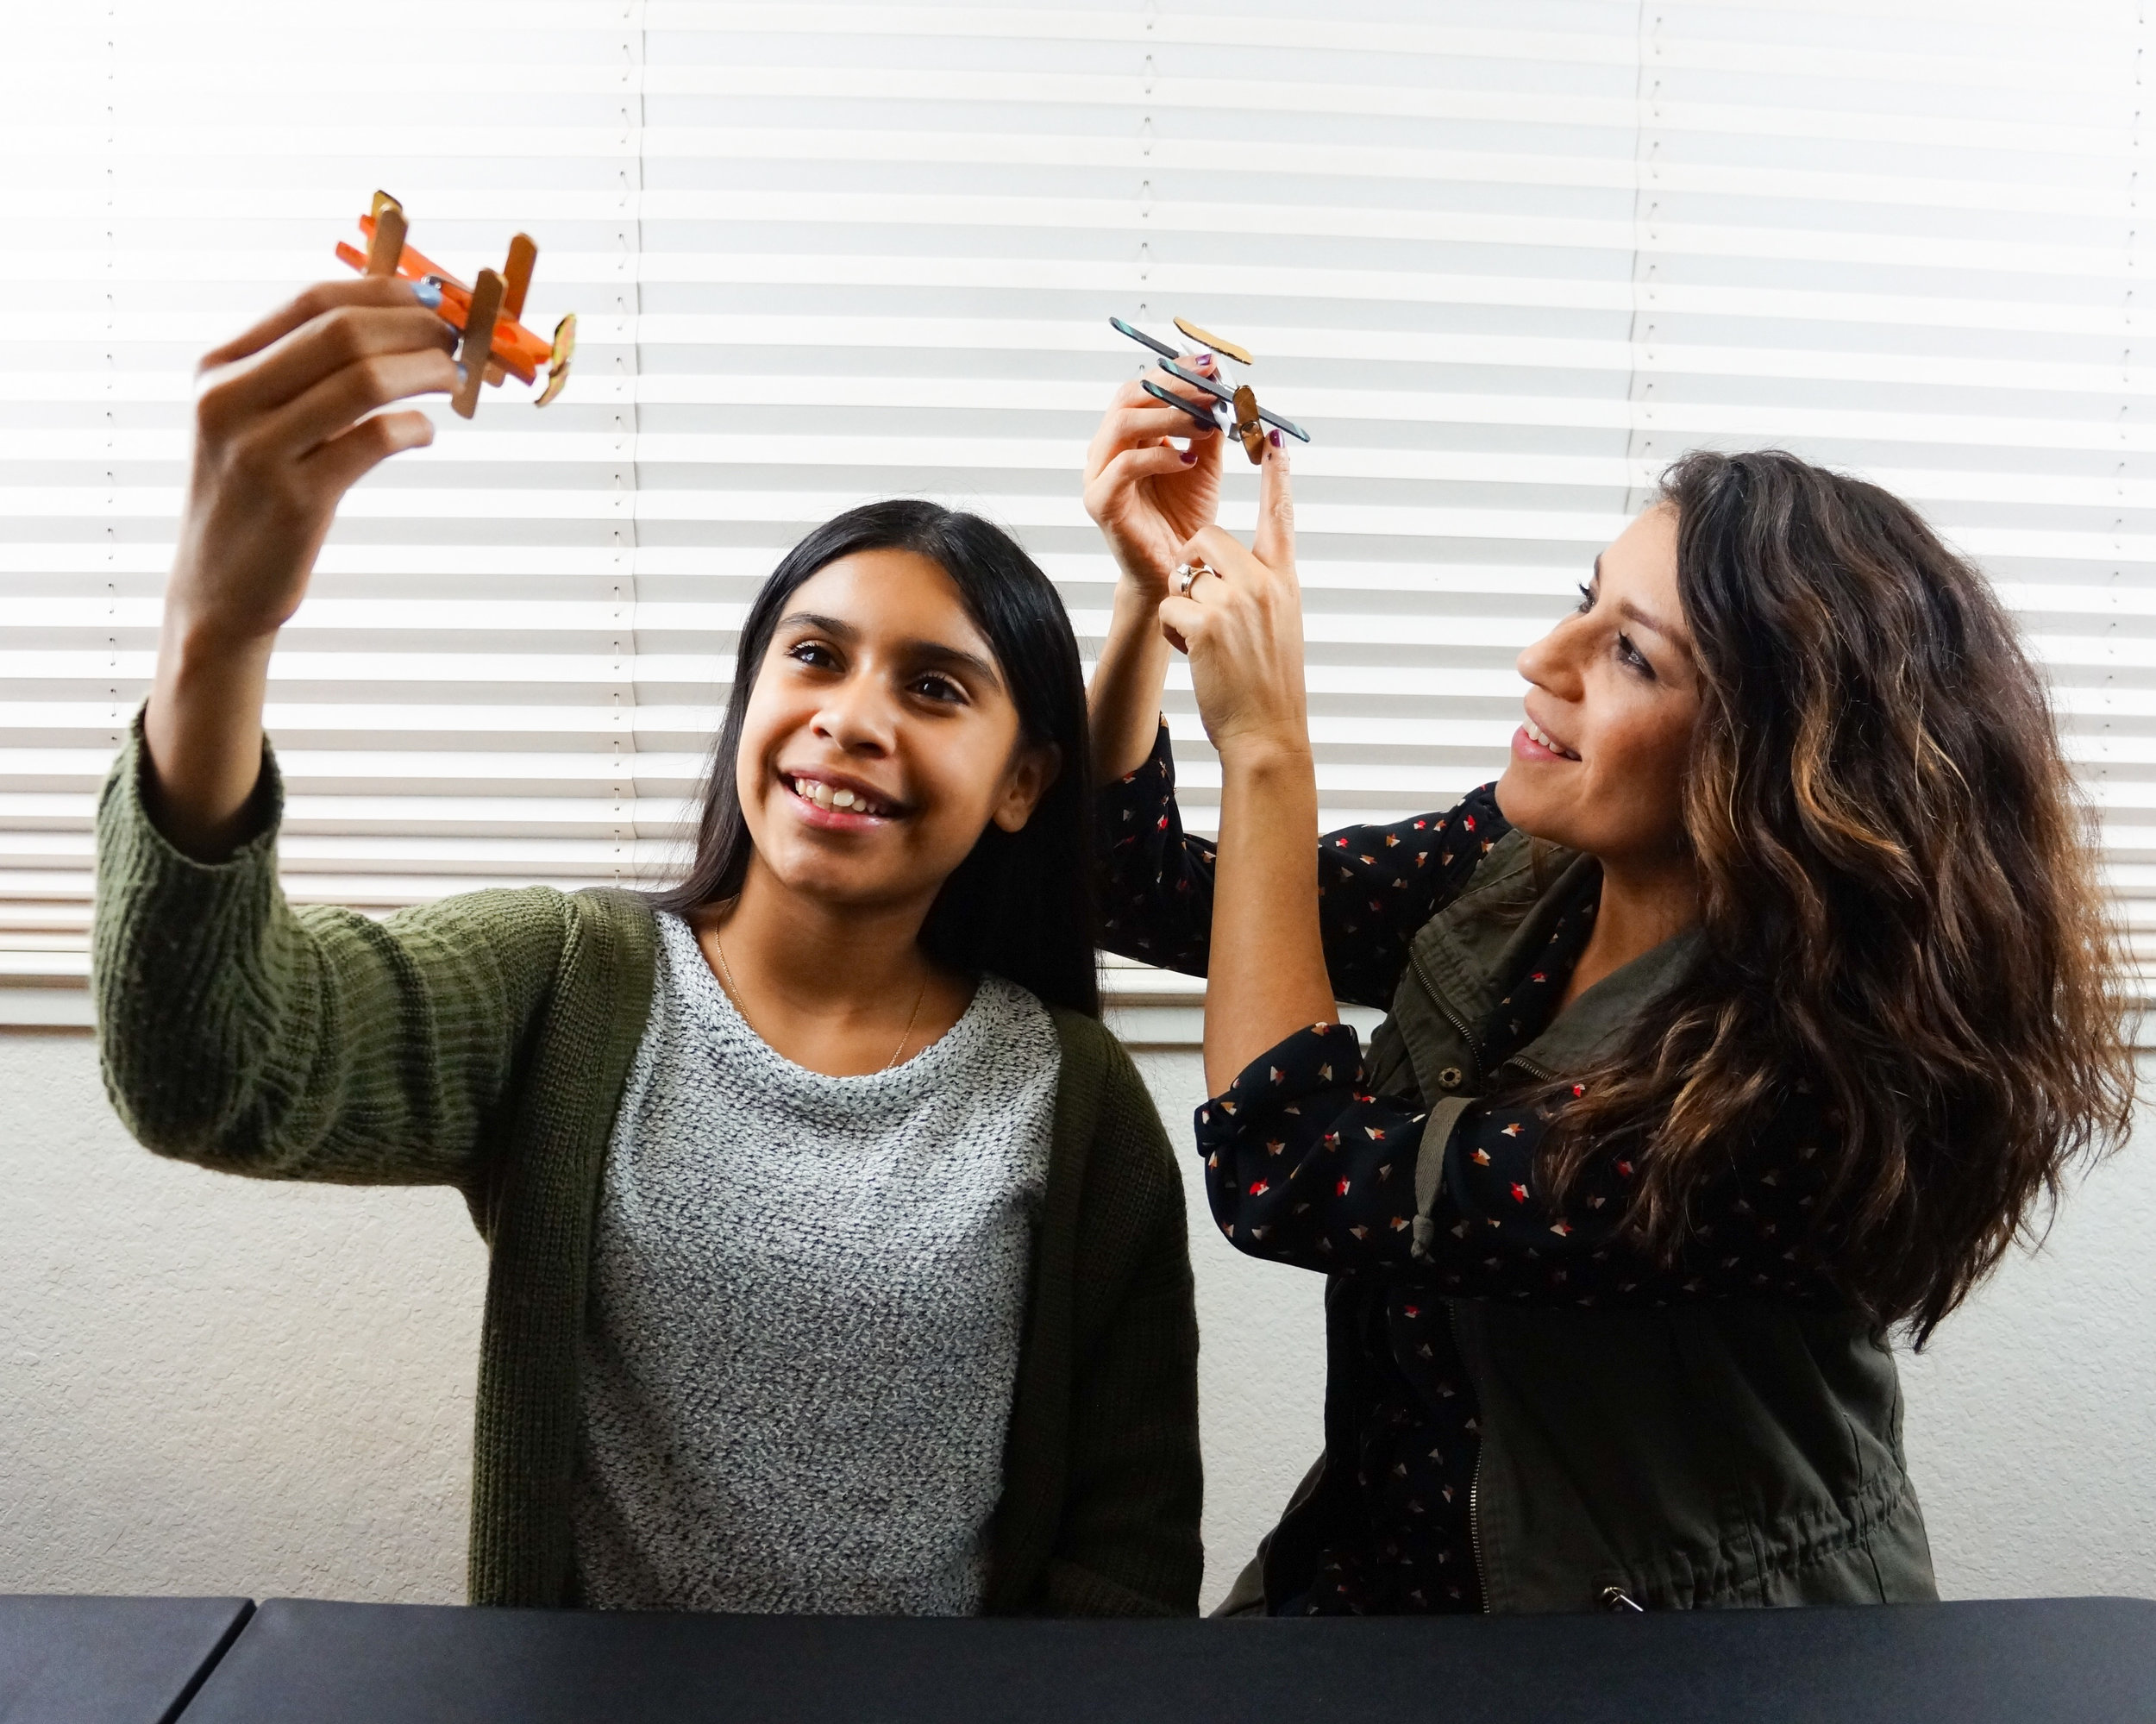
Hi Friends!
Today we have a Clothespin Airplane With Spinning Propellor, using some simple items most of us have at home. Check out all the details below.
*Click on the photos for a closer look
What You'll Need

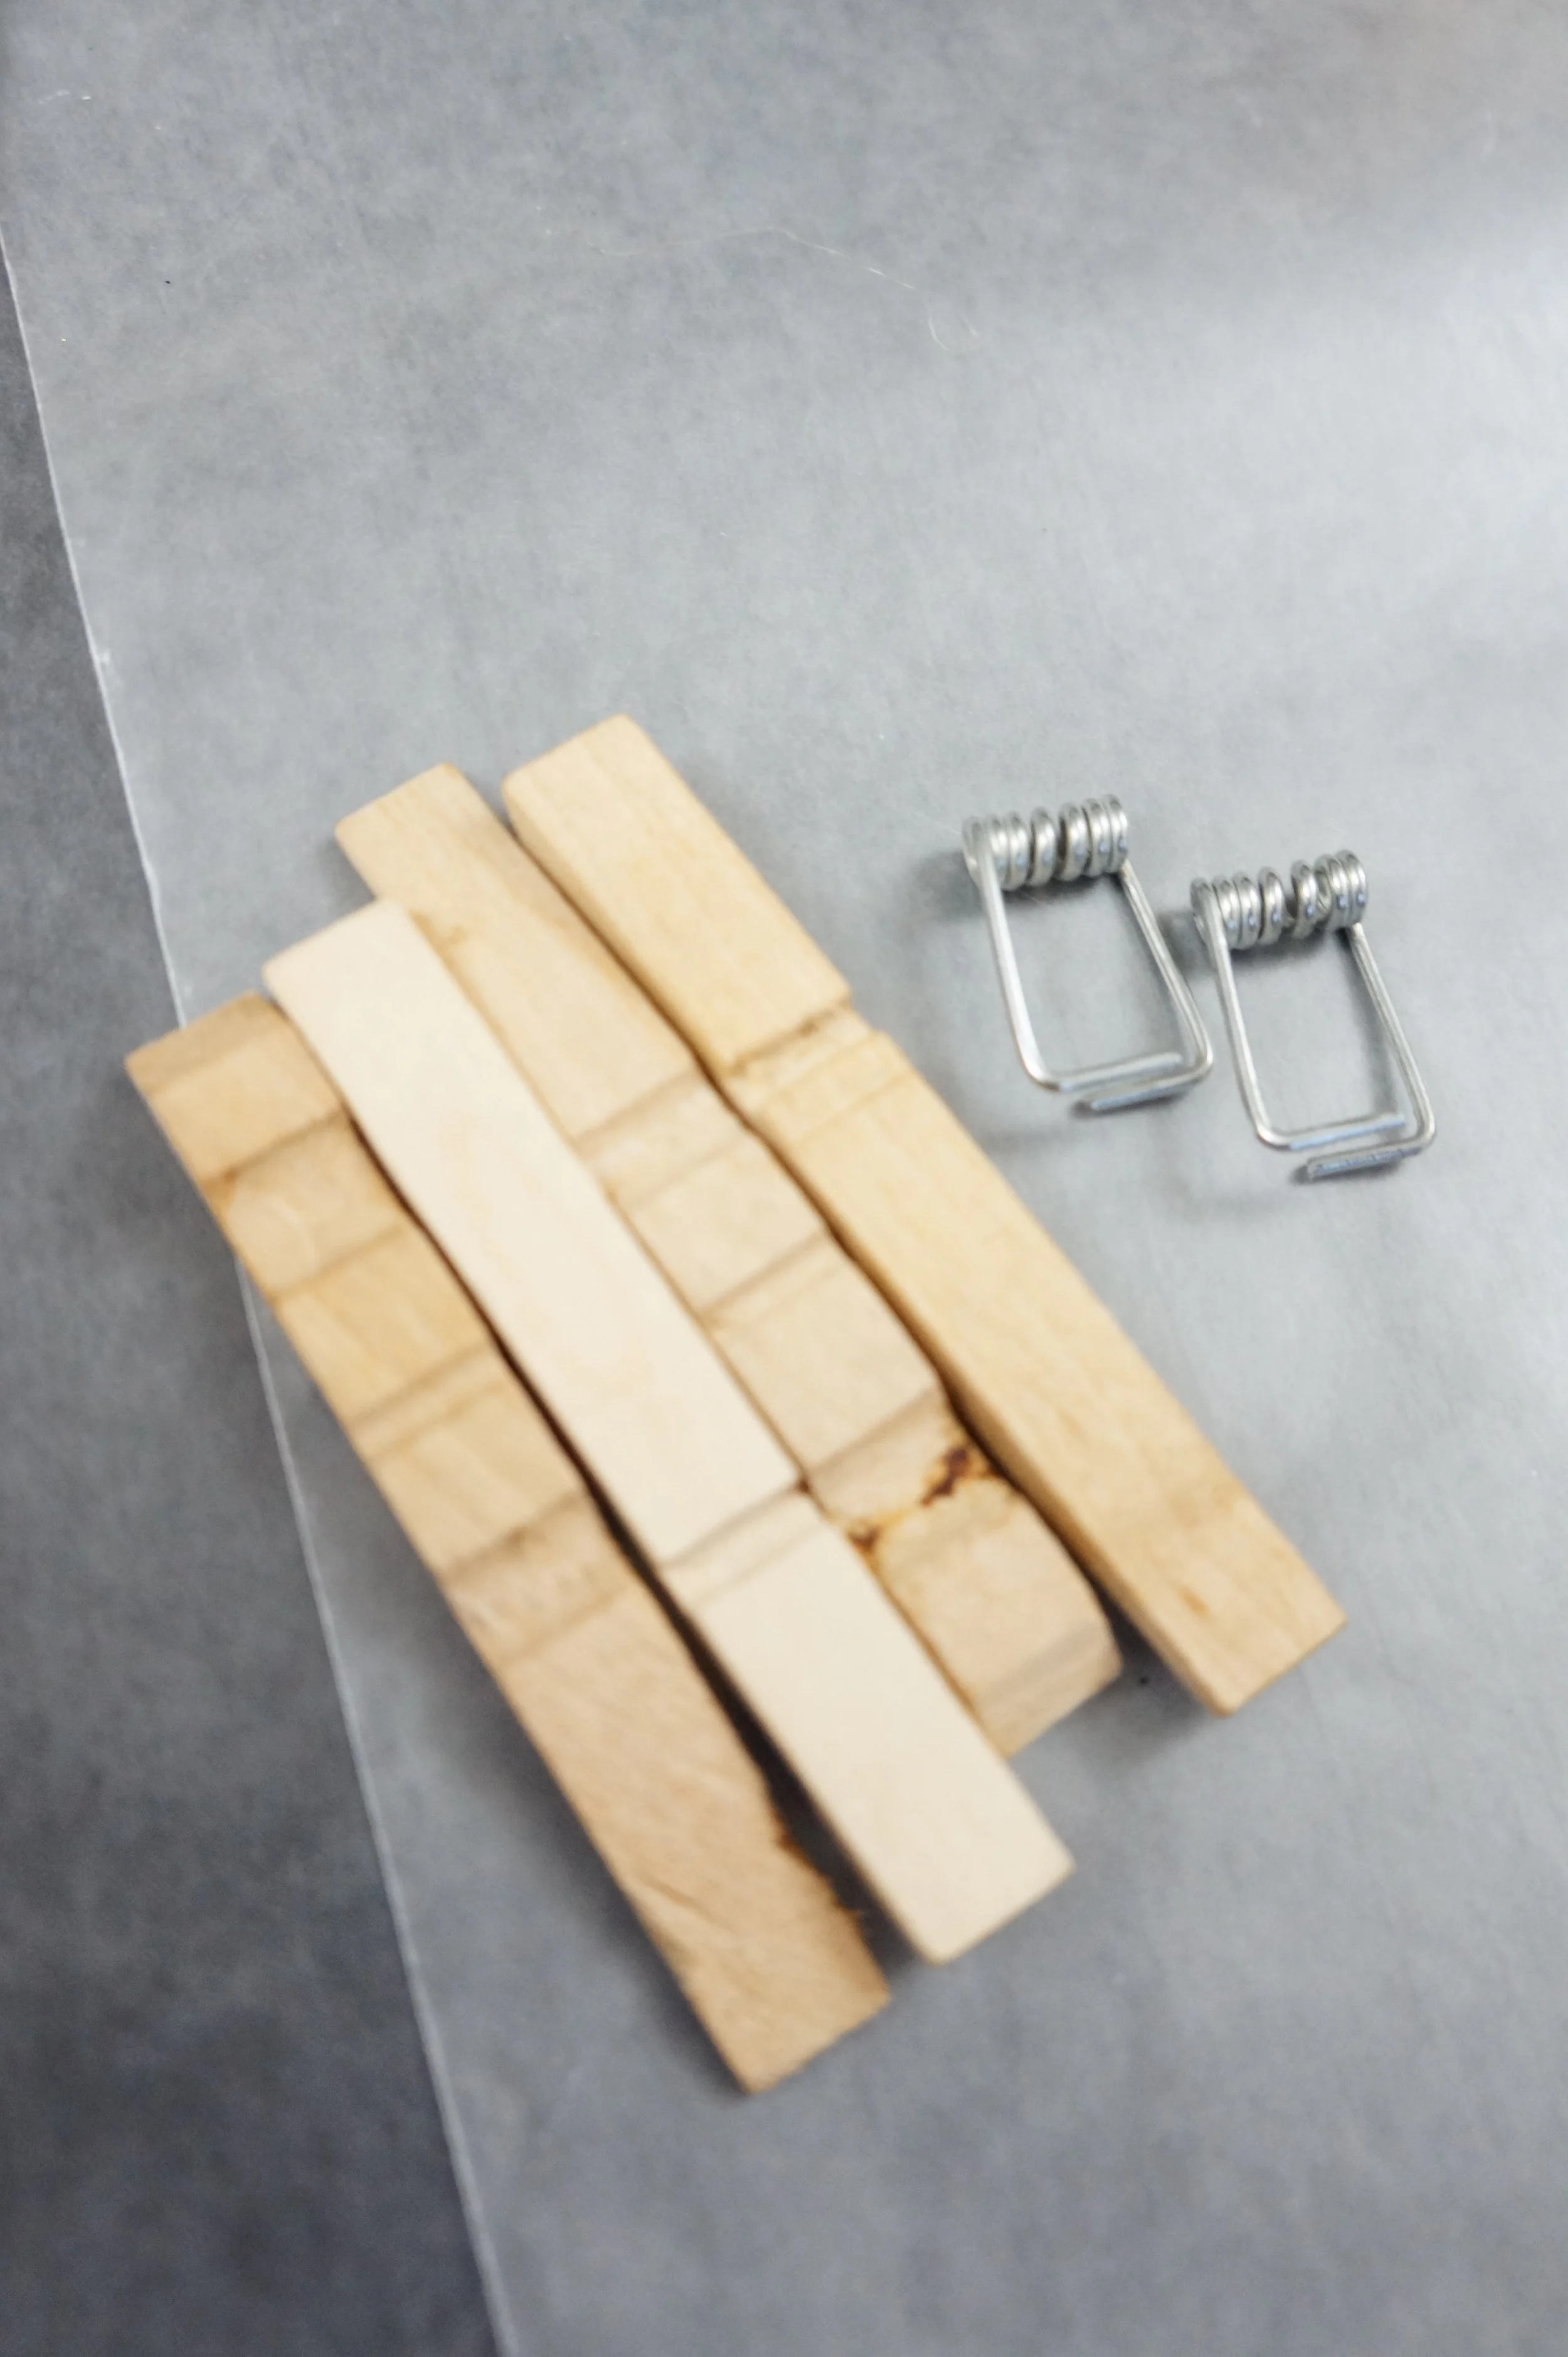
Clothespin
(2) Popsicle/Craft Sticks
Small Cardboard Piece
Craft Glue
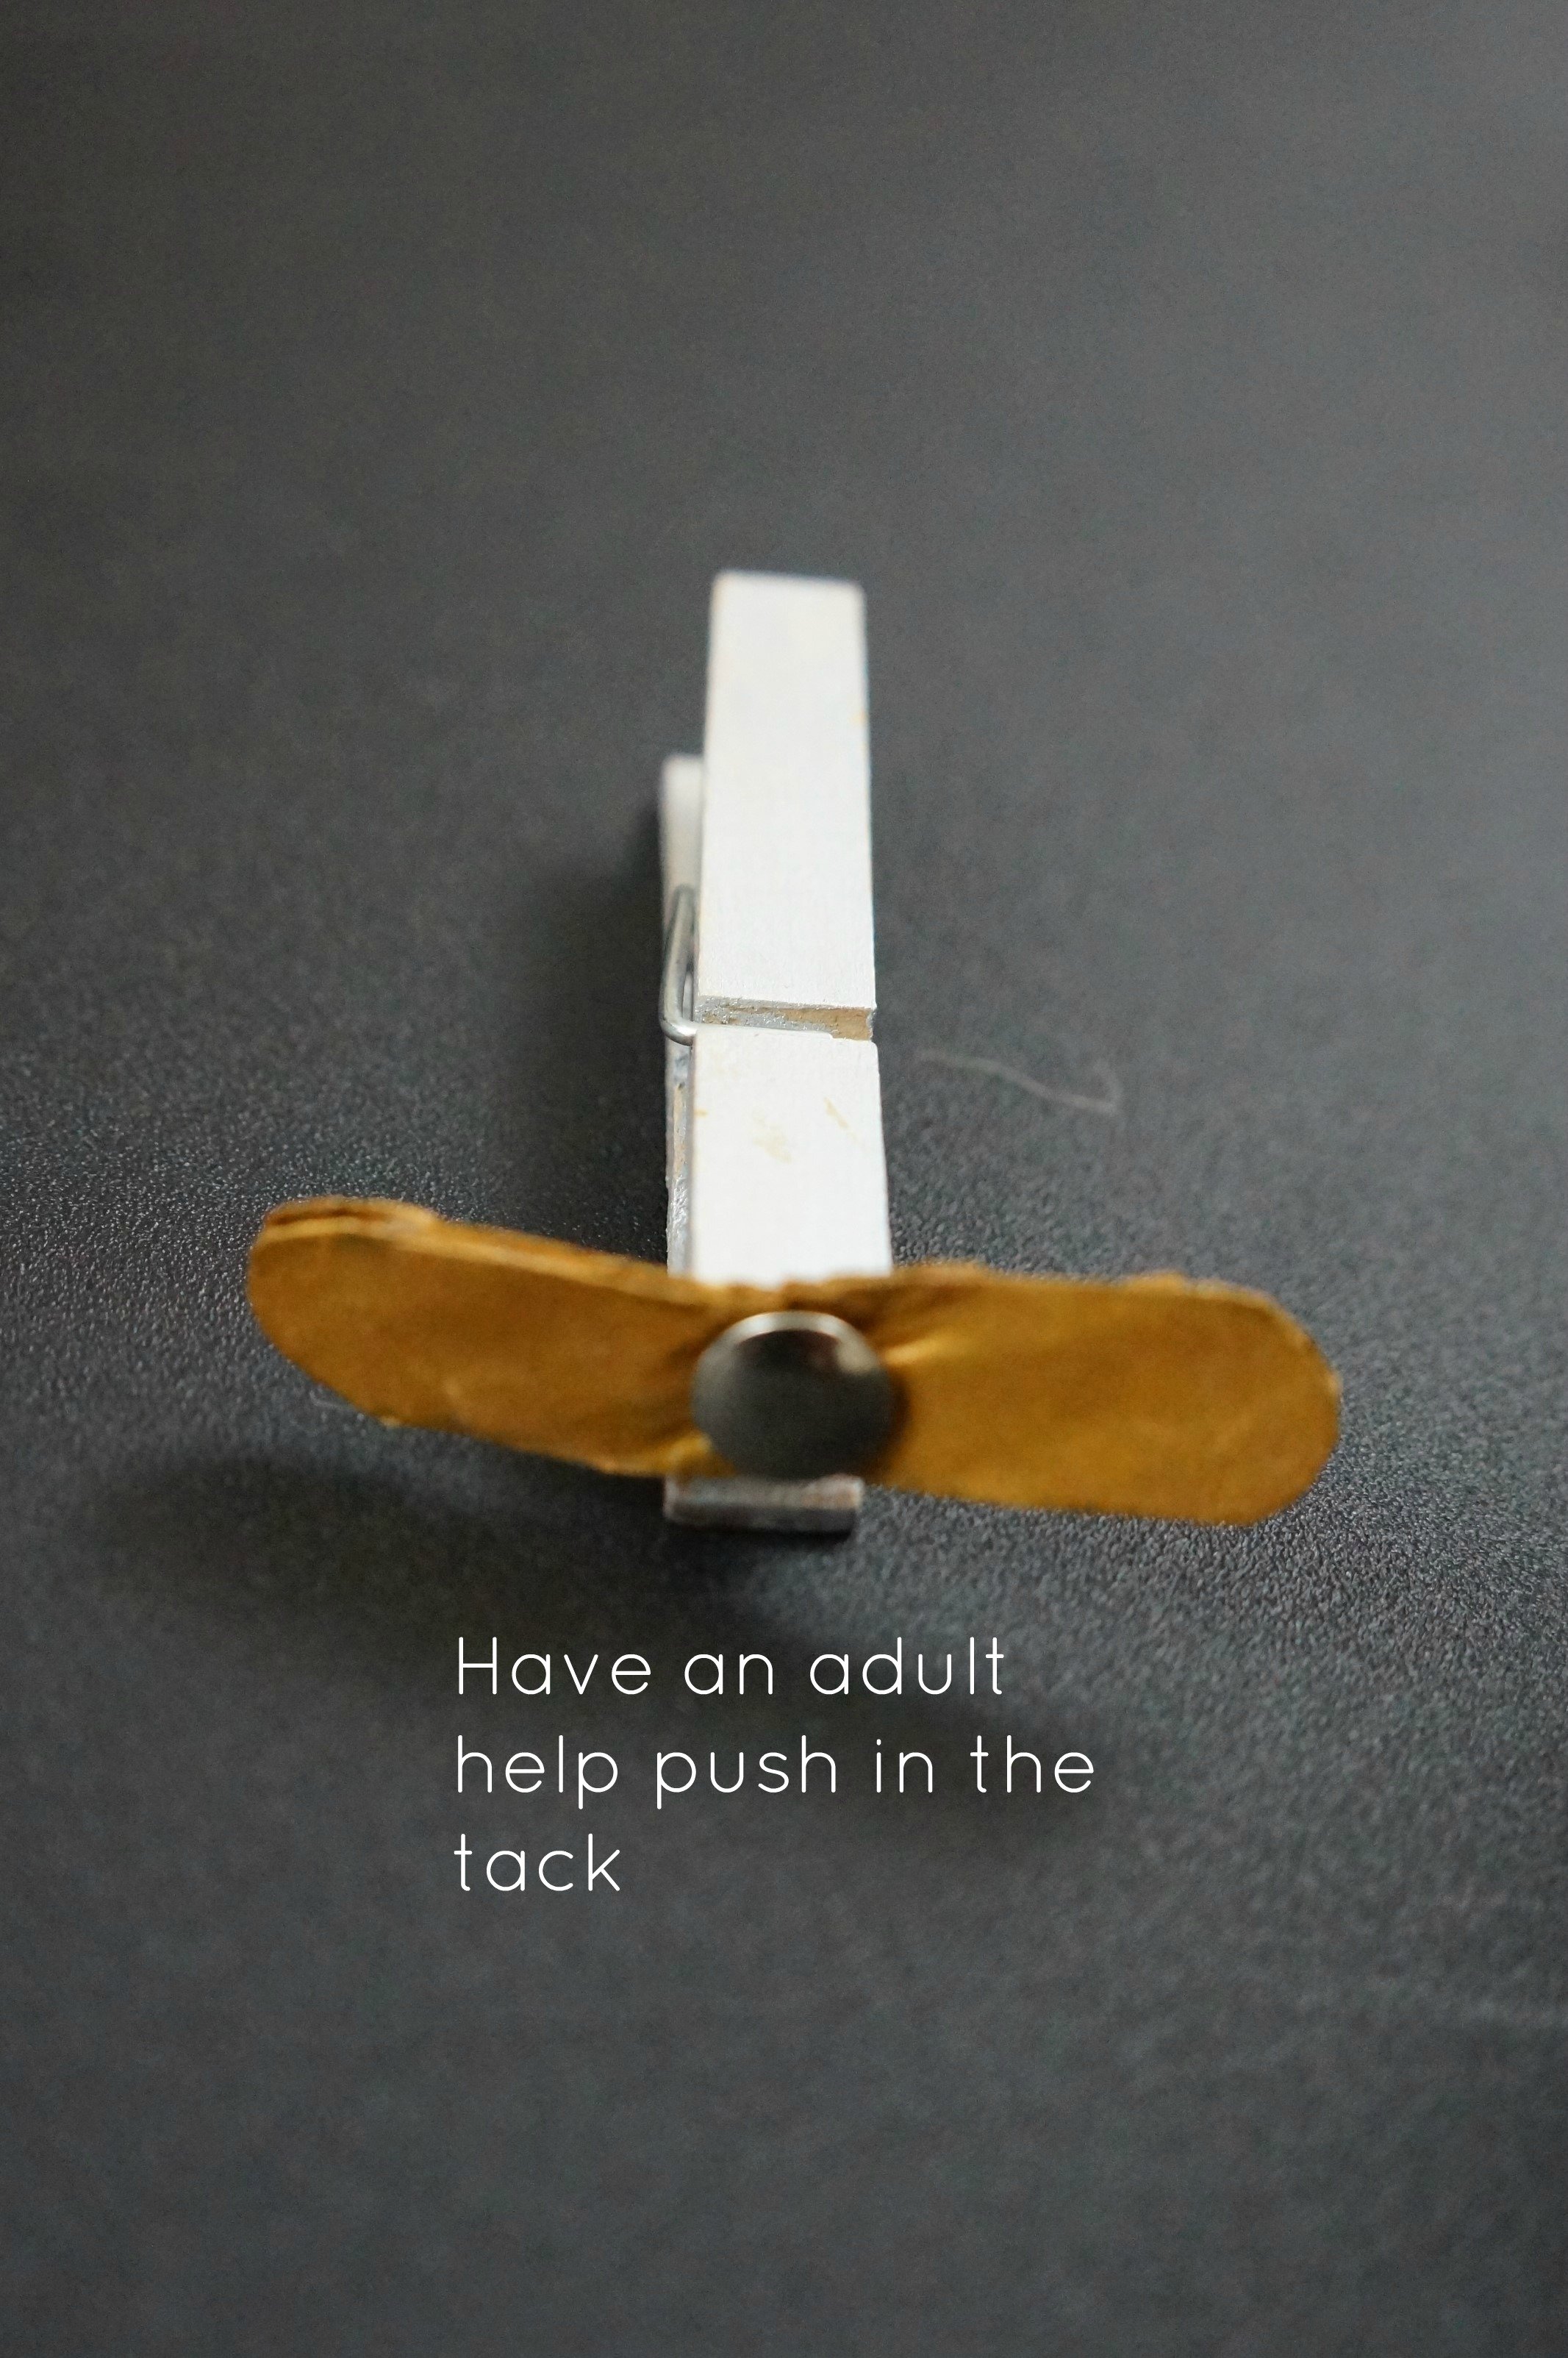
Flat Tack (Have an adult help with this step)
Pencil
Craft Paint & Brushes
Scissors
OPTIONAL: Wax Paper, Rinsing Jar, Old Towel, Gorilla Glue
The Steps
We want to see your craft! Click on PHOTO SUBMISSION and submit


BODY
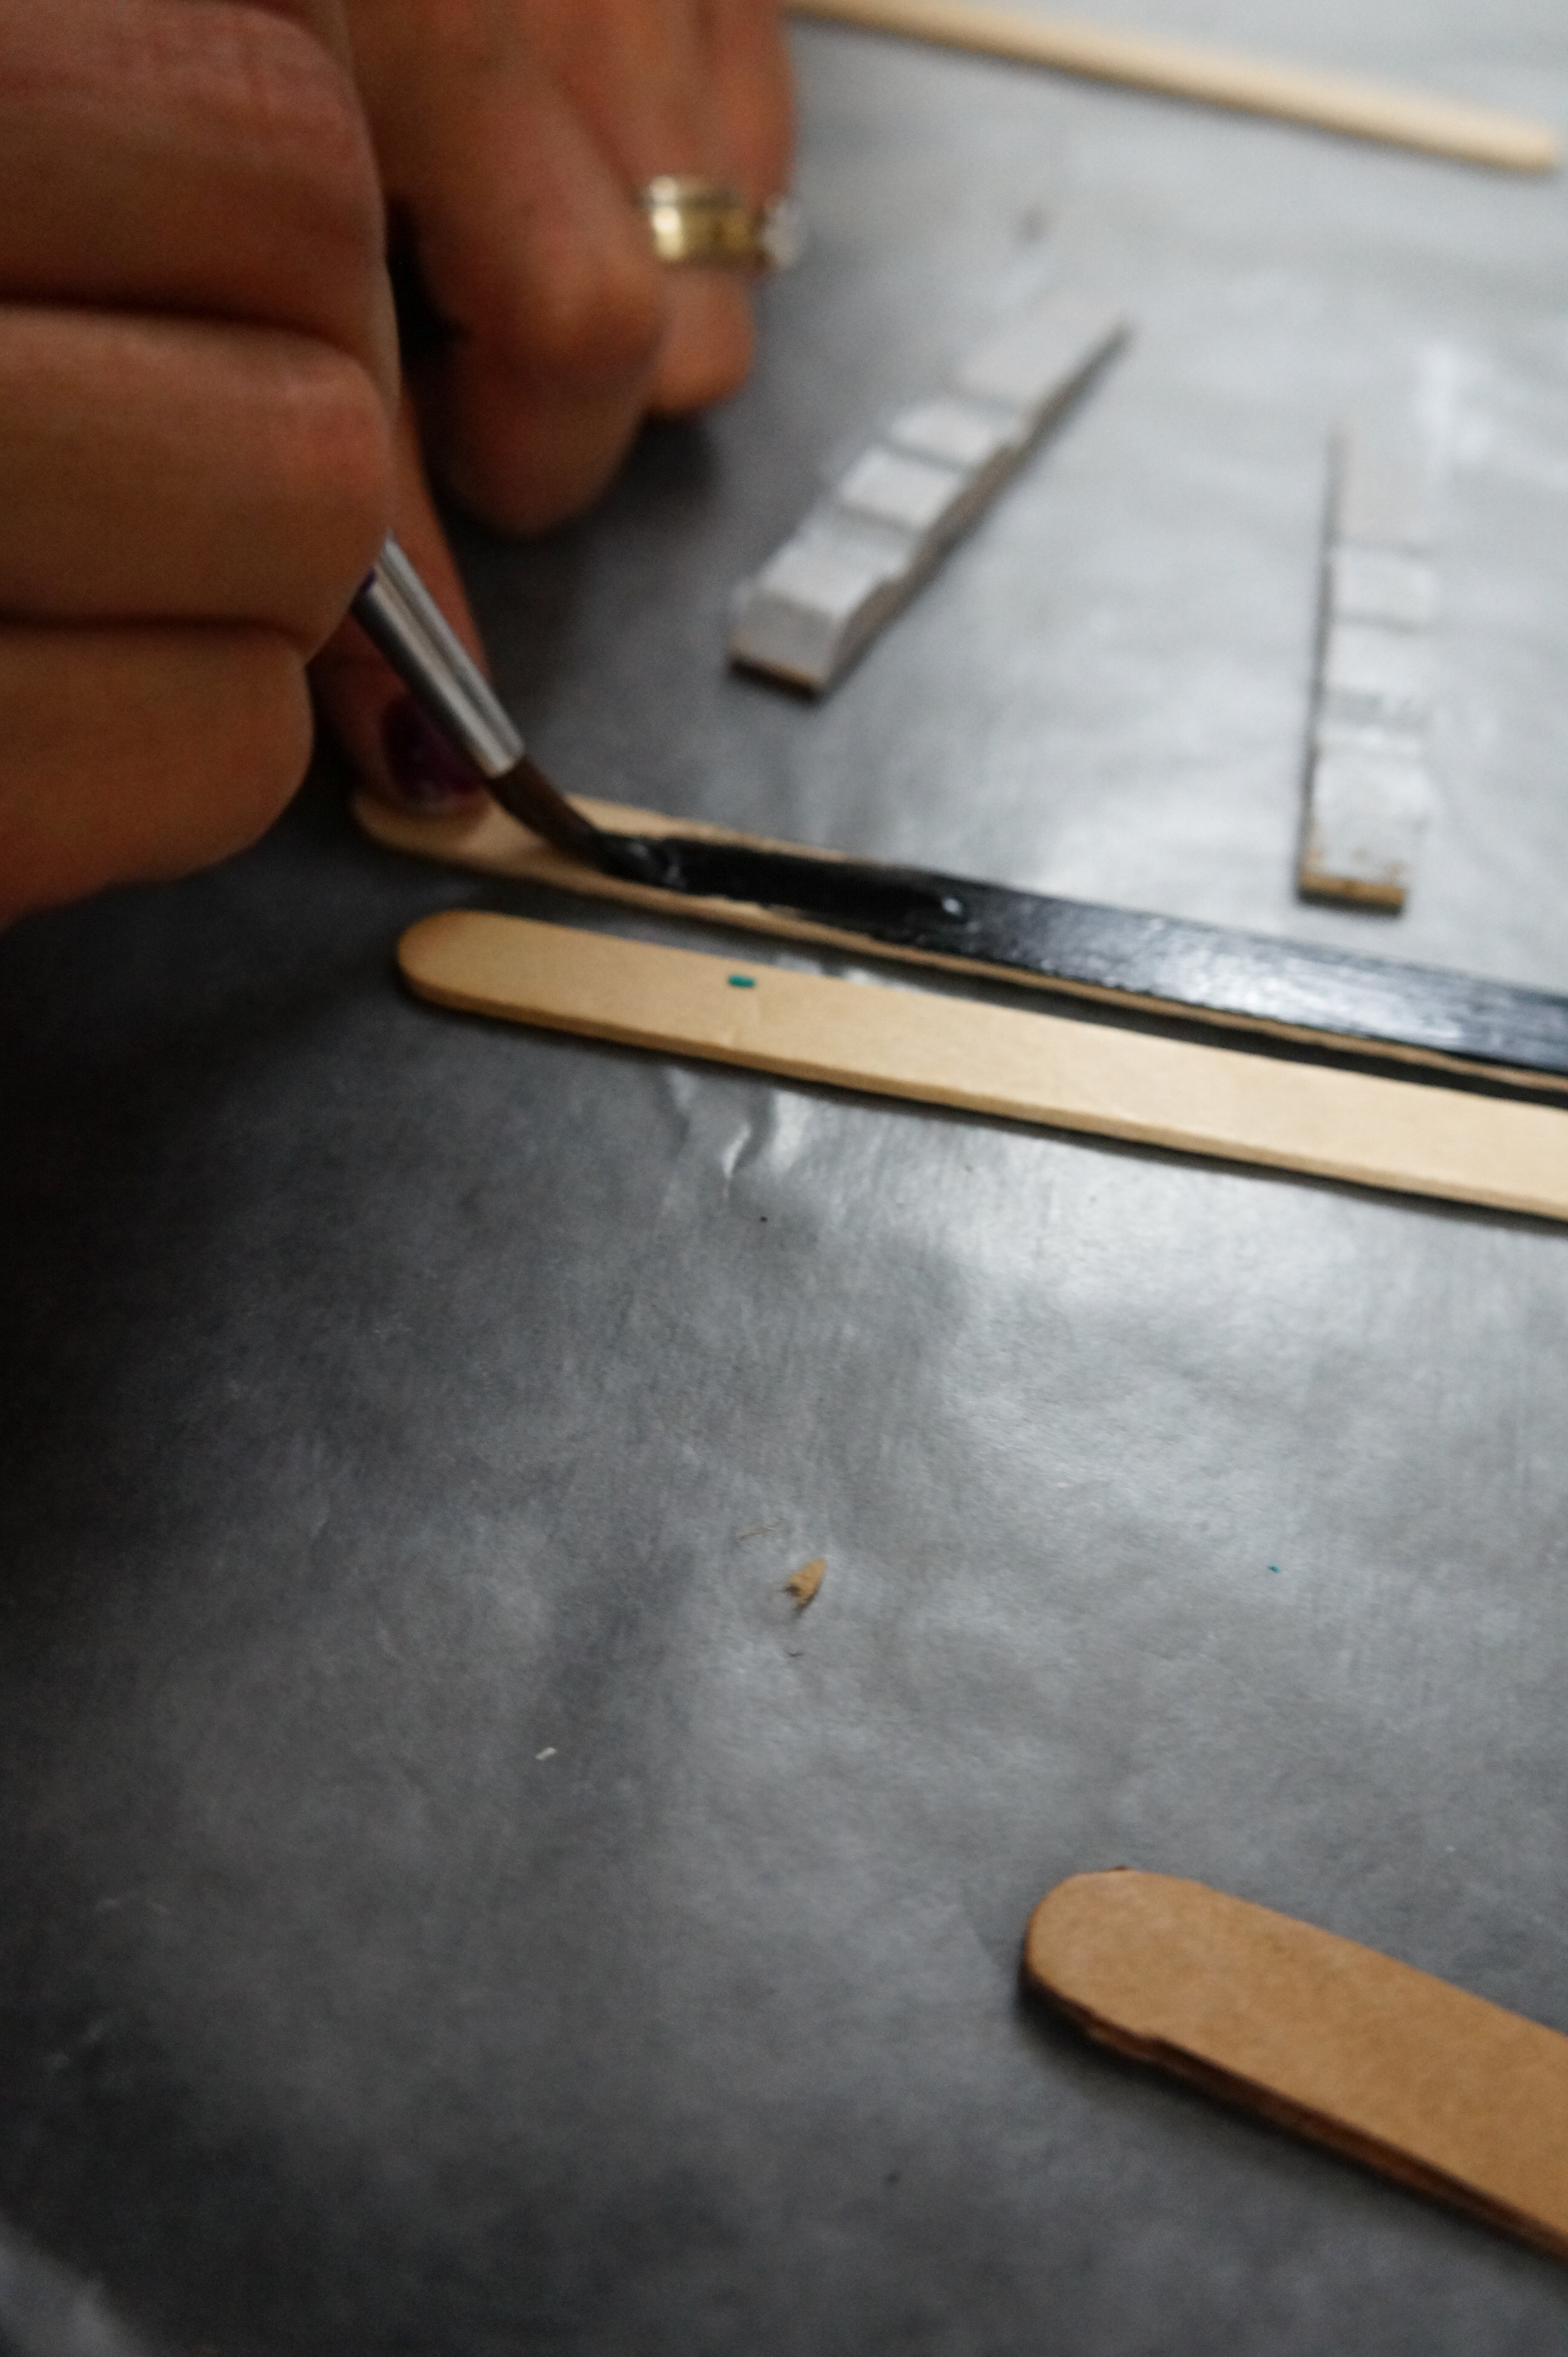
Take your clothespin apart and set the connector aside.
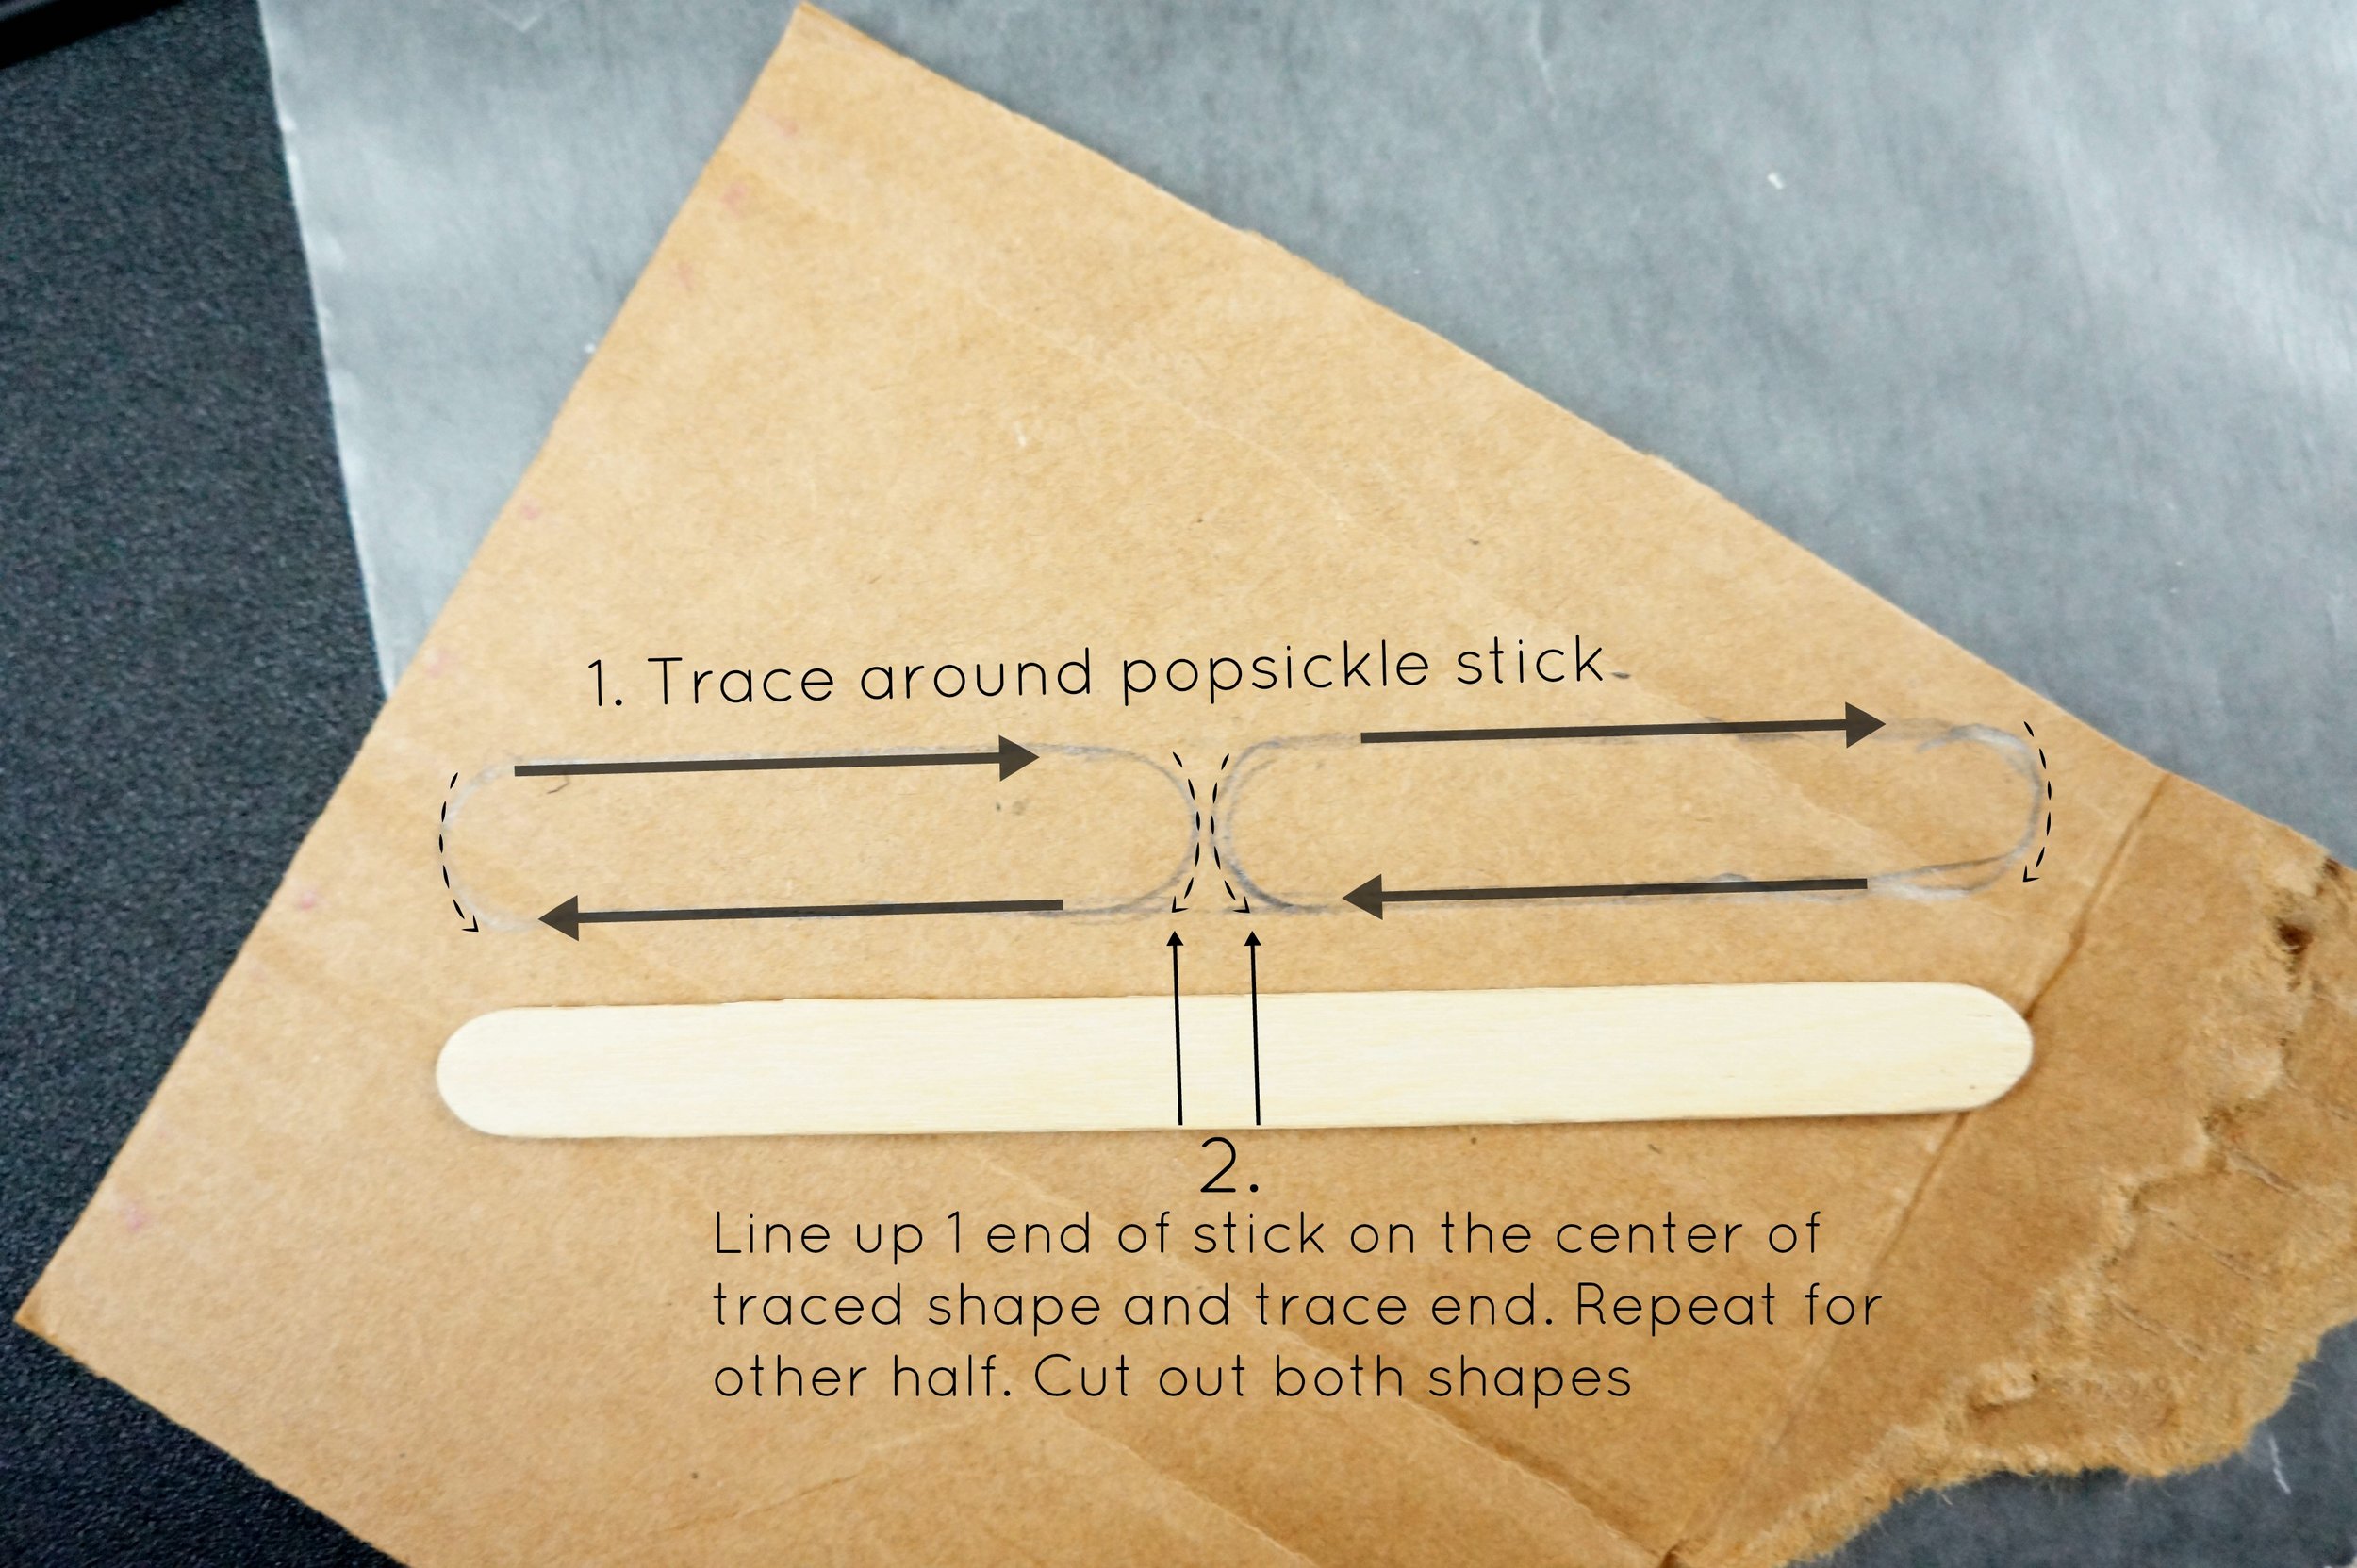
Take one craft stick, cardboard piece, and pencil to trace out your 2 smaller pieces (1 propeller, 1 horizontal stabilizer: see photos)
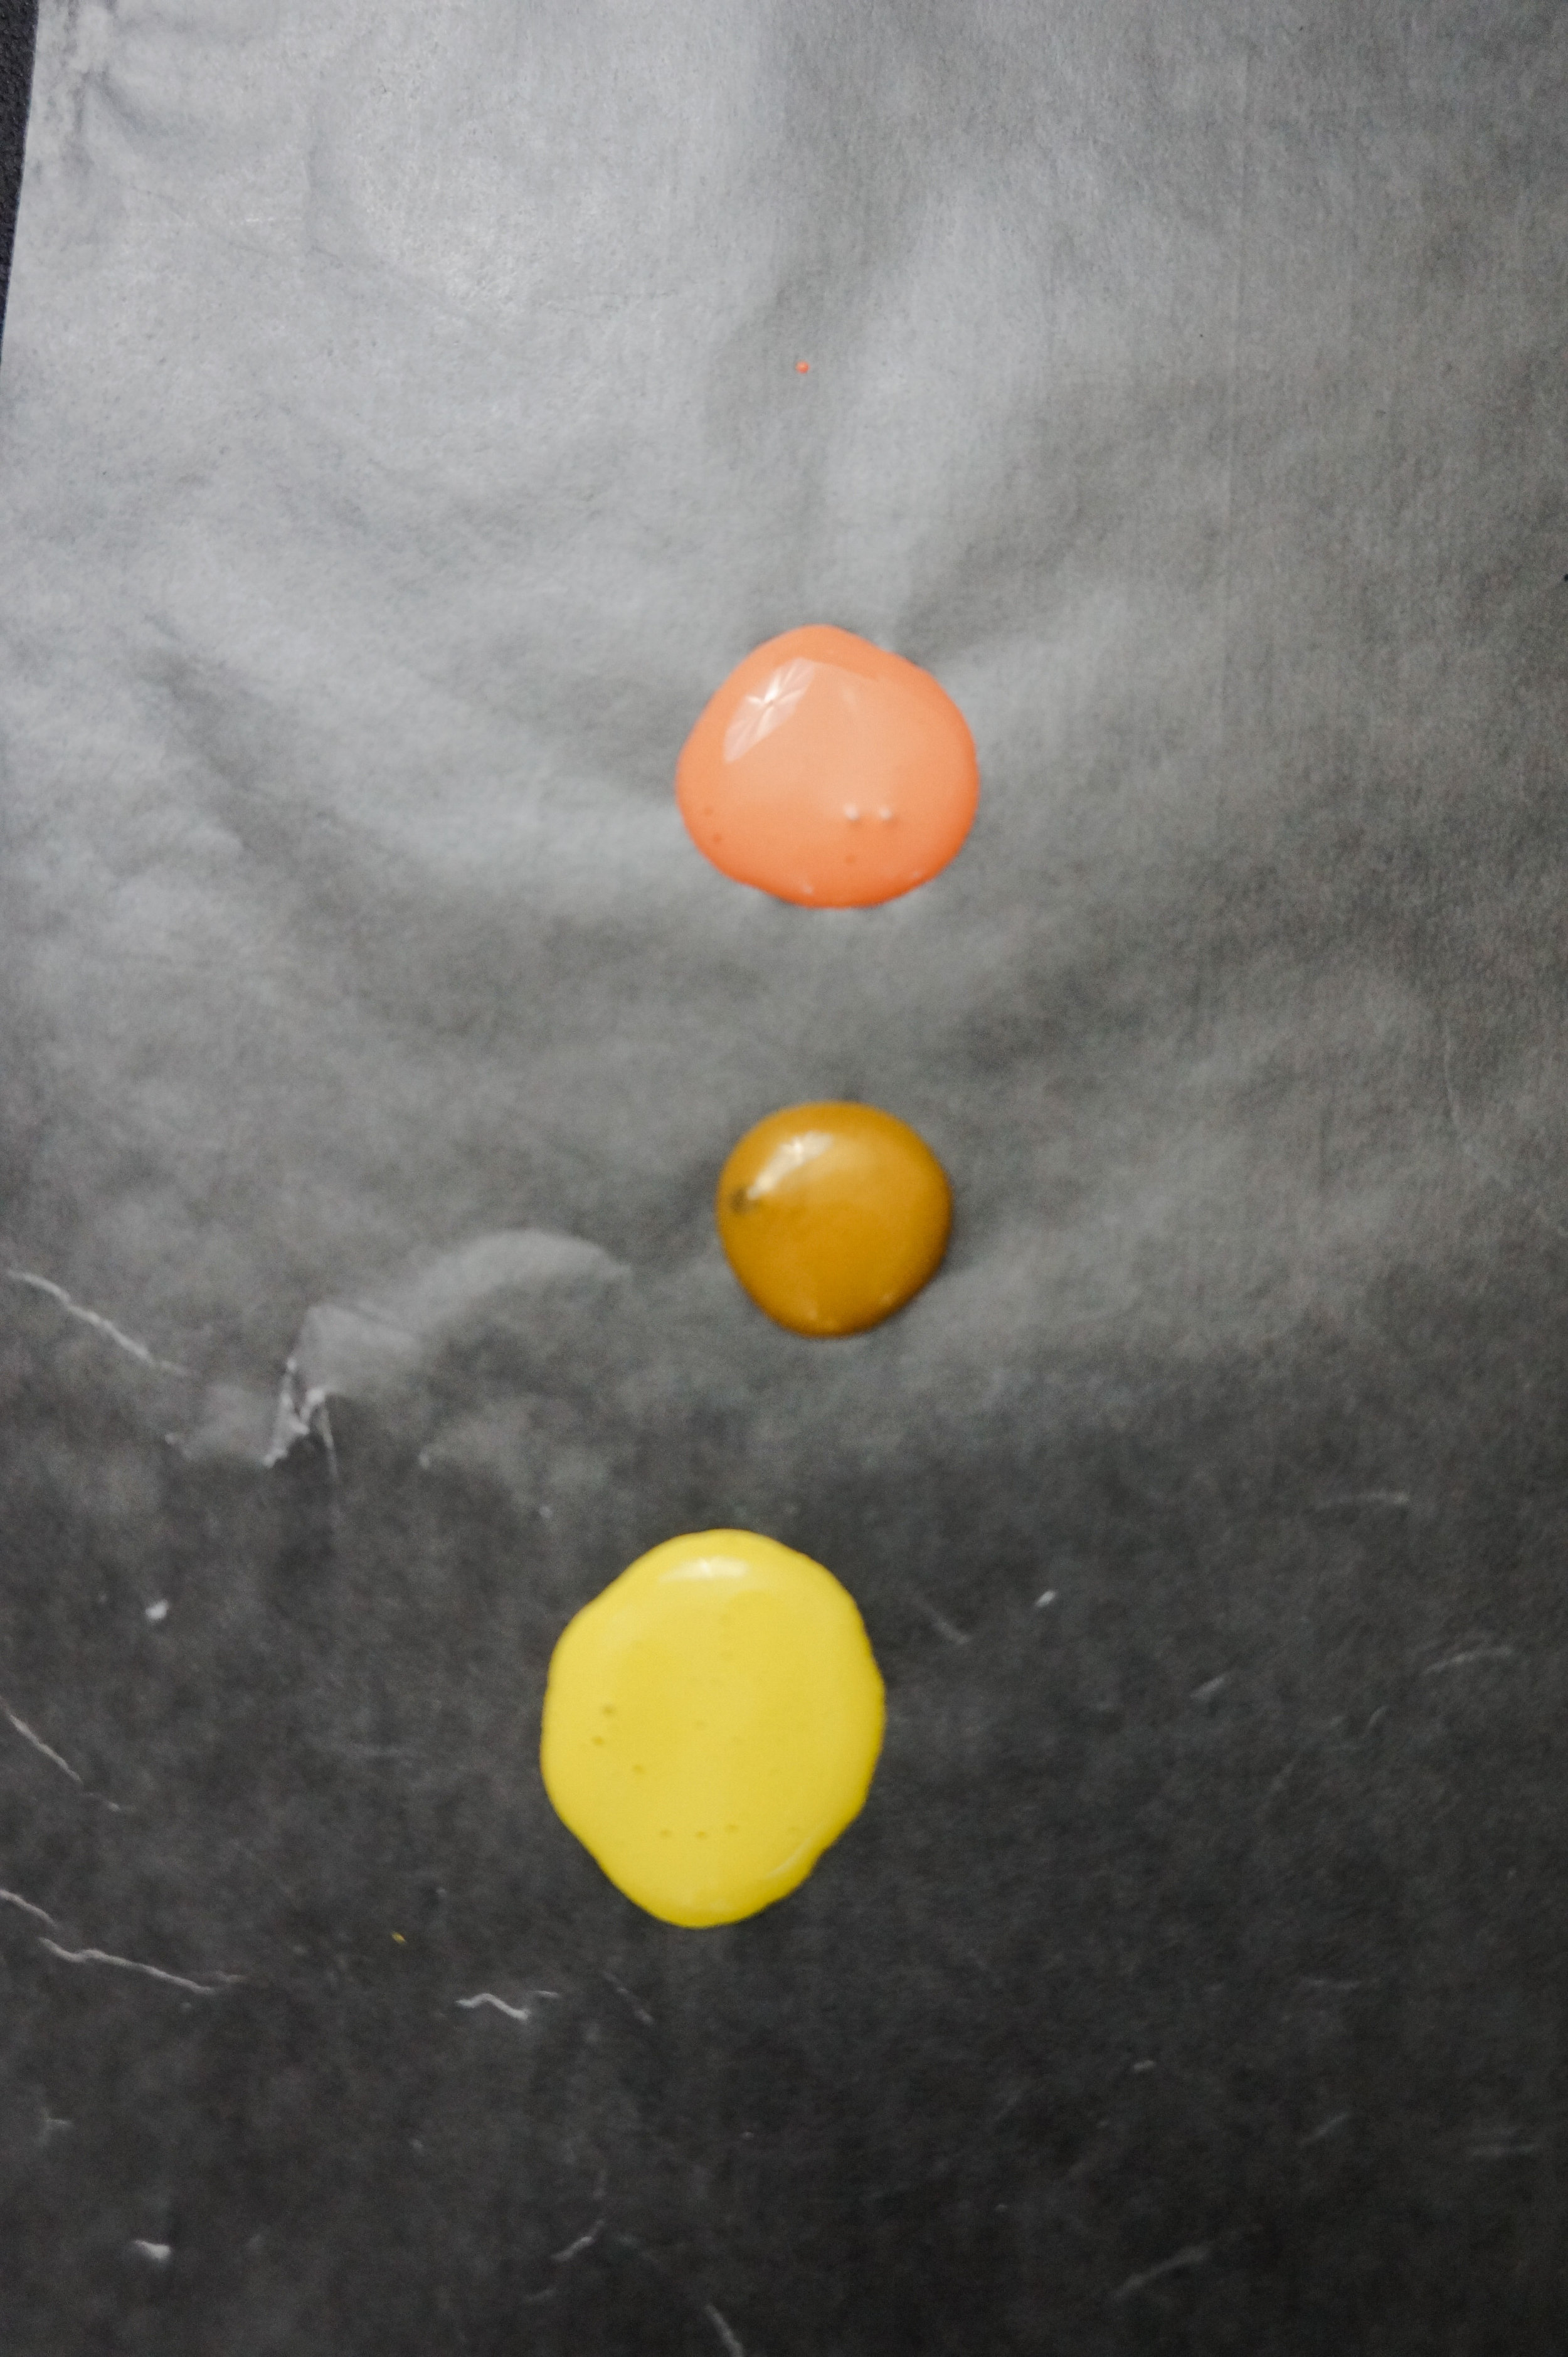
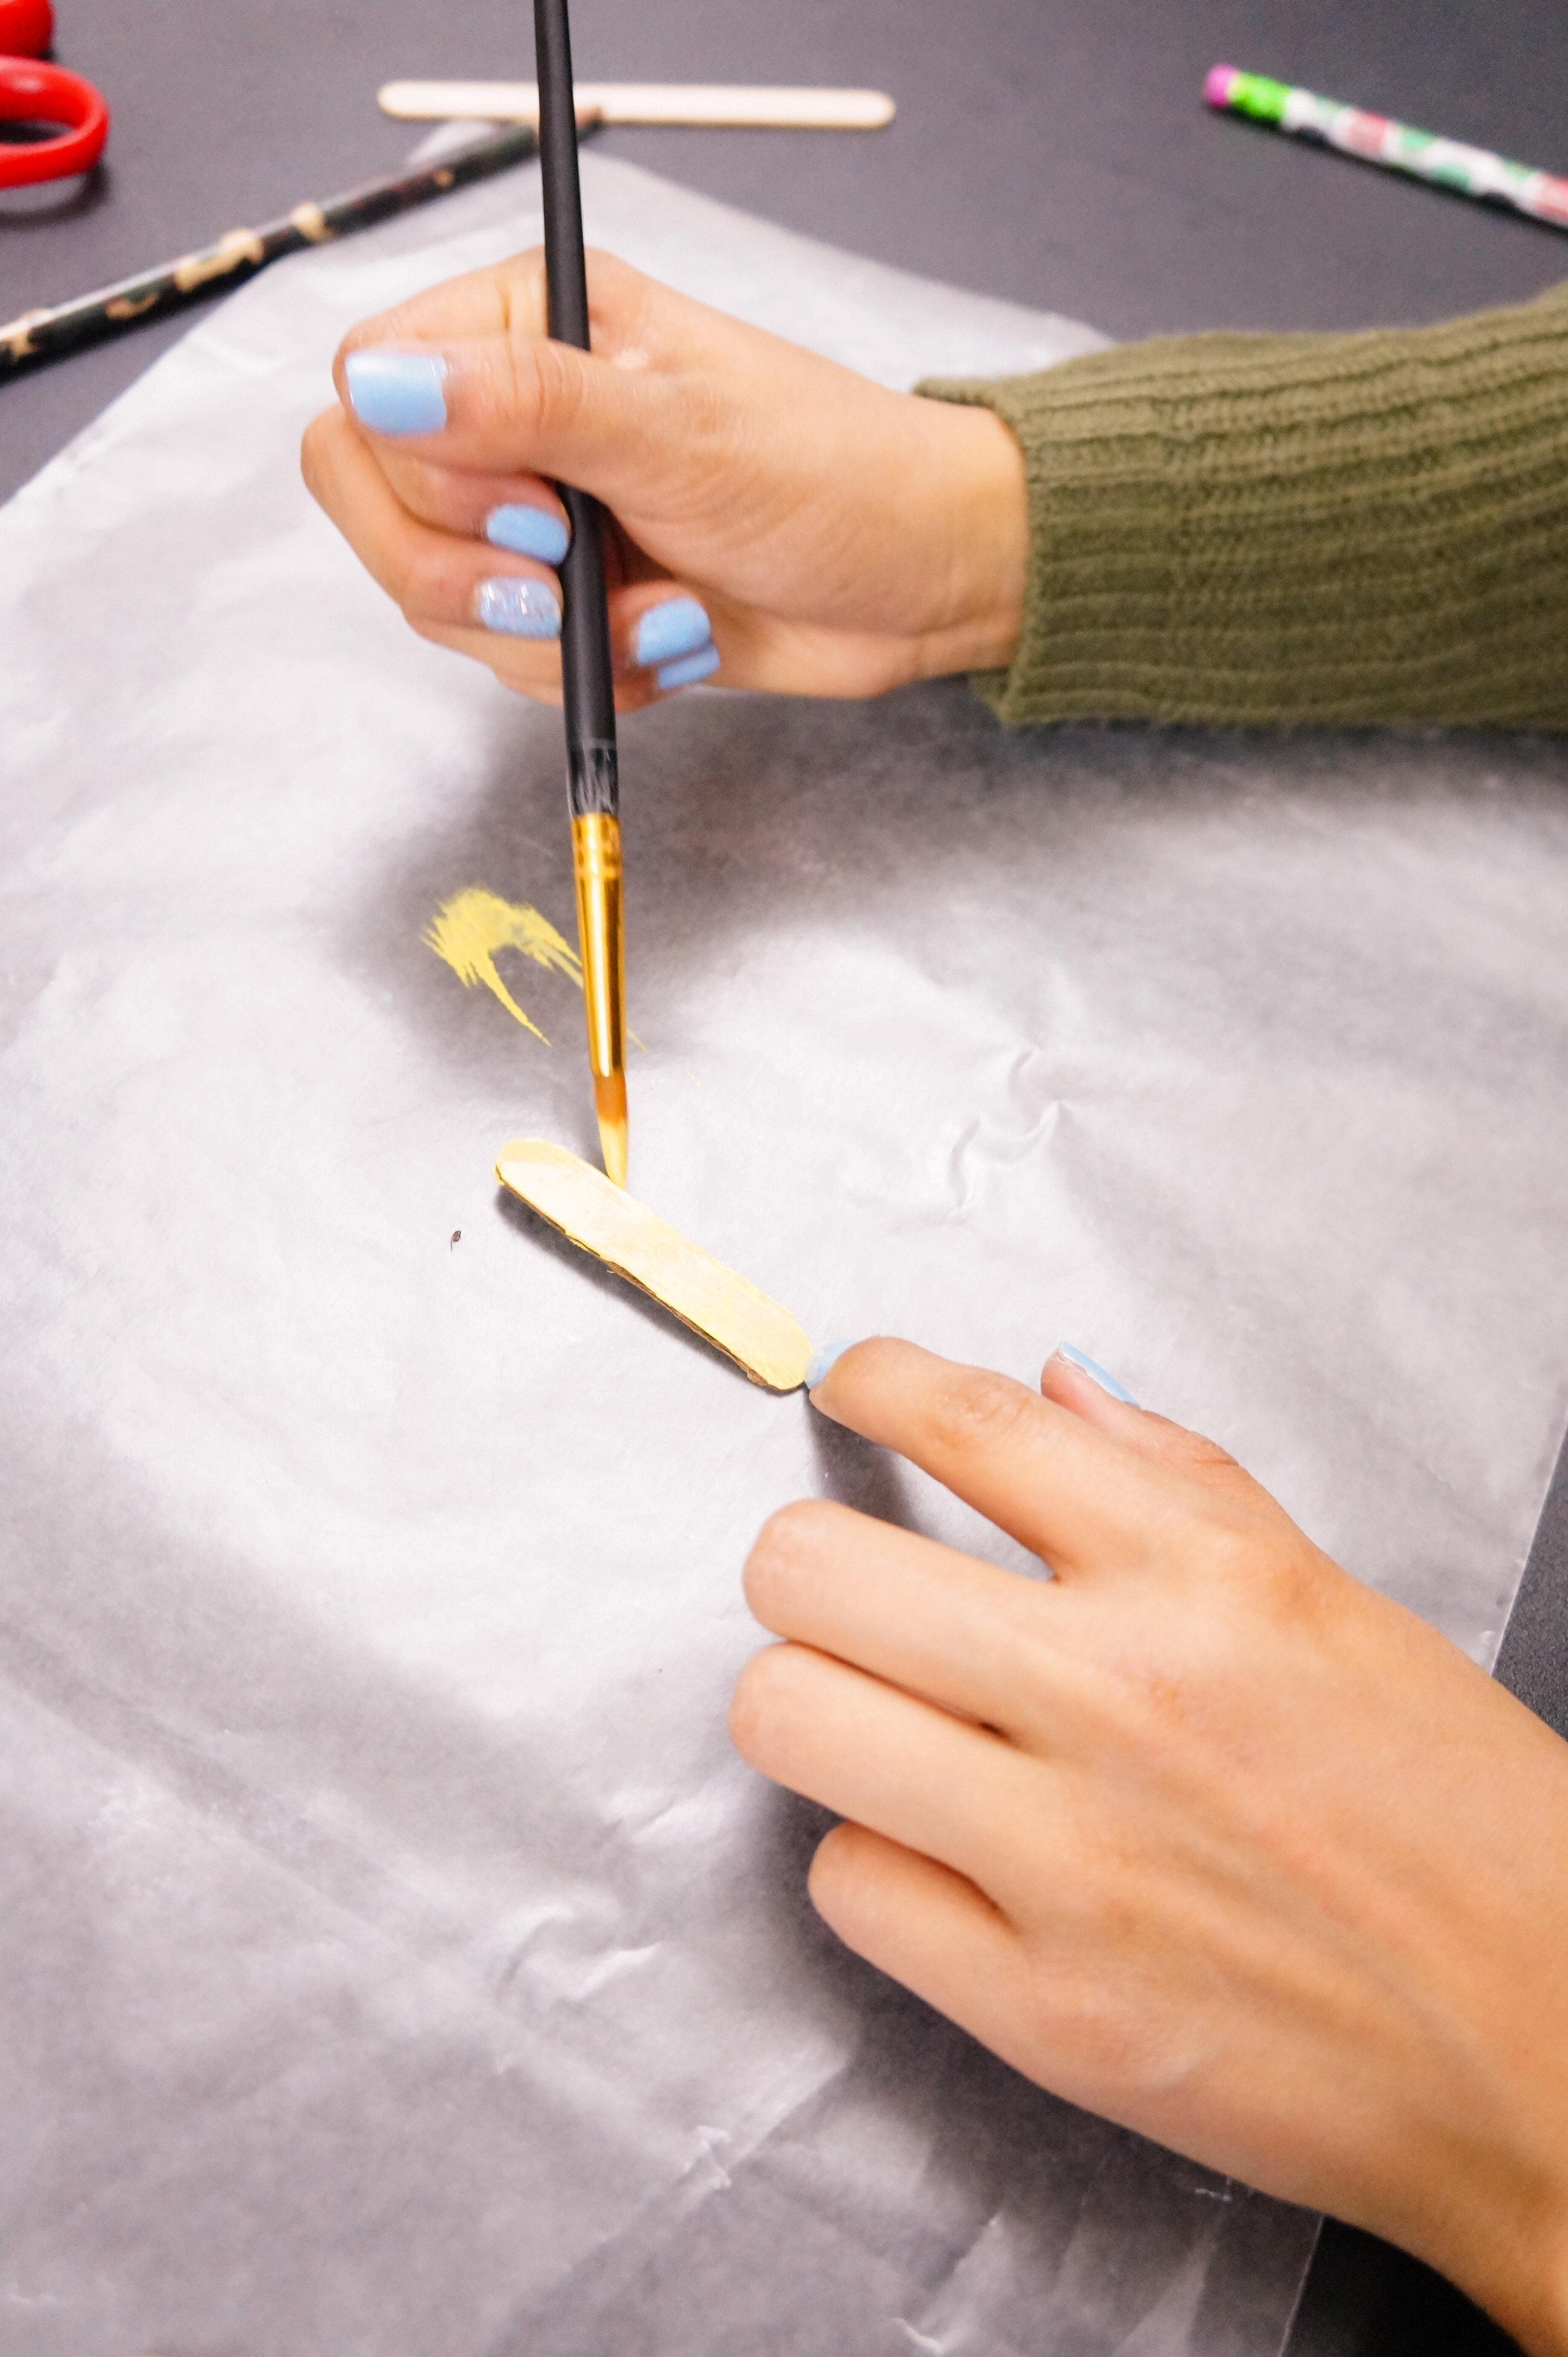
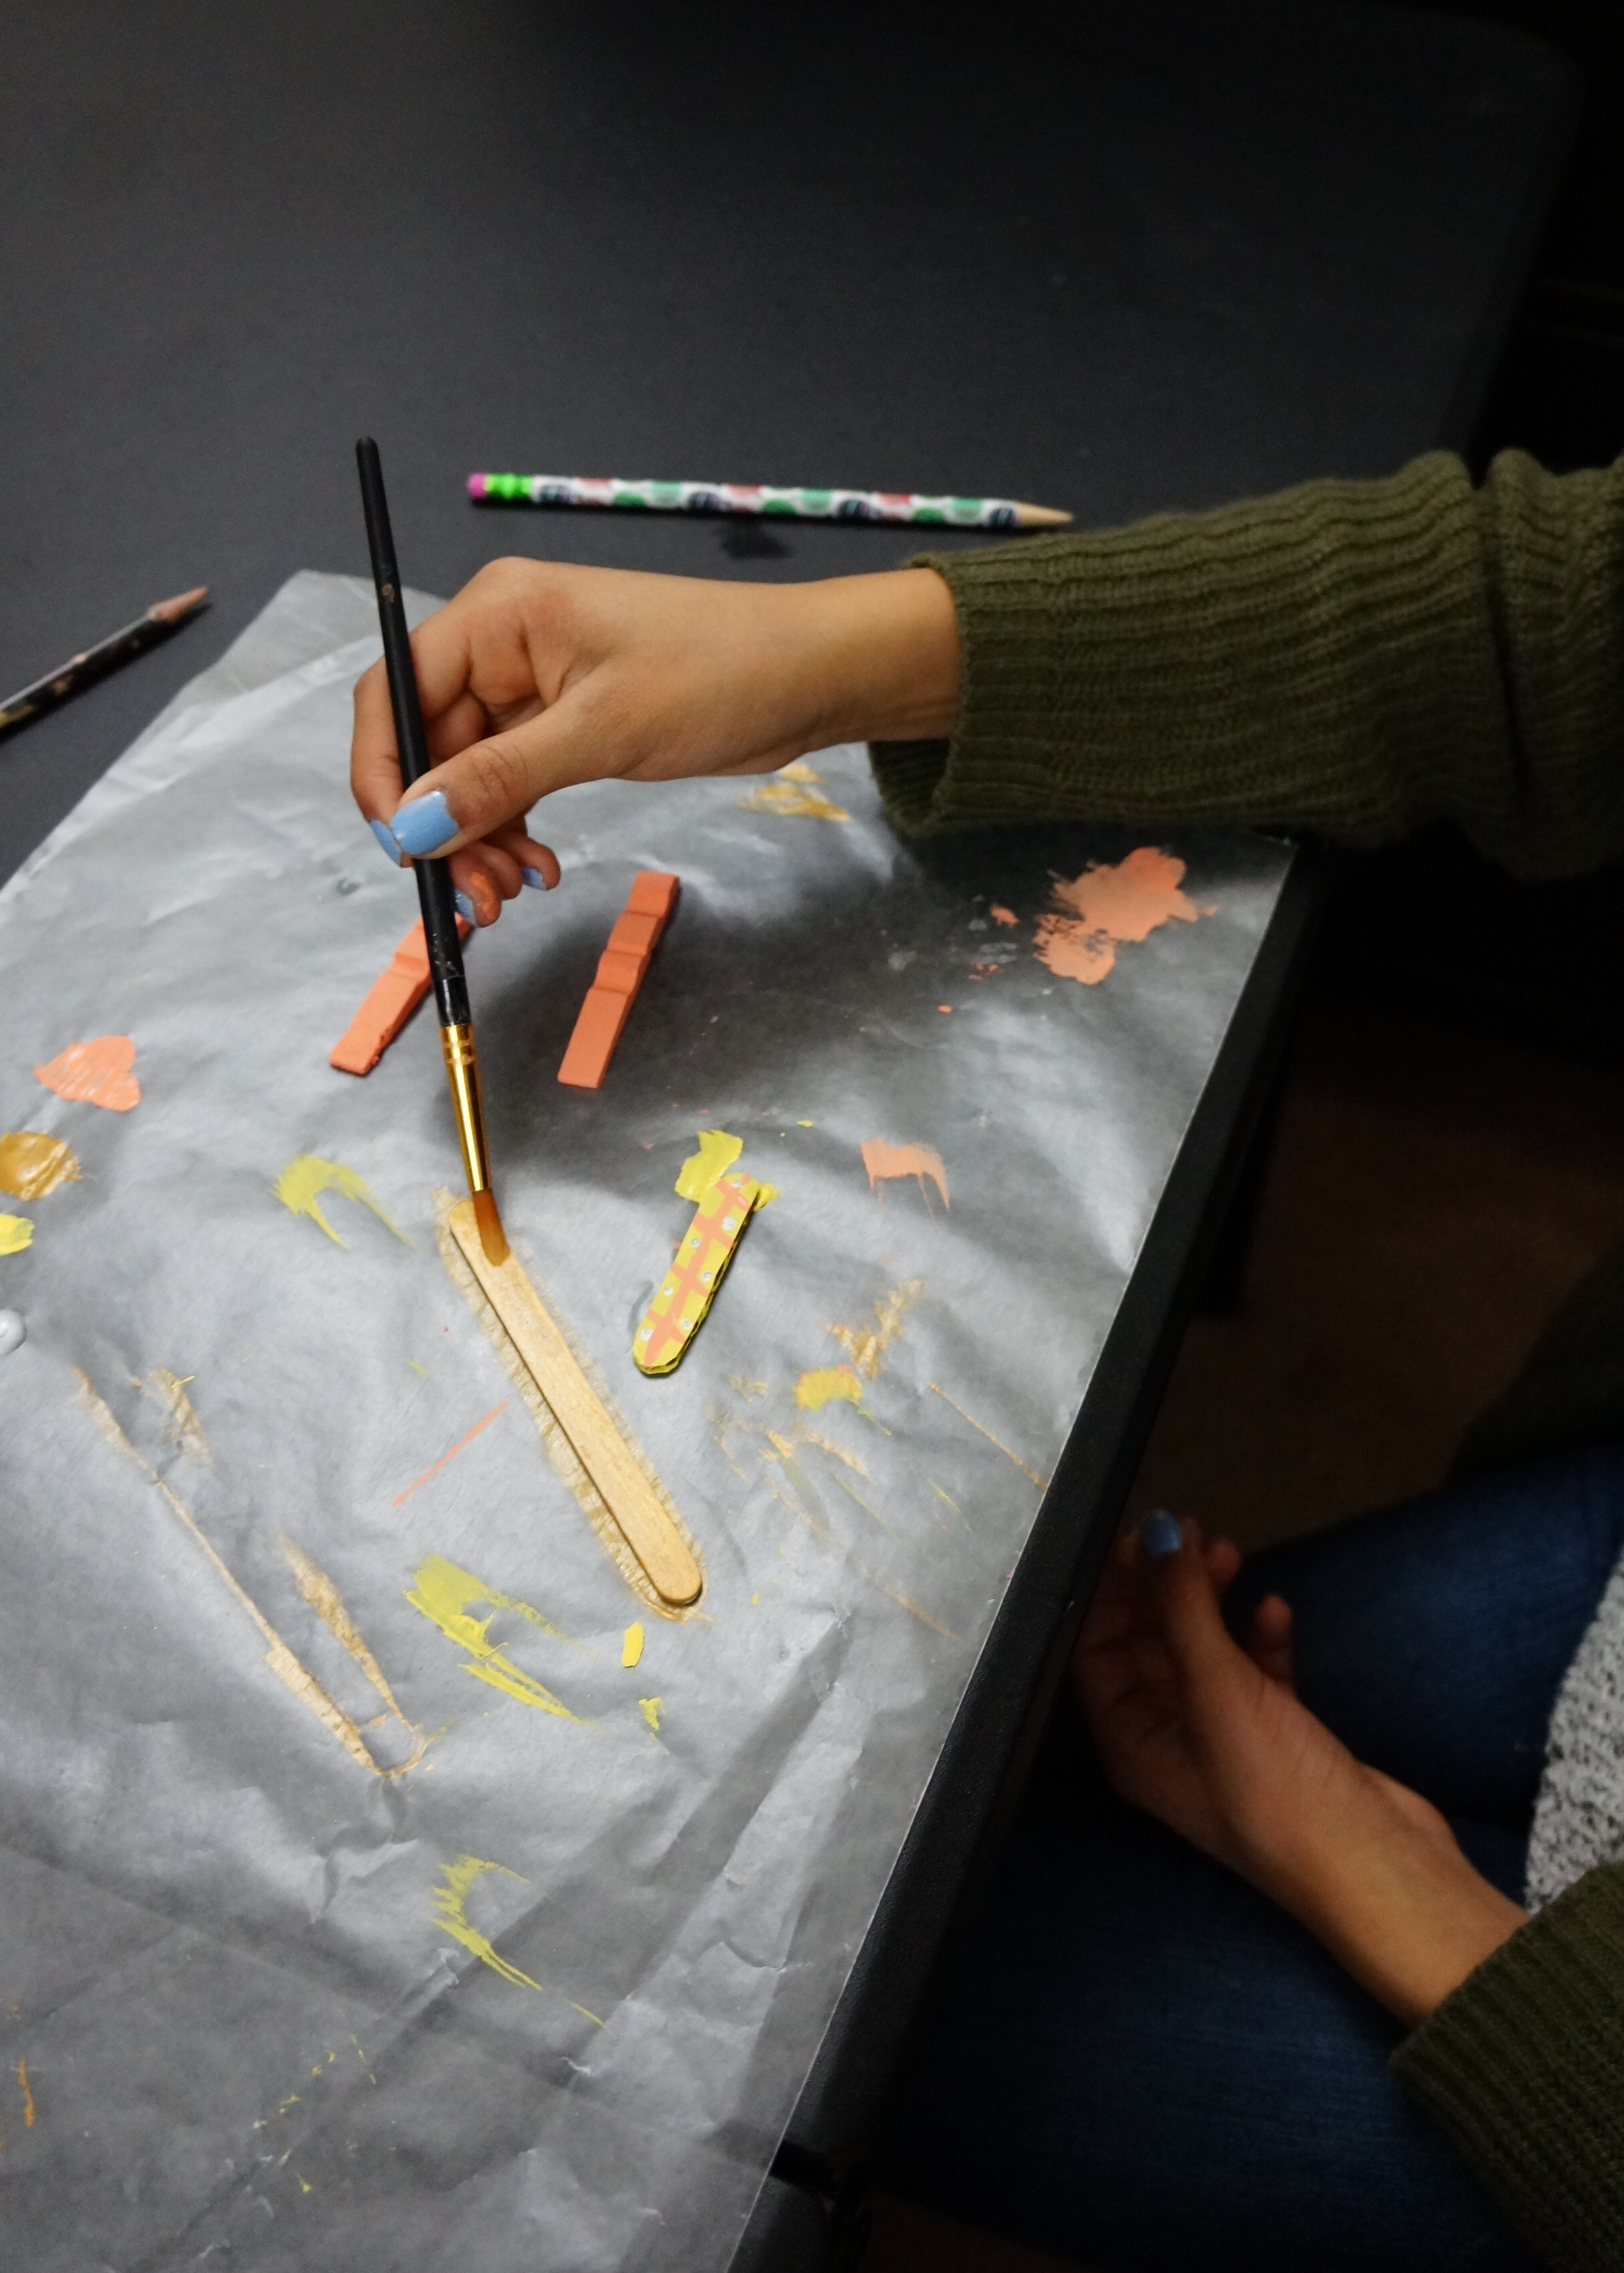
PAINT
Paint your clothespin completely (body of plane), 2 crafts sticks (wings), and 2 short cardboard pieces (propeller & horizontal stabilizer).


***ONLY paint 2 large craft sticks, we accidentally painted three.
ASSEMBLE
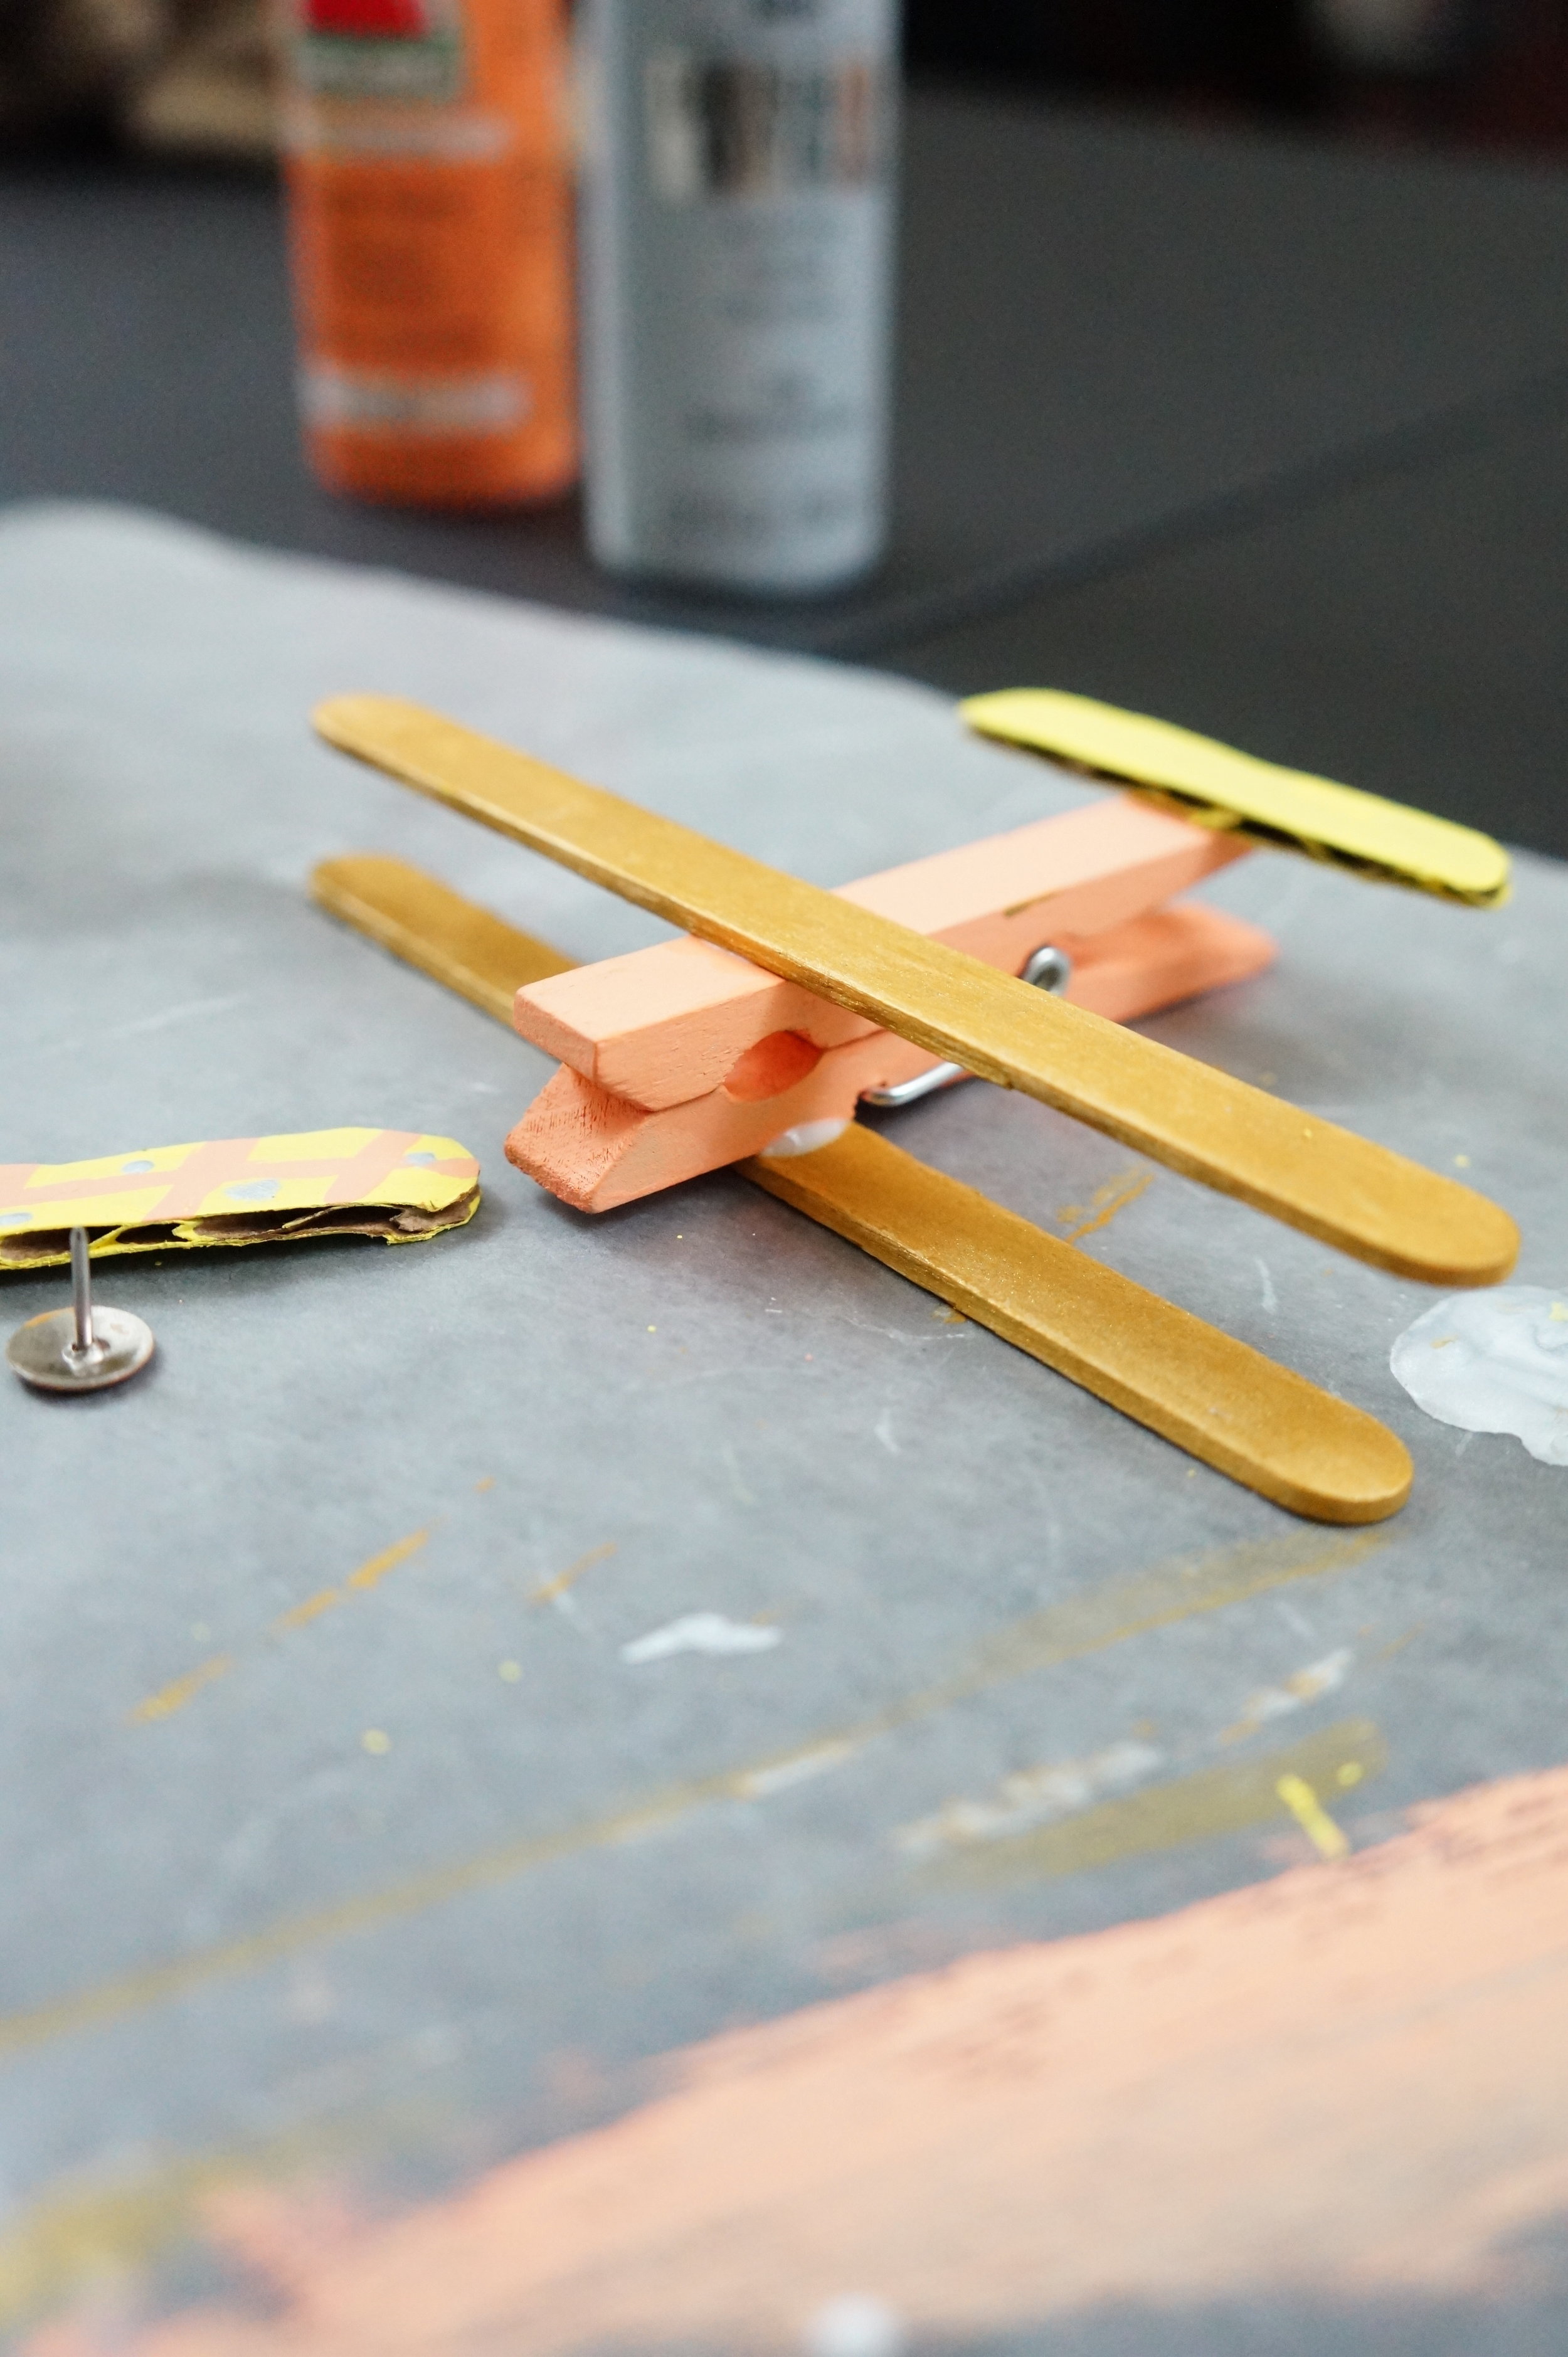
After each piece has dried assemble the body by adding back the connector.
Glue the wings at the front of the clothespin and the horizontal stabilizer (small piece) near the tail of the plane.
We mistakenly added a 2nd horizontal stabilizer; a 3rd craft stick. DO NOT ADD.
3. Add the propeller last or before gluing all the pieces, to the front of the plane. Push the tack through the propeller (adult assembly recommended) and almost all the way into the plane.
4. NOW SPIIIIIIIN!!!
That’s it!
optional: use Gorilla Glue, Goop, or other flexible glue, where the connector rests at the groove, to keep the plain intact through playtime. Apply as a last step so that it can dry fully, a few hours up to overnight.
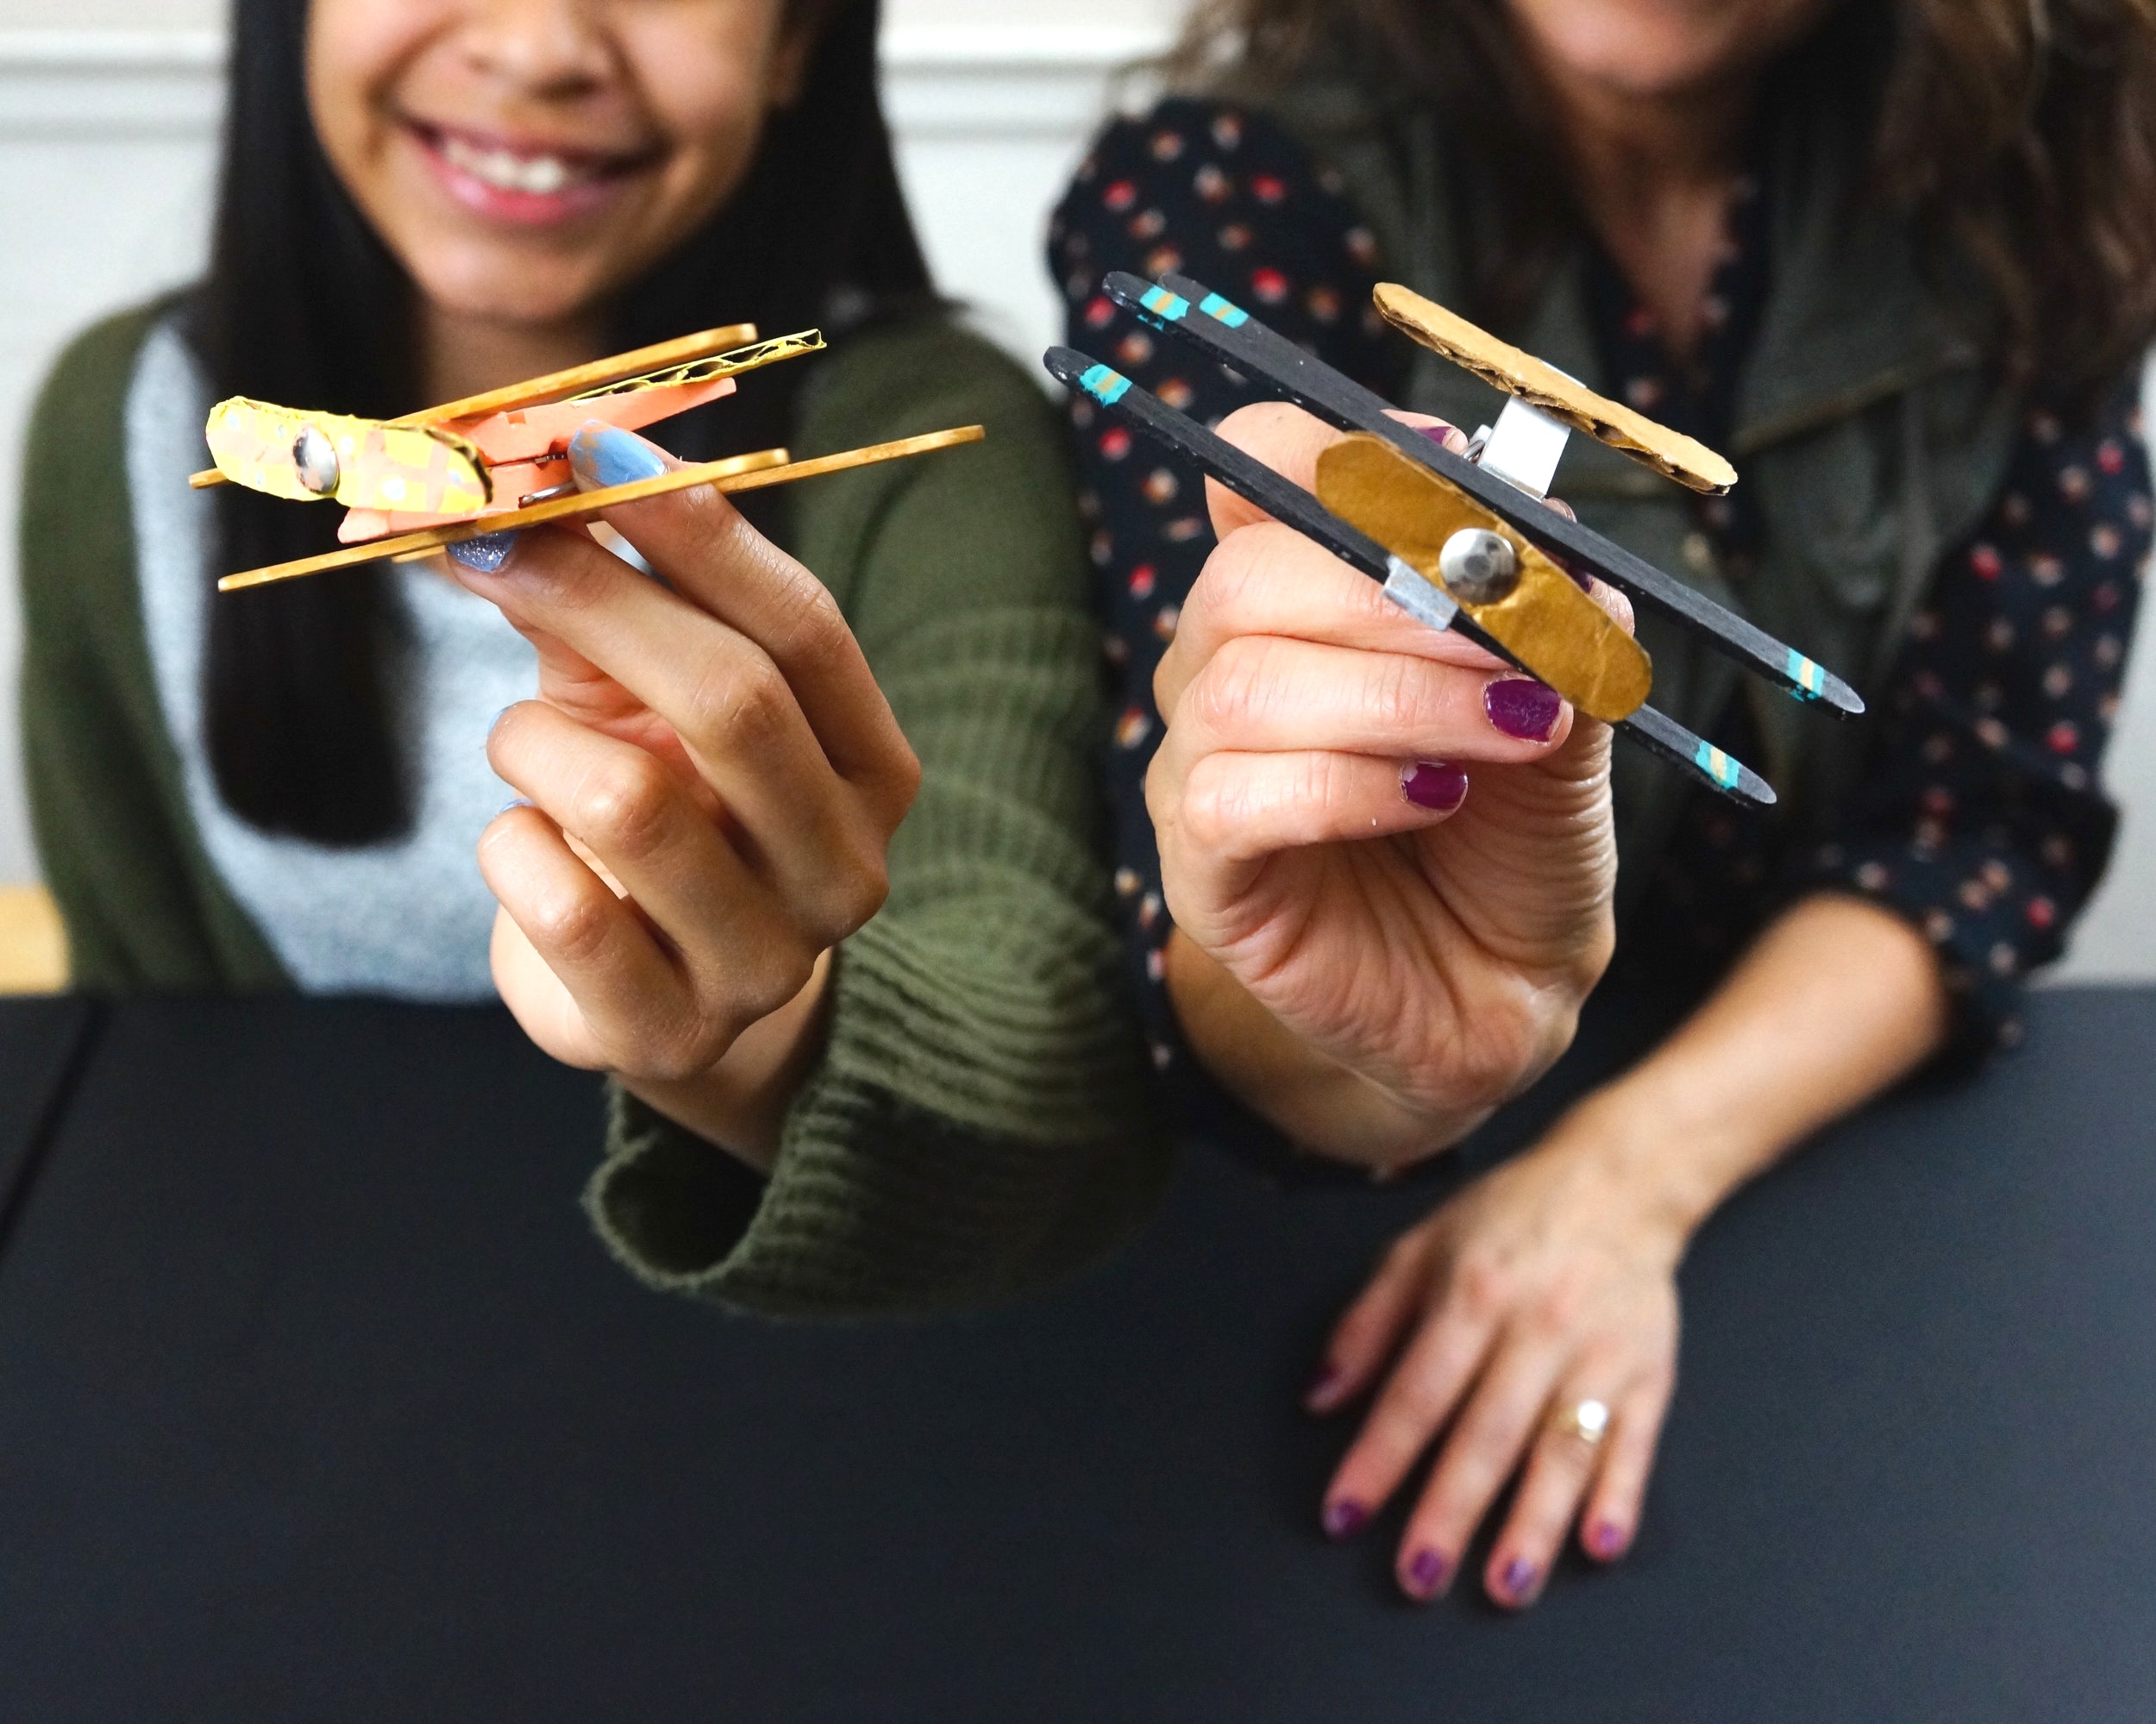
Photos were taken before we realized we had added an extra stick and needed to remove, oops


Happy crafting friends!
Amanda and Naomi
To share: have an adult take a photo of your creation, click on photo submission and have them submit the photo.


