

Hey there, friends!
We’ve had rain on and off, to capture the BEAUTIFUL rainbows we’ve seen after, we created these St. Patty Rainbow Puppets! We’re bringing you a fun and interactive craft that’ll last longer than a real rainbow, has a surprise message inside, and possibly a little treasure! Check out our St. Patty’s rainbow puppet below.
*click on the photos for a closer look
What You'll Need
(2) Lunch Bags per rainbow
Pencil
Craft Paint (rainbow colors, gold, black)
Paint Brushes
Rinse Cup & Old Rag
Green Construction Paper
Scissors
Glue
OPTIONAL: Wax Paper, Small Bowl/Circular Item, Tape, Chocolate Gold Coins
The Steps
We want to see your craft! Click on PHOTO SUBMISSION and submit


RAINBOW
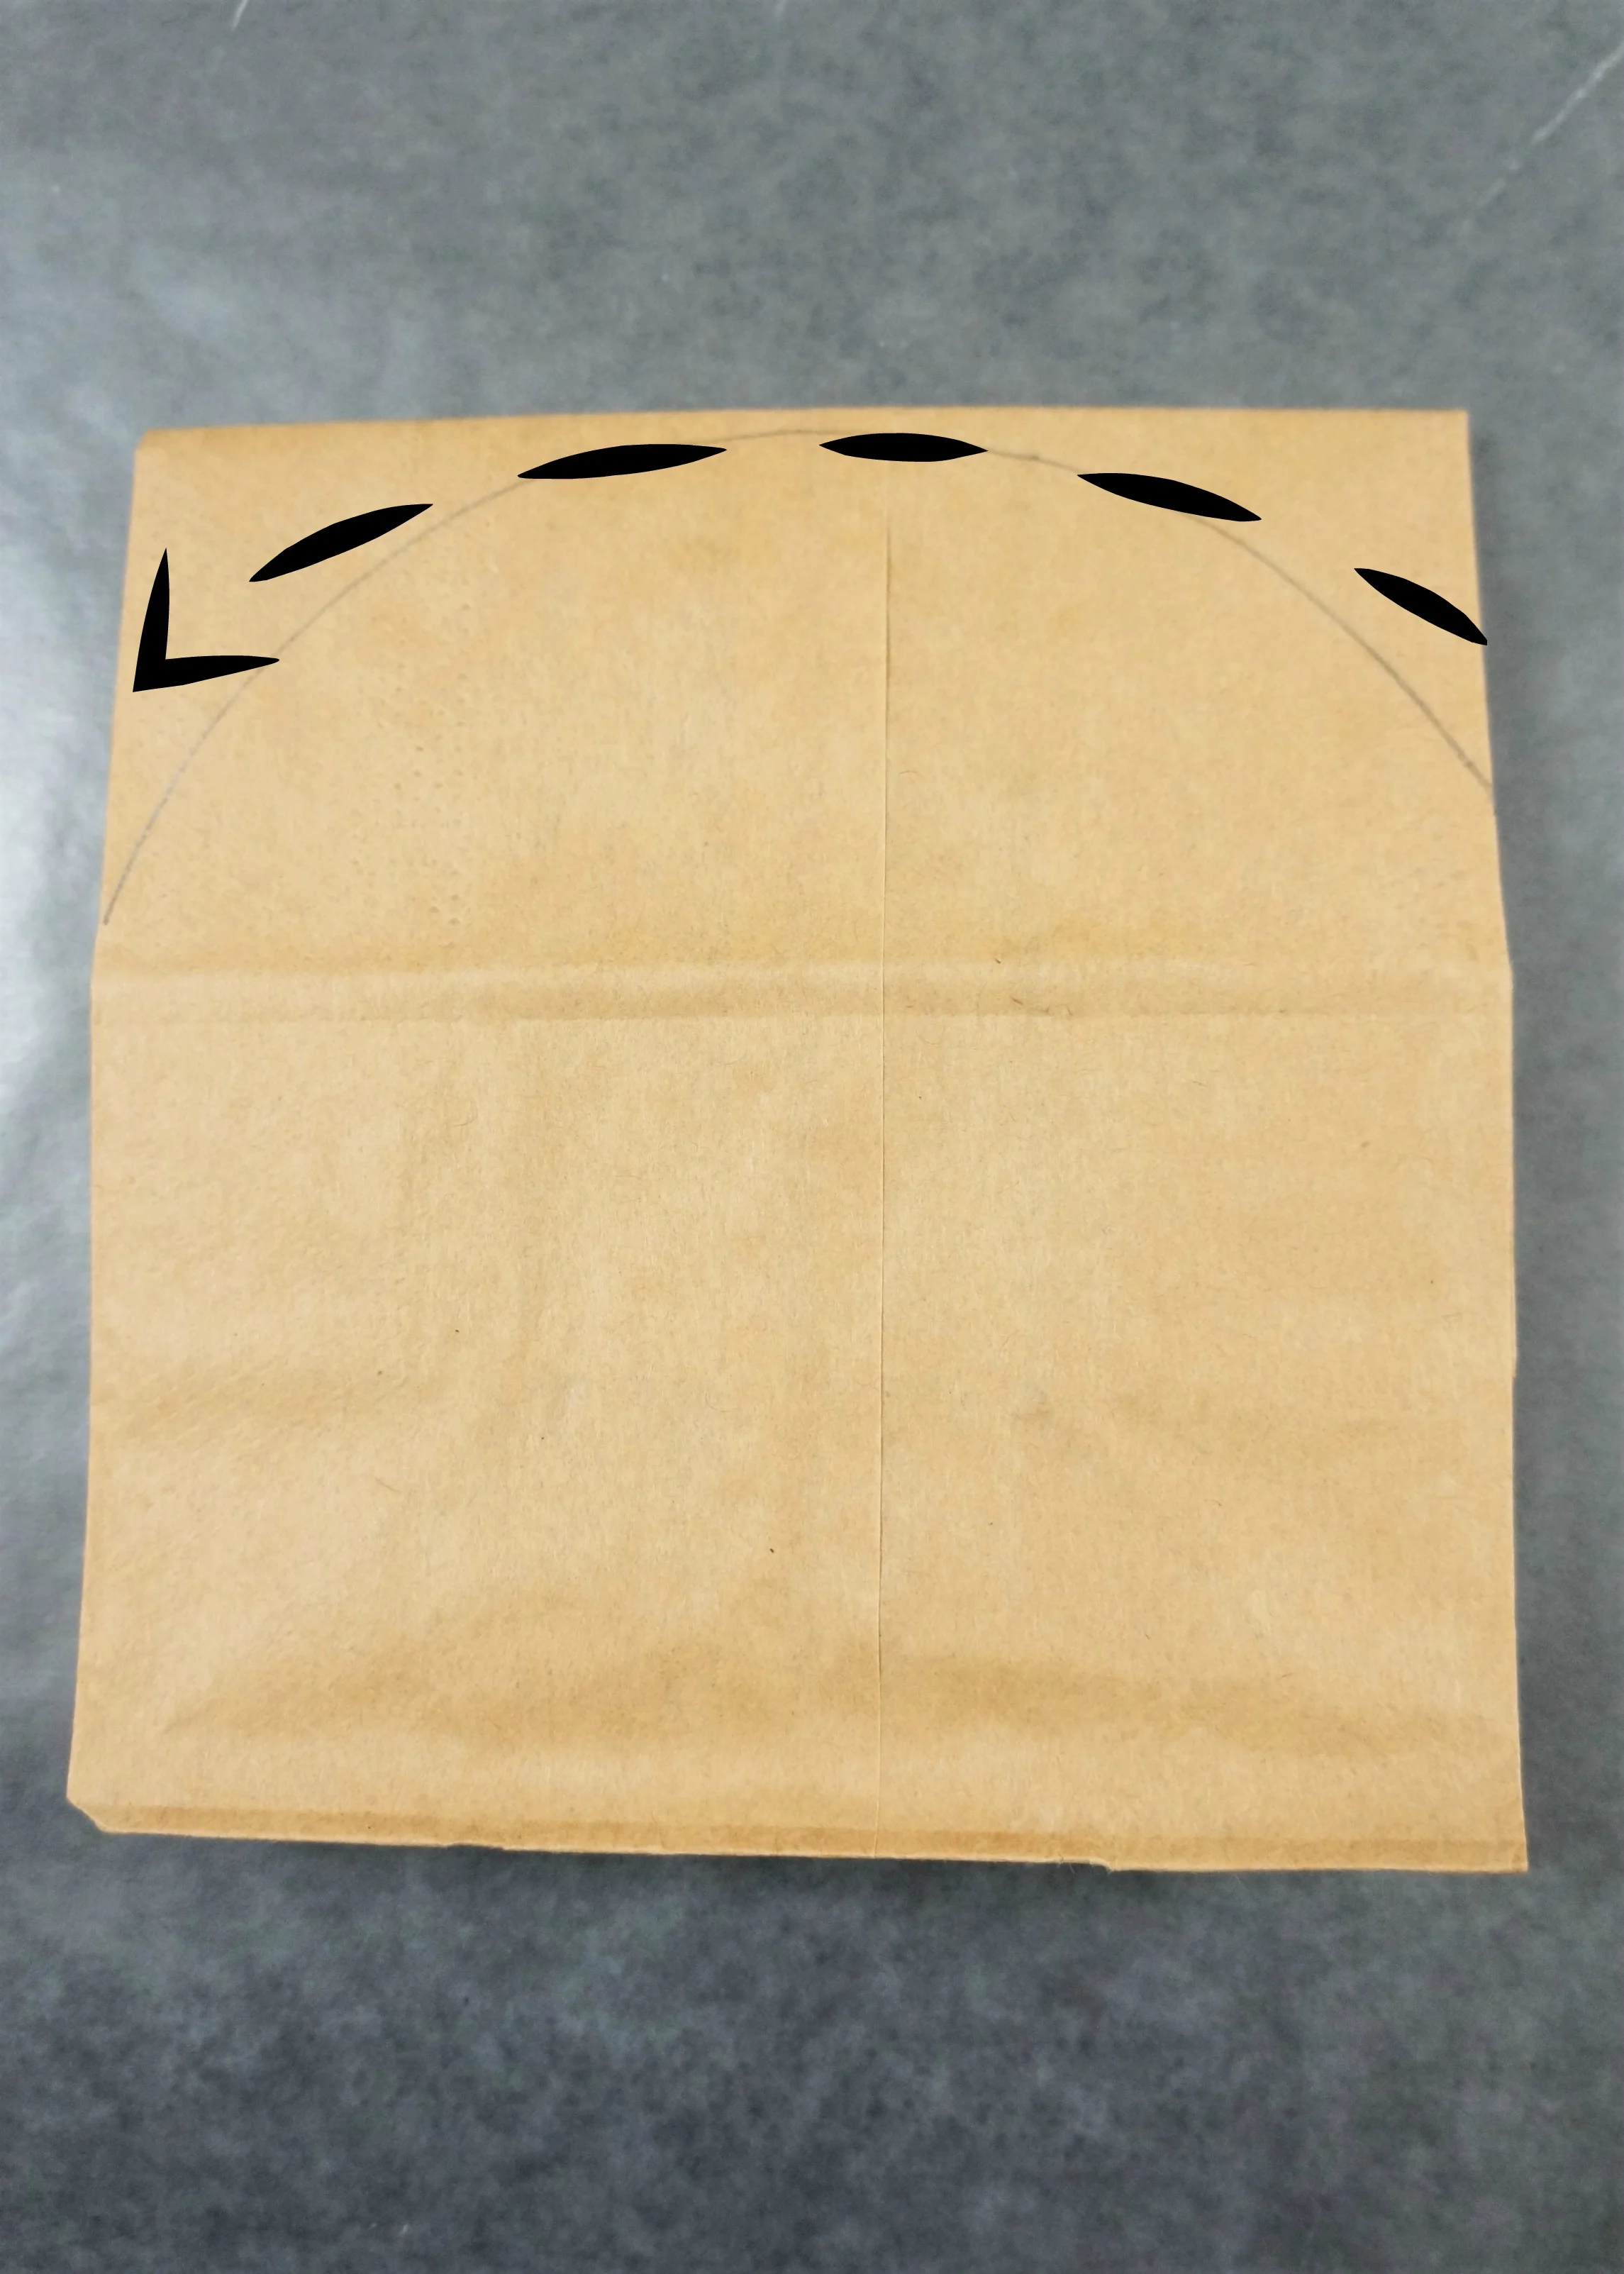
Grab your 2 bags, place the bottom of the sacks up and facing you.
Fold one bag in half, toward you. (back side will now be facing you, this is where the rainbow will be)
Use your small bowl or circular item to trace the upper part of the rainbow.


4. Finish drawing the sides of the rainbow inward slightly and the 1st arch at the center, before drawing the next 5 arches(7 total).
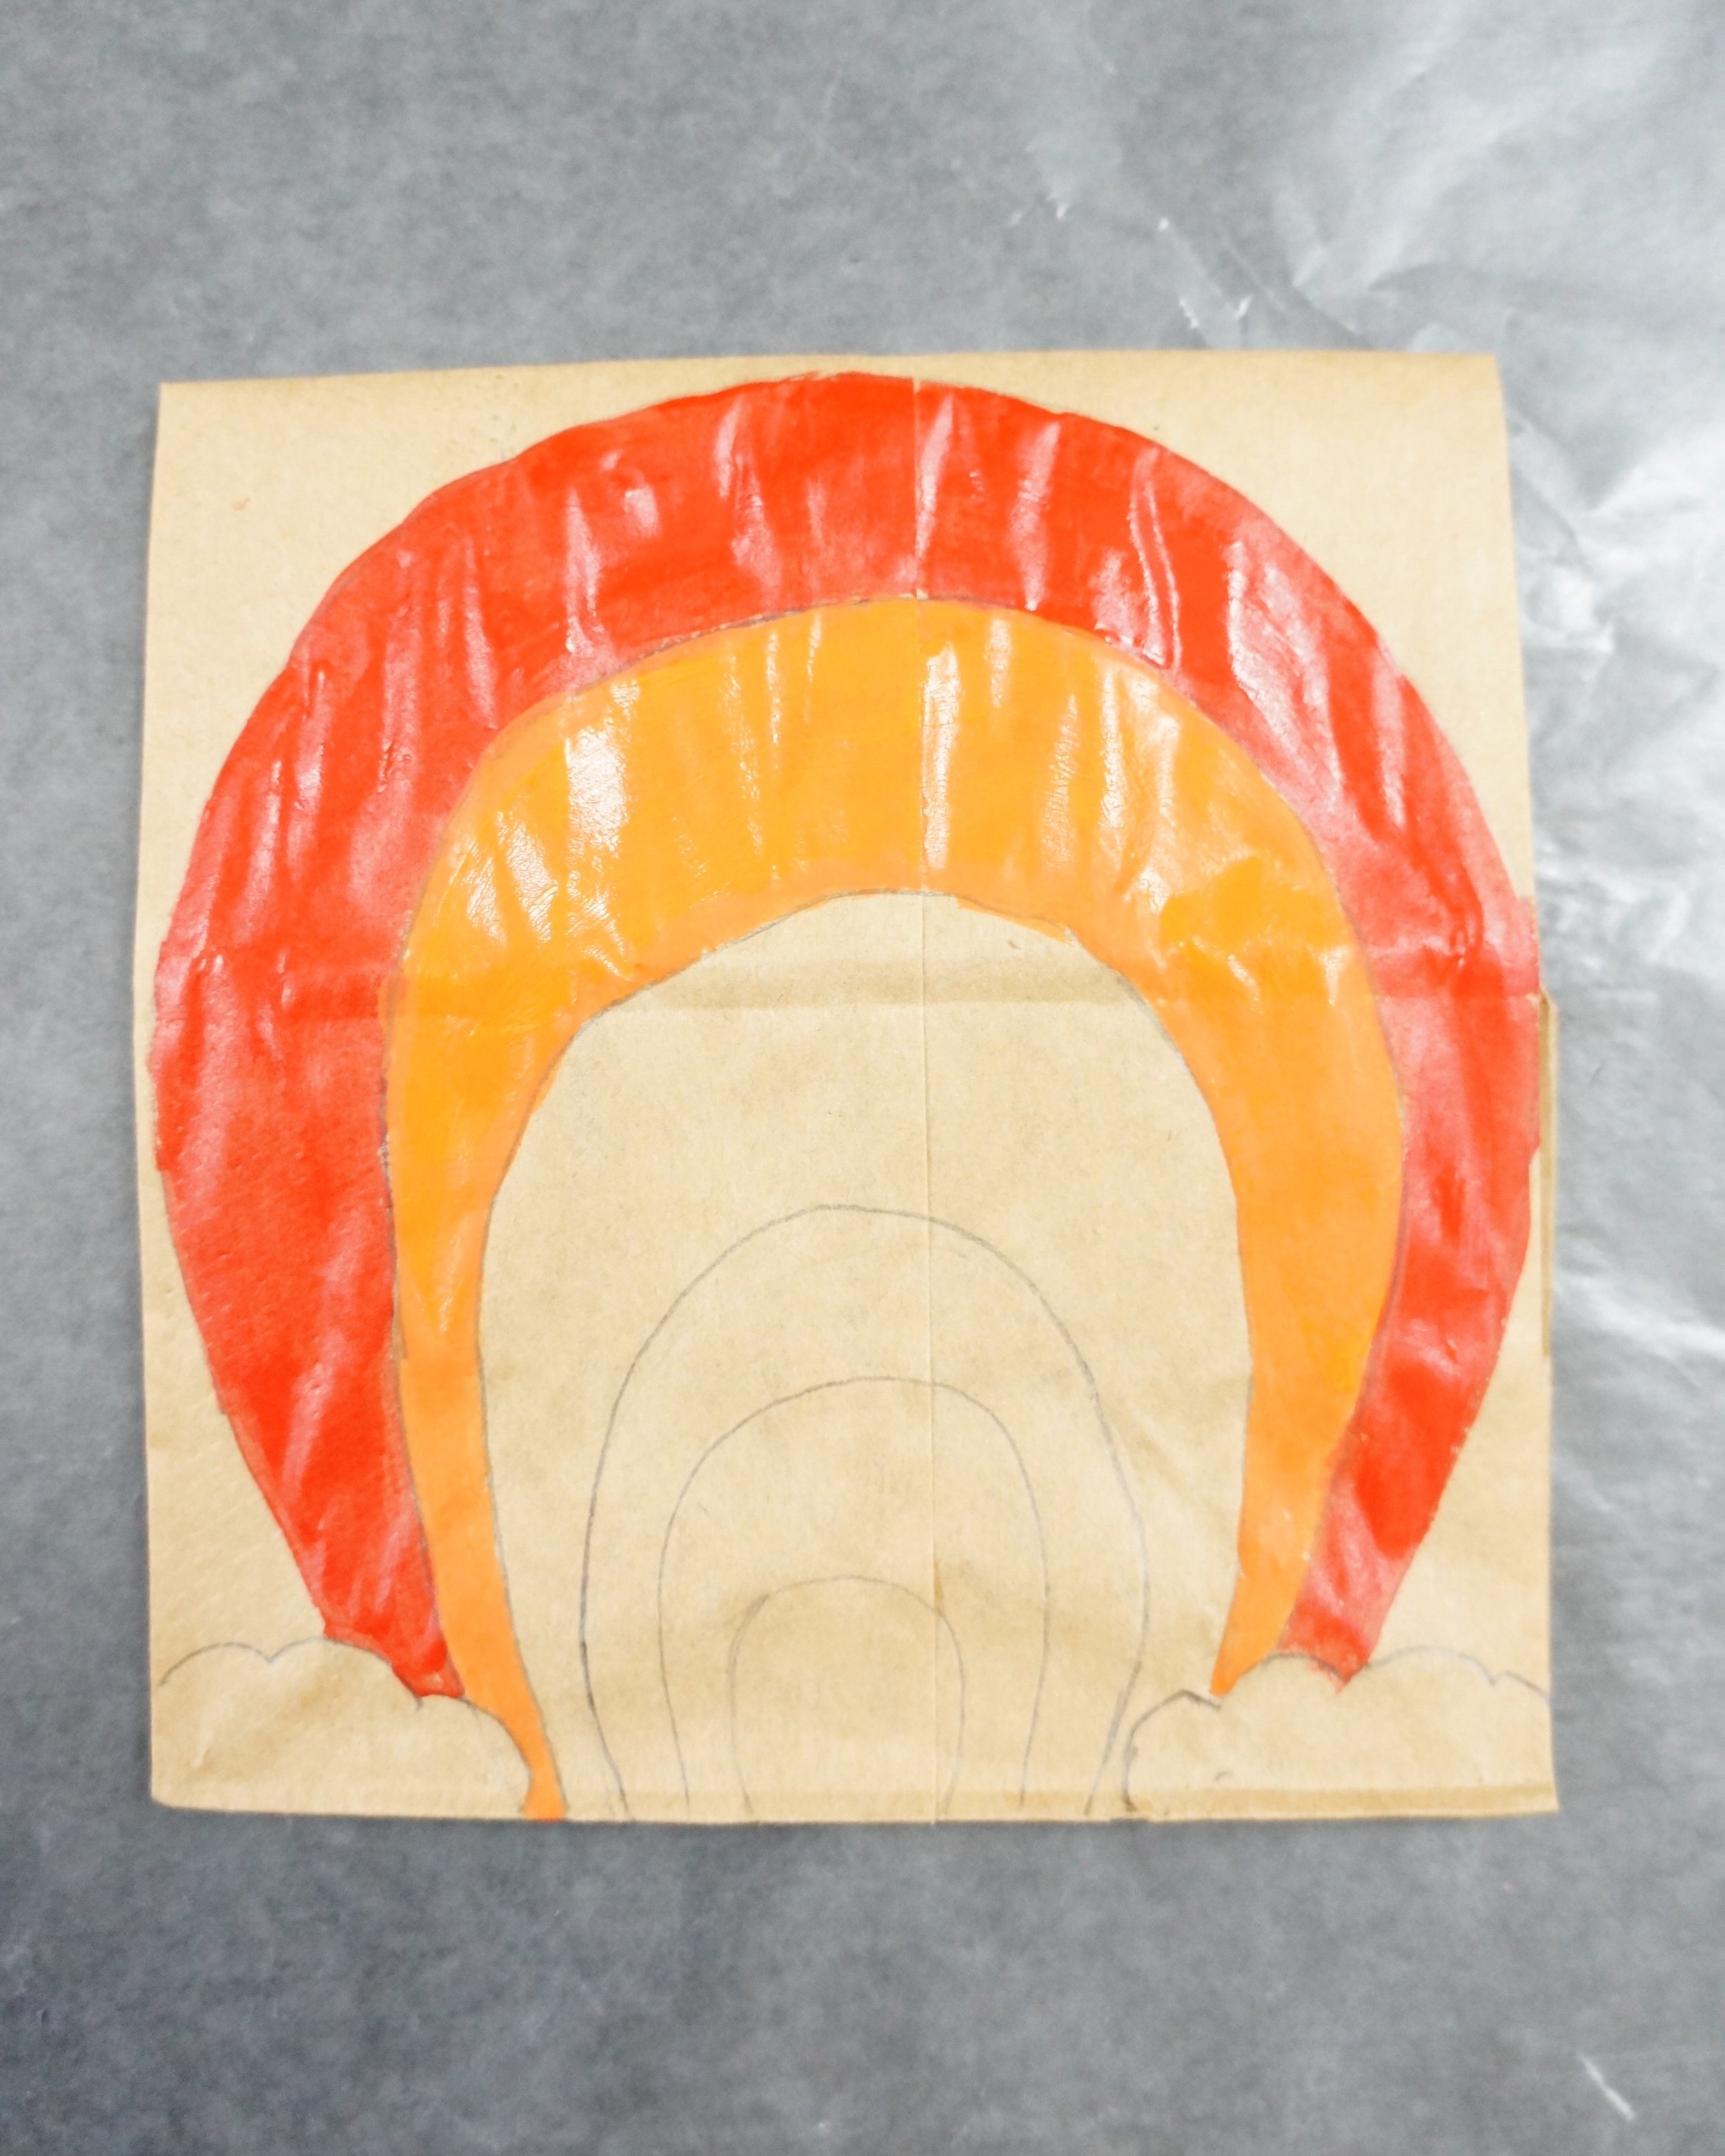
Optional: draw clouds at the base of the rainbow, shown further below


POT OF GOLD
Place the folded rainbow over the 2nd bag. The rainbow helps determine where you’ll draw the rim of your pot on the bottom bag.
Draw your rim. pot, feet (2 feet or 1 in the center), and glare streaks (optional).
Remove the rainbow, open up the fold, and on the backside write/paint or use a marker for your surprise phrase of choice:
“HAPPY ST. PATRICK’S DAY!”, “HAPPY ST. PATTY’S DAY!”, “I FOUND ME POT O’ GOLD!”,
“I’M LUCKY TO HAVE YOU!”

RAINBOW
5. Paint the outside arches first(6), a sky (outer edge of the rainbow & smallest inner arch- not visible in photo), and clouds.
6. Paint the pot.


POT OF GOLD
4. Draw the coins (I used the paint pot to trace a few) and paint them with yellow, gold, or both.
Optional: paint yellow/coins all the way under the flap or just halfway.


GRASS + ASSEMBLY
Cut a green strip of paper for the grass and the grass blades. Optional: cut out a clover shape and glue it as well.
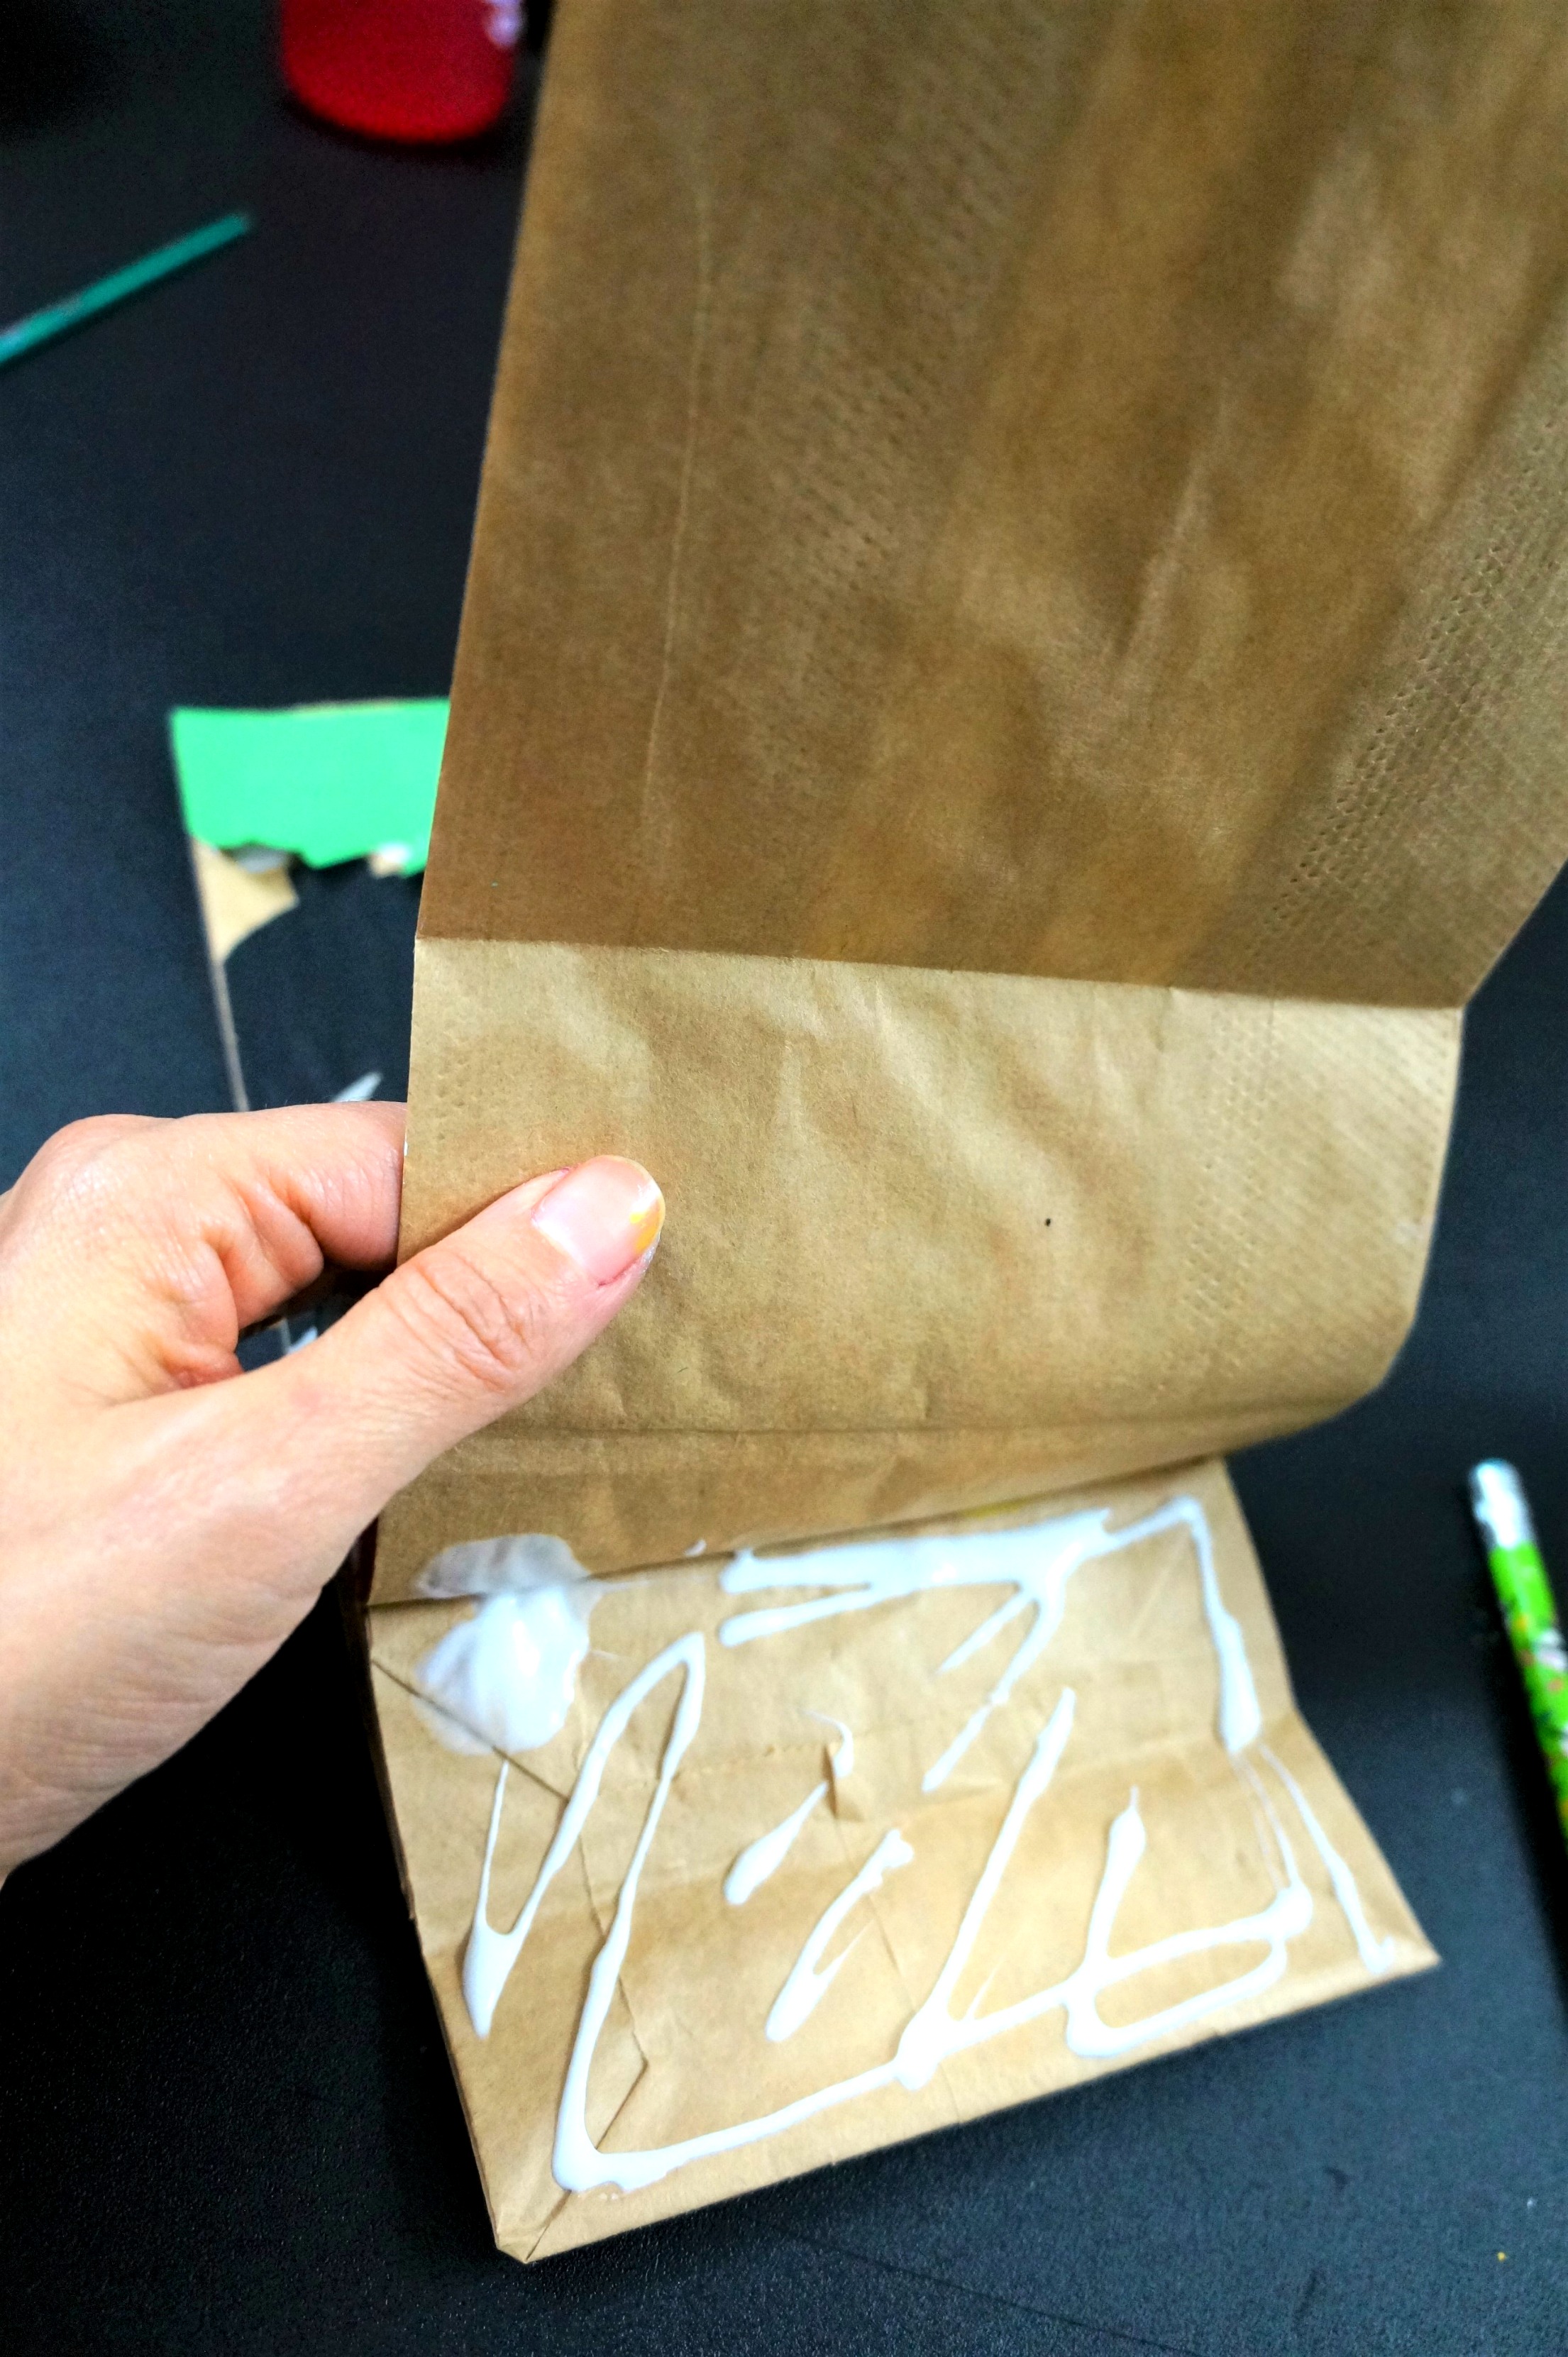
Lift up the flap above the coins, add glue to the flap and to the flap under the rainbow, then overlap them and press together. Your message will face you.
Lastly, add more glue to the back side of the rainbow and press down. Let that dry before using.
***FUN TREASURE*** Tape a few gold candy coins onto the painted coins!


Happy crafting friends!
Amanda and Naomi
To share: have an adult take a photo of your creation, click on photo submission and have them submit the photo.


