

Hi Friends!
In honor of Naomi’s upcoming birthday, we created some fun Yarn and Felt Wrapped Containers. Part of her gifts included inexpensive items to redecorate her room. This craft was an easy and cost-effective way to add more color, texture, and personalization to her space, while recycling some items.
Check it out below and don’t forget to share it with us.
*Click on the photos for a closer look
What You'll Need
Recycled Plastic/Paper Containers (yogurt, drink mix, oatmeal, etc.)
Yarn
Felt
Glue
Scissors
Wipes/Wet Rag
OPTIONAL: Jute/Twine, Embroidery Floss, Ruler

The Steps
We want to see your craft! Click on PHOTO SUBMISSION and submit


Naomi decided to use only yarn in a few of the colors from her room.
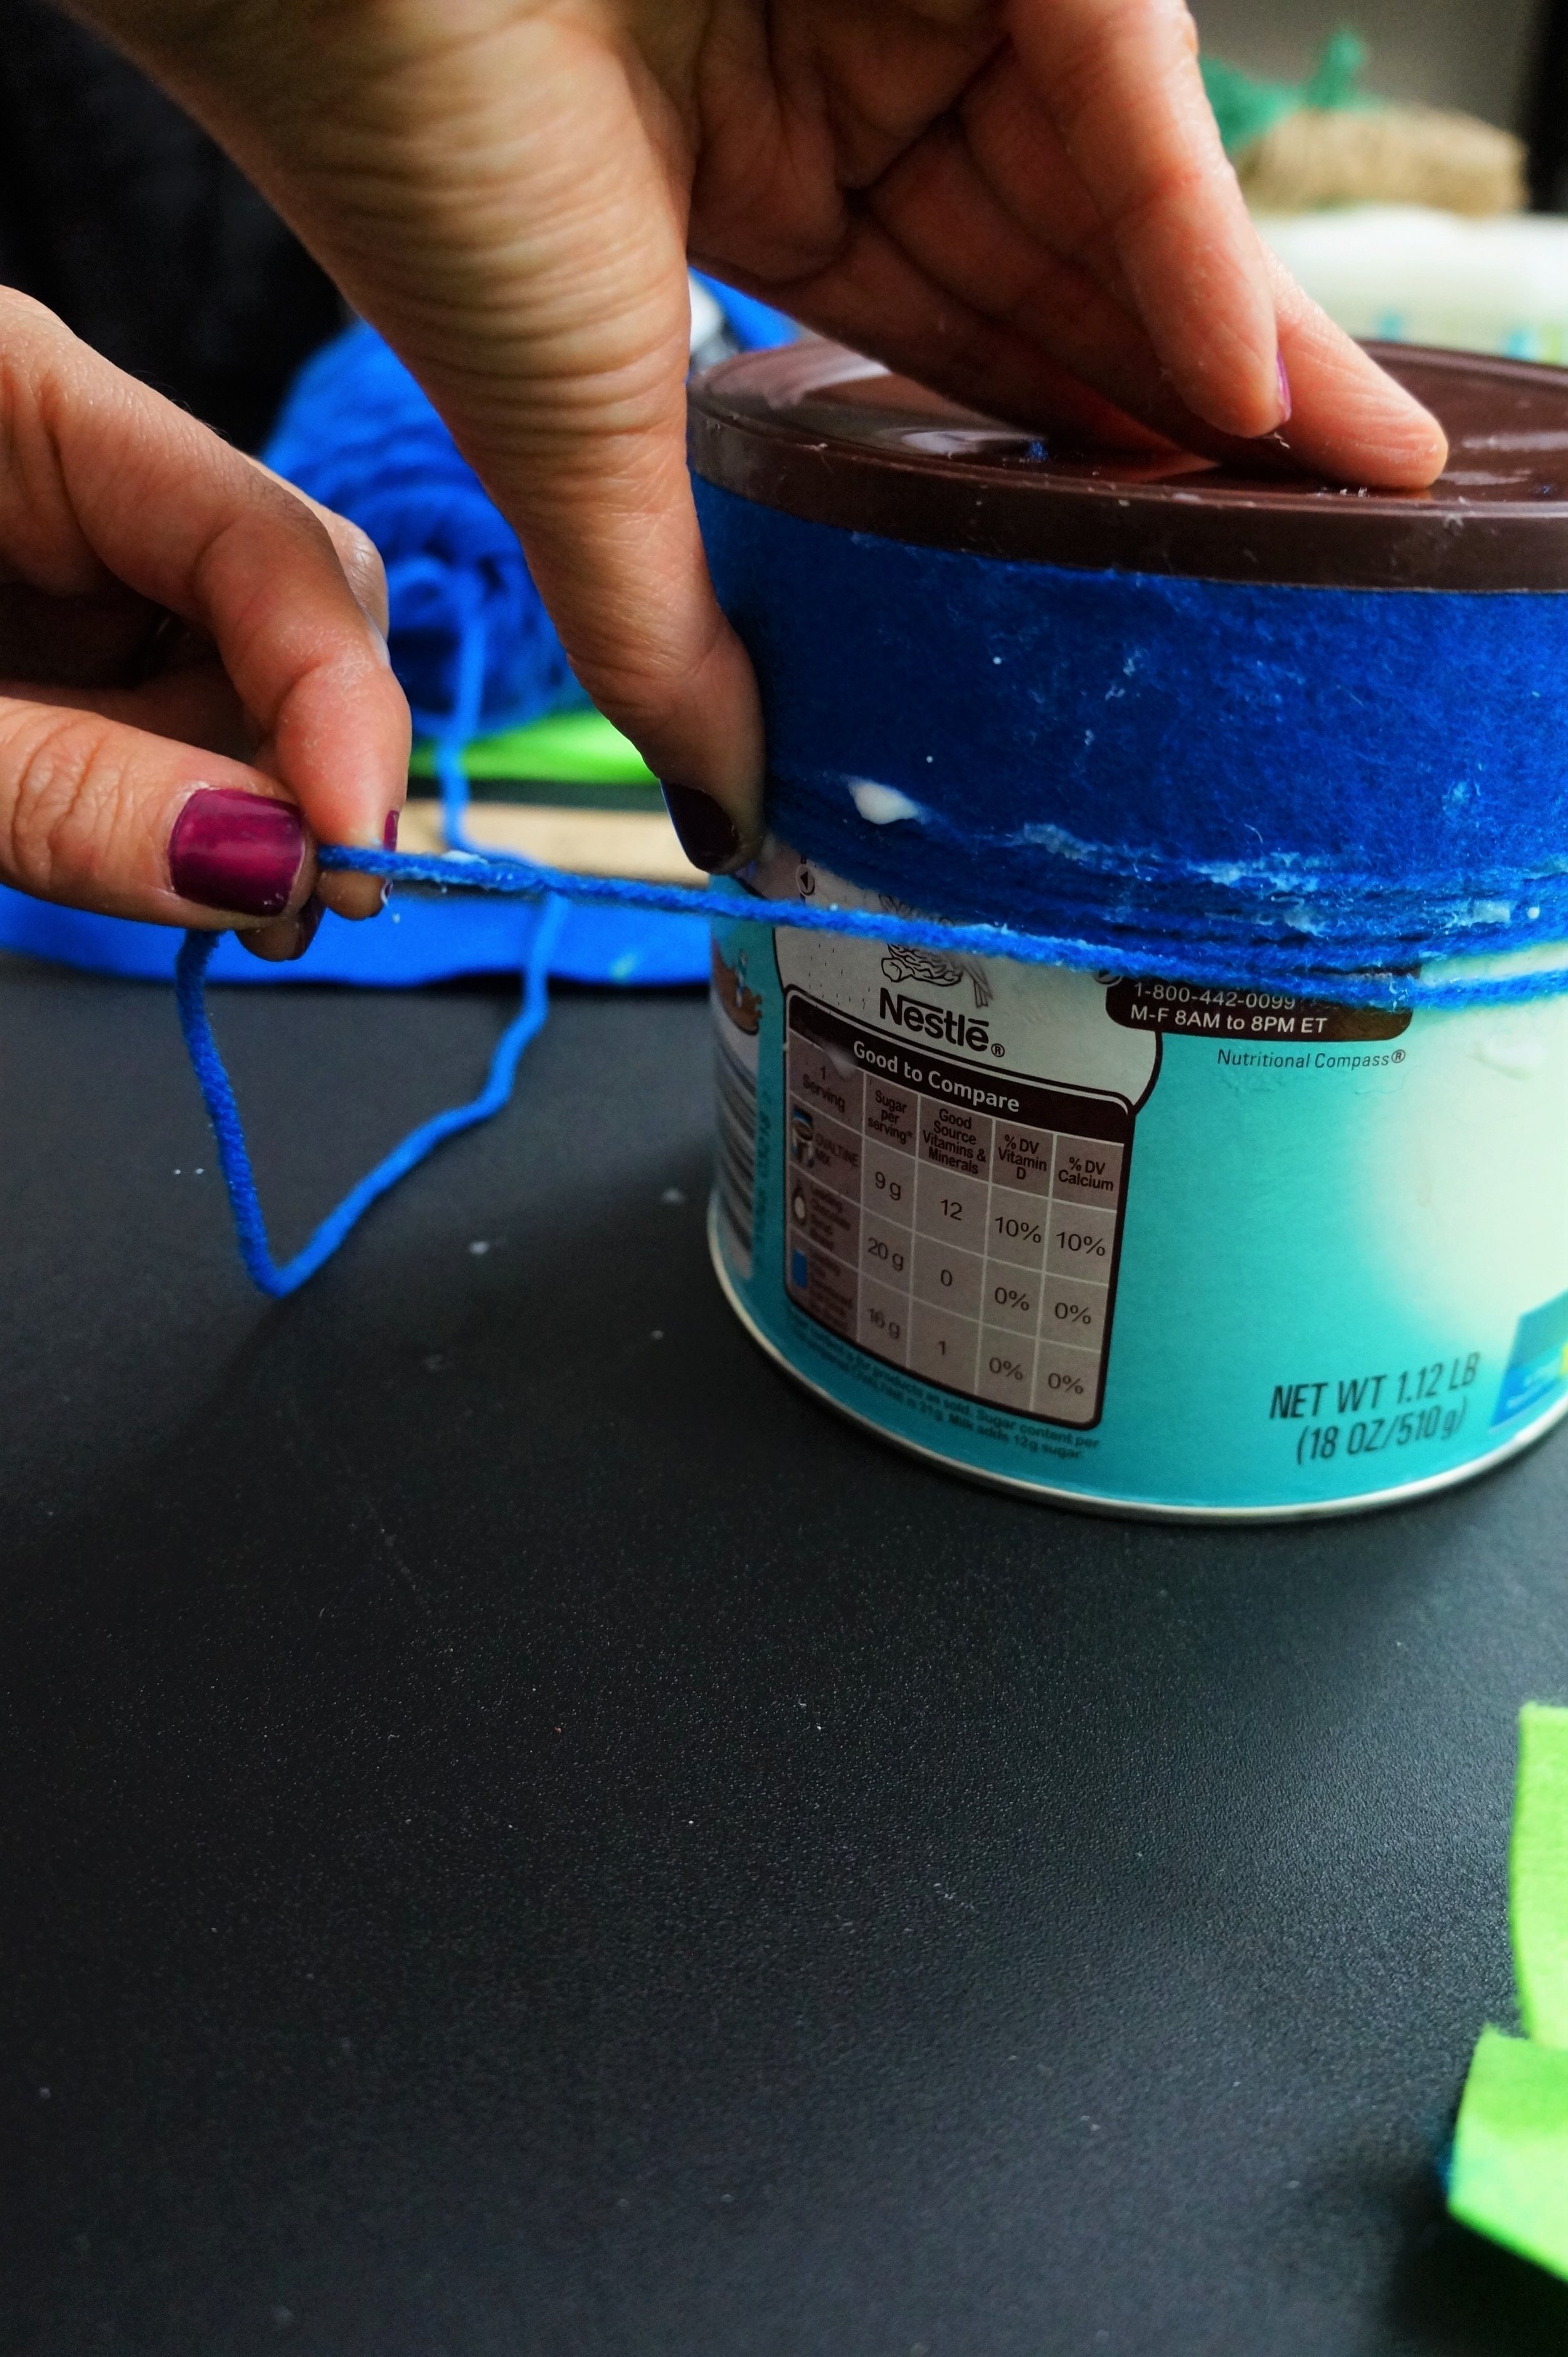
YARN CONTAINER
Apply plenty of glue all around the top portion of the container, then hold the yarn against the side with your thumb and wrap it around 10 -13 times.
Add more glue and continue with the next color.
Make sure to slide the yarn down with each color to close up any gaps.
*This is where the wipes/washrag come in handy because your hands get sticky.


I chose felt, yarn, and twine in spring colors.
FELT & YARN CONTAINER
Use the ruler as a guide for the length/width of the felt needed, and cut a few strips and shorter pieces.
Apply plenty of glue around the top of the container, hold the felt with your thumb, and tightly wrap it around. *Clean your hands often.
*Felt isn’t as forgiving with glue. When the glue dries, it can leave a white mark.

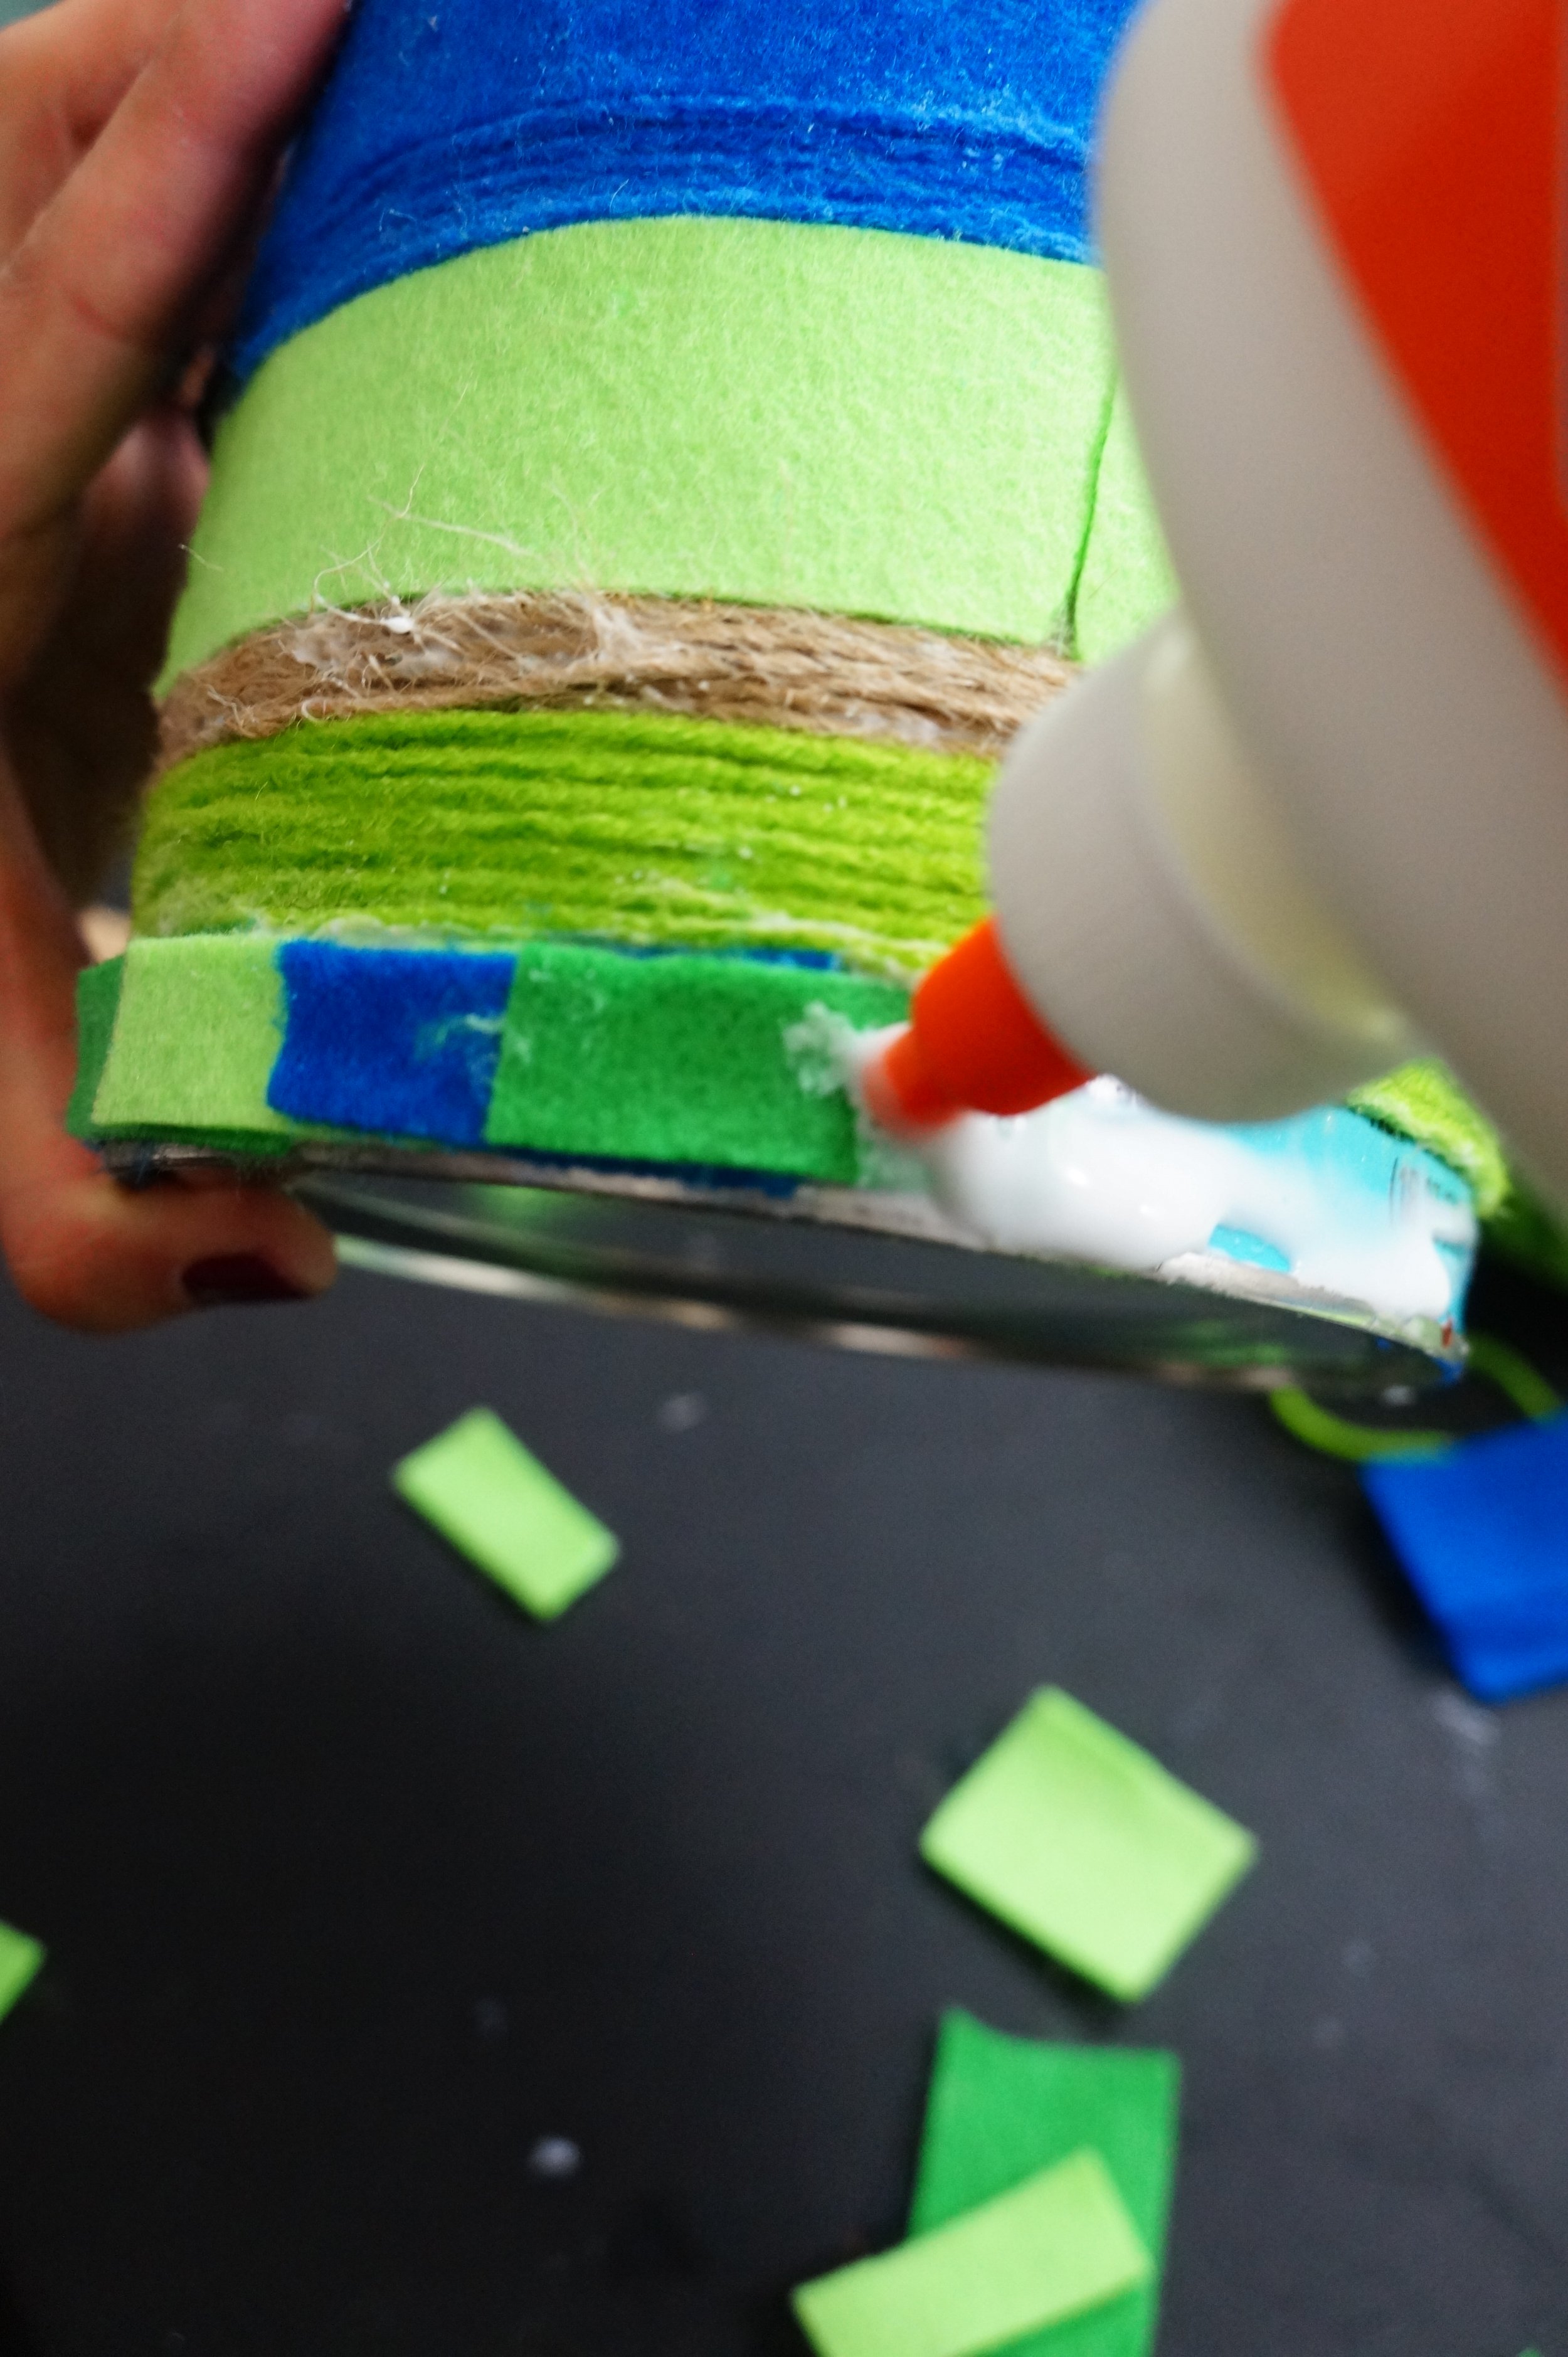
3. Apply more glue and tightly wrap the blue yarn, add lime green felt, tan jute, and lime green yarn.
*Don’t worry if your felt strips aren’t long enough, just cut more pieces and glue.
4. Add more glue on the bottom edge, alternate the felt, and overlap it.


5. Lastly, cut a piece of felt for the lid, add plenty of glue, and glue the felt onto the lid. We let everything dry overnight just to be safe.
That’s it!


Keep an eye out for this cute little plane clipped to the frame. Post coming soon!
How would you decorate your containers? They’re great for small toys, pencils, as a vase(only with plastic containers), a hair tie holder, a treat holder, a gifting container, or even a piggy bank. We can’t wait to see what you made and how you use them.
To share: have an adult take a photo of you and your creation, scroll up on this page, click on photo submission to the right —-> and have them submit the photo.
Happy crafting friends!
Amanda and Naomi


