

Hi friends,
Your students get to create a Teacher’s Thank You Card, personalize it with an attached photo/drawing, a handprint, and even a space for parents to leave a note. I plan to have them pre-bagged with a meal or drink gift card, as a thank you from our student and family. Check out our young and older student examples below!
*Click on the photos for a closer look
What You'll Need
(1-2) Sheets Of Construction Paper
Print Outs
a) young kids b) older kids
Scissors
Glue
Pencil/Pen
Crayons
Wallet Size Photo
Large Ziploc Bag
Optional: Craft Paint, Giftcard, Permanent Marker
The Steps
We want to see your craft! Click on PHOTO SUBMISSION and submit
NOTE: As COVID homeschooling/online learning is winding down, our “goodbyes” and “see ya next year” are going to be so different. The online goodbyes just won’t bring the same closure. These cards leave a little bit of your student’s heart with their teacher and provide them with a heartfelt, easily stored memento.
>>Make sure to have a current photo or take one with your camera. If you’re able to print at home, do so, or use a 1-hour photo service (what we did).


MICAH’S CARD young child
PREP
Turn your papers vertically, add glue to the entire sheet, and lay the second colored sheet down. Micah chose 2 colors for his card.
Decide which color will be on the outside and fold it in half.


WRITING PROMPTS
Parents fill out the first sheet completely. (photo will be added later)
Ask your child the questions and fill them in.
Have your child draw a photo for their teacher and write THANK YOU at the bottom of the third page.


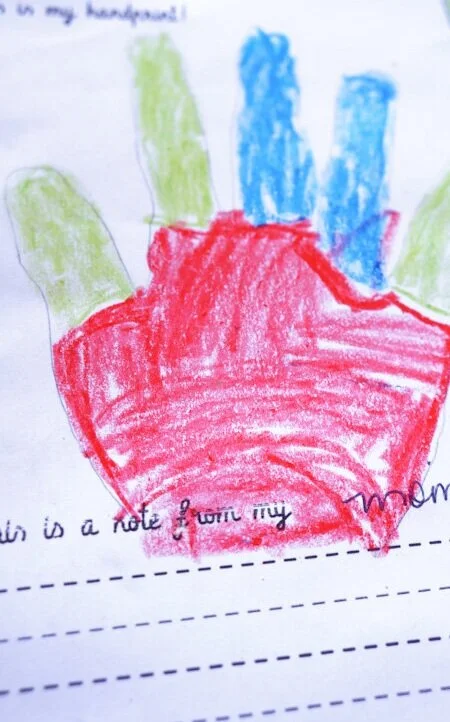
4. On the last page, trace your child’s hand or use paint for their handprint.
5. Parents, finish up any last areas.


update: For an easy memento to keep, photocopy the filled-out pages, cut them out, and glue them onto folded construction paper. Then leave your child a note for the future detailing what they learned, the friends they had, their favorite toys/shows/snacks, etc. File away with that school year’s art/paperwork.
ASSEMBLE
Cut out all the sheets and glue them to the corresponding sides of the card.
Glue the photo to the front of the card and tape the gift card to the inside (optional).


NAOMI’S CARD Older child
PREP
Fold the construction paper in half.
Cut out all the sheets and fill in the responses.
Glue the sheets down.
She multiplied this card 4x for the four teachers who made the biggest impact.


ASSEMBLE
Glue the photo on the inside of the card and on the left side.
Tape the gift card to the inside as well(optional).
**Lastly, write the teacher’s name and your students name on the Ziploc bag, place the card with giftcard(optional) inside and seal.
That’s it!
Email your teacher, giving them a heads up and then deliver to your school’s drop off site the day you’re scheduled.
** In the following years, when this season of quarantine is over, you can follow all these steps minus these last few.
AND…. for a little comparison, check out the photos below!


1st birthday, August 2019, May 2020
You guys, my baby survived his FIRST year of school! I still can’t get over how much he’s grown! Nothing but time, sun, and a few missed haircuts have transformed my little guy = )
Happy crafting,
Amanda and Naomi
To share: take a photo of your craft and let us see it! Click on photo submission and submit the photo.


