

Hi friends,
We’re sharing how to make Rare Pearls & Seashells from cotton balls and coffee filters.
Micah joined me in crafting this week and was excited to look up different shell types, colored pearls, how pearls grow, the time they take to develop, rare types, and their worth. Check out how to make your own rare finds below.
*Click on the photos for a closer look
What You'll Need
Paper Plates
(2) Coffee Filters
(3) Cotton Balls
Craft Paint for Pearls & Matching Glitter
Peach/Tan Craft Paint for Shell
Fluffy & Fine Paint Brushes
Pencil
Glue
Scissors
(1) Small Container (for glue mixture)
Paint Tray or Small Containers
(3/4) Cup Water
Optional: Table Cover, Wipes or Wet Rag, Disposable Gloves
The Steps
We want to see your craft! Click PHOTO SUBMISSION, then submit the photo.
NOTE: Making these seashells and pearls got me thinking about the little treasures we raise at home. They take time to grow, develop, are unique, have imperfections, and no matter what they look like or grow to be, are valued.


PEARL PREP
Carefully unroll two cotton balls and stretch them to widen.
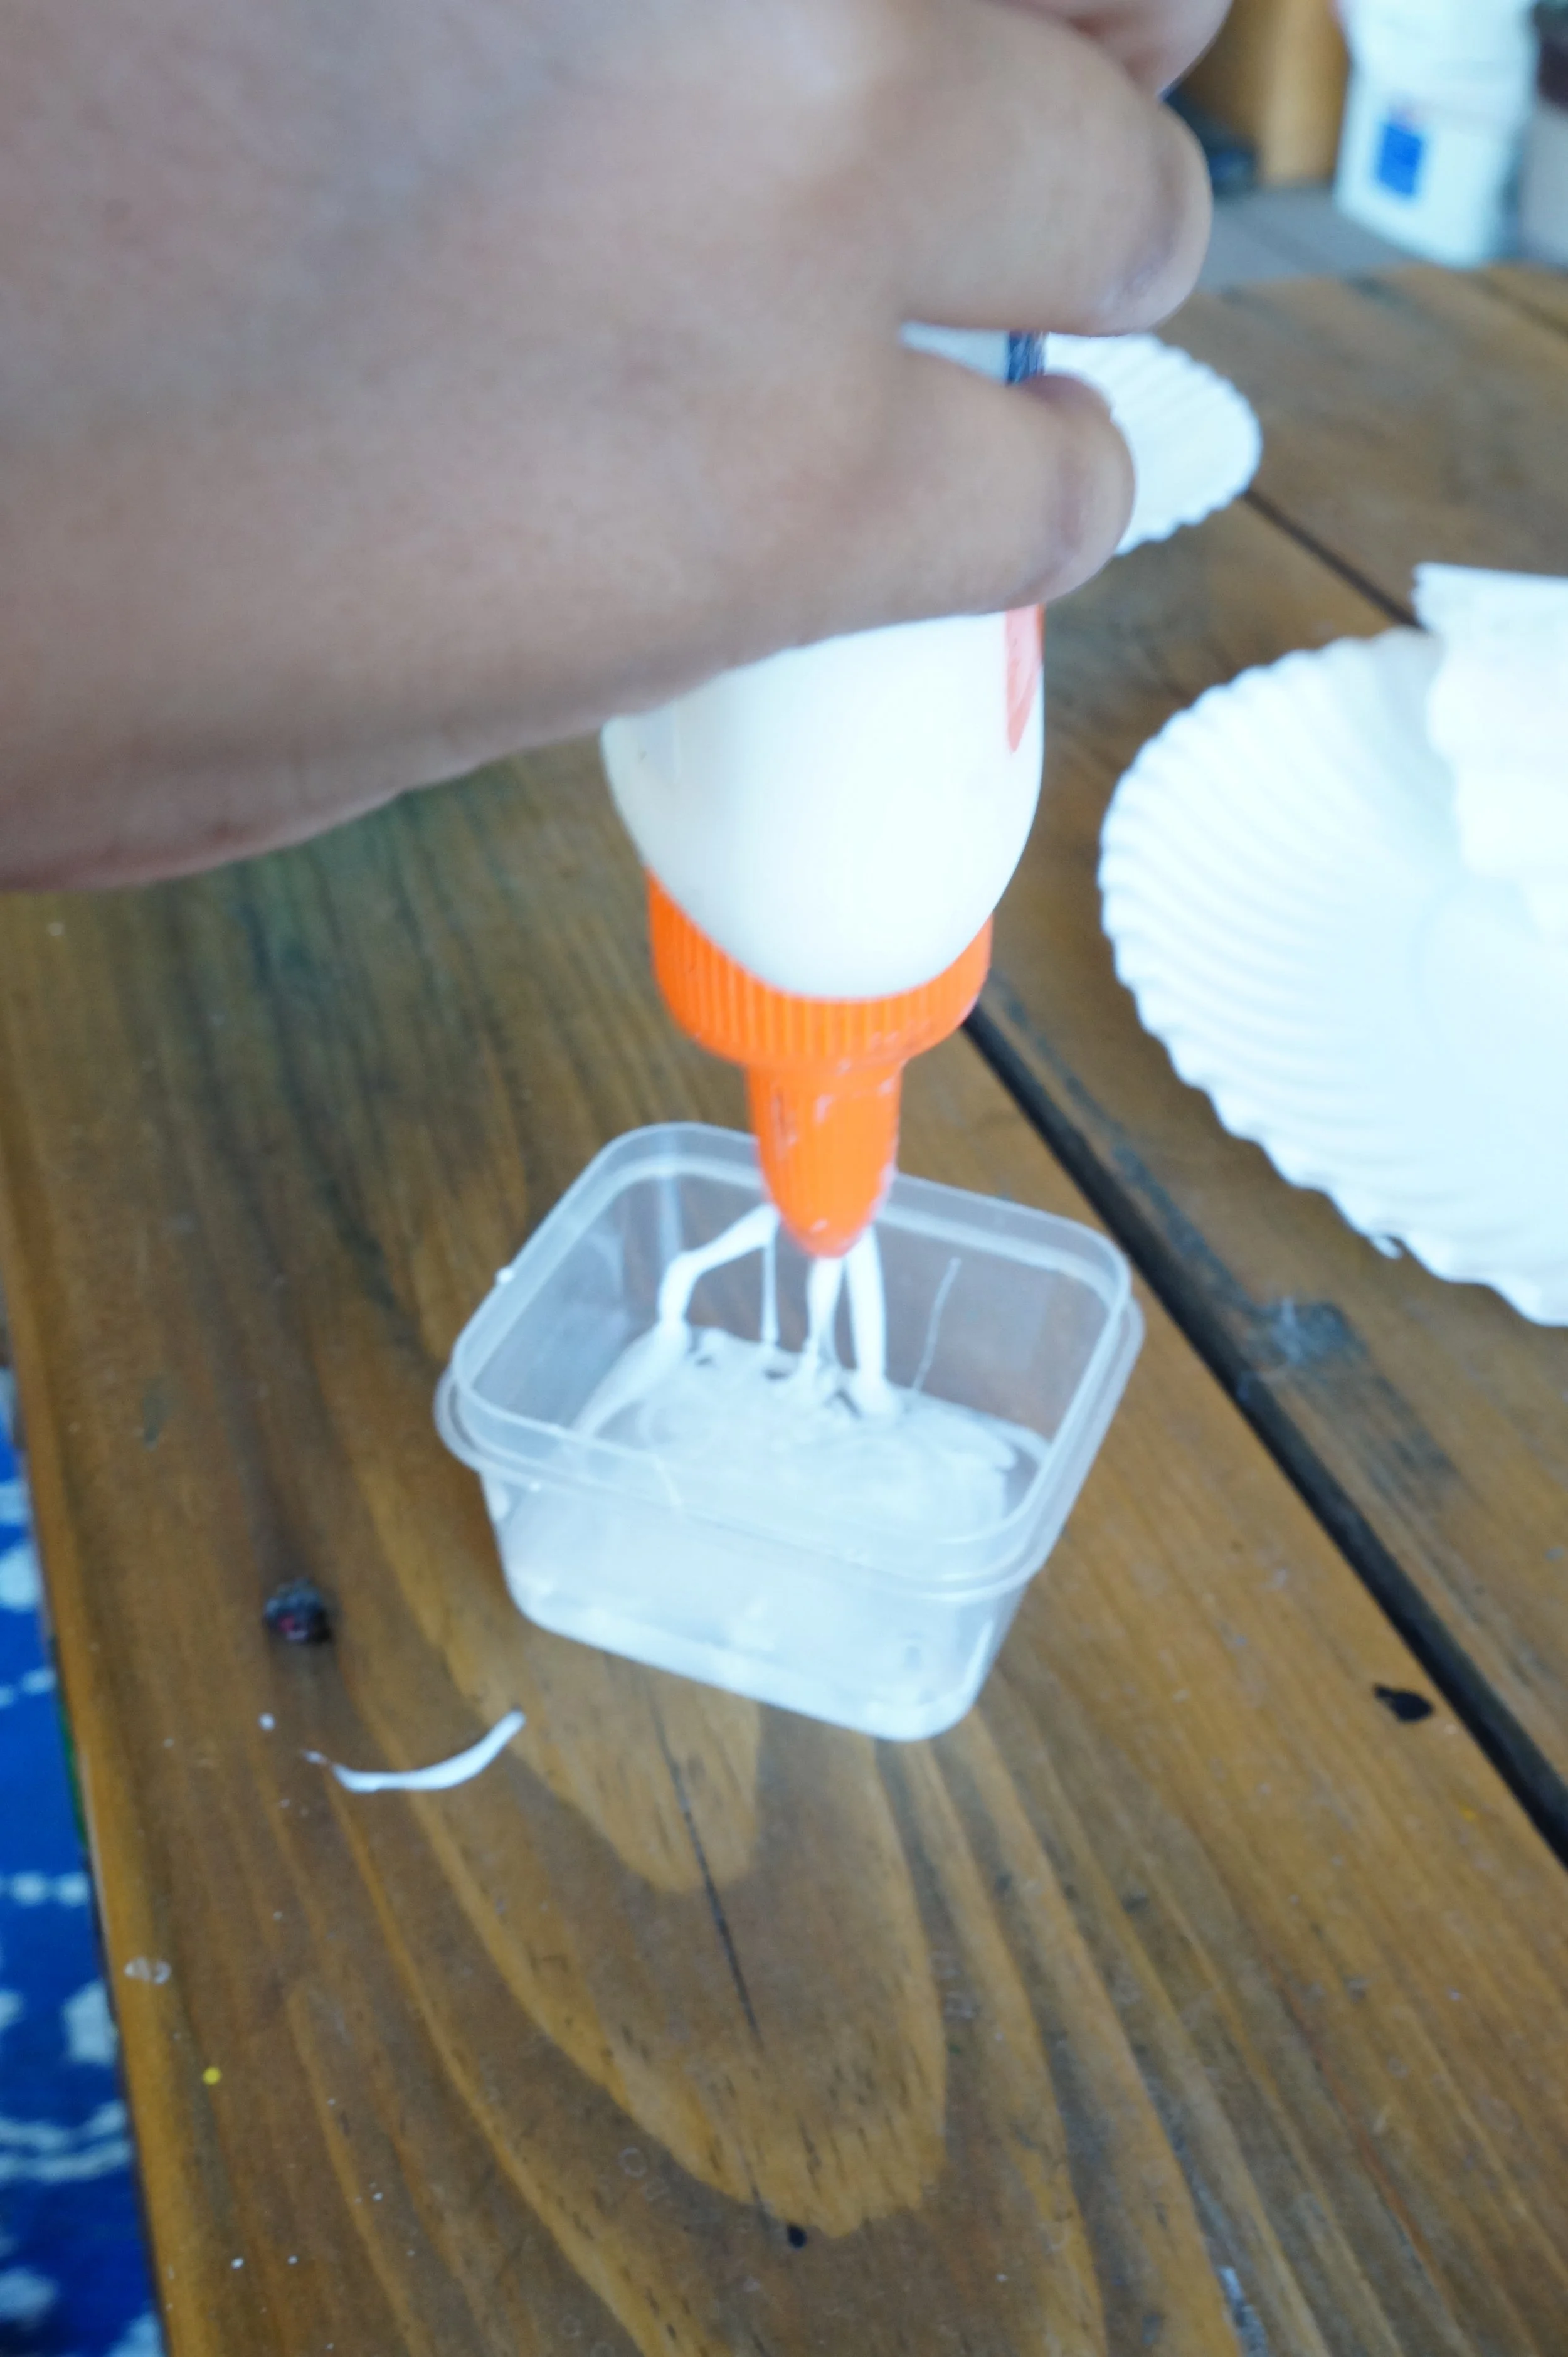
In a small container, add 1/4 cup of water and enough glue to make a thinned-out paste.


optional: wear gloves or use a rag/wipes to clean off hands after each messy step.
3. With the larger brush, apply the glue mixture liberally around one cotton ball and wrap the long strip around it, applying glue as needed. Repeat with the other ball and strip.
Set them aside temporarily.


PEARLS
Add 1-2 TBSP of water to your paint tray/containers, add a few squirts of paint, and mix.
Use thinned paint and a large brush to paint the cotton balls. Rinse between colors or use different brushes.
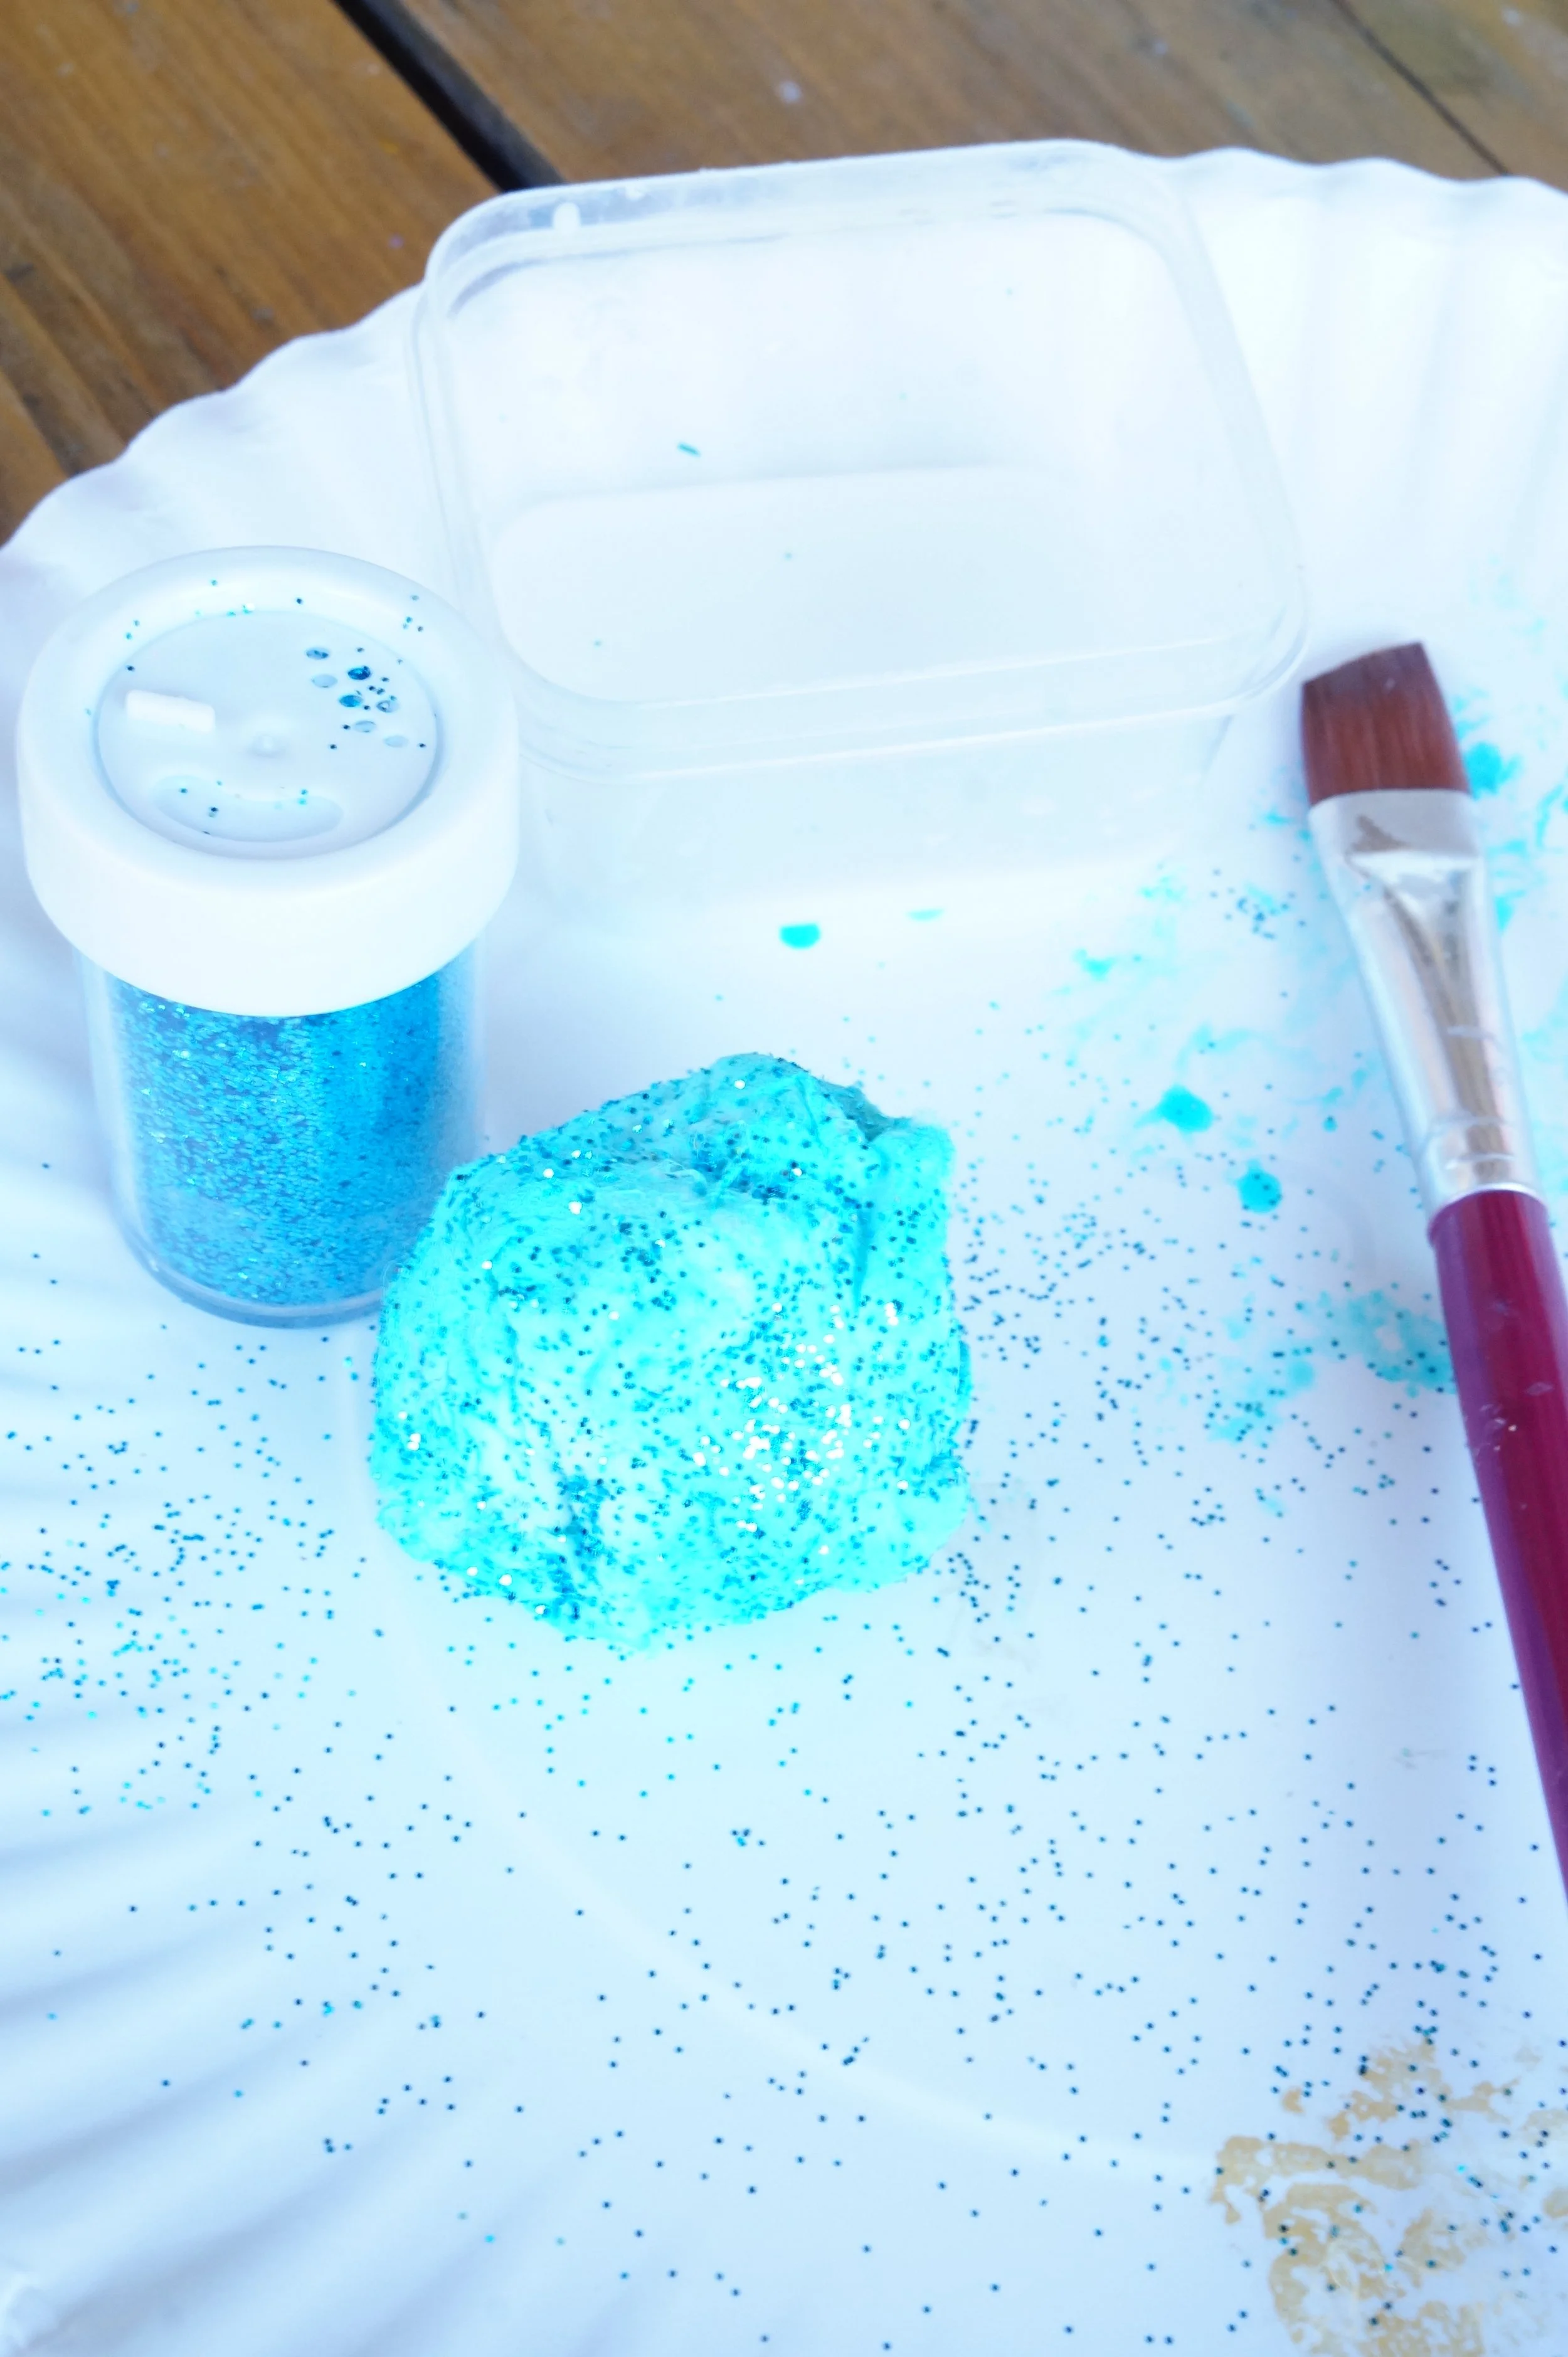
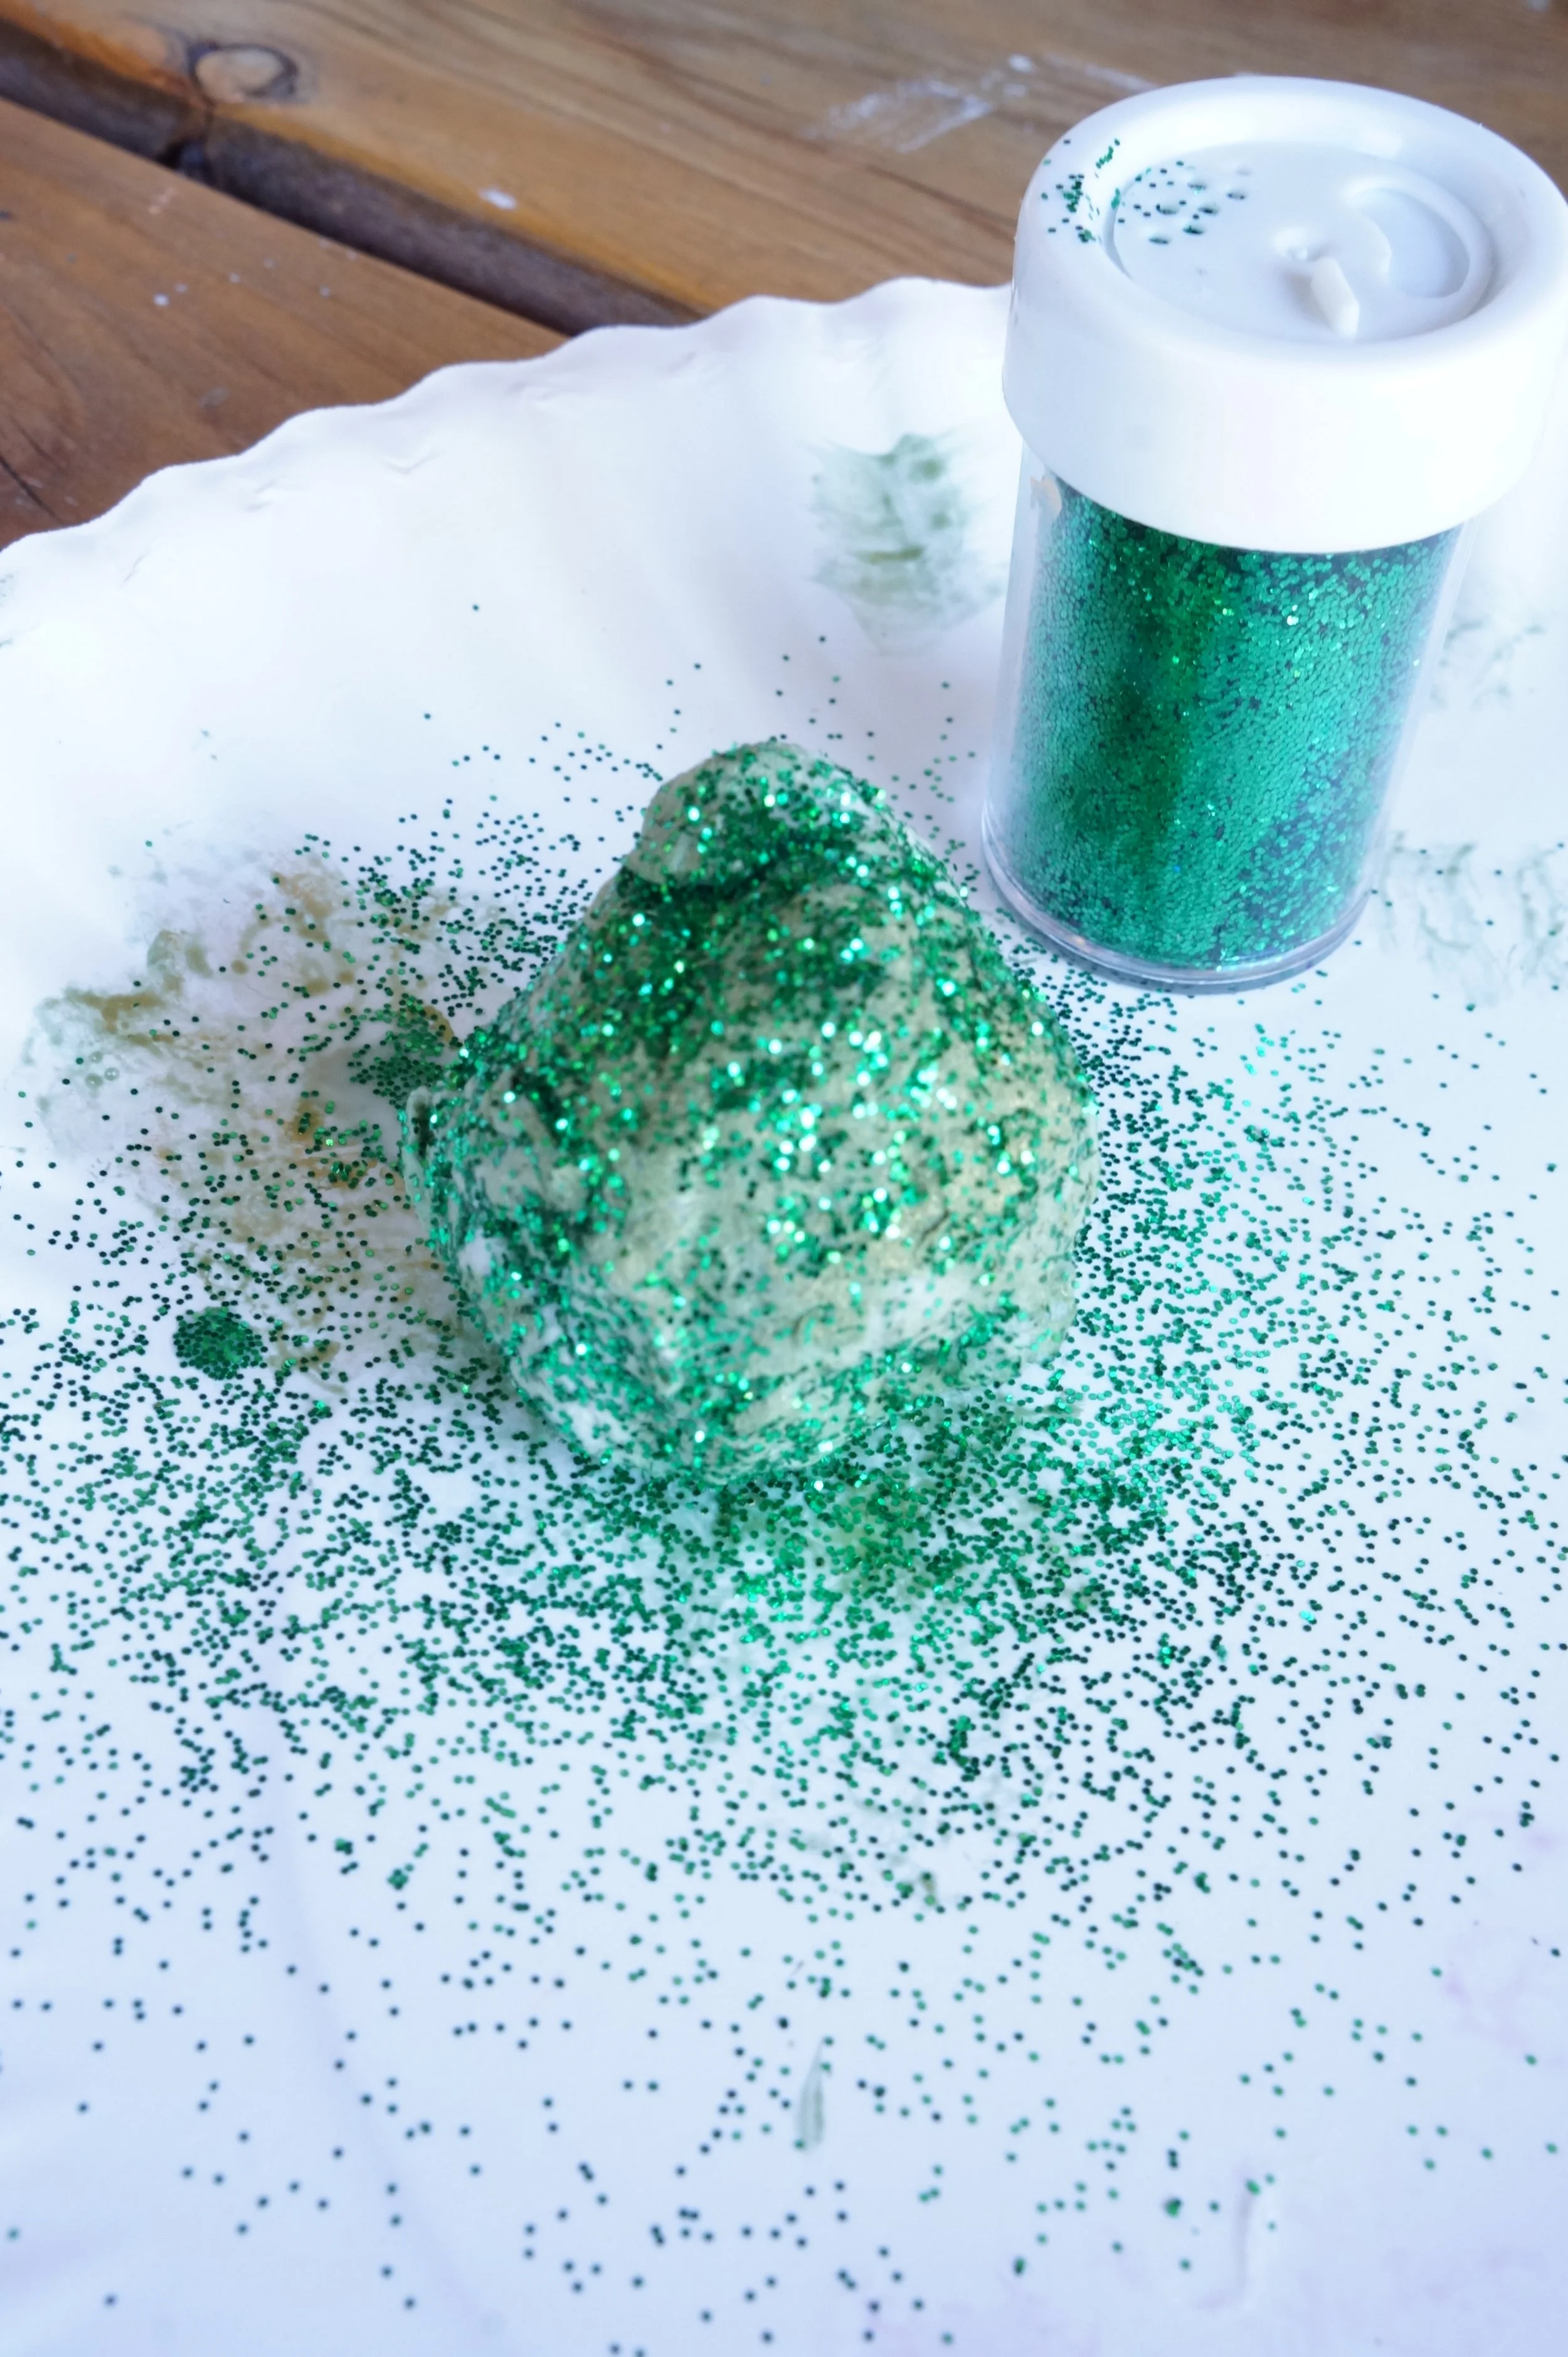
Place each pearl on a different plate, apply more of the glue mixture, and then sprinkle with matching glitter. Let them dry for about 10minutes.


SEASHELLS
Place a thin, medium-sized circle of glue in the center of 1 filter then lay a second filter over it, matching the ridges before pressing down.
Fold the filters into triangles.


3. With the two folds on the right, create a curve starting 1 inch to 1.5 inches from the bottom point.
Smaller angle & cut= wider seashell; Larger angle & cut= smaller seashell.
4. Cut out the drawn angle.


My little guy was so happy to help.
PAINT
With a fine brush, add stripes of peach or tan to define the seashell ridges.
Add a bit of regular glue to the center of the seashell and gently press the pearl in the center.
That’s it!
Optional: Add a bit of thinned glue to the inside of the seashell and sprinkle some iridescent glitter for some shimmer.


Happy crafting!
Amanda, Naomi, & Micah!
To share: take a photo of your craft and let us see it! Click on photo submission and submit the photo.


