

Hi friends,
I’ve been eager to get this little Giftwrap Angels craft to you. These angels happened by accident. I’ll share shortly what I mean. Grab your gift wrap and create these adorable, winged & robed angels. Check them out below!
*Click on the photos for a closer look

What You'll Need
Craft Paper
White Paper Plates
Wrapping Paper
Scissors
Markers
Sm. Round Container
Glue
Optional: Pencil
The Steps
STORYTIME:
A year ago, we were visiting a family member who always works and doesn’t have time to decorate. The kiddos and I searched for supplies around their home and found poster board, paper plates, scissors, glue, and wrapping paper. We made cute handprint wreaths with the poster board and glue, BUT the handprint SCRAPS are what gave me the idea for these angels.


PREP
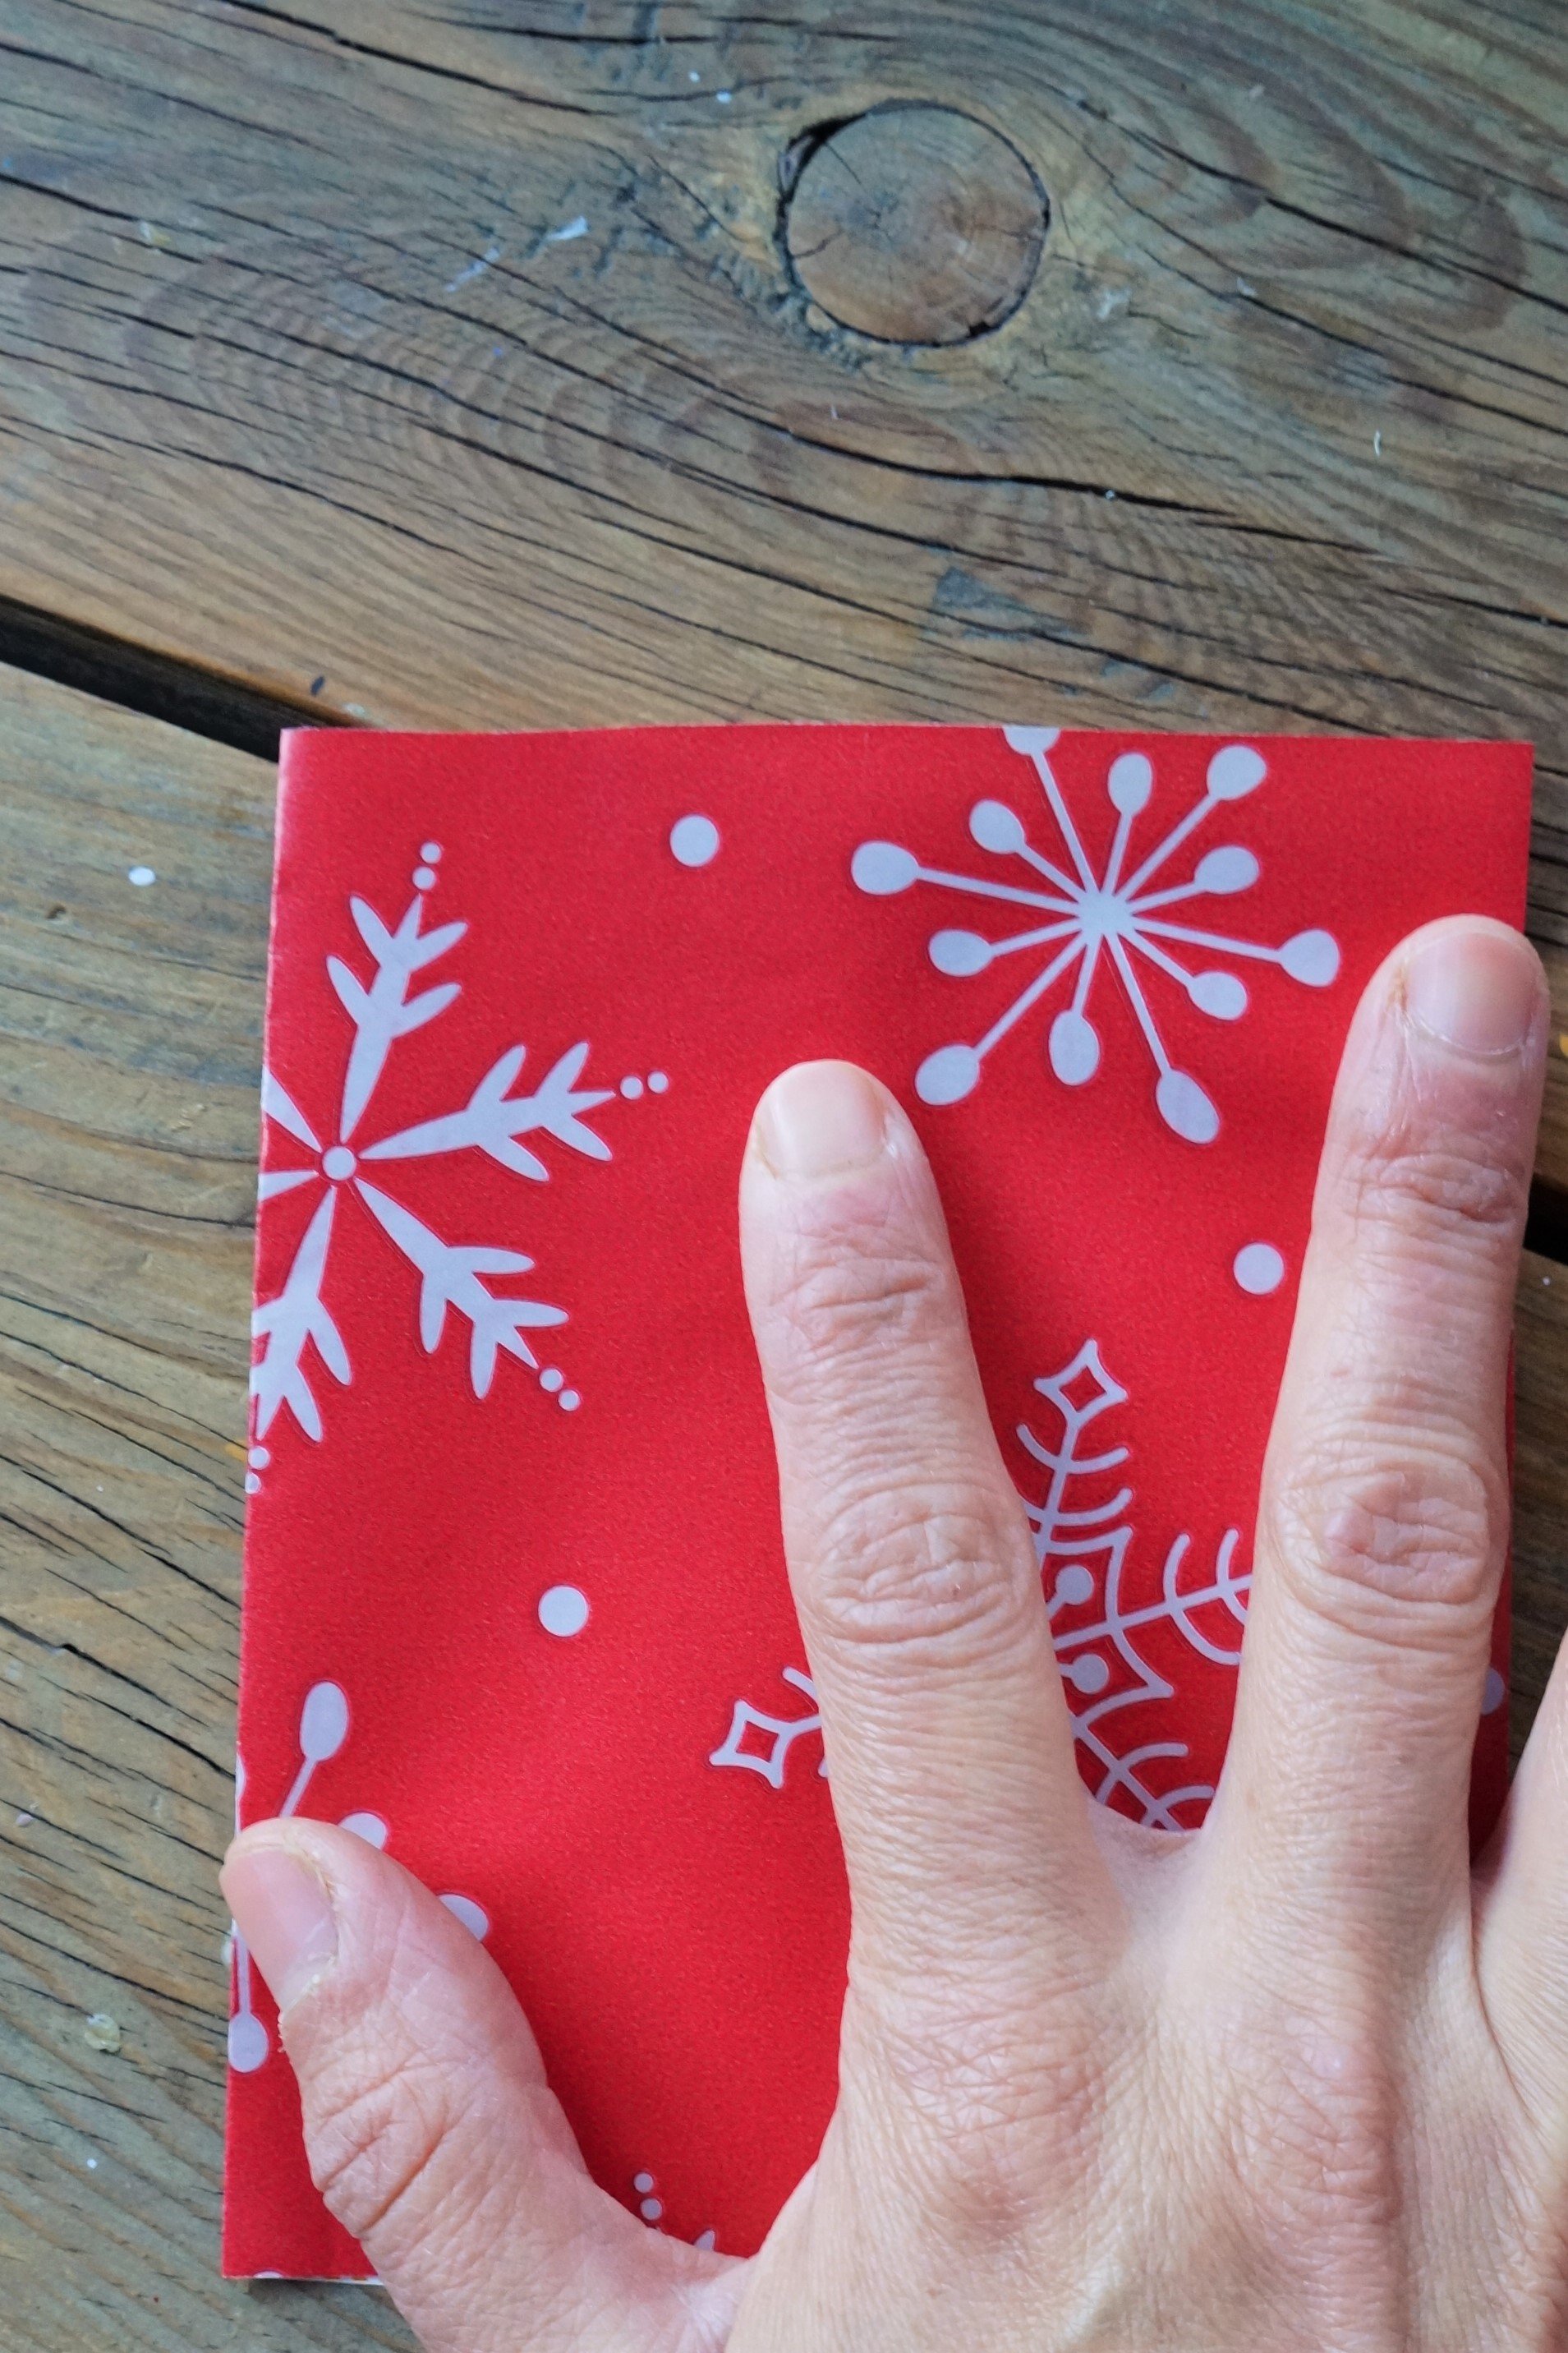
Unroll your gift wrap, flip it over to the underside, and place the roll on the left if you’re right-handed or the right if you're left-handed.
Place your right or left hand on the paper with only your first 3 fingers. You’ll need to spread your fingers a little, but your thumb as much as possible, so that it lies closer to the bottom of the paper.
Count the width/squares that it takes for those 3 fingers and double it(4x2=8 squares). Then count the amount from the bottom up and just a bit above the pointer finger (5 squares).
Cut out the rectangle piece it creates, 8 x 5 in our case. Repeat as many times as you’d like.


ROBE
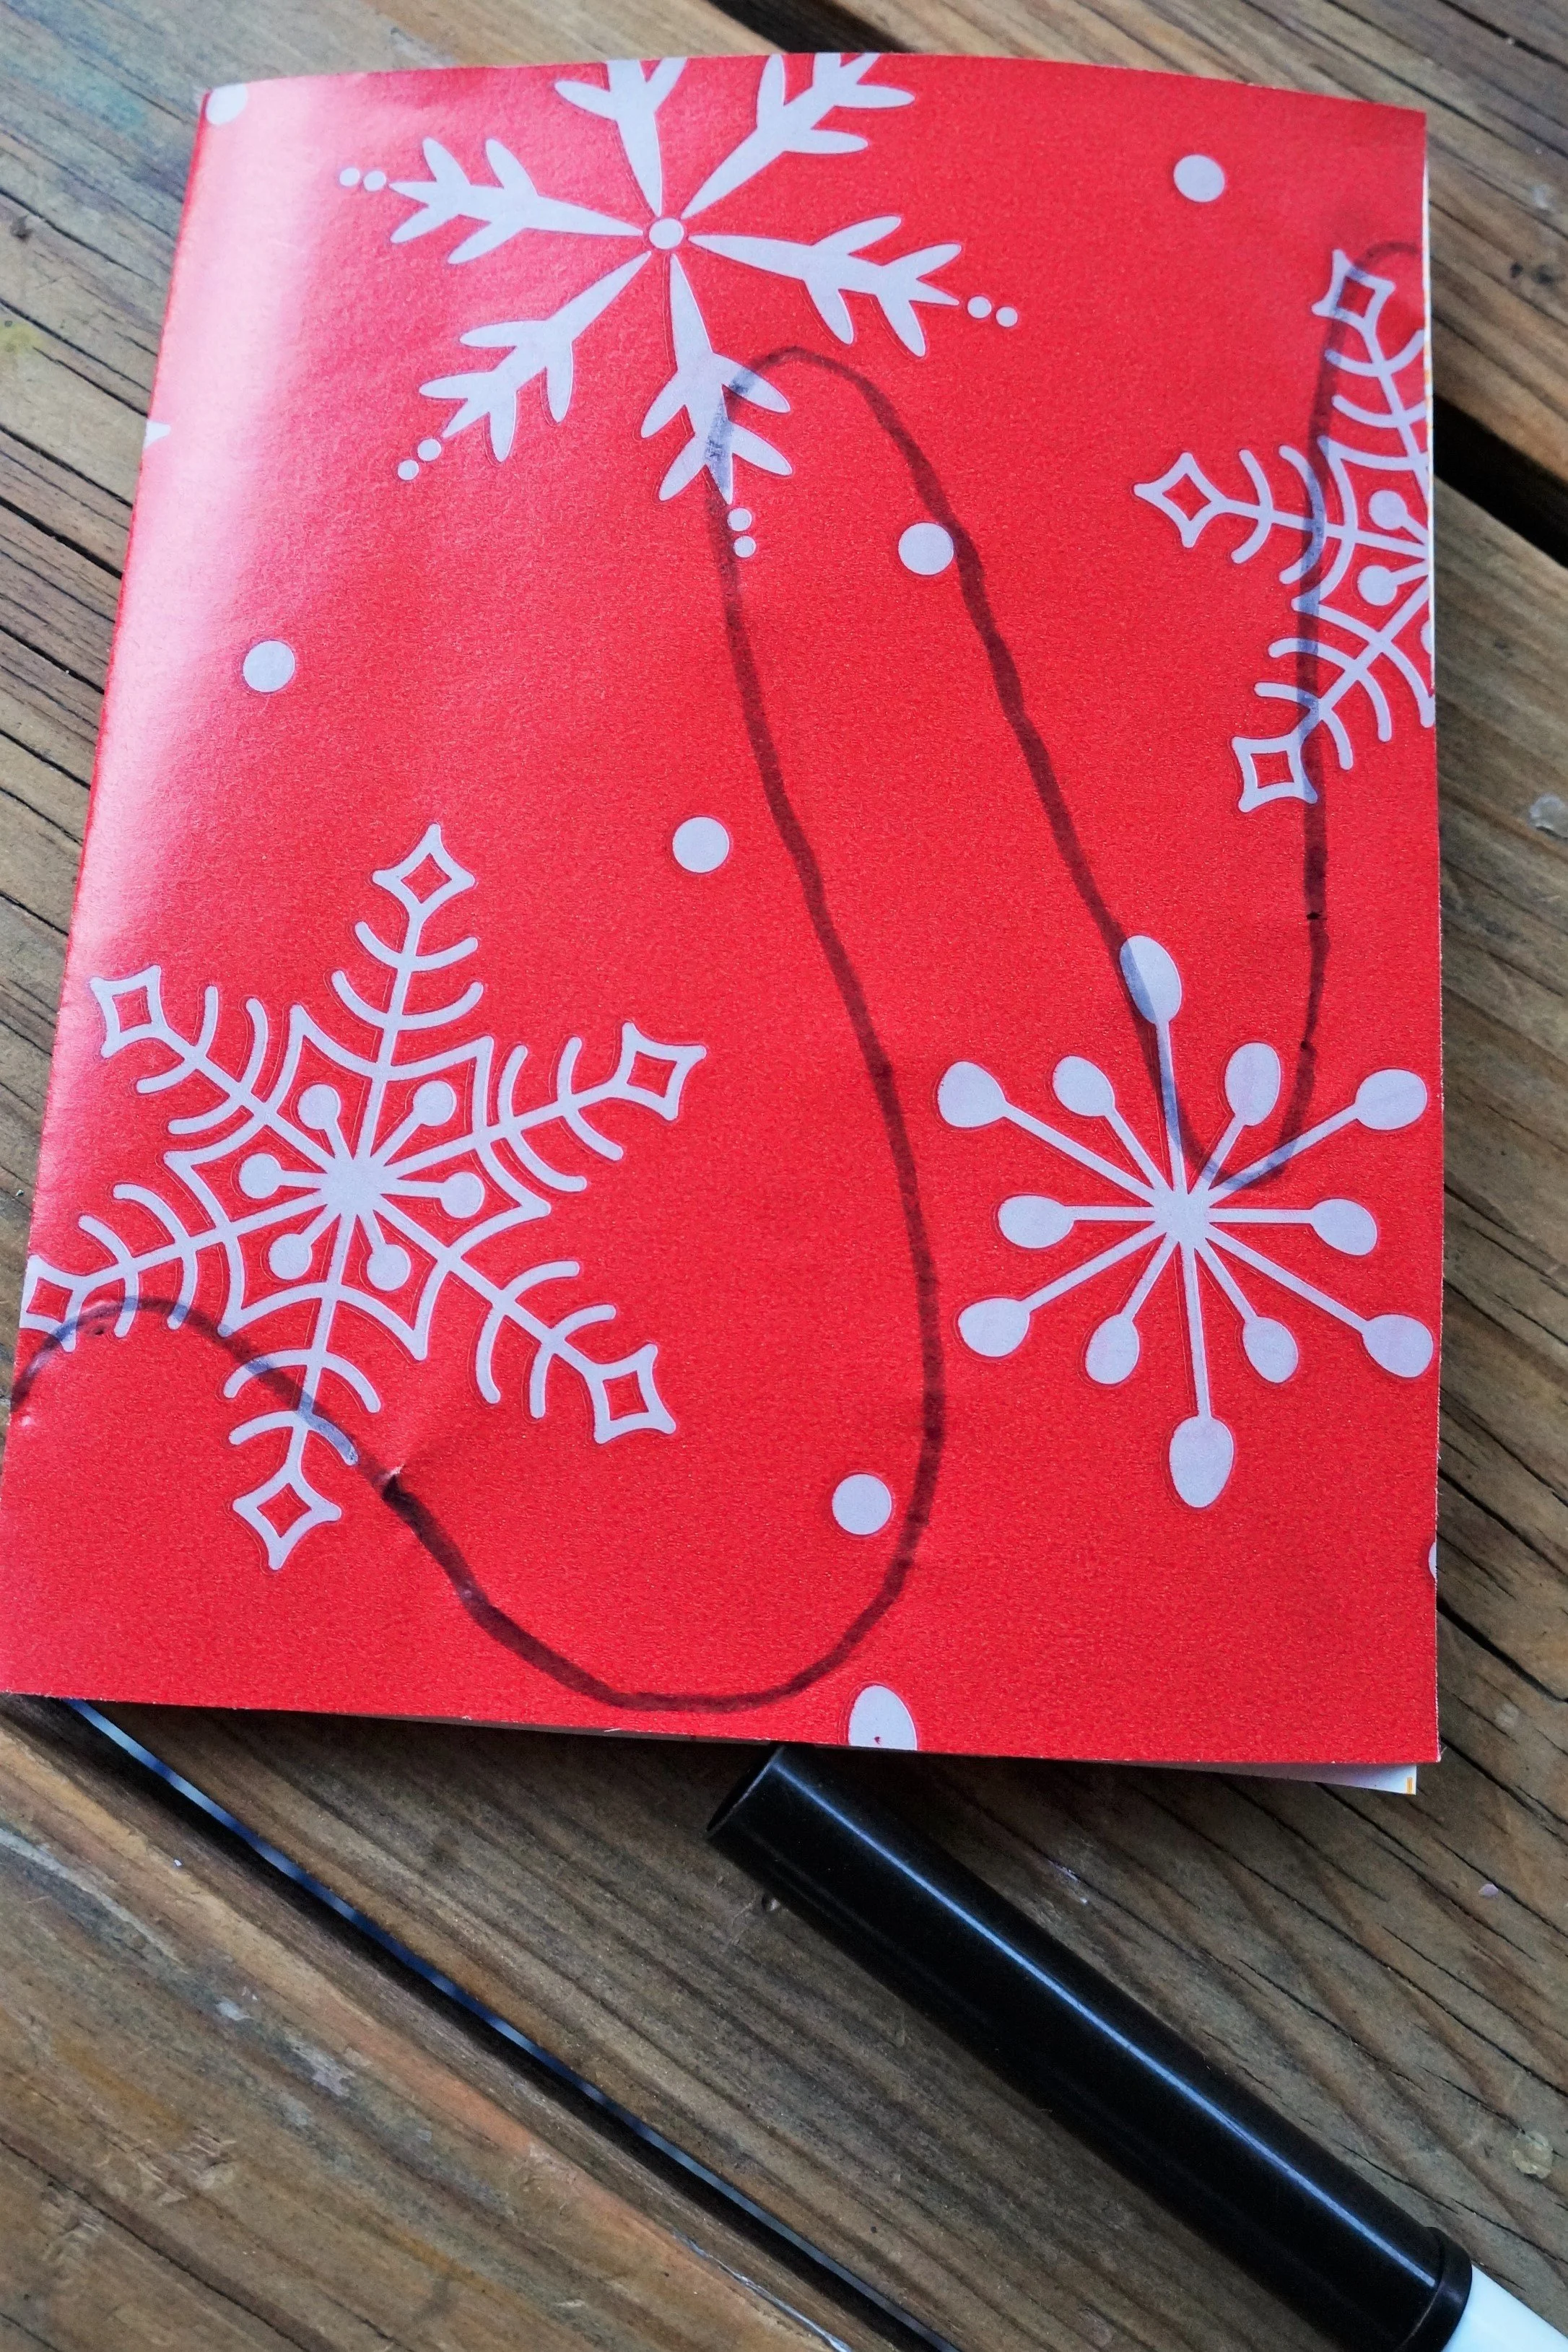
Fold your rectangle in half, place your thumb along the crease and lower edge of the paper, and spread your two other fingers. Your middle finger will need to be centered on the open edge.
Carefully trace the upper line of your fingers with a pencil or marker and cut it out. This becomes the extended arms/robe and the curve at the bottom.


HEAD & WINGS
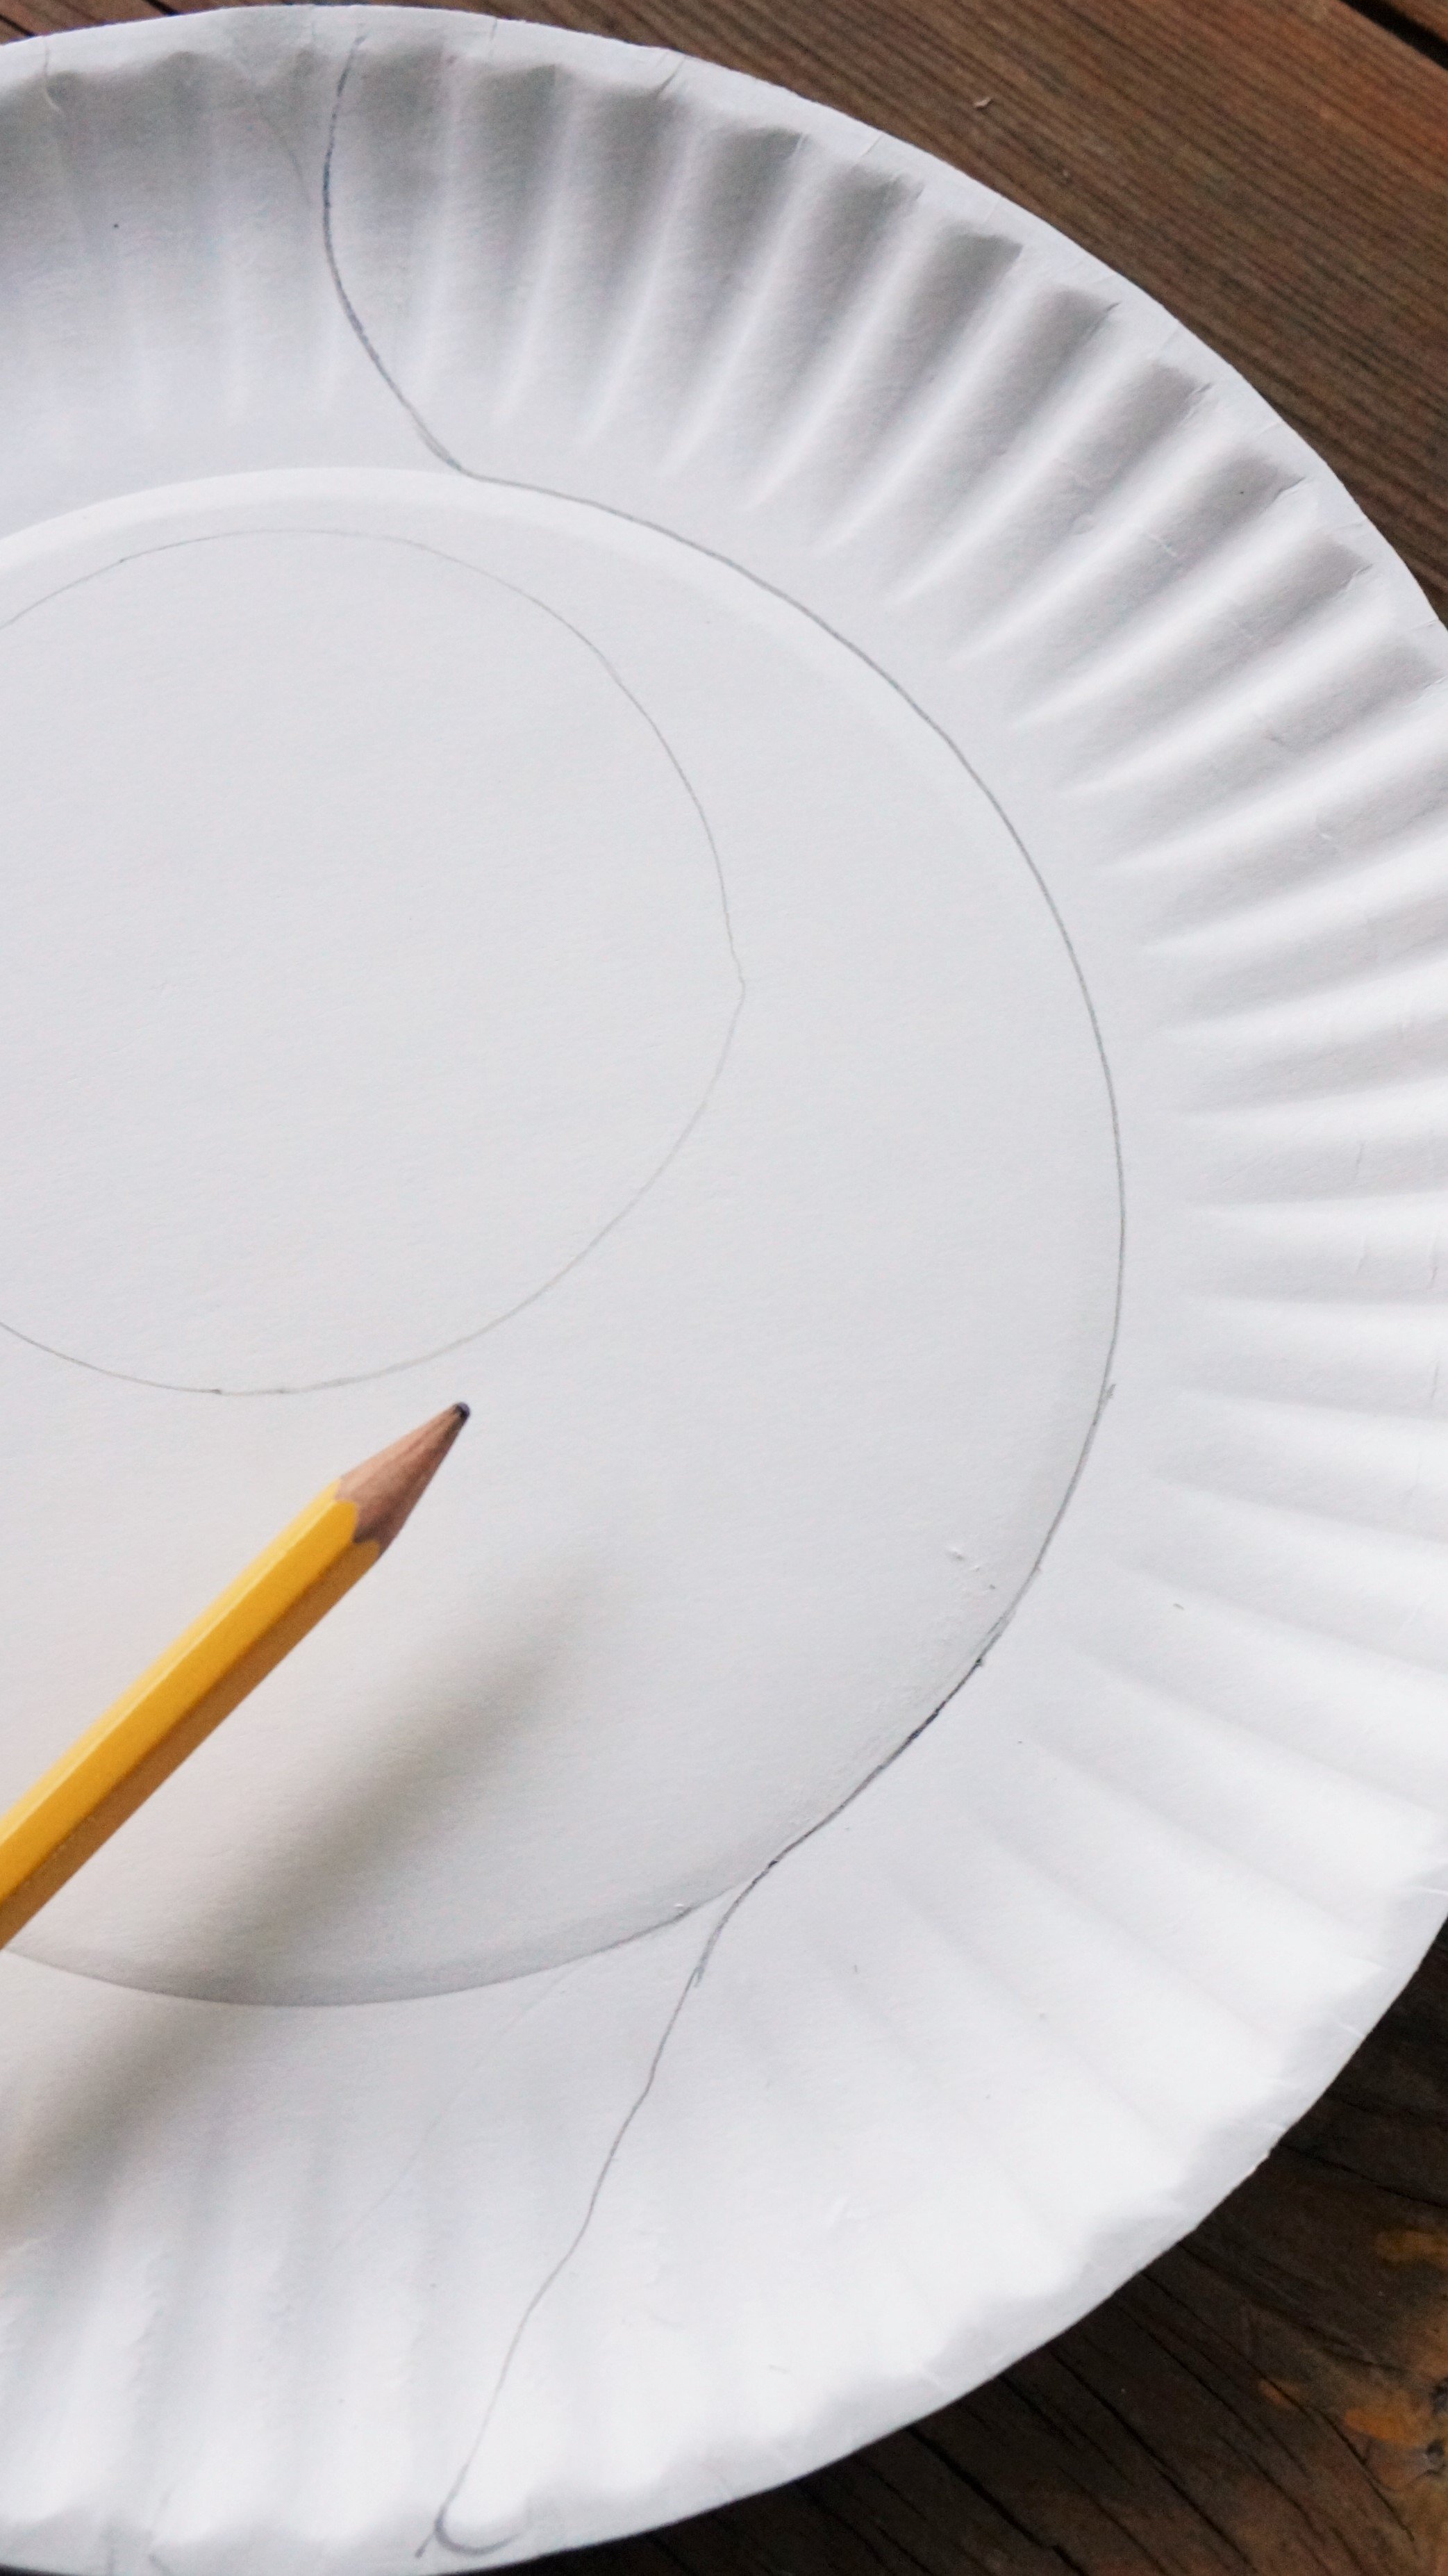
Use your small container to trace a head and use the ridged edges to form 1 rounded wing at the top and a pointy/rounded/scalloped end at the bottom. They can have long or shorter wings. We trimmed ours a bit in the end.
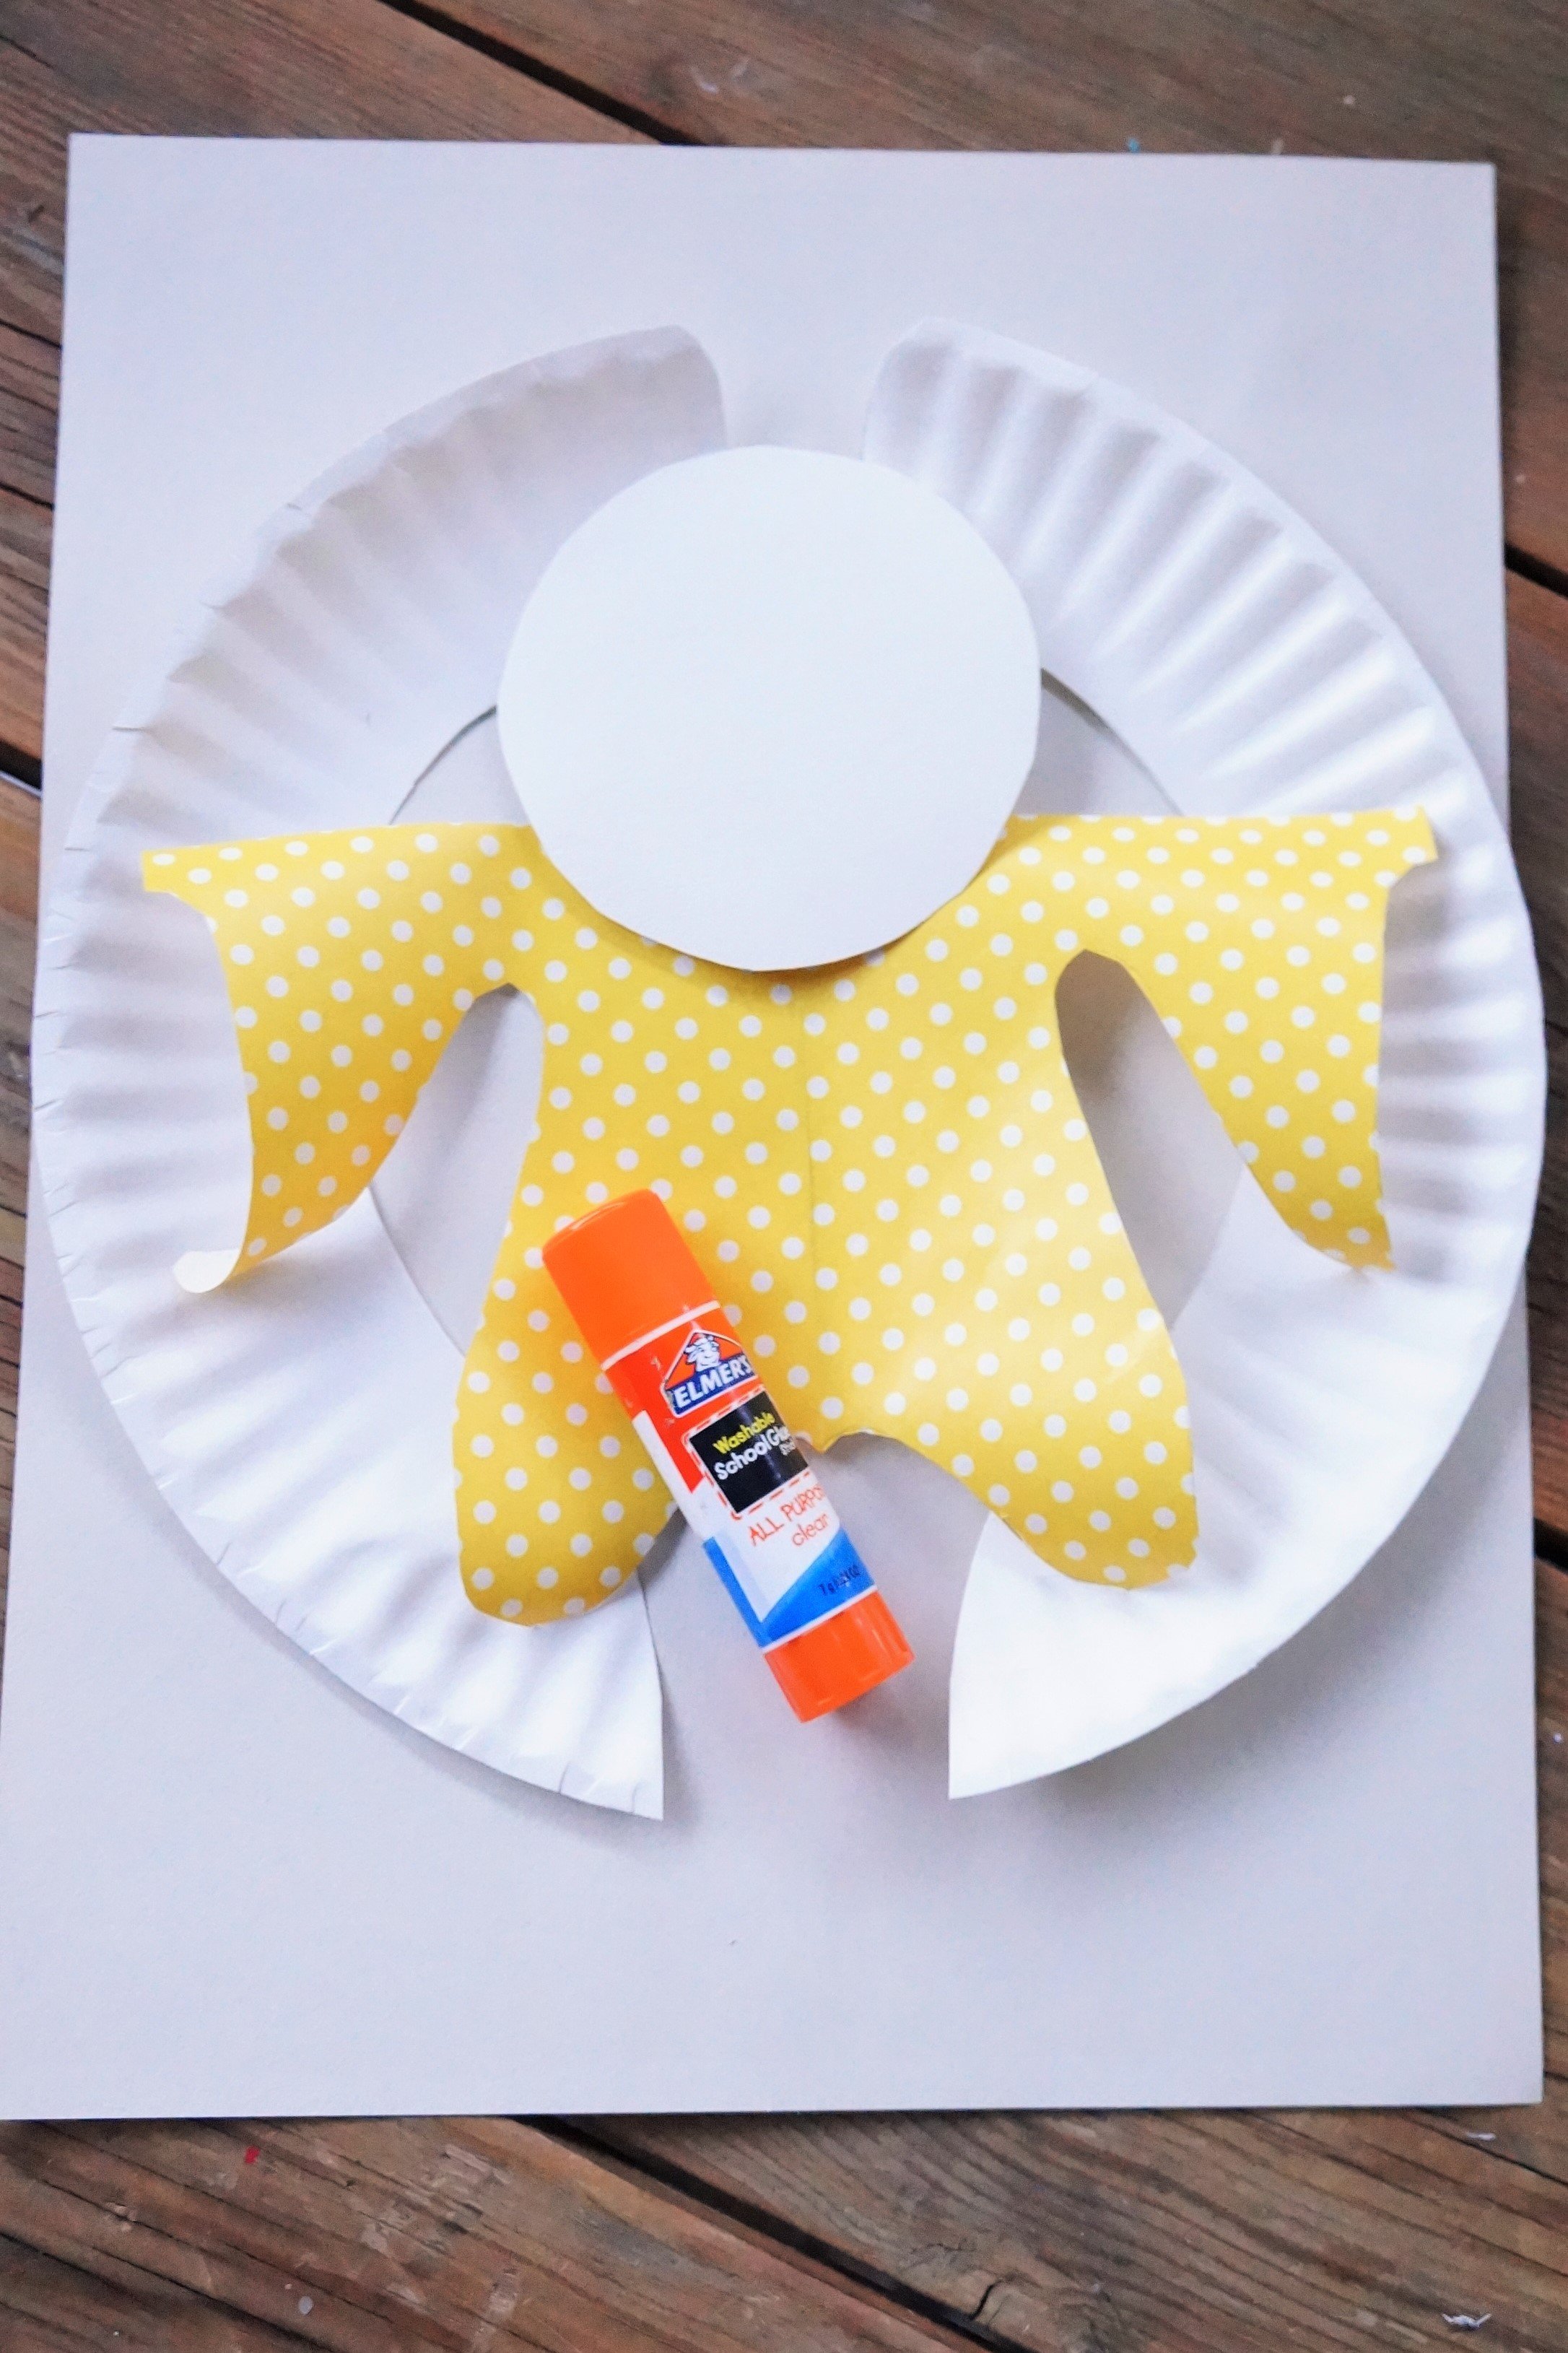
Cut out the wing, flip it over to the opposite side of the plate, trace it, then cut the 2nd wing and the head out.
Glue the inner parts of the wings down onto your craft paper, your robe about 2 inches from the top of the wings, and your head slightly layered over the robe.


4. With the markers, draw in the hair, face, and a headband of “greenery” with a green marker and lots of little X’s. You can even add berries or flowers, too.
That’s it!


These were super easy to make and you most likely have everything at home to make these. You can use scrapbook paper or construction paper too.
Happy crafting and Happy Thanksgiving!
Amanda and Naomi
To share: take a photo of your craft and let us see it! Click on photo submission and submit


