

Hi friends,
Today we have an extremely easy Christmas craft, that results in wide to narrow swirl ornaments. The ornaments are inexpensive to make, use standard items from your home, and can be customized however you want! Since Naomi and Micah chose a red & white color scheme for our Christmas decor this year, we painted our rolls in those 2 colors. Which colors would you choose? Check out our easy swirl ornaments below!
*Click on photos for a closer look
What You'll Need
Paper Rolls
Craft Paint
Brushes
Scissors
Ornament Hooks
Push Pin
Newspaper/Table Cover
Optional:
The Steps


Lay your newspaper down onto your workspace.
Paint your rolls in your preferred colors and set them aside to dry (about 10 min).
Paint the 2nd coat of paint if you’d like or add details in different colors (words, names, year, pictures) and let dry again.


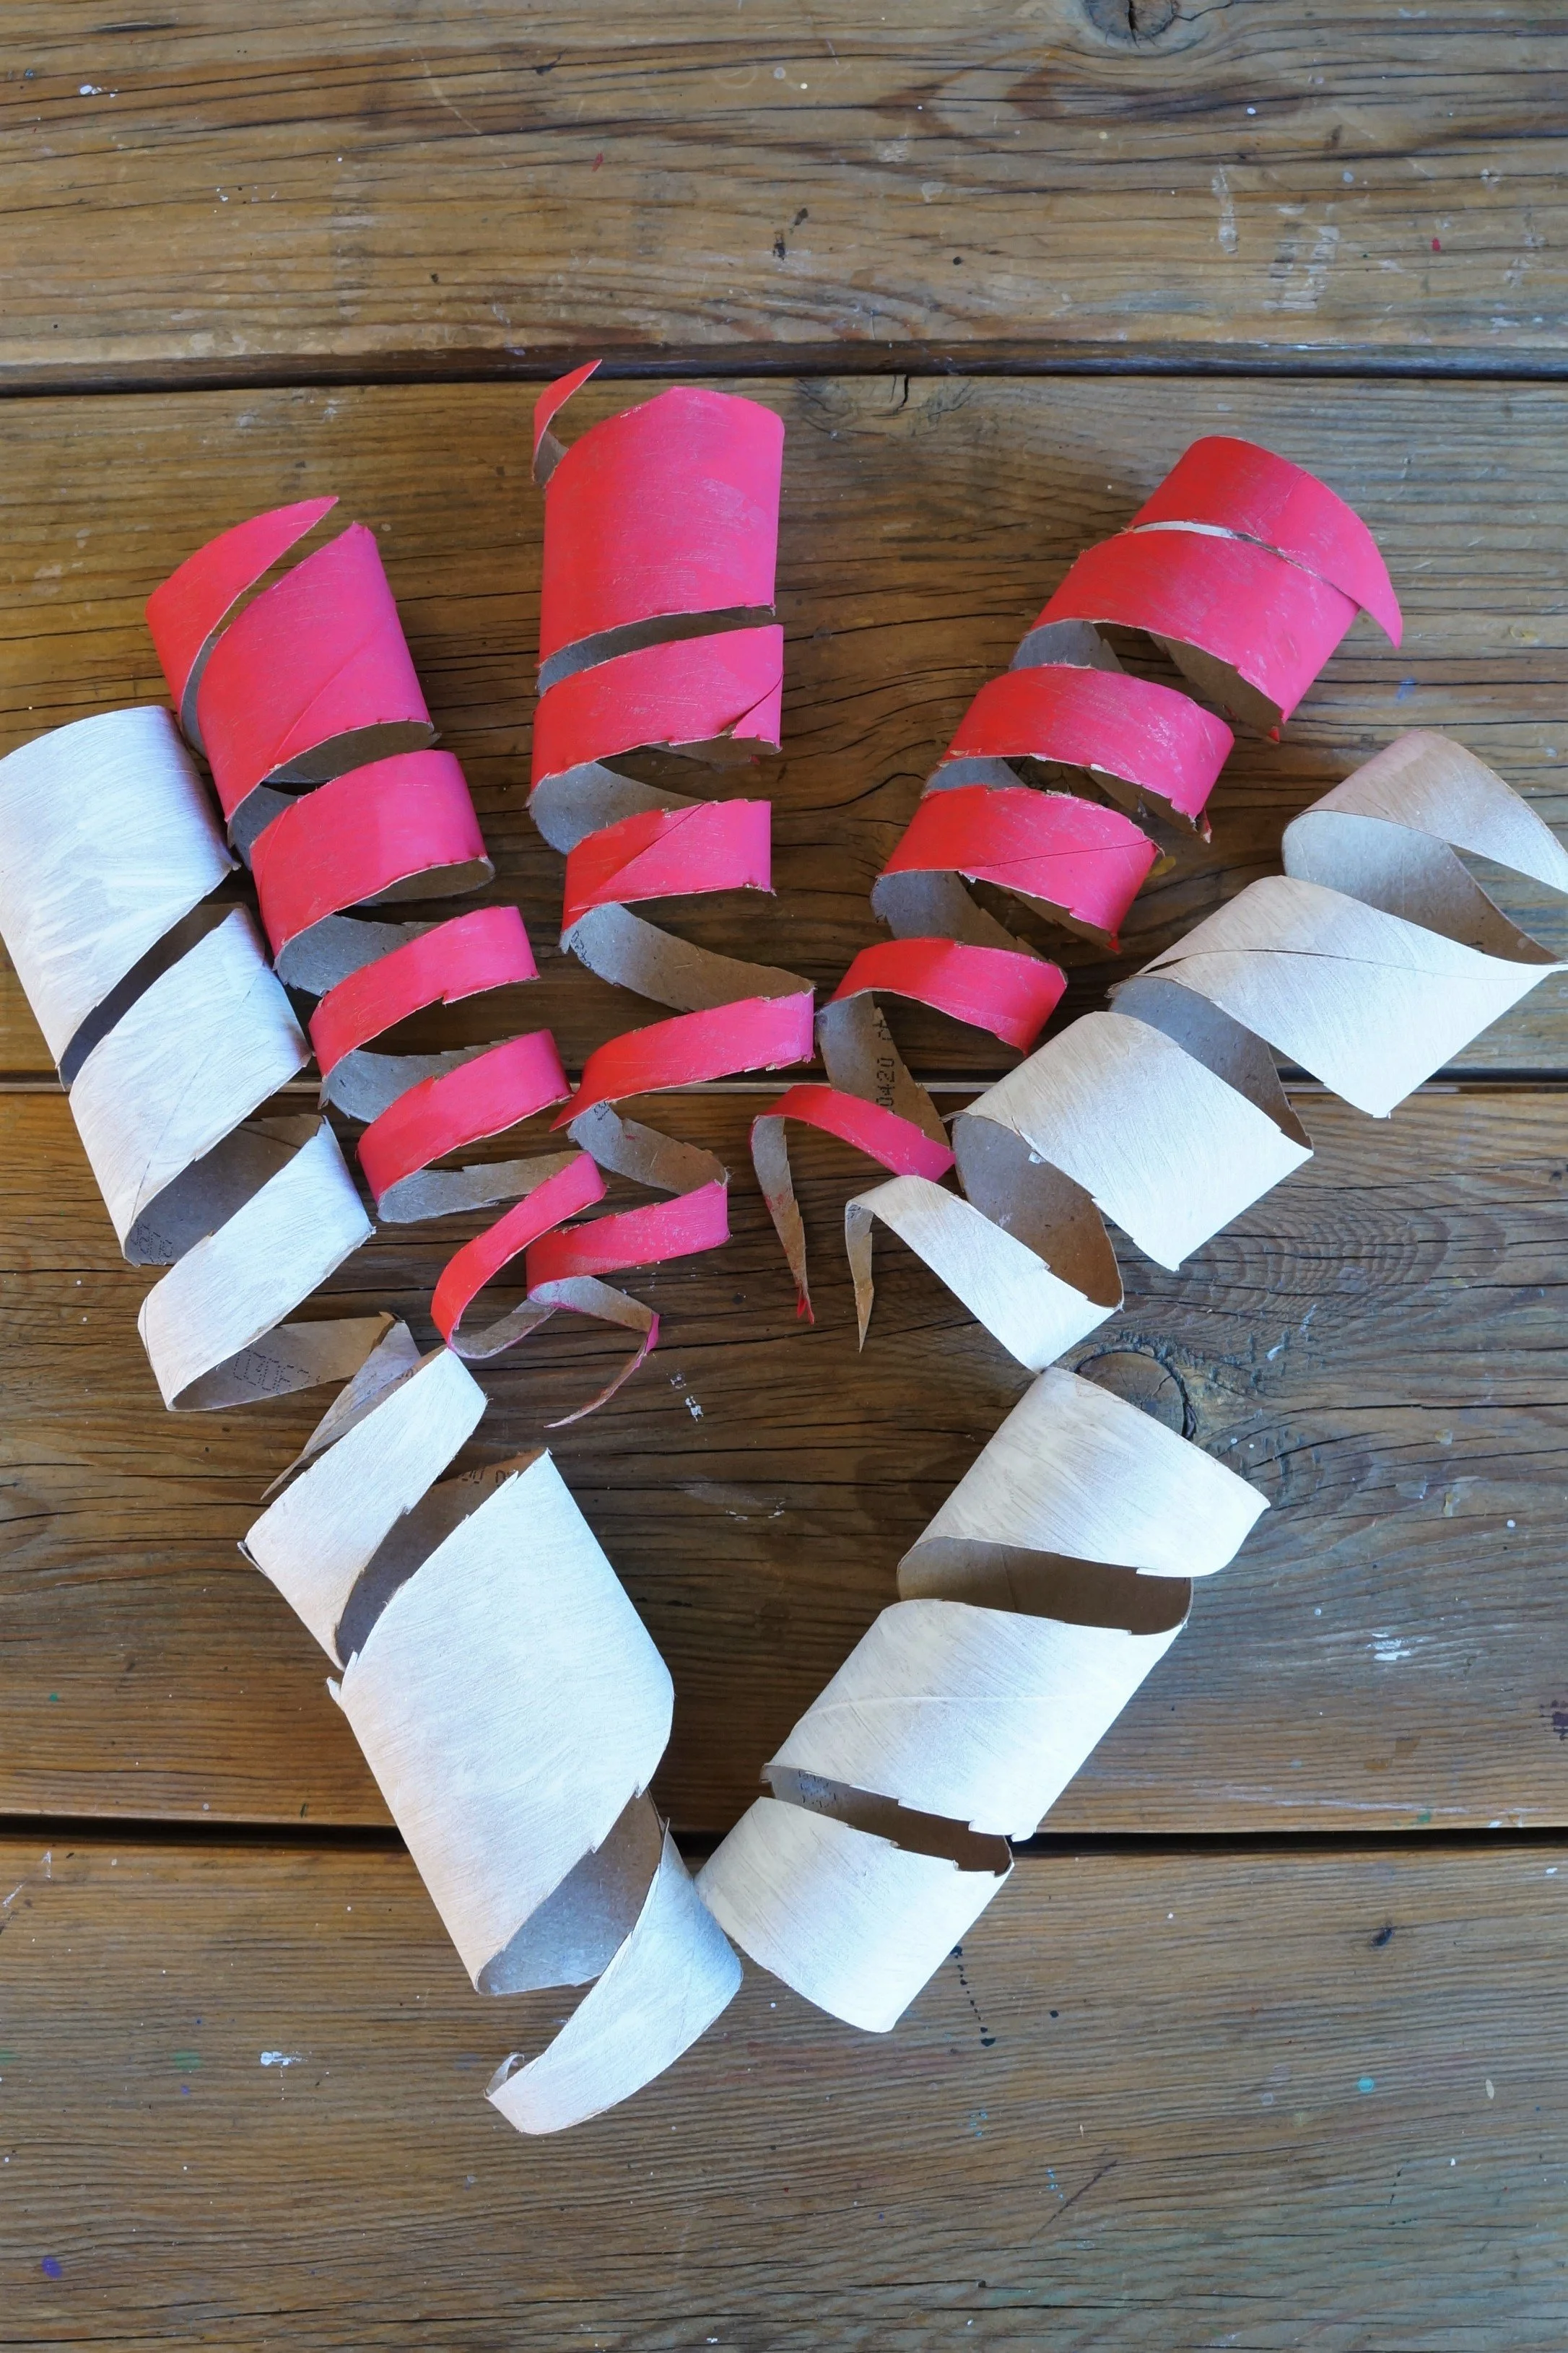
4. Decide if you would like many swirls or only a few, then place the roll over your 3 middle fingers. *Few/Large Swirls- cut at the top of the roll and at a slight angle for almost 1 whole rotation. Then continue cutting the roll at a wider angle until you reach the end.
*Many/Small Swirls- cut at the top of the roll and at a slight angle for almost 3 full rotations. Then continue cutting the roll at a wider angle until you reach the end.
*Long cuts help create a smoother line, short cuts create jagged edges.


5. Turn the wider ends up and poke a hole with the pin.
6. Place your ornament hook through the hole and pinch shut.


Then go place your new ornaments on your tree!!
Happy crafting!
Amanda and Naomi
To share: take a photo of your craft and let us see it! Click on photo submission and submit


