


Hi friends,
We’re back with easy, geometric gift tag ornaments for your kiddos to make! we even include a few other options! We used premade gift tags, but we’ll share how to make them if you’d prefer those.
These gift tags can festively adorn your gifts by adding the recipient’s name in a white gel pen. Your kiddos can make colorful ornaments for the tree in different colors and shapes, then write their names & year. Lastly, challenge your kiddos to “see” or make a shape out of the completed ornaments, much like shapes you’d discover in the clouds; and use the gel pen to outline it or add details. Check out our geometric ornaments below!
*Click on photos for a closer look
What You'll Need
Tissue Paper
Scissors
Glue
Hanging Gift Tags
Optional: White Gel Pen, Black Craft Paper, Hole Punch, String
The Steps
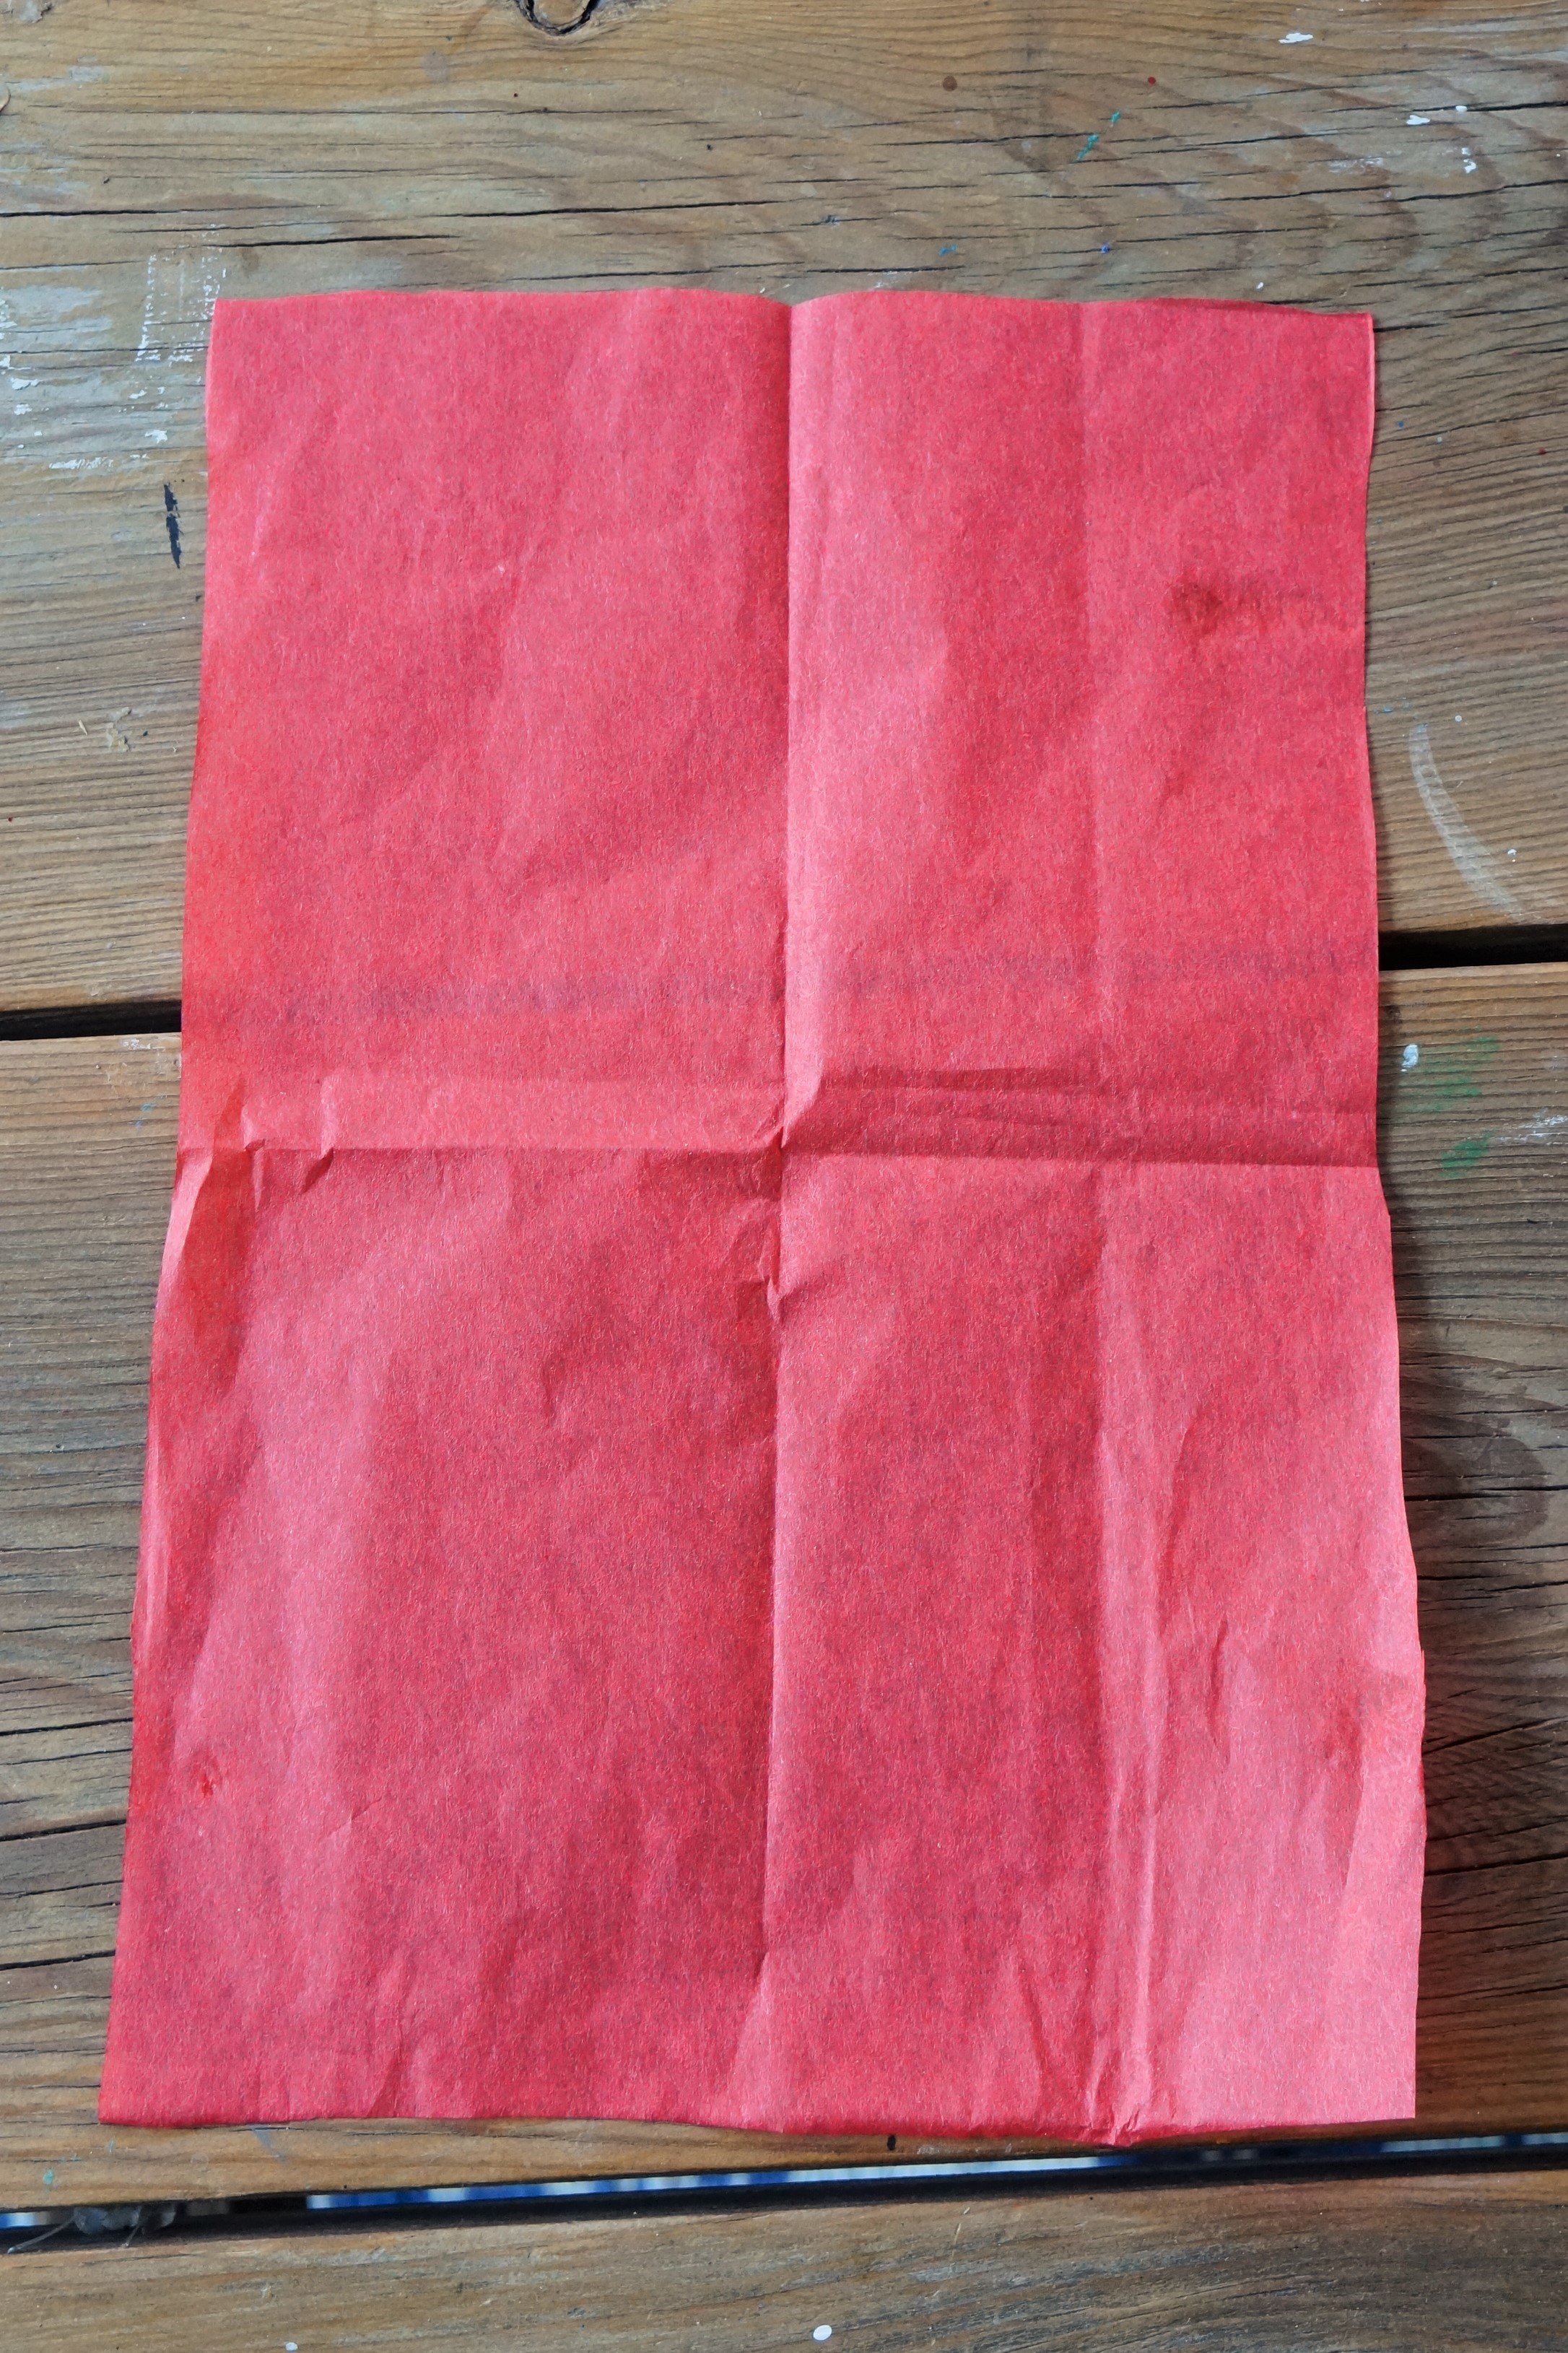
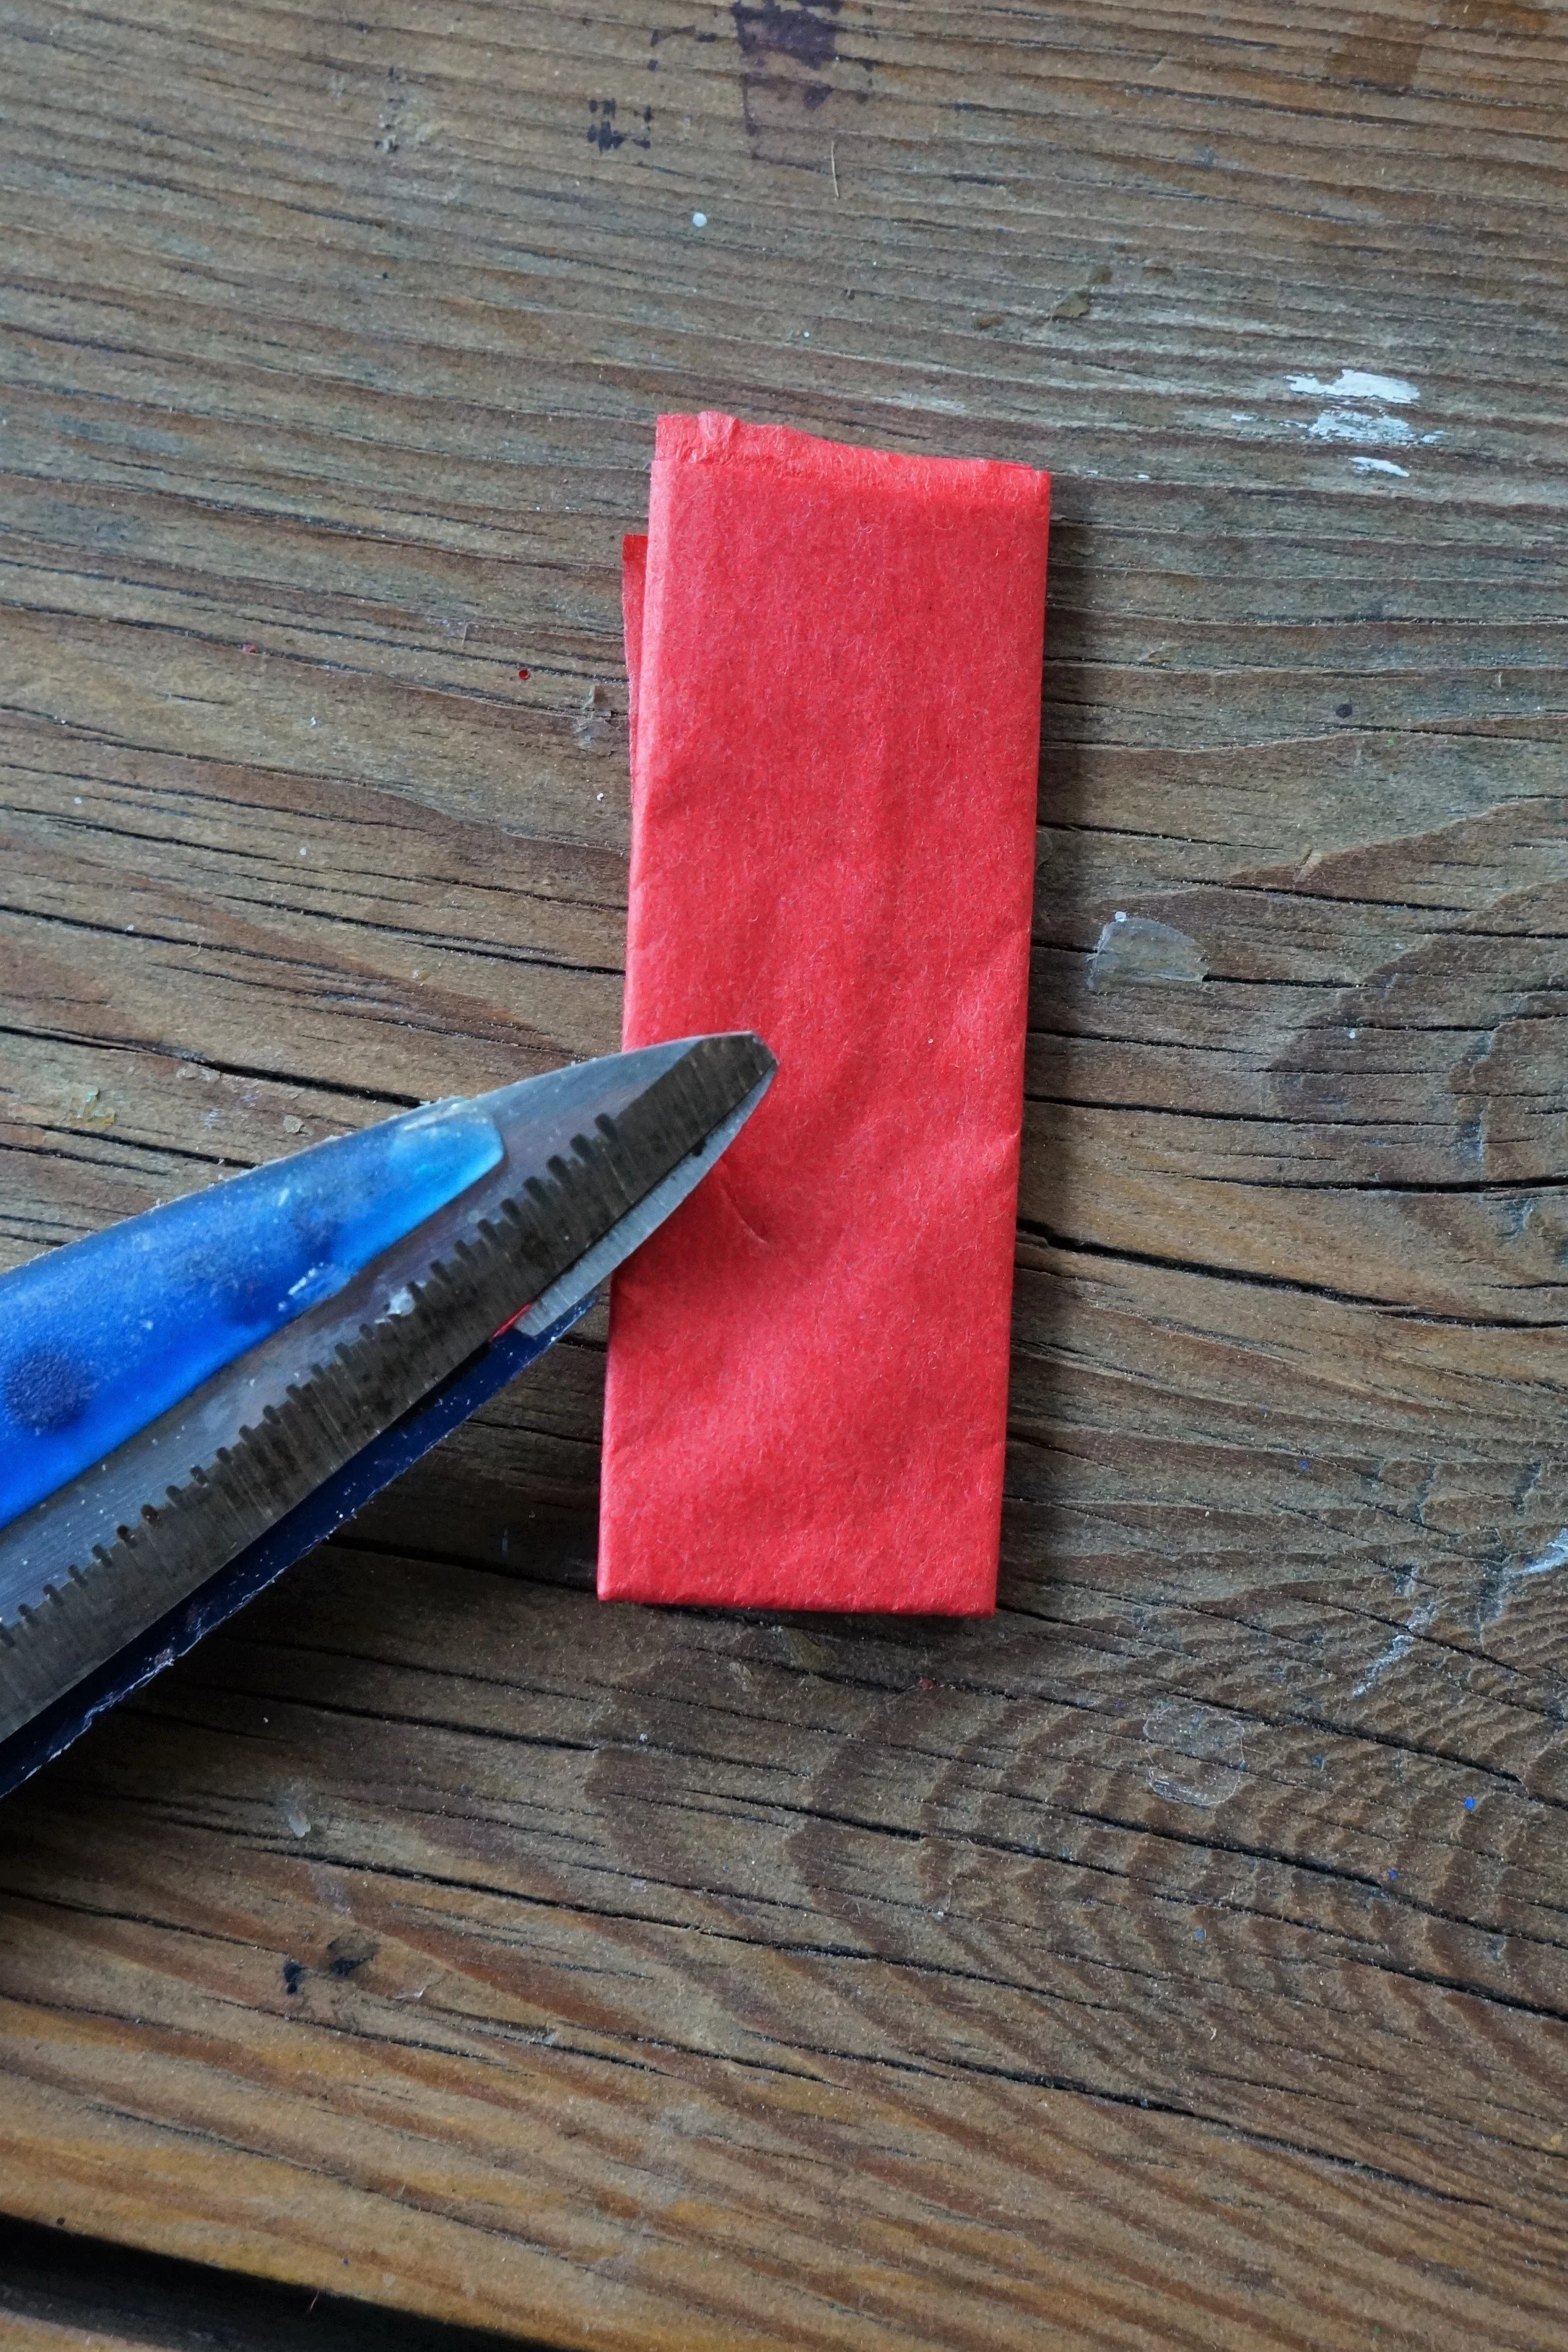
Cut a small square or rectangle out of each color you’d like to use. We used 1/8th piece of each tissue sheet and had more than enough.
SQUARES/RECTANGLES: fold your tissue into smaller rectangles or squares, making sure to cut each fold before folding again.


TRIANGLES: Fold your tissue into a smaller rectangle, making sure to cut at each fold. Then fold diagonally to create 2 triangles, cut at the crease.
MARQUISE DIAMONDS: Fold your tissue into a smaller rectangle and fold it in half. Cut a wide smile from one folded corner to the other.
CIRCLES: Fold your tissue into smaller squares and carefully cut a circle out or use a pencil to trace a circular item before cutting them out.


Matthias decorating a tag : )
2. Use the cut out pieces and glue to decorate the premade gift tags or make your own:
DIY GIFT TAGS: Fold your black paper half and glue it together. Once the paper is dry, fold it into 4 tags and cut them out. Punch a hole at the top and loop some string/ ribbon through. Proceed with decorating them.


One of the tags I made with a zig-zag design and some paper layering.


3. Use the white gel pen and add the year and/or *name for the ornament. To use as a gift tag include TO:_______ FROM:_______ with the recipient and the giver’s names.
*For Matty’s, I added his age too.
That’s it!
For a little more fun decorate the backside of the gift tags too, check out the last bottom 2 tags, and the challenge!


These are Naomi’s heavily layered gift tags with the year.


These are my 2 simple tags.
When we were all done with our tags, we realized that my red and white one looked like a gameboard path and the other like a bird! So I HAD to add a few touches to complete their “look”, one with dots & dashes and the other with an eye, wings, and tiny feet lol.
CHALLENGE your kiddos to look at their finished creations in a new way! What will they find?!!?!?
Happy crafting!
Amanda and Naomi
To share: take a photo of your craft and let us see it! Click on photo submission and submit


