

Hi friends,
Today we have adorable cone angels made with festive wrapping paper. You can make these self-standing cone angels, with solid-colored paper, the same pattern, or a combination. They’re a low-cost craft for the kiddos too and can depict your child’s likeness. Let the littles design their face and hair while you get the other steps done. It’s a great way to work together and see your little angels’ likeness come to life. Check out our wrapping paper cone angels below!
*Click on photos for a closer look
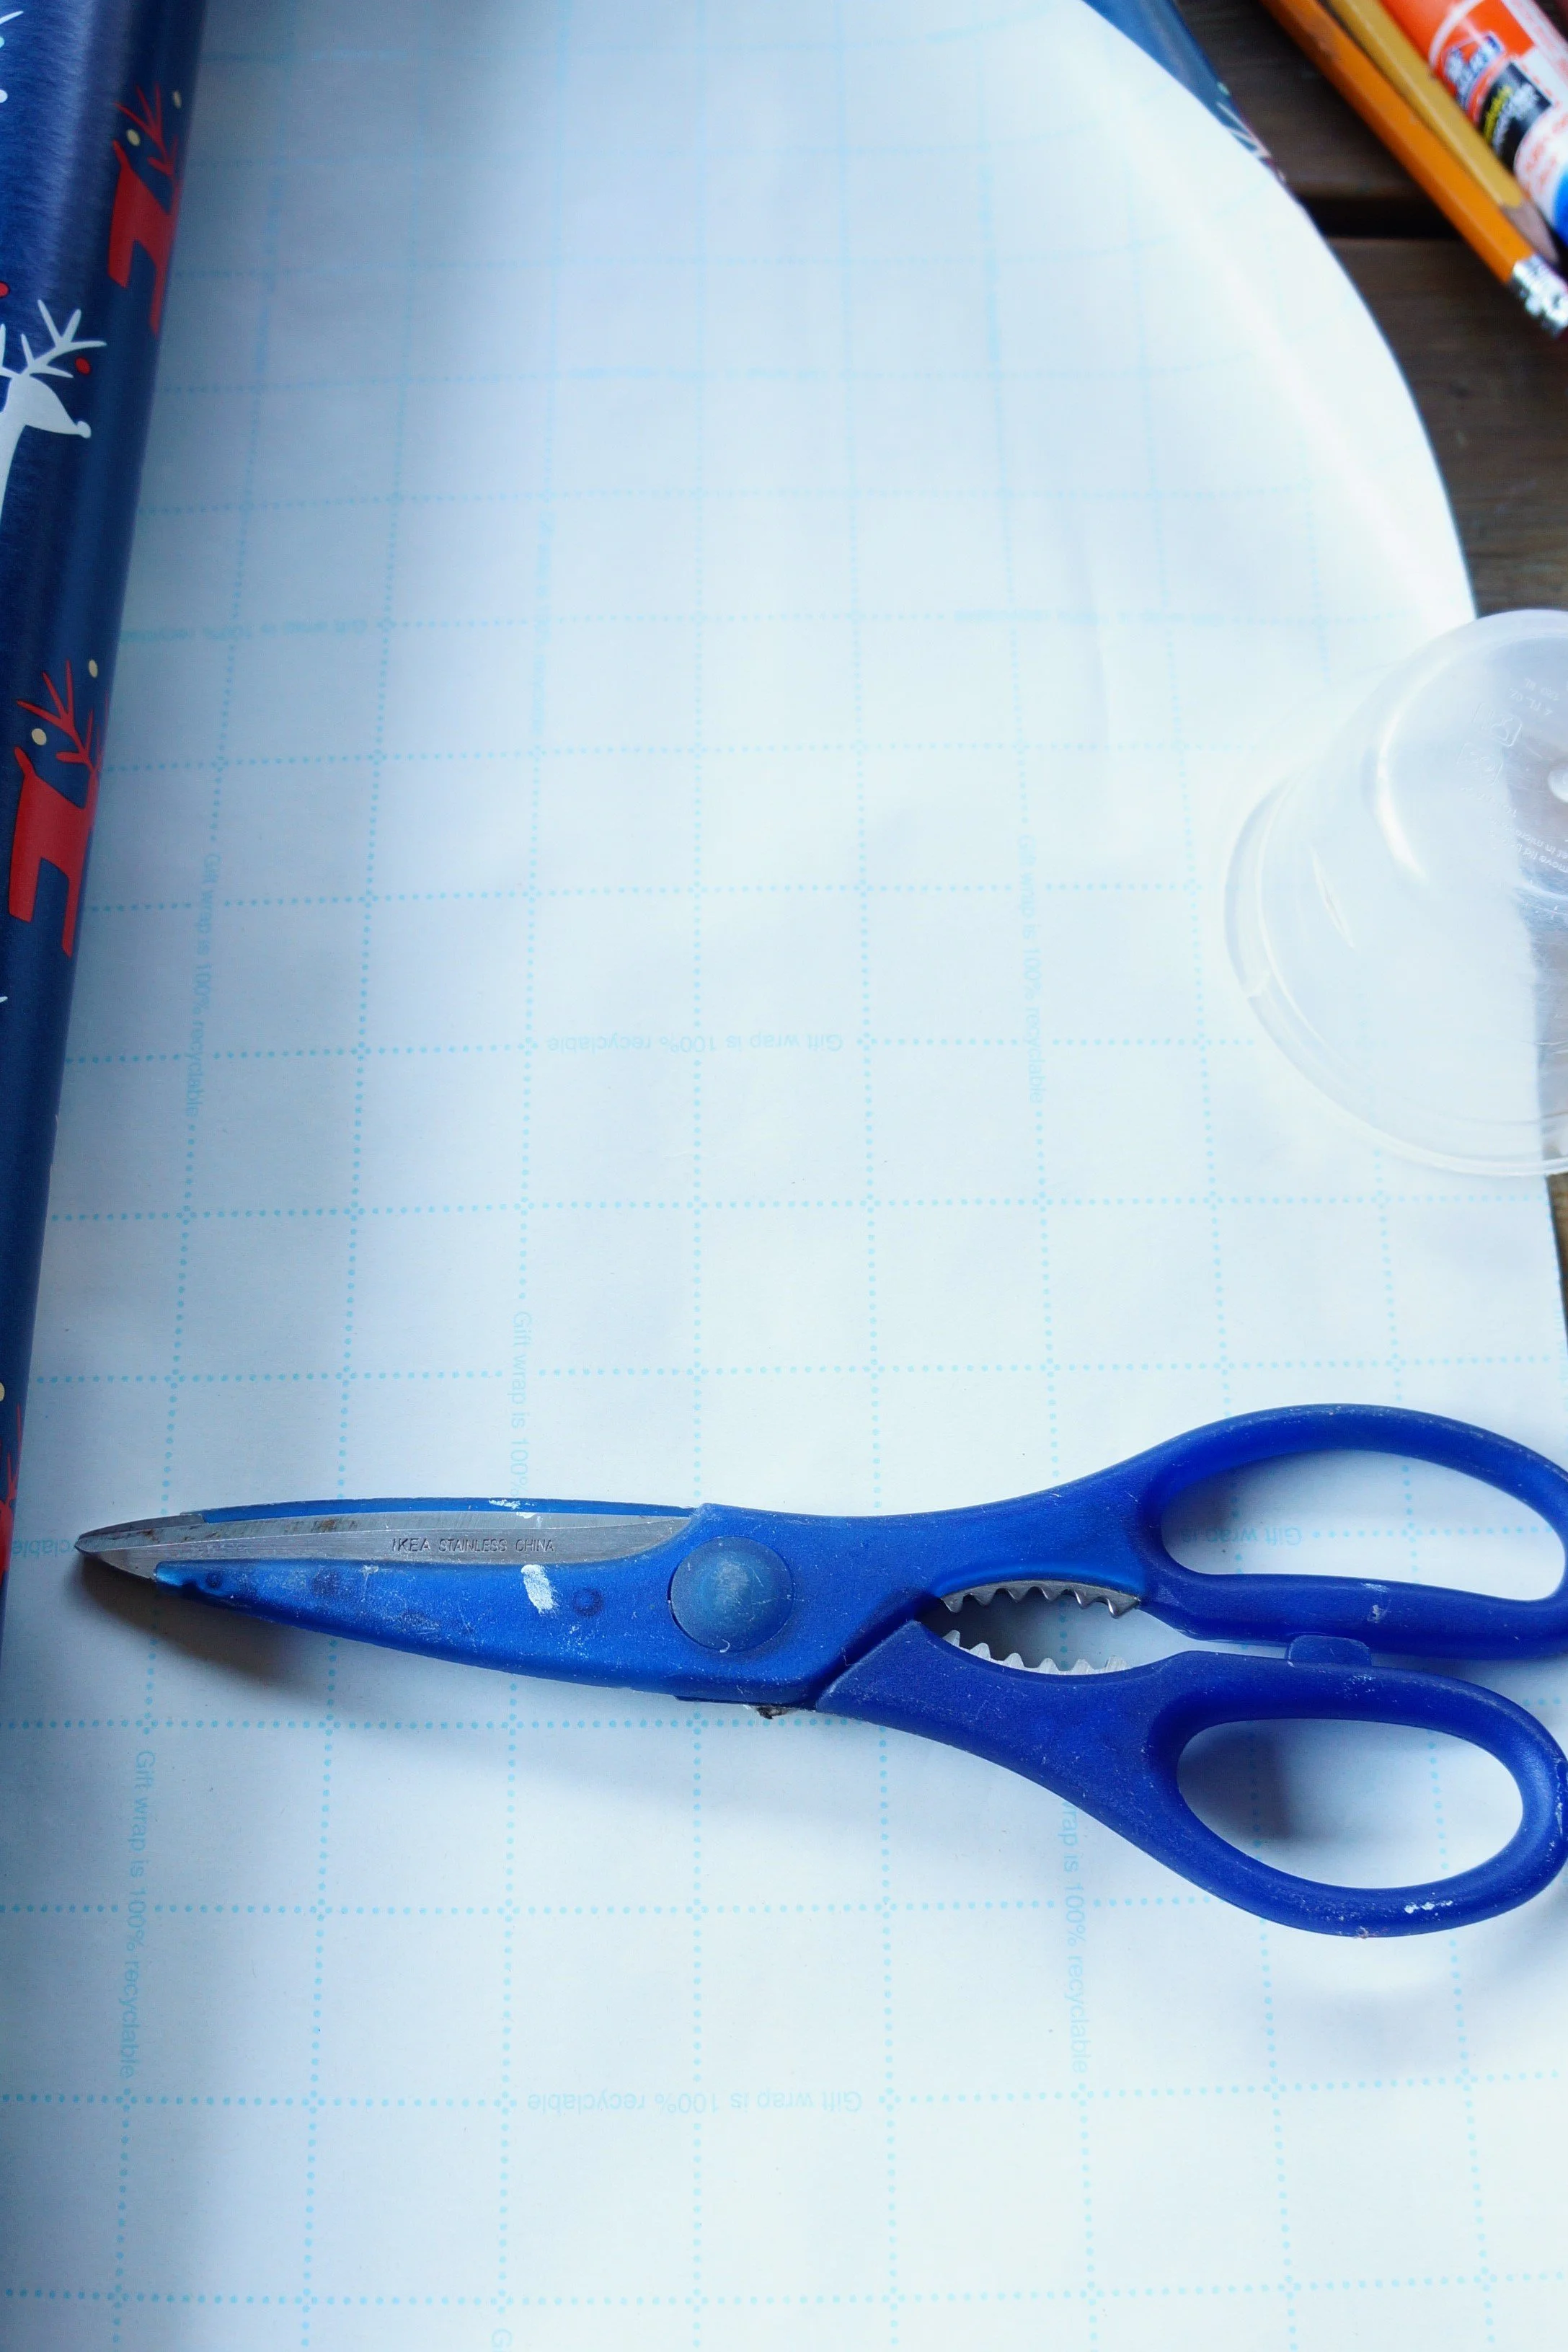
What You'll Need
Wrapping Paper
Parchment Paper
Scissors
Pencil
Markers
Glue Stick
Round Snack Cup
The Steps


BODY- If working with littles, skip the body until later, start them off by having them create their face first.
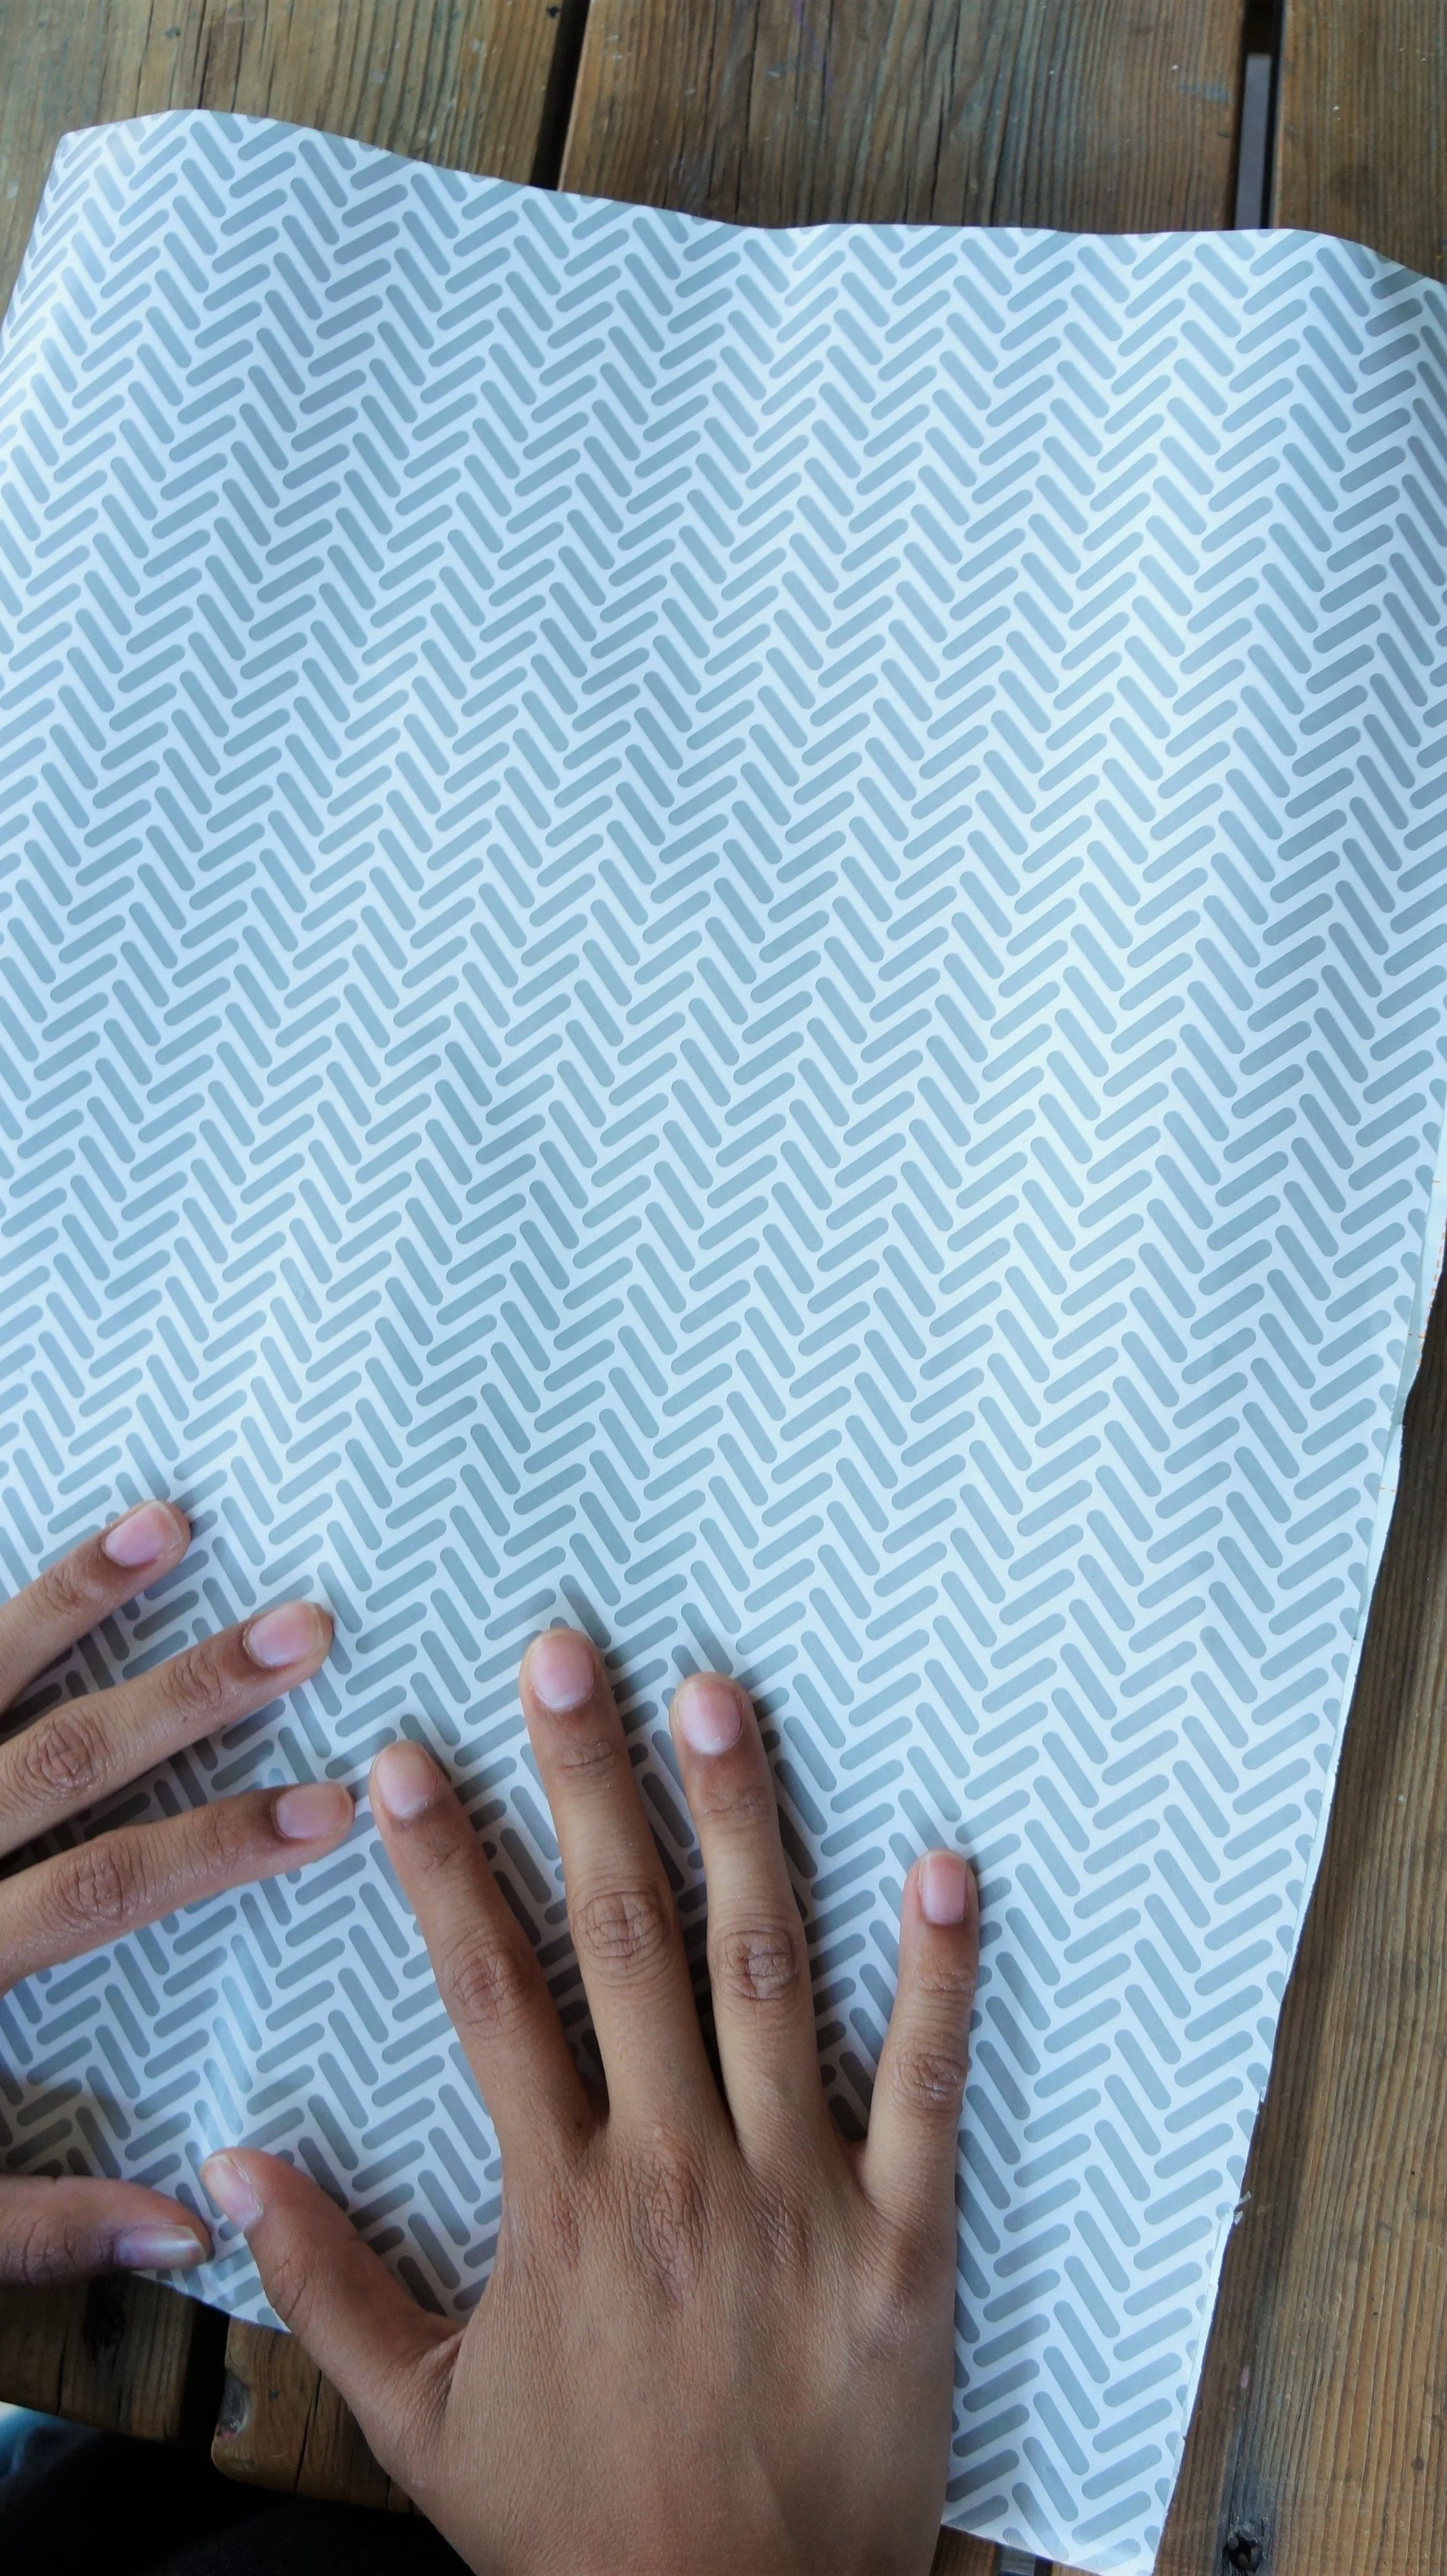
Most wrapping paper has a measuring grid on the back side, cut a strip 10 squares wide, equivalent to 10 inches, and the length of the roll.
Fold your paper in half, the shorter ends meeting together, and glue them.


3. Turn the paper horizontally and fold one of the raw edges over about 1\2 inches and glue.
4. With the folded edge at the bottom and the raw edge at the top, fold in the top corners about 2/3 of the way, leaving a 2-3 inch gap between.
5. Fold in the bottom corners, lining them up with the bottom of the top folds, then glue all the folds down.

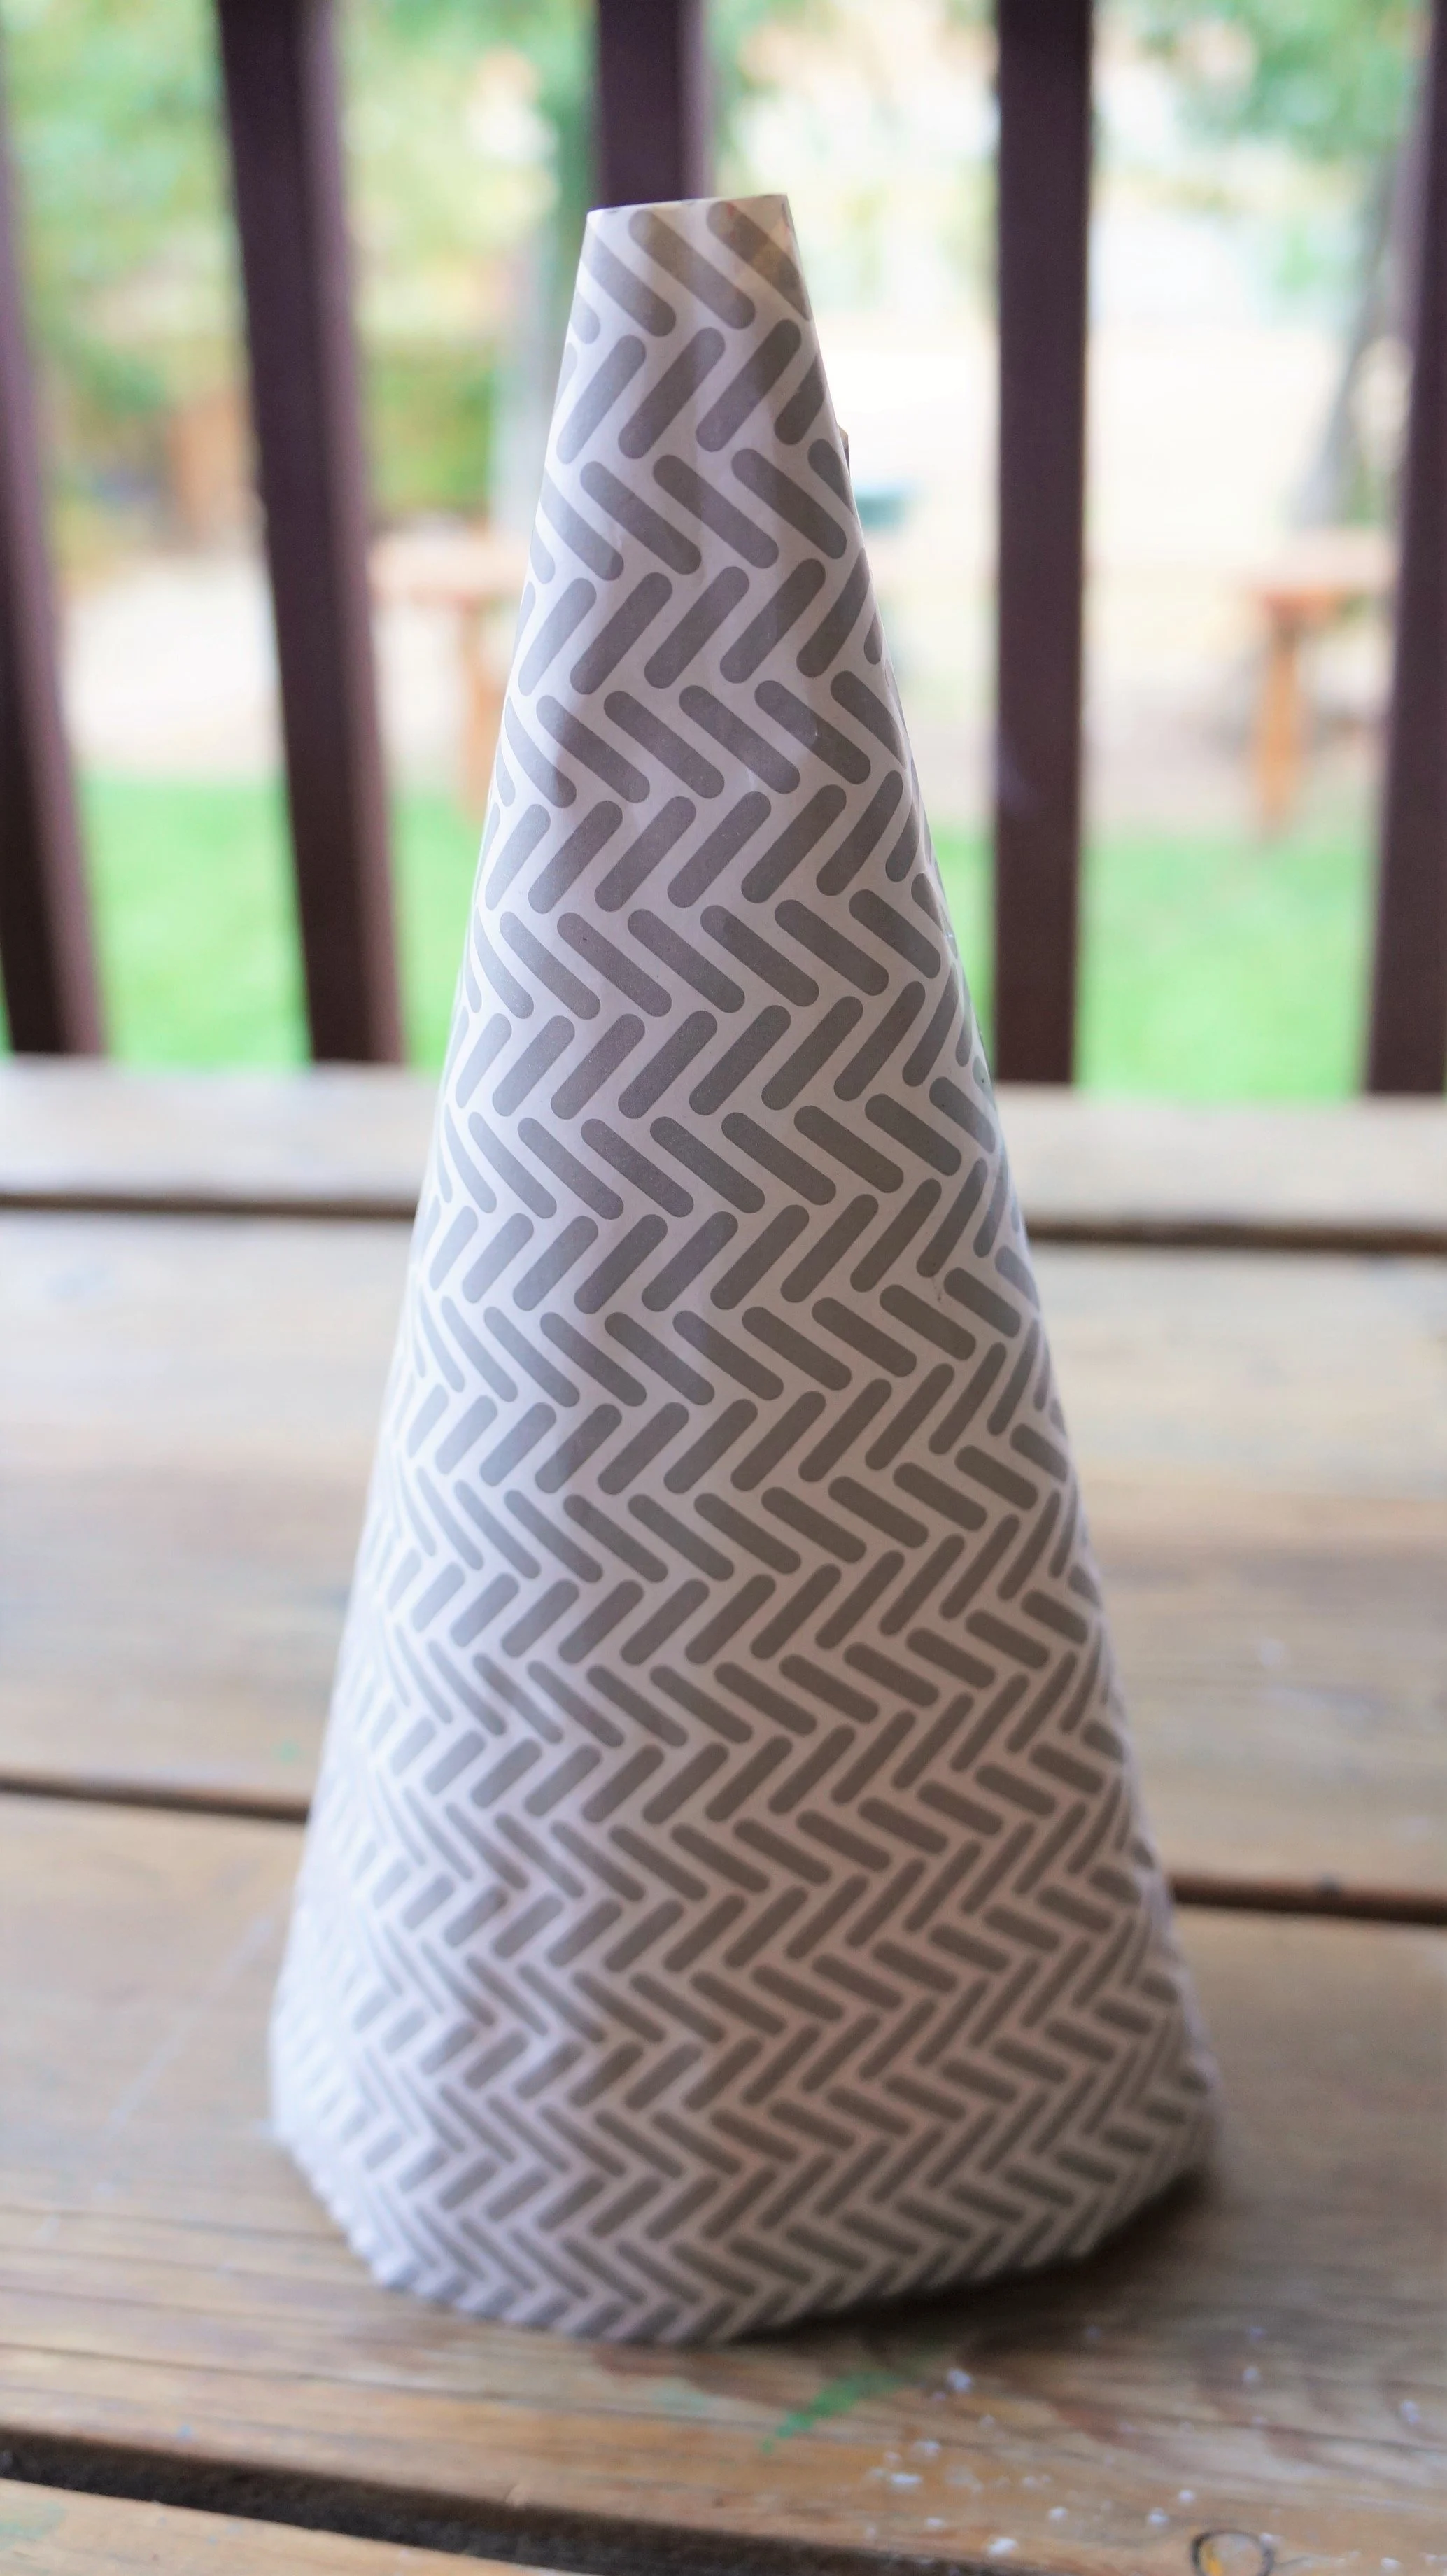

6. Overlap the edges enough to create a narrow top and wide cone body.
7. When you like the shape of the cone, add glue to the inside of the overlapping piece, and press down gently. Test your body, if it rests evenly, press firmly to seal it, if not reposition and try again.


FACE
Trace your snack cup with a pencil and cut the circle out.
Draw the hair and facial features, then add a strip of glue to the back of the face and glue to the top of the cone.


WINGS
Cut a strip of parchment paper about 6 inches wide and the length of the roll.
Fold it over 2 times and draw an angel wing, you’ll end up with 4 wings.


3. Hold the paper firmly and cut the wings out.
4. Line up 2 wings, make thin cuts into the wings to create the feathers, and then run your fingers through to flare them a bit.
5. Slightly fold back the straight edges of the wings, add glue to the folded edges, and attach them to the angel's body.
That’s it!


These angels are so cute. Naomi did a great job drawing her own hair too = )
Happy crafting!
Amanda and Naomi
To share: take a photo of your craft and let us see it! Click on photo submission and submit


