

Hi friends,
We have a Cat In The Hat-inspired garland, with a striped hat, sparkly bowtie, and matching chain, perfect for any time of the year. Do you have a kiddo who loves The Cat In The Hat, maybe you have a future party coming up, or you’d like a larger version for a classroom? Are you planning a themed tree this year, like a nutty family I know ; ), with Cat In The Hat ornaments too? Whatever the occasion, this garland could be a sparkly addition to your themed needs. Check out our fun Cat In The Hat garland below!
*Click on photos for a closer look
What You'll Need
(2) Black, (3) White, & (3) Red Construction Papers
Scissors
Pencil
Black Sharpie
Glue & Glue Stick
Red Confetti or Glitter
Ruler
The Steps


CHAIN
Set aside 1 white & 1 folded red sheet for later.
Fold each of the remaining sheets into eighths. Tip: fold each sheet in half, then fold the halves separately into accordions, creasing well.
Cut all the strips from the sheets, 48 total.


4. Create your own pattern or follow ours: red, white, red, black, followed by white, red, white, and black. Leave 2 black strips out and set them aside for later.
5. Assemble 2 chains, with 23 links per chain, and then set aside.
Optional step: Glue the seams to each other.


HAT
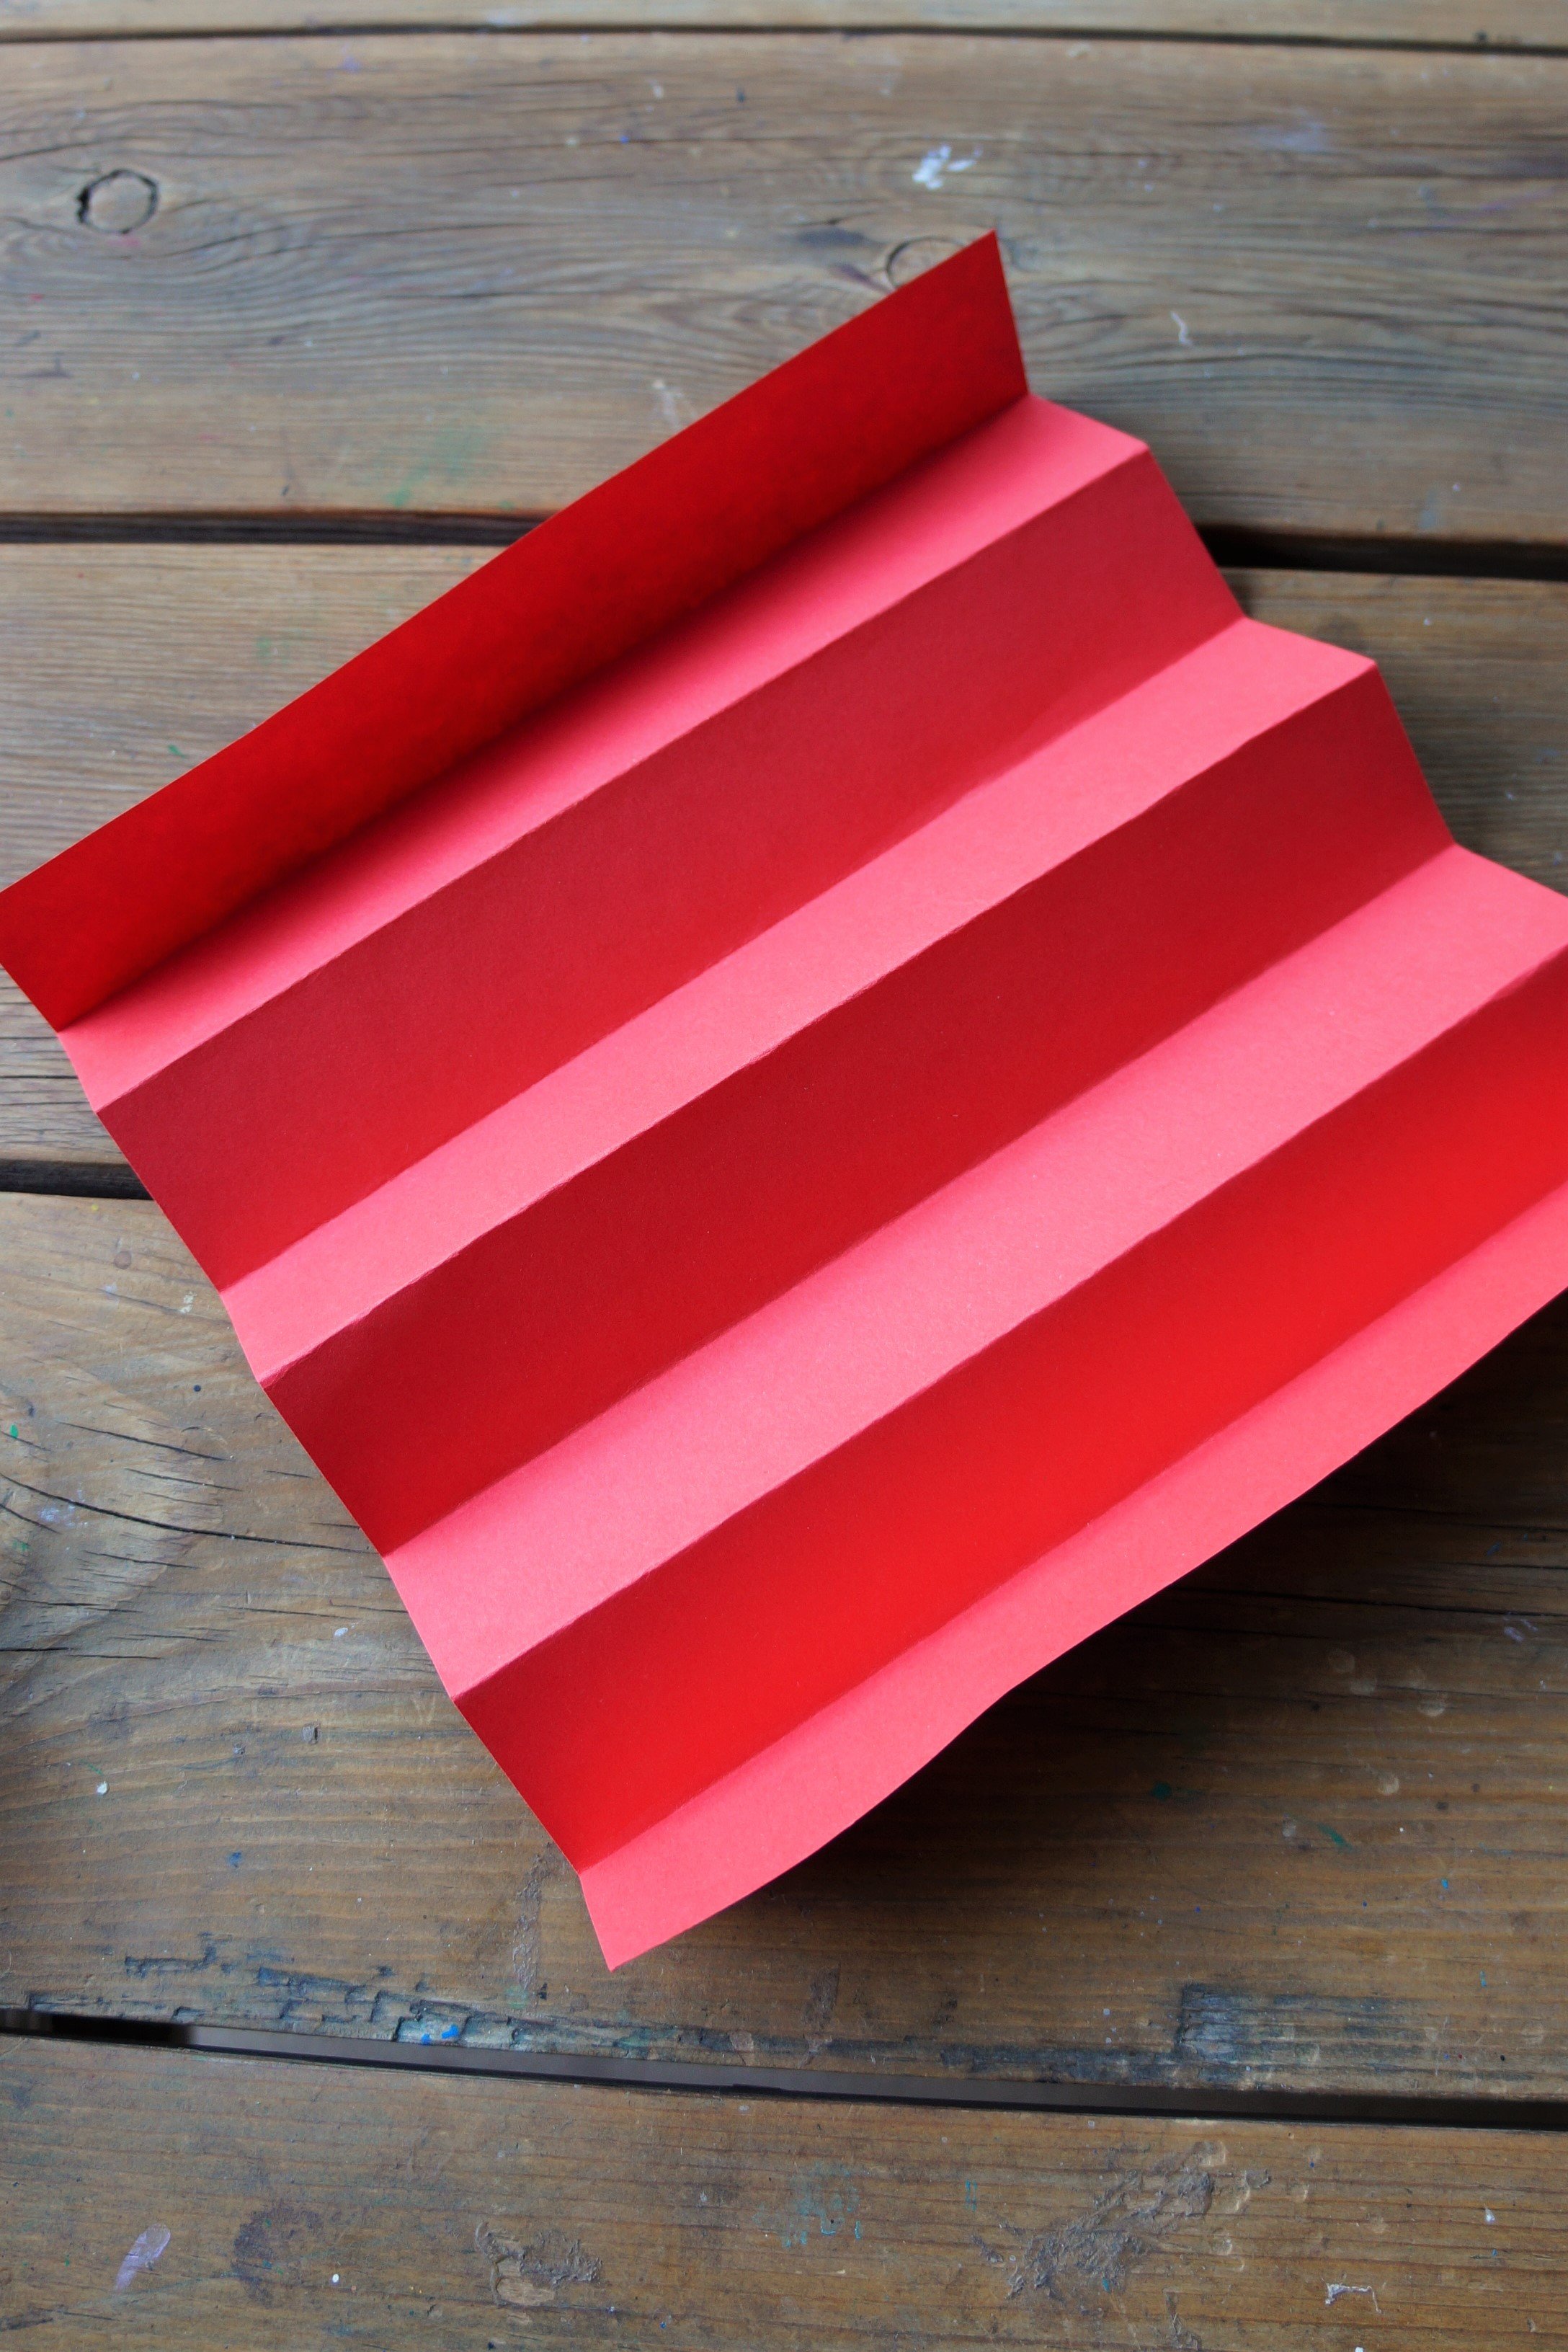
1. Use 1/2 of the red sheet, fold it into thirds, and cut the sections out.
2. Use the red sections and ruler to help draw a large rectangle hat and a rim.
3. With the black marker, trace a thick line around the rectangle and rim, then use the glue stick to glue the top two red sections into place.
4. Cut the outer portions of the hat minus the strip under the rim, fold that piece back and glue.
5. Attach each chain to the hat with one black strip:
1st feed the black strip through a link, 2nd glue one end of the black strip to the back of the hat, near the rim, and the other end to the top, 3rd repeat with the opposite side, 4th glue the red strip over the black ends.


BOWTIE-optional
Use the last 1/2 red sheet to cut two (1 inch x 8.5 inch) wide strips.
Place glue in the center of one strip and glue the ends at the center. Fold the other strip in half length-wise, then set aside.
Add glue to the new center section and pinch it together with your thumb and two fingers.
Face the bow away from you, add glue to the center, wrap the narrow strip around the pinched area adding glue as you wrap, and leaving 2-inches unwrapped.


5. Add glue to the top part of the bow and sprinkle with confetti or glitter, let dry 5 - 10 minutes.
option: add glue to the red & white sections and sprinkle matching glitter.
6. Add glue to the strip, tuck under the white rim, and press firmly. Add glue to the white rim, where the bow will rest, and press firmly. Let dry 5-10 minutes.
That’s it!
Happy crafting!
Amanda and Naomi
To share: take a photo of your craft and let us see it! Click on photo submission and submit


