

Hi friends,
This week we’ll show you how to make your own Sonic: Tails for playtime or party decor, with a paper plate, craft paper, glue, and a few more supplies. Then come back next week for the details on EGGMAN. Check out our version of Tails below!
*Click on photos for a closer look
What You'll Need
(1) White Construction Paper, (1 & 1/2) Yellow Construction Papers
White Paper Plate
Scissors
Black Pen
Pencil
Colored Pencils
Glue
The Steps
We can’t hold back on the SONIC-themed crafts! Micah(my 3rd child) recently celebrated a birthday and SONIC was his theme of choice. We crafted & painted a few items days before, assembled & set up the night before, and then surprised him on the morning of his birthday! It’s always so rewarding to see my kid’s reactions.


FACE
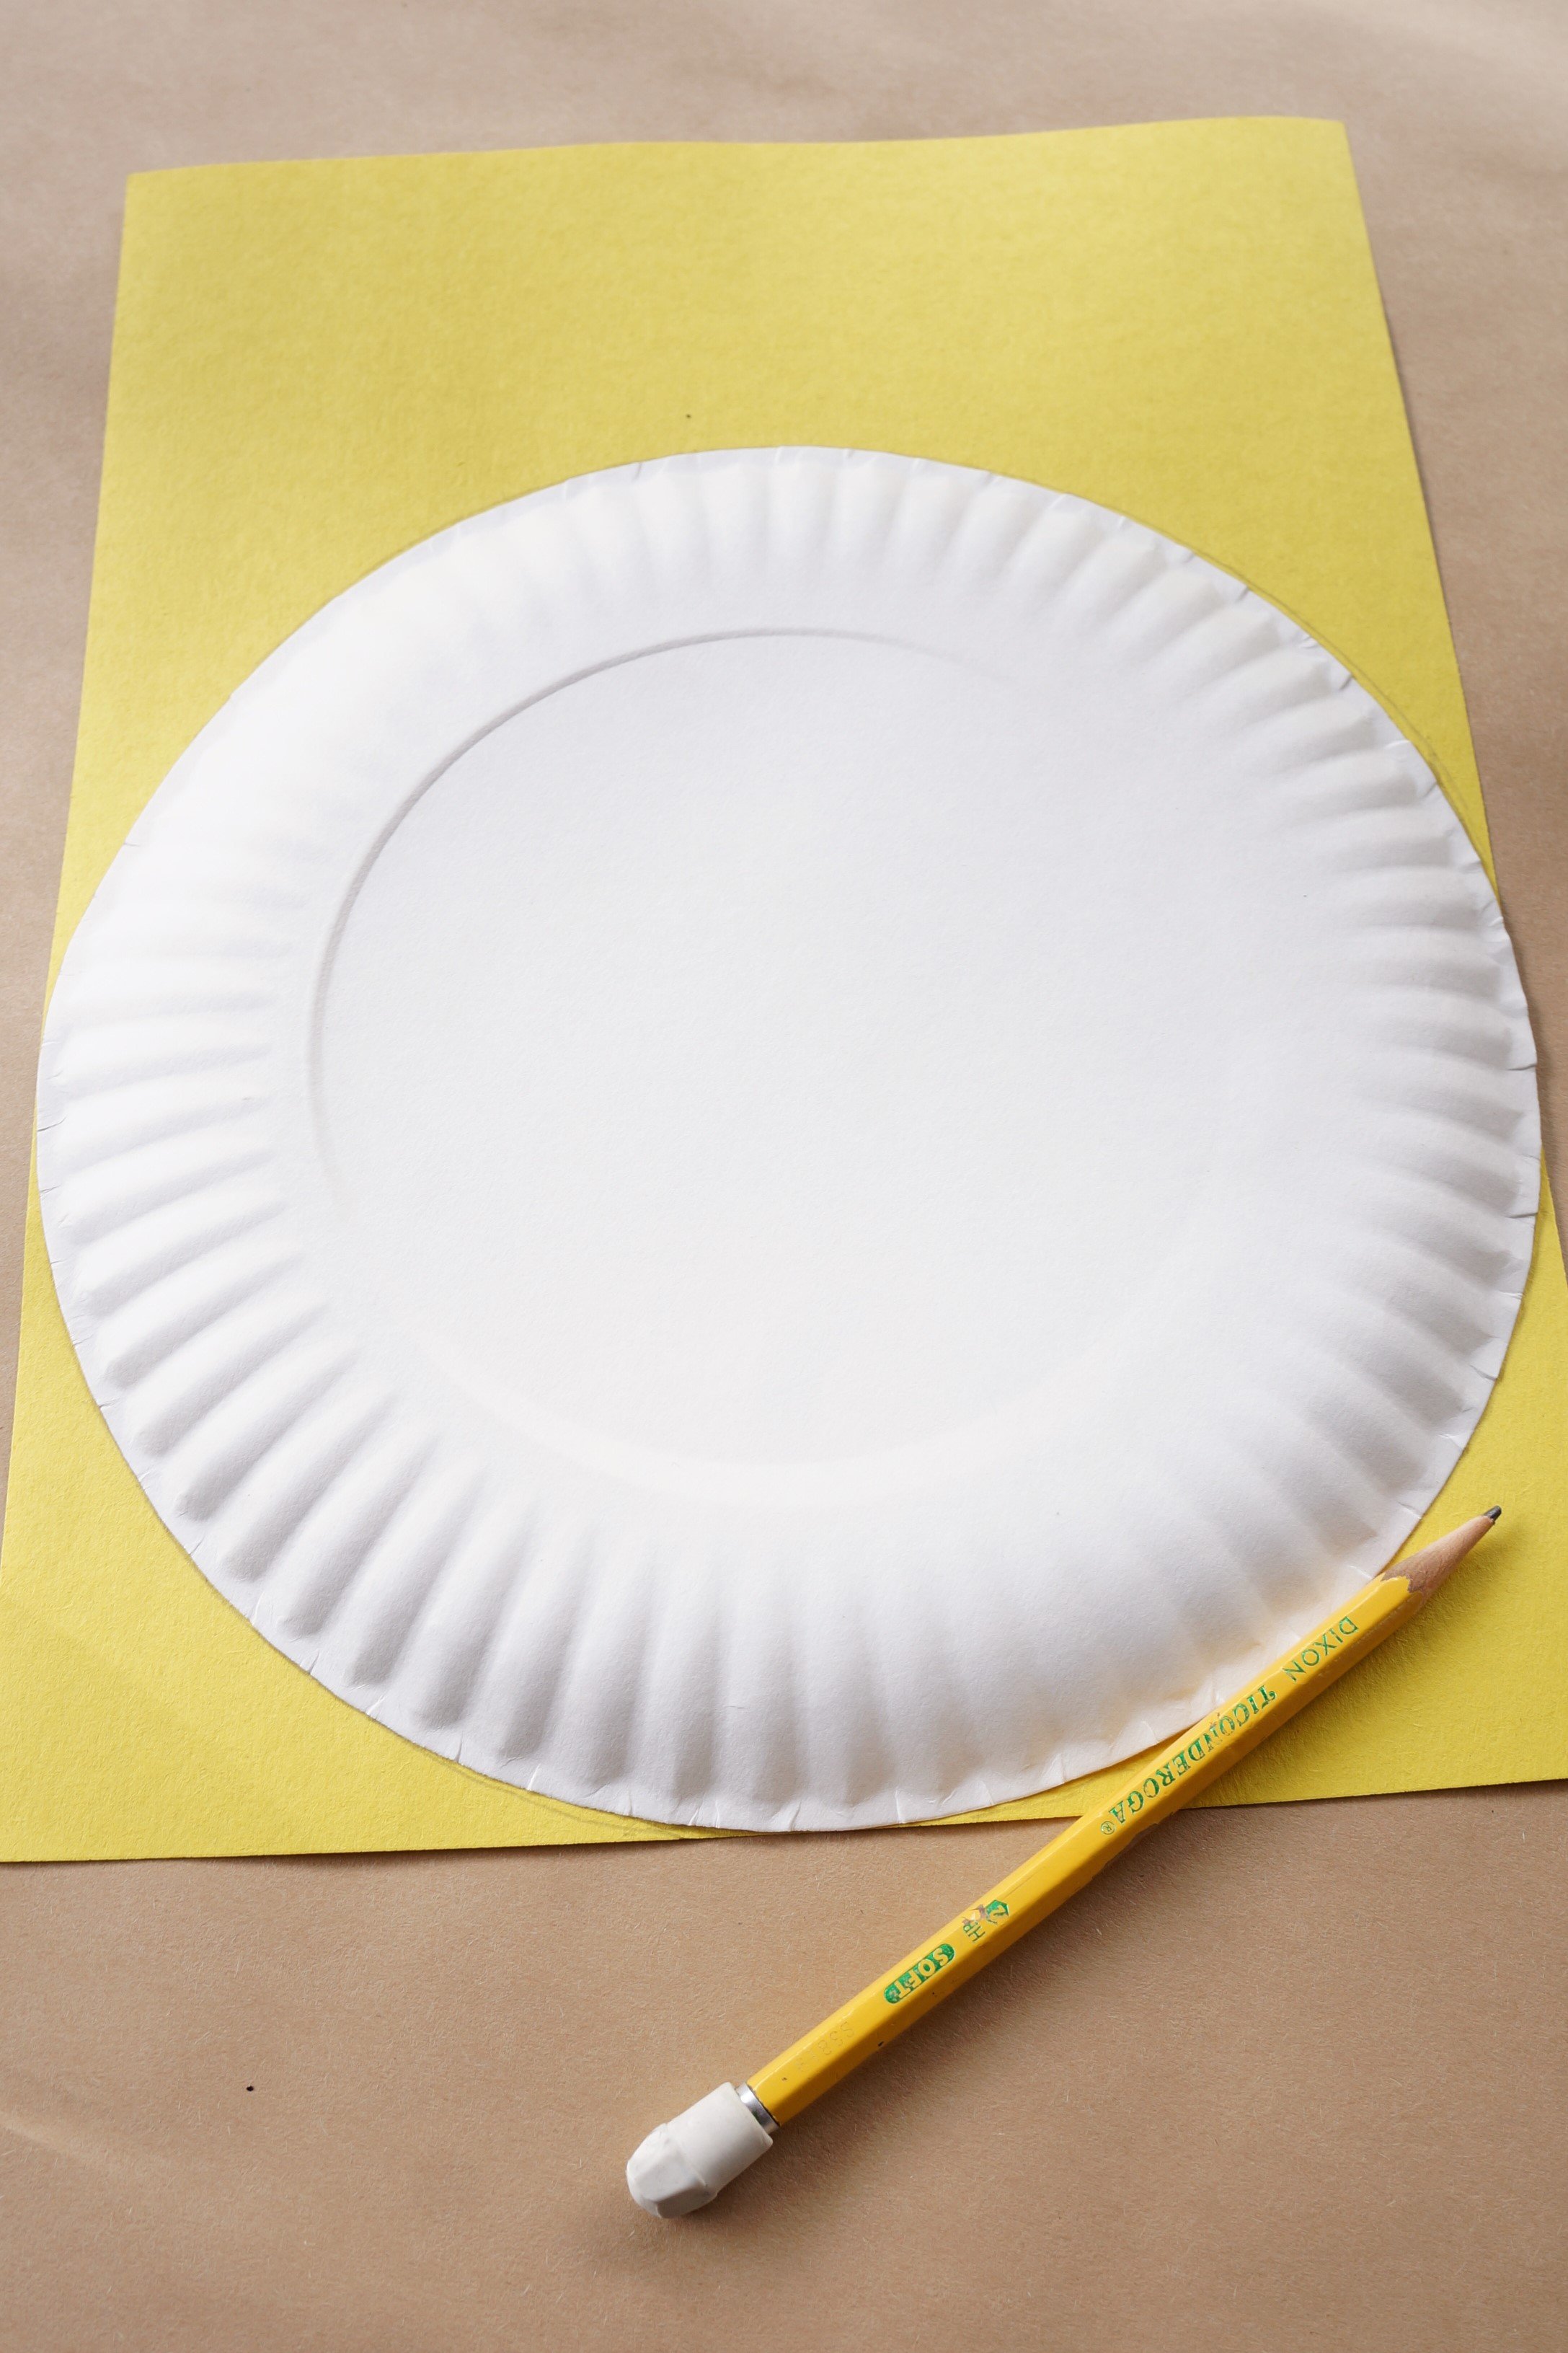
Place your plate upside down on the full sheet of yellow paper and trace it.
Cut the circle out(save scraps).
Glue half of the circle on the plate and set aside.


EARS
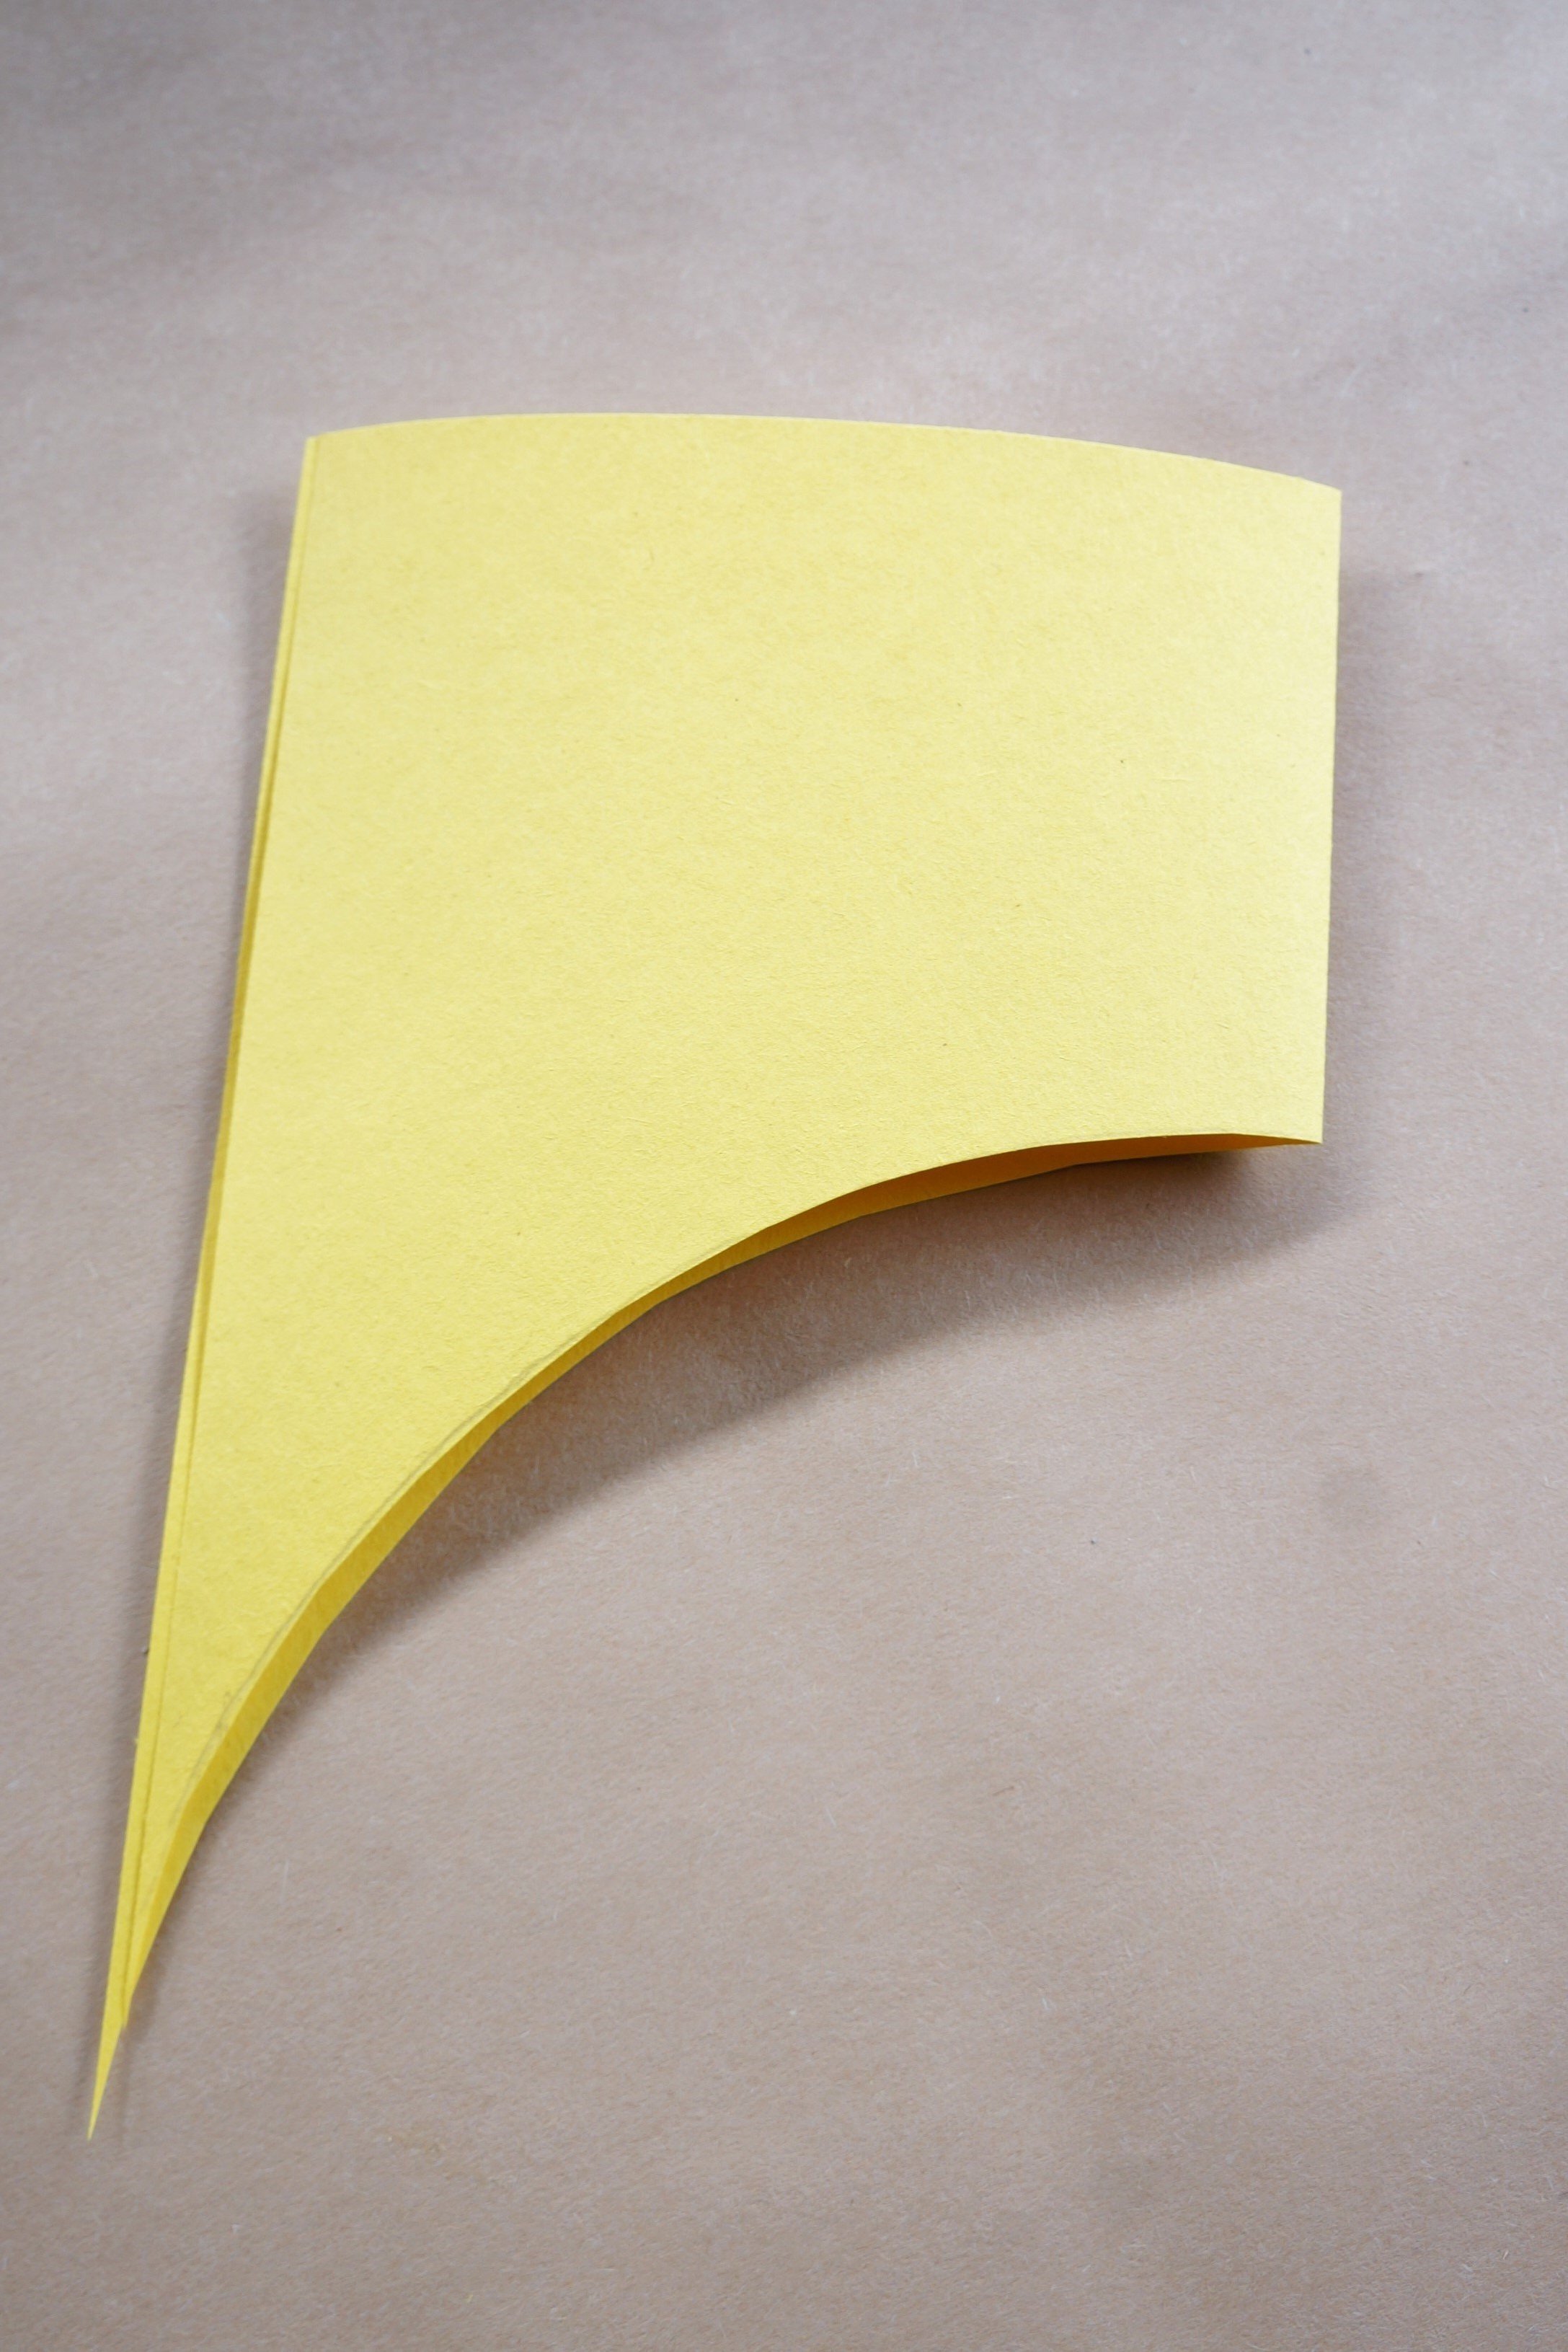
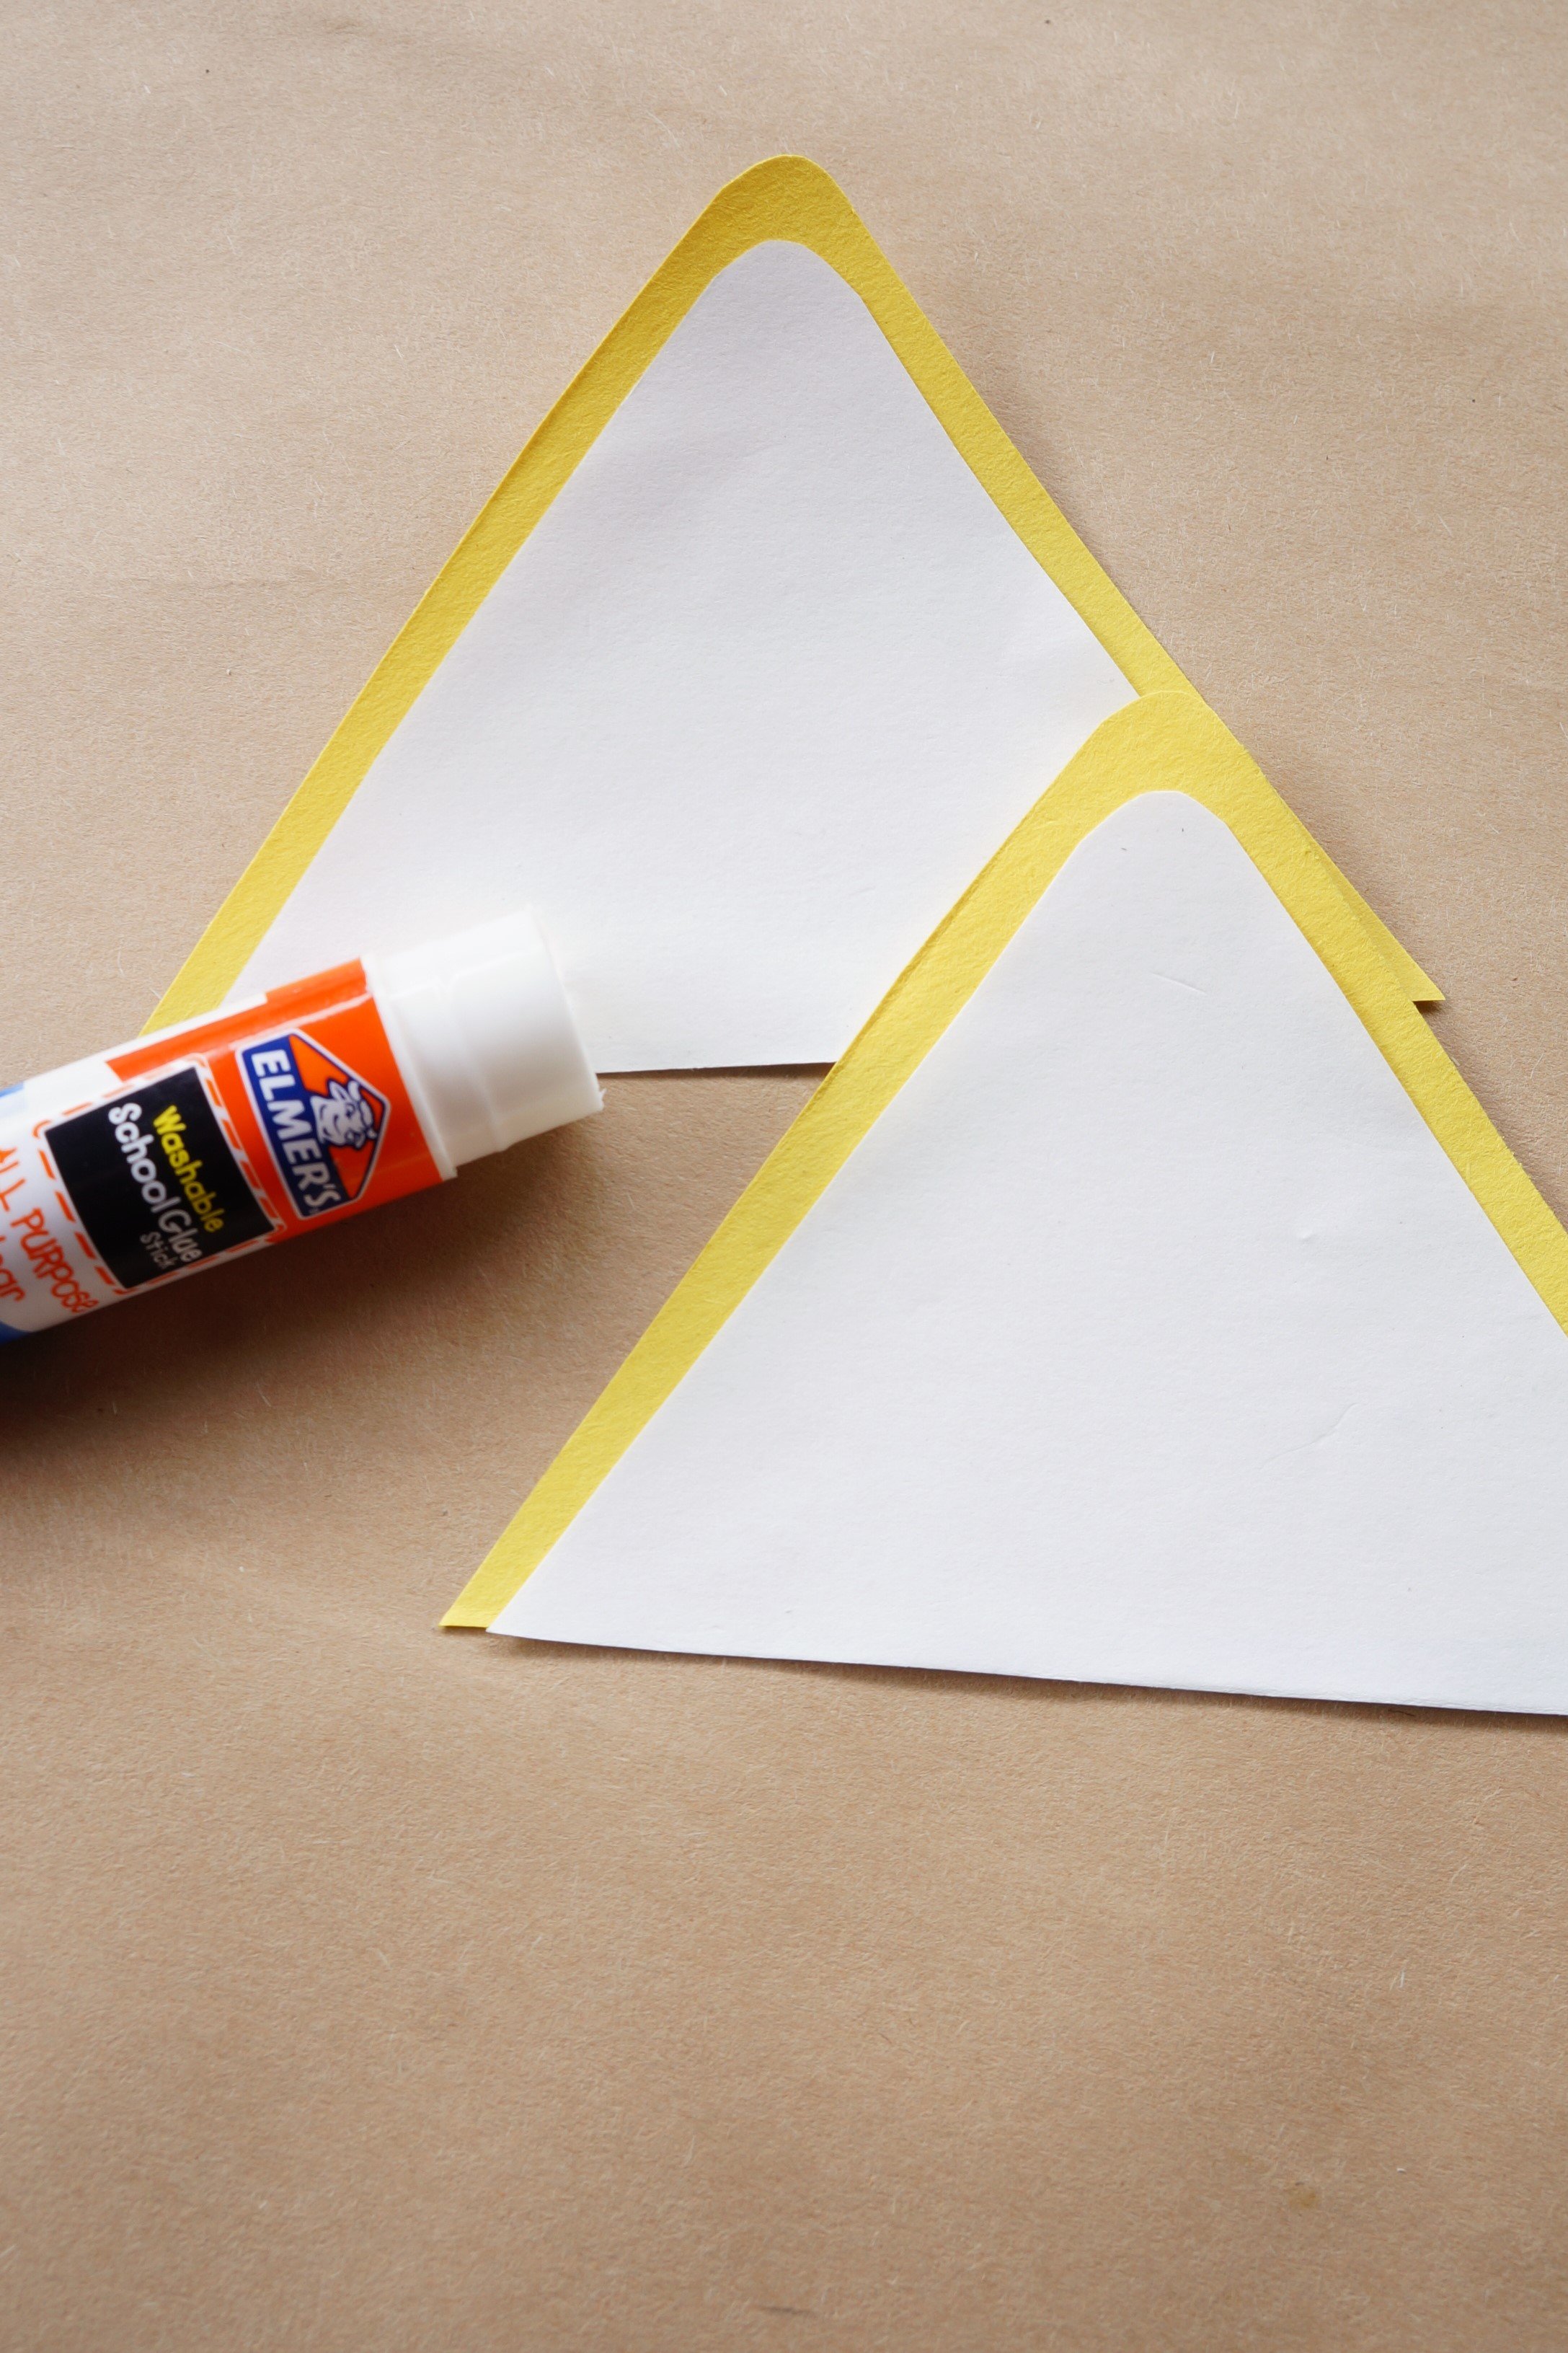
Fold the yellow scraps in half and create a narrow triangle fold, from the top left corner.
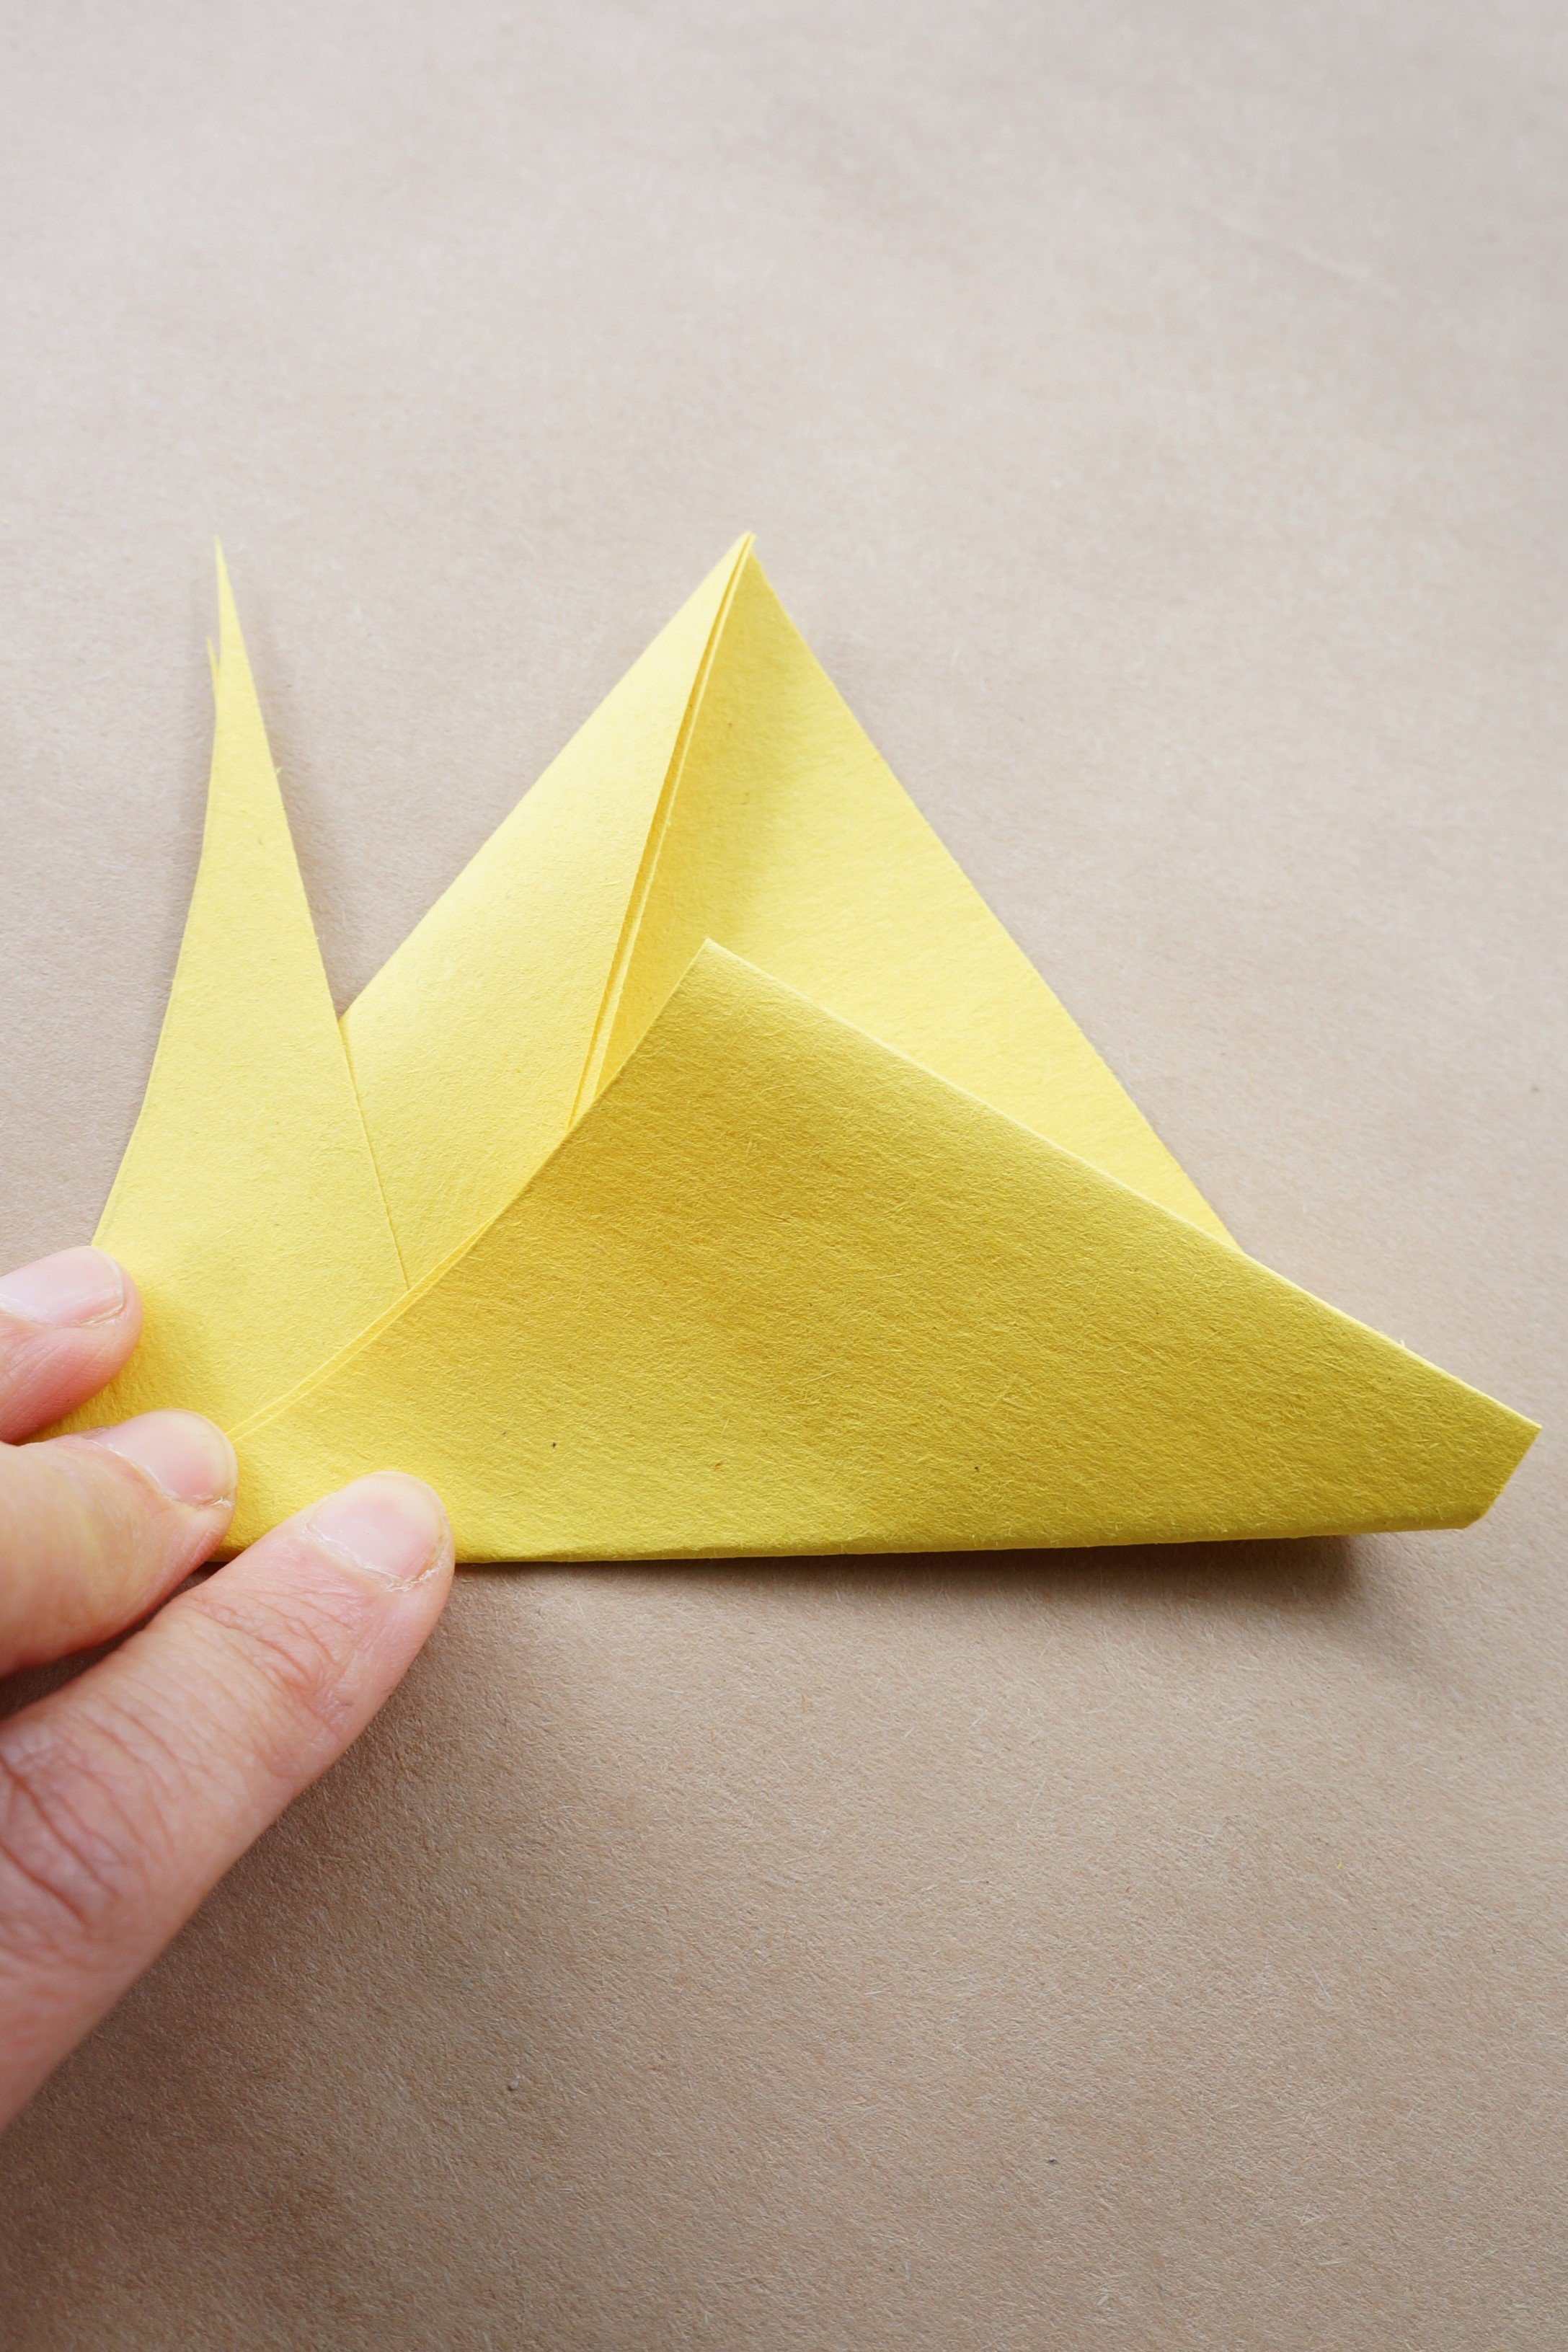
Fold that long point up and a half inch of the bottom section to create a wide triangle.
Cut away all the folds to leave you 2 larger triangles, then set them aside momentarily.

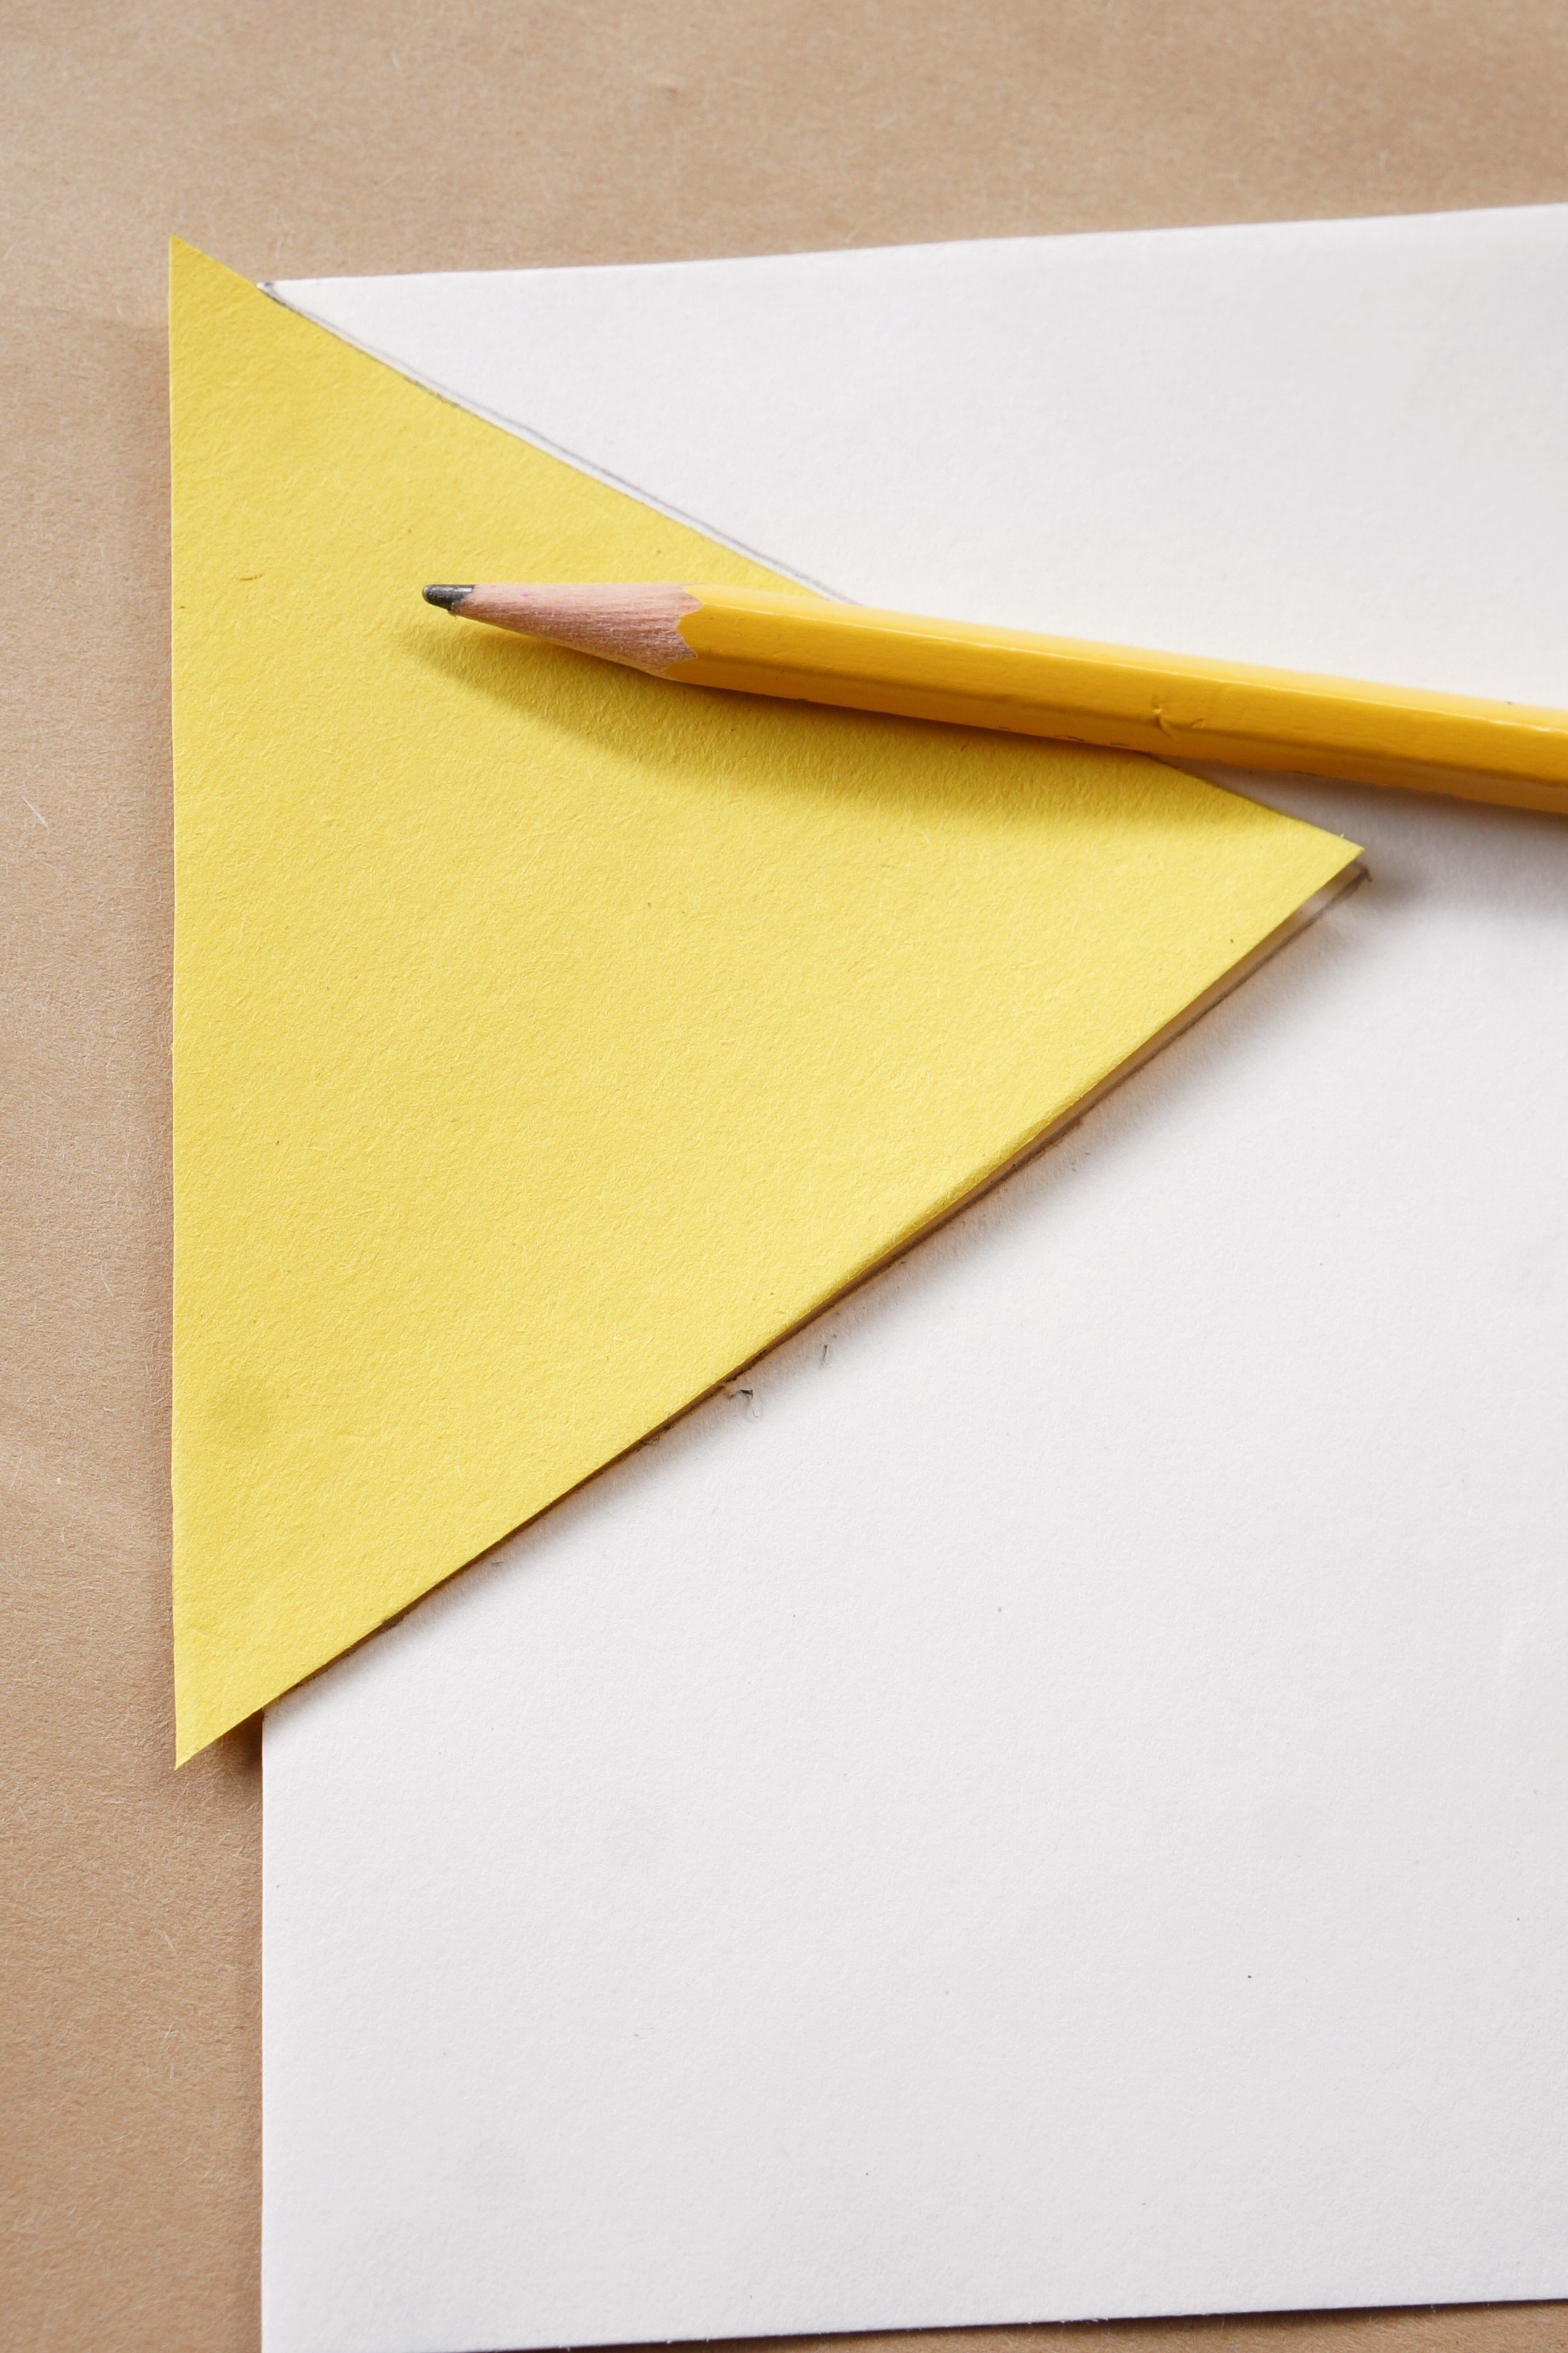
4. Fold your white paper in half, cut, and set 1 piece aside.
5. Fold the remaining half sheet in half, line the wider end of the yellow triangle with the long side of folded half, and overlap 1/2 inch before tracing it.
6. *Cut the white triangles out(save scraps) and glue them onto the yellow triangles.
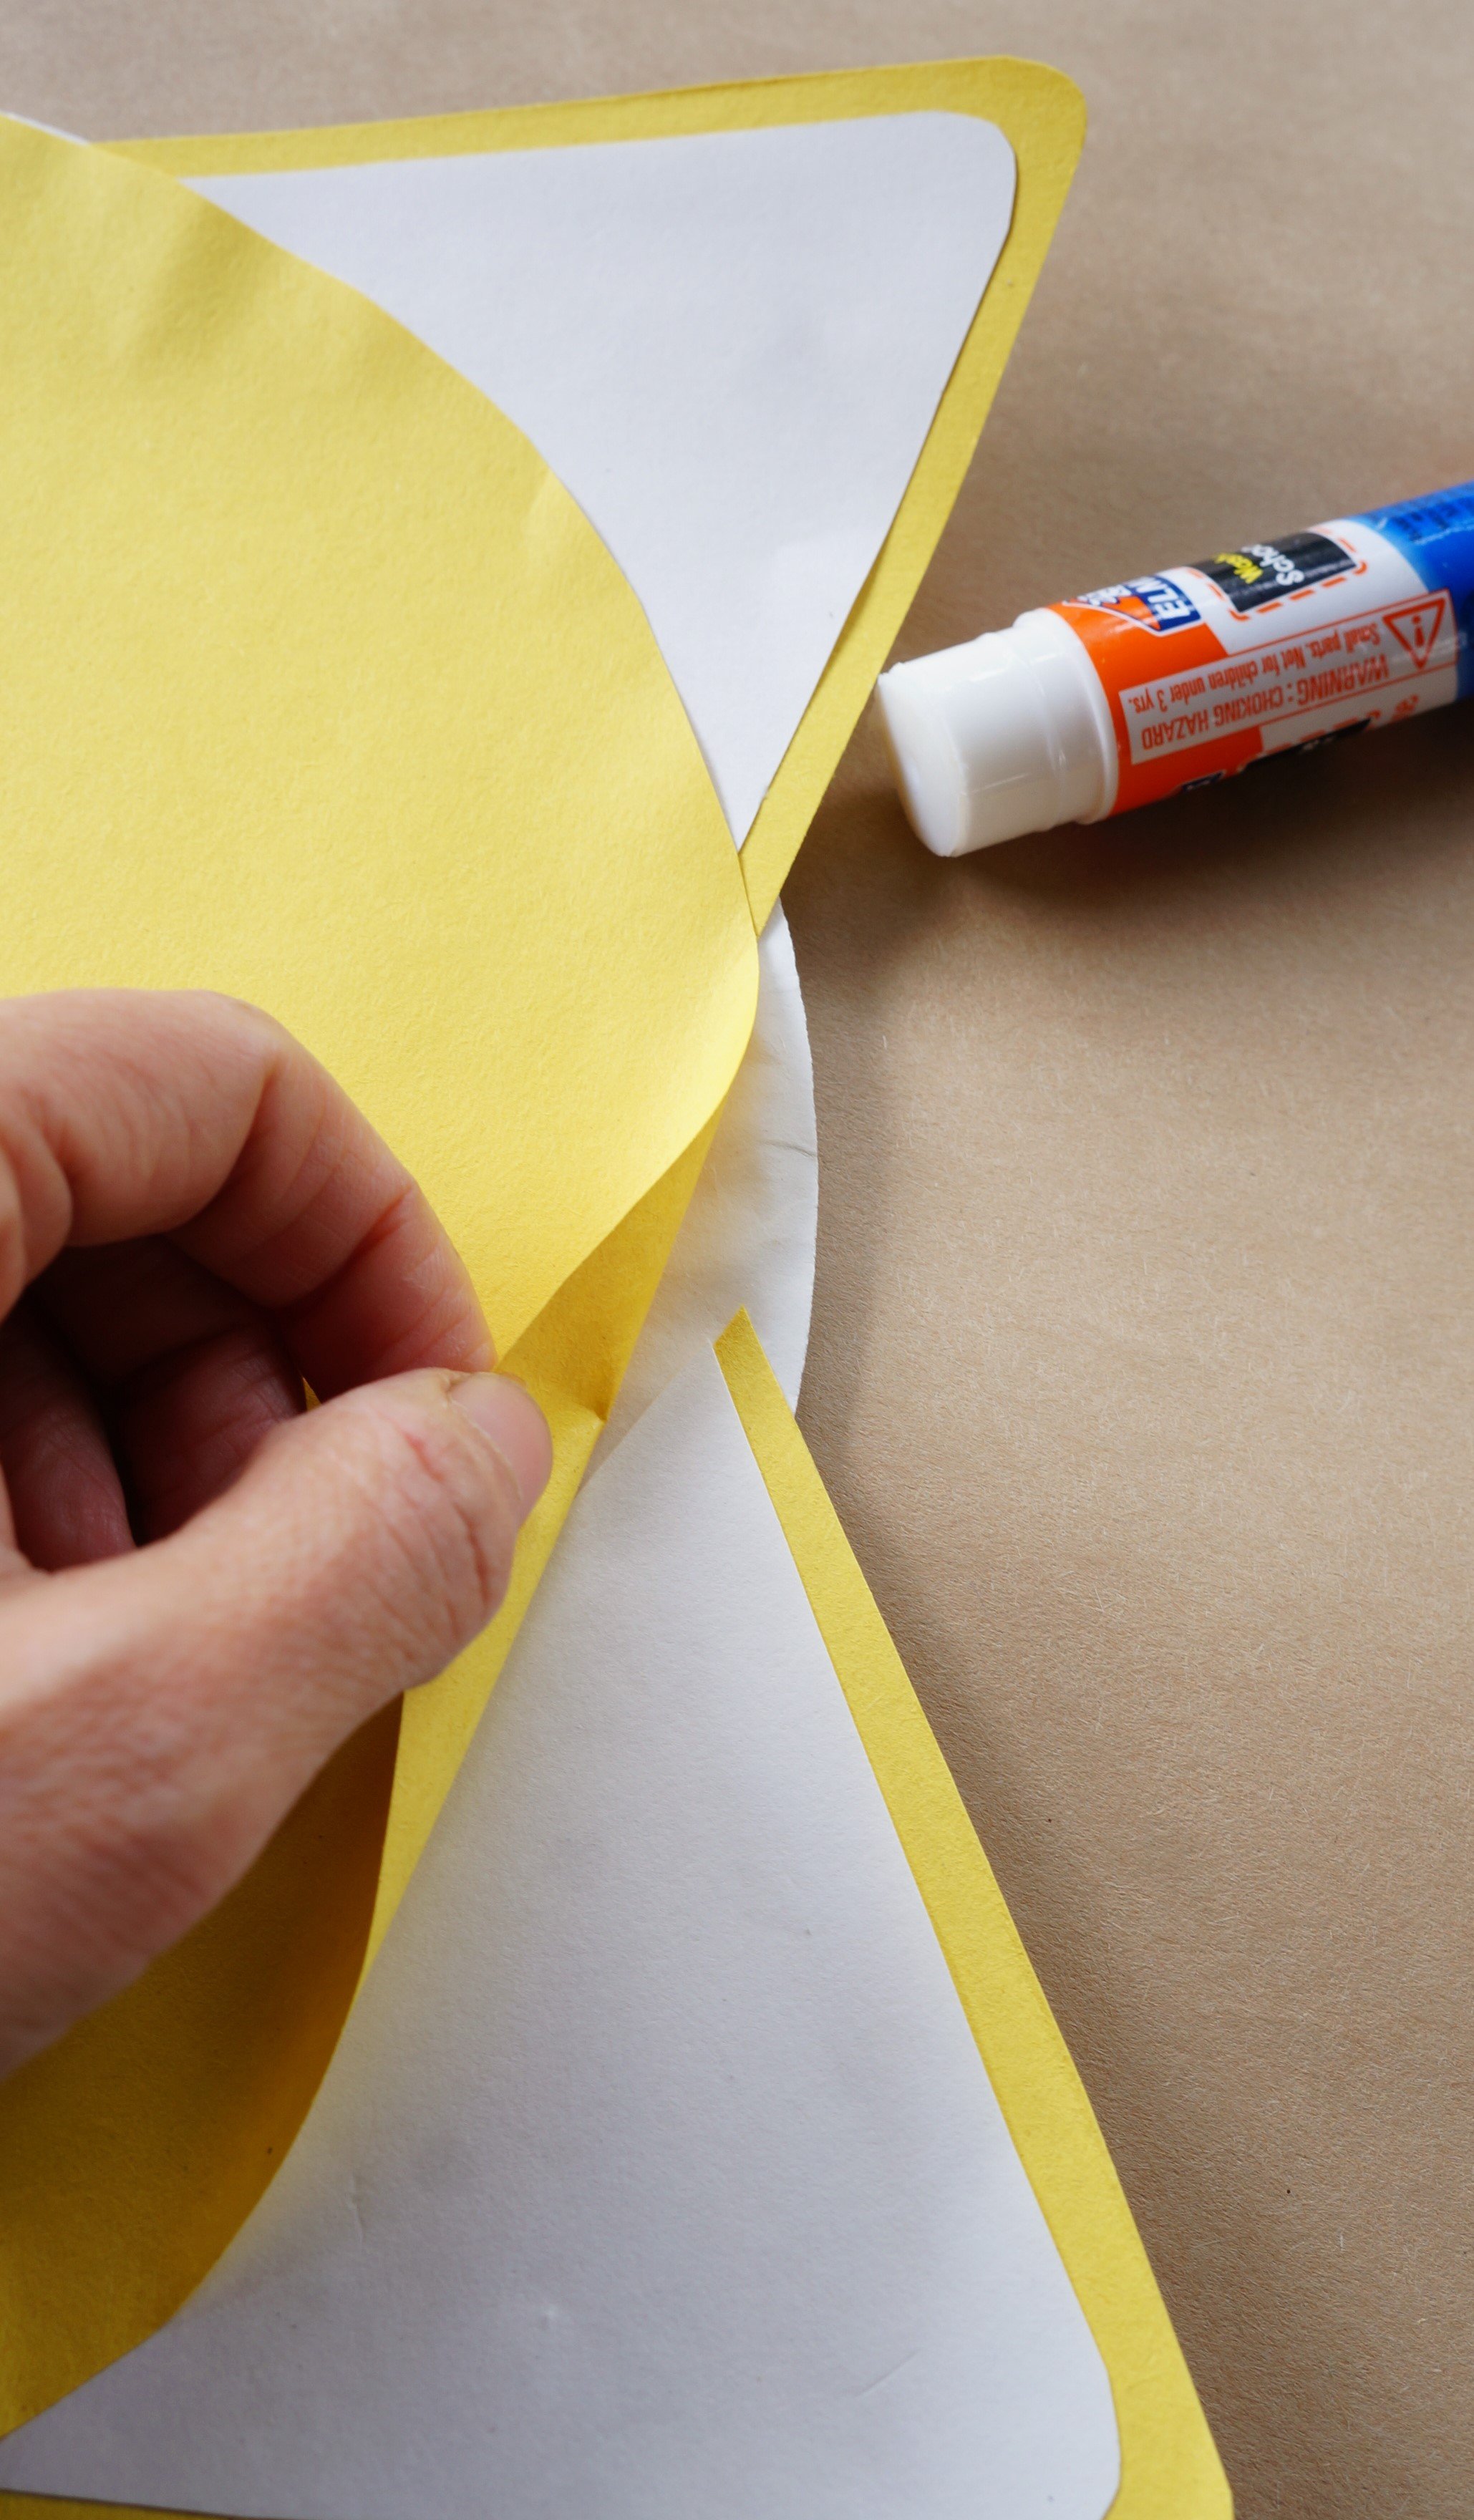
7. Place your ears between the plate and yellow paper, about 2-3 inches apart, then glue them together.
*You may leave the peaks pointed or round them out as we did.


EYES
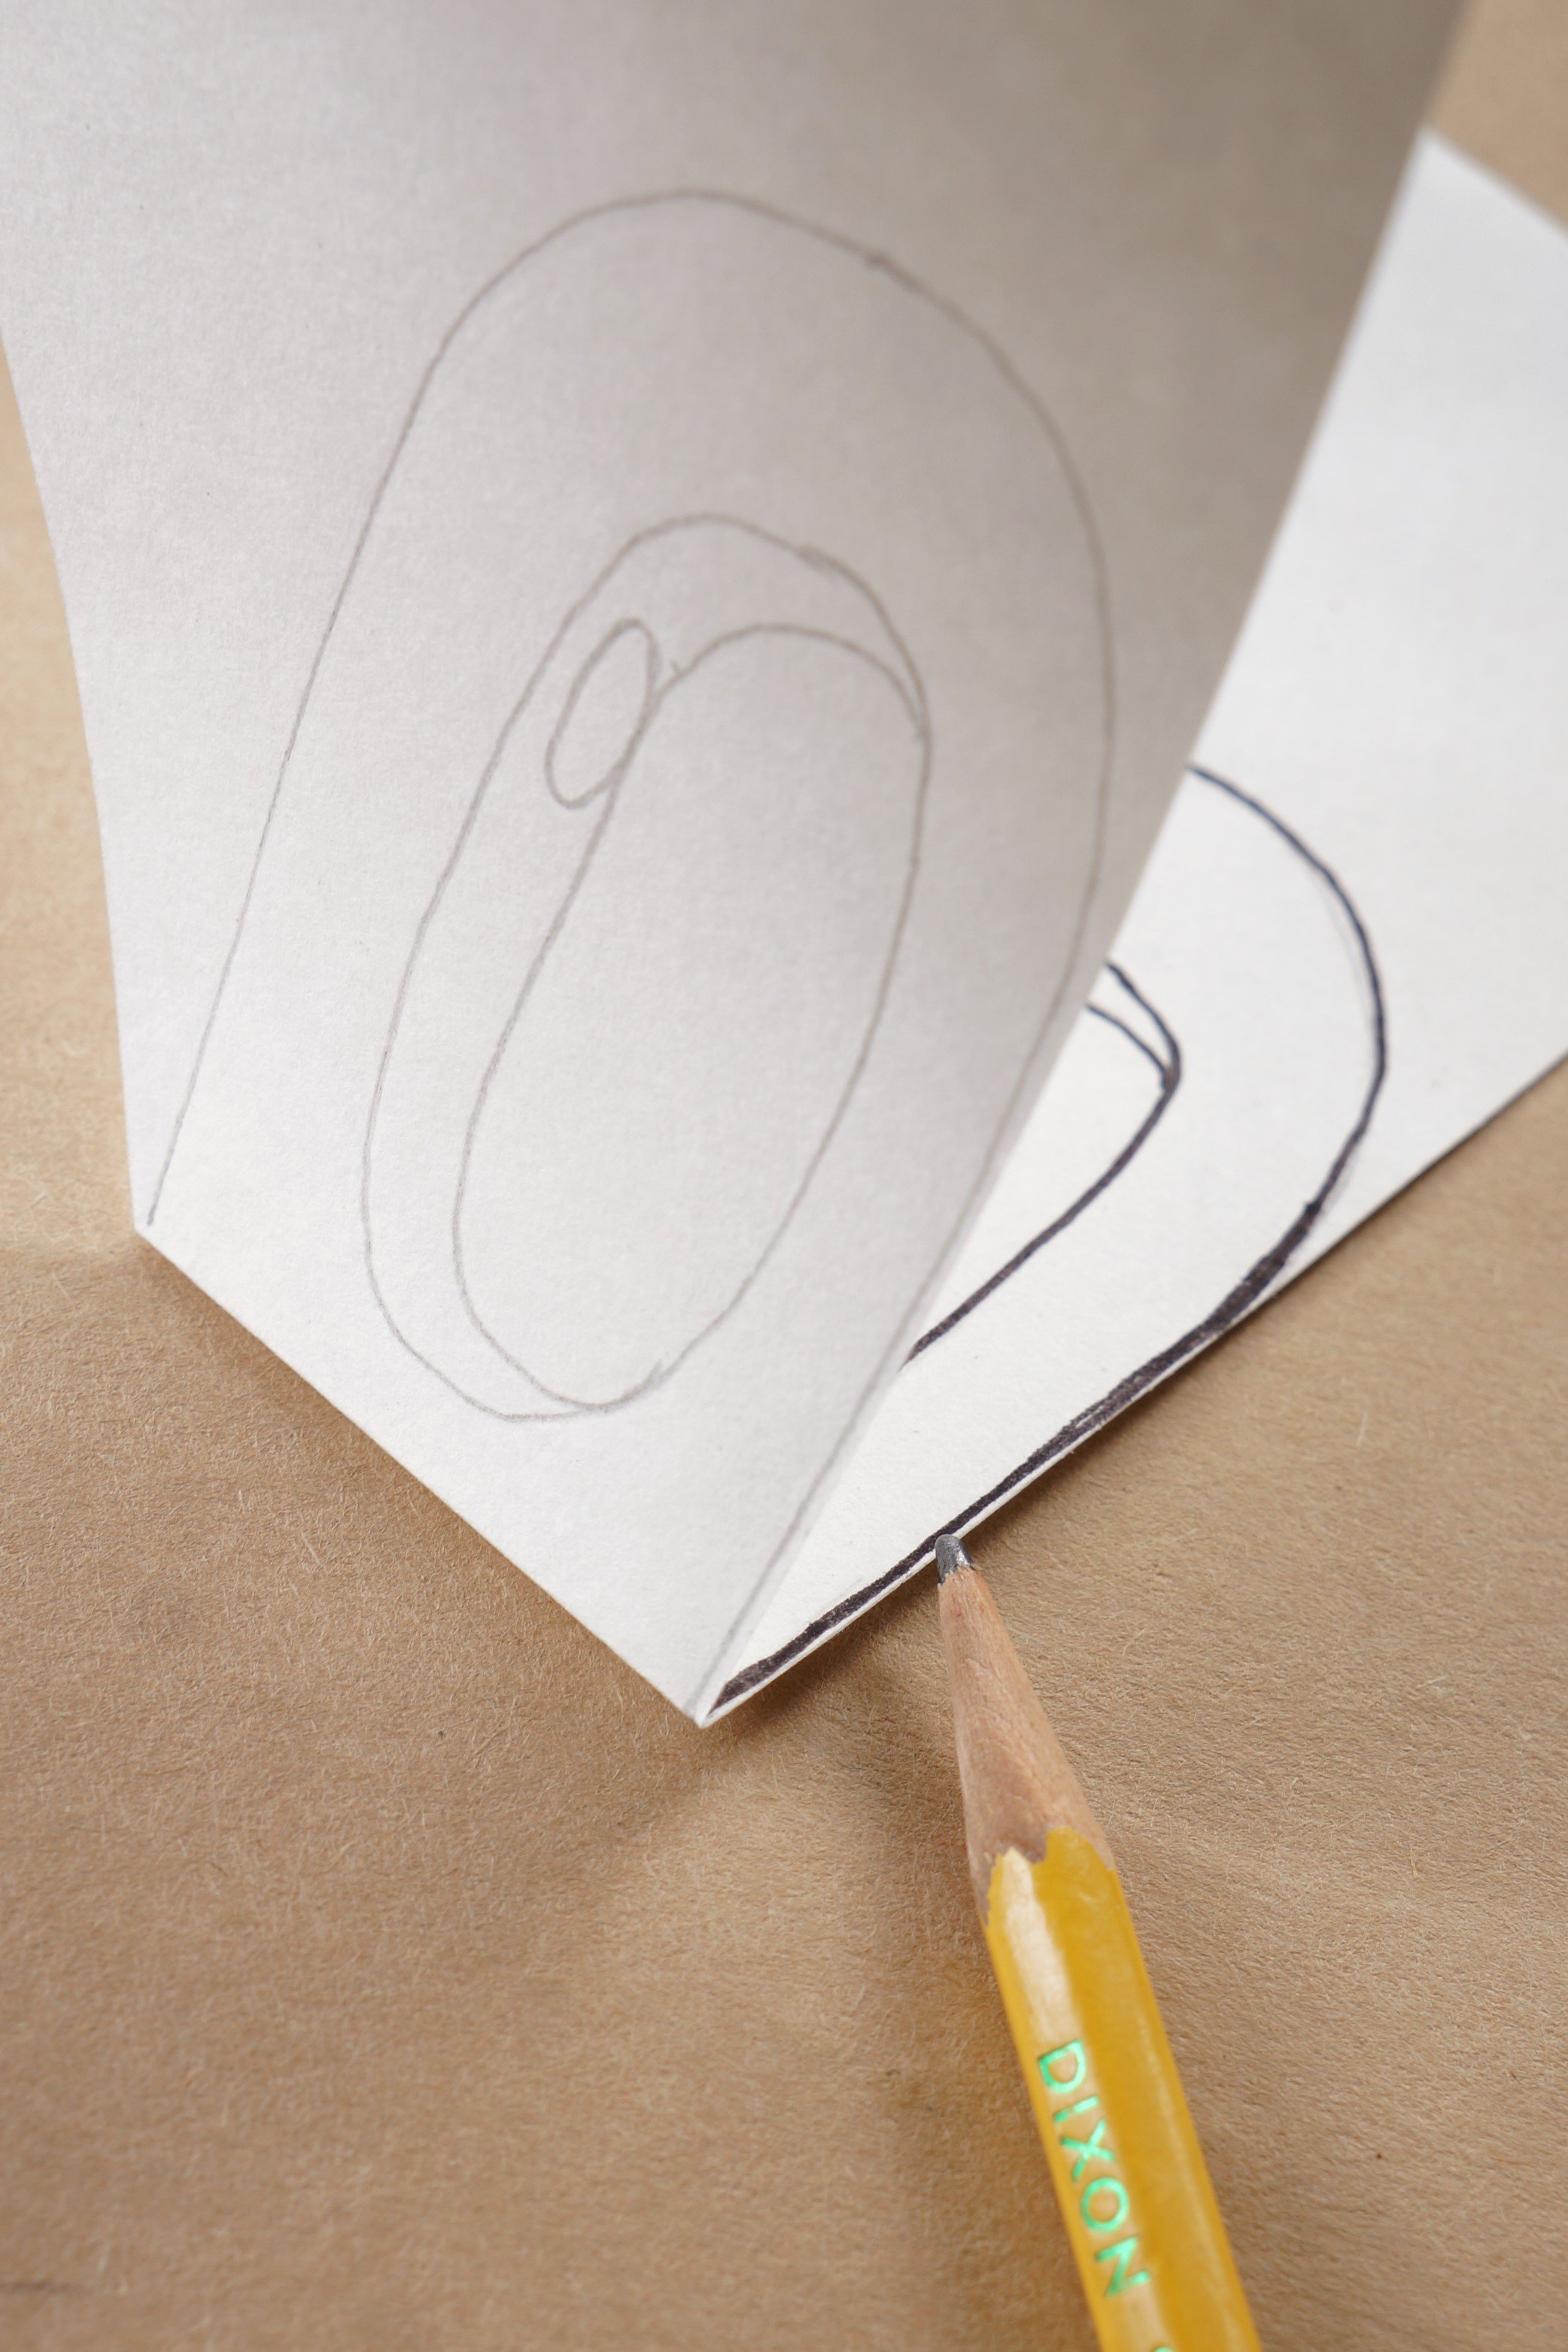
Use the white ear scraps to draw 1 tall dome eye(3-4 inches), an inner oval(2 inches), a narrow oval inside that one, and a small glare oval (1/2 inch), then trace with your black marker.
Flip the under piece over onto the traced one and repeat by tracing all the ovals in pencil, followed by the black.
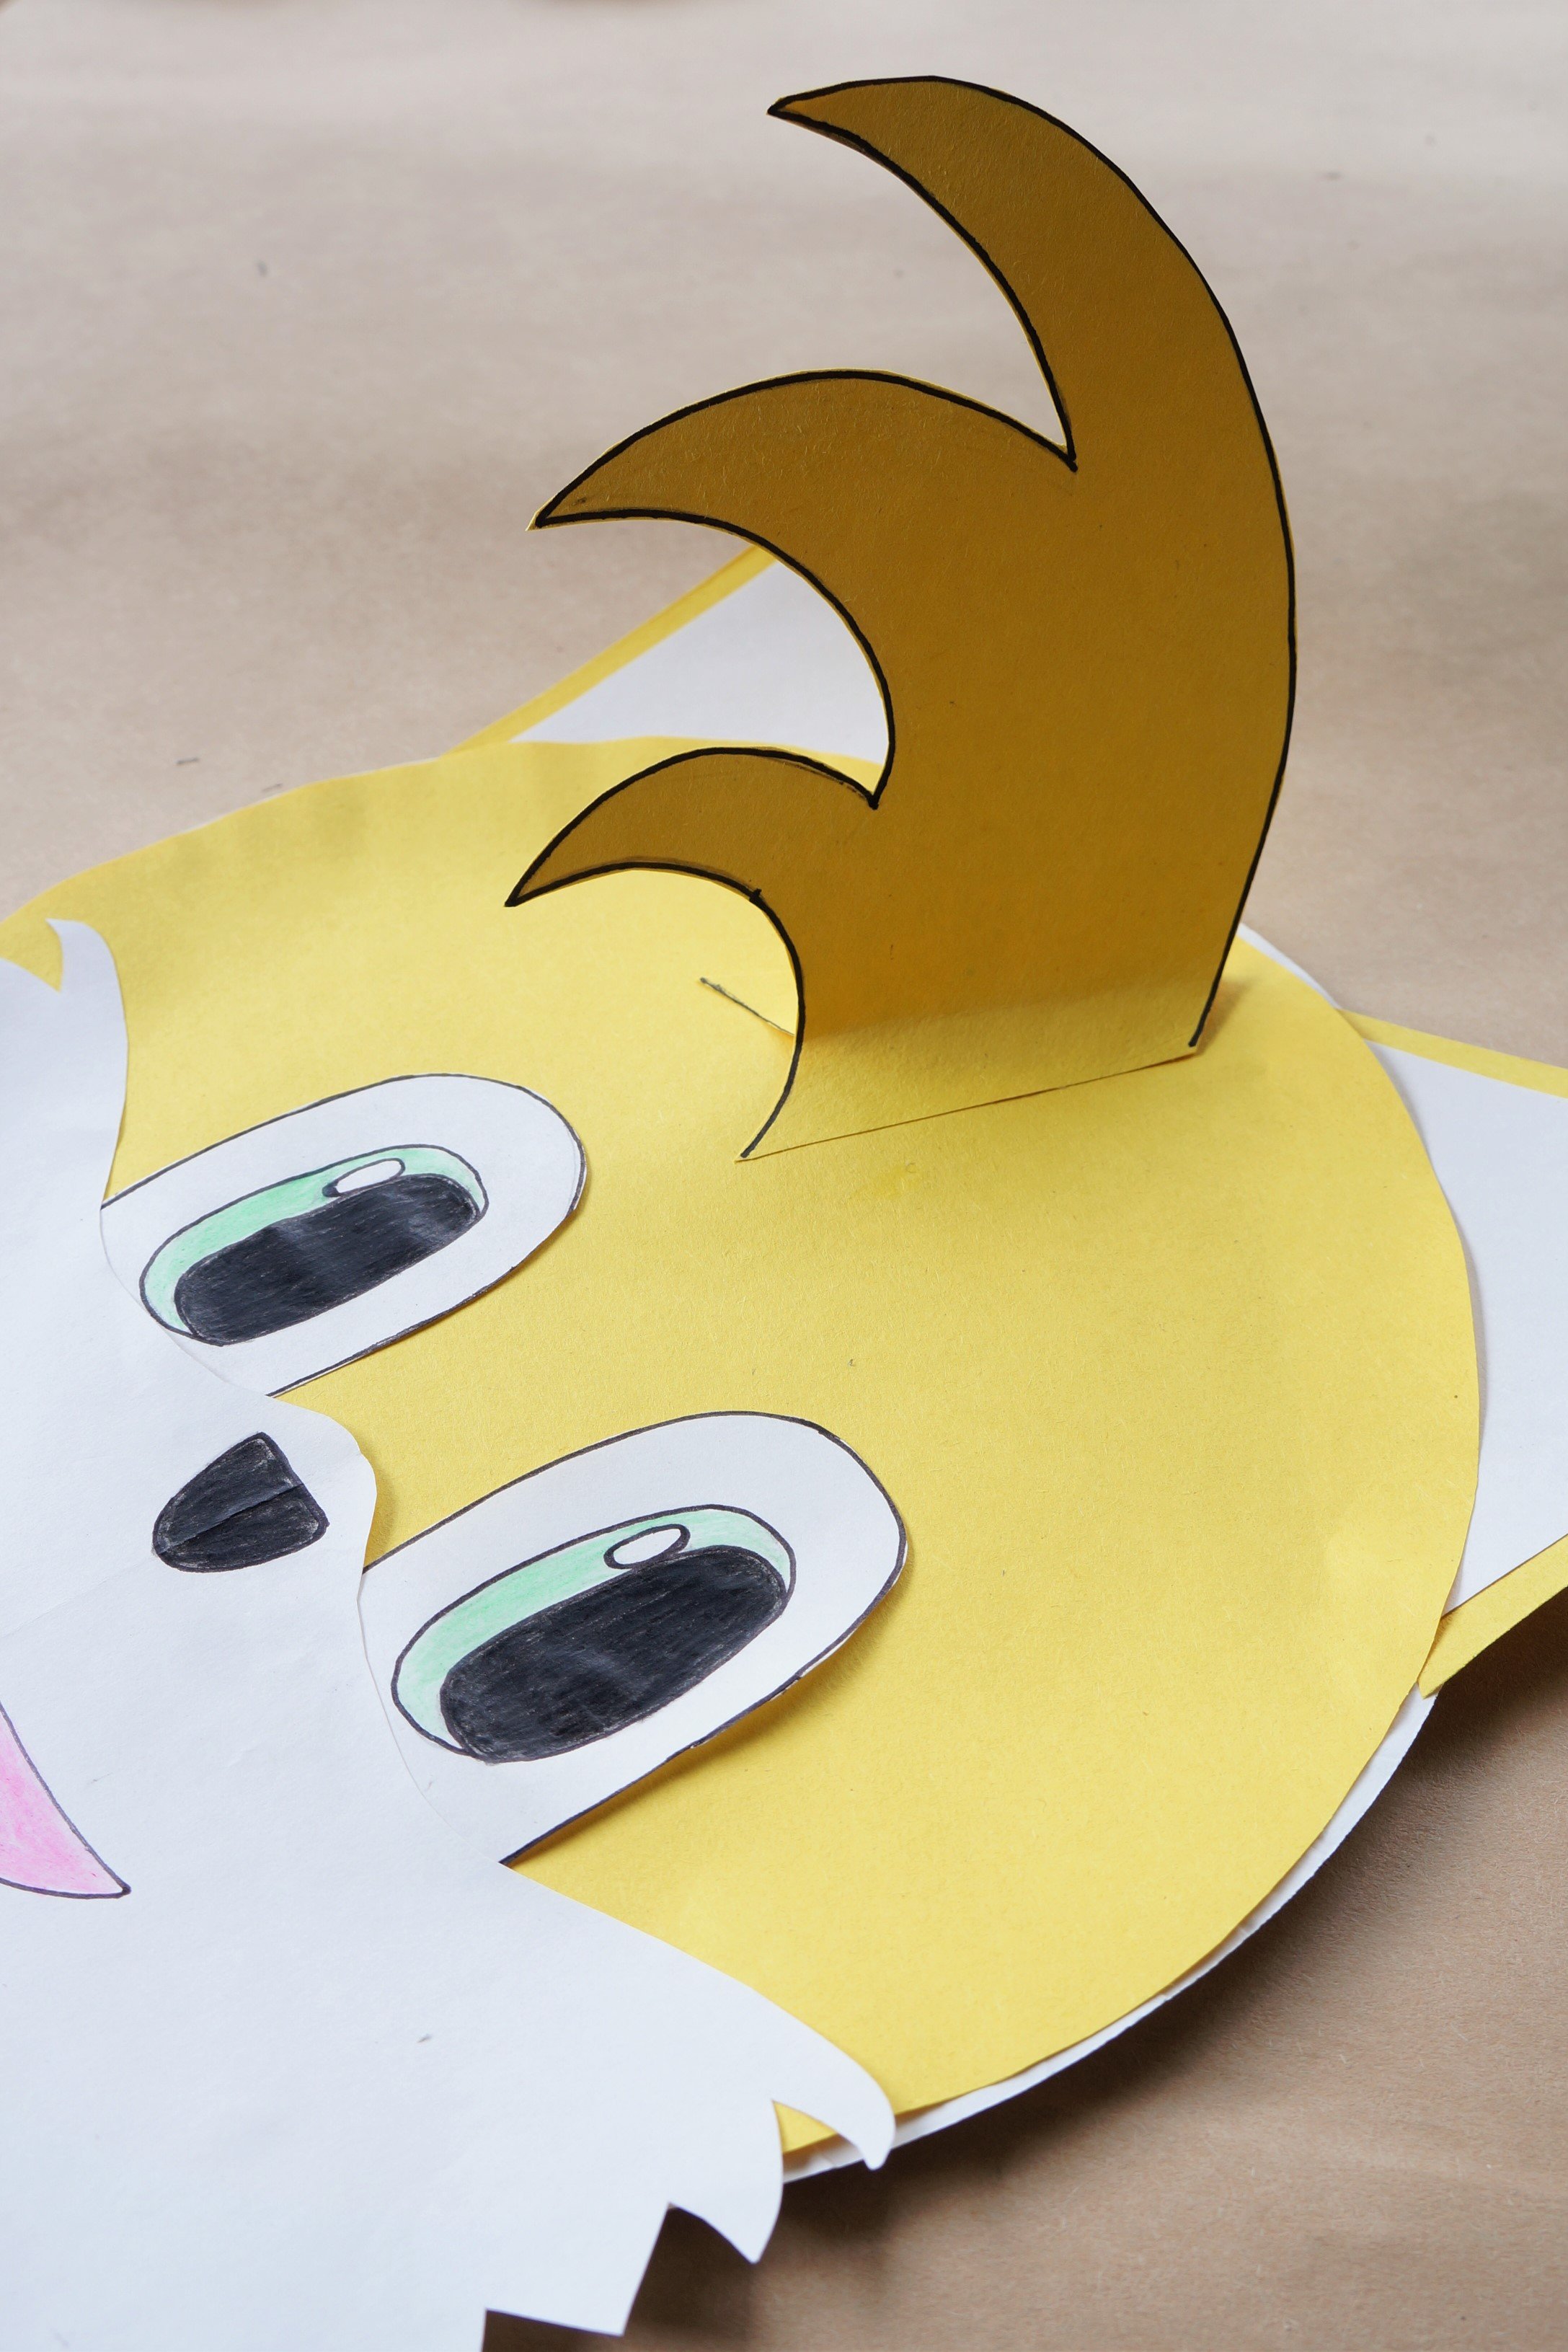
Color the eyes black and blue/turquoise, cut them out, and set them aside.


MOUTH
Fold your last half sheet in half and draw half of Tail’s fur starting at the fold. The top part needs to be a little higher for the nose and the bottom a little lower for the chin.
Cut out the fur and open it up.
Draw a nose and smile in pencil first, trace with the black marker, then fill in with colored pencils.
Glue the lower half of the fur onto the yellow face, then tuck your eyes just a bit behind the fur, before gluing it all together.


HAIR(3D Option)
Fold the yellow half sheet in half and draw 3 strands of hair/fur in pencil, followed by the black marker.
Decide if you want flat hair strands or 3D hair strands:
Flat- glue the inside completely and cut out. 3D- glue the inside minus the lower 2 inches.
Cut out the hair strand at an angle and glue it at an angle flat or by spreading the bottom ends for the 3D version.
That’s it!

There’s lots of details but they’re not difficult to make. Aren’t these cute?!
Happy crafting!
Amanda and Naomi
To share: take a photo of your craft and let us see it! Click on photo submission and submit.


