


Hi friends,
This week we’re showing you how to DIY Wall-E's Eve character, inspired by the 2008 Disney/Pixar animation. Although the movie has been out for many years, none of our kids ever had any interest, until recently. Check out our EVE character below.
*Click on photos for a closer look
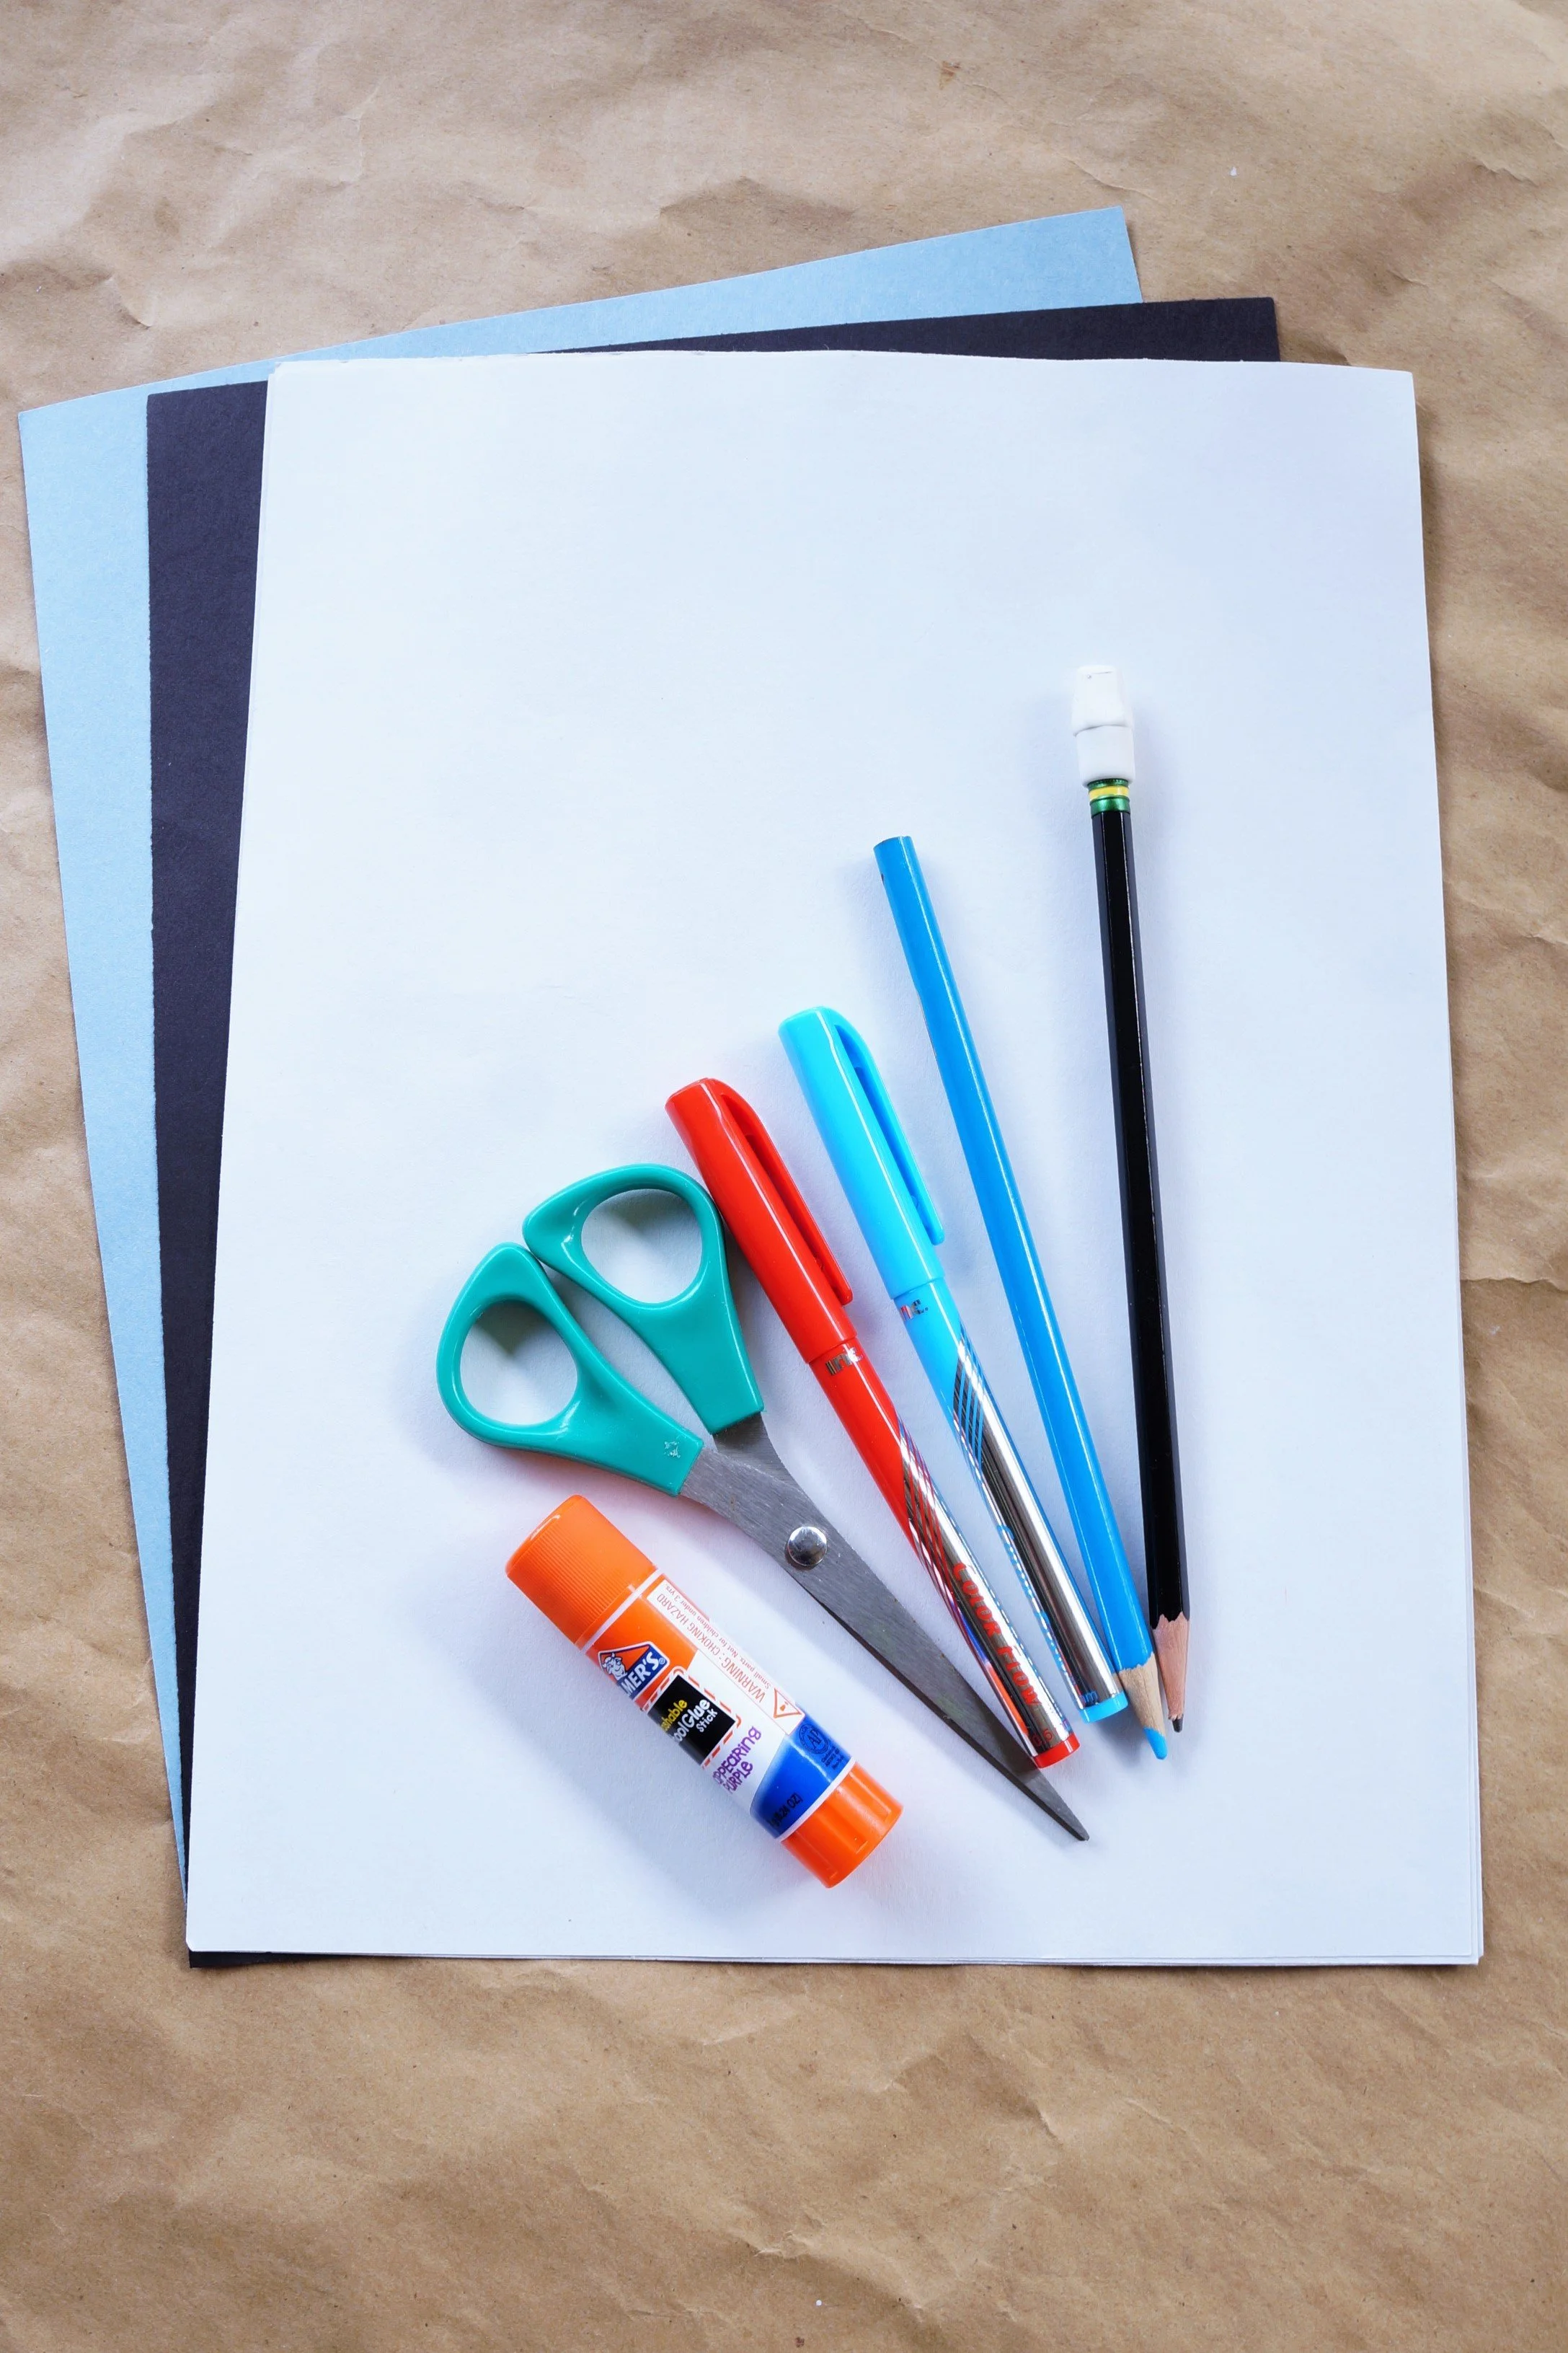
What You'll Need
(5) White, (1)Black, (1)Light Blue Construction Papers
Pencil
Light Blue/Gray Colored Pencil
Light Blue & Red Pens
Scissors
Glue Stick
Optional: Gray Pen, Large Bowl, Ruler

The Steps
Our son’s birthday is nearing and his theme of choice is Wall-E. His sister had been watching the movie, stirring up the littles’ curiosity, and eventual fascination. Of the four kids (6- 20), no one had ever asked for a Wall-E-themed birthday.
When the movie was released Micah wasn’t born yet. The opening date fell on his older brother’s 5th birthday, but was HIGHLY into Spiderman, and opted for that theme. Now years later Wall-E and EVE are taking over our house. = )


PREP
Glue 1 set of white papers together and then a 2nd set.
HEAD
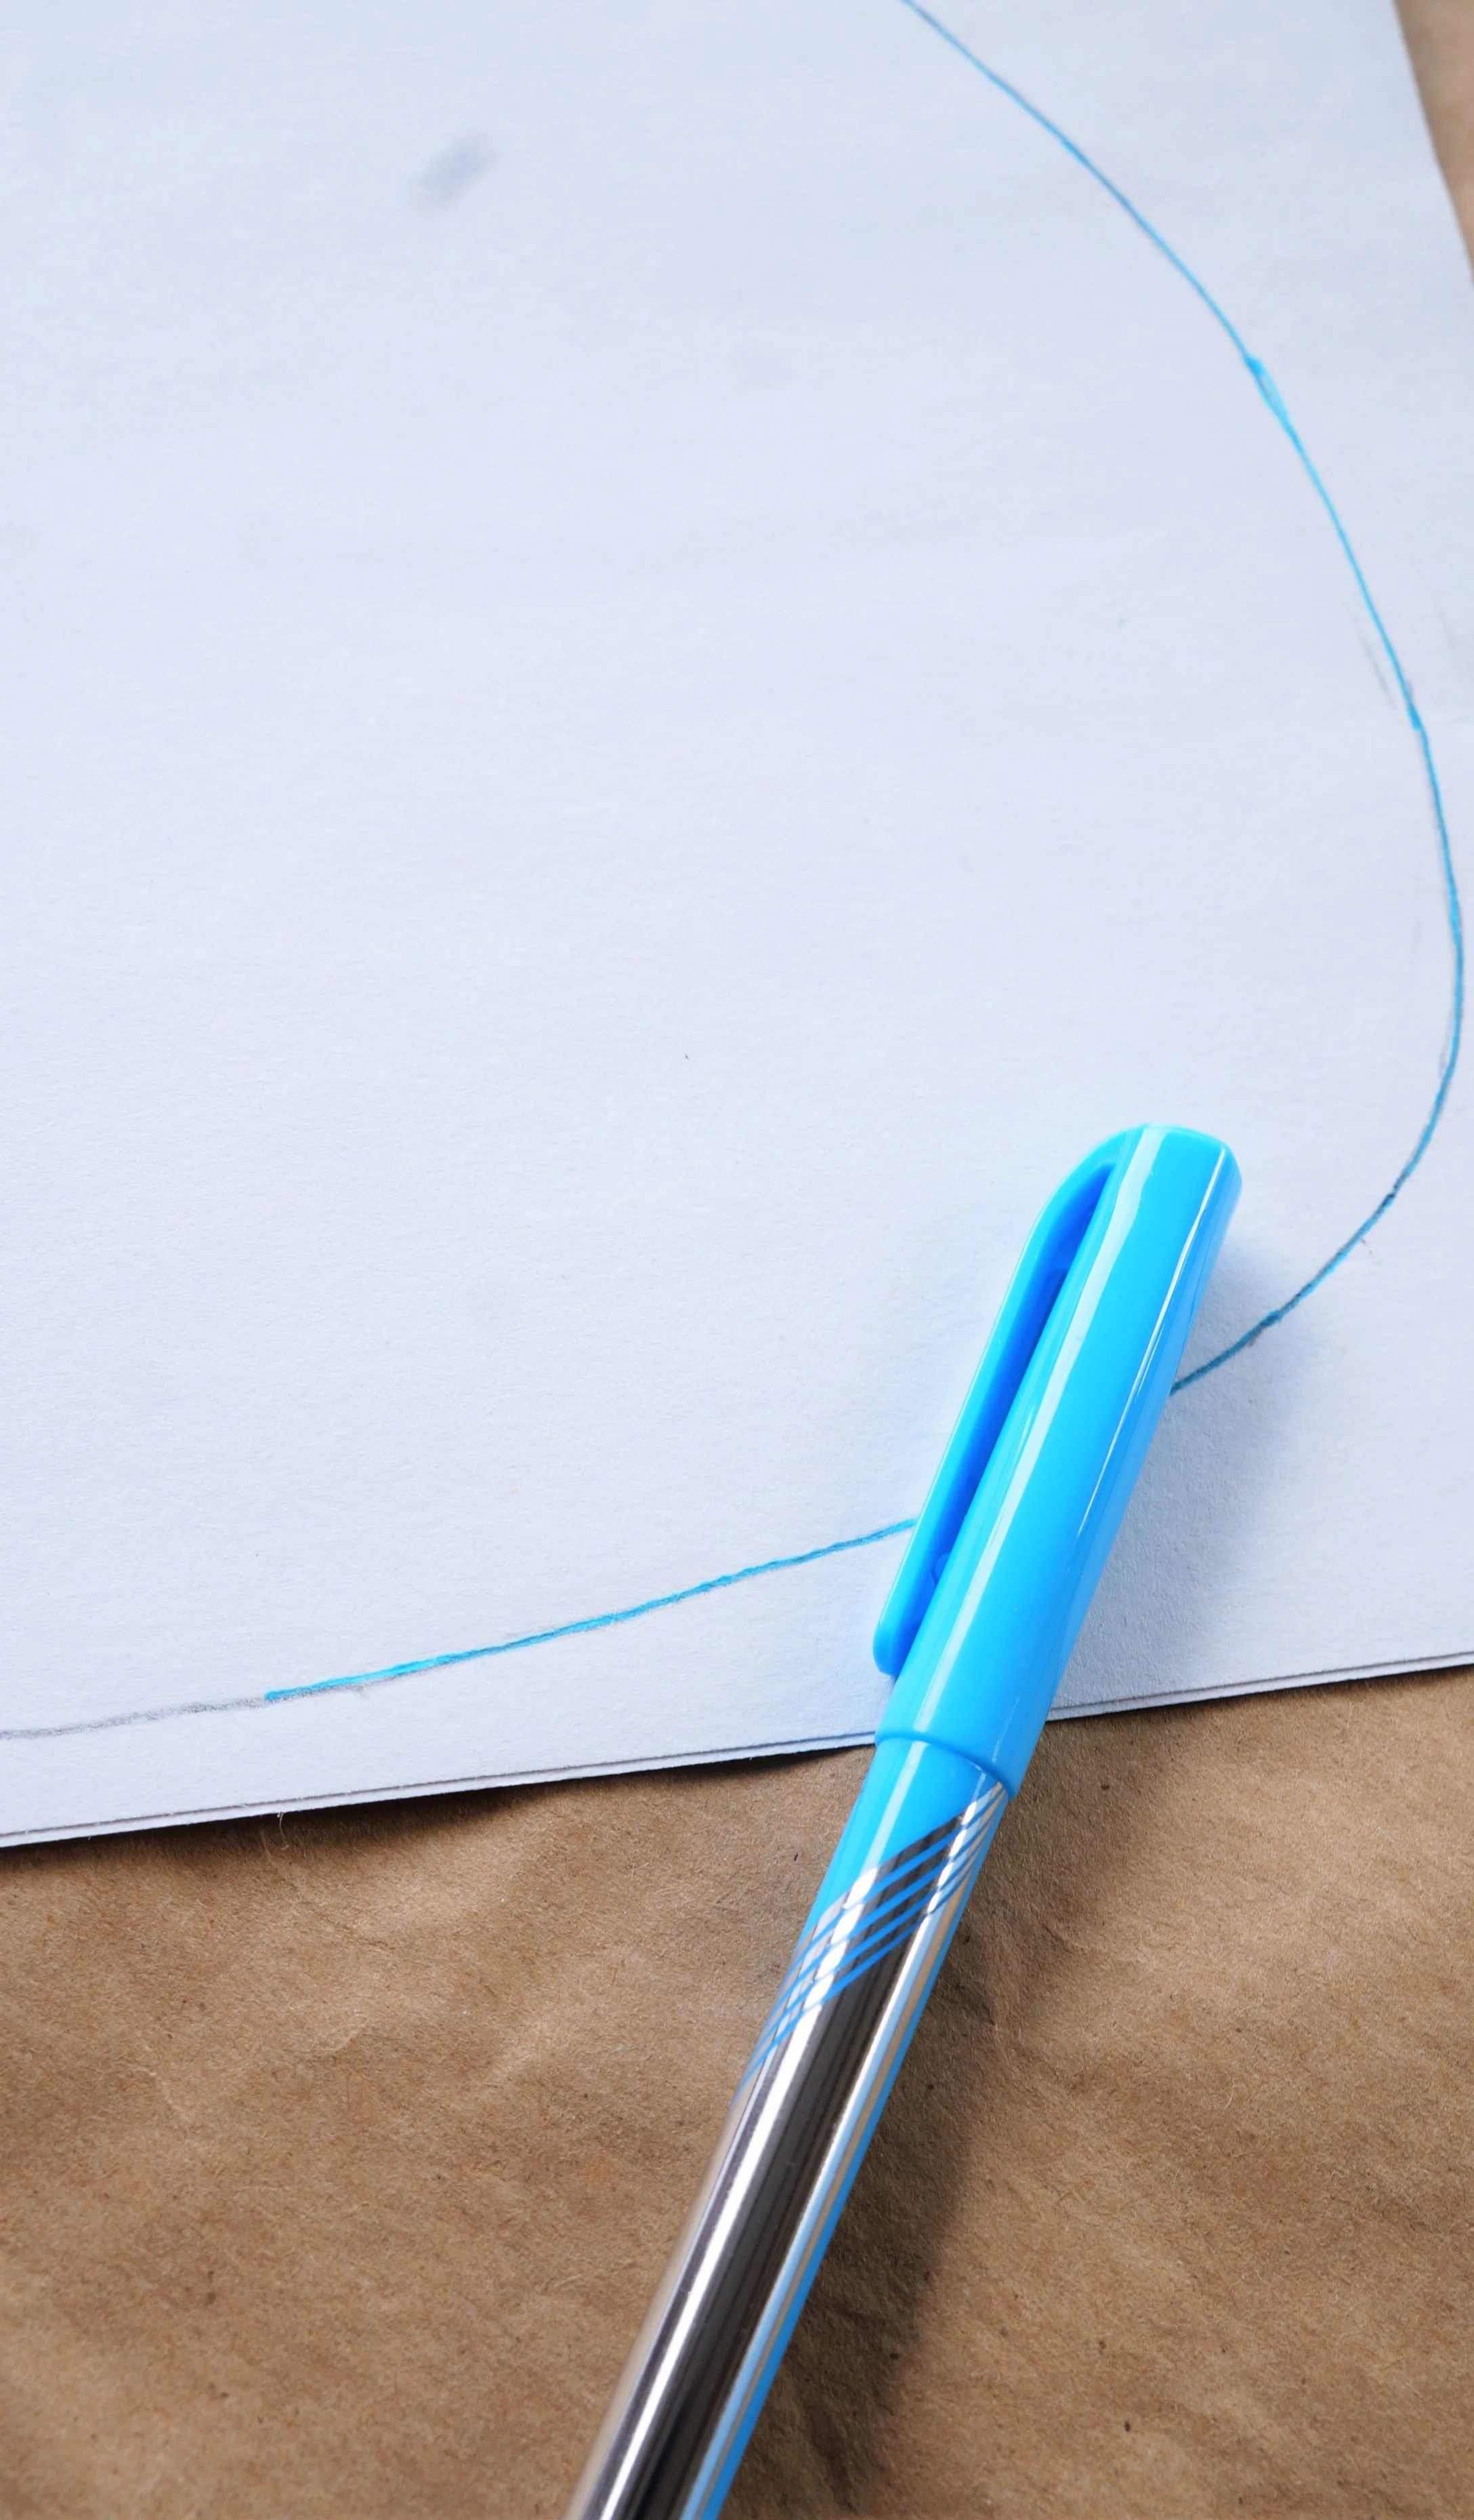
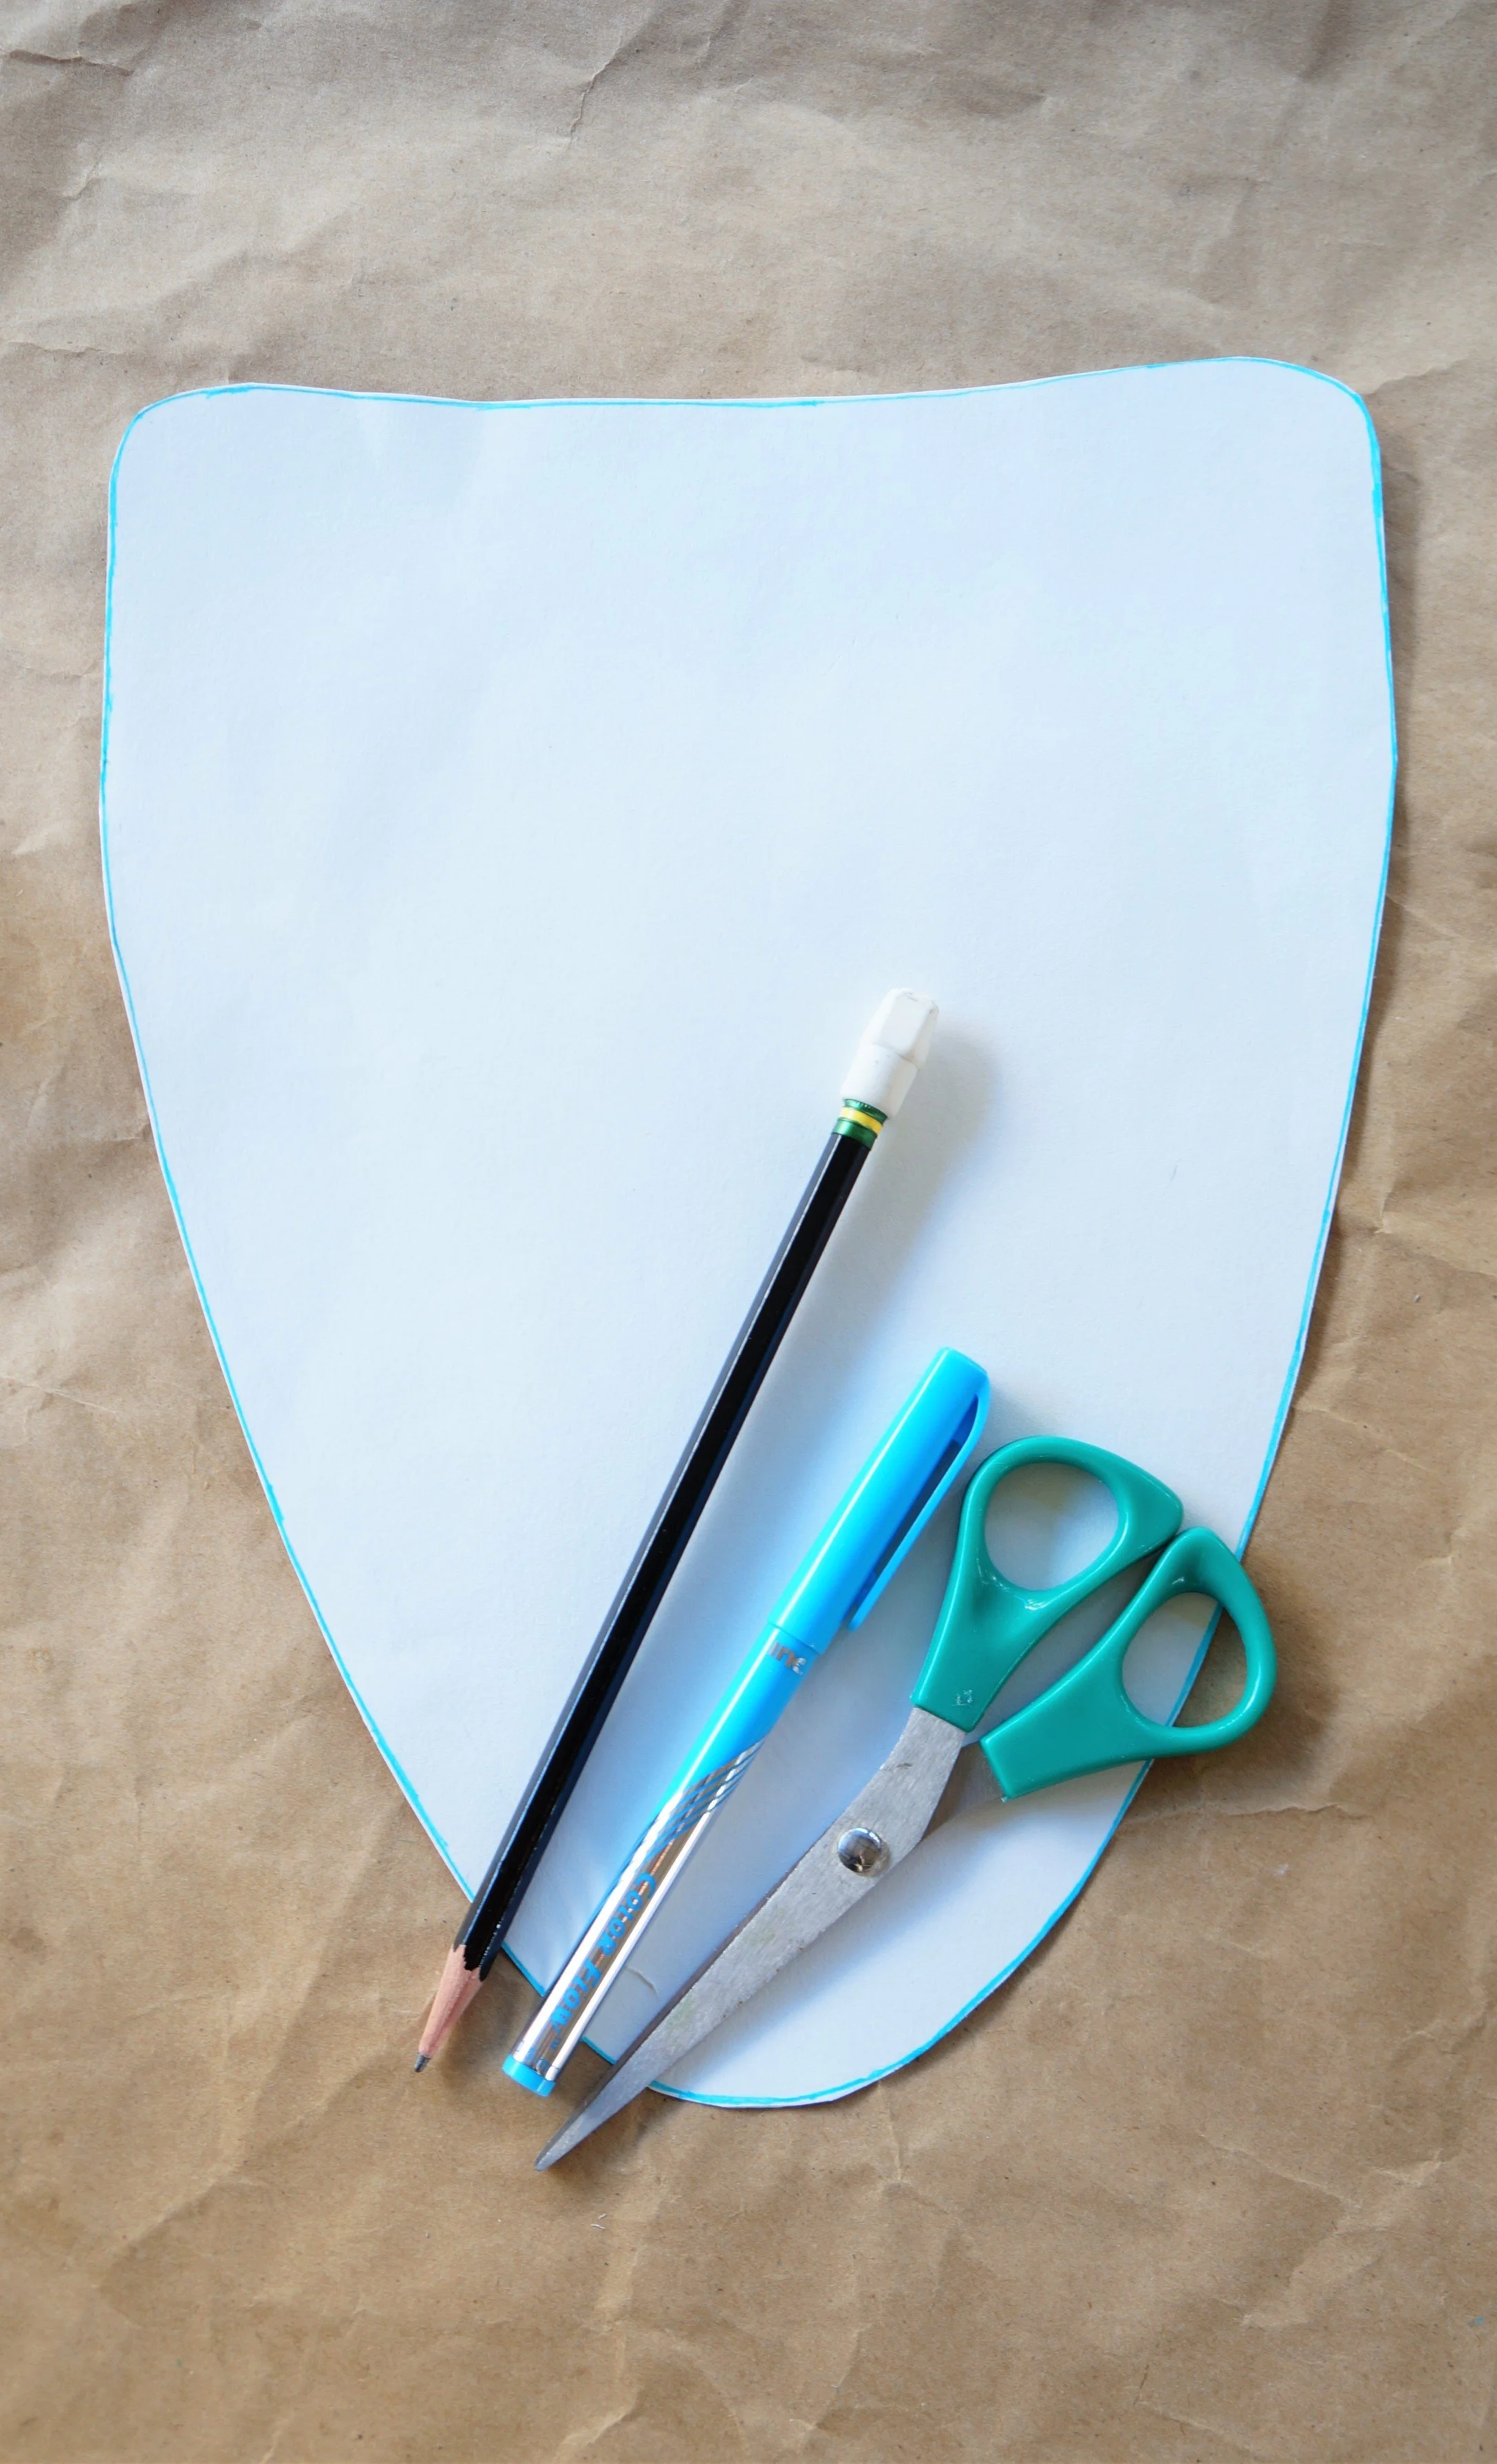
Turn 1 set of white papers horizontally, draw a rounded top for the head(you may use a large bowl as a guide), and a wider bottom.
Trace the head with the blue/gray pen, and cut it out.
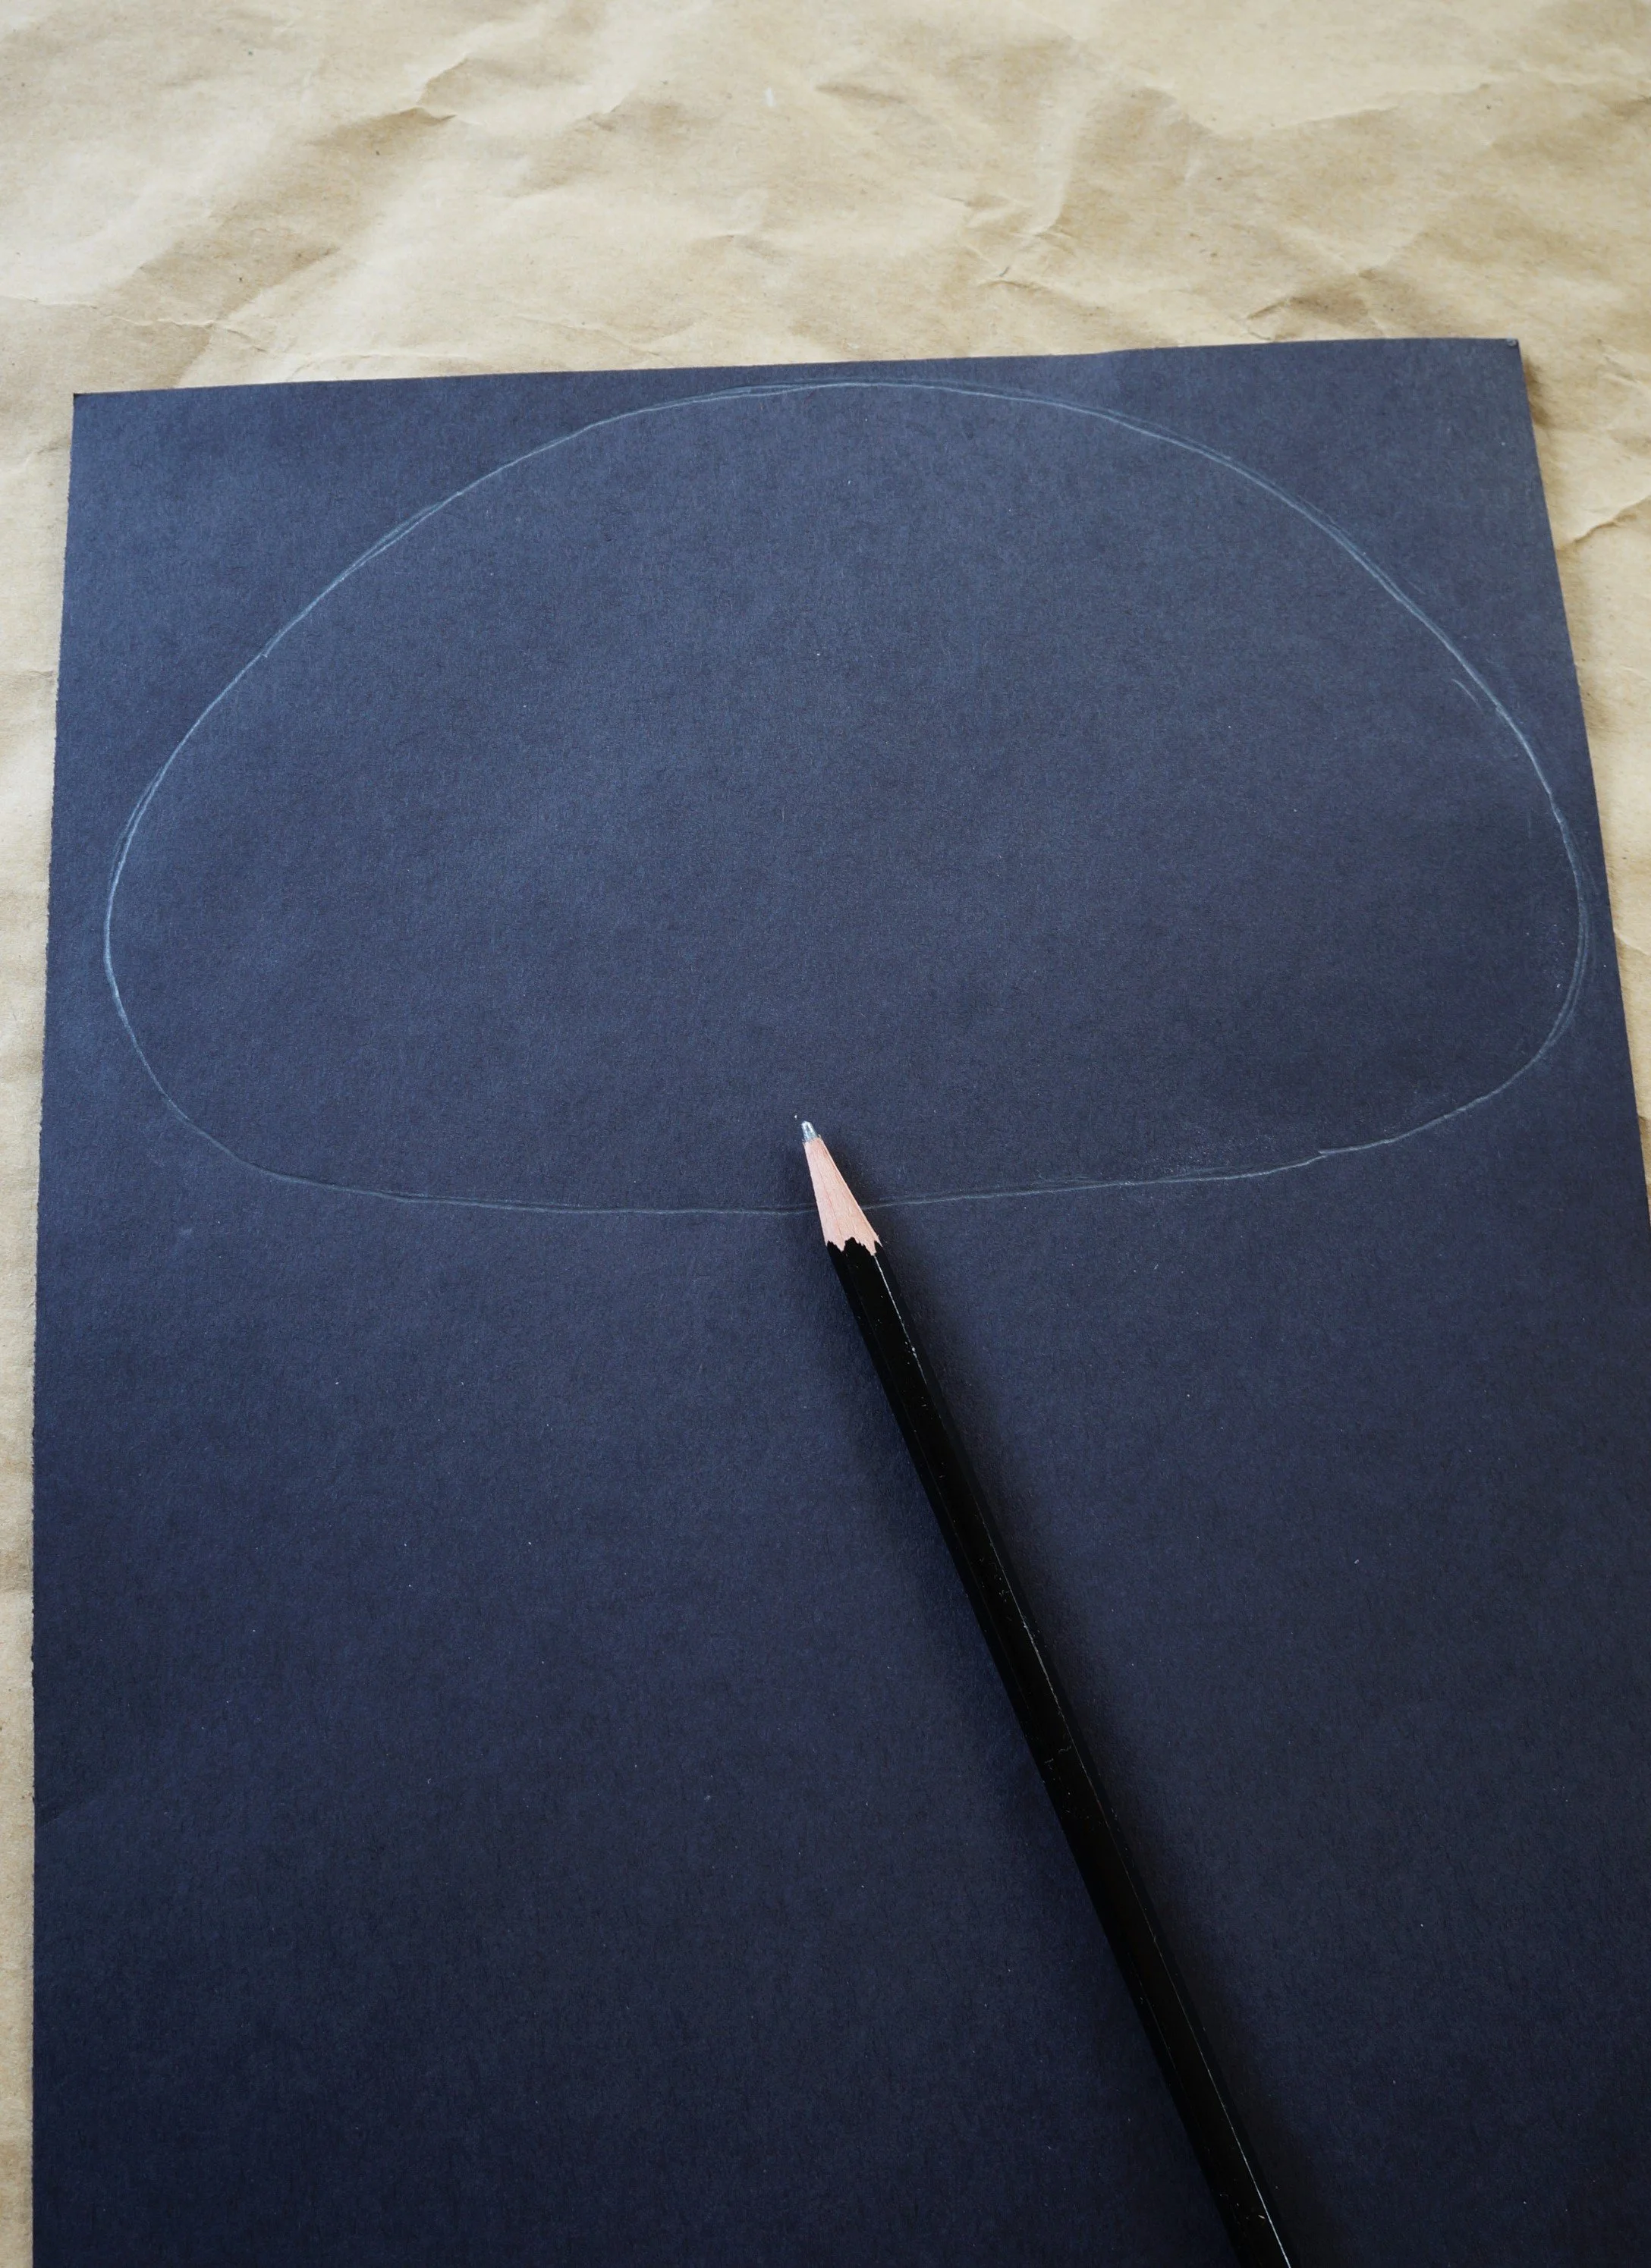

3. Turn your black paper vertically, draw a smaller version of the head using the upper 2/3 of the paper, and then cut it out.
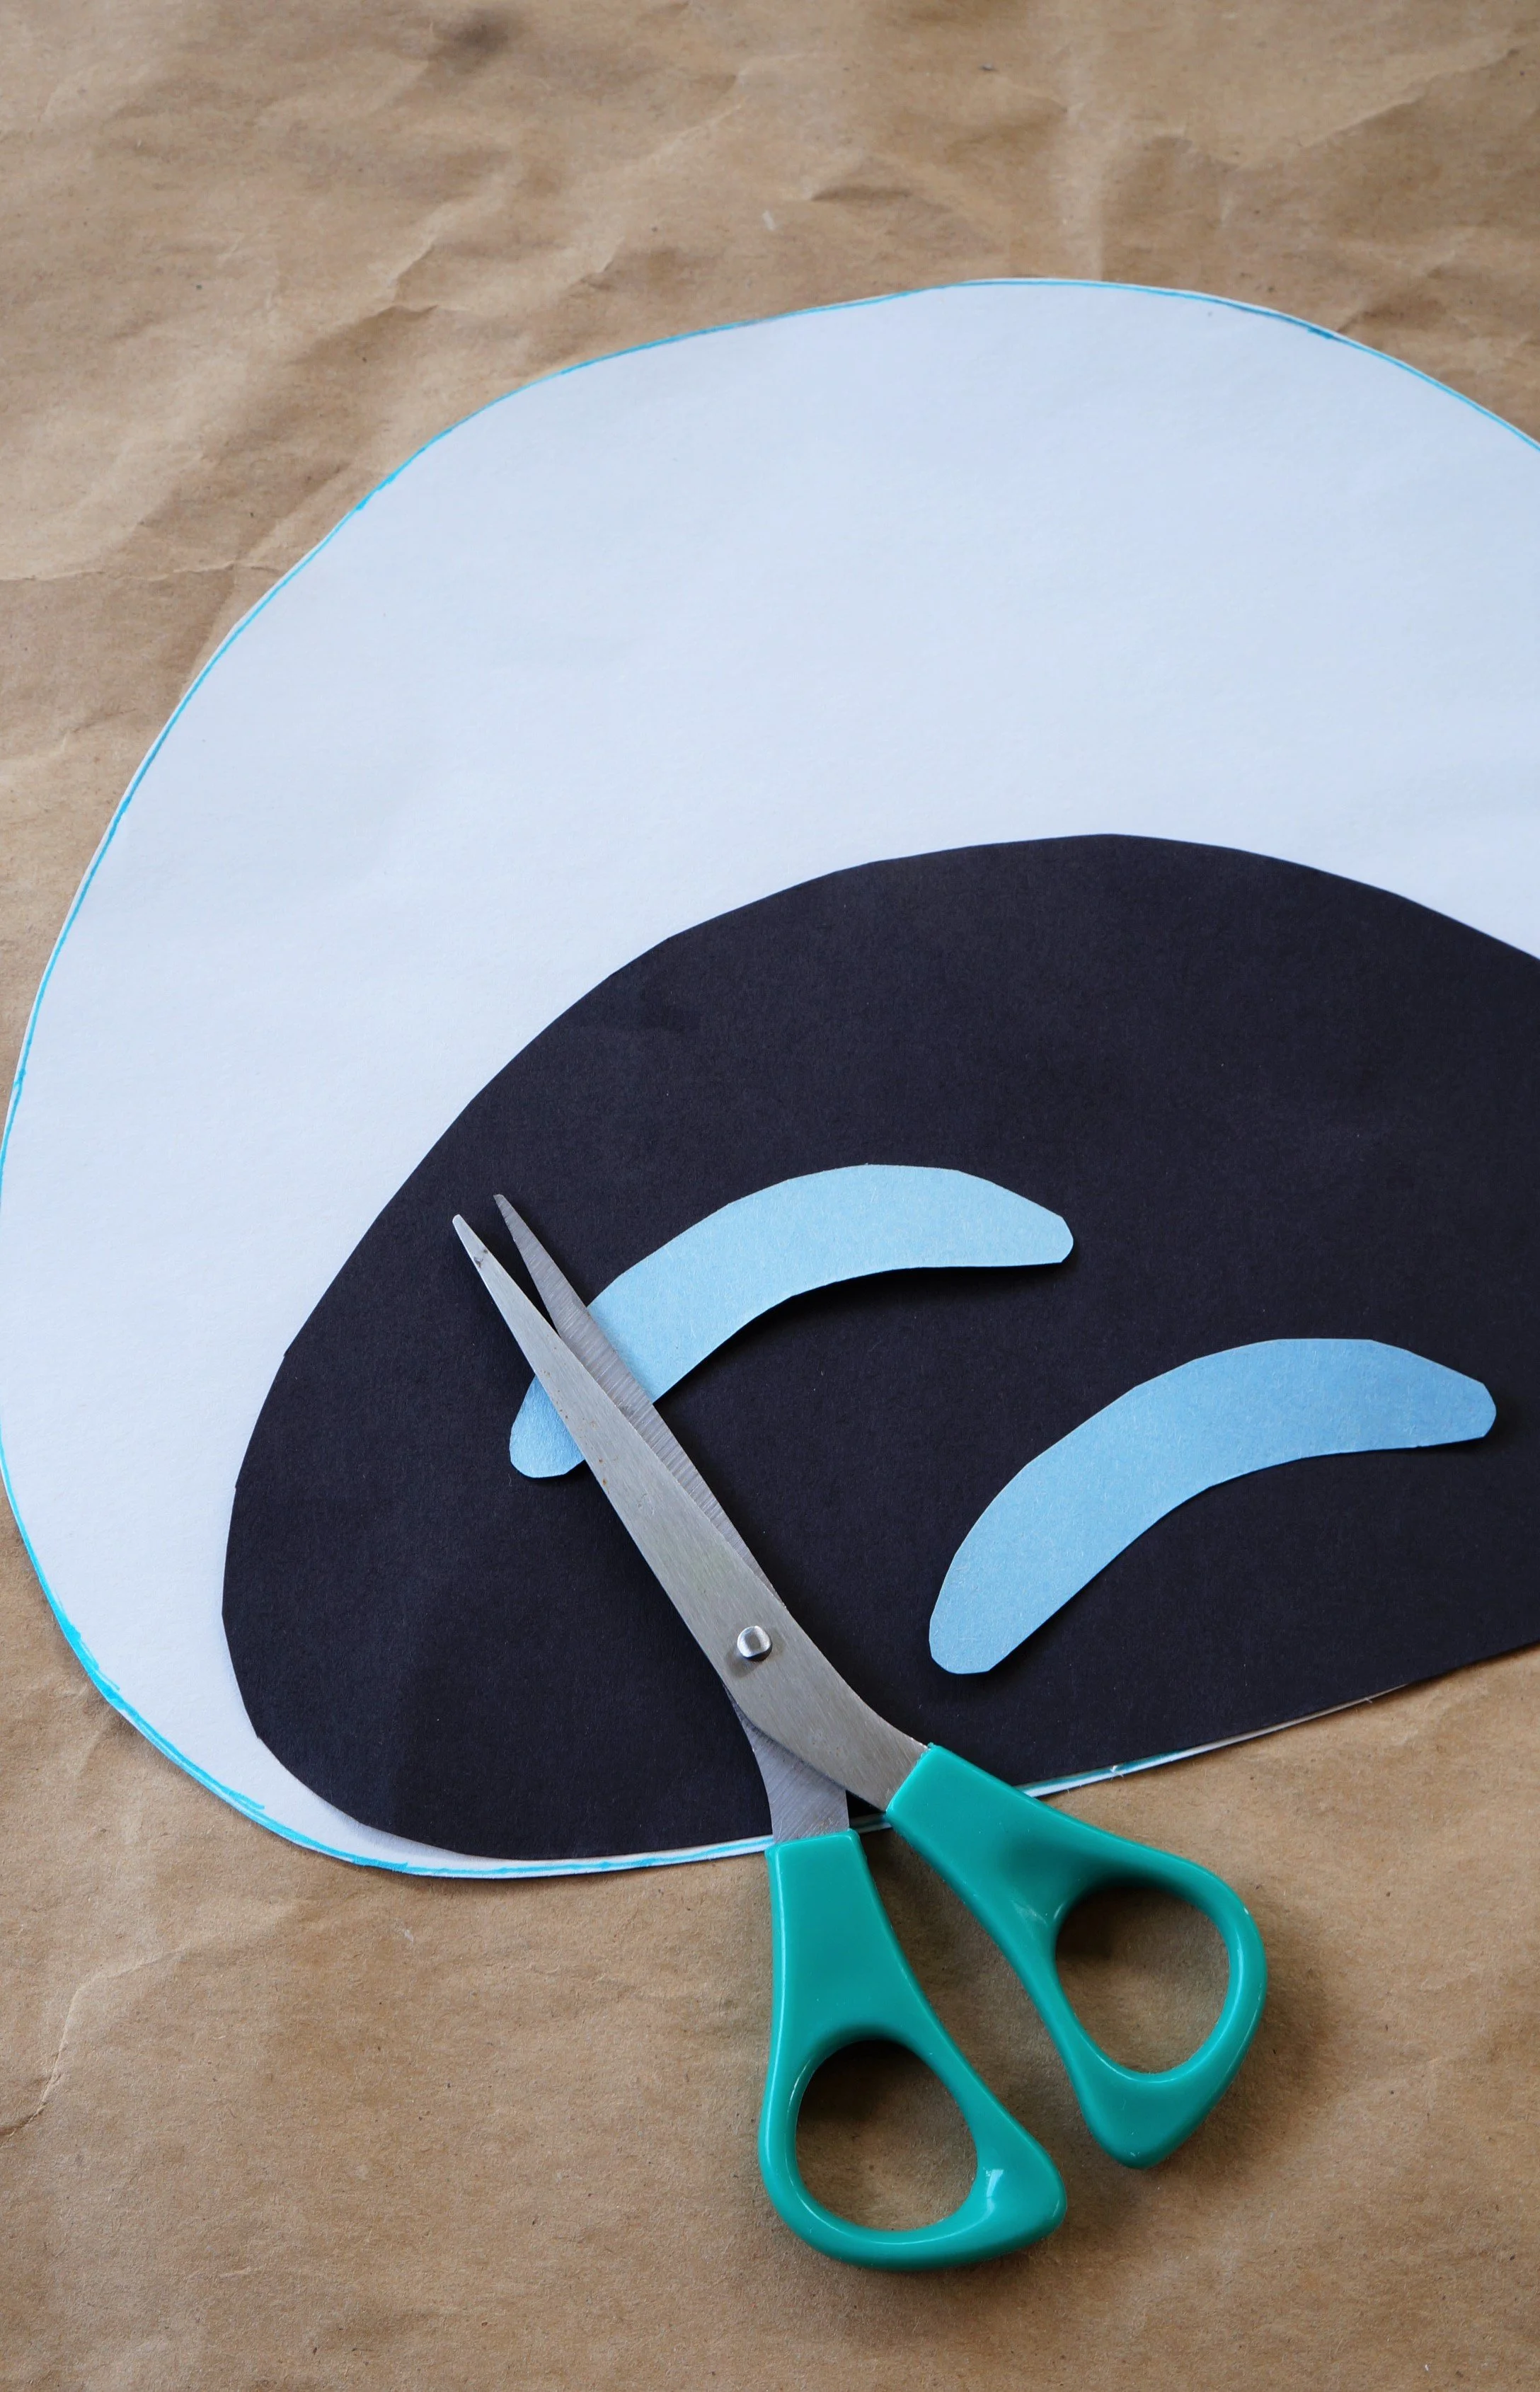
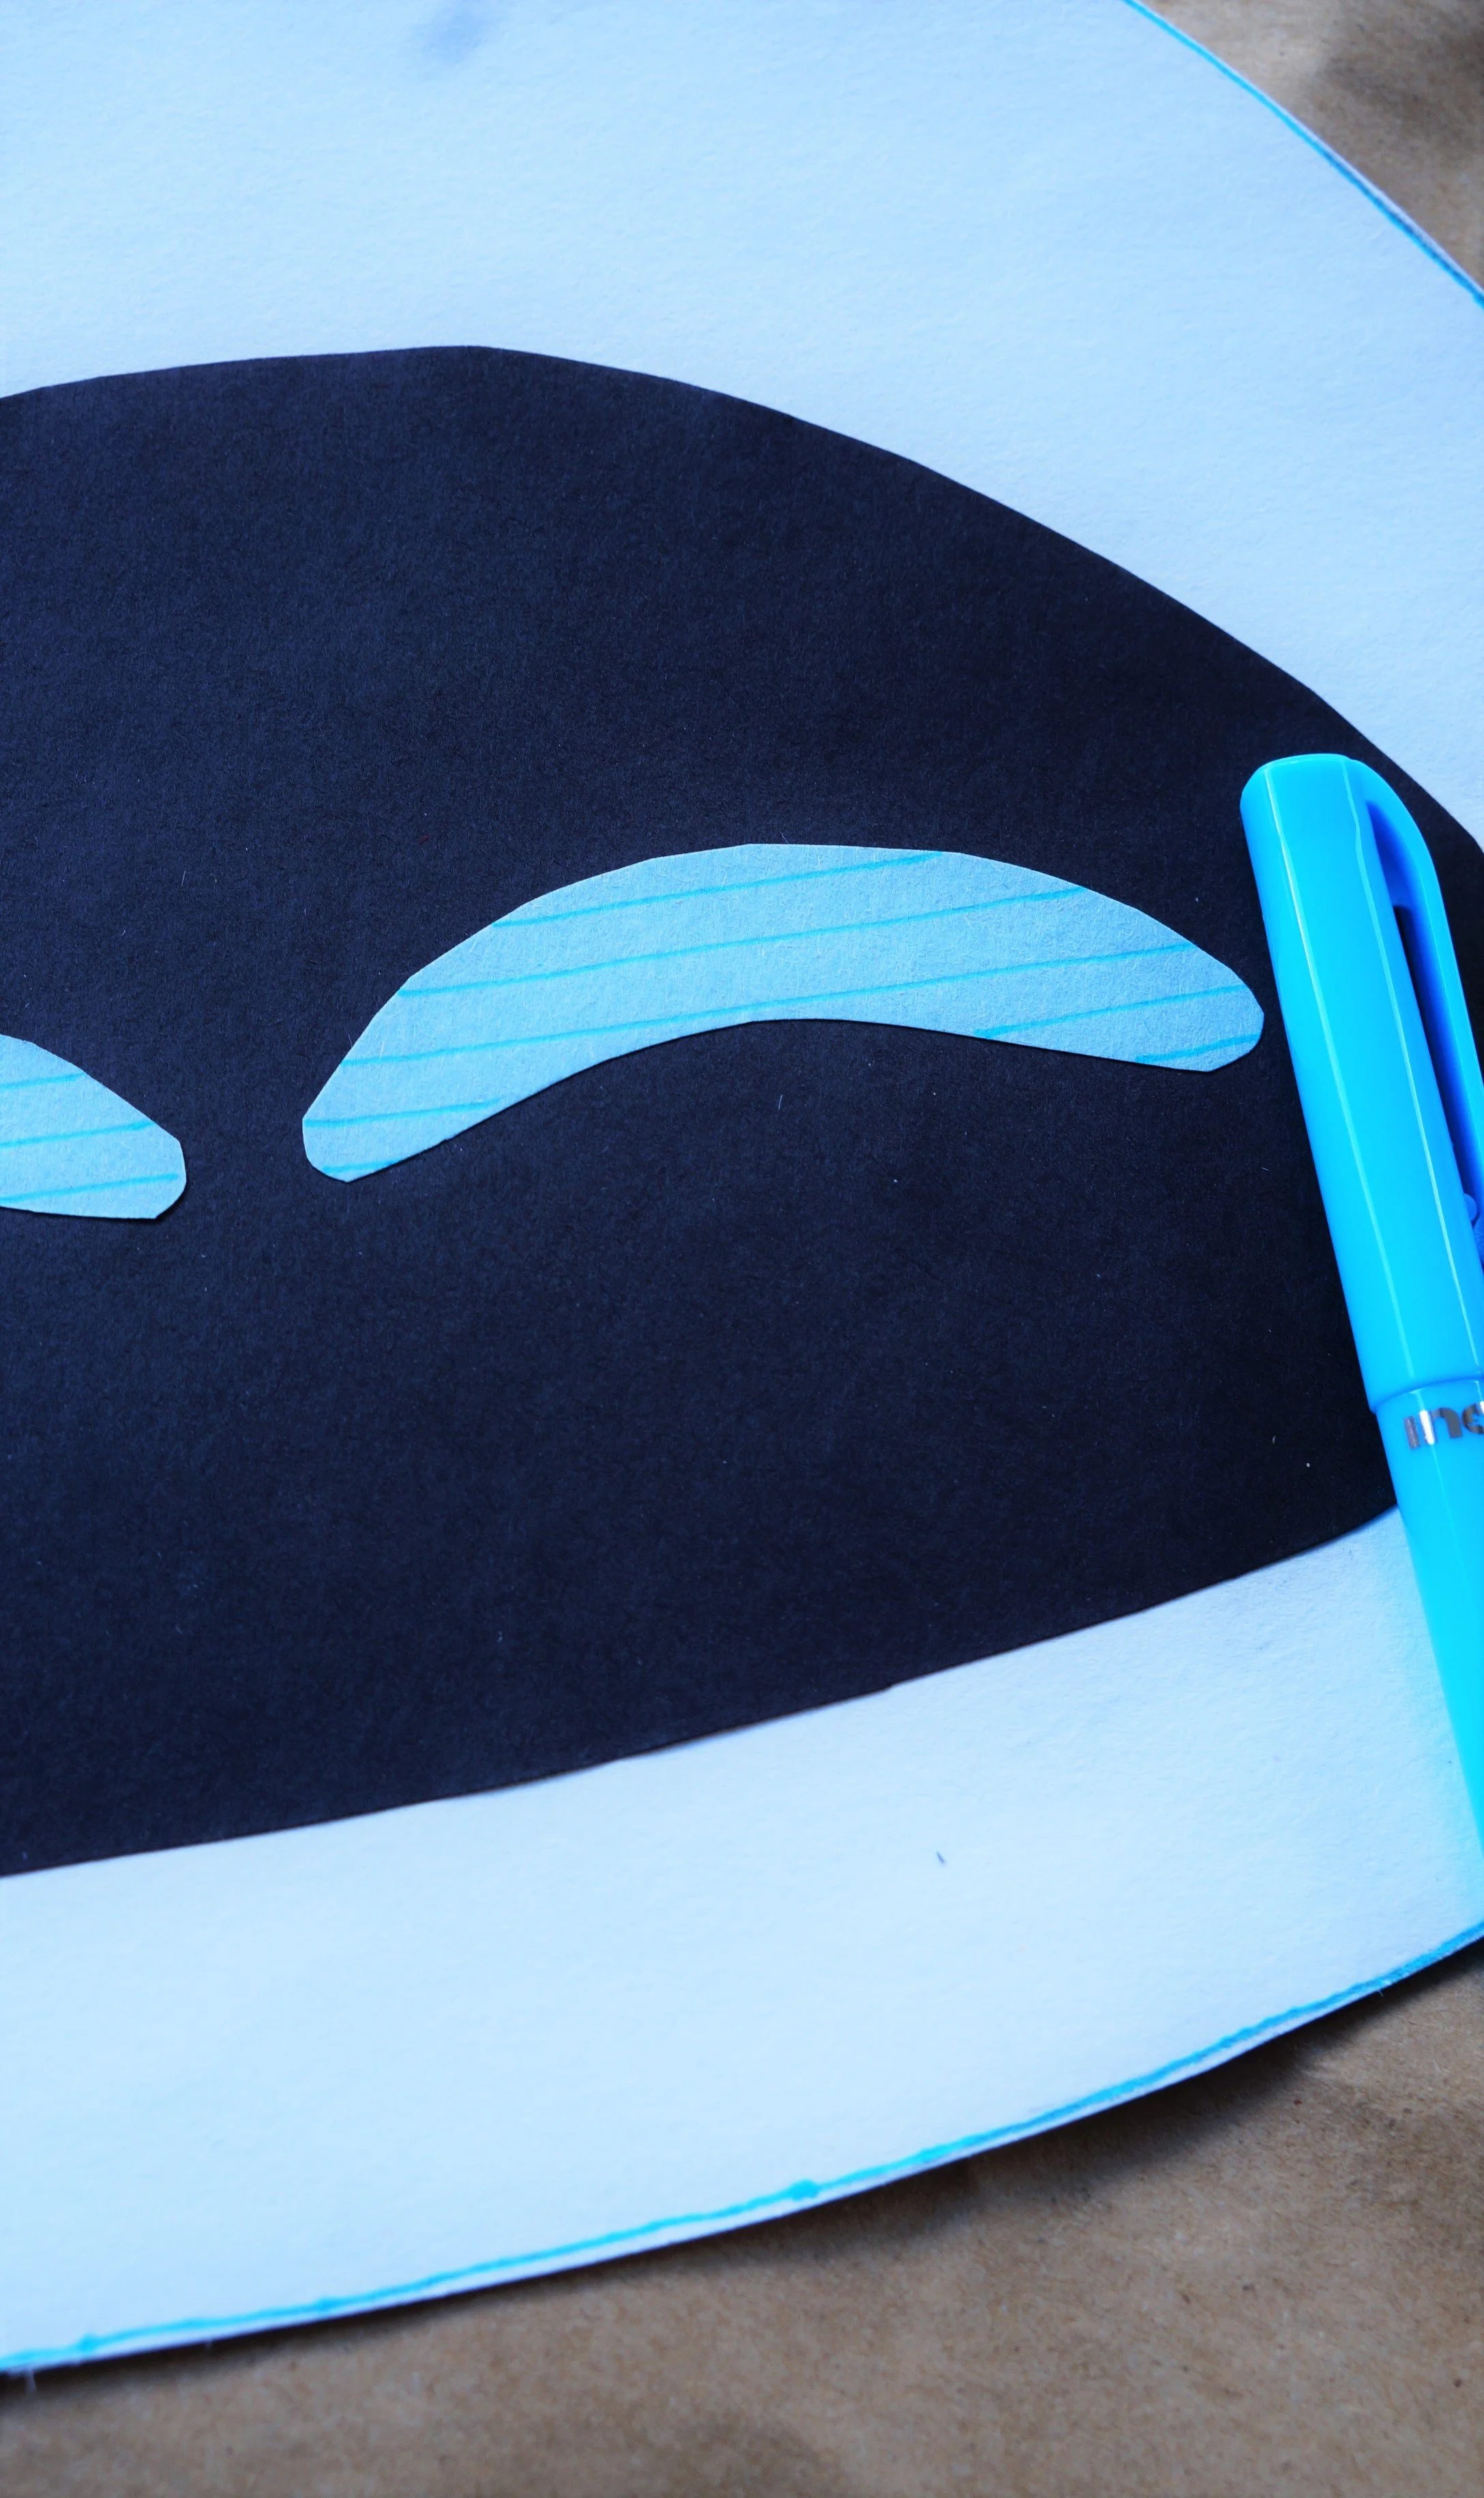
4. Fold your blue paper in half, draw a 3-inch wide curved eye, then cut through both layers.
5. Face the smaller portion of the head up, glue the black section onto it, and glue the eyes about halfway down on the black paper.
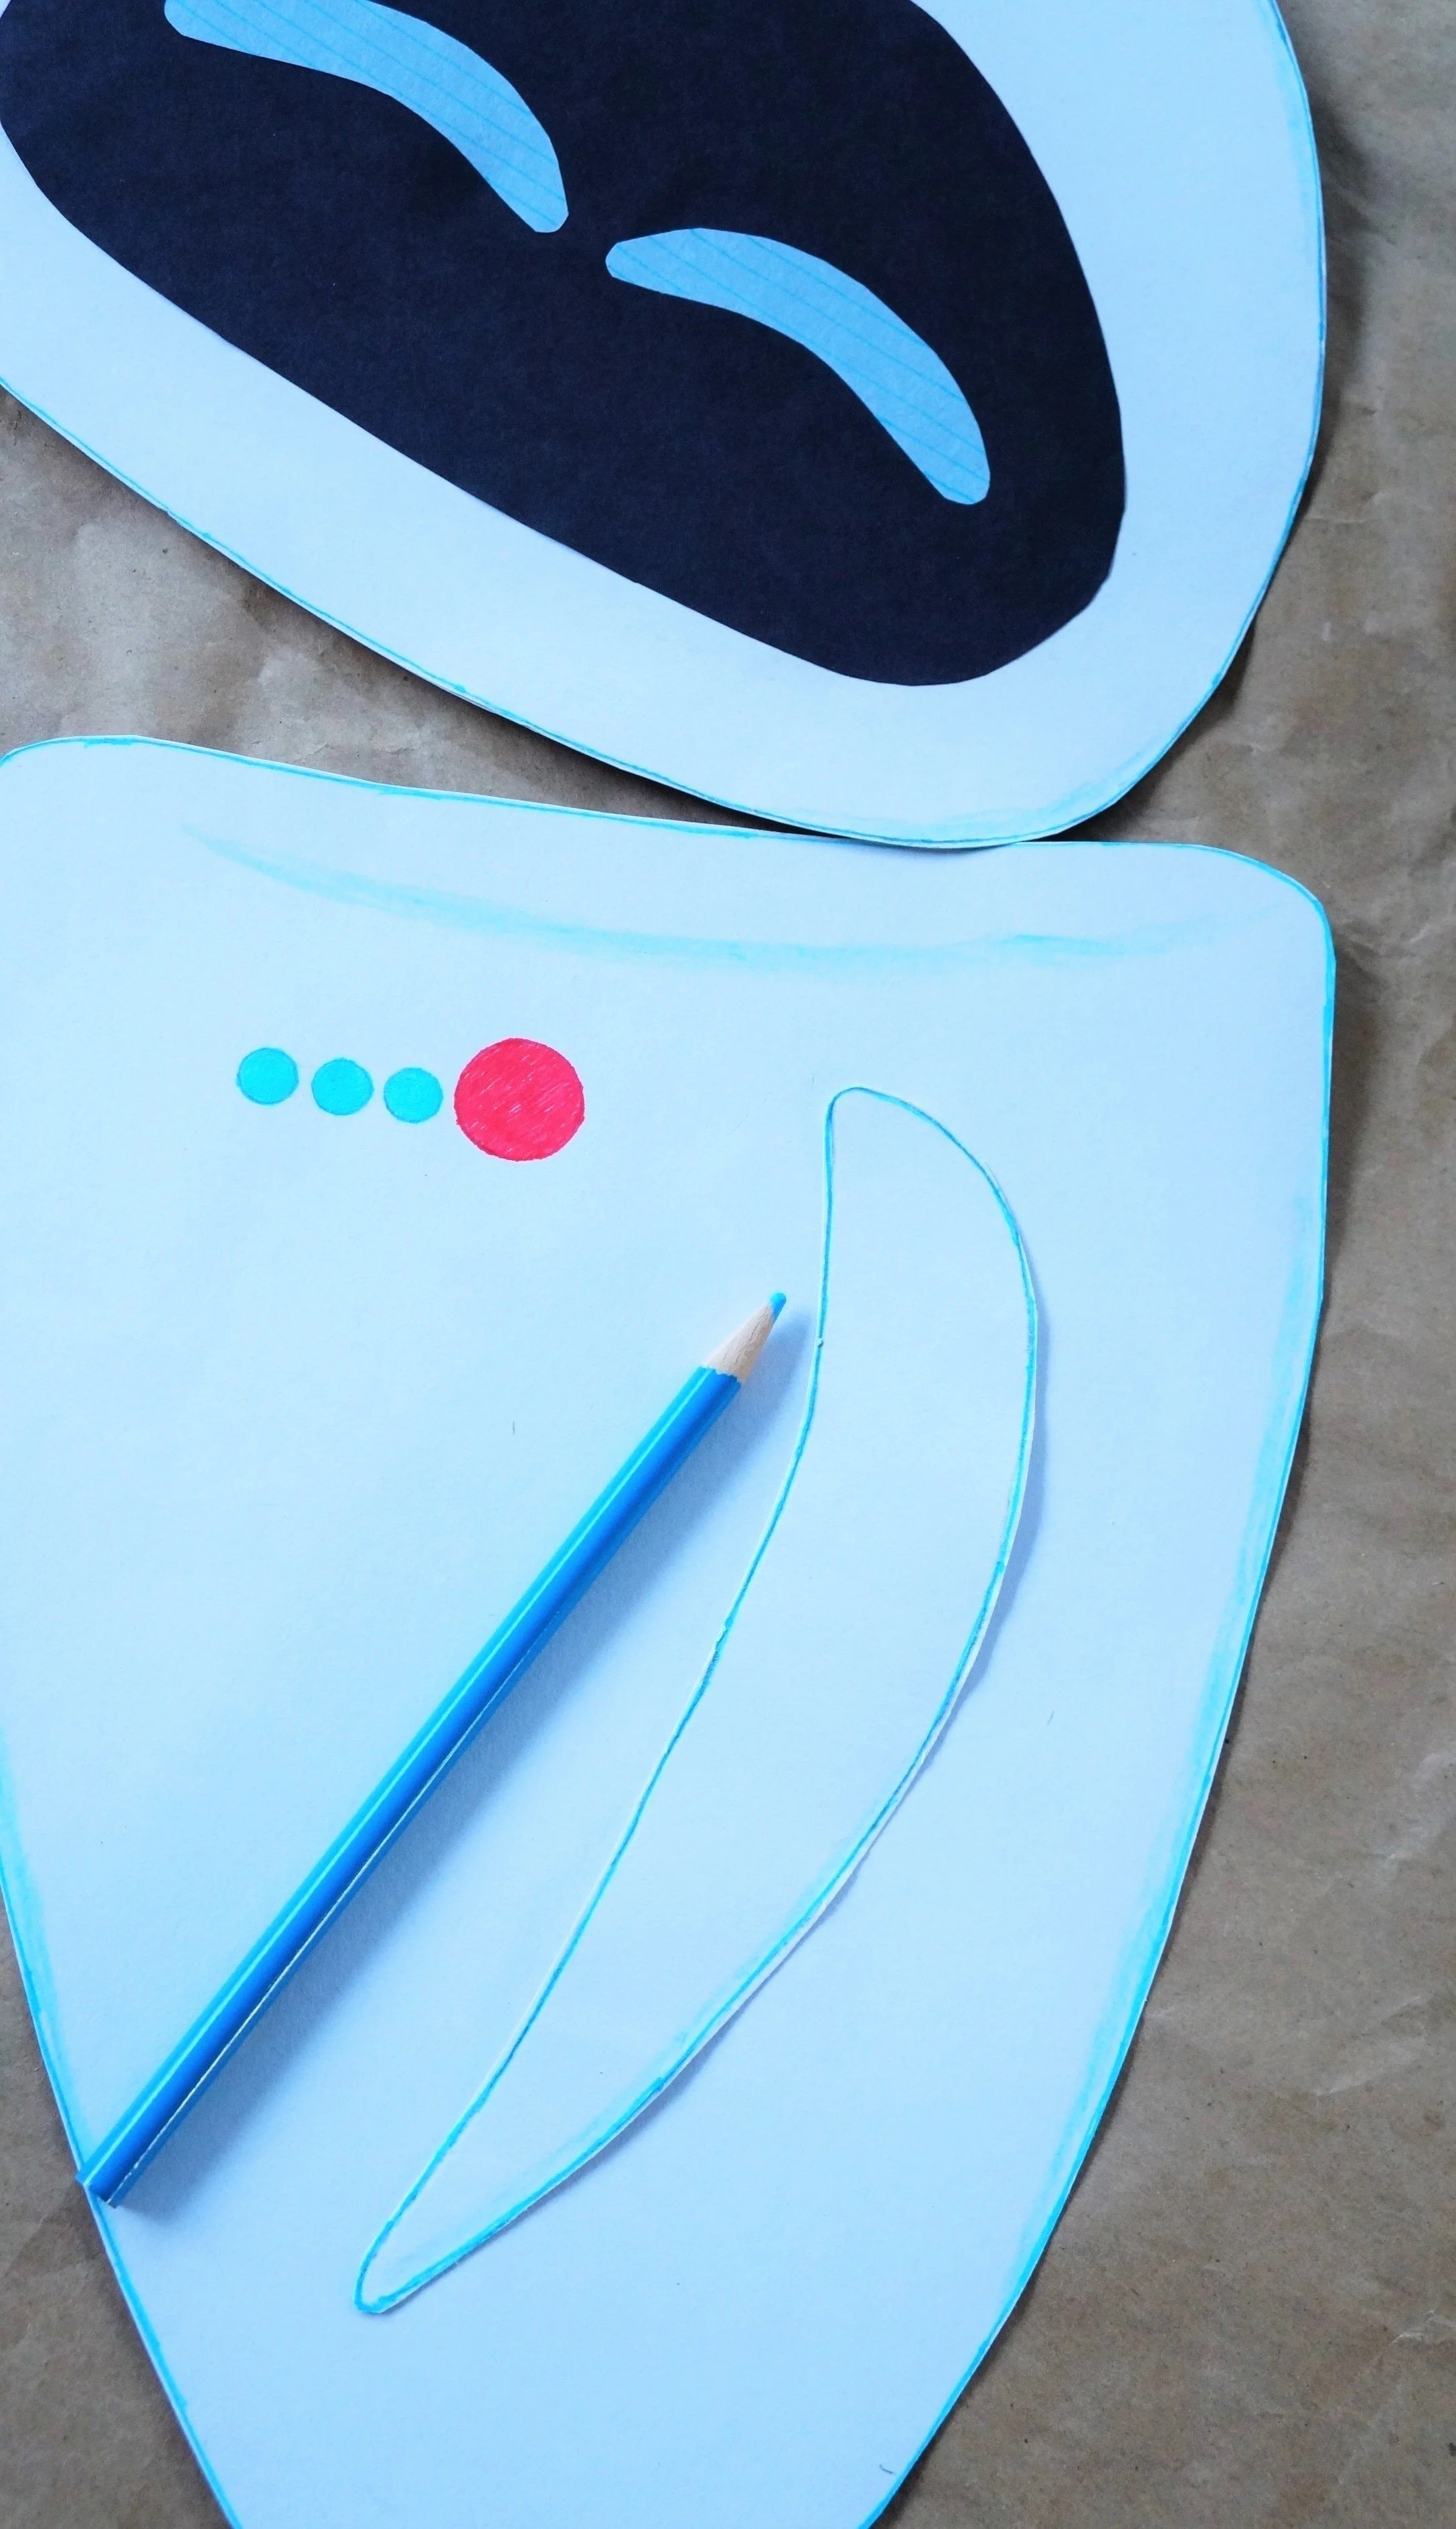
6. Draw 3-5 horizontal lines on the eyes with the light blue pen(freehand or with a ruler).
BODY
Turn your 2nd set of papers vertically, draw curved shoulders at the top and a long narrow body as you get closer to the bottom, then trace the body in a blue/gray pen before cutting it out.
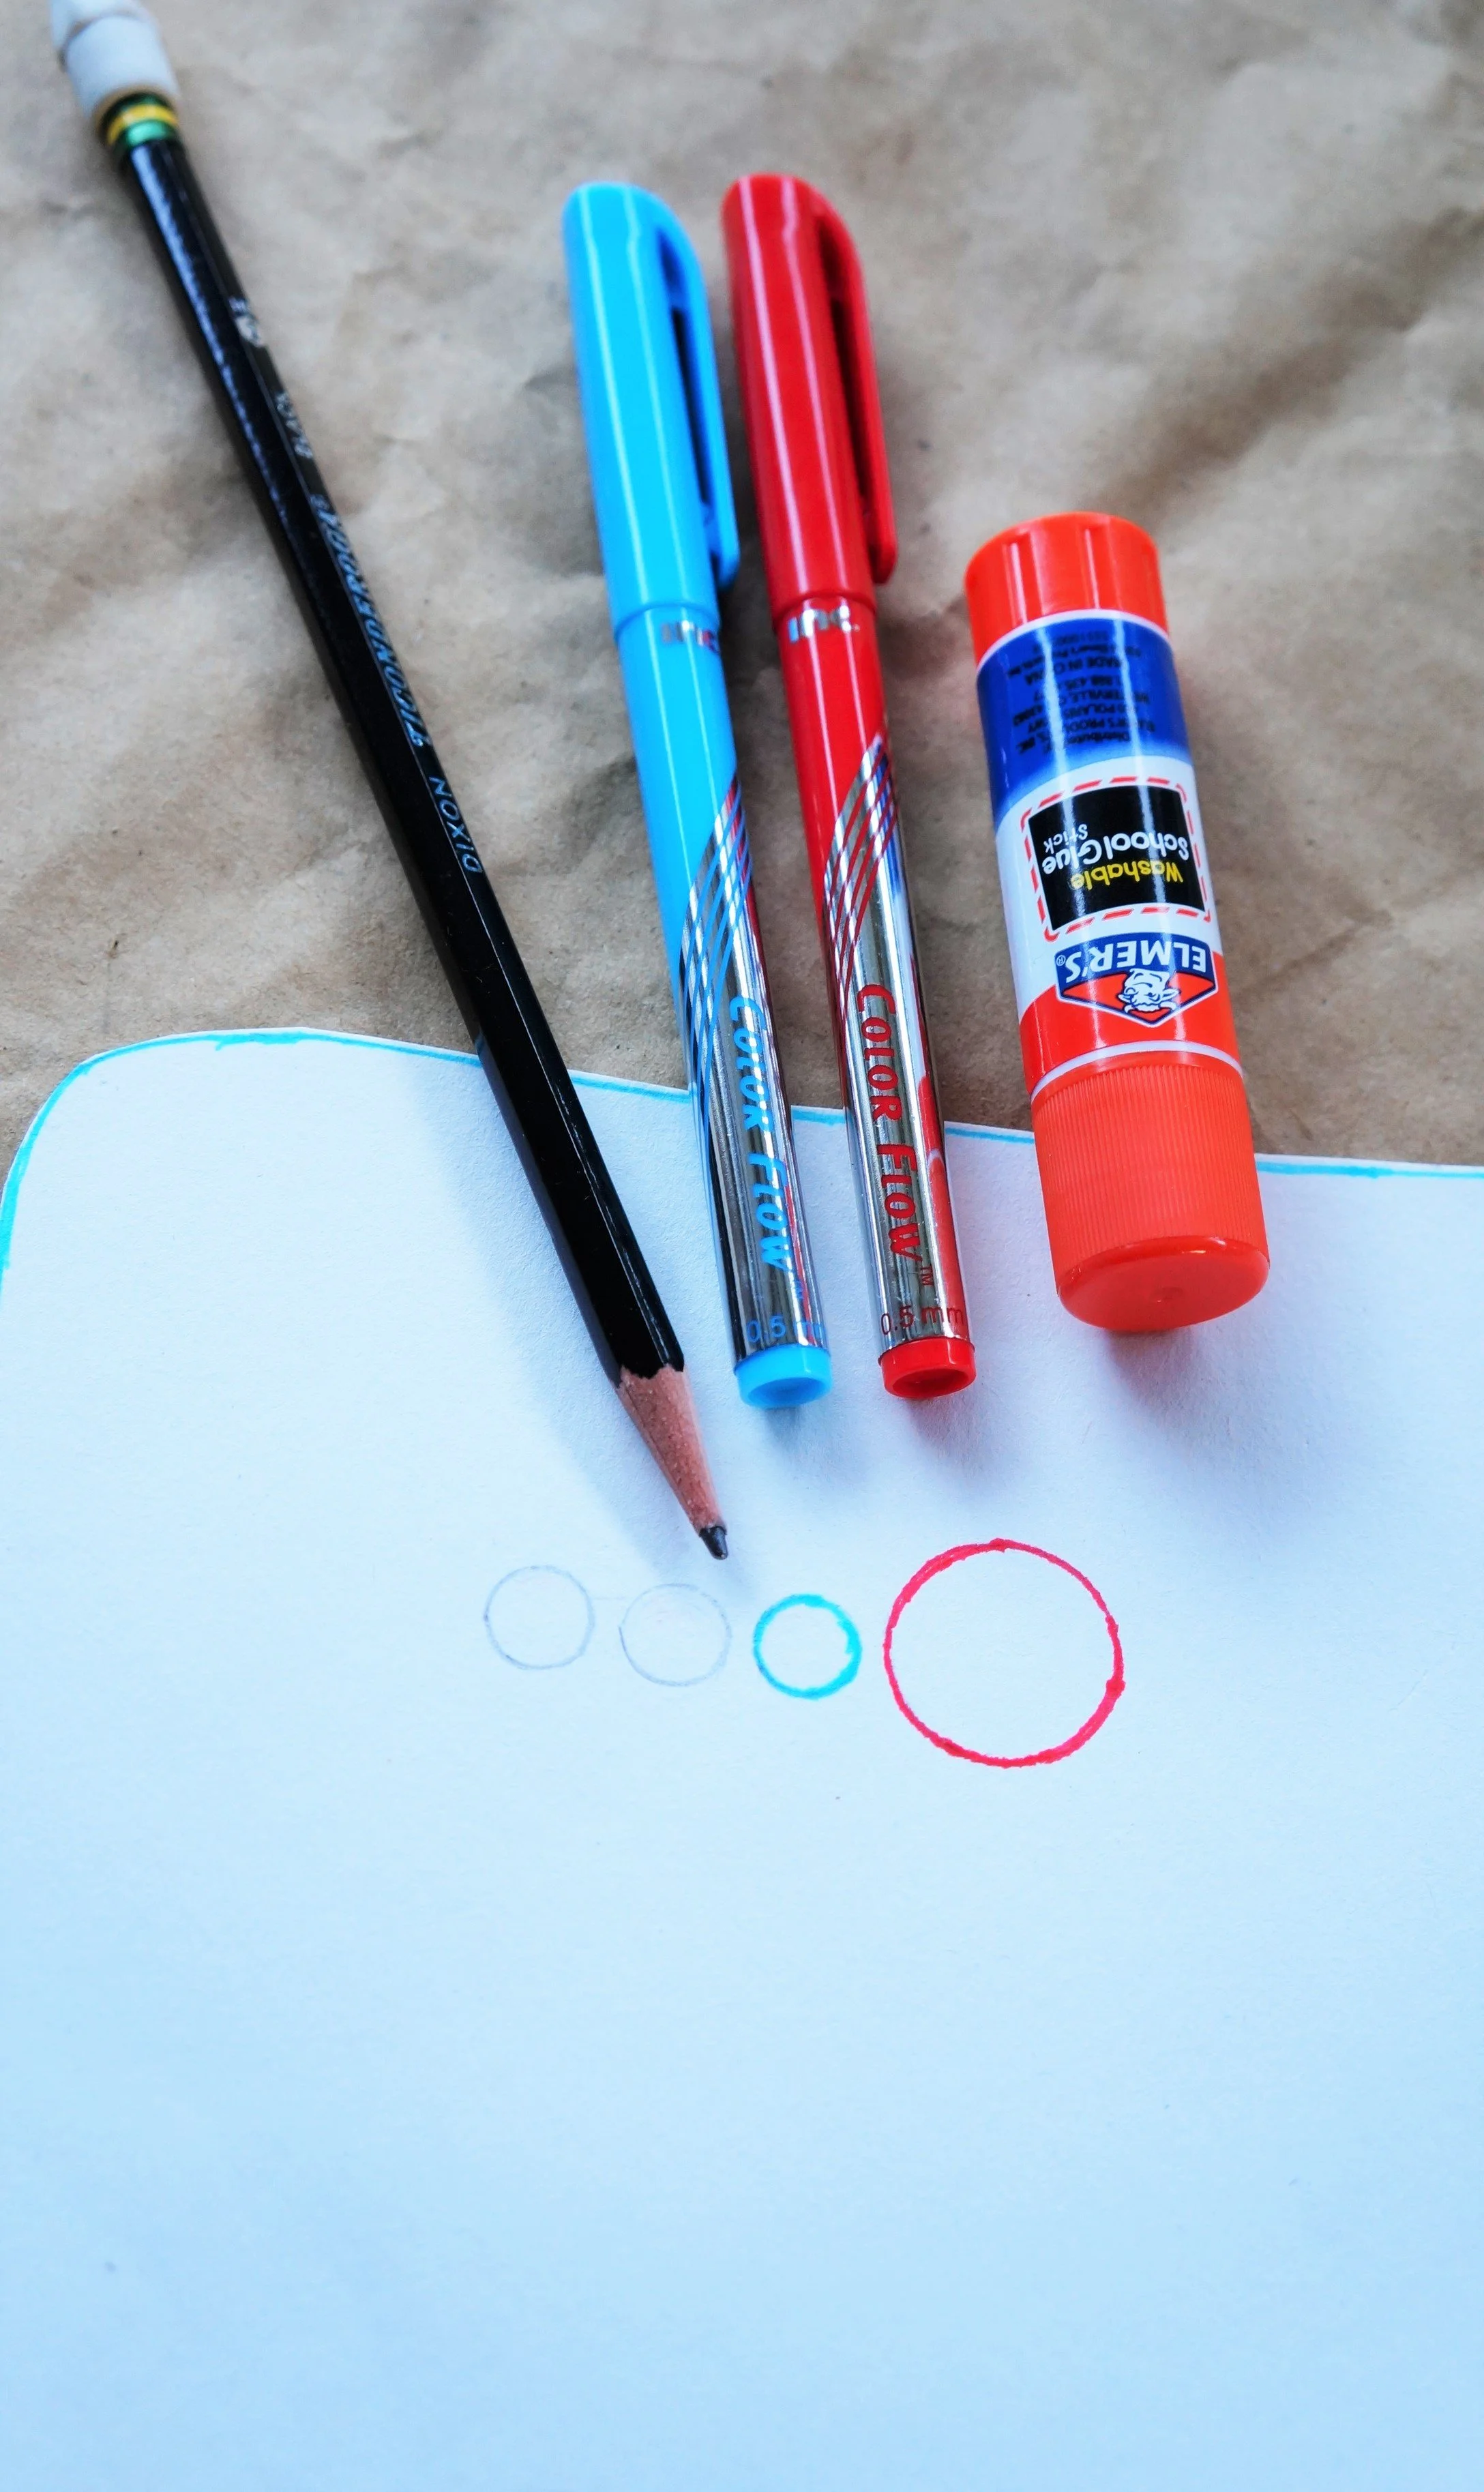
With the pencil trace the glue stick once and the pen 3 times, then color in the larger circle in red and the smaller circles in blue.

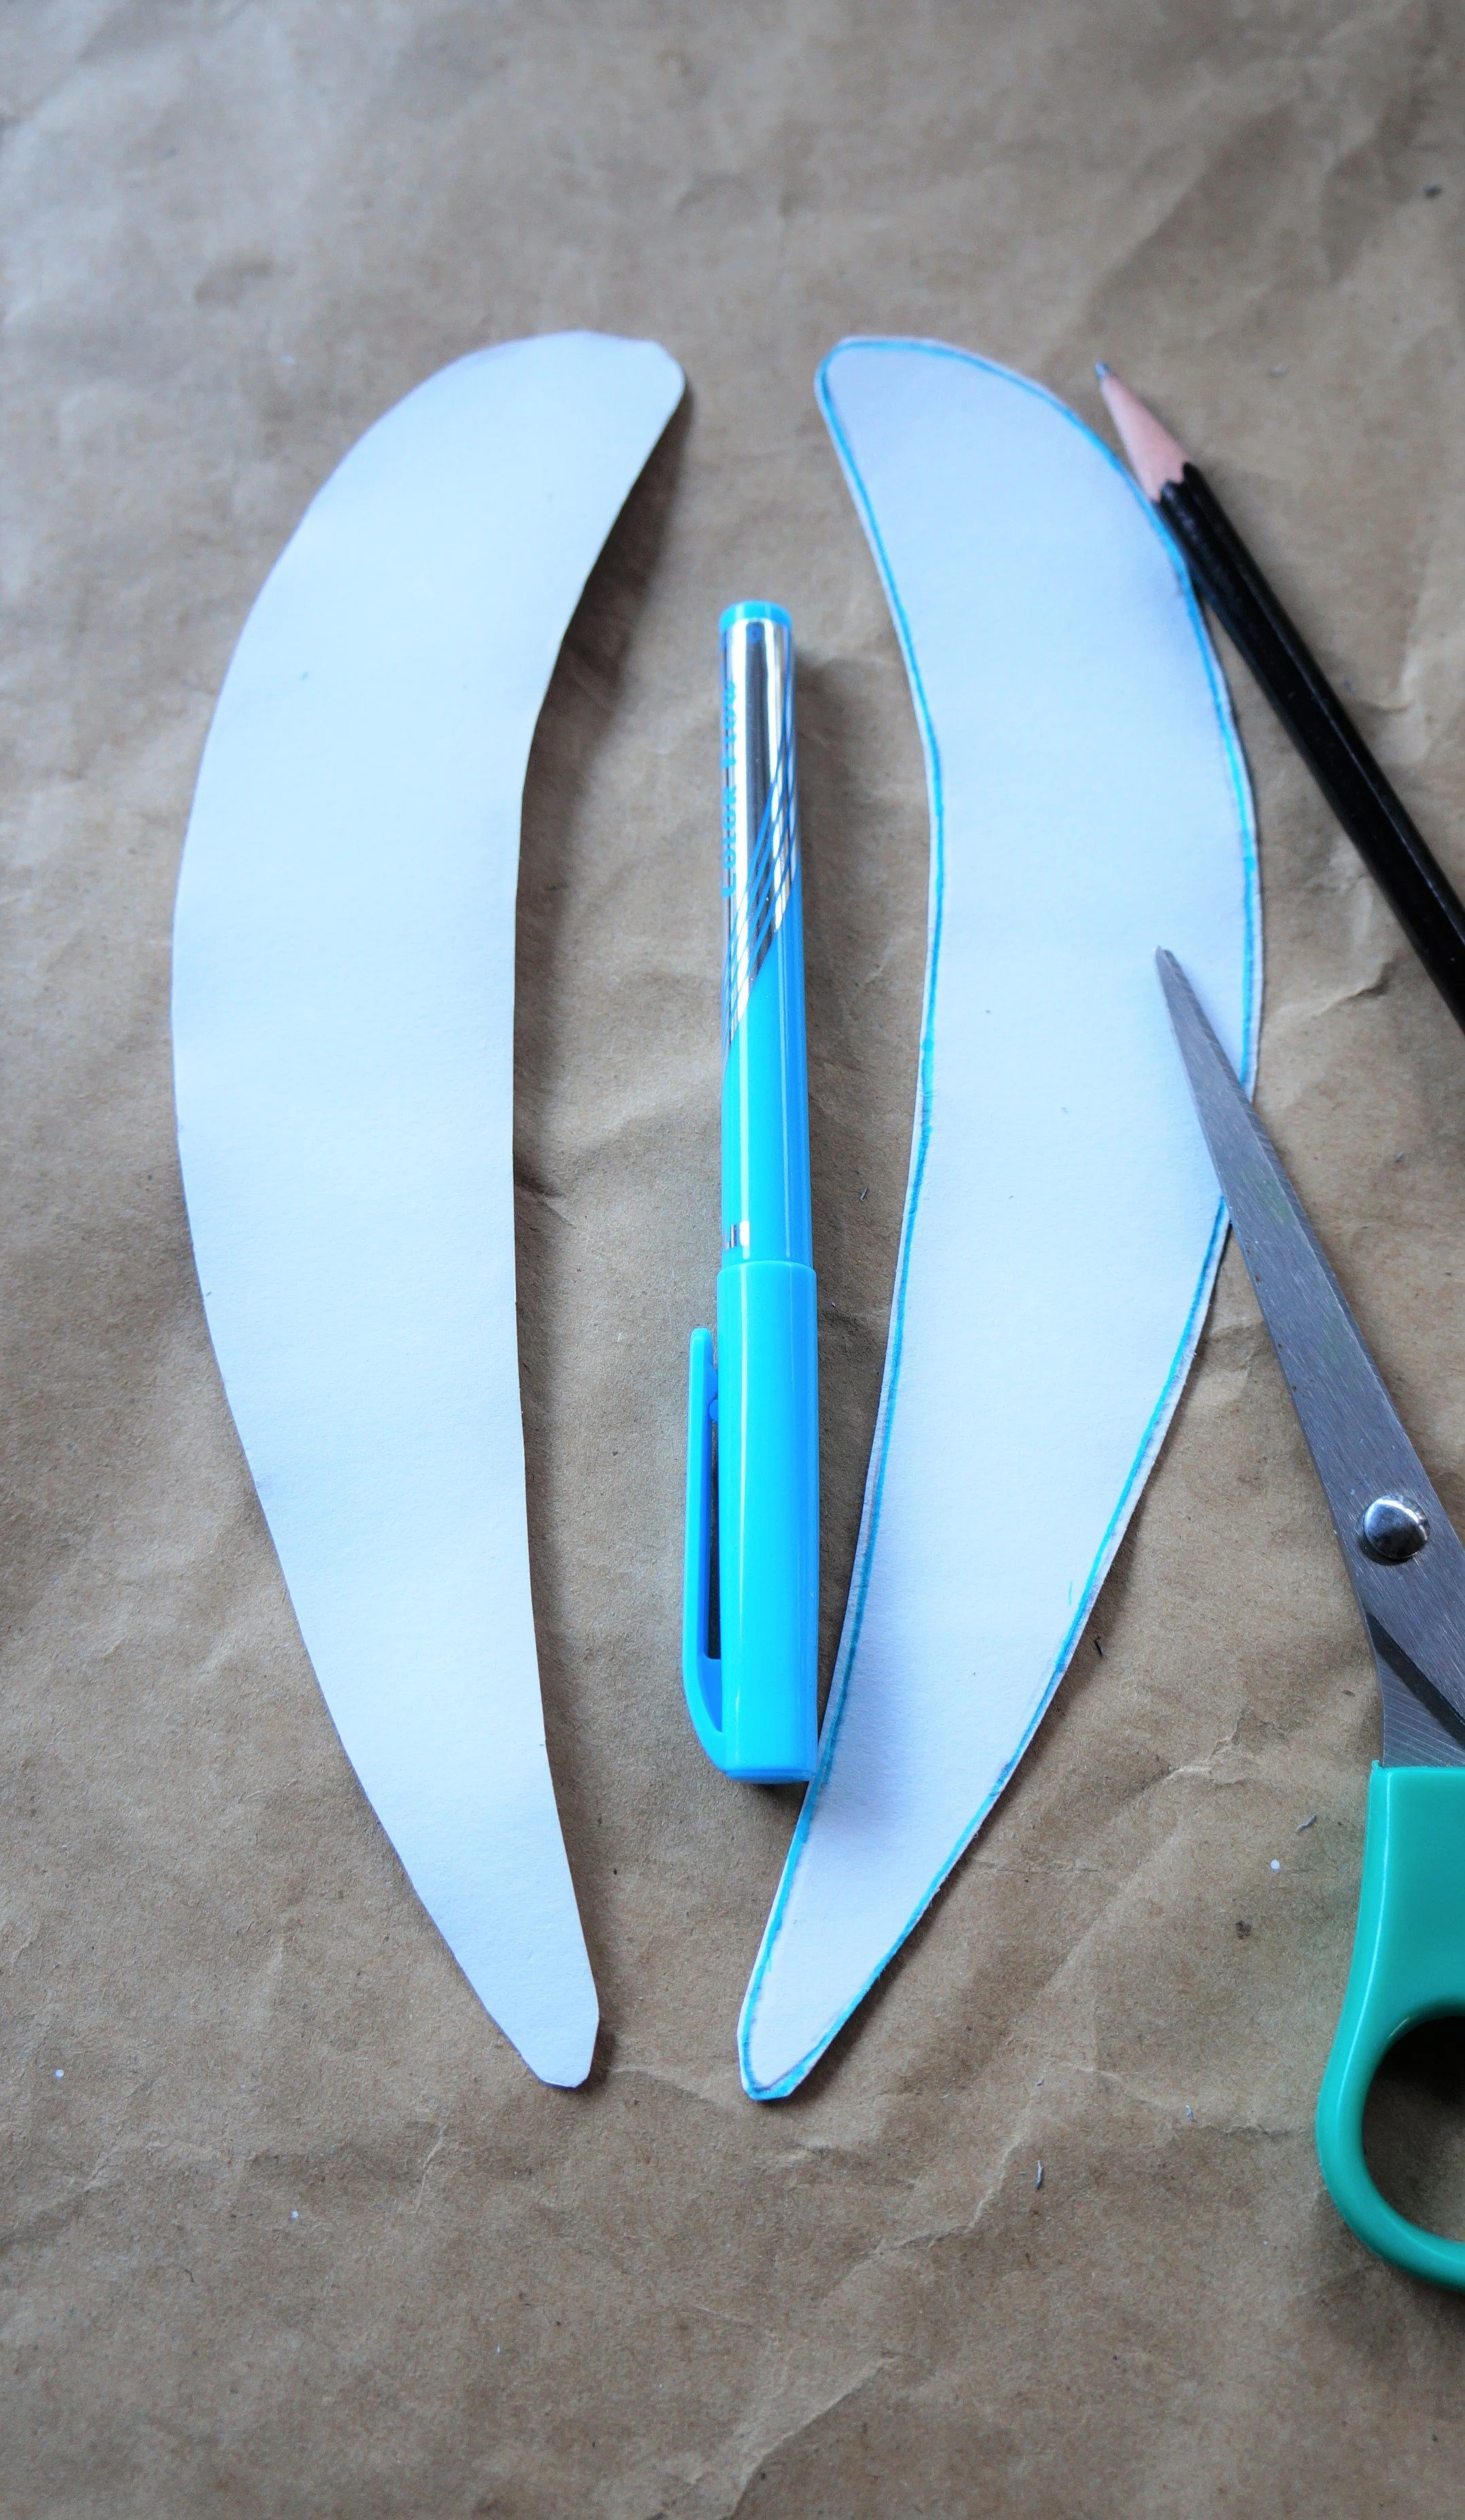
ARMS
Fold the last white paper in half and glue it together.
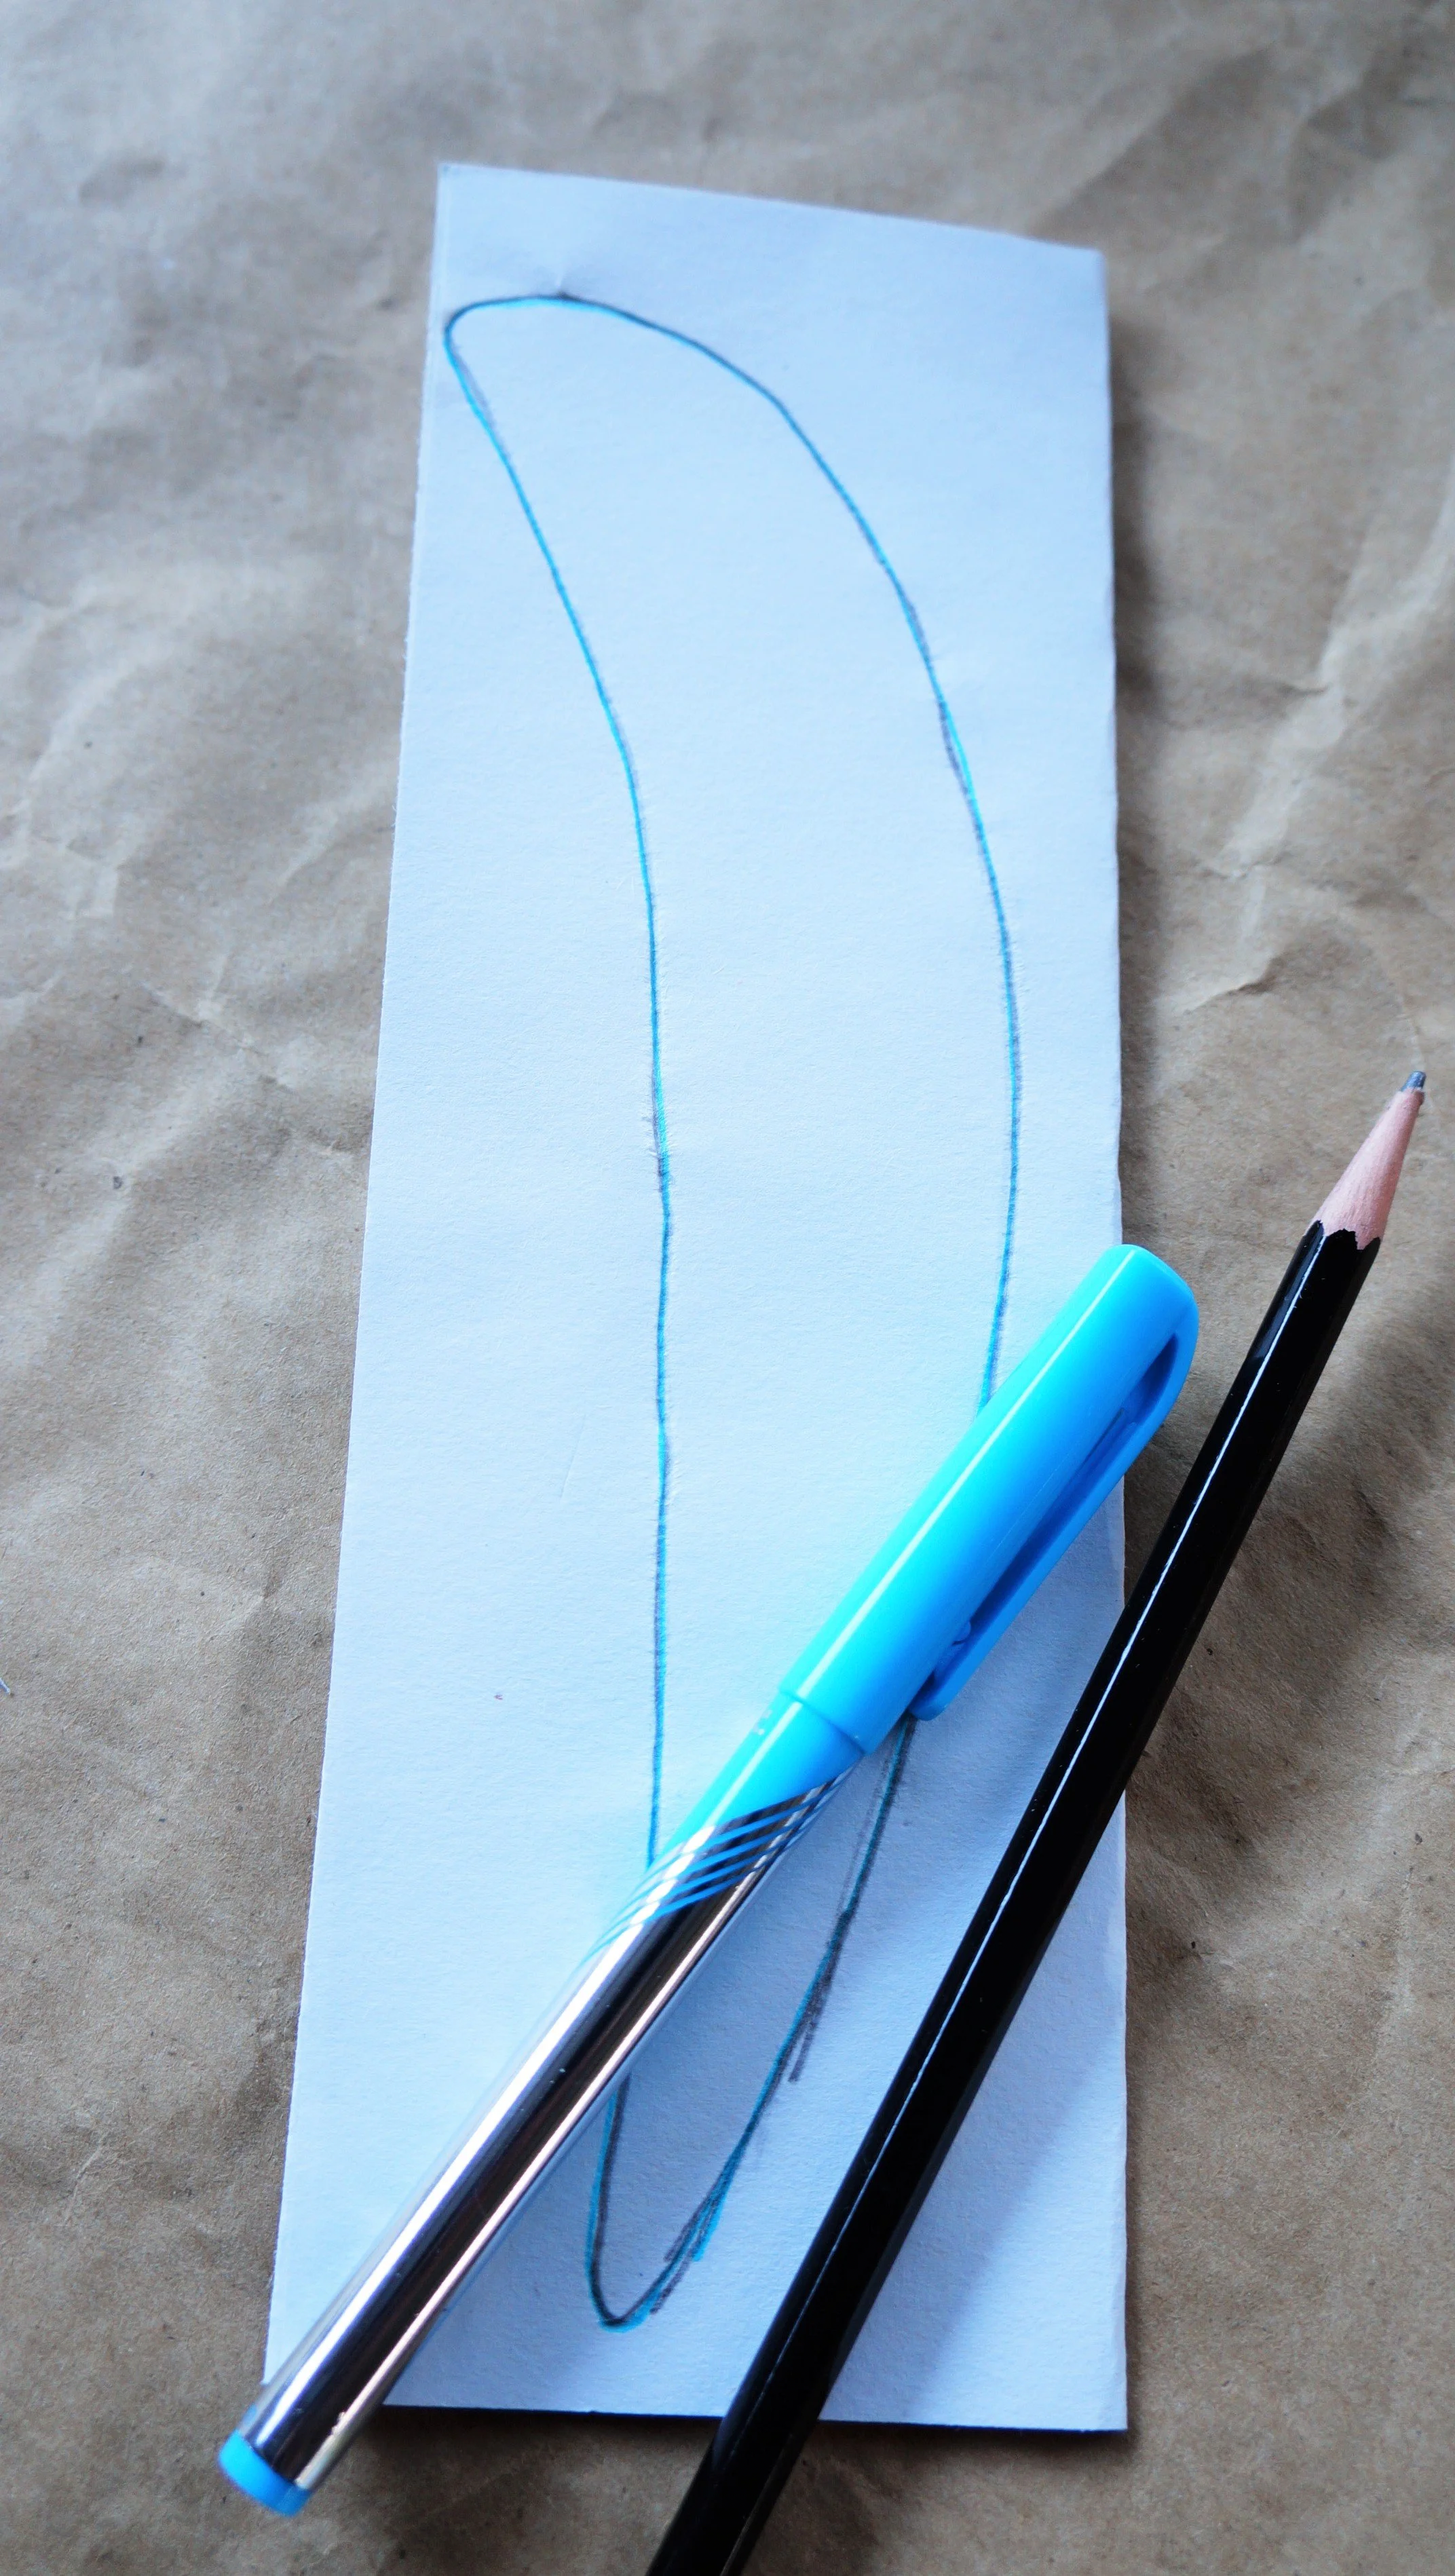
Fold the paper in half again, draw a long rounded arm, with the top part being wider and the bottom more narrow, then trace with the blue/gray pen.
Cut through the layers, face the bottom arm towards the other arm, and trace with the blue/gray pen as well.

ASSEMBLE
Shade the sides of the body, the outer parts of the arms, underneath where the head will be positioned, and around the sides of the head, with the blue/gray pencil.
Glue the arms to the side of the body slightly out and the head to the body.
That’s it!
EVE is adorable and perfect for your themed room or party.
Happy crafting
Amanda and Naomi
To share: take a photo of your craft and let us see it! Click on photo submission and submit.


