

Hi friends,
This week we’re bringing you a jolly, Rake Head Leprechaun! We’ll share how to make a paper version too and how to hang these up. Check it out below.
*Click on photos for a closer look
What You'll Need
Orange Rake Head
Yellow, Green, Black Felt
(1) Tan/Ivory Paper
(1/4) Sheets White, Brown, Pink, Black Paper
Scissors
Pencil & Pink Colored Pencil
Glue & Hot Glue
Orange Pipe Cleaner
Optional: Paper Clips
The Steps
The inspiration for our craft came while I was at Dollar Tree. I saw orange rake heads facing down and they looked somewhat like beards. It turns out they were perfect for our bearded leprechaun!


FACE
Fold the tan/ivory paper in half and trace the upper part of the rake/triangle.
Cut the triangles out and save the scraps. Set 1 triangle(hat) aside, while making adjustments to the 2nd triangle(face) so that it fits nicely on the rake.
Once you’ve adjusted the triangle, fold it in half, draw a wave, cut it out, and hot glue it onto the rake(tines facing forward or back).
PAPER VERSION: (1) sheet orange, ivory/tan, (1/2) sheet green, (1/4) sheets white, brown, pink, black, yellow, scissors, pencil, pink colored pencil, and glue.
A) Cut out a large triangle from the orange paper.
B) Follow steps 1-3 above minus gluing the face.


4. Fold the paper scraps(2 sheets) in half, glue the insides, then draw an elf ear.
5. Cut out both ears, fold the bottom edges at an angle, and glue them to the rake.
PAPER VERSION:
C) Fold 1 white paper scrap in half, draw an ear, and cut out both ears.
D) Glue the ears from the back side of the orange paper, glue crumpled-up paper where the nose would be, and then the face right over that, for the 3D nose effect.


6. Cut 2 small pieces from the pipe cleaner and curl them slightly to create the eyebrows.
7. Fold the pink paper and trace the gluestick end(rosy cheeks), fold the brown paper and draw 1 small oval(eyes), draw an open smile on the black paper and a narrow rectangle on the white paper. Cut each piece out and hot glue them & the eyebrows to the face.
8. Use the pink colored pencil to carefully draw a rosy nose and draw the lines on the inner ear.
PAPER VERSION:
E) From the orange scraps, fold and draw 1 eyebrow, fold the pink paper and trace the gluestick end(rosy cheeks), fold the brown paper and draw 1 small oval(eyes), draw an open smile on the black paper and a narrow rectangle on the white paper. Cut each piece out and glue them to the face.
F) Follow step 8 above.
G) Make 3-5 inch cuts along the bottom of the leprechaun beard and curl the ends forward, backward, or in both directions.


HAT
Place the 2nd triangle cut out over a folded piece of green felt, hold it together with the paperclips, and then cut it out.
Hot glue the outer edge of the hat, carefully press the sides together, and then flip it inside out. Glue a bit of the rim up.
Glue a narrow black strip of felt and a yellow rectangle frame to the front of the hat and then onto the leprechaun’s head.
That’s it!
PAPER VERSION:
A) Fold the green paper in half, trace the white triangle over it, cut it out, and glue the inside edges together.
B) Cut a narrow black strip of paper and a yellow rectangle frame, and glue them onto the front of the hat before gluing it to the leprechaun’s head.
That’s it!


Look how happy he is! = )

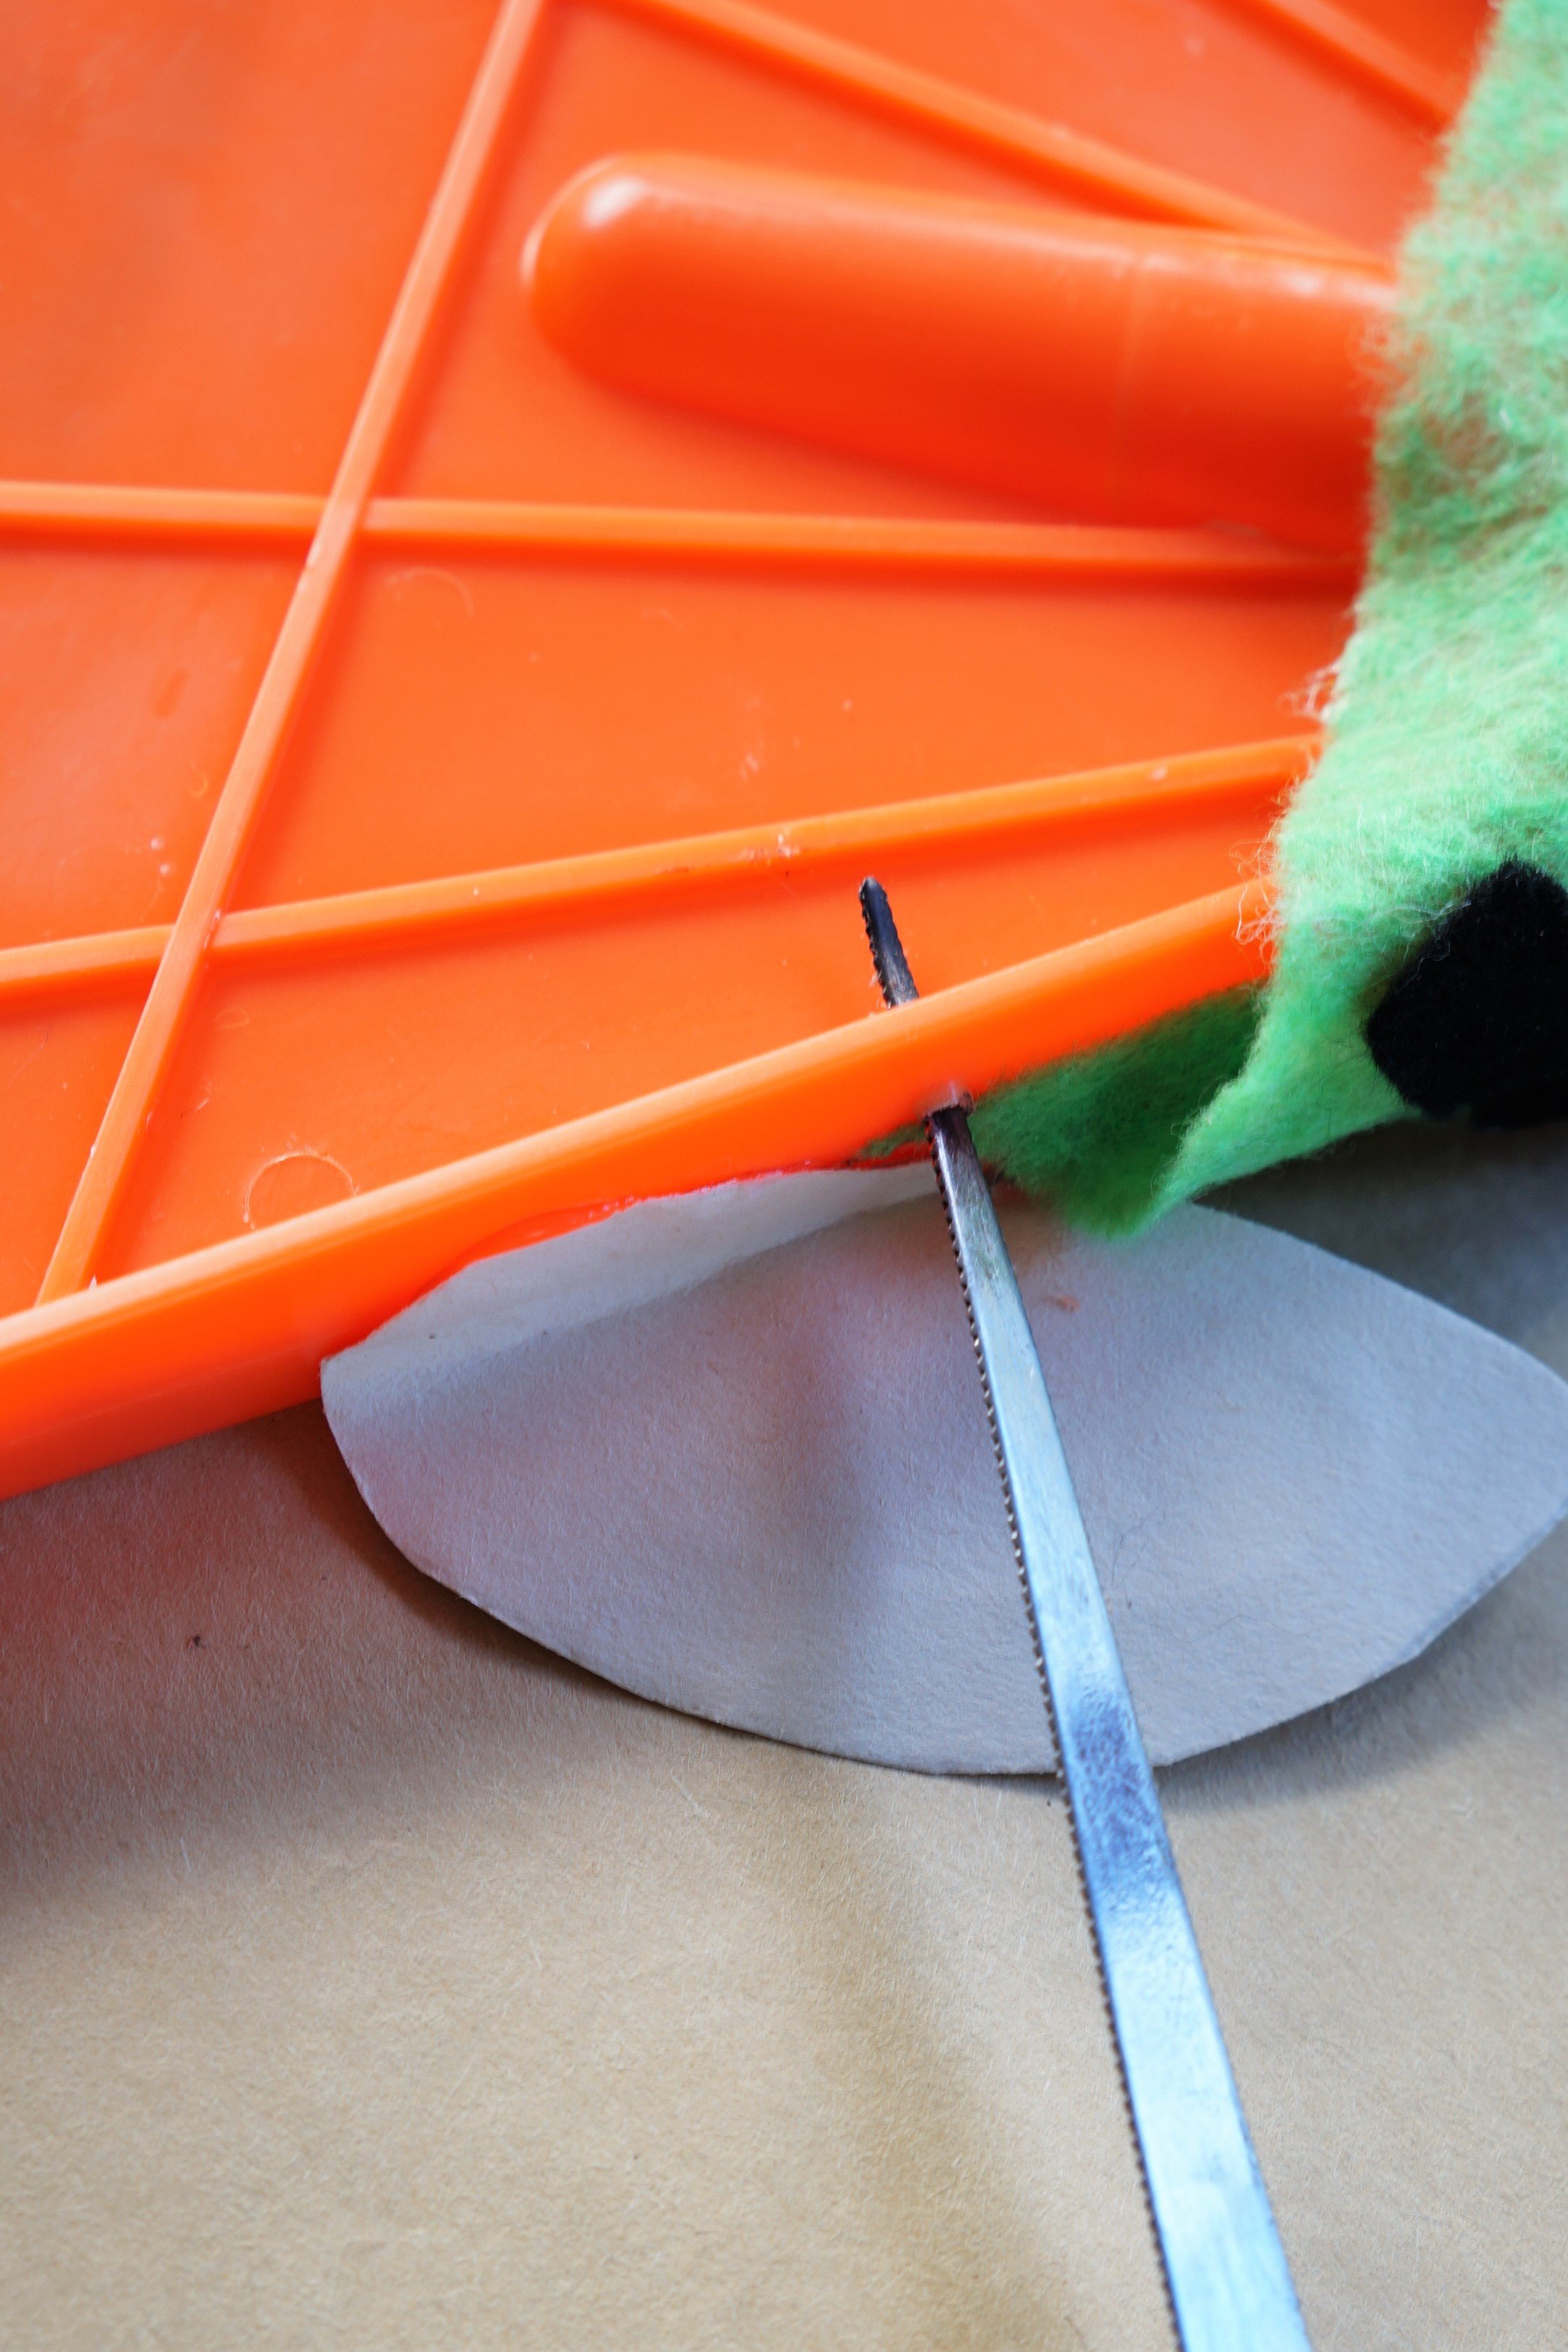


To hang the leprechaun: use something pointed like a letter opener or metal skewer, and heat with a lighter repeatedly until you melt a big enough hole for twine, string, or wire to go through. Tie and hang up on your door or wall.
Happy crafting!
Amanda and Naomi
To share: take a photo of your craft and let us see it! Click on photo submission and submit.


