

Hi friends,
We’re sharing beautifully layered, stained glass looking, pumpkin suncatchers. It’s a simple craft, but the results from your chosen colors, tissue shapes, and placement will provide unique and colorful displays for your window. Check out our pumpkin suncatchers below!
*Click on photos for a closer look
What You'll Need
Orange Construction Paper
Pencil
Scissors
Wax Paper/Sheet Protector
Tissue Paper
Modge Podge/Thinned Glue
Paint Brush
The Steps


TISSUE PREP
We used 1/4 sections from each color(6), folded them into narrow strips, and then cut them into thinner strips measuring about 1/2 inch x 3 inches.
You can use as many colors as you’d like and cut them into squares, strips, or random shapes/sizes.


GLUEING
Use Modge Podge/thinned glue and a broad brush to apply glue over half of the sheet protector or wax paper measuring 6 inches x 8.5 inches.
Start laying your pieces down side by side, in a pattern, or randomly, as long as they overlap slightly. Continue until the section is filled in, adding glue as necessary, and finishing it with a top coat of glue.
Set the wet tissue paper aside to dry for about 15-20 minutes.

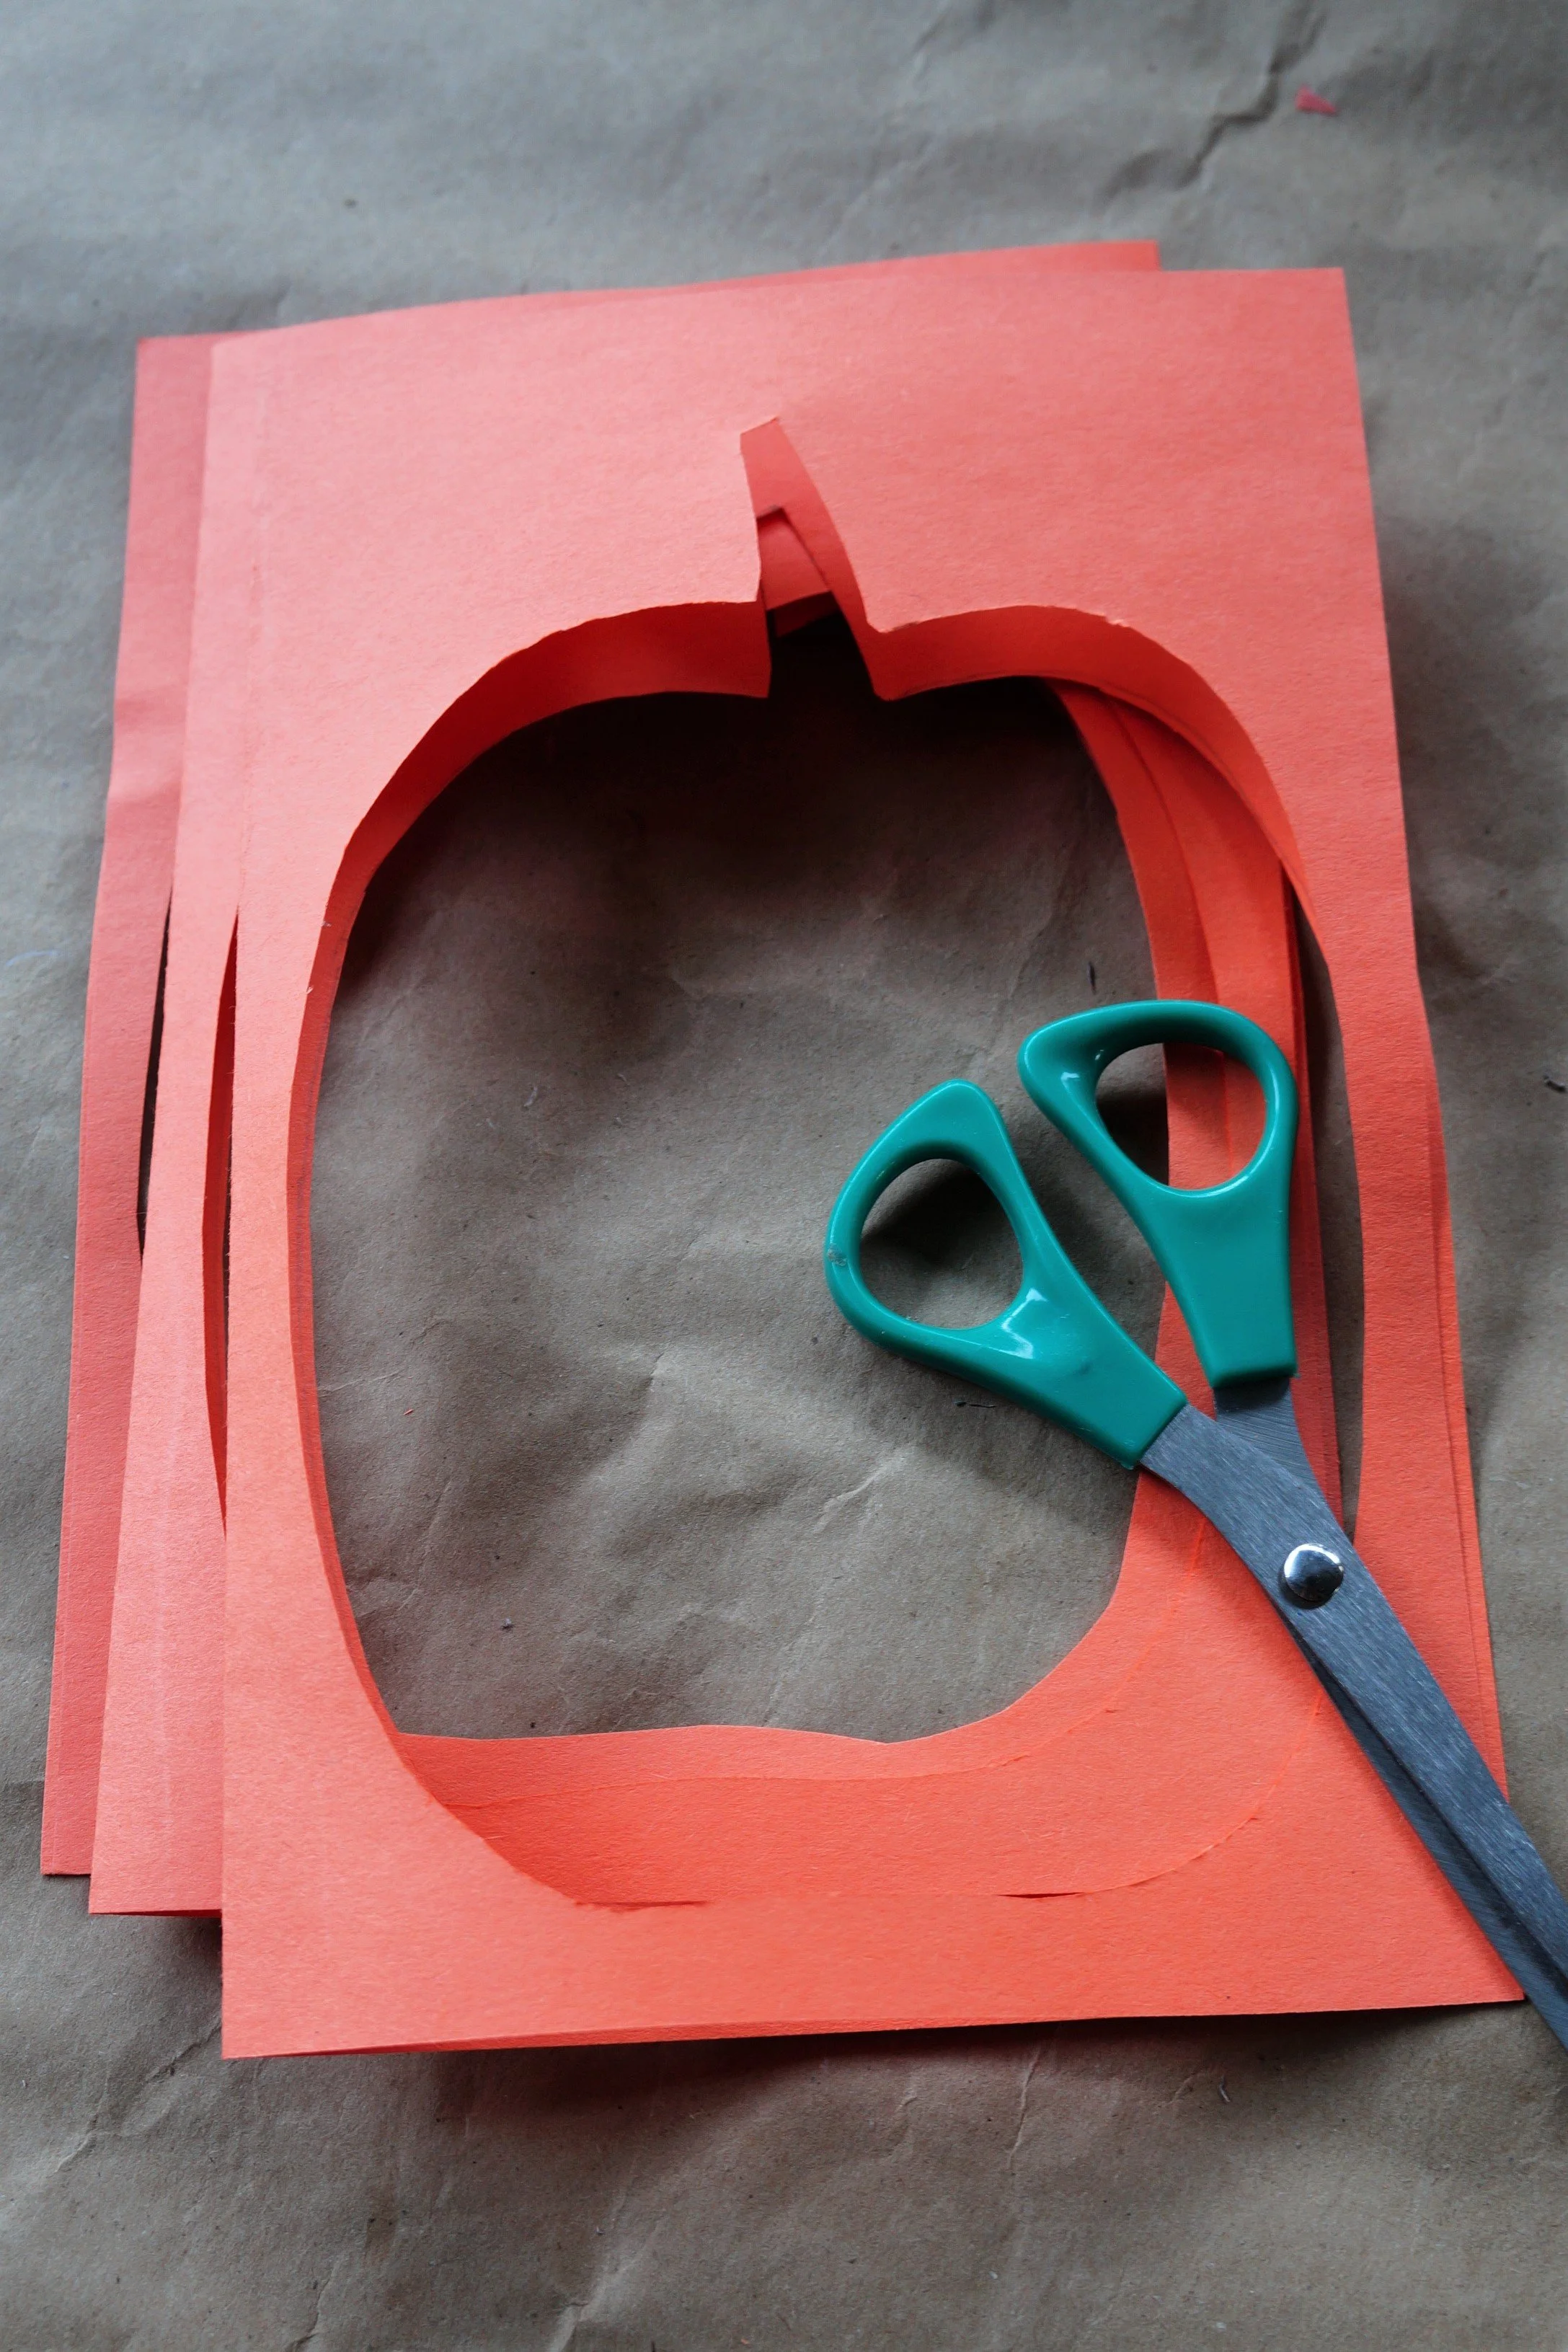
PUMPKIN
Turn your paper horizontally and fold it in half.
Draw your elongated pumpkin and stem, making sure to leave at least a 1/2-inch border.
Cut out the inside of the pumpkin and discard the inside piece.


STAINED GLASS
Once the tissue is dry, carefully peel it off the wax paper/sheet protector.
Open the pumpkin up, apply glue to the inside, add the stained glass sheet, and press it all together.
That’s it!
As a fun alternative, your kiddos can draw faces on the tissue.


Naomi’s pumpkin, hubby’s(he joined us girls!) and mine = )
Happy crafting!
Amanda and Naomi
To share: take a photo of your craft and let us see it! Click on photo submission and submit.


