


Hi friends,
We’re so excited to share our KUNG FU PANDA Po crafts! We’ll show you how to make Po’s face for a simple craft and his strong body for a complete character representation. Check it out below!
*Click on photos for a closer look

What You'll Need
PO FACE
(1) White & Black Construction Papers
(1) White Paper Plate
Paper Roll Tube
Scissors
Glue
Pencil
Colored Pencils
Black Felt Pen

PO BODY
(1) Black, Brown, Tan/Ivory, & White Constructions Papers
Colored Pencils
Pencil
White Gel Pen
Scissors
Glue

The Steps
This time there’s no birthday celebration we’re preparing for, just anticipation for the release of KUNG FU PANDA 4 this March and all the potential parties in this theme.
Although our kids have yet to choose this movie series for their birthday, the newest movie highlights the brave panda once again.


PO FACE
Turn your black paper vertically and fold it in half.
On the upper portion of the paper draw a wide upside-down dome, about 3.5 inches wide by 2 inches deep(black patches around eyes). Then trace the paper roll almost fully around, adding a narrow bottom section about 1/2 inch long(ears). Cut those both out.
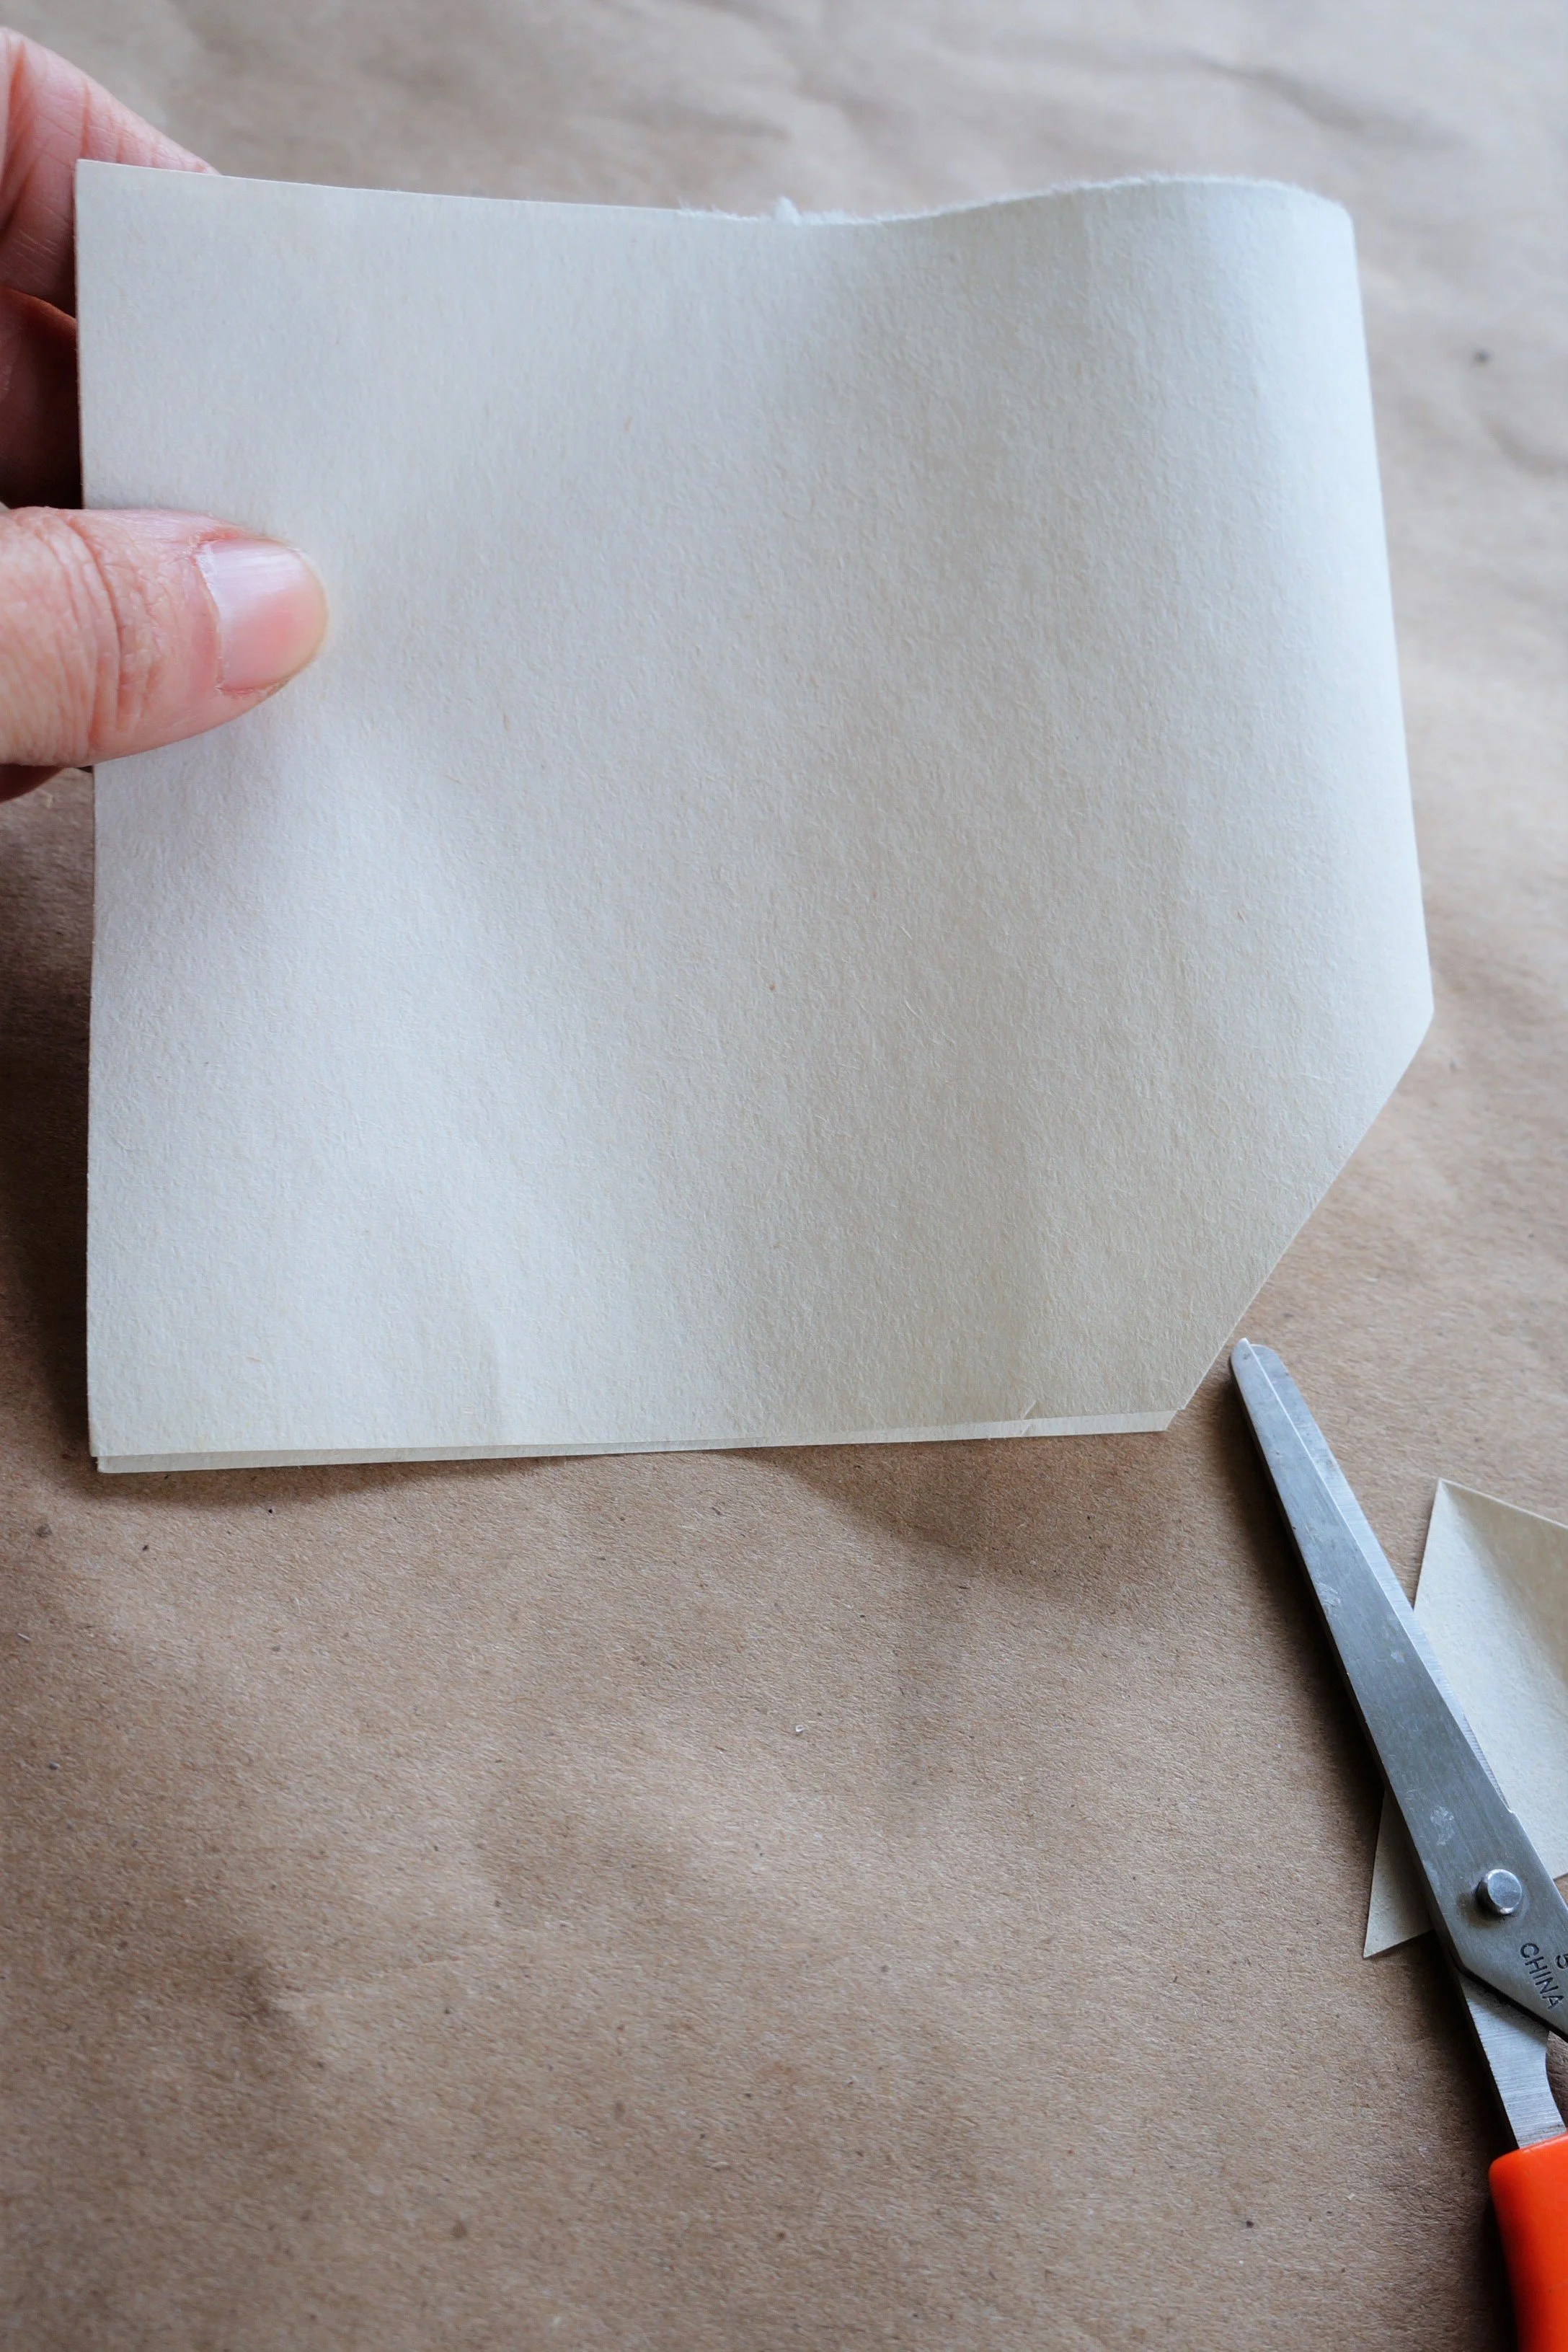
Turn your black paper horizontally and draw a crescent moon funnel 2ish inches wide by 1 inch deep(nose), a narrow top lip 3.5 inches wide, and a bottom lip 3 inches wide. They don’t have to be connected.
Open the fold and cut through the top layer only for the nose and lips. Set everything aside momentarily.

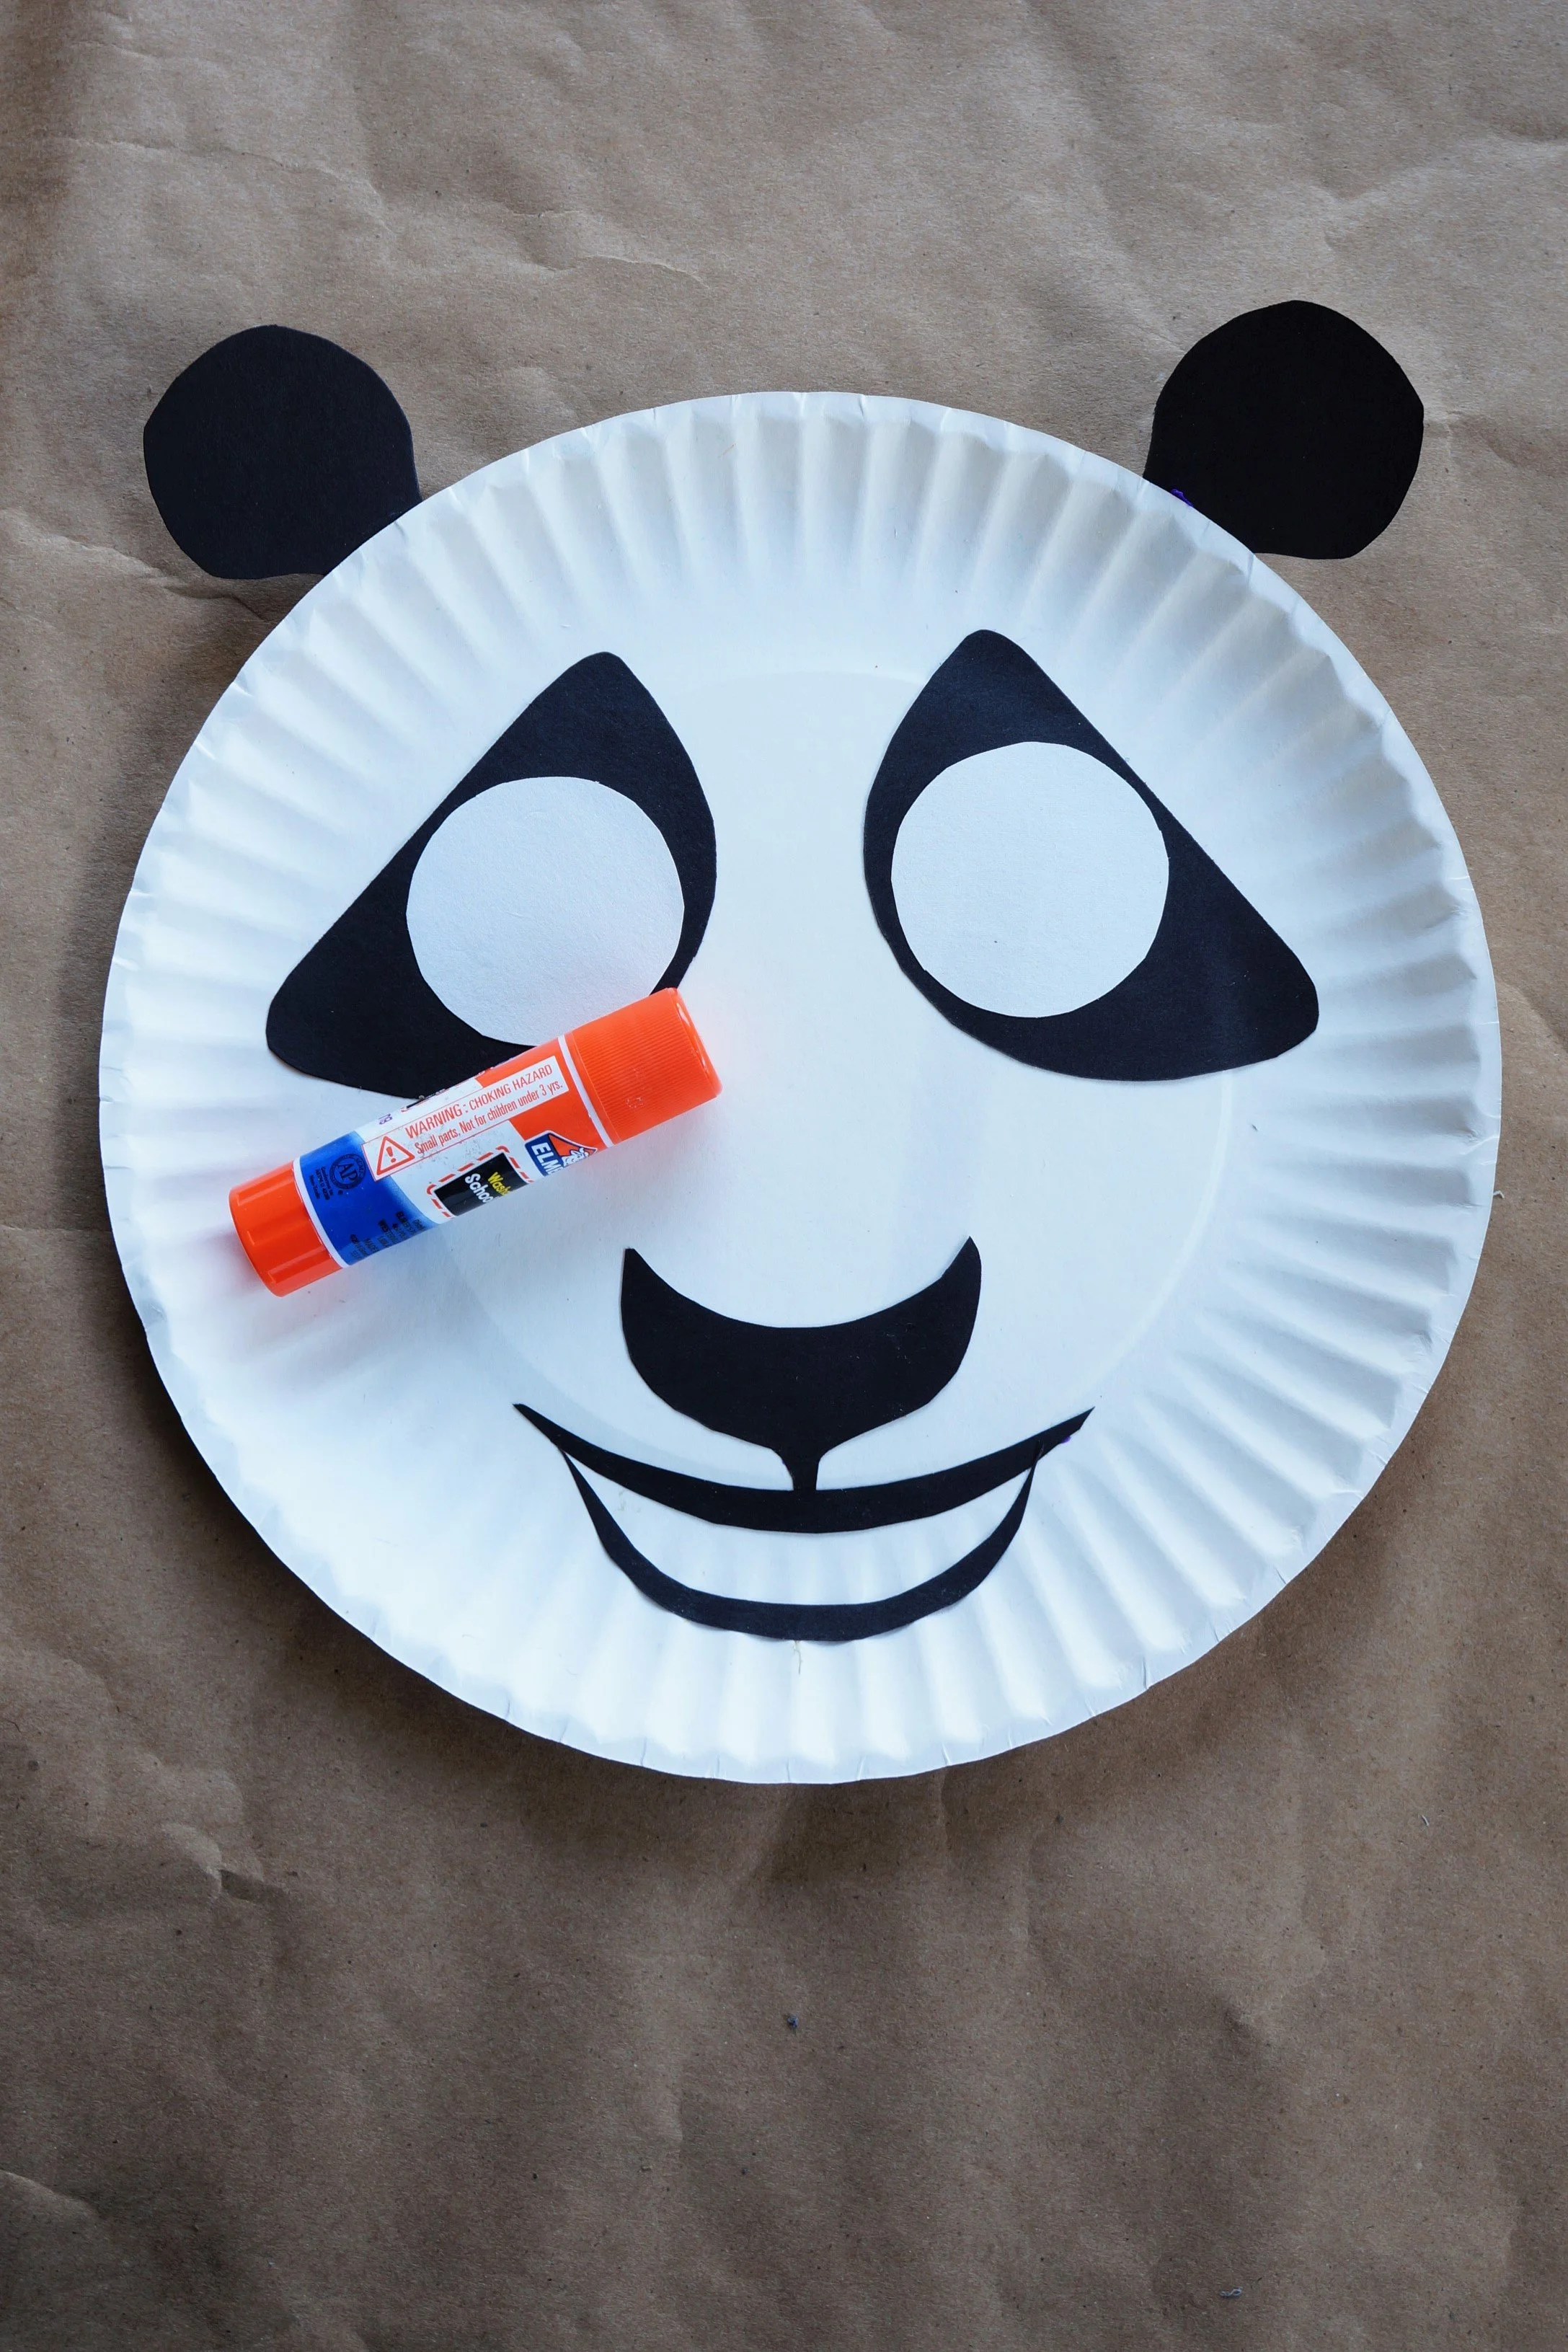
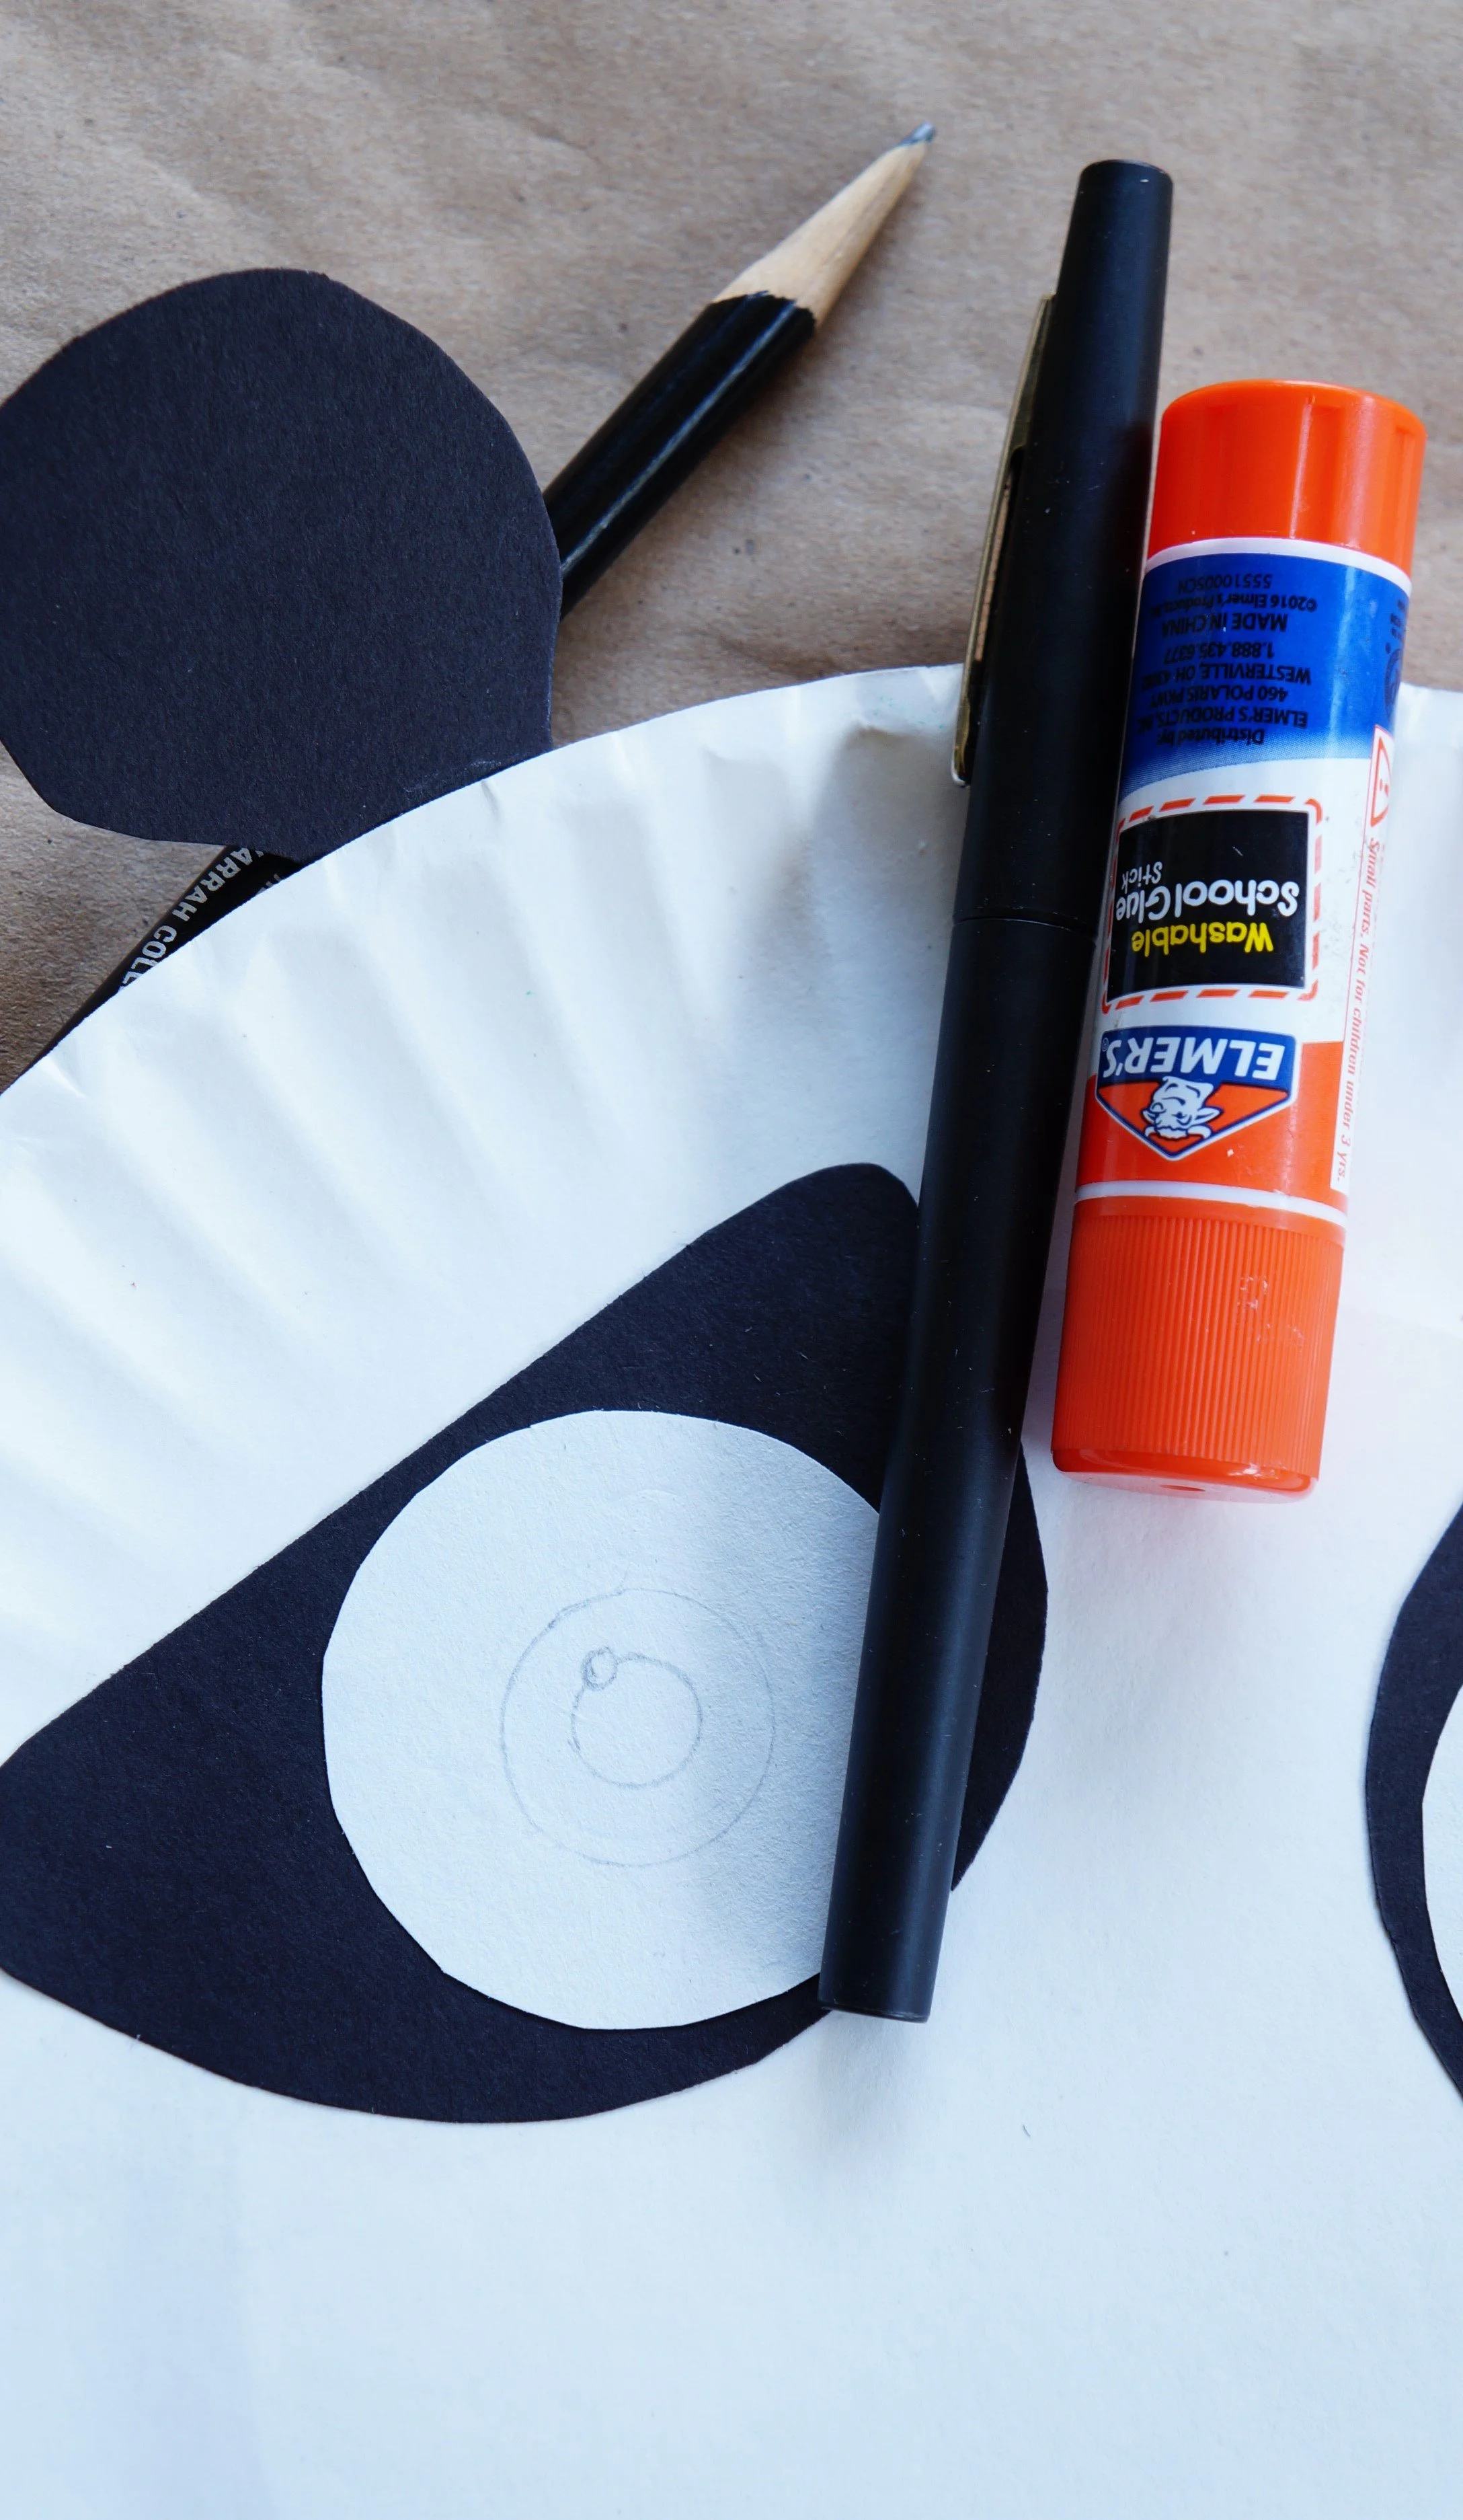

5. Turn your white paper vertically, trace the paper roll twice, and cut out the circles(eyes). Save the white paper scraps if you’re also making the body.
ASSEMBLE
Glue the ears about 4 inches apart, the black eye patches between the ears, and a little lower, the white eyes on top of the black. Glue the nose closer to the lower part of the unridged circle, the upper lip near the ridges, and the bottom lip a bit under.
Trace the end of the gluestick and felt pen for the irises and pupils, add a tiny circle on each pupil(glare), then color the irises and pupils.
Lastly, add 3 black dots on each side of the upper lip, add tan lines between the teeth, and color the inner part of the lower lip with tan as well.
That’s it!

PO BODY
Glue the white paper to the scraps from the previous craft and set aside.
Turn your black paper horizontally and fold over 1/3 of the sheet. Cut the strip off and save for Po’s feet.


3. Draw a rounded shoulder on the remaining 2/3 section of black paper, an angled elbow, and a slightly angled arm stopping where the half-line would be.
4. Slightly fold the paper, hold it firmly, and cut the outer edges off. With the pencil and white gel pen, draw the lower arm line and the upper line as well.

SHORTS
Turn the tan/ivory or brown paper vertically, fold a 1/3 section down, and cut out.
Slightly fold the 1/3 section in half and cut a small angle from the bottom folded section.
Open the shorts up and cut out a small triangle on the left leg, then draw a band and patches on the shorts.


LEGS & FEET
Fold the narrow black strip in half, and draw a trapezoid 3 inches wide by 1.5 inches long.
Cut out the legs, then cut narrow oval feet in the opposite shade of the shorts.
With a brown pencil draw 2 circles on each foot(toenails), then use the gel pen to add a white wedge between the toes and white strings around the ankles(fabric sandals).


ASSEMBLE
Glue the feet first, leaving a tiny bit of white paper exposed, then use the brown pencil to color the soles of the sandals.
Glue the ankles/legs right above the feet, the shorts next, and the upper body extending above the white paper a bit. You can glue the head to the body or tape the 2 pieces onto the wall separately.
That’s it!
I hope you “Get ready to feel the thundah!” when making this = )
Po- Kung Fu Panda
Check out Kung Fu Panda Master Shifu and Zhen Fox.
Happy crafting
Amanda and Naomi
To share: take a photo of your craft and let us see it! Click on photo submission and submit.


