

Hi friends
We’re continuing with the WALL-E theme and bringing you this outer-space background for your parties, photo walls, or bedroom. It’s full of stars, highlights your child’s name & age, and if you choose, WALL-E & EVE as well! Check out our WALL-E photo wall below and come back next week for our WALL-E treat bags.
*Click on photos for a closer look
What You'll Need
(6) Black (1-2) White, (1) Blue, (1)Red, (1)Yellow Poster Boards
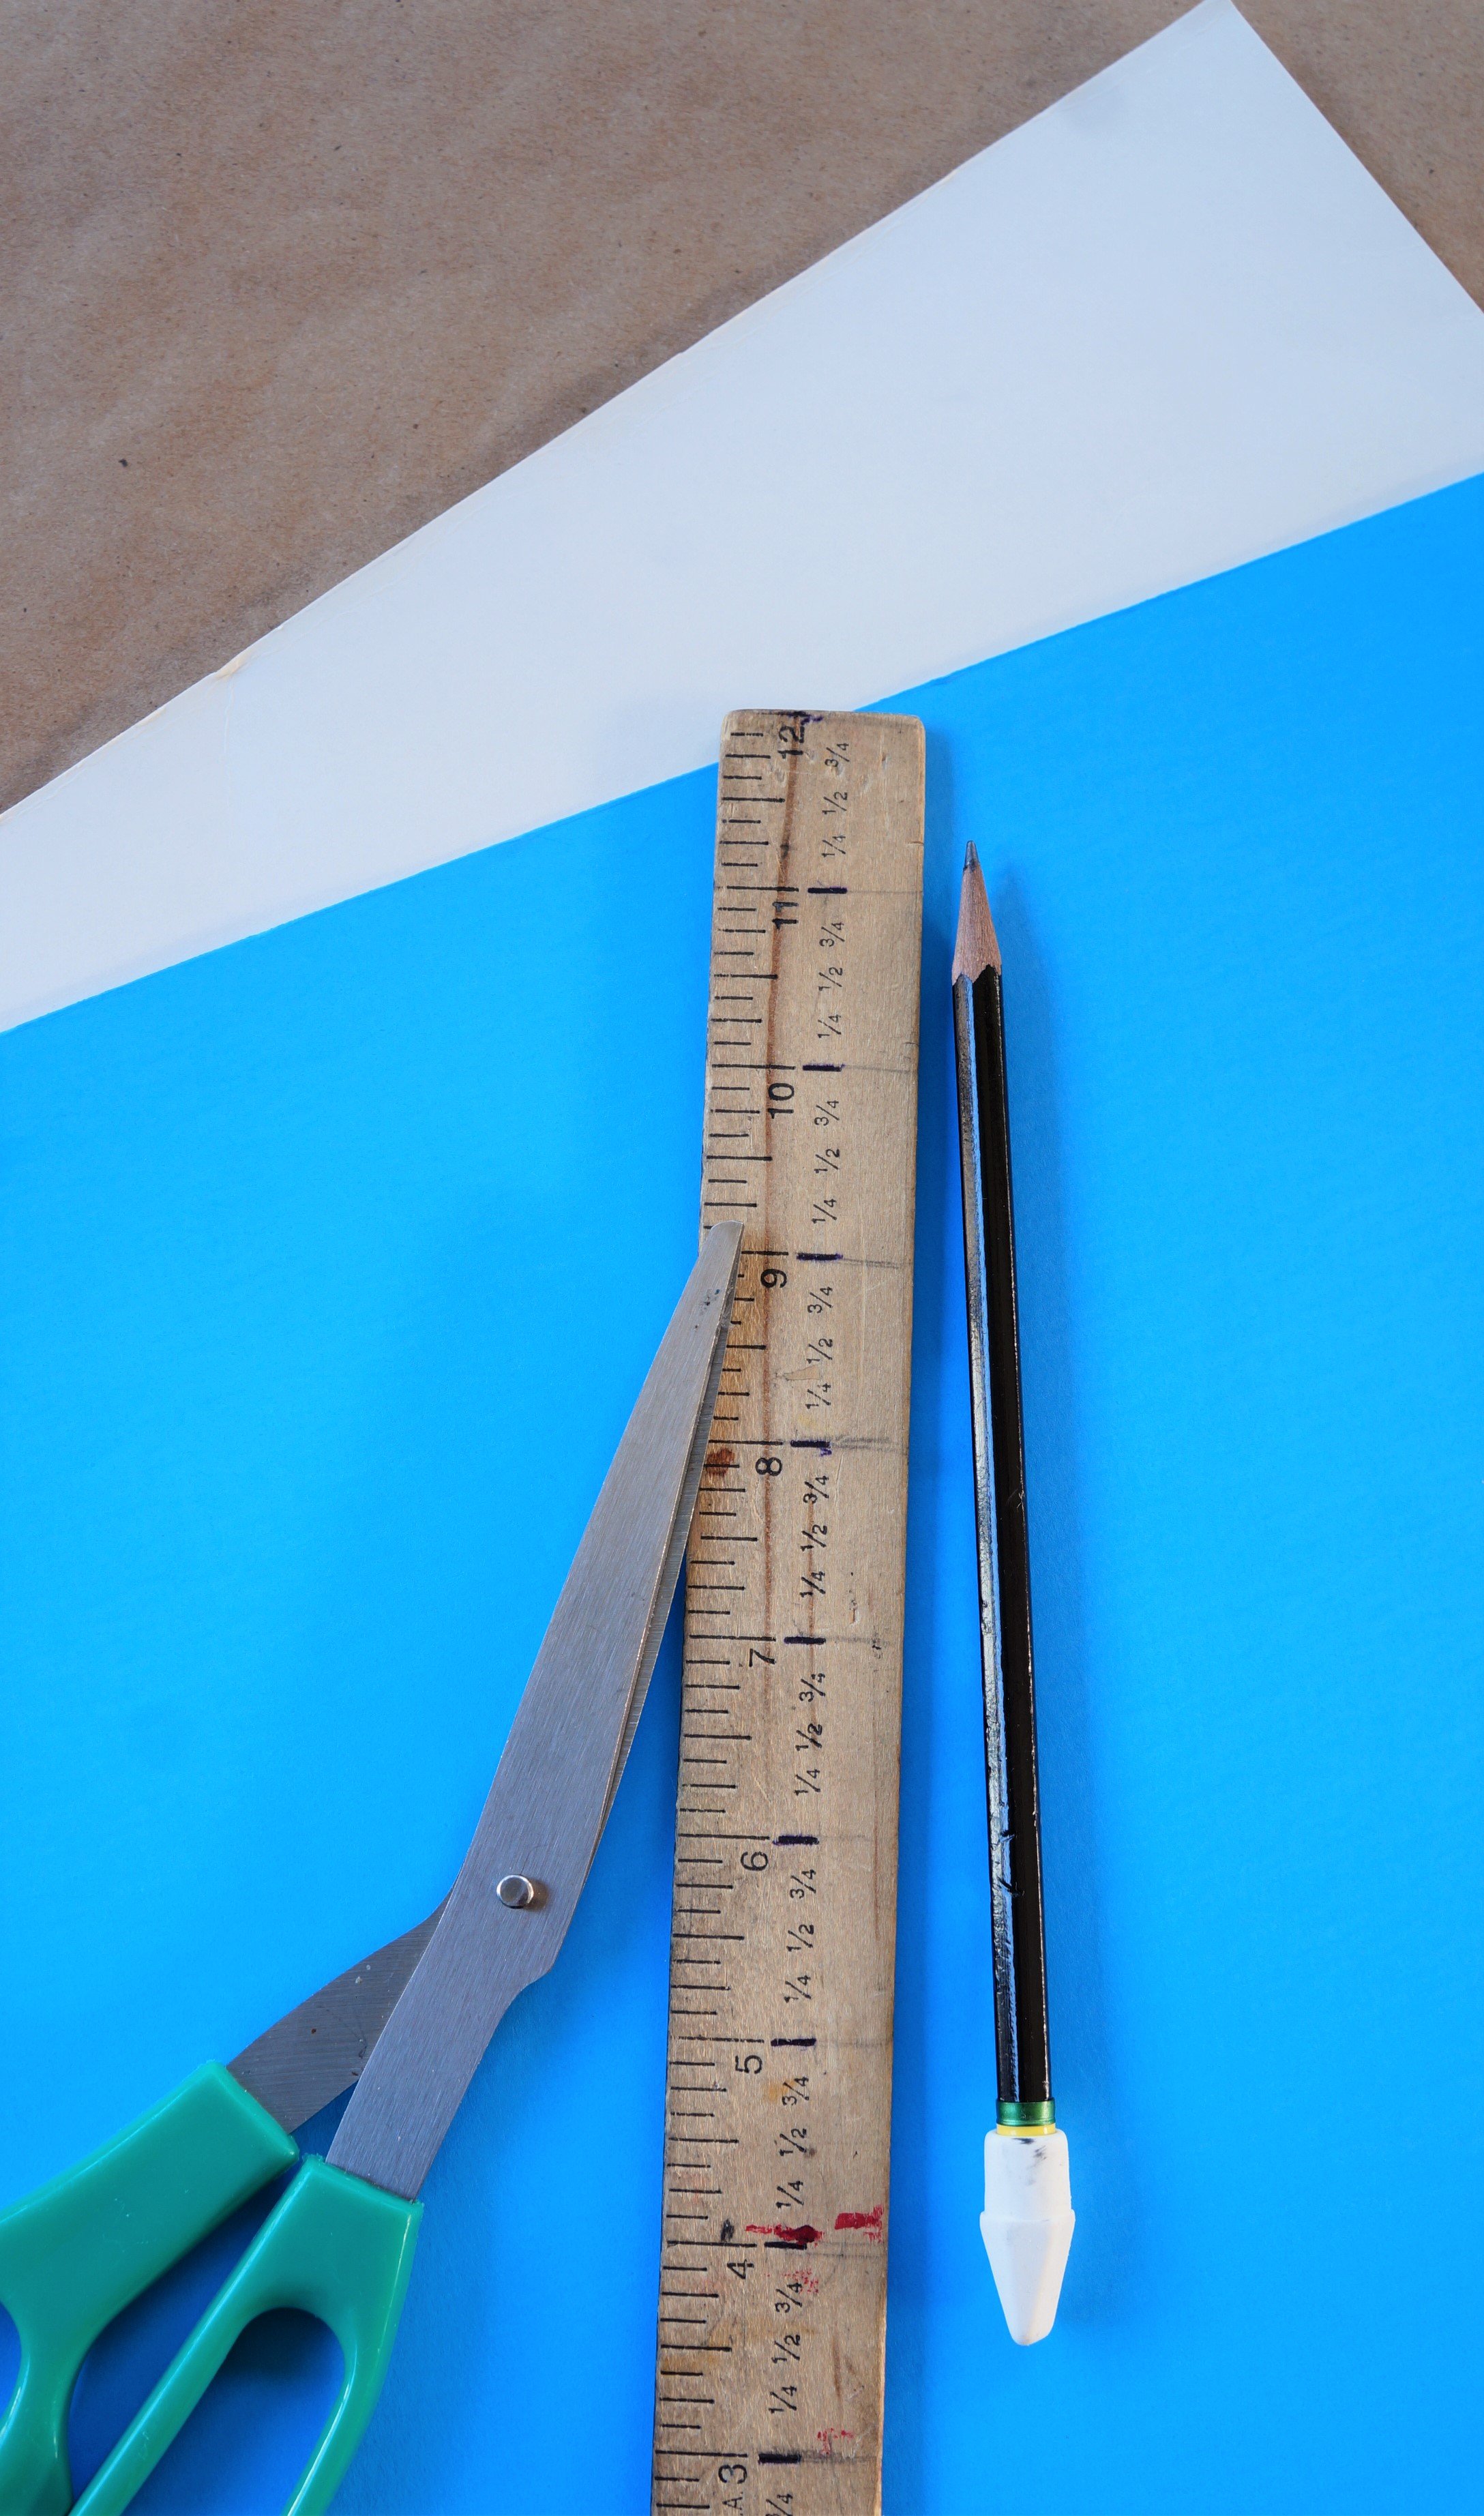
Ruler, Stencils, or WALL-E font
Scissors
Pencil
(2) Different Sized Stars
Packing Tape
Double Sided Tape or Glue Stick
Large Bowl
The Steps


STARS
Trace the large star 3-4 times, close to each other, and on the white and yellow poster boards.
Trace the small star 7-8 times, close to each other, and on the white and yellow poster boards
Cut out all the stars and set aside, save the white poster board for the birthday number later on, or use a new poster board. Set them all aside.

LETTERS & NUMBERS
We used the width of the ruler to create our own letters on the blue poster board, 7in. height x 6in. width. You may use stencils or create them from a font online.
Depending on the length of the name you’re creating, you may need to make your letters smaller/bigger. Take into account that you will also need space for the dash (-) and for the red circle with the age.
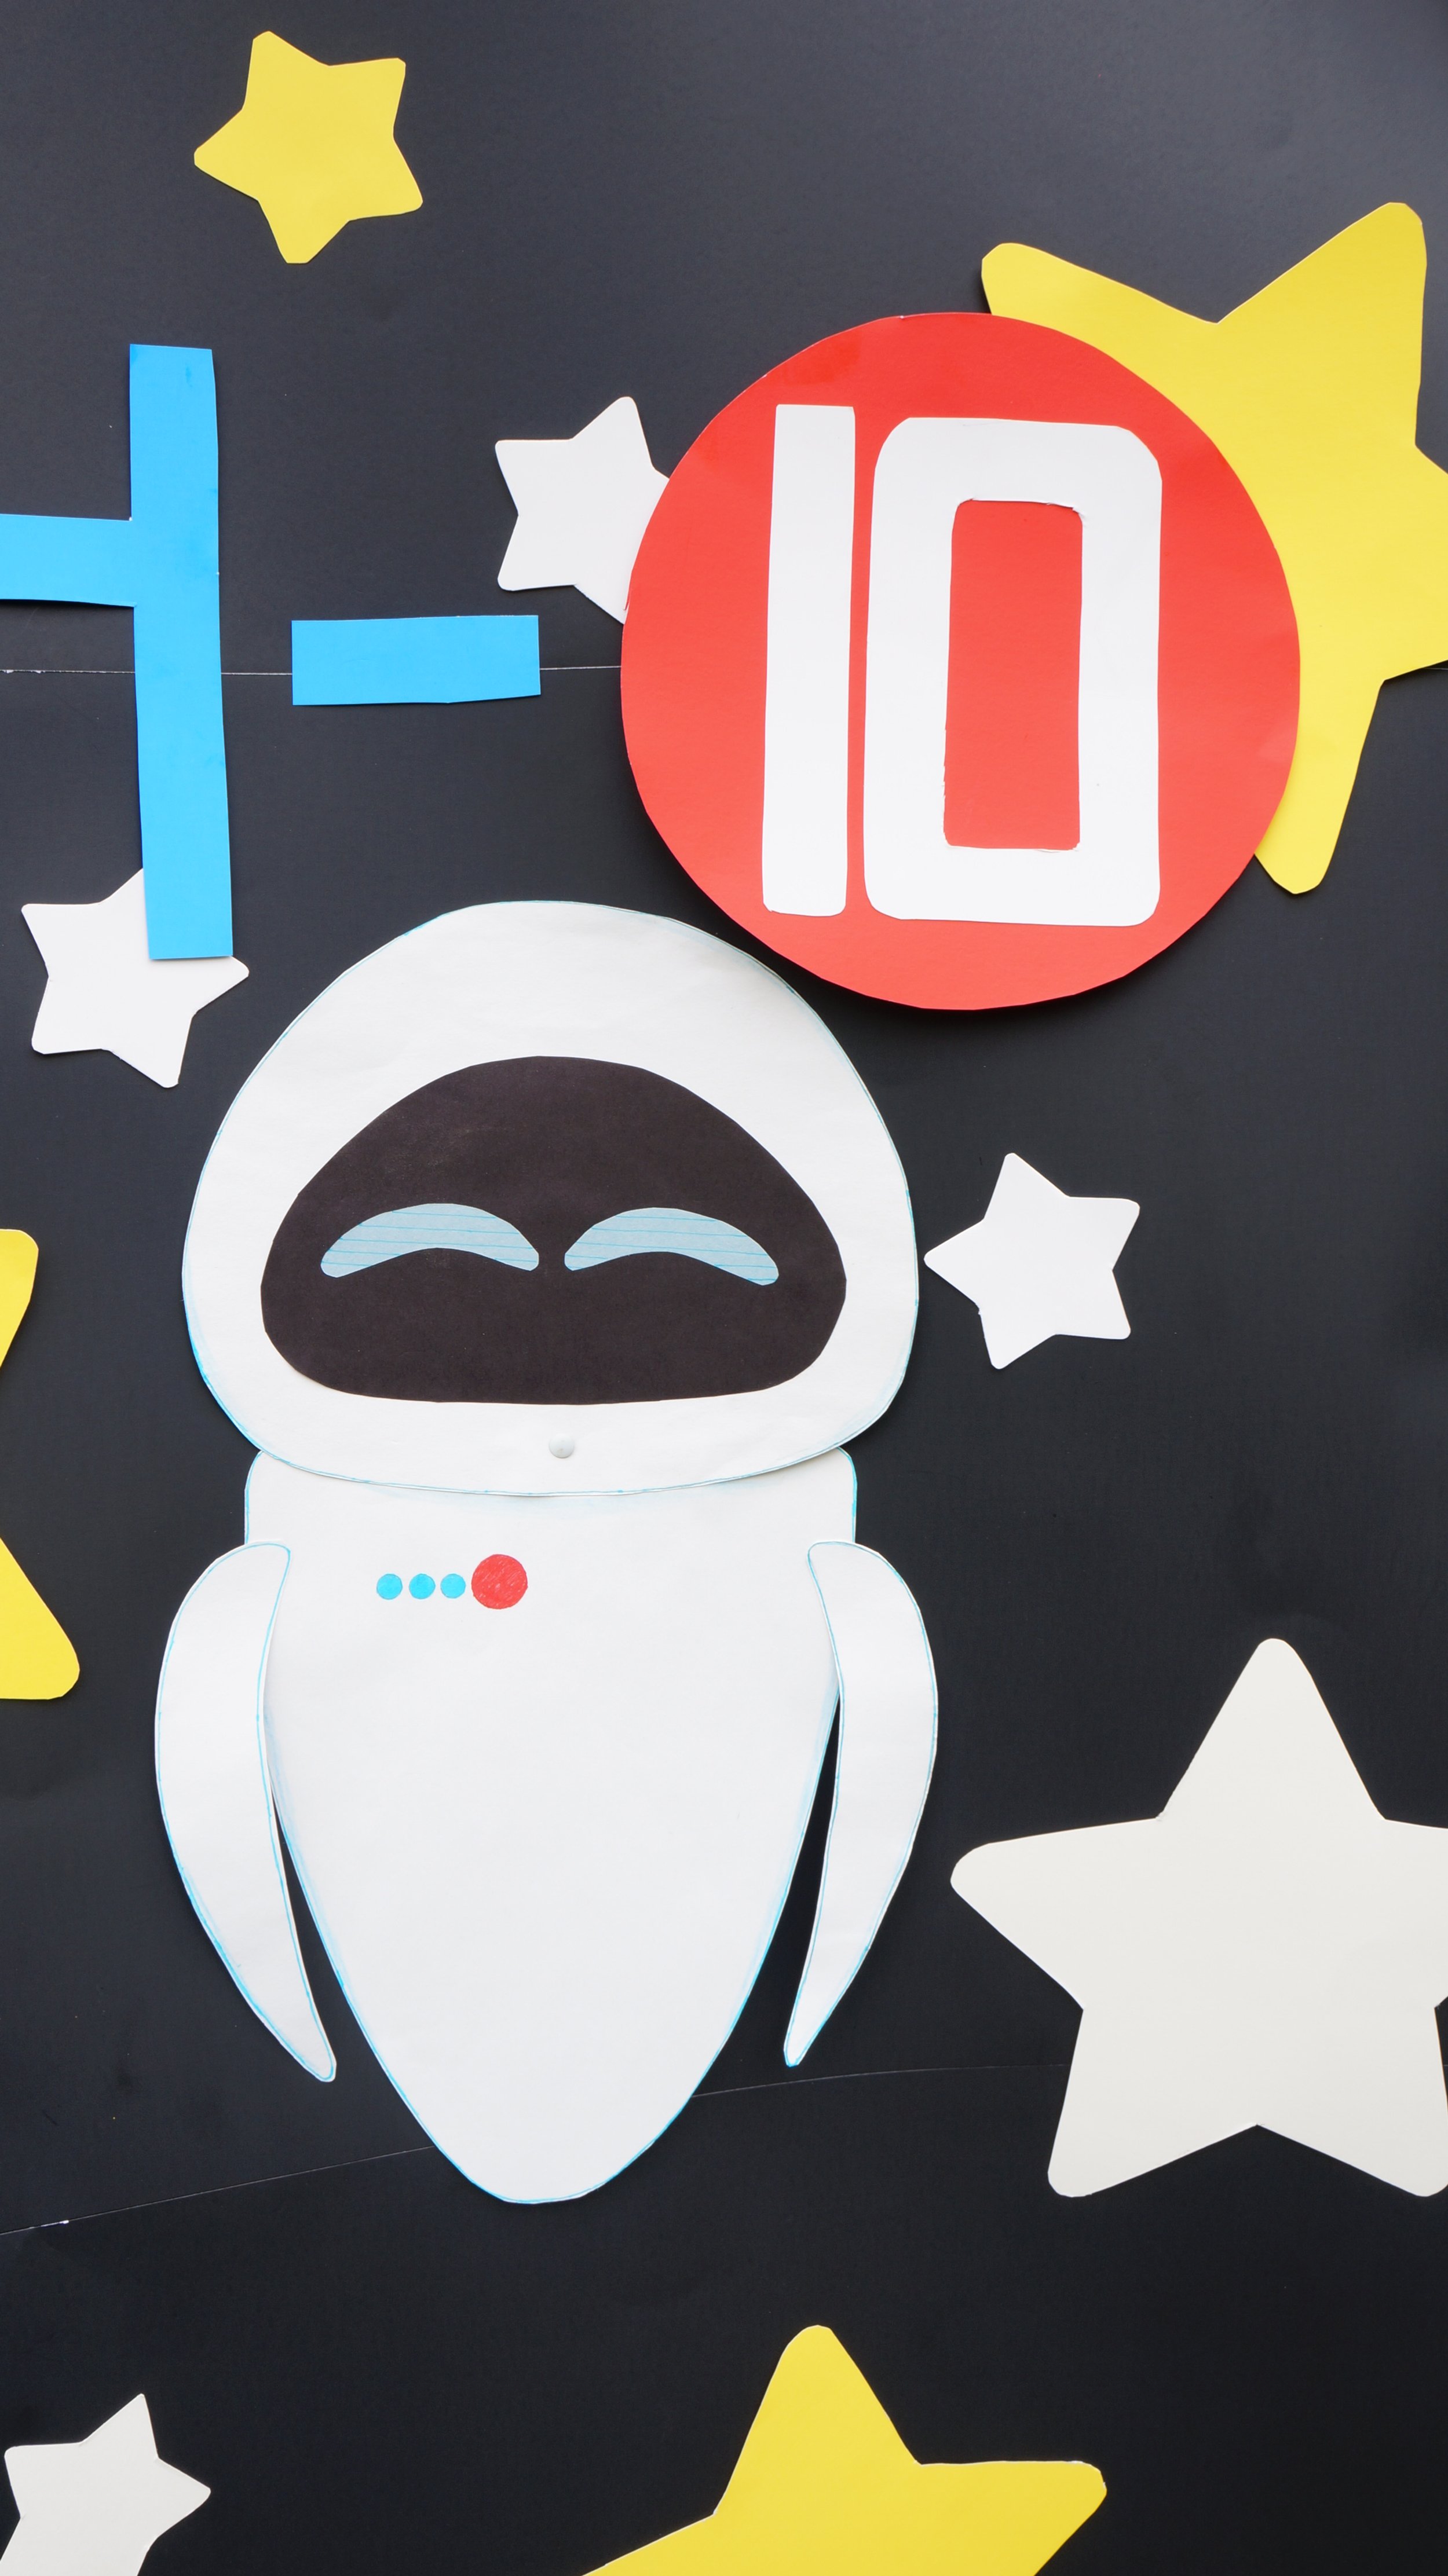
Use the ruler, stencil, or font on the white poster board to create your numbers/age in the same size as your letters. Set the letters and numbers aside as well.


CIRCLE
Use a bowl large enough to fit your number/s on, trace it onto the red poster board, and cut the circle out.
Tape/glue your number/s onto the red circle and set aside.


ASSEMBLE
Turn 2 black poster boards horizontally and place them side by side, then glue them together. Repeat with the rest, creating 2 more long sections.
Tape one long horizontal section underneath another section, then tape the last section to the bottom. You’ll have a 66in. long x 56in. wide photo wall.
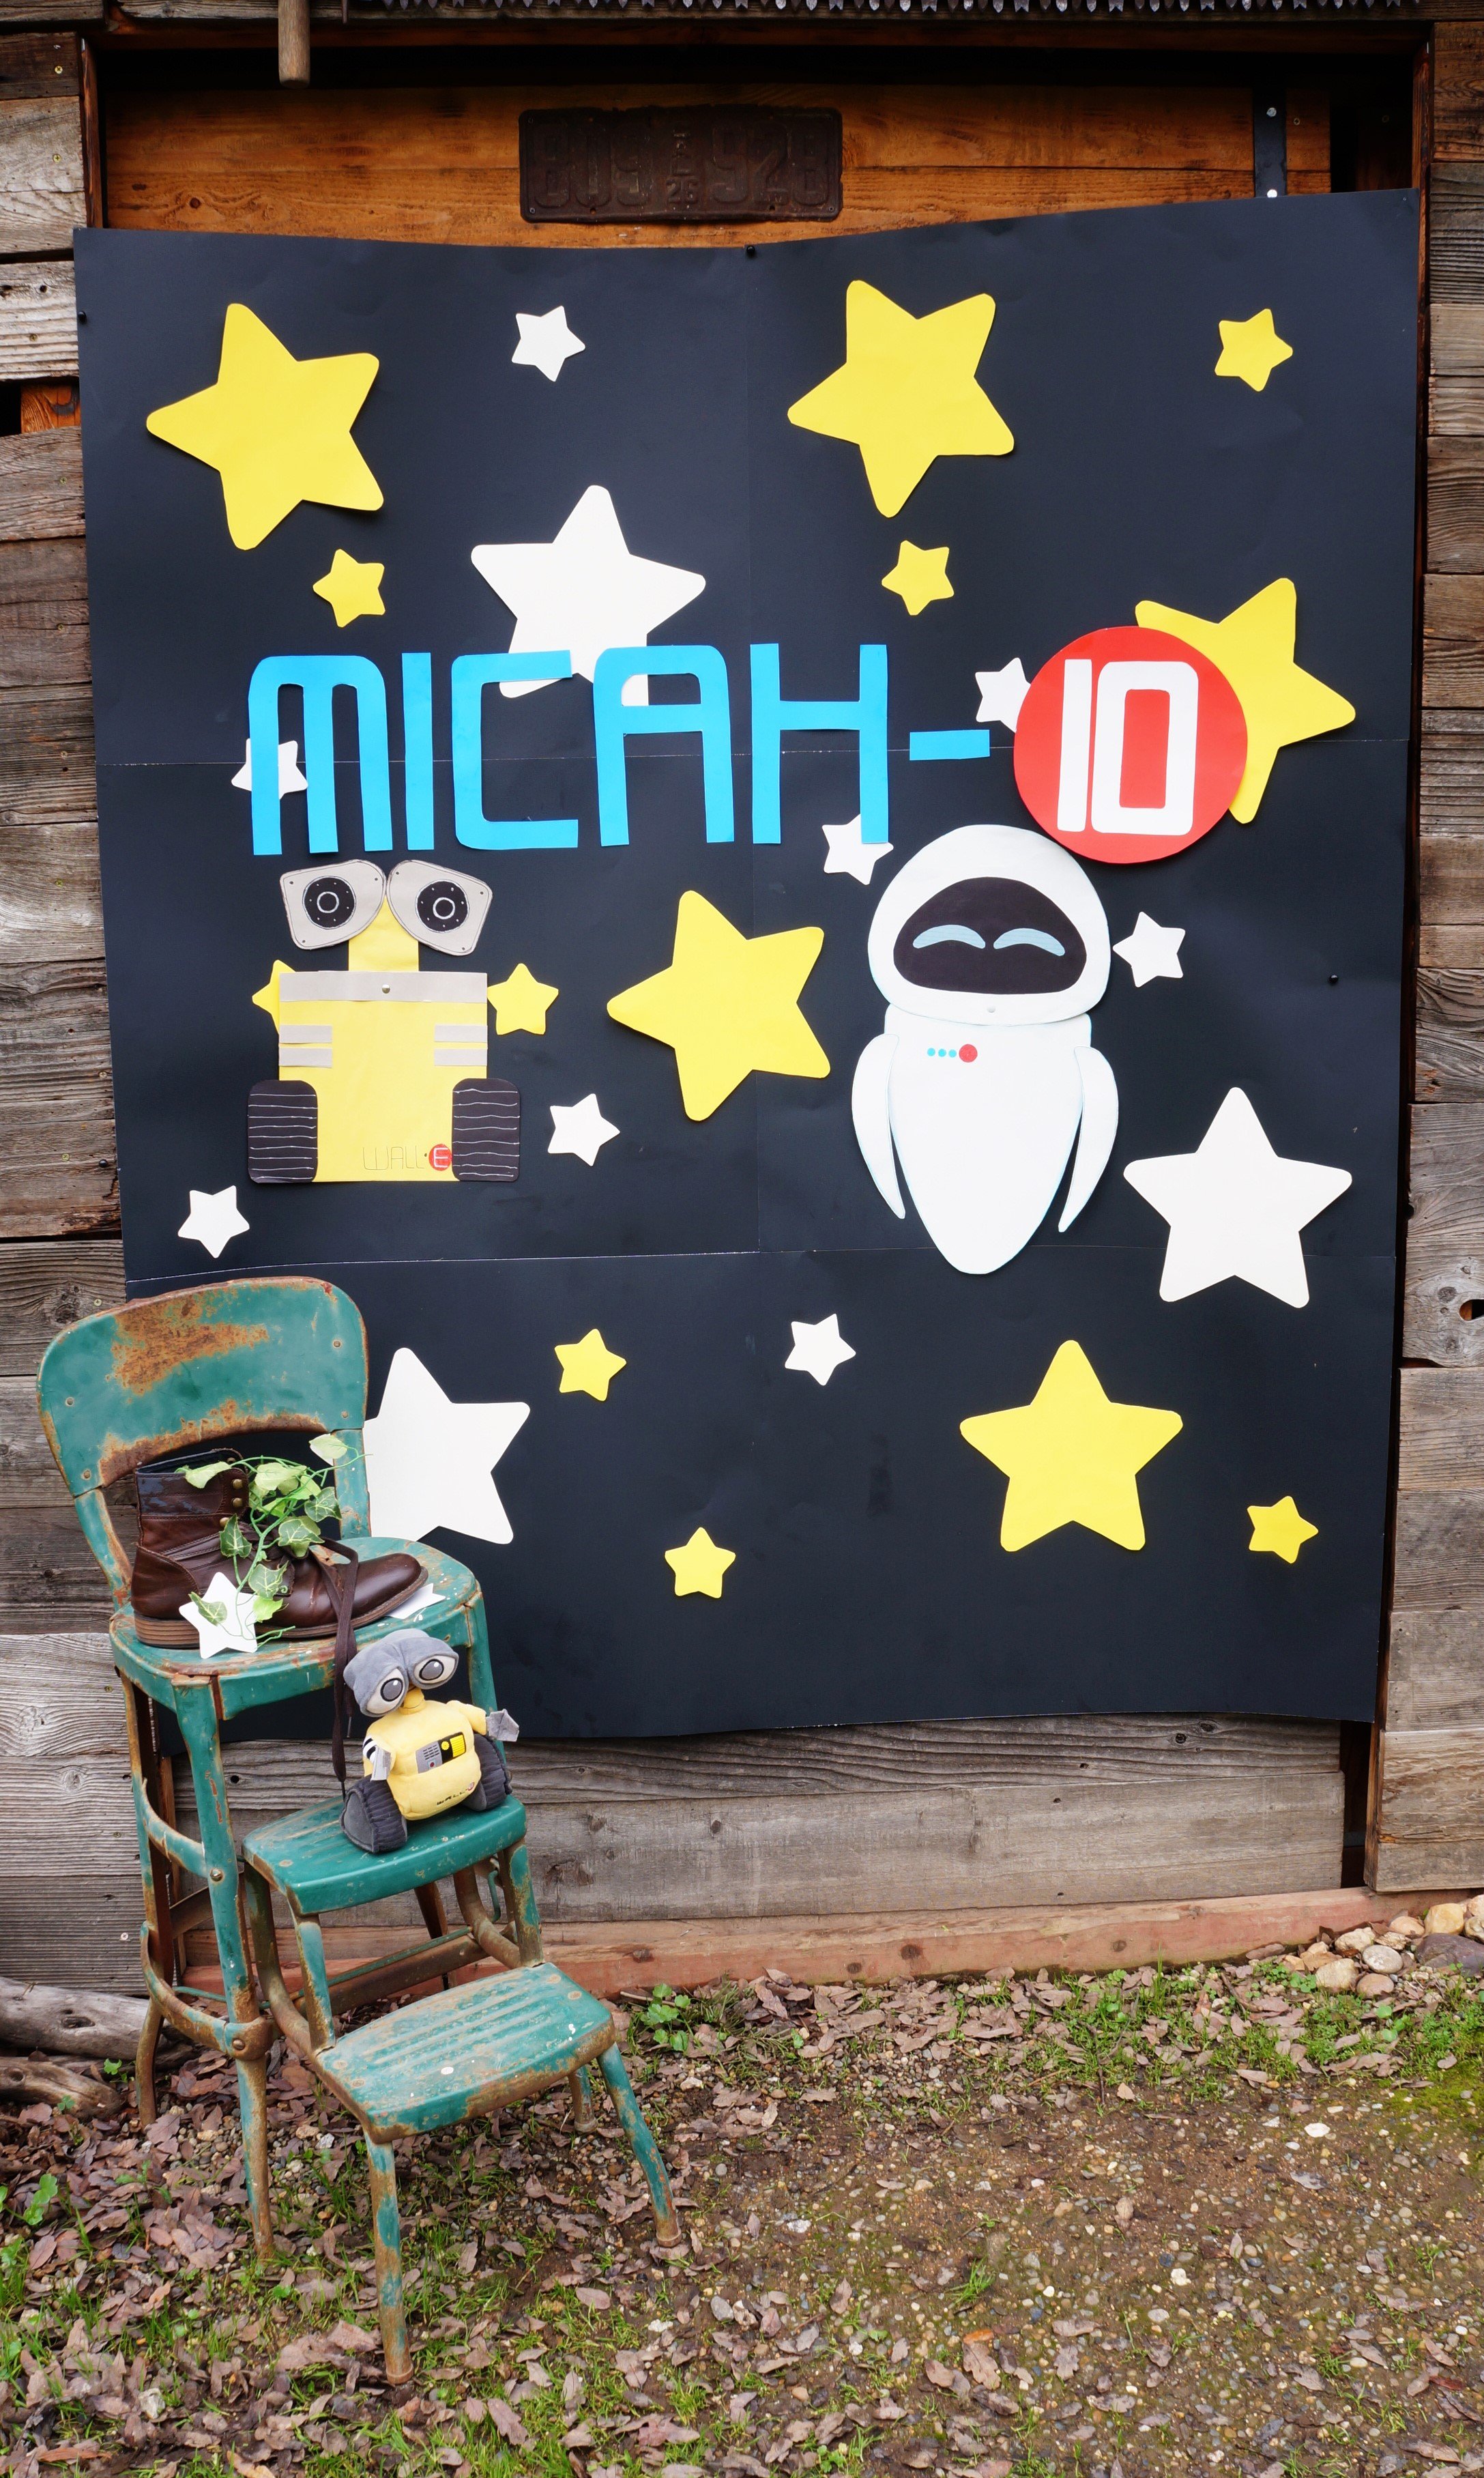
I hung it with black tacks, added hubby’s boot, a fake plant, and the kid’s Wall-e plush toy to complete the photo wall.
3. Glue/tape your large stars, small stars, name, dash, and circled number/s. If you’ve created Wall-e and Eve, add them as well.
That’s it!!
I can’t believe the little baby we waited many years for turned 10 this year!
Happy crafting
Amanda and Naomi
To share: take a photo of your craft and let us see it! Click on photo submission and submit.


