

Hi friends,
We made three simple Paper Tube Bats with recycled paper rolls, construction paper, and a few more supplies.
This craft is really simple and comes together quickly. Your littles can have fun running around, flapping their bats, and throwing them into the air. Check out our bats below.
*Click on photos for a closer look
What You'll Need
Construction Paper: Tan, Grey, Black
Paper Tubes
Glue
Black Marker
White Pencil
Scissors
The Steps
We want to see your craft! Click on PHOTO SUBMISSION and submit


PREP
Turn your paper vertically and fold it in half.
Cut your paper in half and set aside one piece for the wings.
BODY
Add glue to one end of the strip, line up the tube with the construction paper, and continue gluing and rolling.
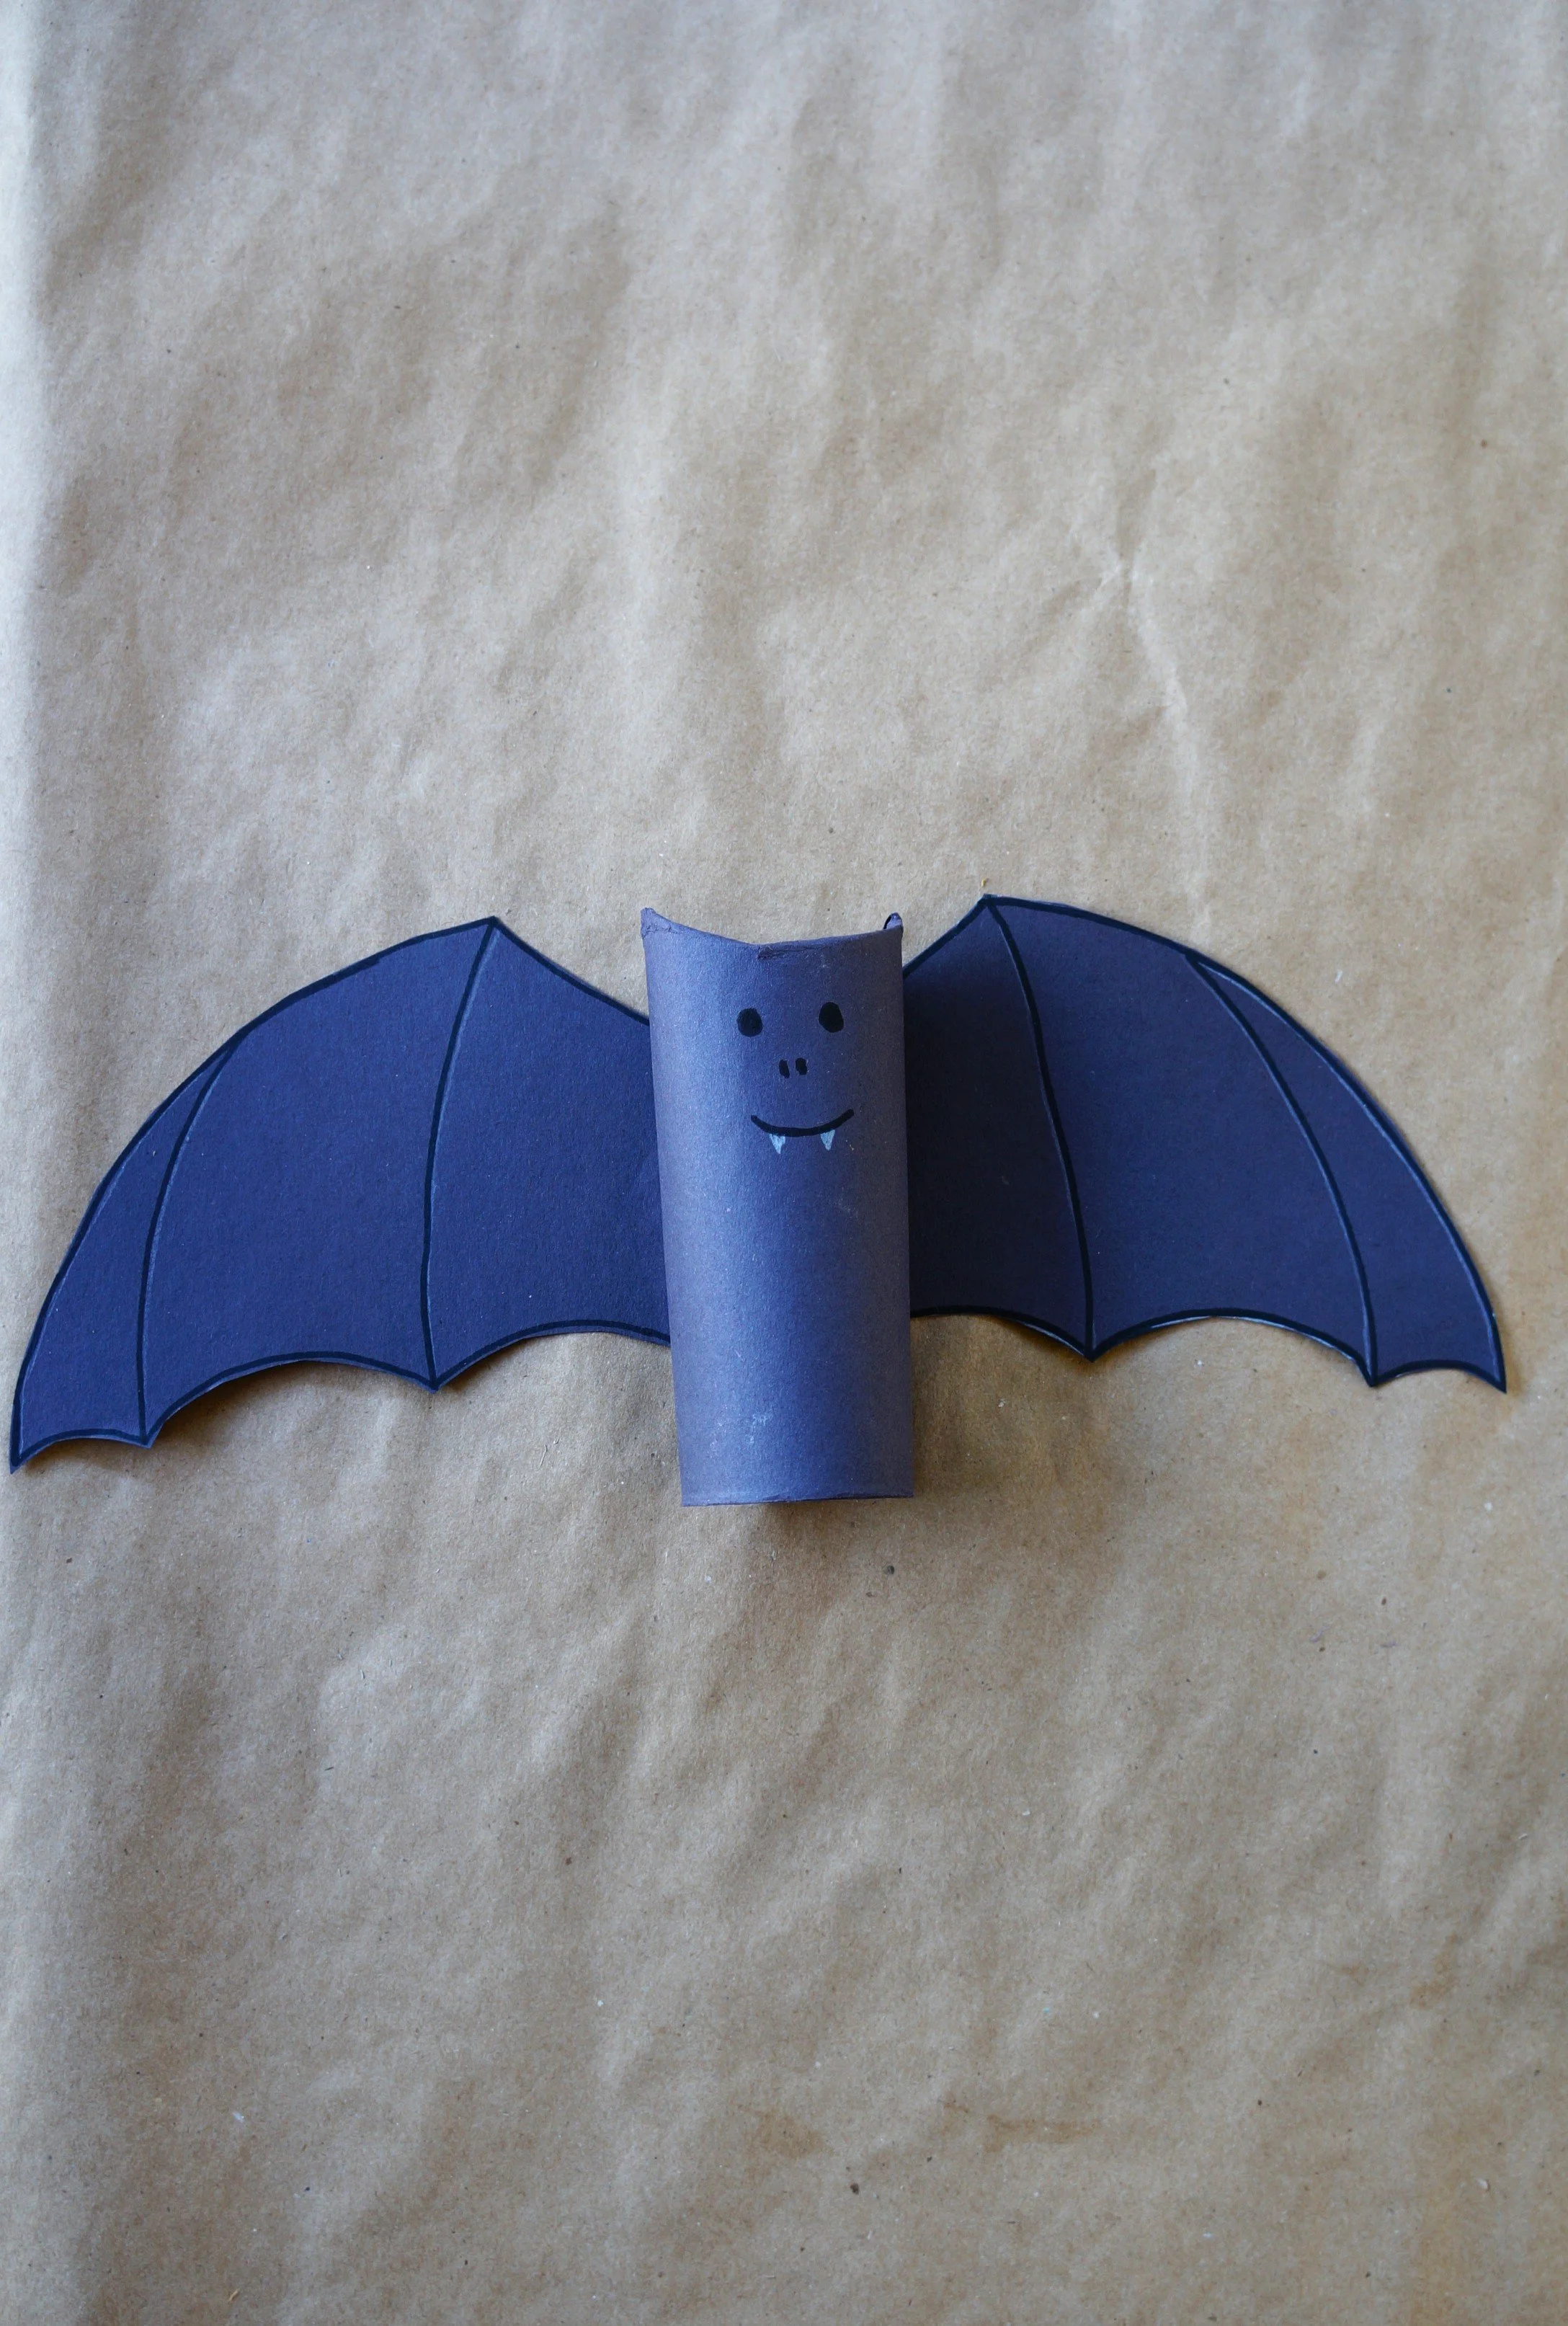
Place the tube upright with the cardboard tube facing down. Create the bat ears by carefully tucking down the center on the front and back. The paper may tear, but that’s ok.


WINGS
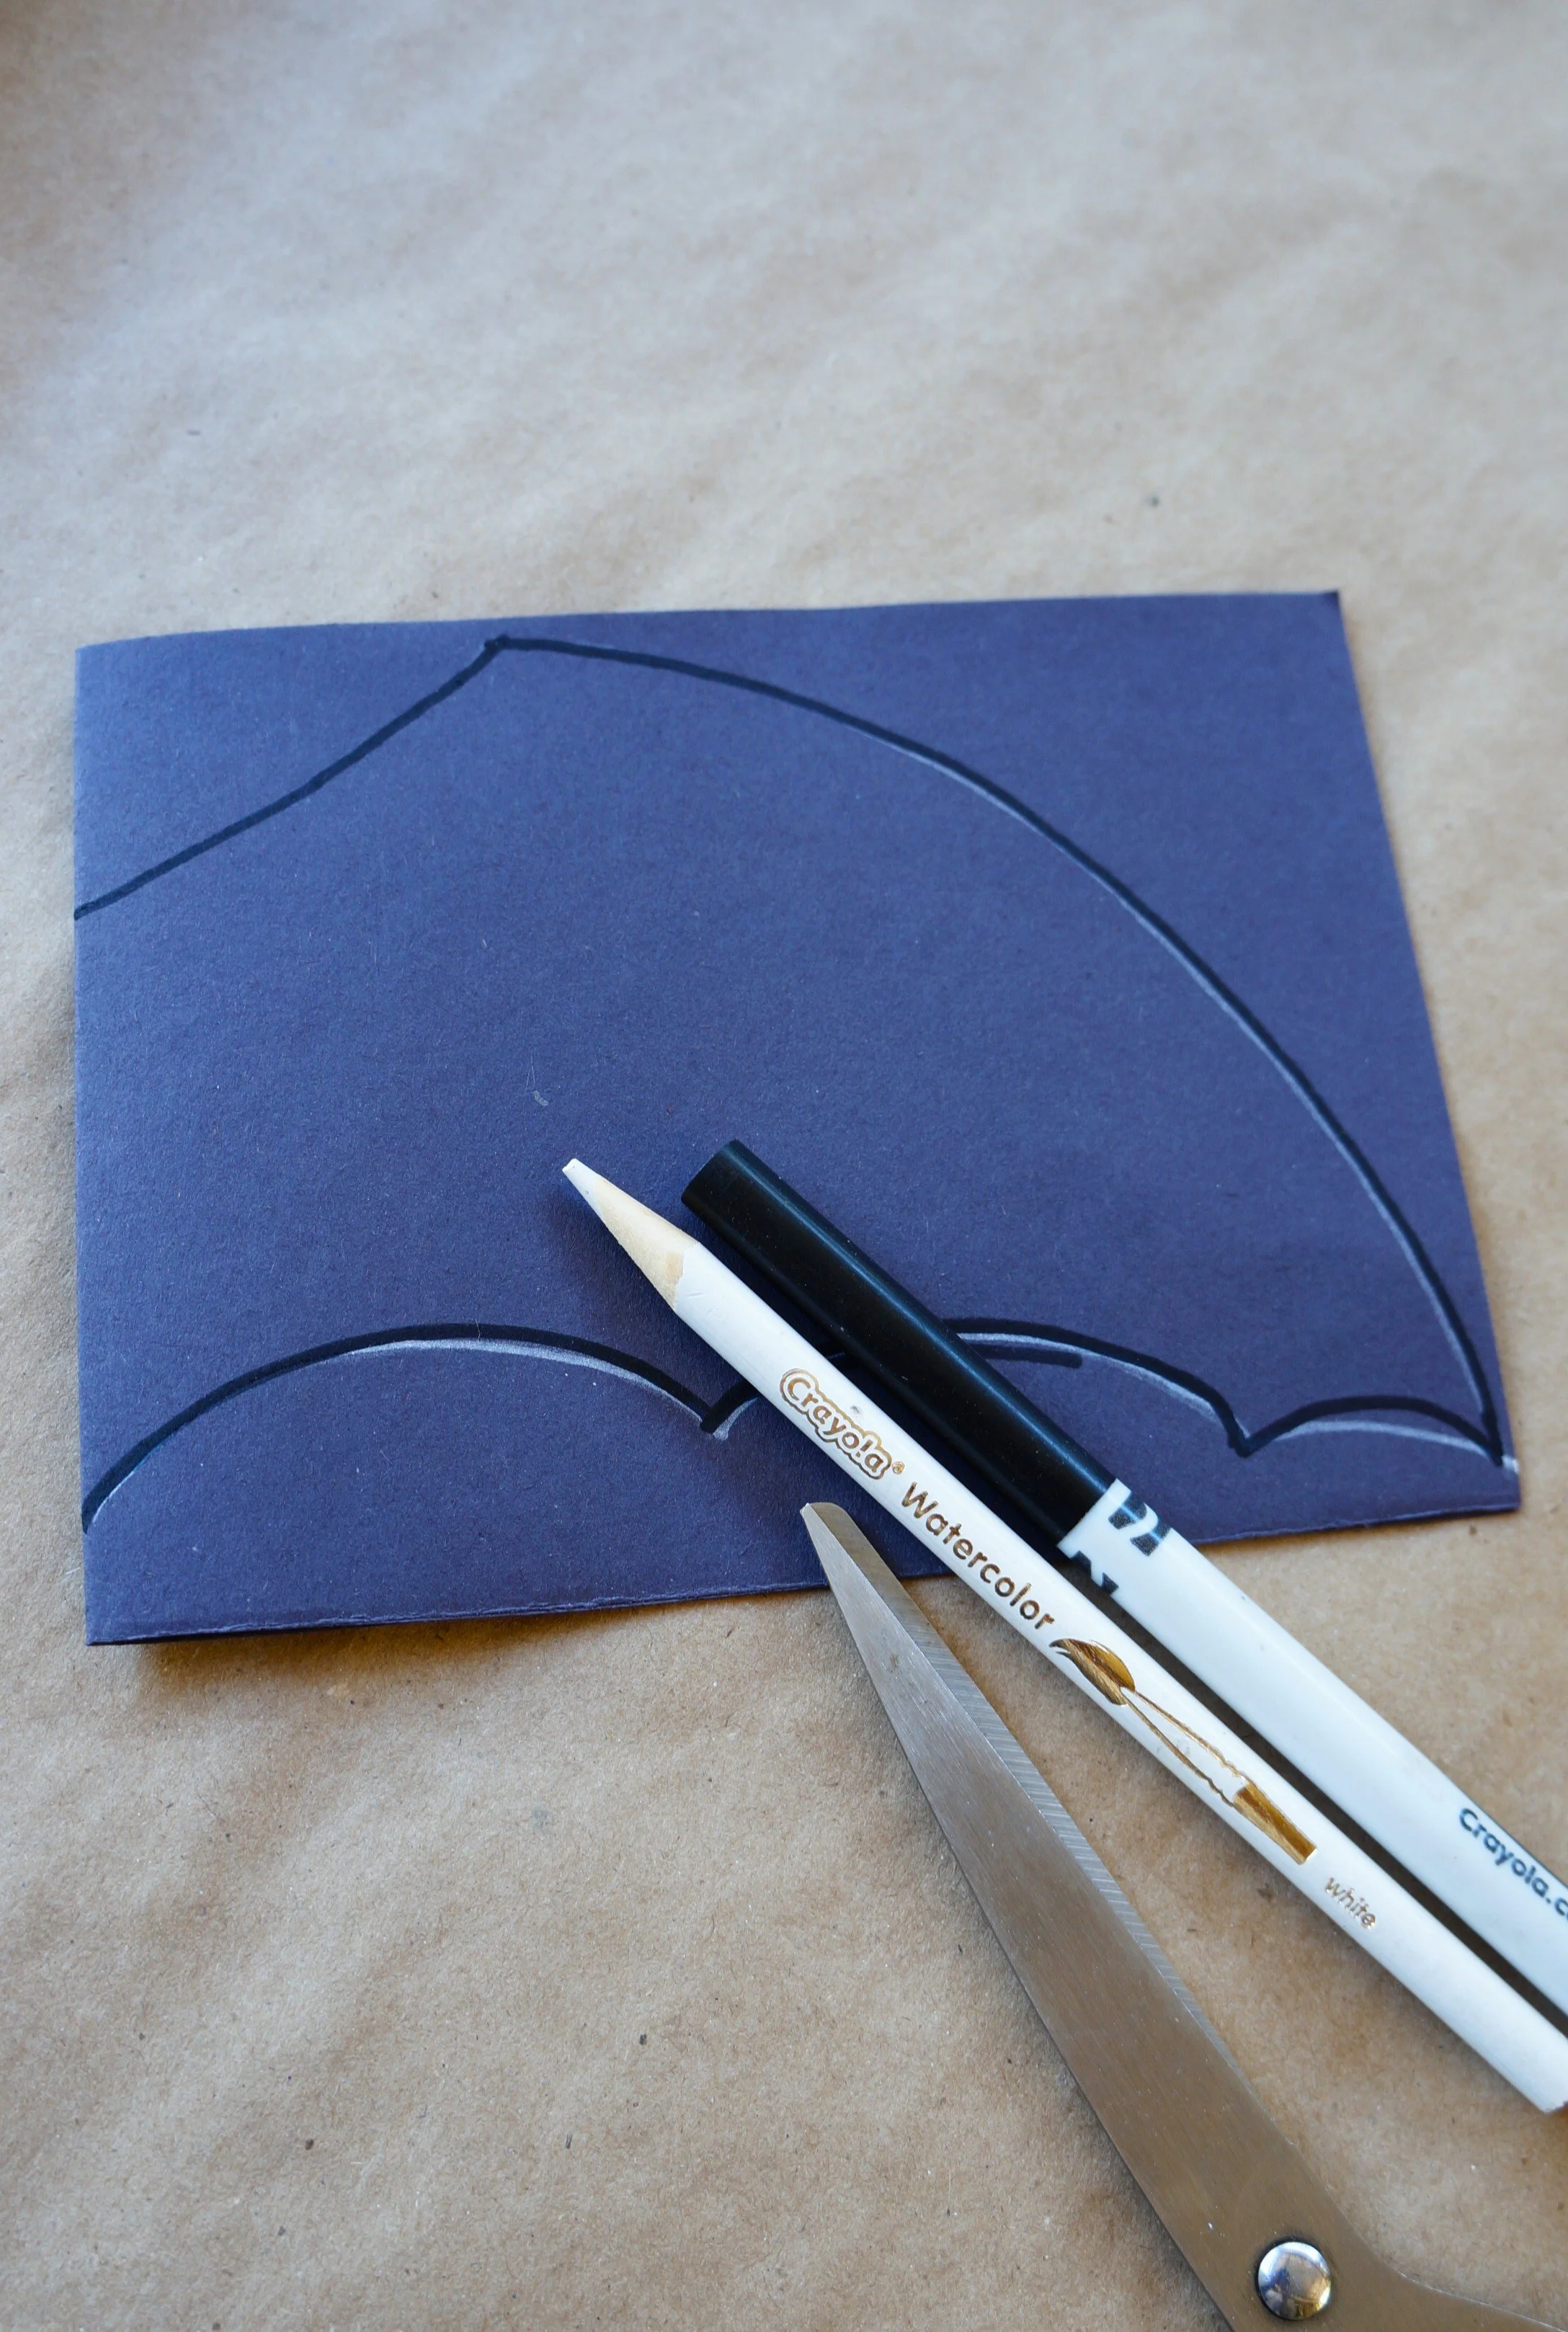
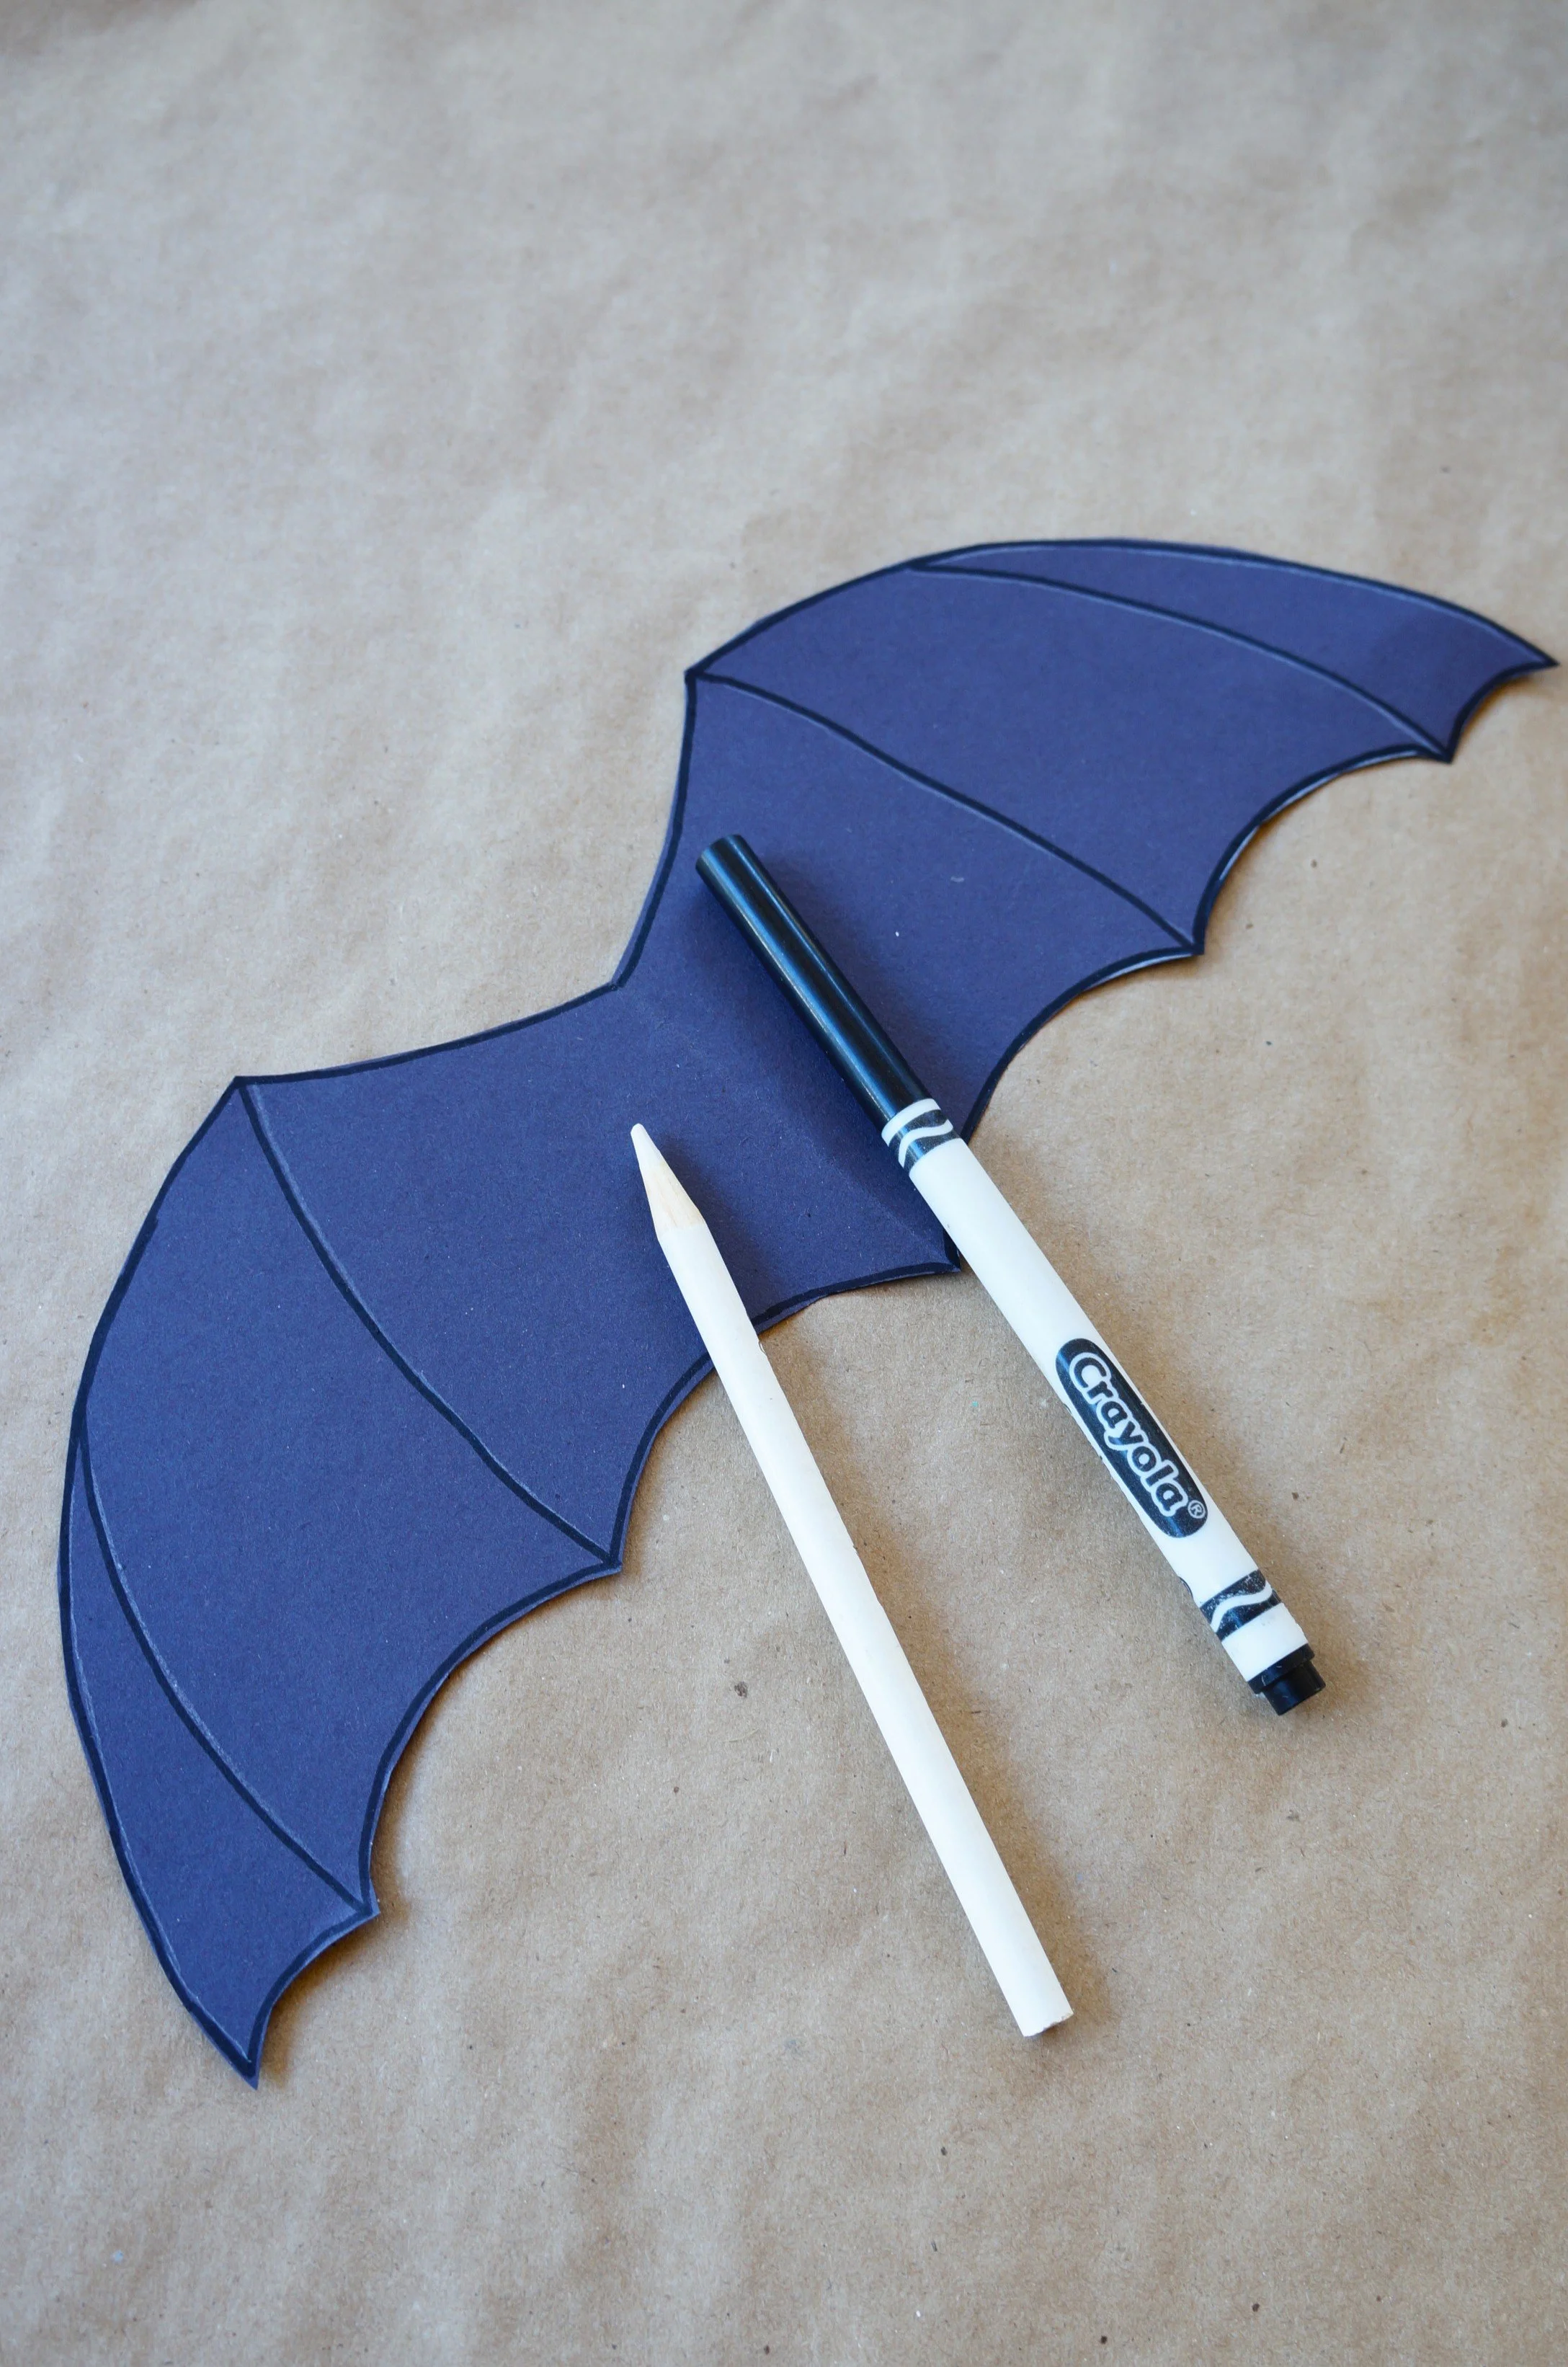
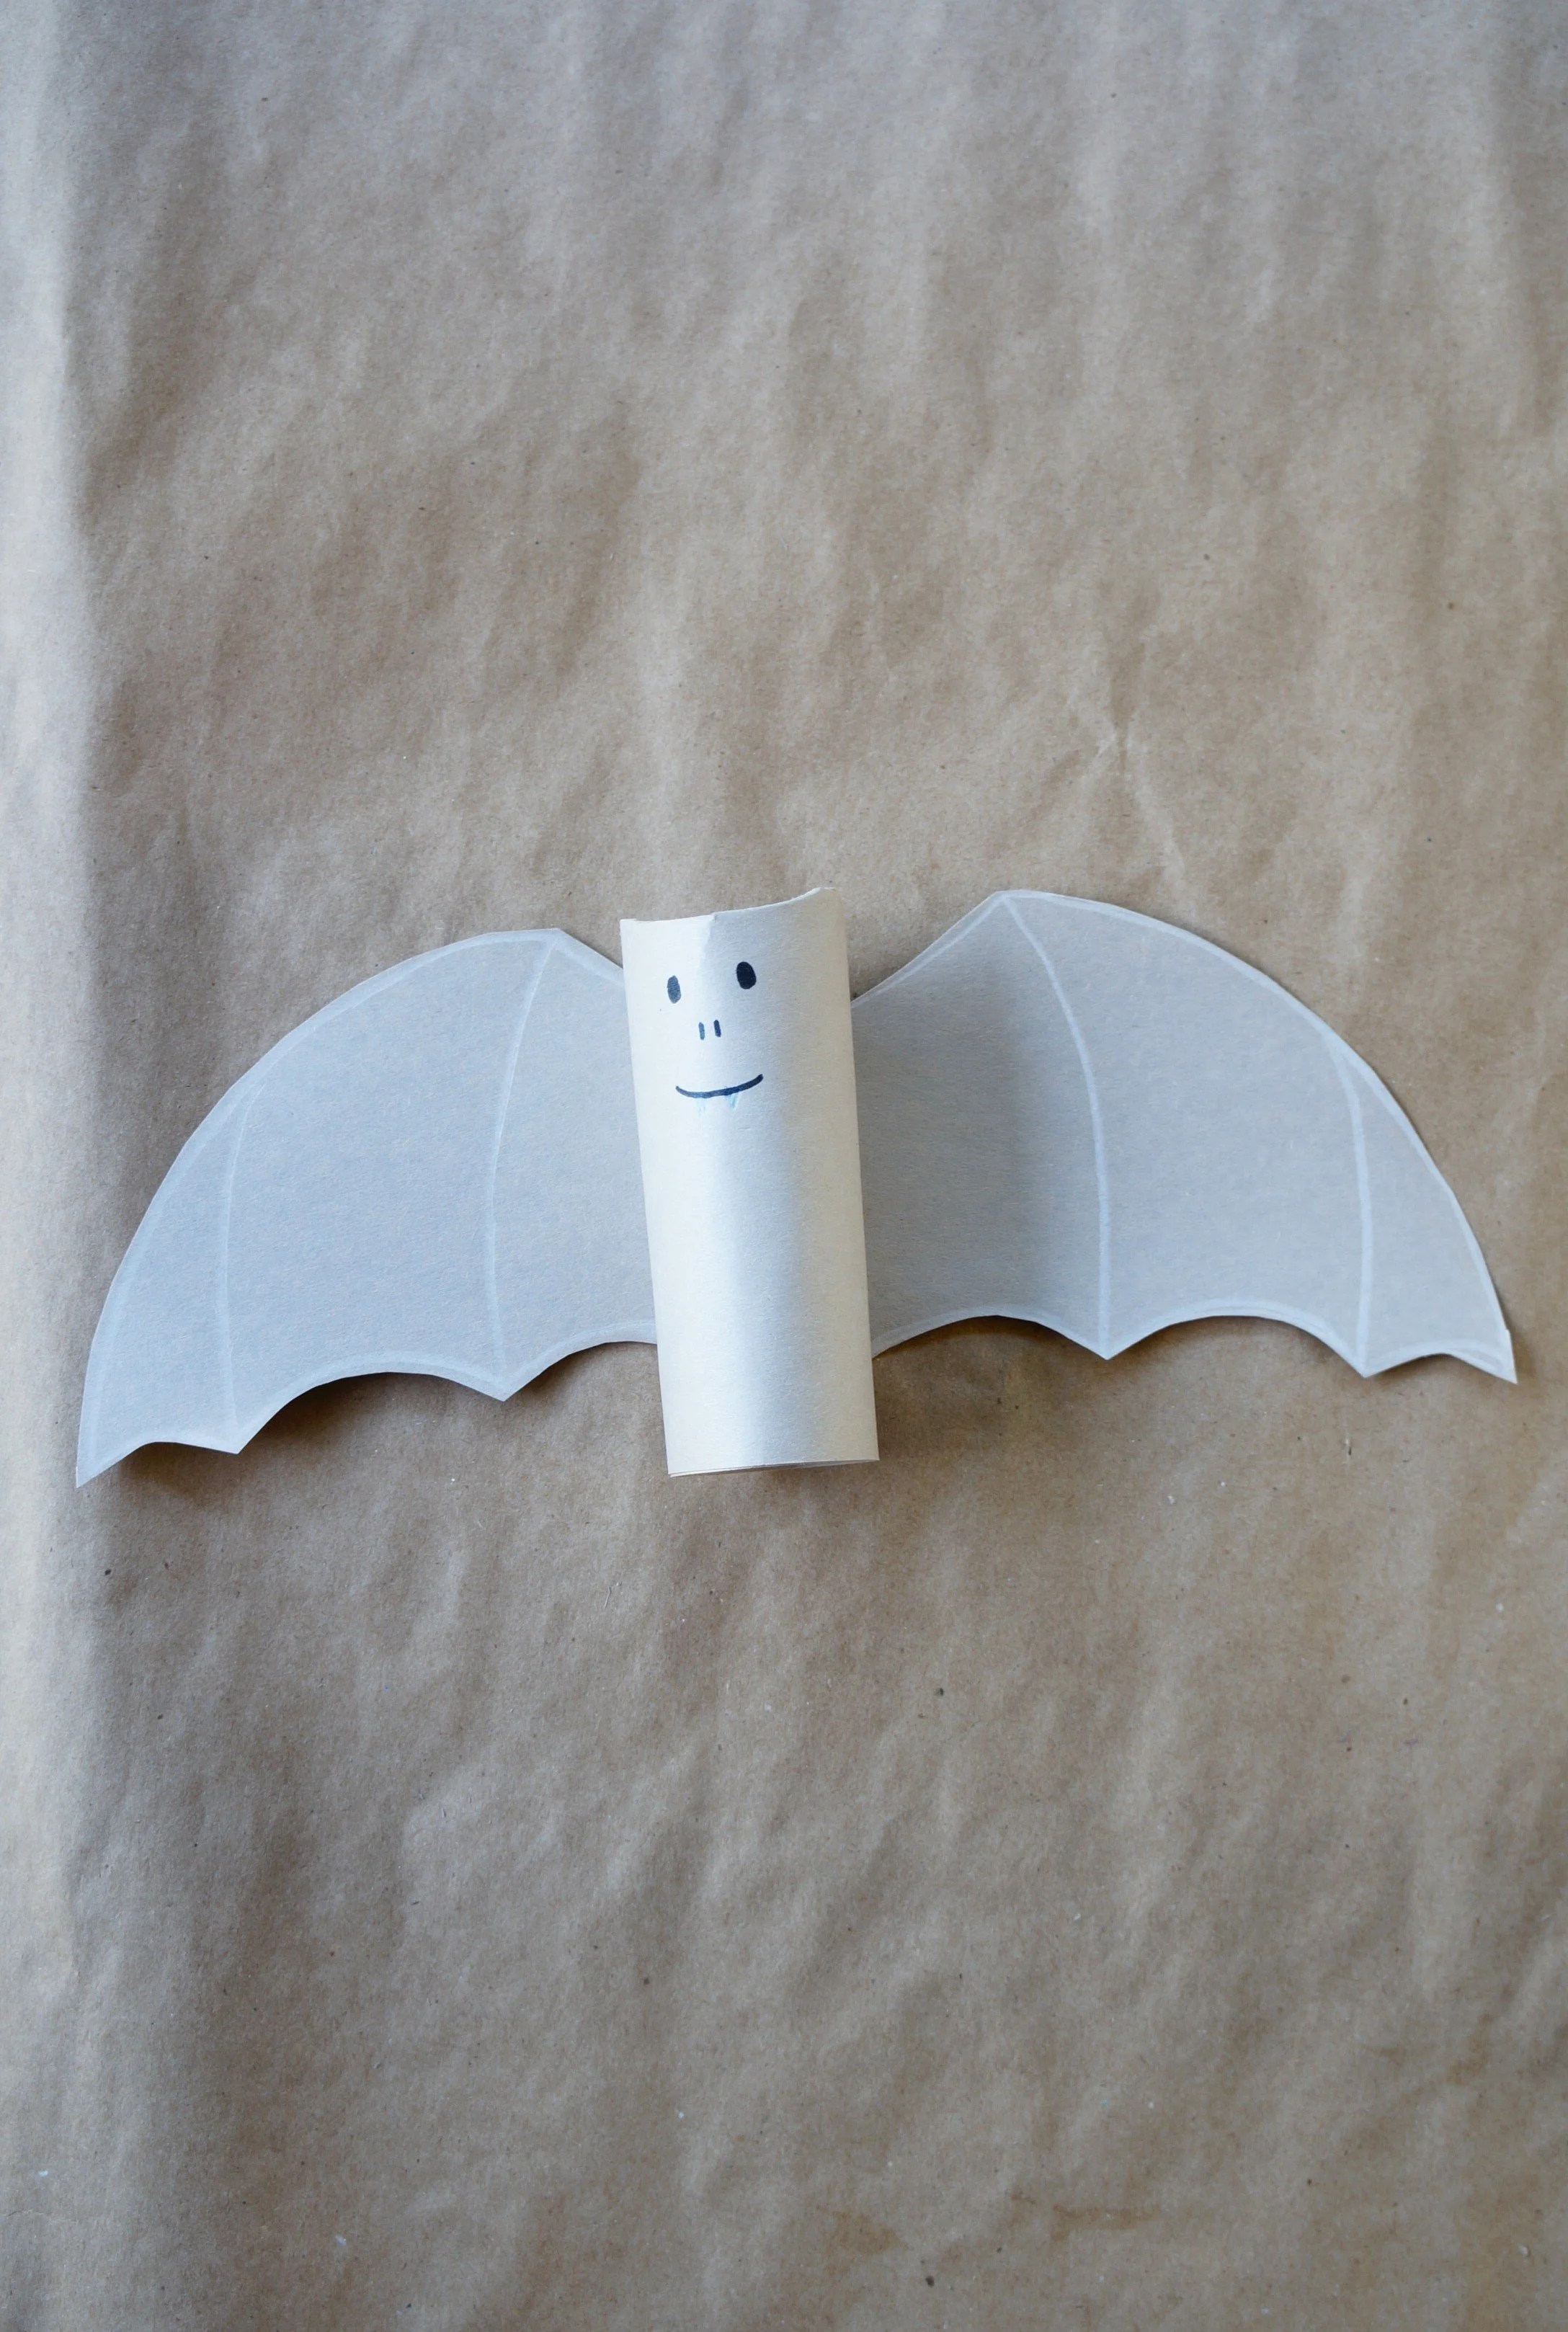
Fold the second strip of paper in half, draw wide wings with the white pencil, followed by the black marker, if you’d like, and then cut them out.
Open the wings, trace the opposite side with the white pencil/black marker, and draw the wing sections as well.
Glue the wings to the body.


DETAILS
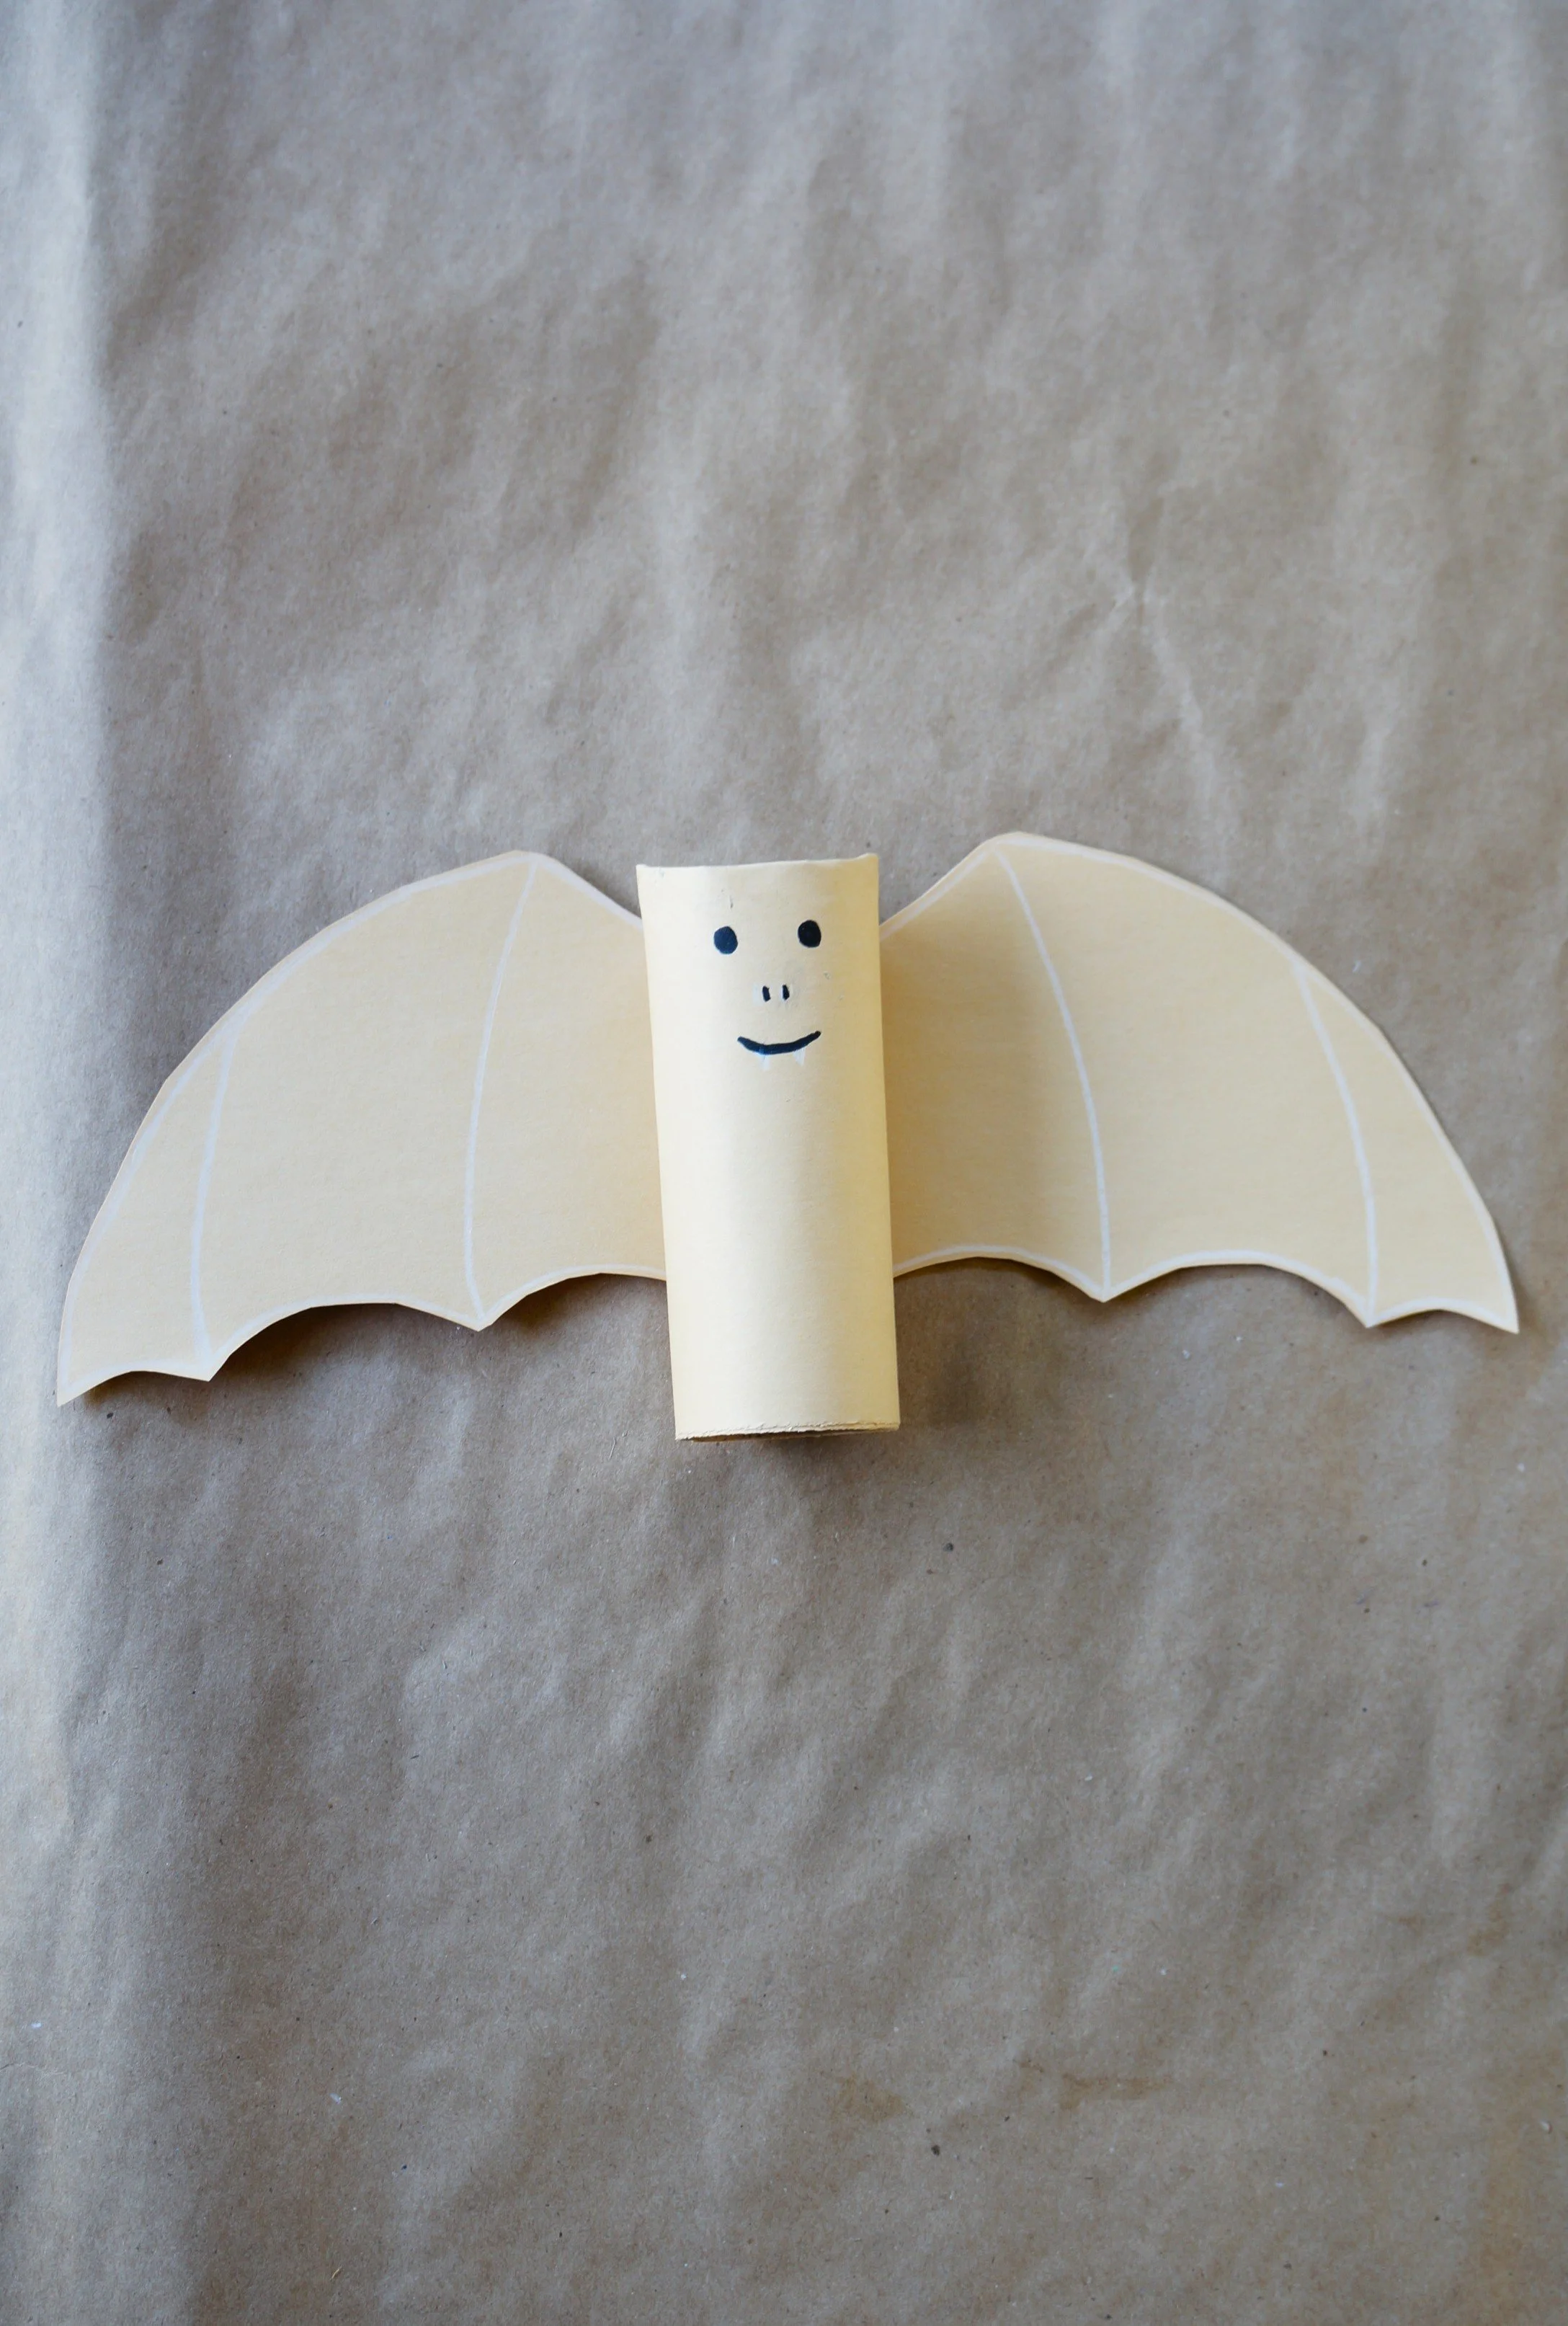
Draw oval eyes, nostril dashes, and a mouth with the marker, then add white fangs with the pencil. The fangs aren’t as visible on the light colored bats, so you may opt to create black ones.
That’s it!
My boys now get to “fly” these outside. : )
Happy crafting
Amanda and Naomi
To share: take a photo of your craft, click on PHOTO SUBMISSION on the upper right, and submit.
We’ll share it with everyone here!


