Hi Friends,
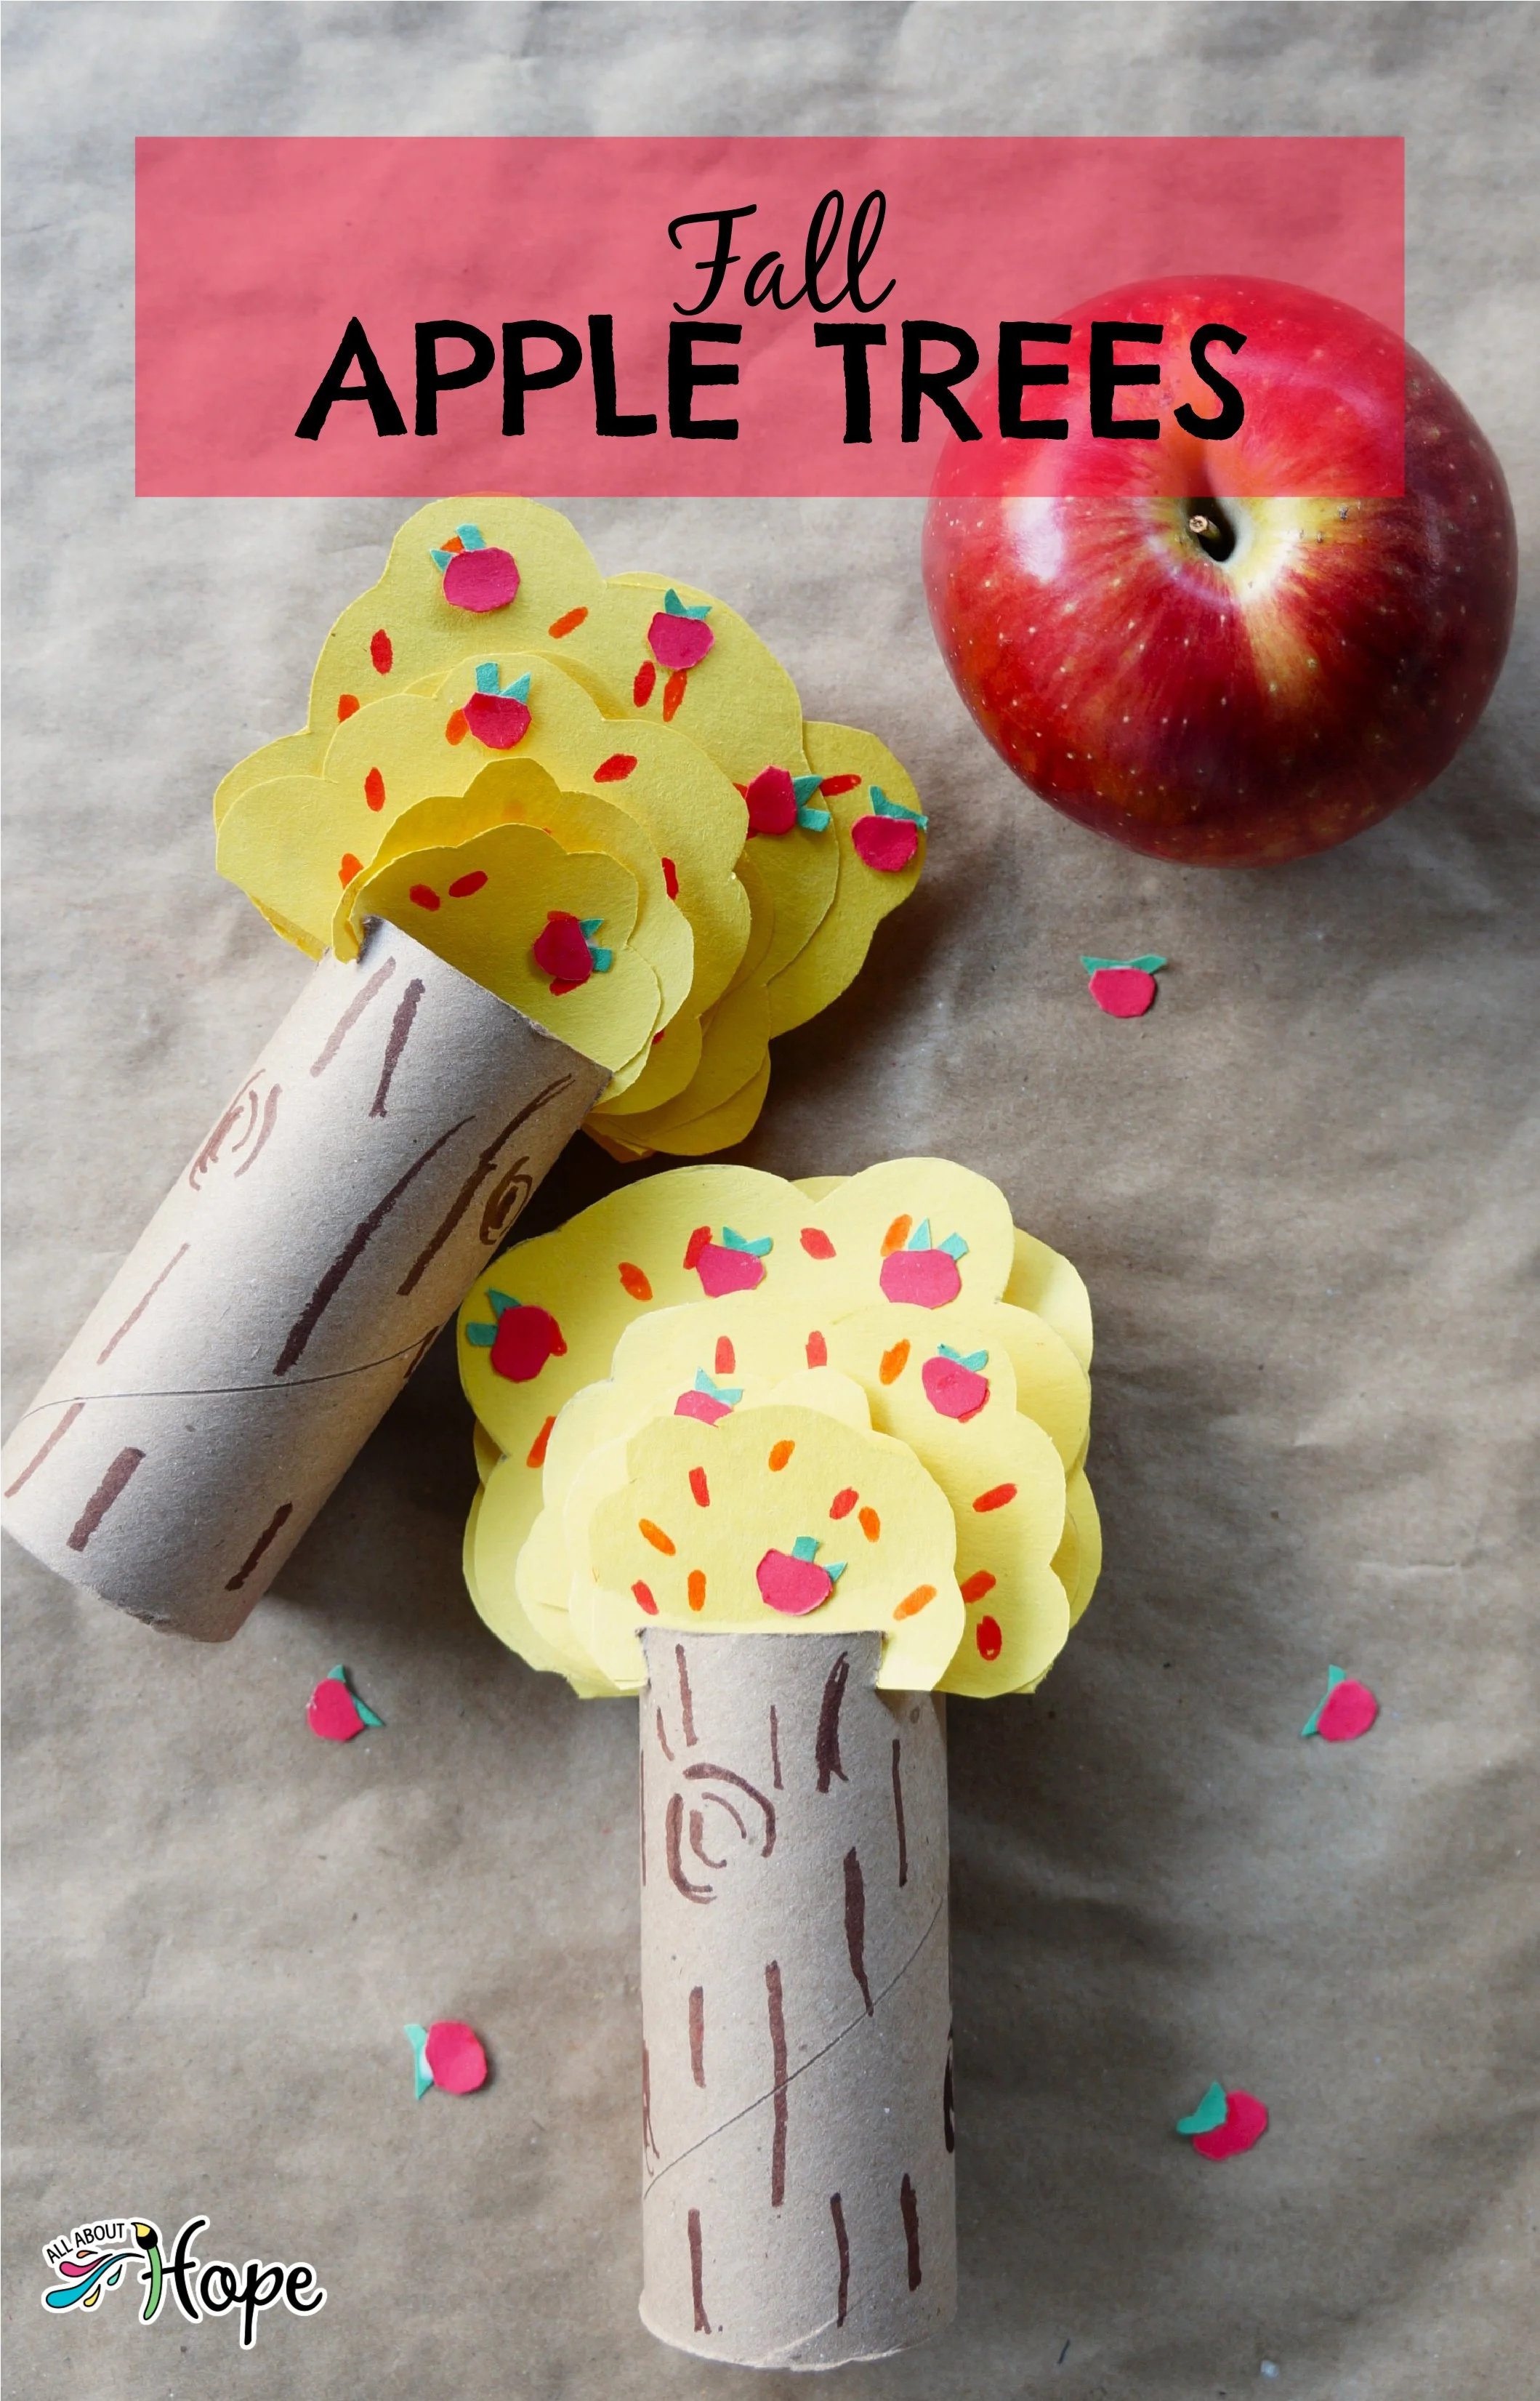
We’re sharing our cute Fall Apple Trees with layered yellow foliage, red apples, and light brown trunks.
Bring out your recycled paper rolls and scraps of red and green paper for this simple fall craft. Check it out below.
*Click on the photos for a closer look
What You'll Need
Construction paper: Yellow, Red, Green
Glue
Paper Tube
Scissors
Knife
Pencil
Markers: Orange, Red, Brown
The Steps
We want to see your craft! Click PHOTO SUBMISSION, then submit the photo.
TRUNK
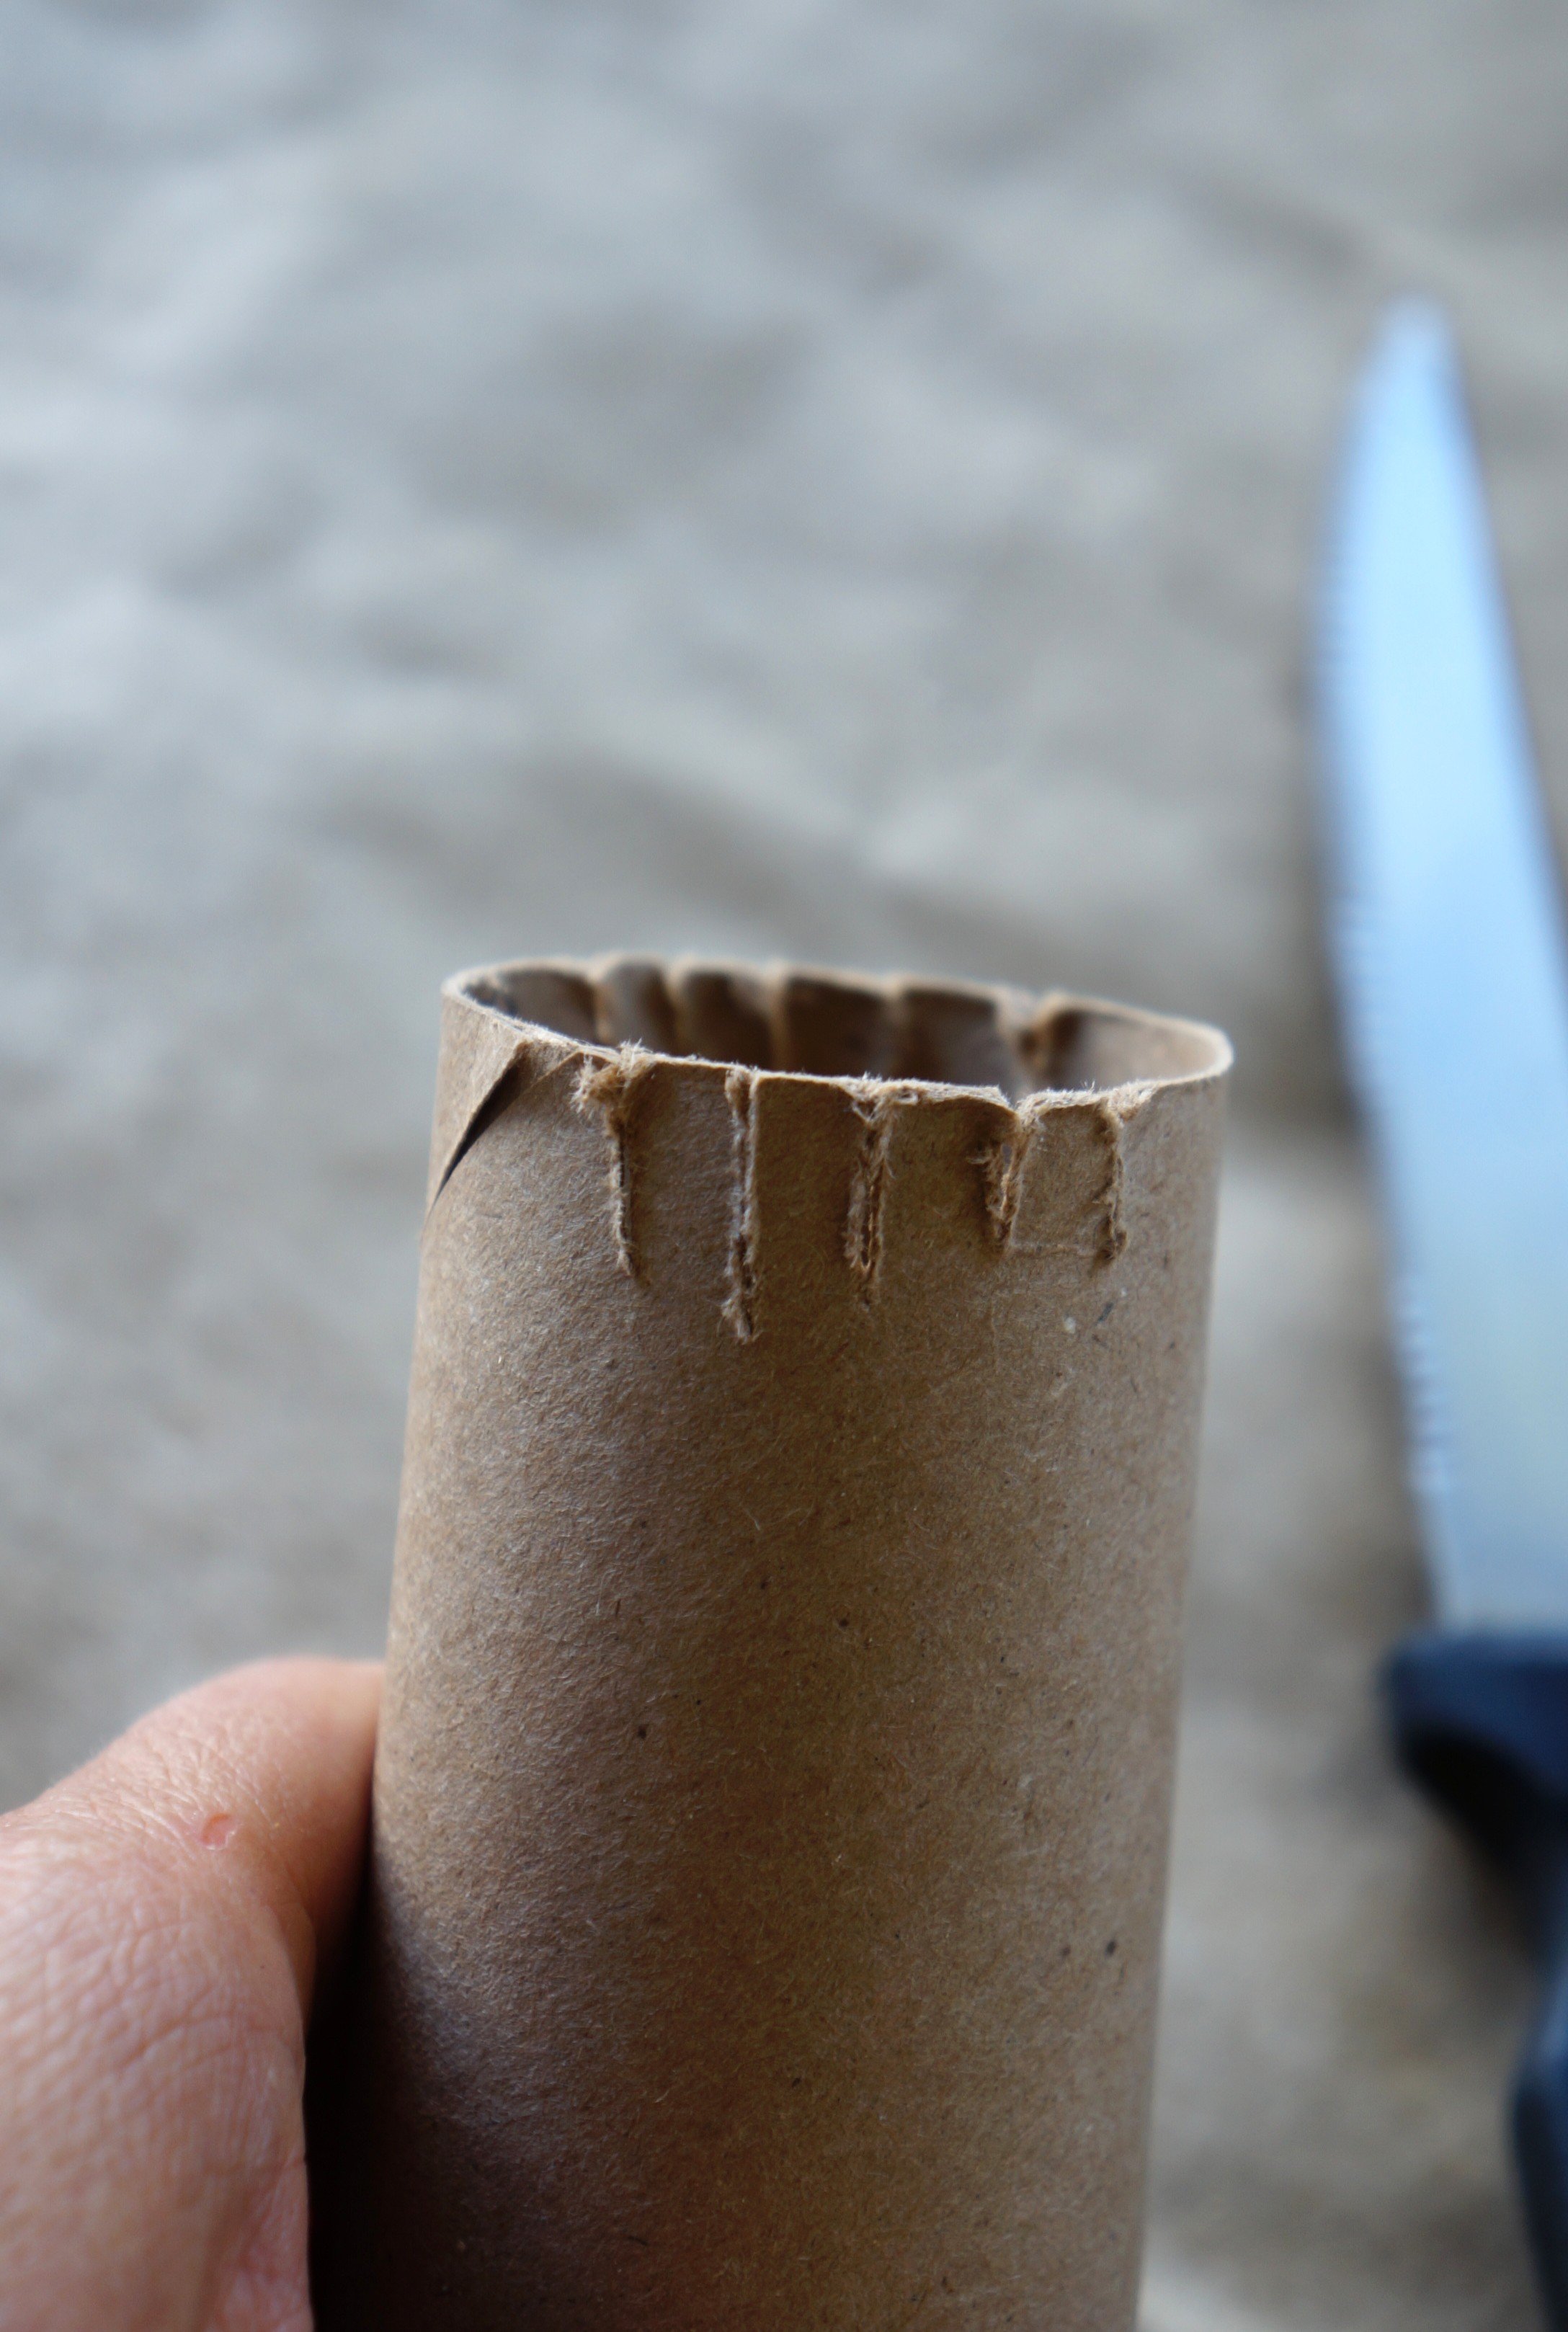
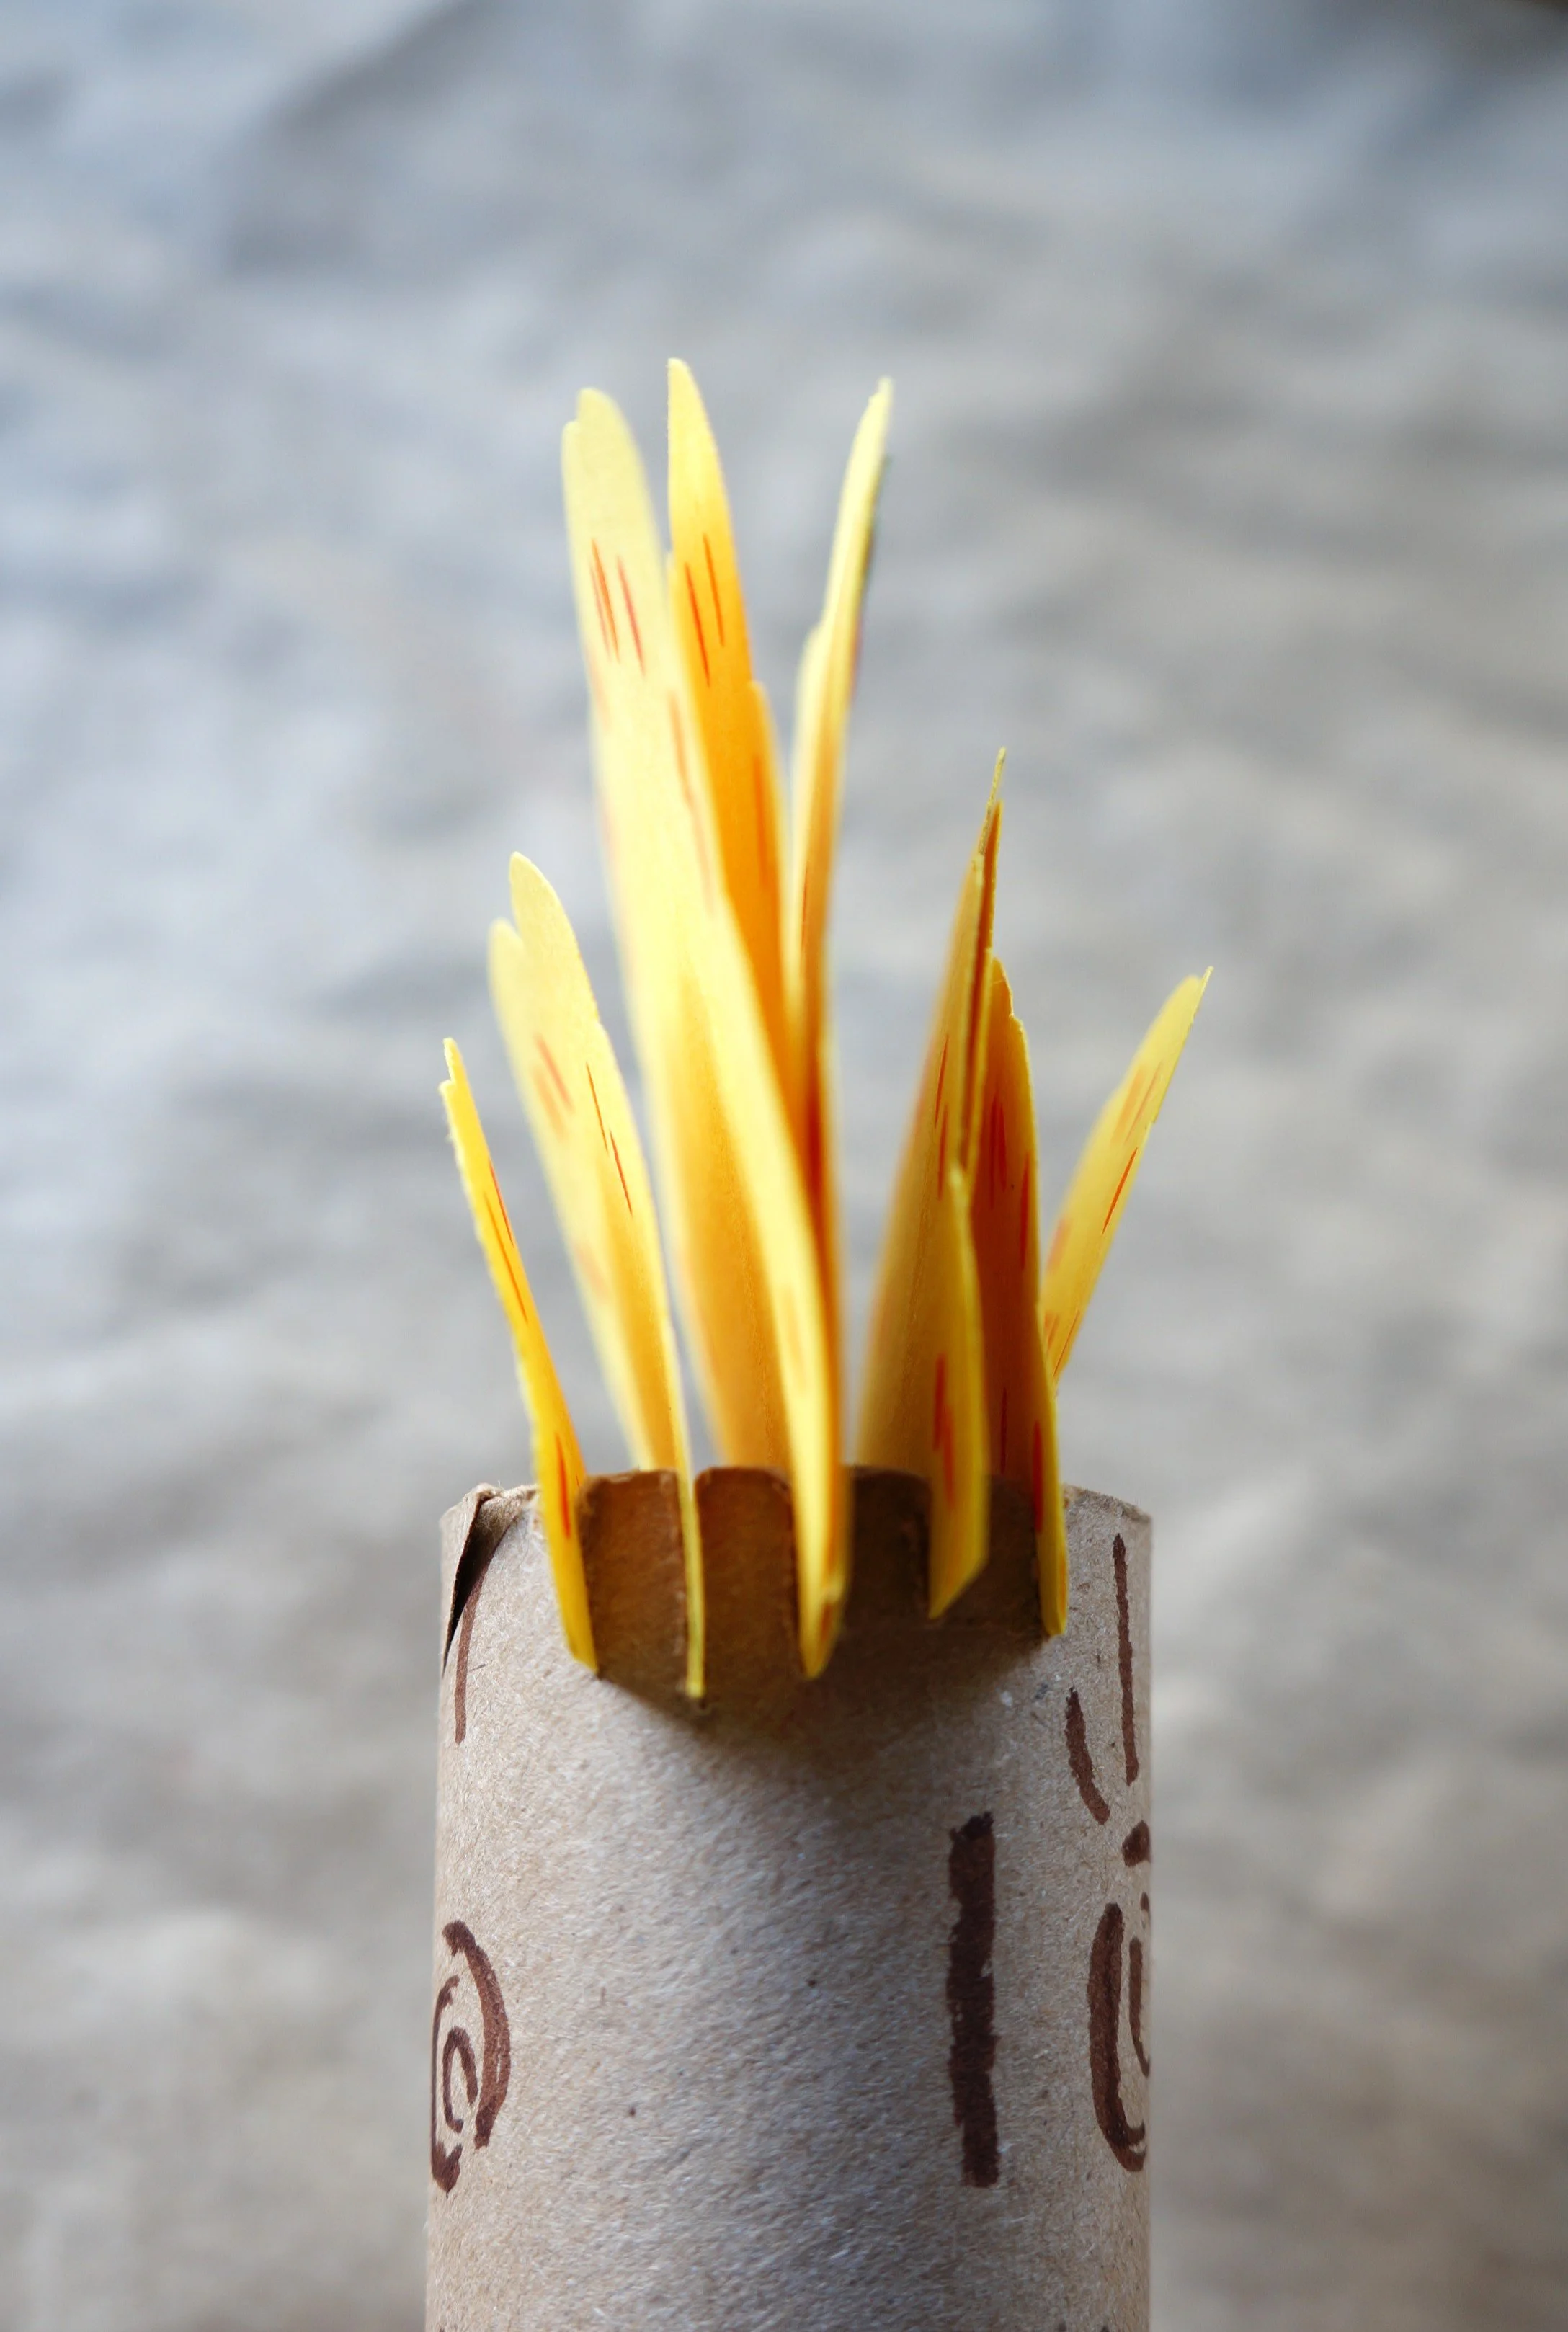
Carefully use your knife on the top of the tube to make 5 notches, and 5 notches directly across.
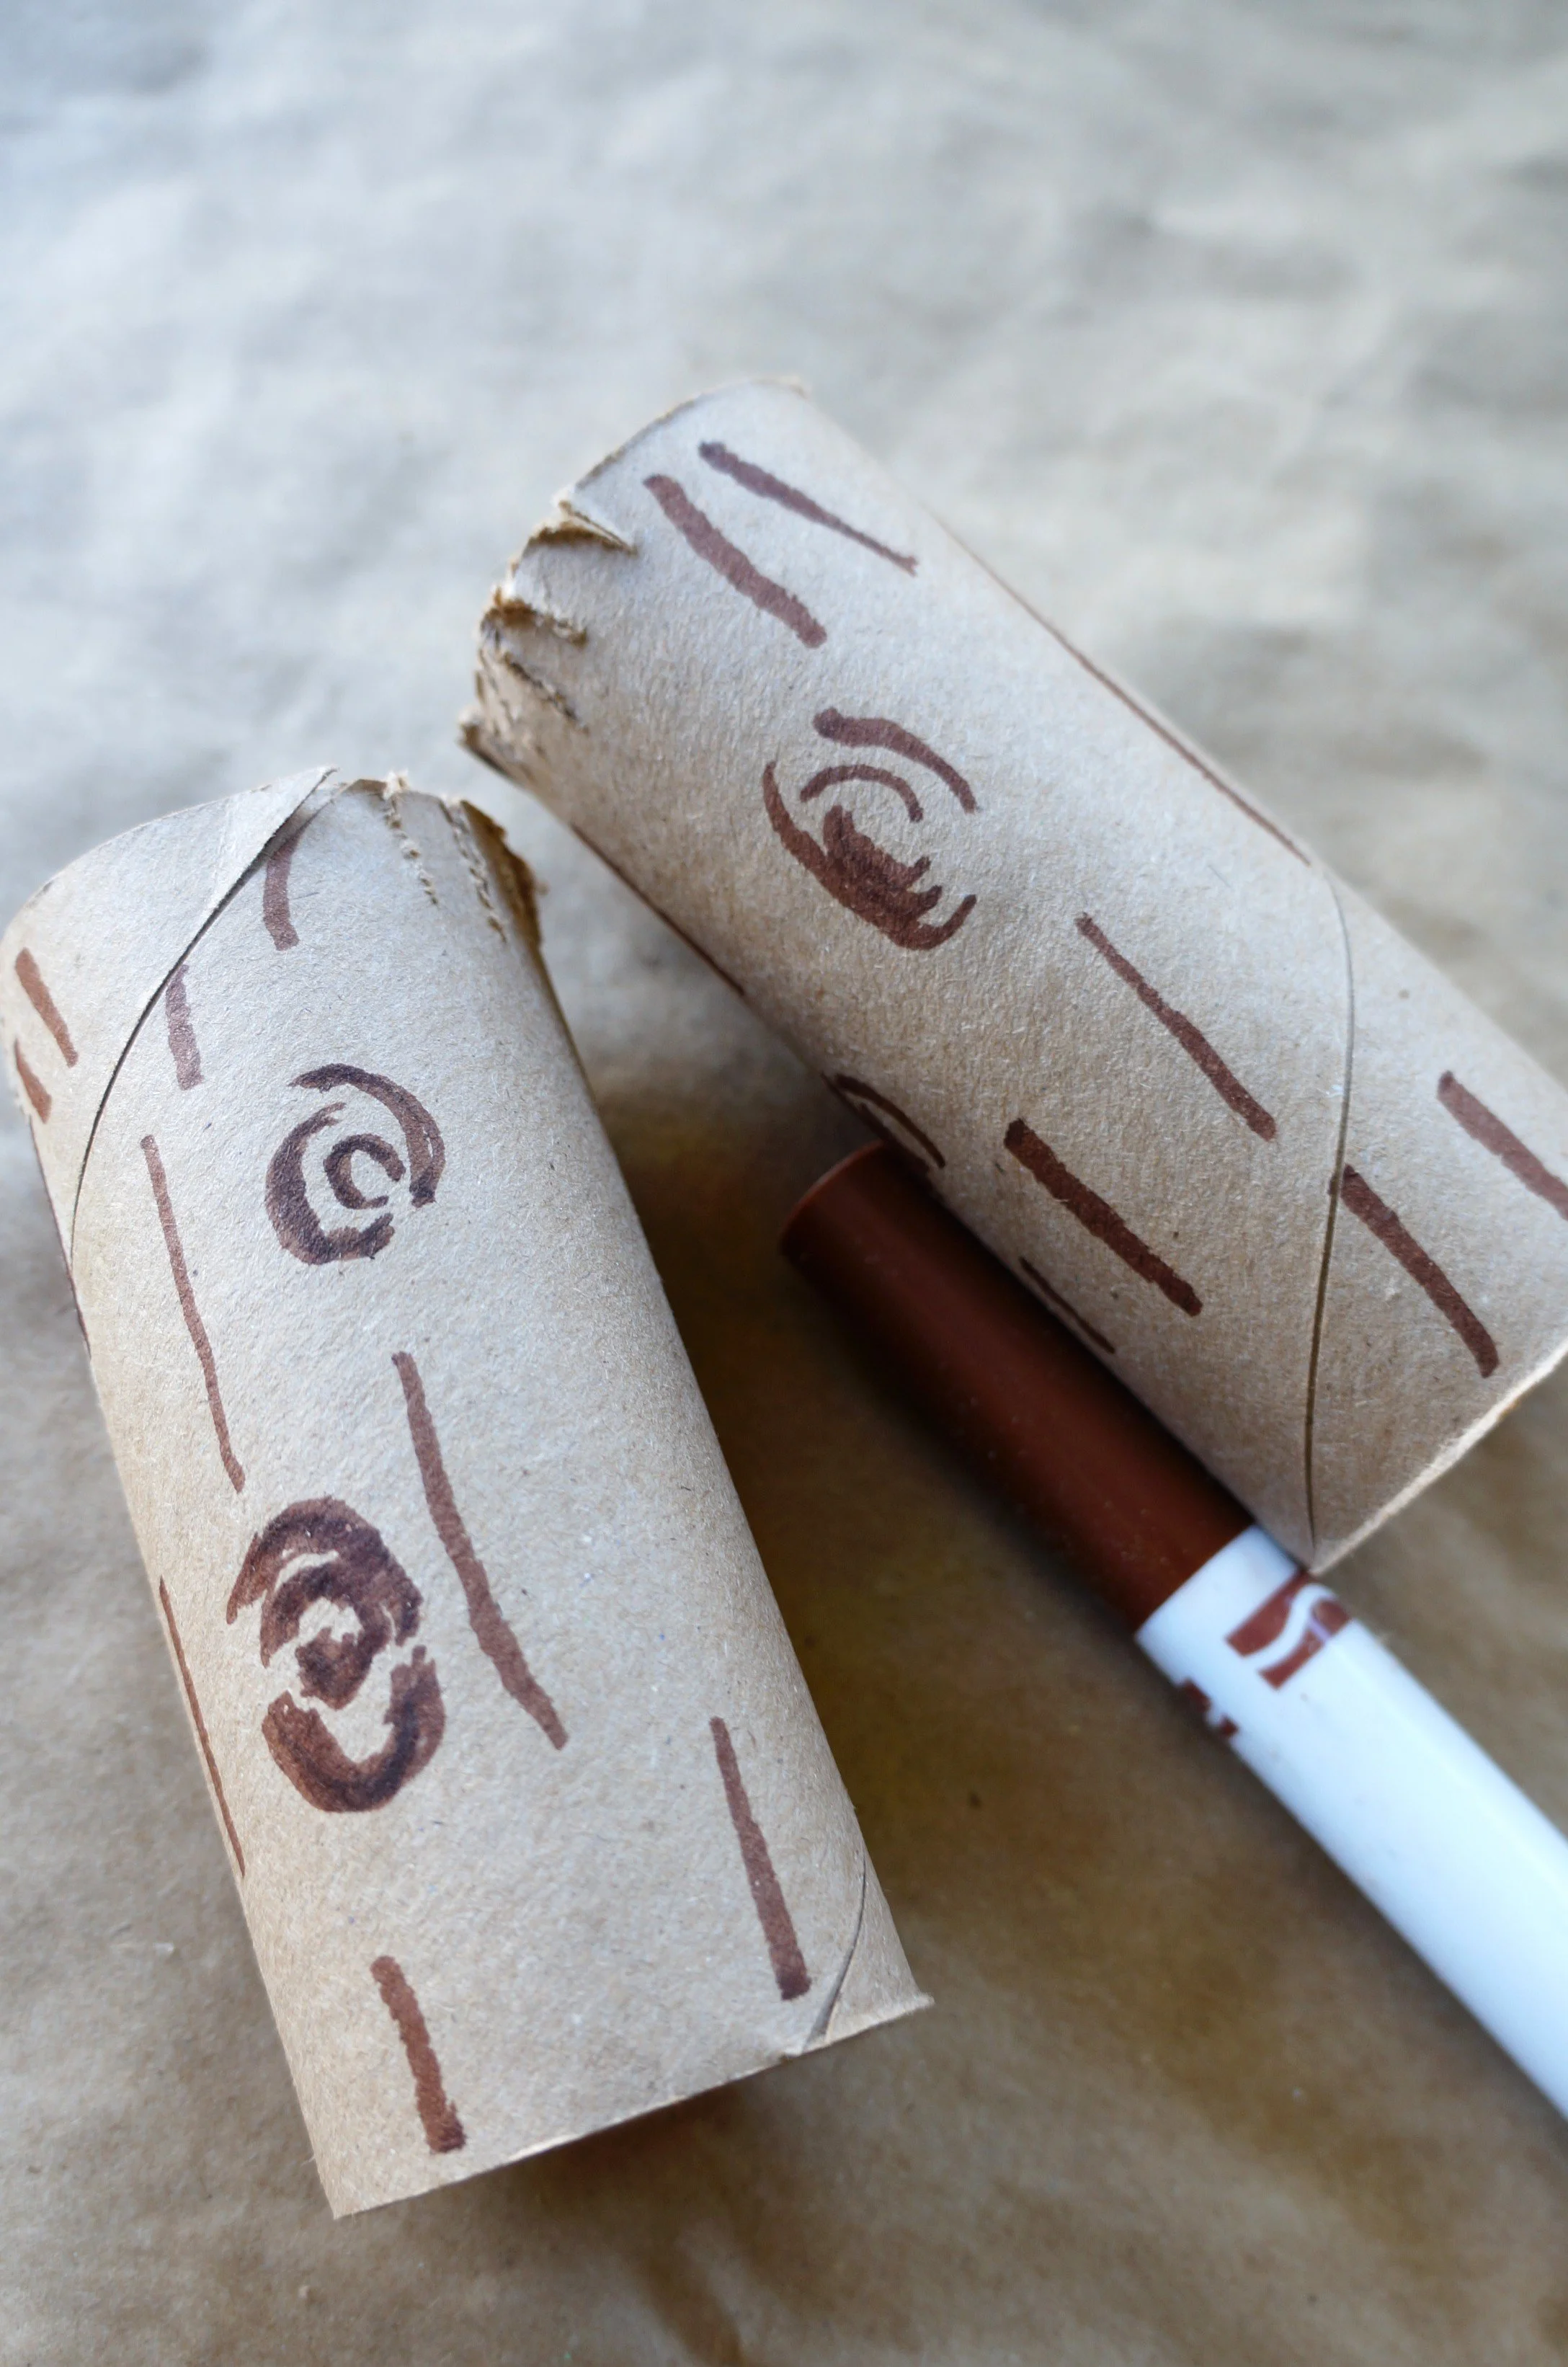
With your brown marker, make bark lines and knots around the tube.
TREE TOPS
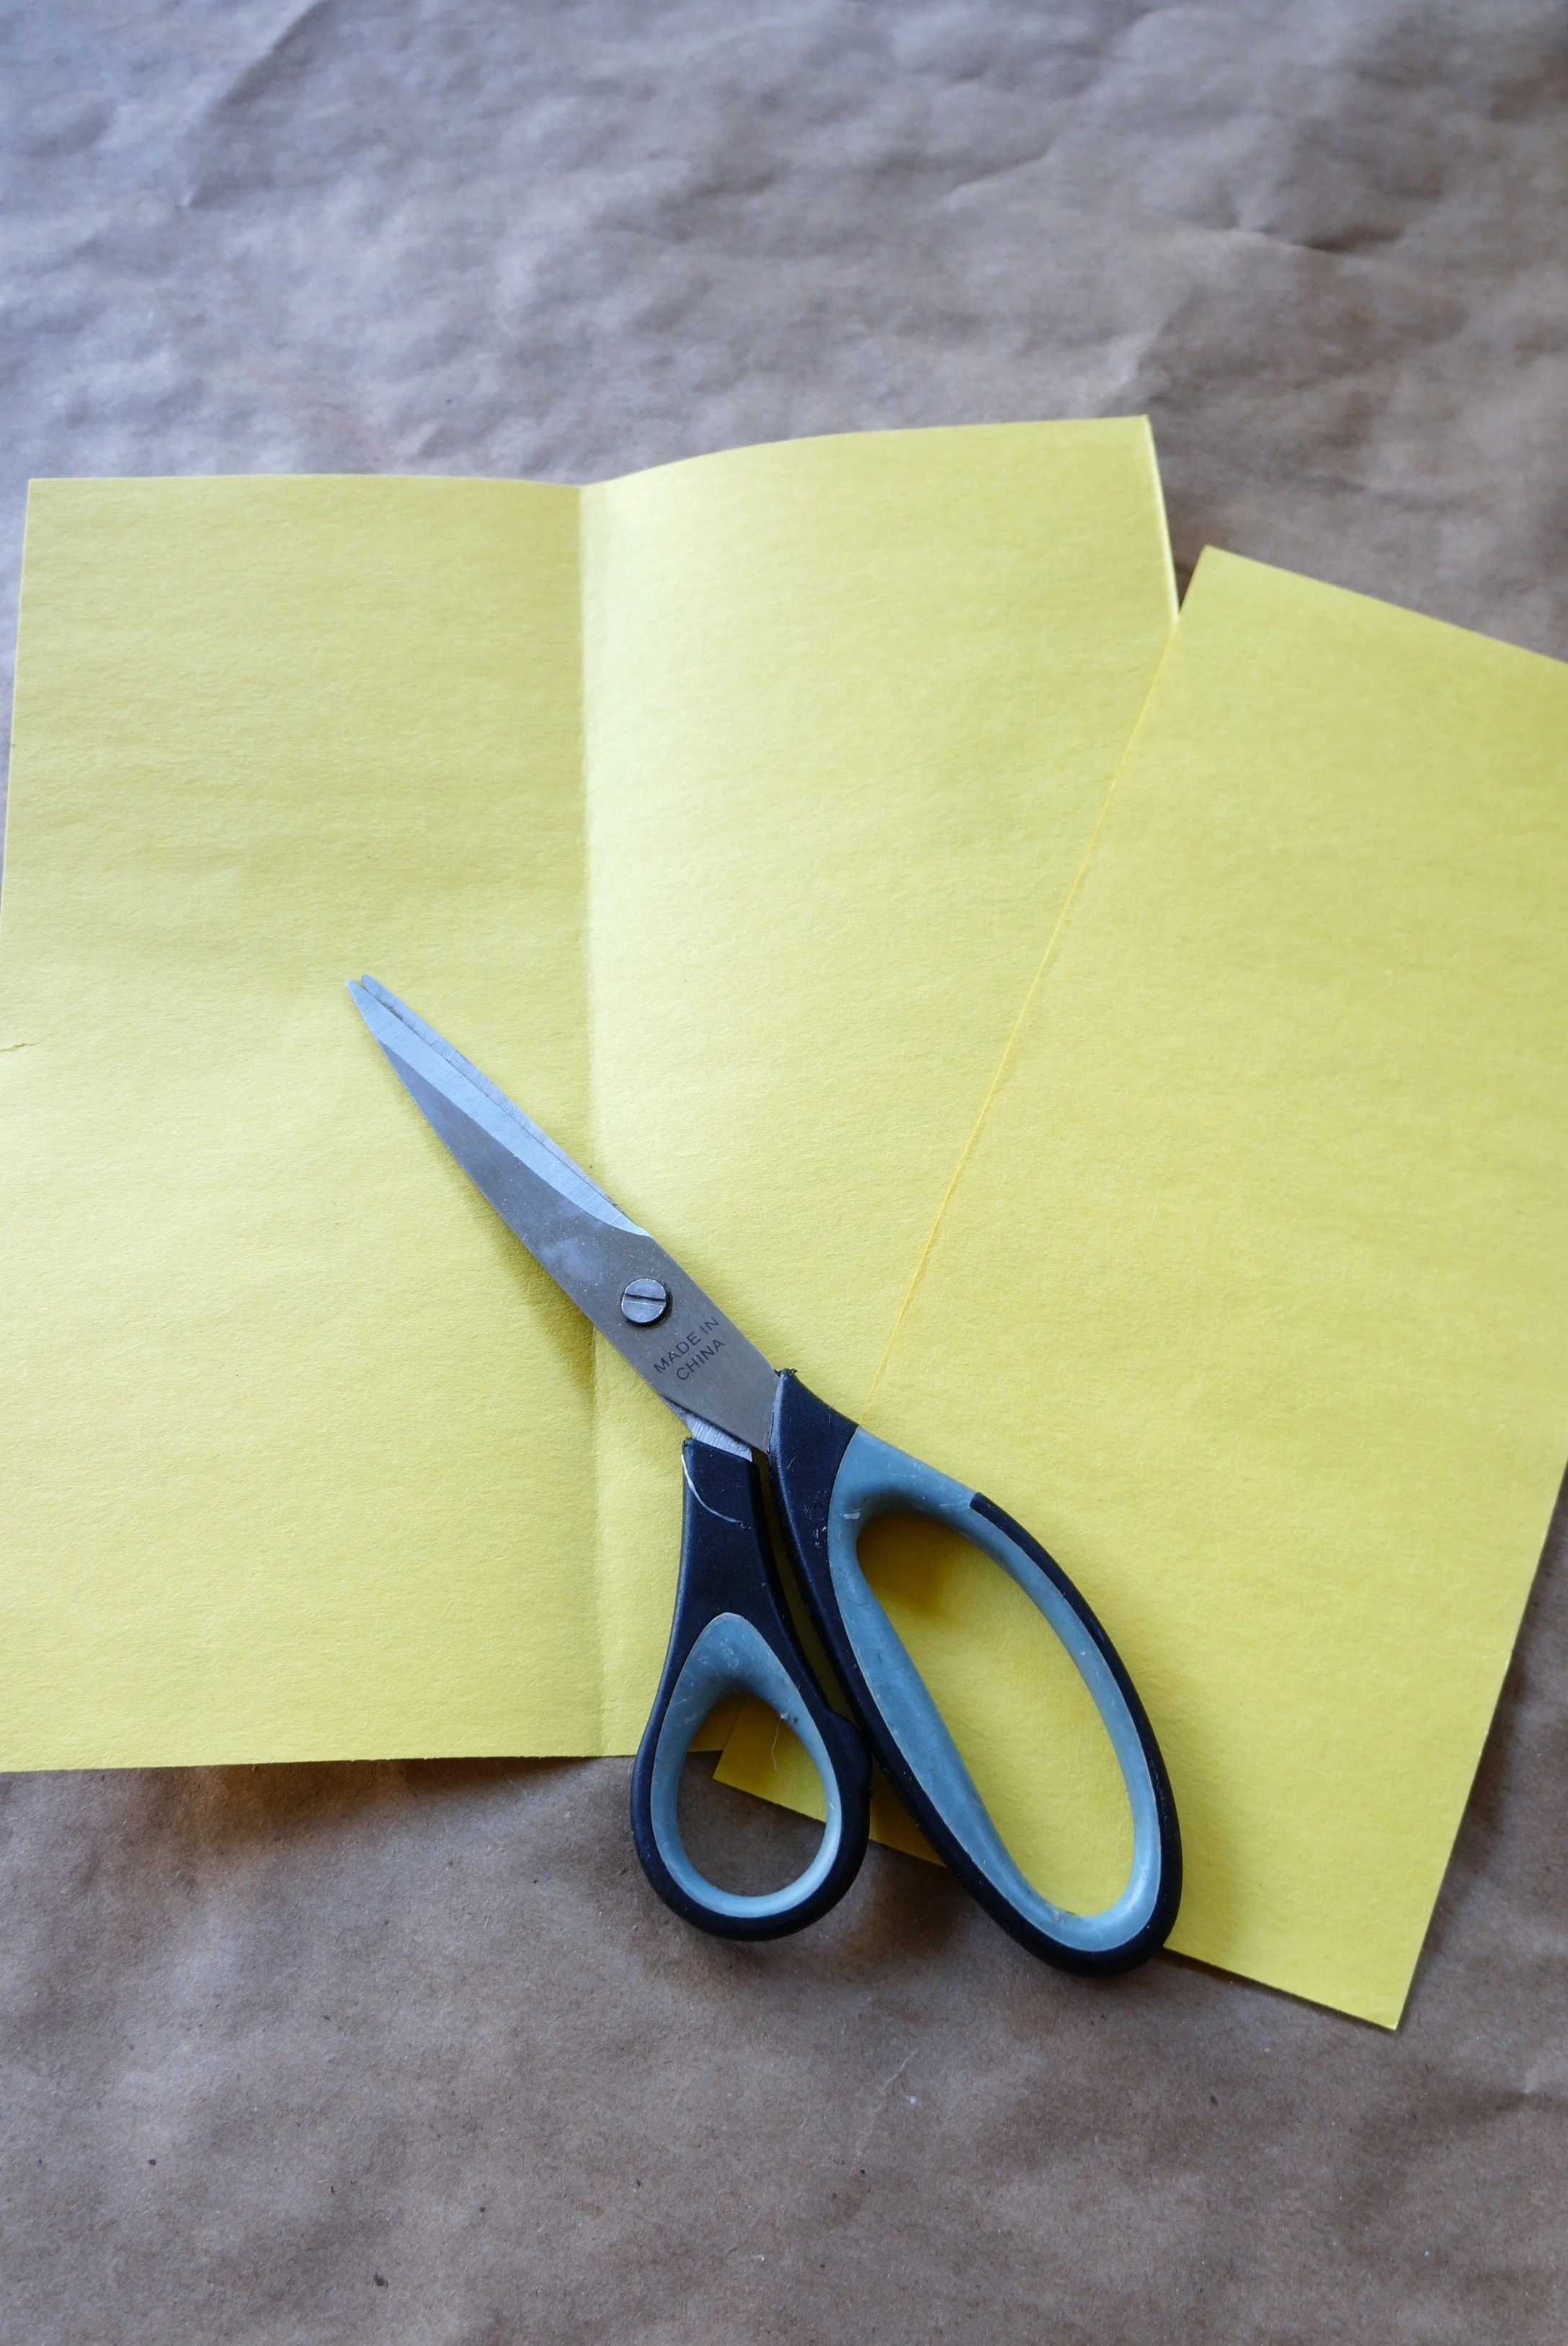
Turn your yellow paper horizontally, fold it into thirds, and cut the sections out.
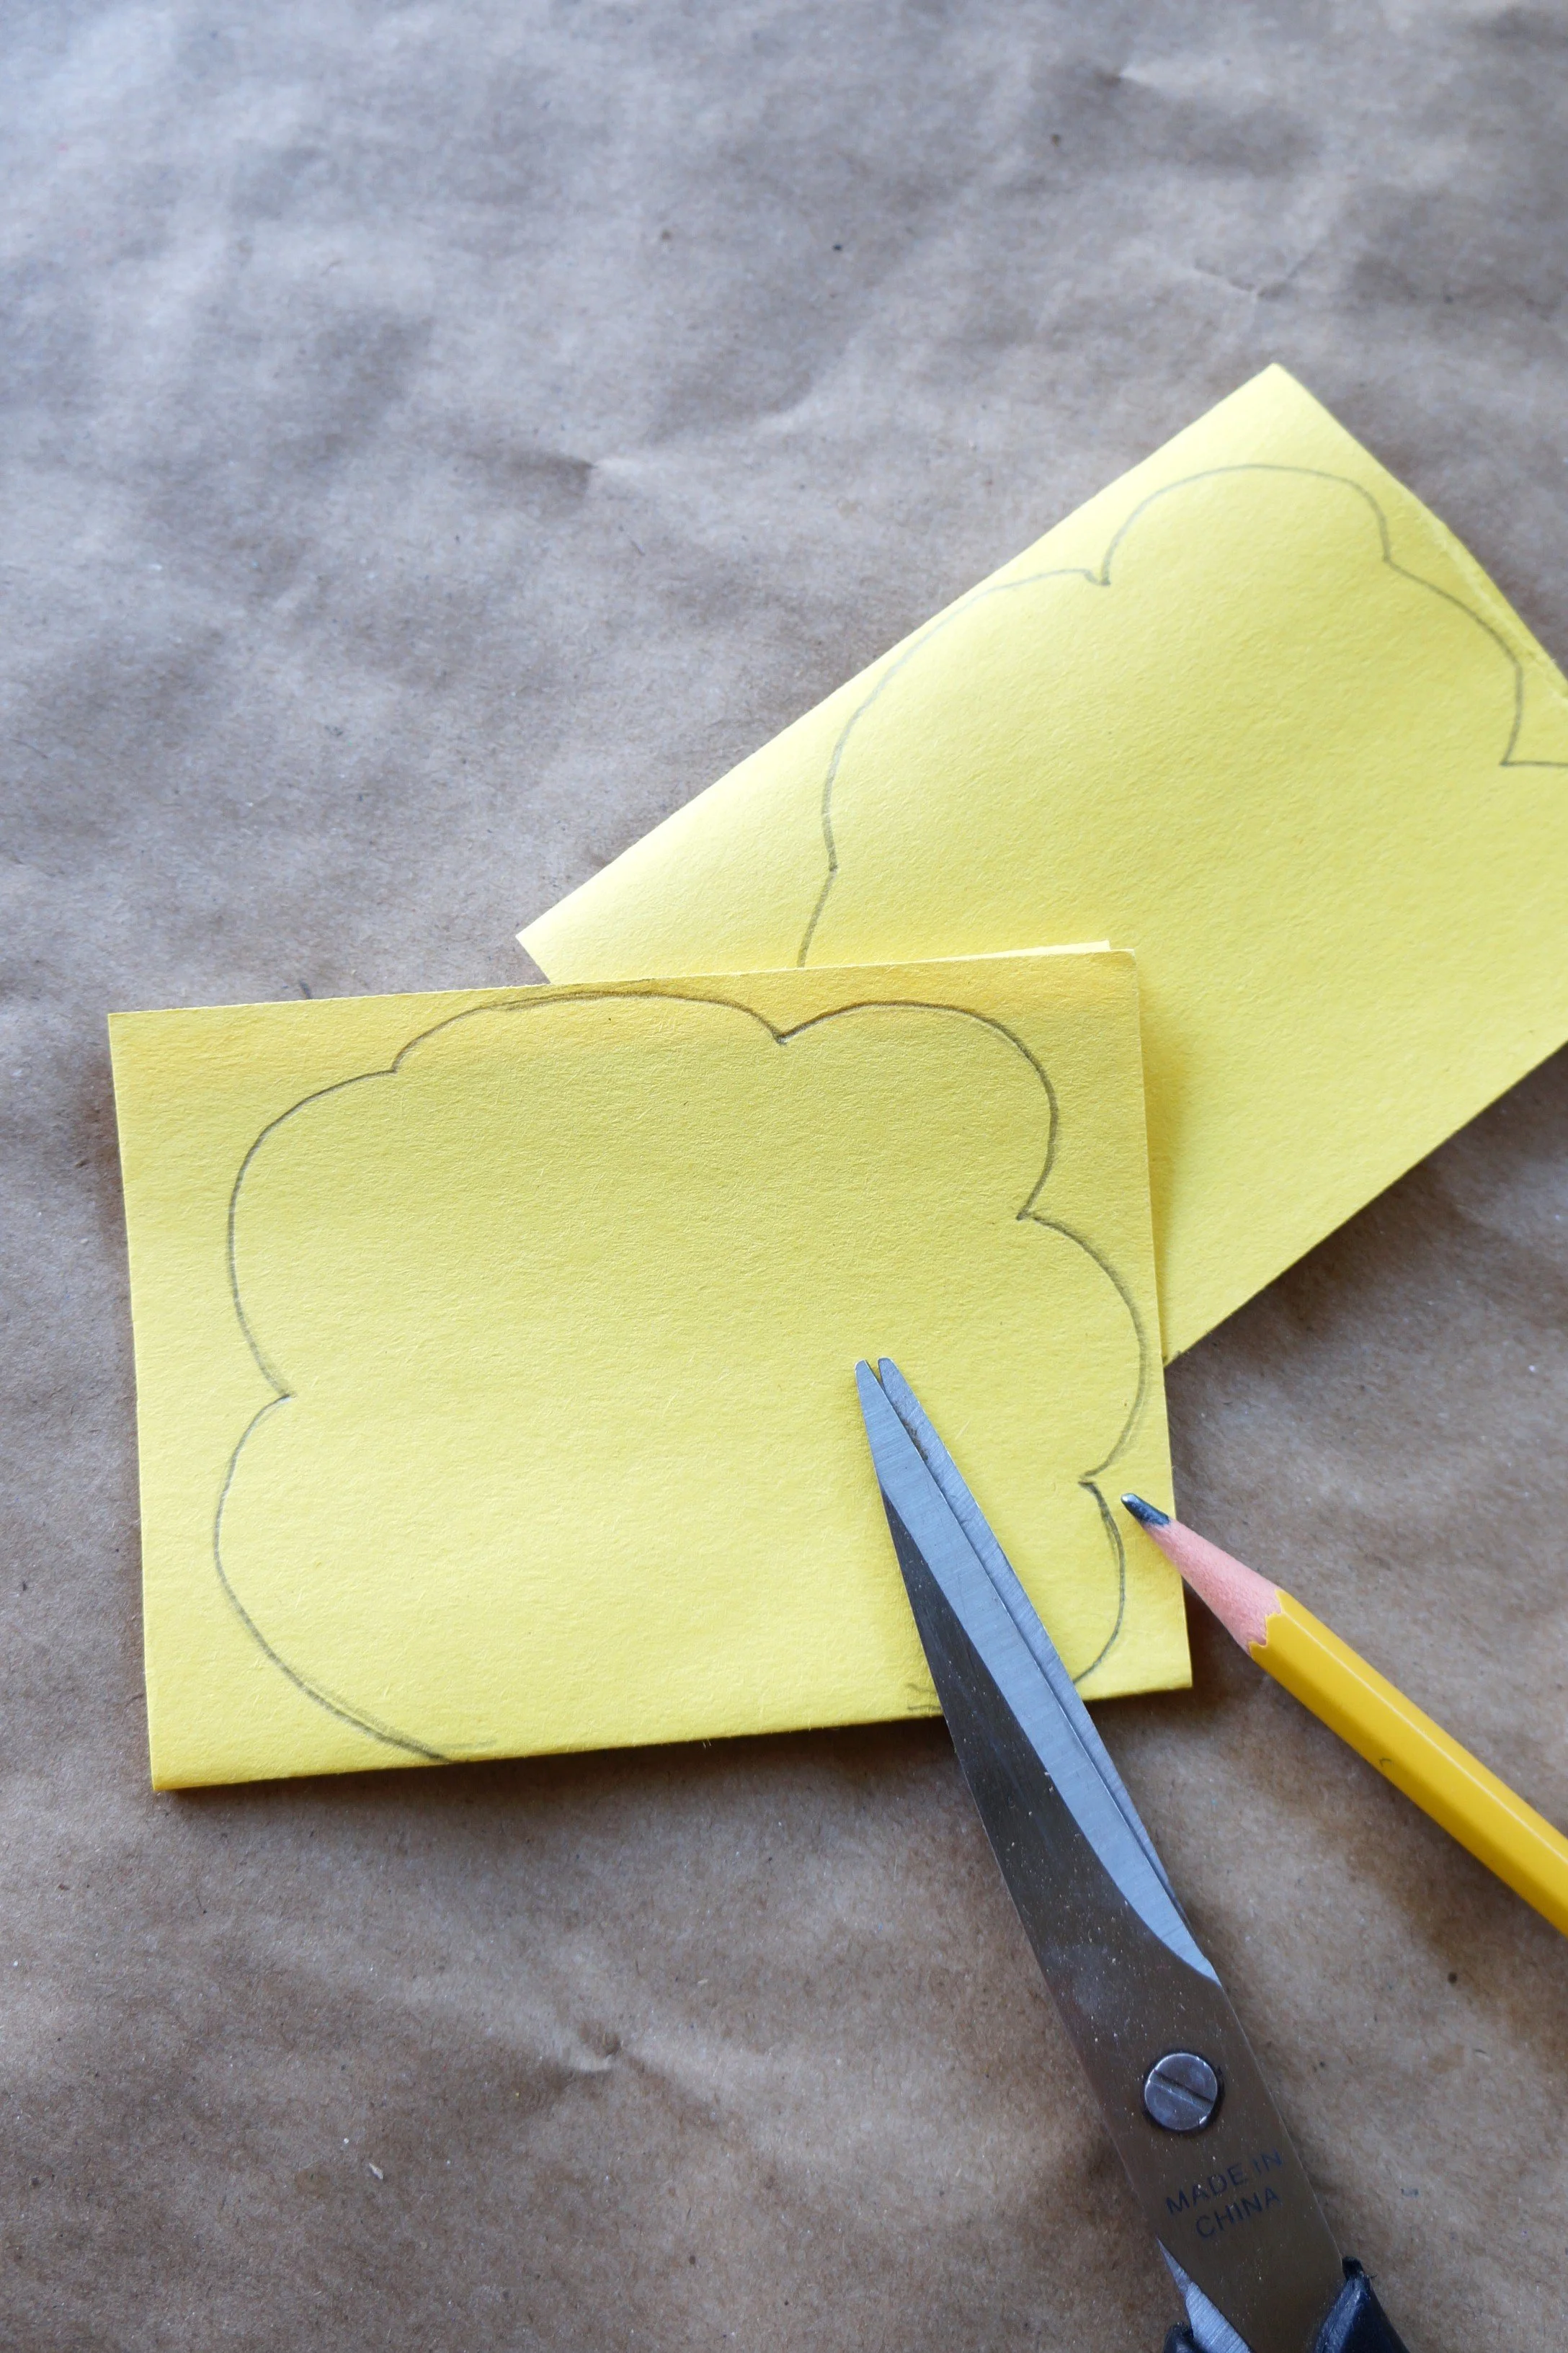
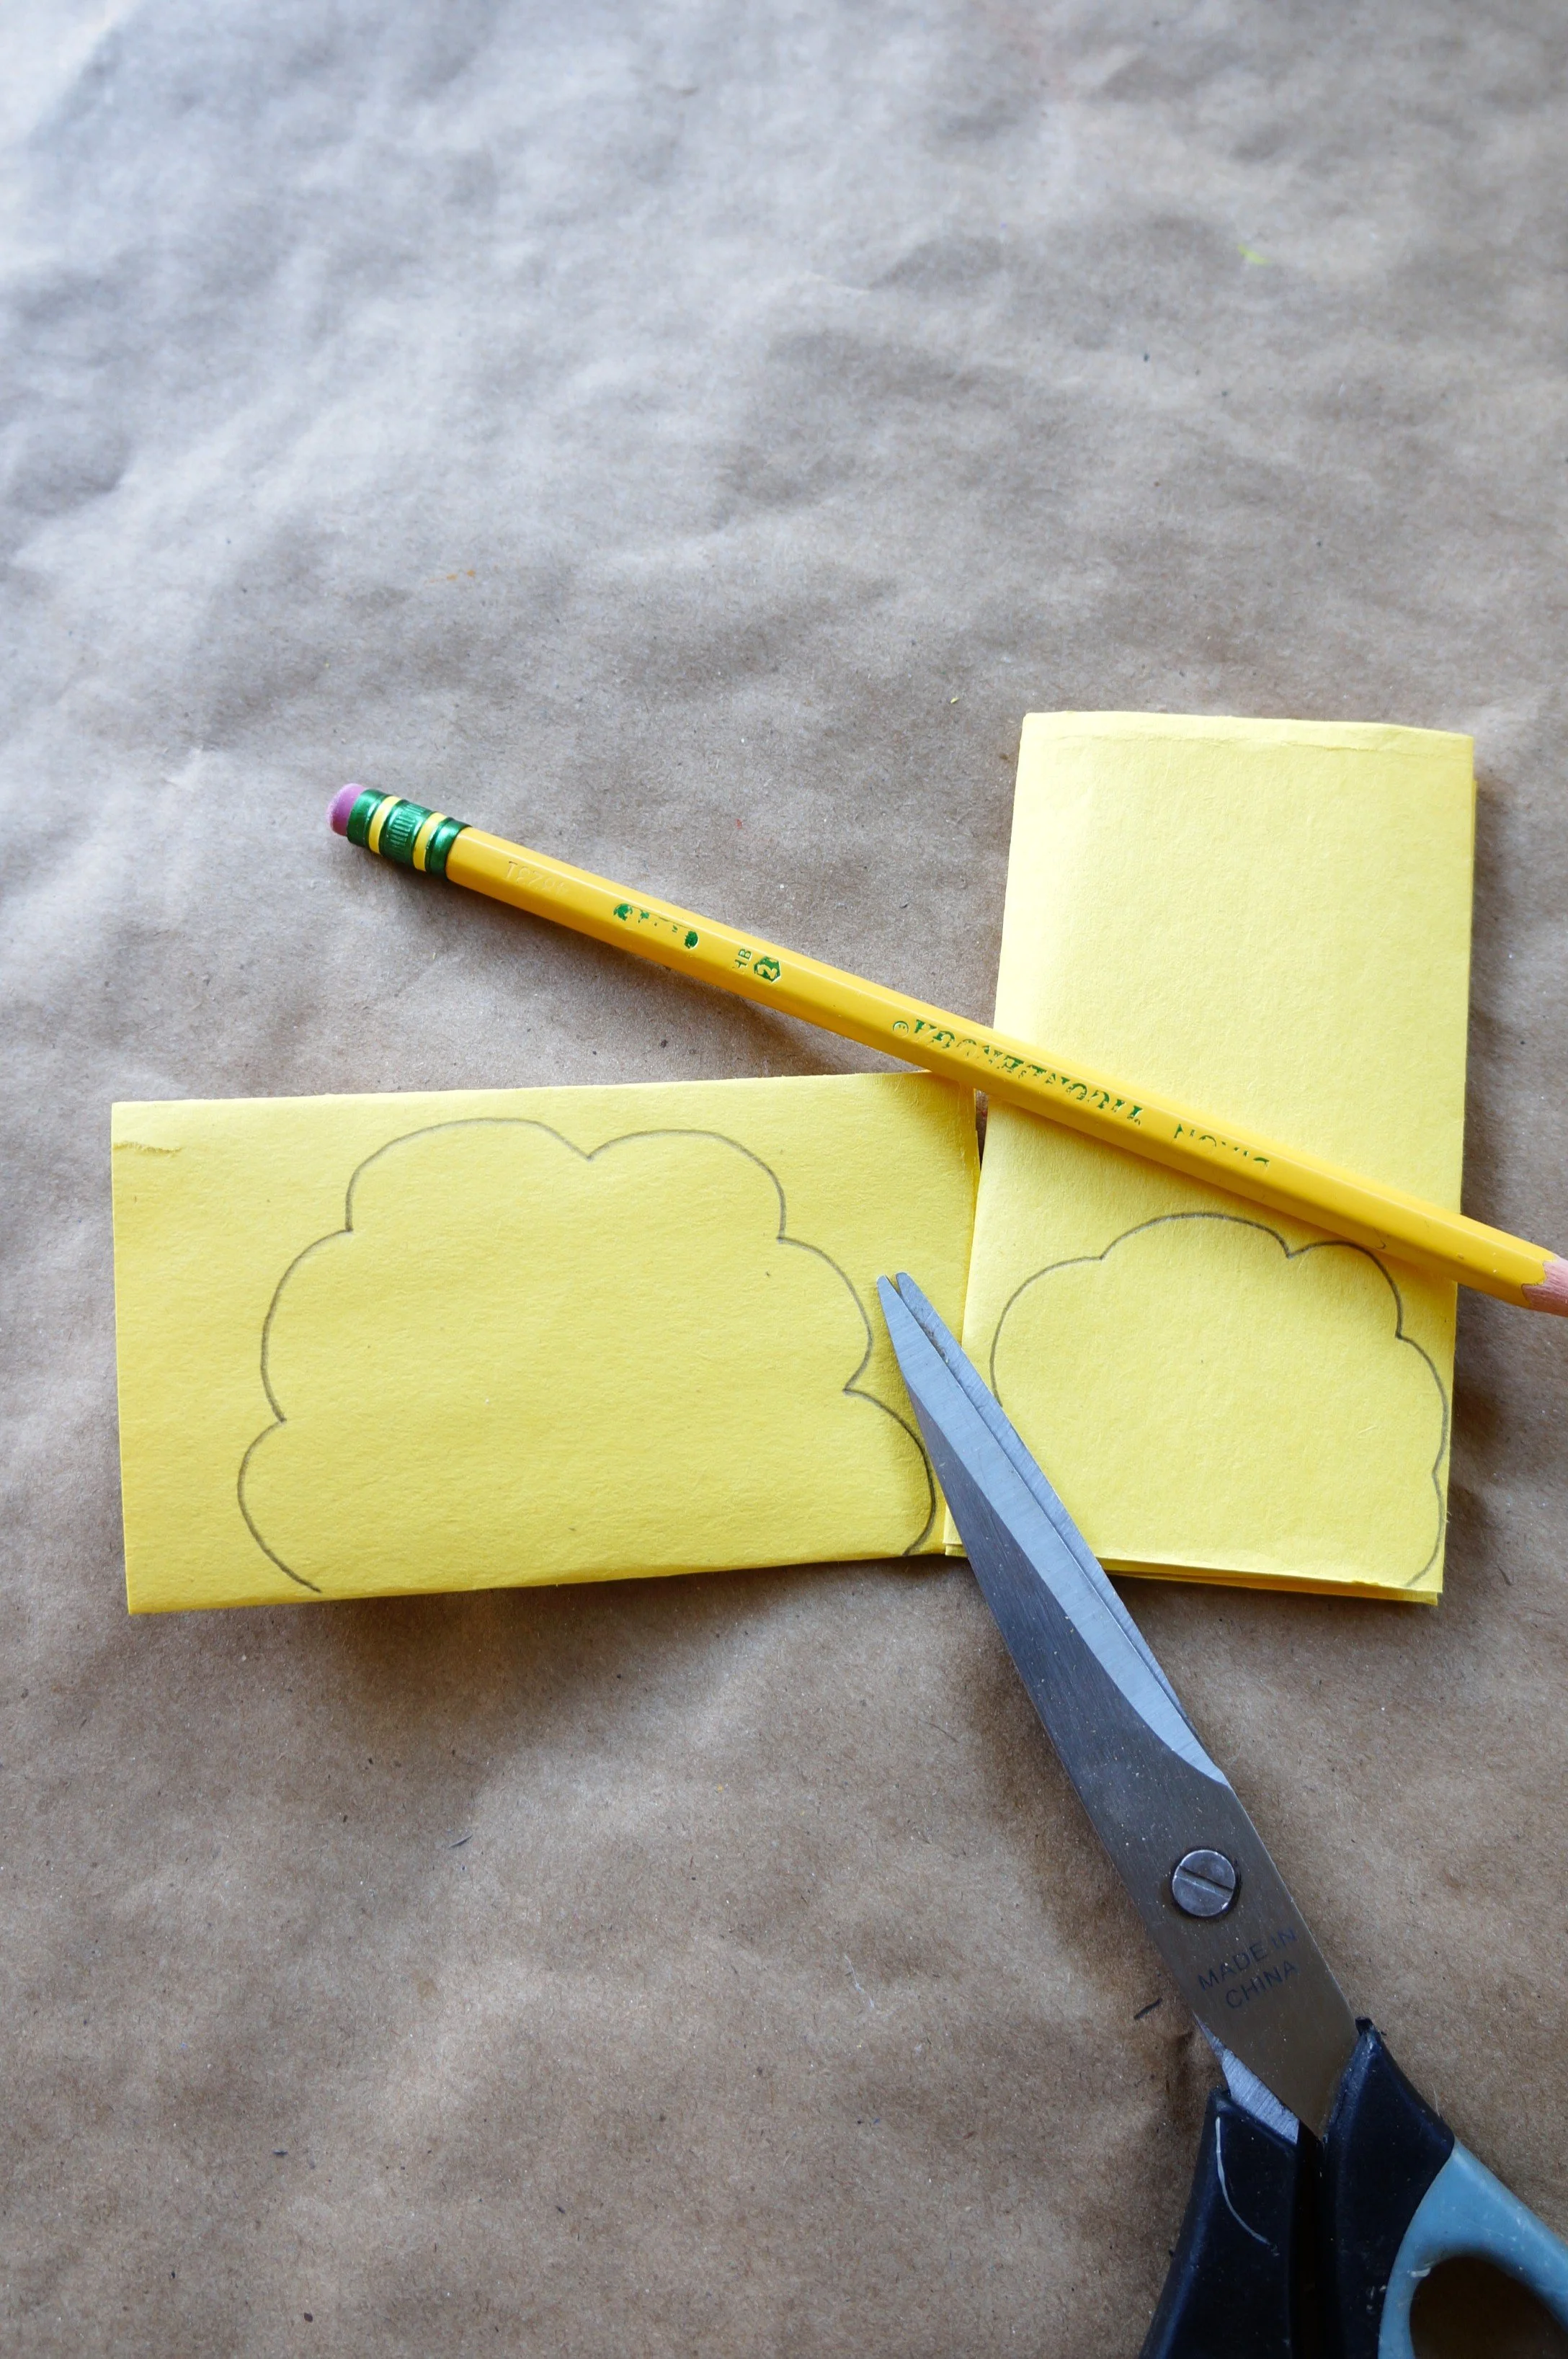
Fold one section into thirds and draw a large tree top(3 tree tops).
Fold the last two sections into fourths, face one horizontally to create a medium tree top(4 tree tops), and face the last section vertically to create a small tree top(4 tree tops).
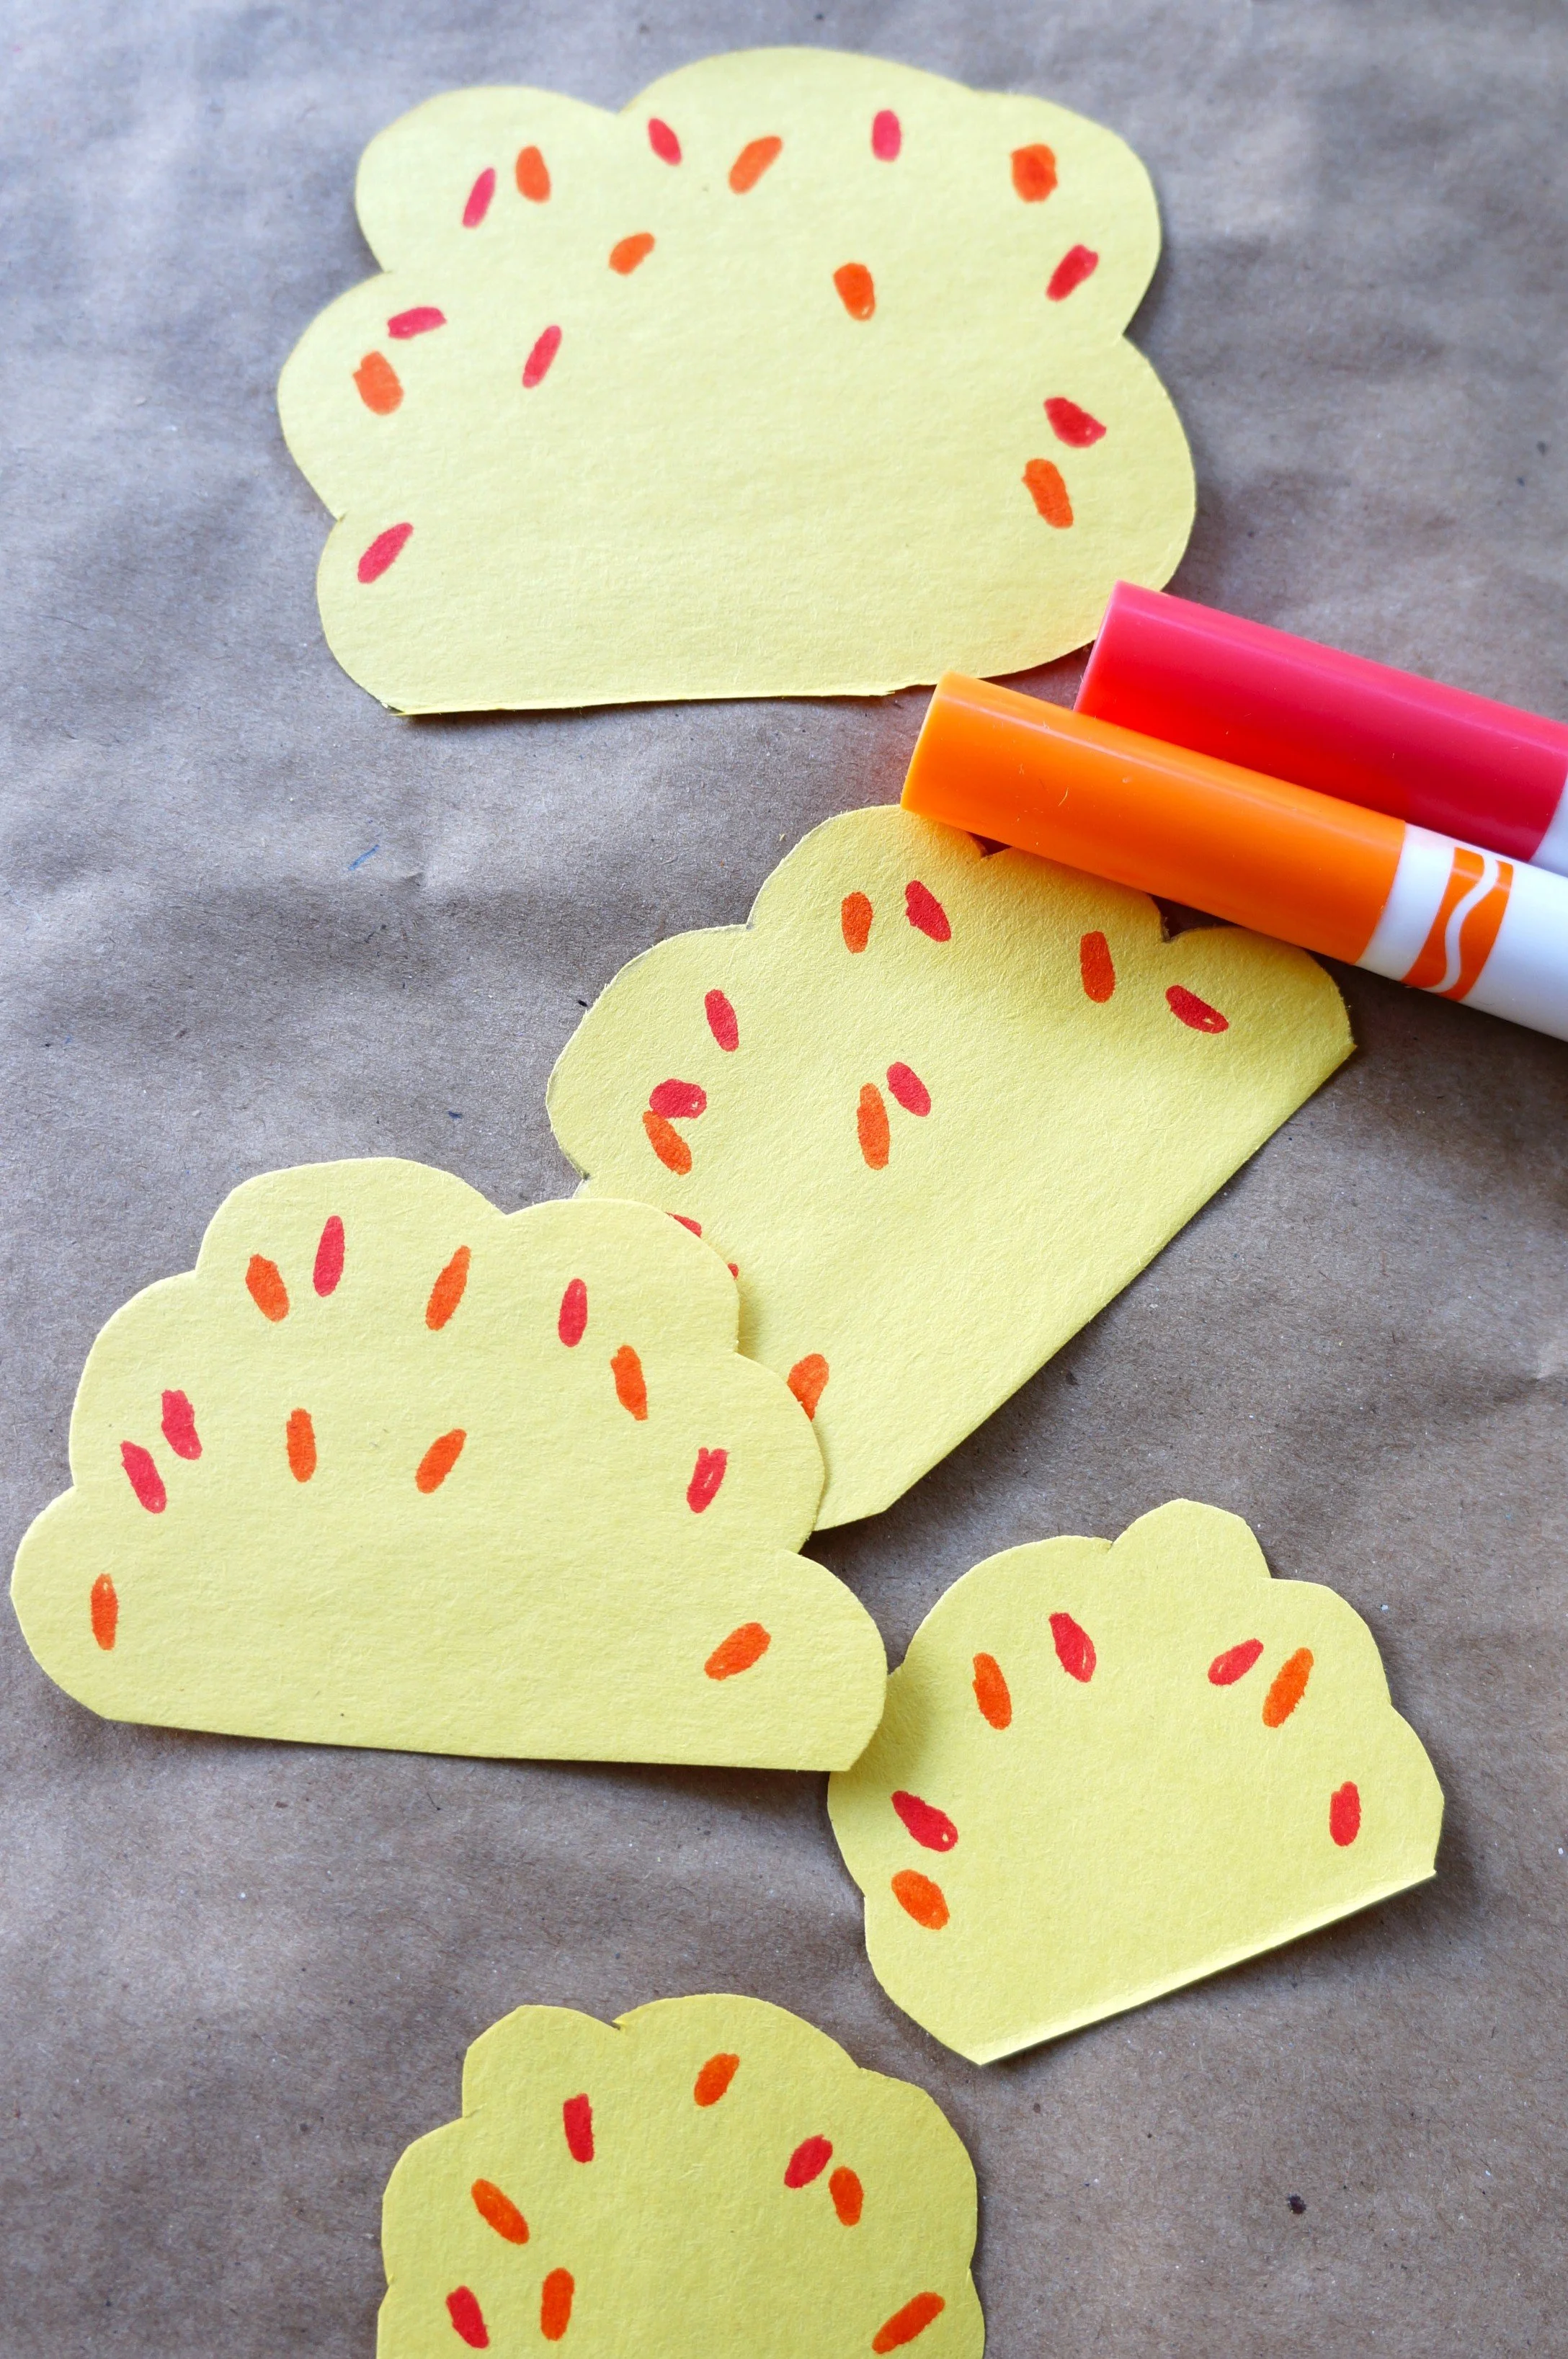
Cut all the tree tops out.
FOLIAGE & APPLES
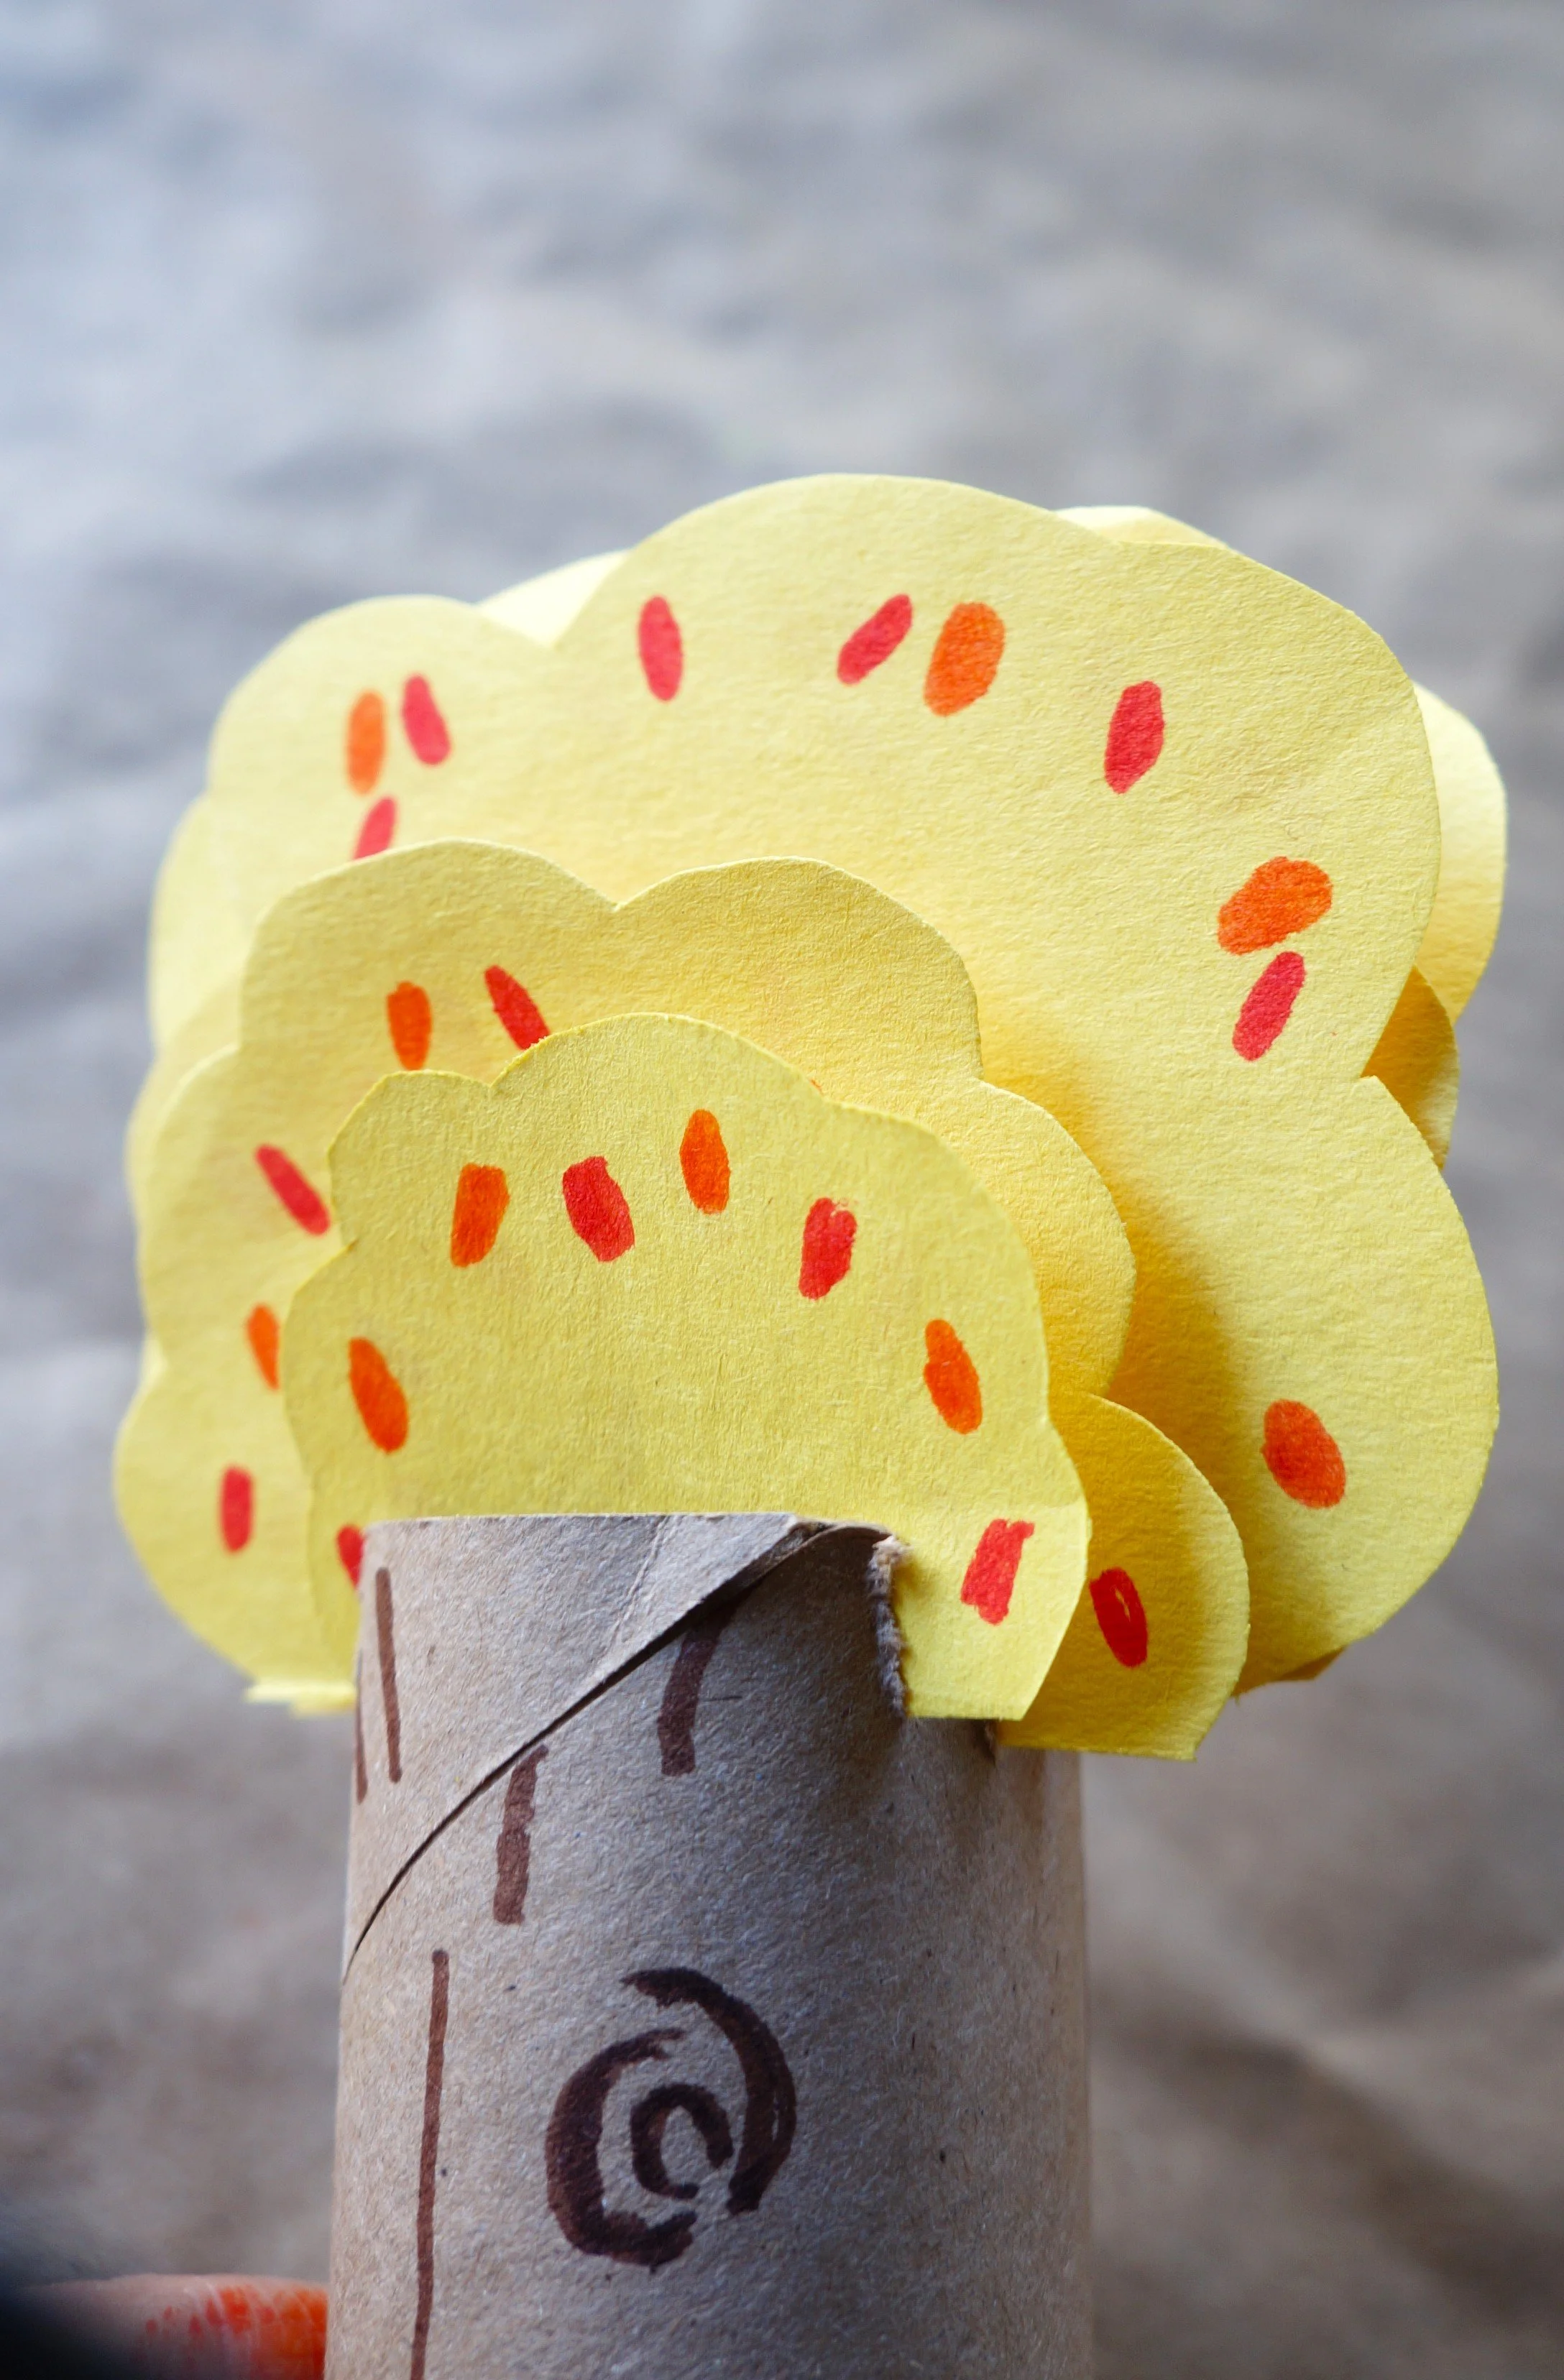
With the orange and red markers, make small oval leaves on the upper part of the tree tops, on the front and back sides.
Alternate the large tree top sides before placing them into the center notch(3 tops); alternate two medium ones on the right and left sides of the center ones; and lastly, alternate the small ones on the outer sides.
Spread the layers a bit and glue them if you’d like, but it isn’t necessary.
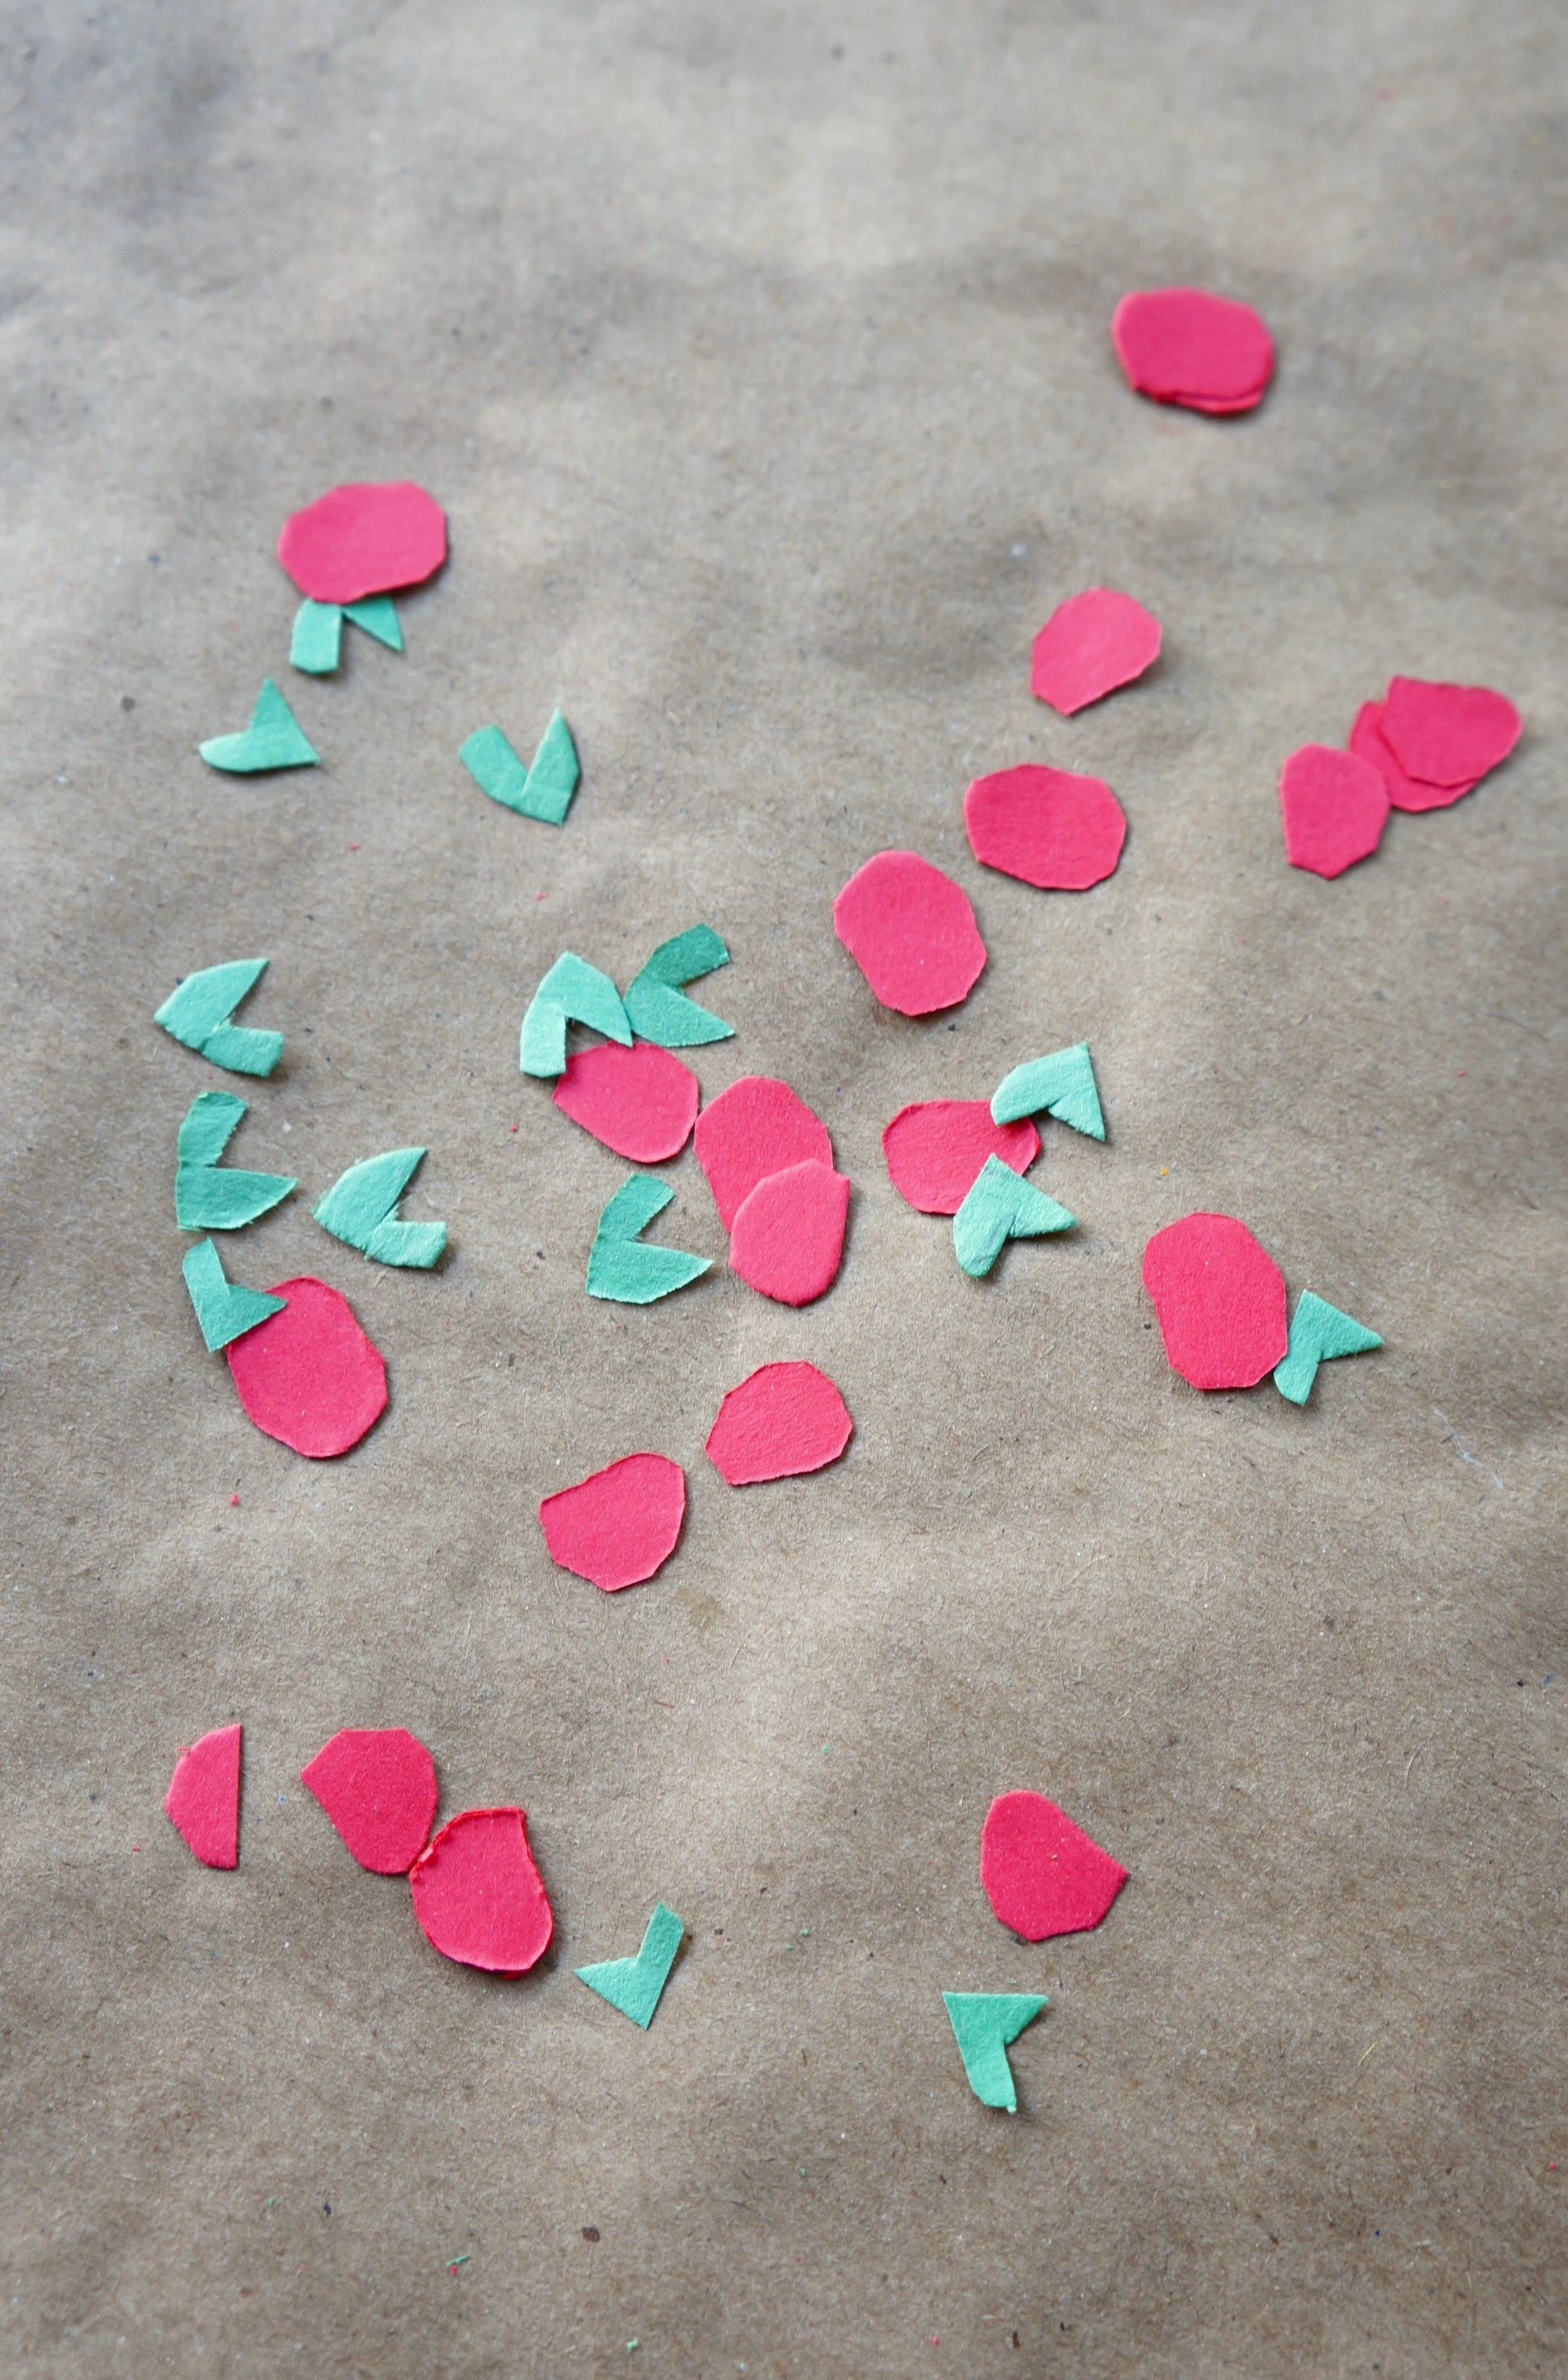
Fold a bit of the red and green papers multiple times, then cut out a small apple shape and greenery.
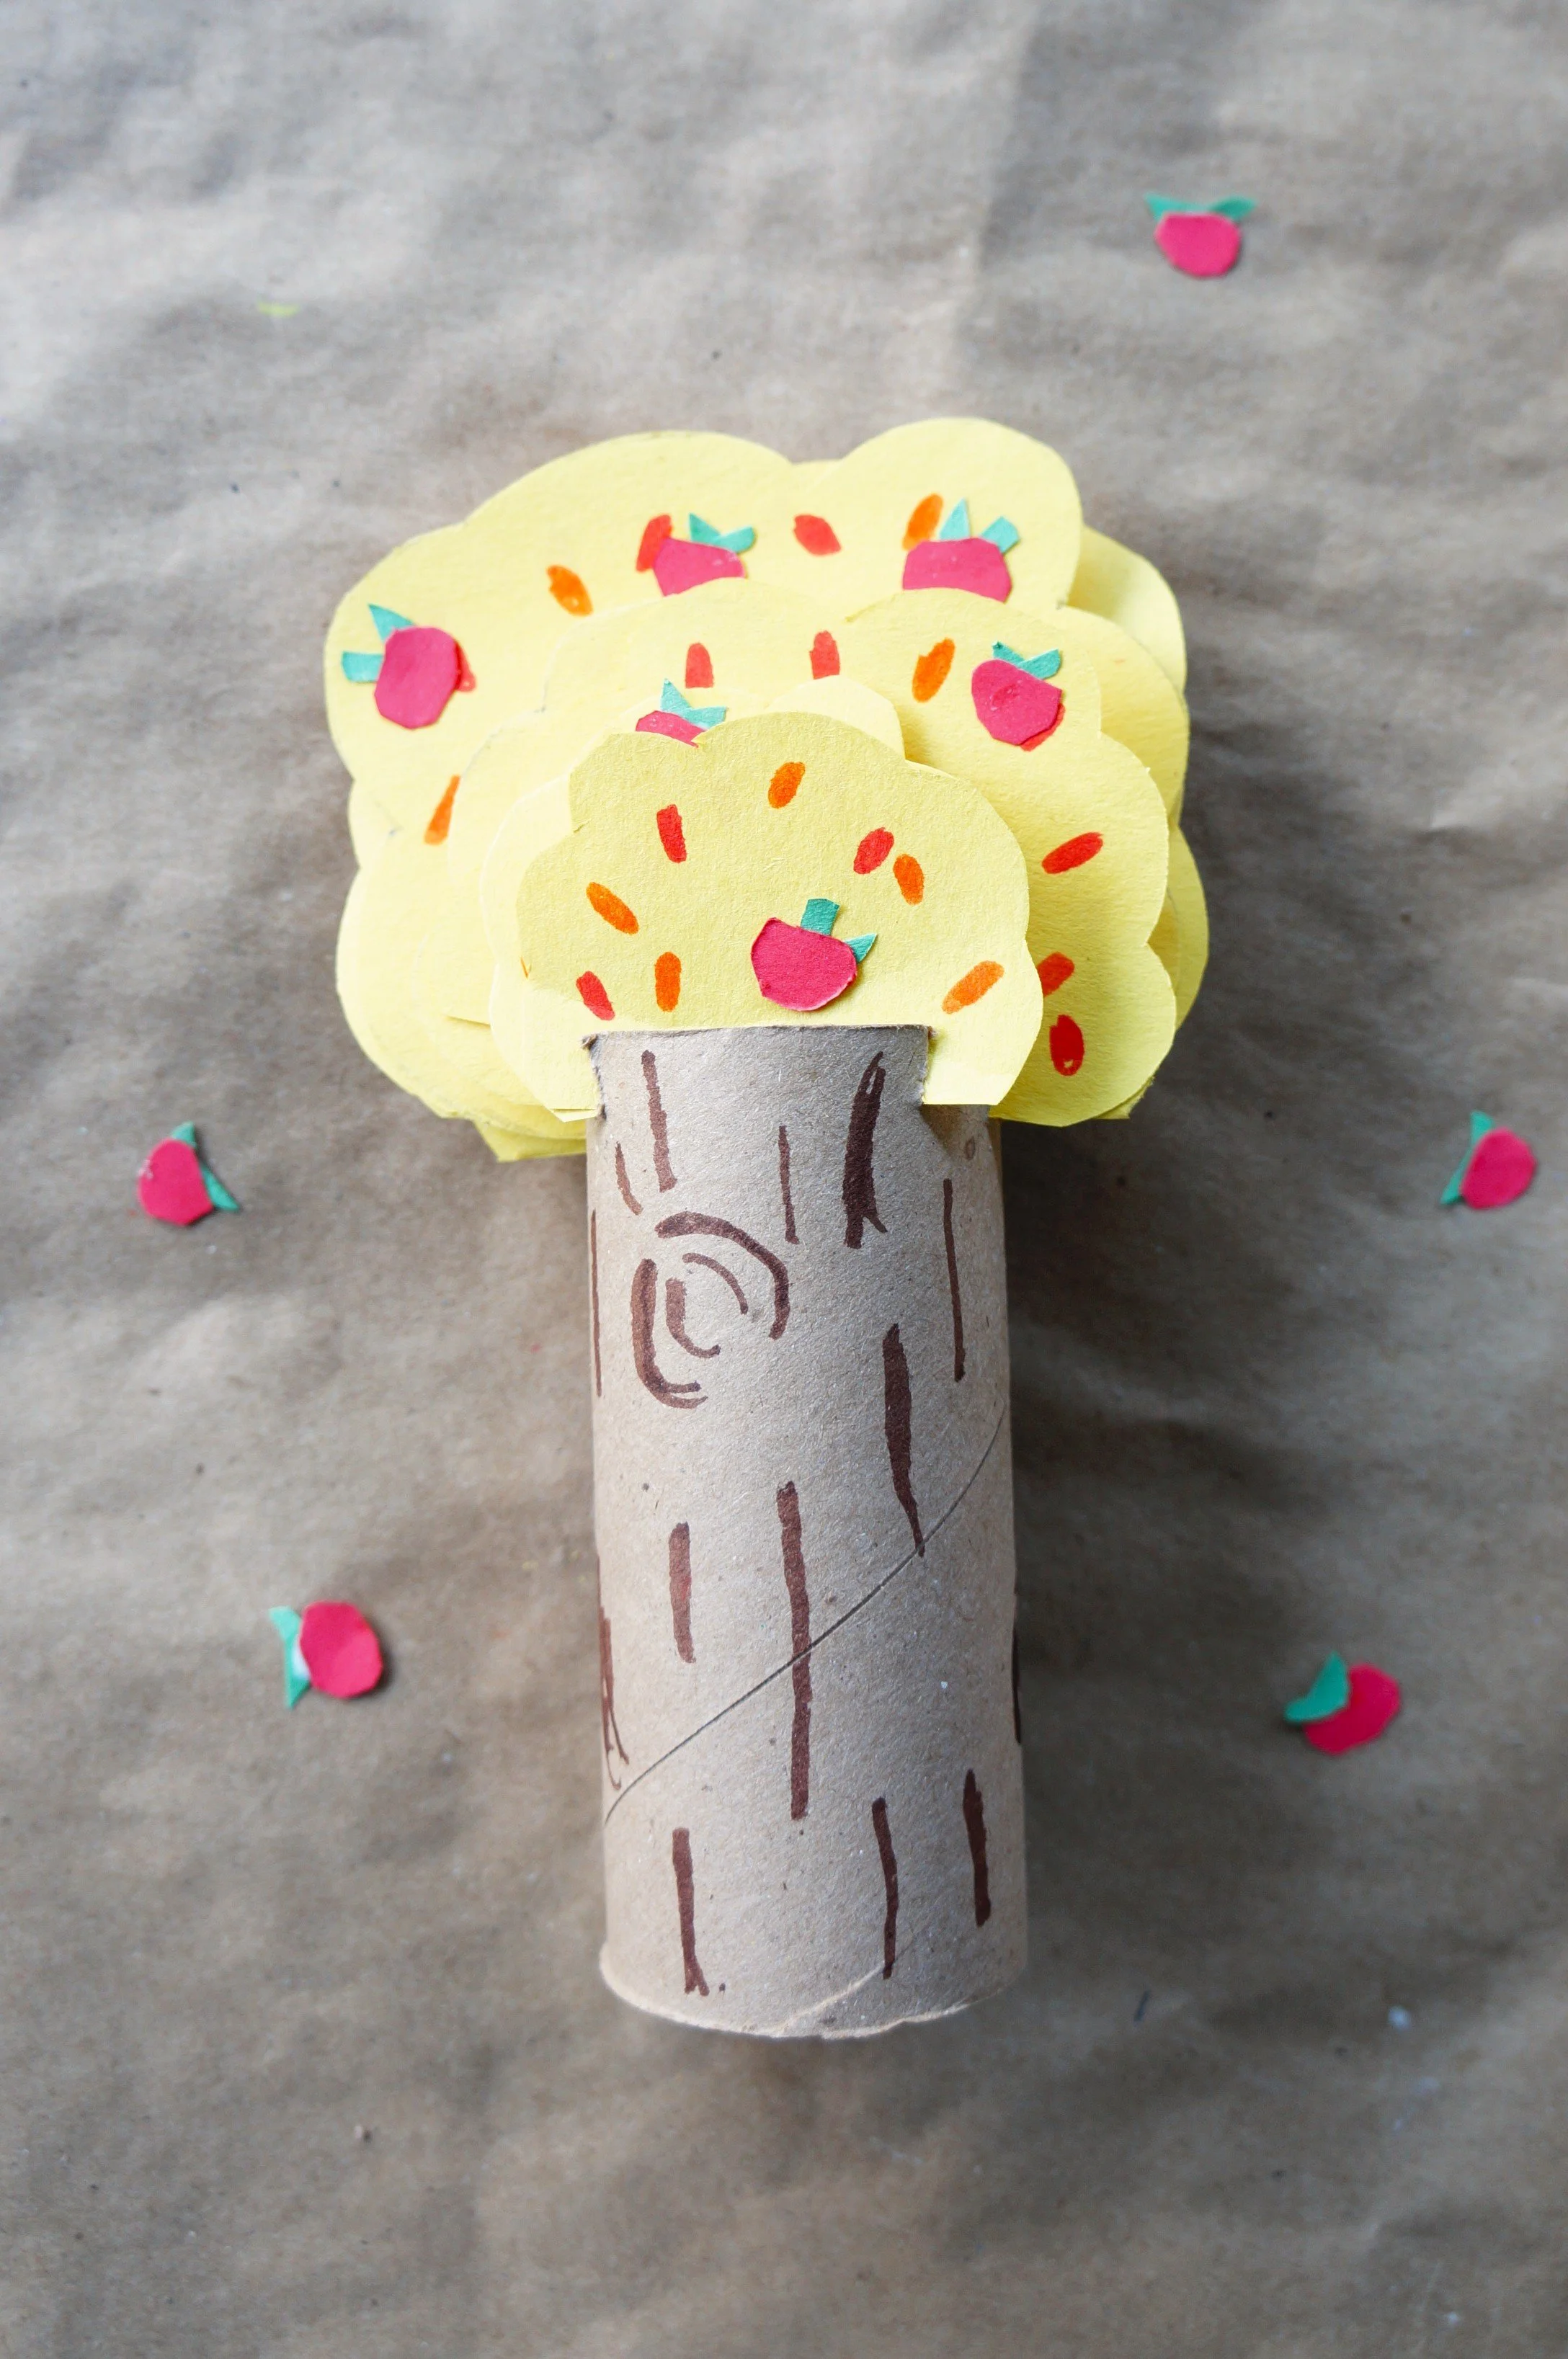
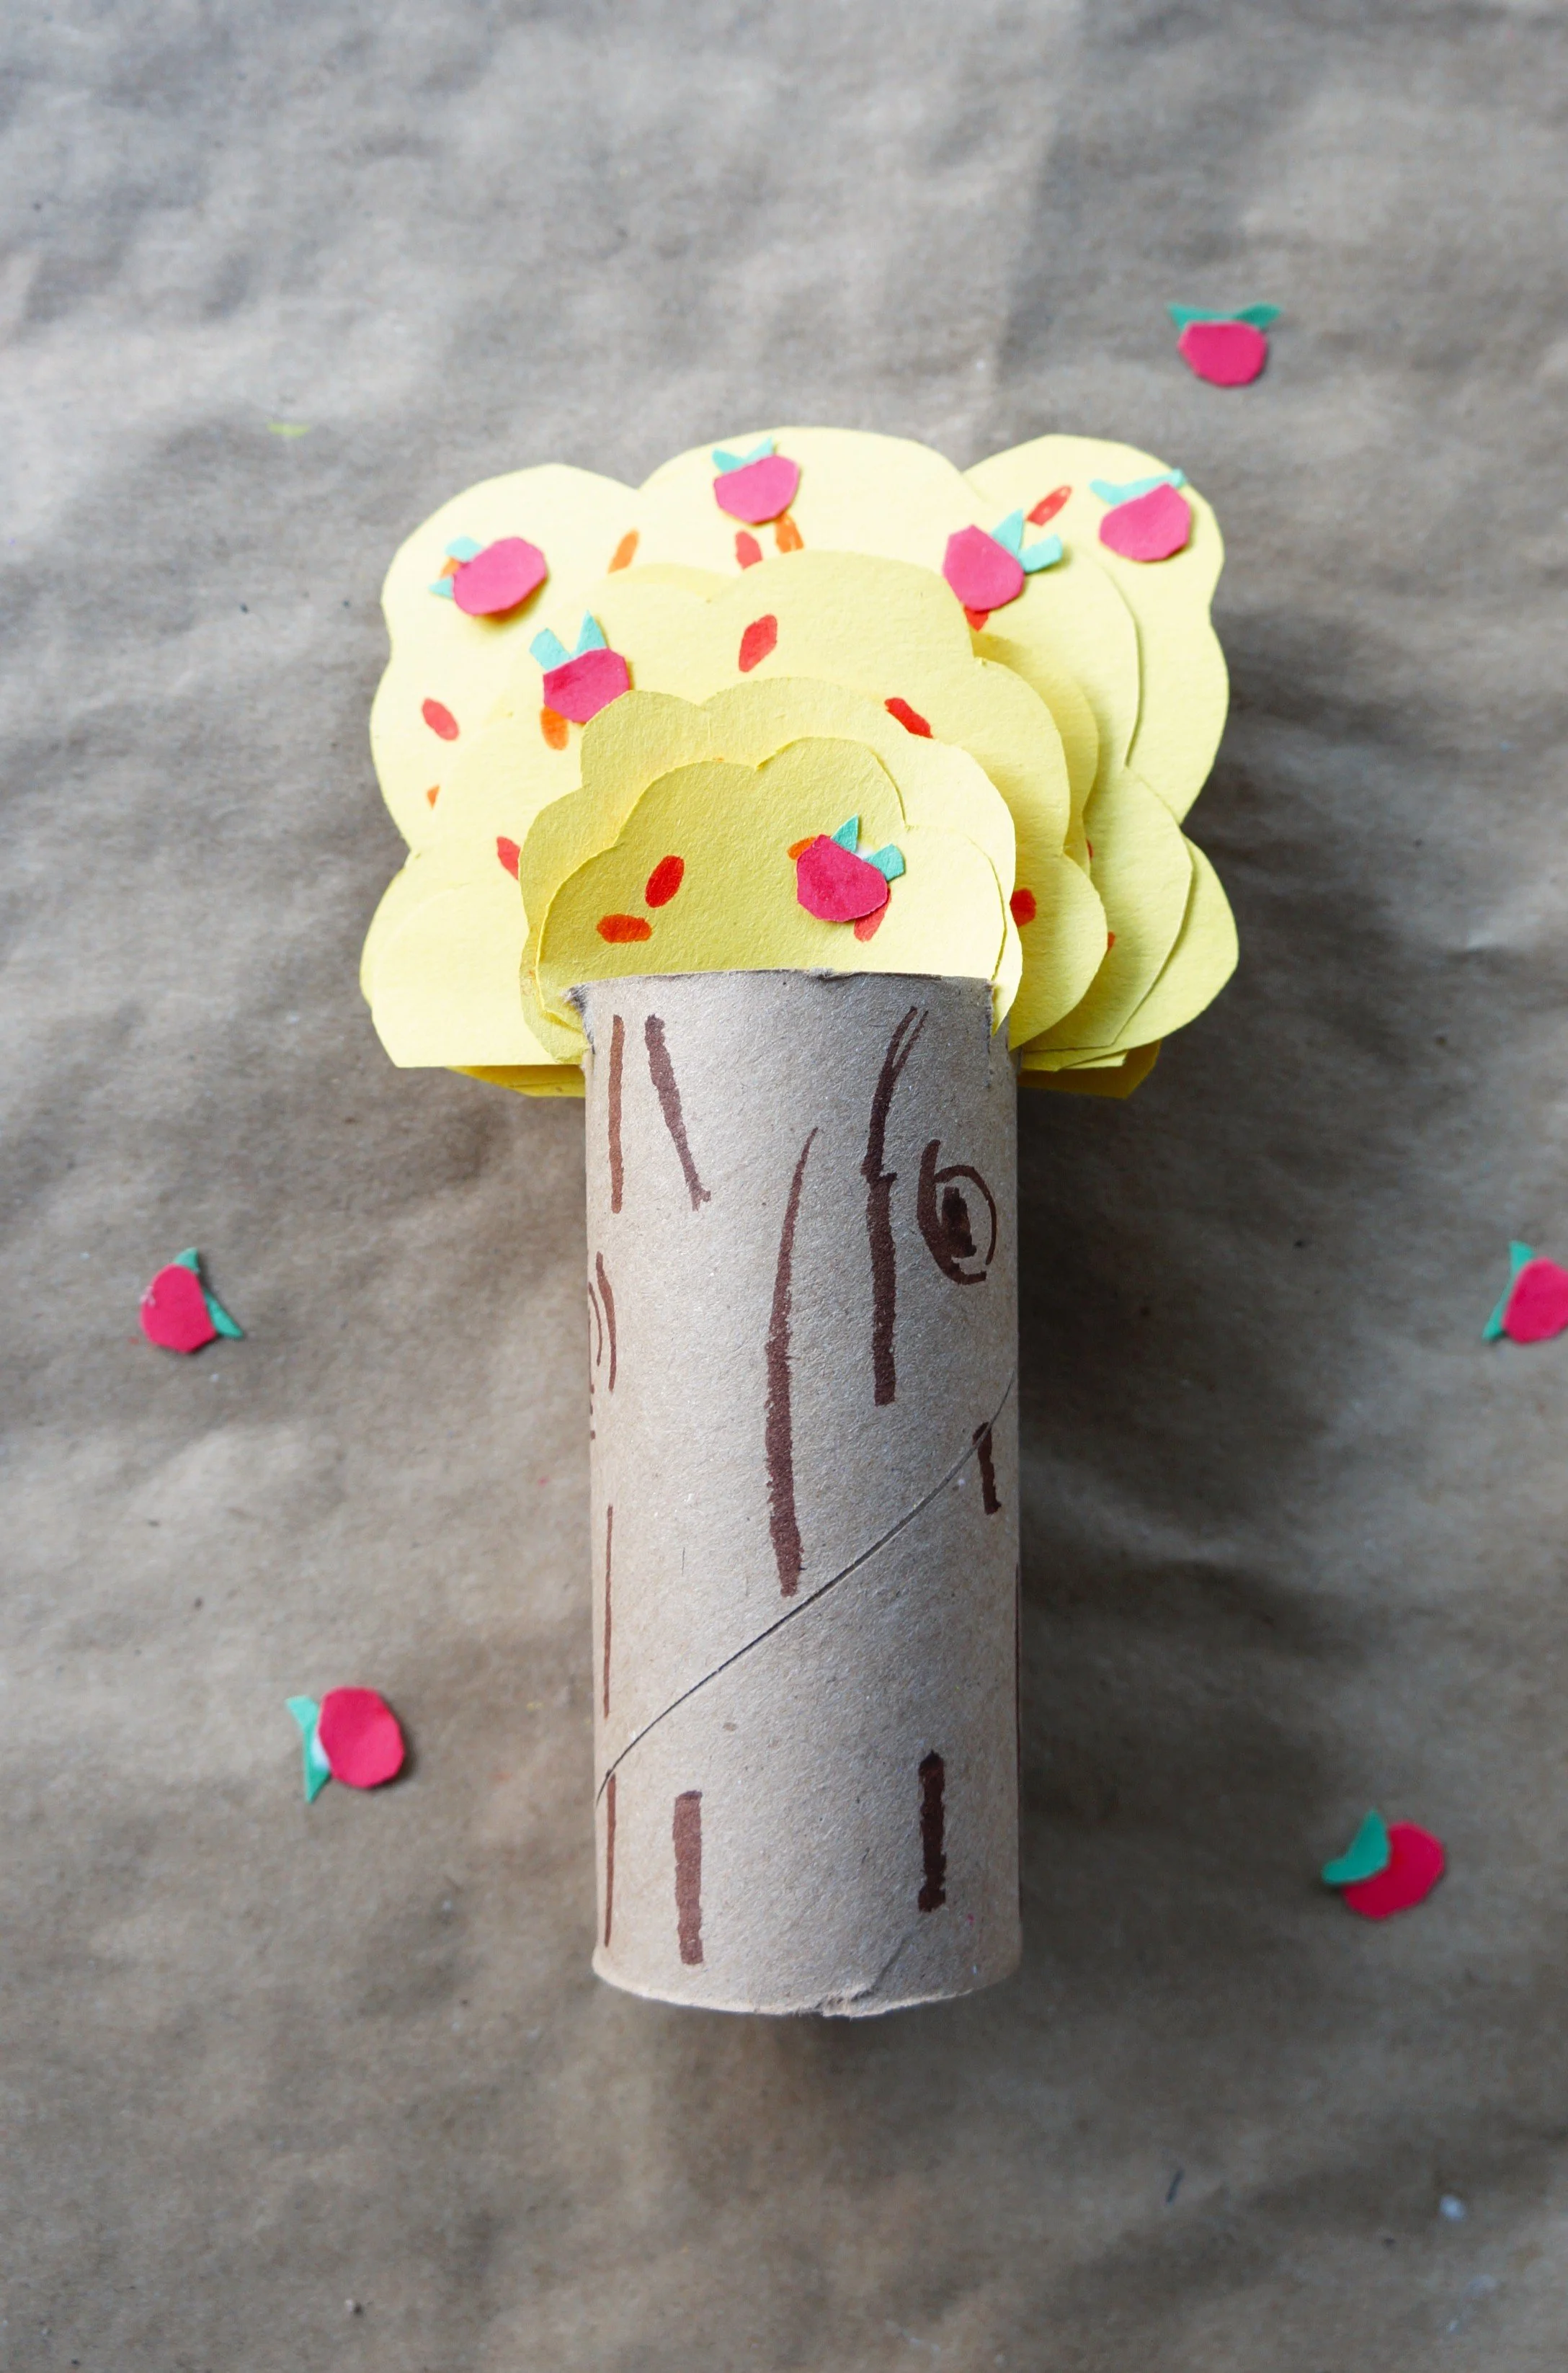
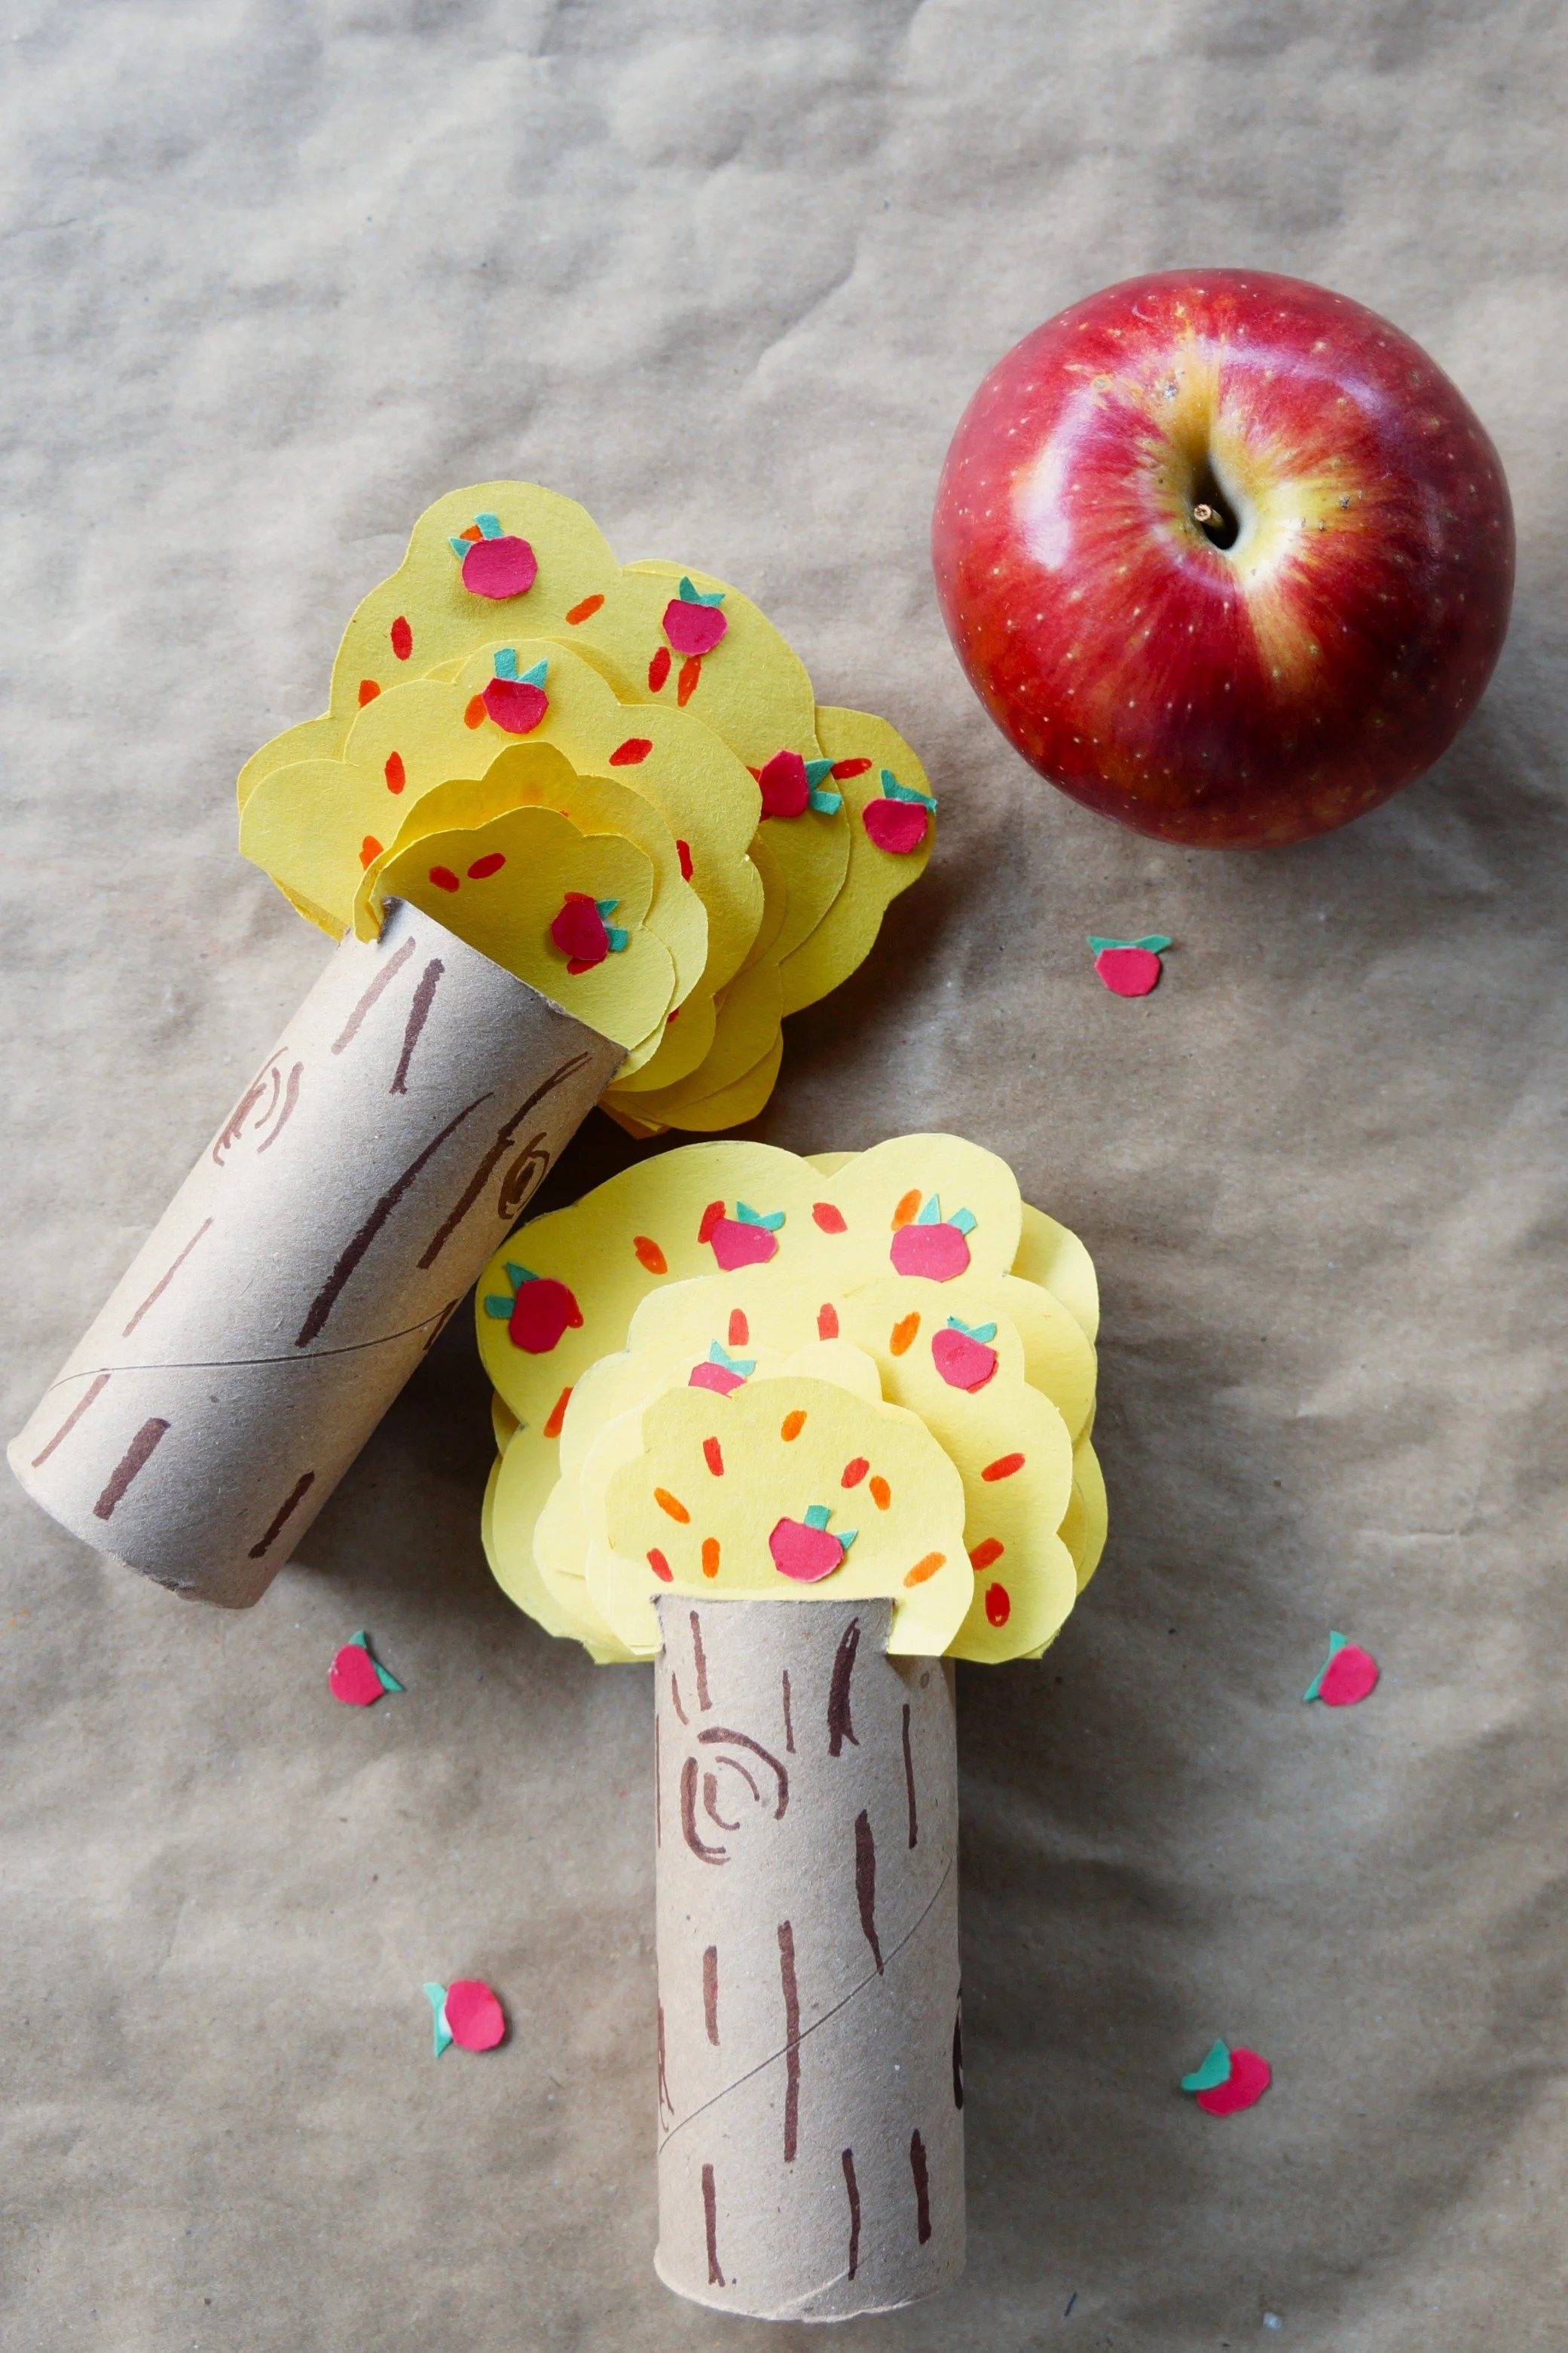
5. Glue the greenery and apples to the different layers.
6. Let everything dry for about five minutes.
That’s it!
Happy crafting,
Amanda and Naomi
To share: take a photo of your craft and let us see it! Click Photo Submission, then submit the photo.