

Hi Friends,
This week we made a simple fall Stacked Rounds Wreath with neutral colors and floral-print paper.
The cooler weather this week gave us the go-ahead for fall crafting and even inspired the Hubbs to pull out the outdoor decor = )) Fall may be a few weeks away, but it’s already here for us! Check out the simple wreath below.
*Click on the photos for a closer look
What You'll Need
Construction Paper (2) of each color
Extra Paper (2) of any color
Wrapping Paper or (2)Scrapbook Papers
Sturdy Paper Plate
Pencil
Glue
Scissors
Cereal Bowl
String
The Steps
We want to see your craft! Click PHOTO SUBMISSION, then submit the photo.

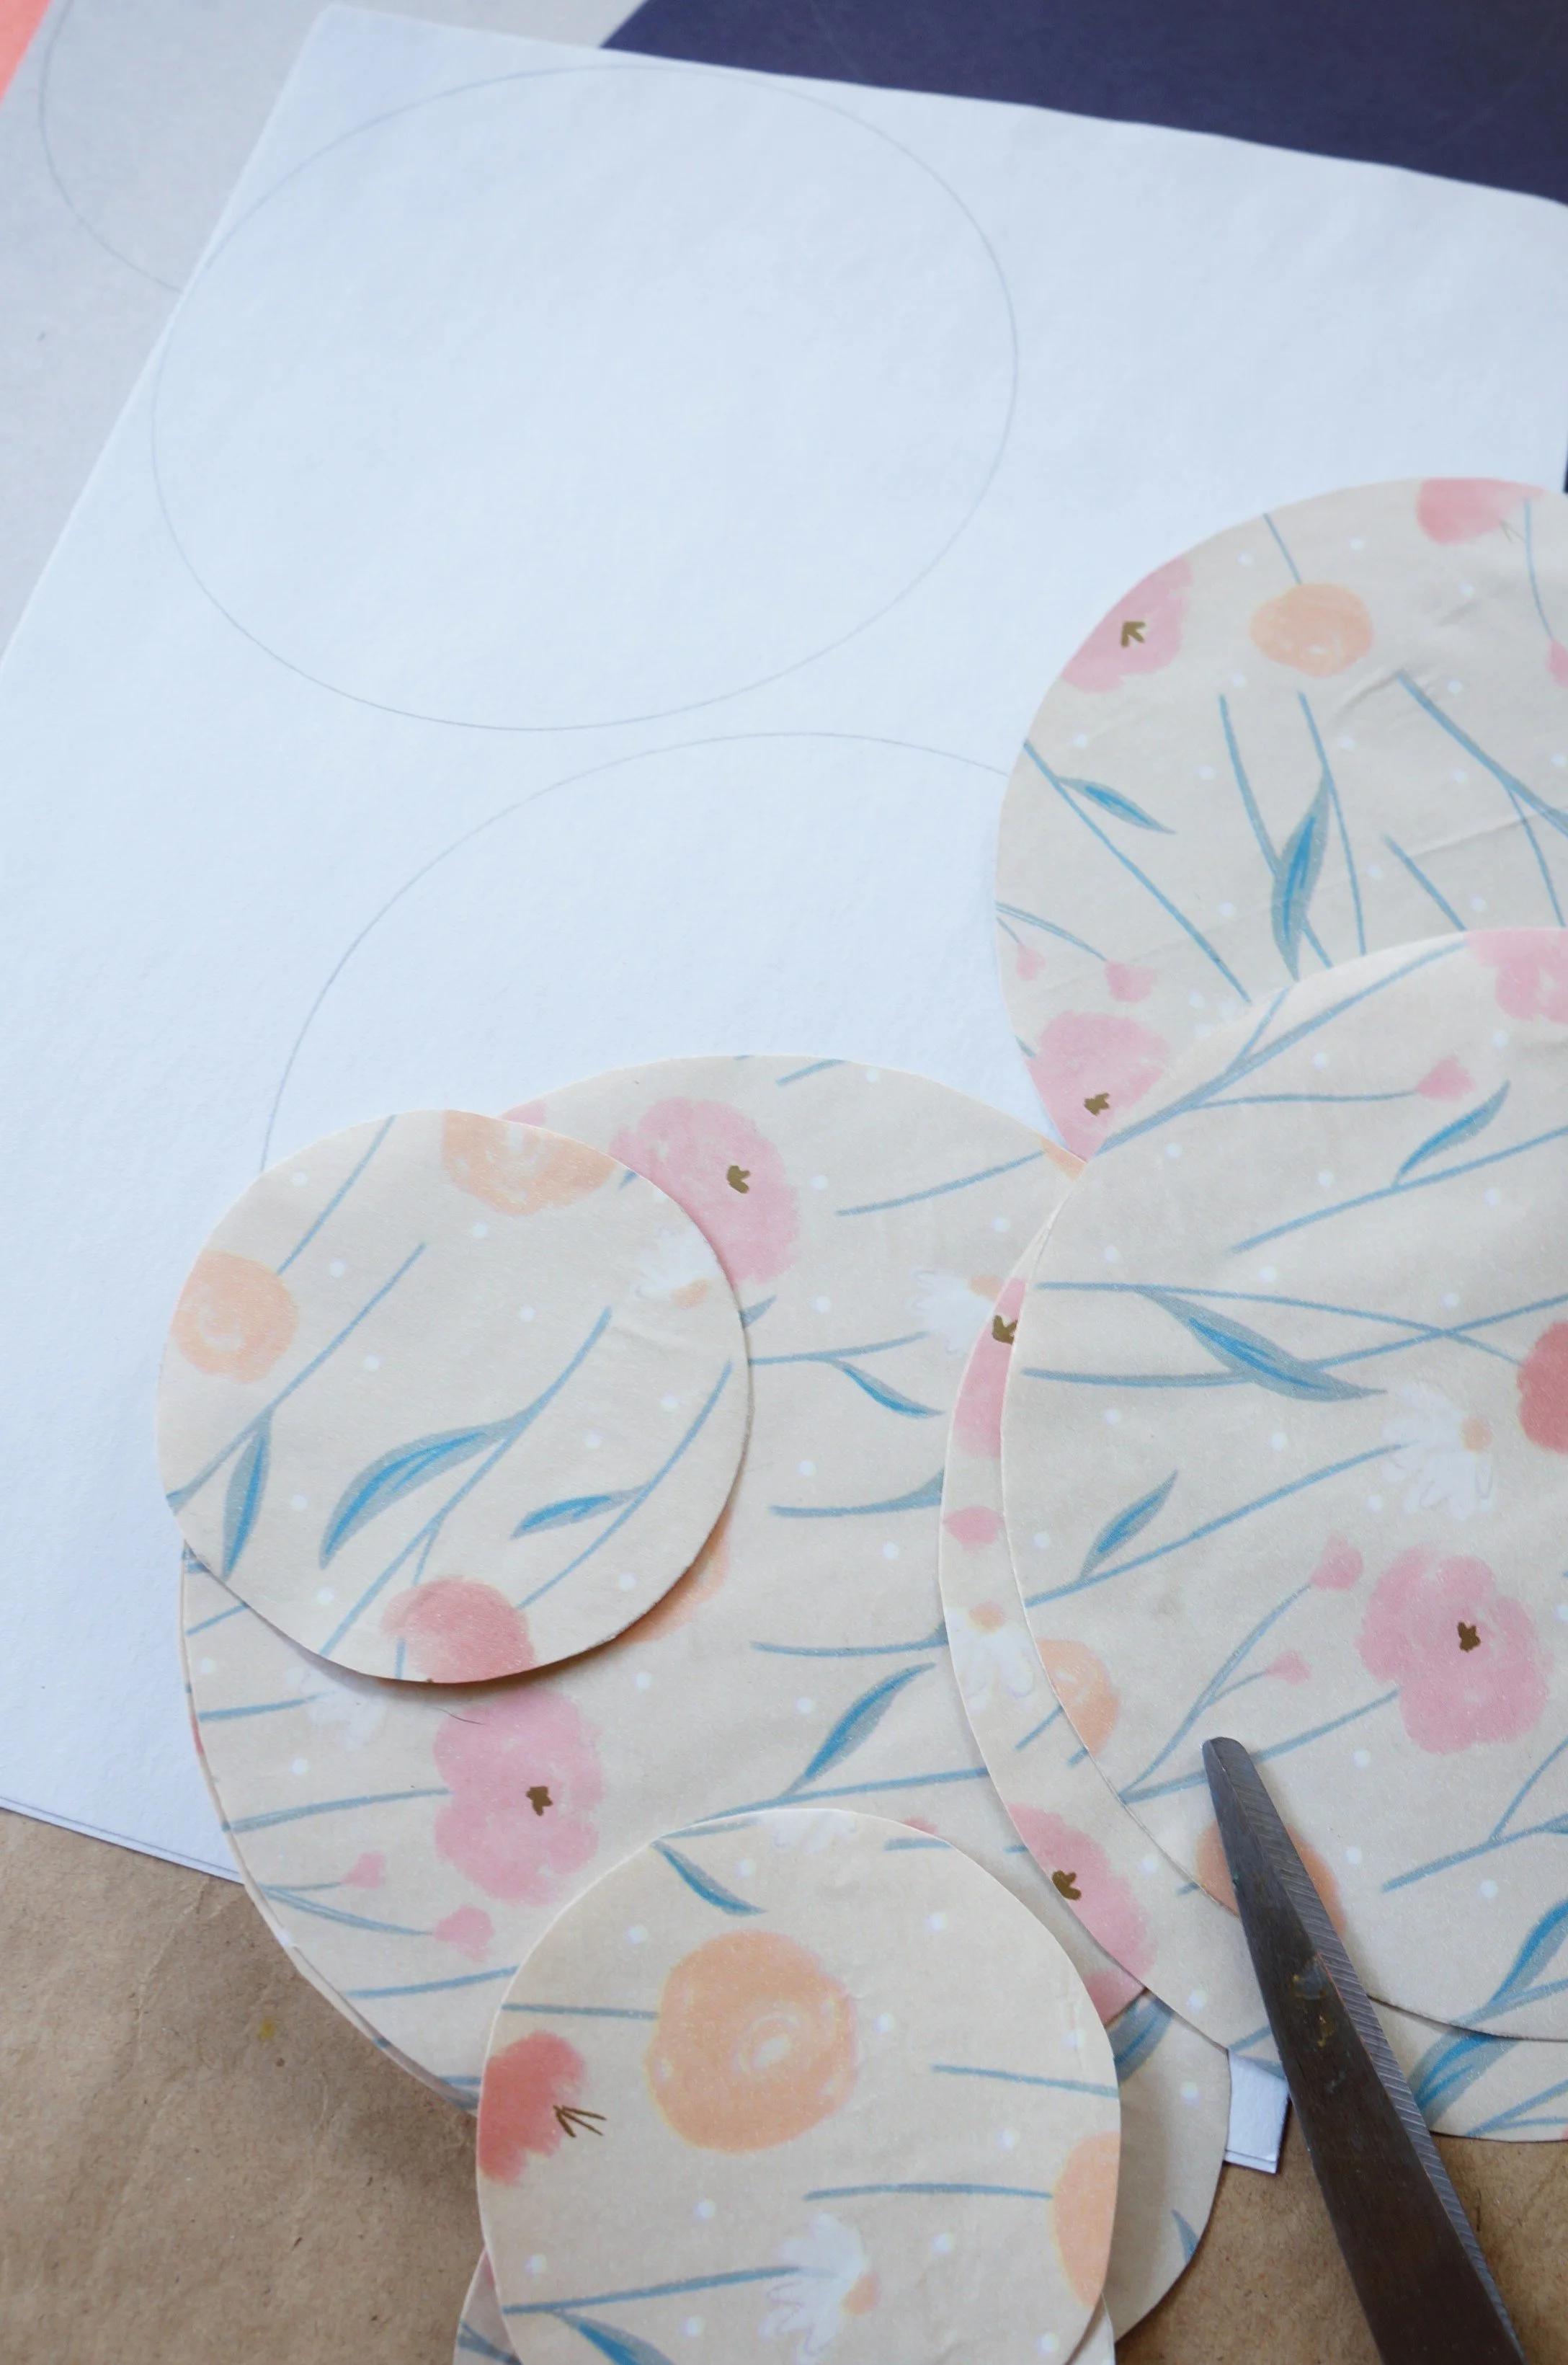

PREP (Skip 1 if you’re using scrapbook paper)
Unroll your wrapping paper a bit, glue the two extra sheets of paper to the inside, then cut out the sheets and set them aside.
Trace the opening of the bowl three times on the colored paper(twice on one paper and a third on the second paper), then stack a few sheets together, hold firmly, and cut out the rounds.
Repeat the steps until you have three rounds from each color.
Repeat the steps on the wrapping/scrapbook paper, including tracing the bottom of the bowl three times, for smaller rounds as well.

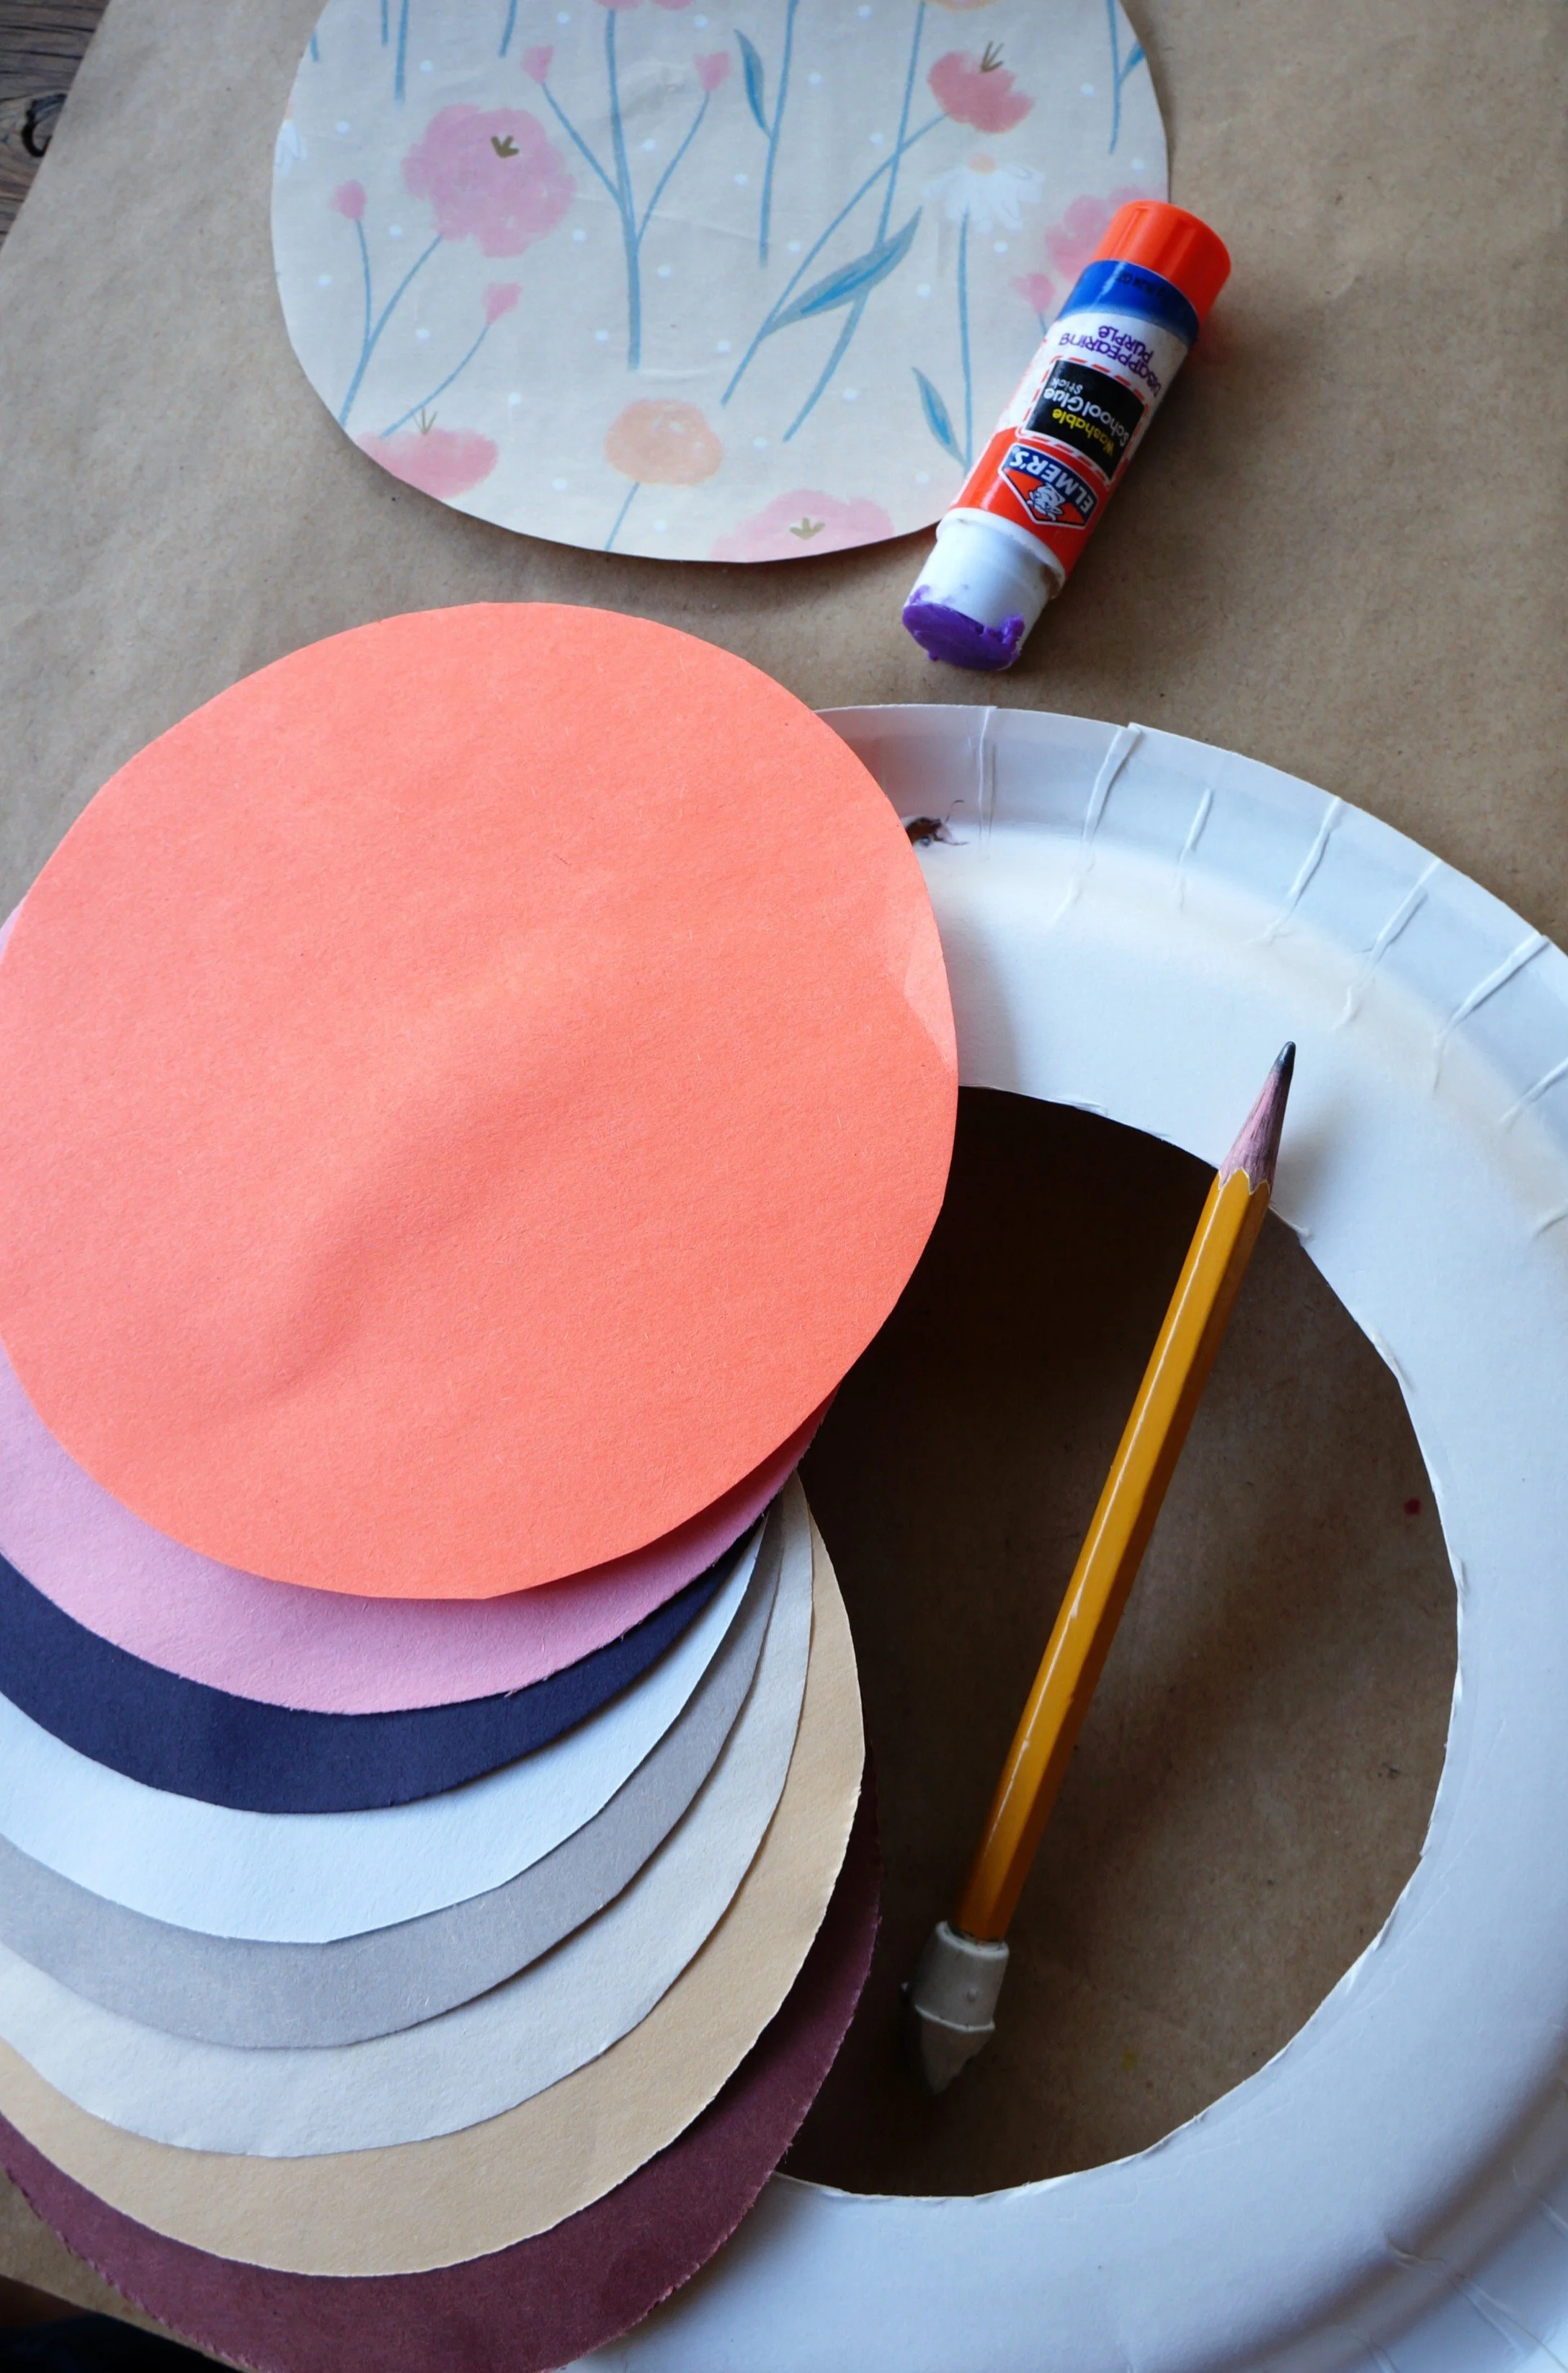

BASE
Poke a hole in the paper plate and cut out a large circle.
Poke a hole at the top of the plate for hanging, then begin gluing your rounds with 1/4 to 1/2 inch space in between.
(If you don’t want a large gap between the last few rounds like ours, widen the space to 3/4 inch)
Repeat until all the large rounds are used.


FINISH
Glue the smaller rounds near the center of the wreath.
Flip over the wreath, tie a knot on the ends of a short string, feed the loop through the hole in the plate, and then pull the ends through the loop of the string.
That’s it!
Happy crafting,
Amanda and Naomi
To share: take a photo of your craft and let us see it! Click Photo Submission, then submit the photo.