

Hi Friends!
We’re sharing this 4TH of July: Mickey Mouse Garland, inspired by my little one’s love of Mickey Mouse. This craft combines a touch of Mickey Mouse with a patriotic emphasis! Check it out below.
*Click on the photos for a closer look
What You'll Need
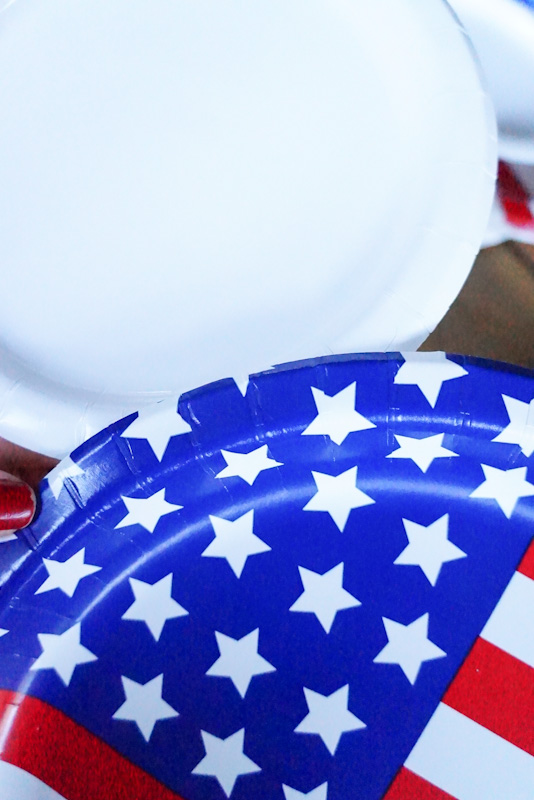
Large Patriotic Plates (10 pack)
Small Single Colored Plates (20)
Yarn/String
Glue Gun
Scissors
Hole Punch
The Steps
We want to see your craft! Click on PHOTO SUBMISSION and submit it
STORYTIME: We recently got to visit Mickey at Disneyland in celebration of the three summer birthdays we have, including MJ’s second. We knew he would be over the moon to see his favorite buddy in person, as would we; it was our first time as a family!
When it was time to celebrate his actual birthday, it had to be Mickey themed, something easily customizable, and inexpensive. So, I visited my local Dollar Tree, grabbed solid color plates, and created a Mickey garland, just like this one. I decorated with a few more of their items and made an extra Mickey Mouse head for the cake stand.
Easy peasy!


MICKEY
Start with a small plate, carefully add some glue to the flat part of the edge, just enough to glue to the larger plate.
Place the small plate under the larger plate’s edge.
Carefully seal and hold together a few seconds.
4. Repeat the process until you have all Mickey heads you'd like on your garland.


HOLE PLACEMENT:
Under Ears: for hanging against a wall or fence.
Between Ears: for hanging anywhere else.
1. Punch holes based on where you’re going to use/display the garland.


2. Cut about 14 -15 ft of yarn/string, less if you plan to keep them close. (You can always add more to the ends)
Or cut (2) 7ft strings, work with 5 heads per each and then tie together(we chose this option).
3. Feed the string through the back and to the left side of a Mickey head, about 6in. Then wrap over edge of the plate and back through the hole.
4. Pull the string up and through the loop it creates, pull tight.
5. Now feed the longer end through the hole on the right side(make sure string is behind head) and create the same loop.
6. Leave about 6-inch between the next head and continue the process with the rest of them. If you had 2 shorter strings, tie 2 of the ends together.
That’s it!

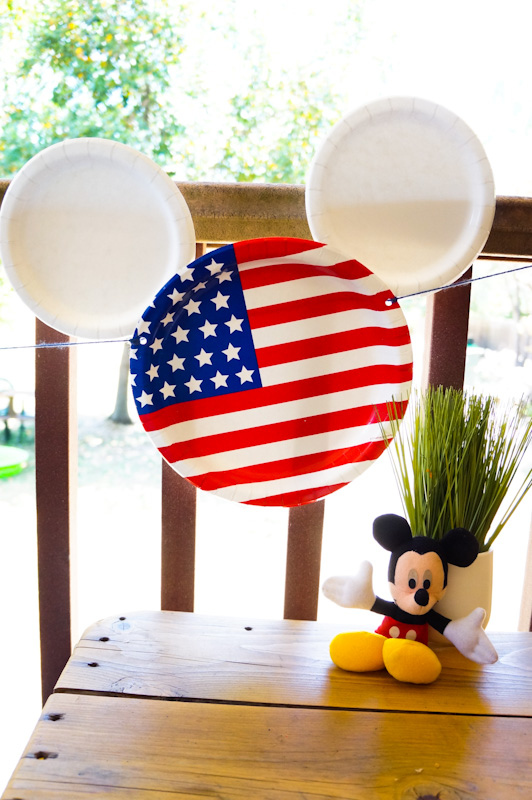

These Mickey heads came out great and are ready for our 4th of July festivities. It can also be used for Memorial Day, Labor Day, or Veteran’s Day.


*These little flags were last week’s craft :)
Happy crafting and Happy 4th of July!
Amanda and Naomi
To share: take a photo of your craft click on photo submission and submit the photo.


