

Hi Friends!
We bring you this DIY Magnets 3+ Ways craft straight out of our Eureka, CA trip last month, and MY LOVE of magnets!
Check out our magnets below, ranging from a small cost to least expensive to make.
*Click on photos for closer look
What You'll Need
Patch, Badge/Button Pin or Keychain small cost
Pressed Penny minimal cost
Gift Shop Bag, Brochure, Flyer, or Business Card (from travels/outing) no cost
Scissors
Cardboard
Craft Glue
Gorilla Glue
Different Sized Magnets
The Steps
We want to see your craft! Click on PHOTO SUBMISSION and submit


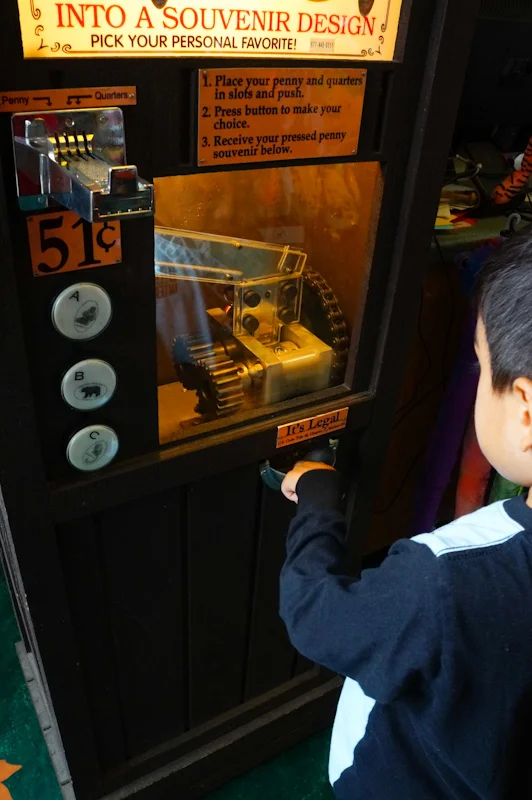
M.S. helped me make the commemorative pennies! This was his and his little brother’s first time to the Sequoia Park Zoo or any place in the Eureka, Ca area.
STORYTIME:
Magnets are fun, unique, usually specific to their locale, mostly inexpensive, tactile, and a useful memento. They hold a special place in my heart and on my fridge, showcase the places we’ve traveled to before we had kiddos, those we’ve visited with them, places our family/friends have been to, and honestly, tell a pretty neat story. Sometimes magnets are harder to find, so I’ve used the magnet hacks below to create my own.
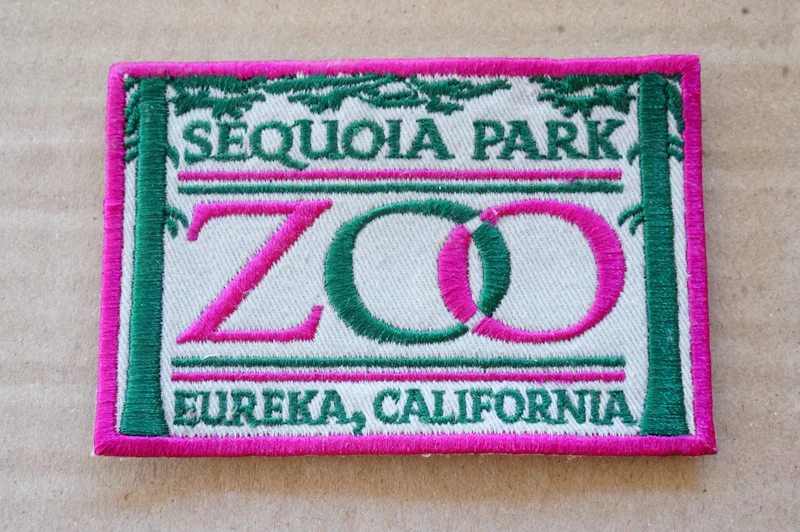


A patch, pressed pennies, stamped paper bag.


PENNIES
Our magnets had a stick-on option, but to be safe, we added Gorilla Glue after peeling the paper off.
Remove paper backing from magnet and add a little bit of glue to the magnet and penny.
Let glue sit on each item, unattached, for about 1-2 min.
Join the 2 together and press hard. Let it dry for a few minutes.


STAMPED ITEMS OR BROCHURES
Trim your item of choice.
Use cardboard/firm piece of paper, cut down to size to mount your item onto.
Add craft glue to the cardboard and then press your item firmly. Let it dry for a few minutes.
IF you’re working with styrofoam, Gorilla Glue might work better.
Turn your piece backwards to add the magnets, remove the paper backing, apply some glue, and let it sit for 30 seconds.
Press the magnets onto the cardboard firmly and let it dry for a few minutes.
OPTIONAL: Write down the location and date of your trip on the back to help you remember your visit. I like to add the name of the person who gifted us the magnet.


PIN/KEYCHAIN/PATCH options
a) Button pin- Just place a round magnet on the center and put it on your fridge or any place with metal.
b) License plate keychains- Hot glue the magnet on if you don’t plan to use it as a keychain.
c) Patch- Follow the instructions for stamped items.
That’s it!
Happy crafting!
Amanda and Naomi
To share: take a photo of your craft click on photo submission and submit the photo


