

Hi friends!
We’re saying, “so long, summer” with beautiful Tie-Dye Flowers in bright and pastel colors. We tried three different methods and show you each one. Grab some coffee filters, rubber bands, food dye, and create unique designs.
*Click on the photos for a closer look
What You'll Need
Coffee Filters
Food Dye
Rubber Bands
Water
Rinse Cup
Small Mixing Containers
(1) TSP
Green Pipe Cleaners
Medicine Droppers/Syringes or Straws
Plastic/Paper Plates
Scissors
optional: Plastic Gloves, Wipes/Wash Rag, Baking Pan
The Steps
We want to see your craft! Click on PHOTO SUBMISSION and submit


PREP
Wear gloves if you have them(we didn’t) and mix the Dye- 1 tsp water + 3 drops of food coloring, swish around to blend. Mix colors or double each batch. Each tsp mix is enough to cover 1 whole filter.
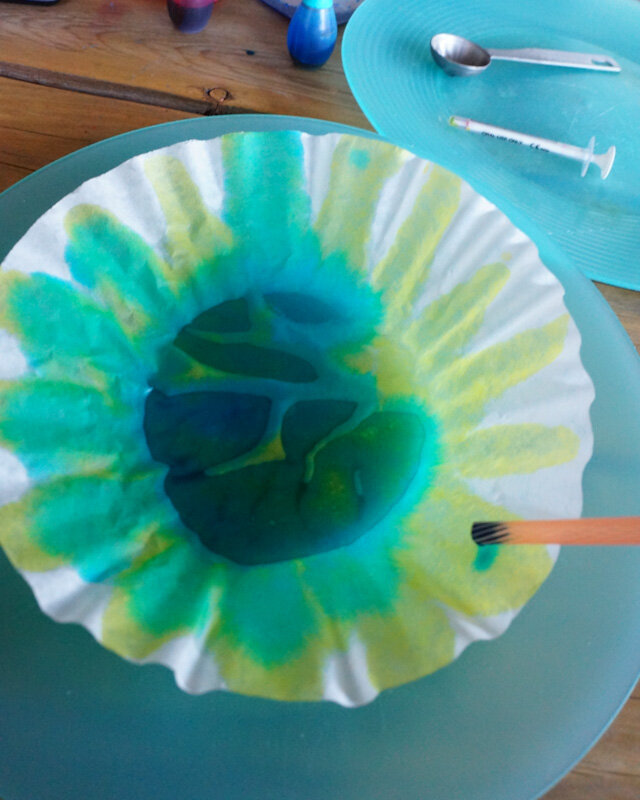
Medicine Syringe/Dropper Method (Quickest)
We used plastic plates to protect our work space but baking pans work as well.
Use a syringe/dropper to pick up some dye and carefully place small amounts of dye where you’d like it. The dye spreads quickly and easily.
Repeat with different colors or patters, then set it aside to dry for about 5 min.


Straw Method (Slowest)
Place a straw in the dye, put your pointer finger on the top to suction the paint, and carefully transfer it to the filter while holding your finger on the straw.
Remove your finger allowing the dye to coat the filter. Repeat until you cover the entire filter.


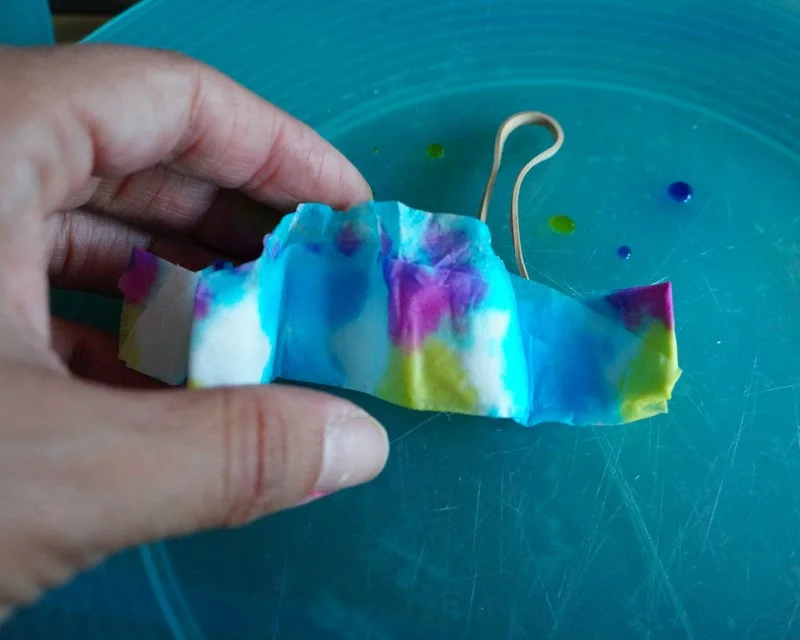

Rubber Band Method (Best designs)
Fold the filter in half and roll it like a burrito.
Start on the left side and fold in a zig zag/accordion way, then rubber band it together.
Add different colors, let it dry a few minutes, remove the rubber band, and straighten it out.


4. Create more with different folds and color combos.

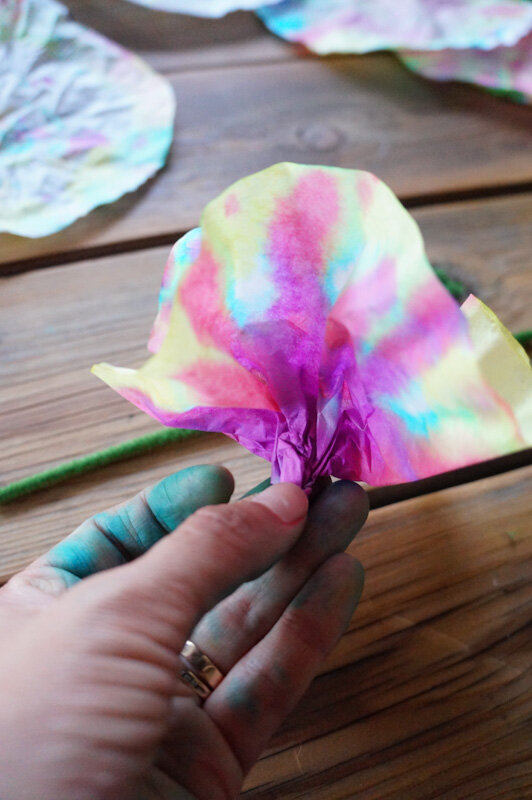

FLOWERS
a)
Cut the pipe cleaners into 1/3’s or 1/4’s
Grab the center of the filter, wrap it in the center, then wrap the bottom with a pipe cleaner.


b)
Fold filter in half with 1 inch of the edge exposed.
Flip it over onto backside, hold it in the center area, and begin to wrap into a cone.
Wrap the bottom with a pipe cleaner.


c)
Fold the filter in half, leaving 1 inch of the edge exposed.
Start curling away from yourself at the upper right, rounded area(becomes the bottom)
Curl until you create a flower you like, then twist the pipe cleaner.


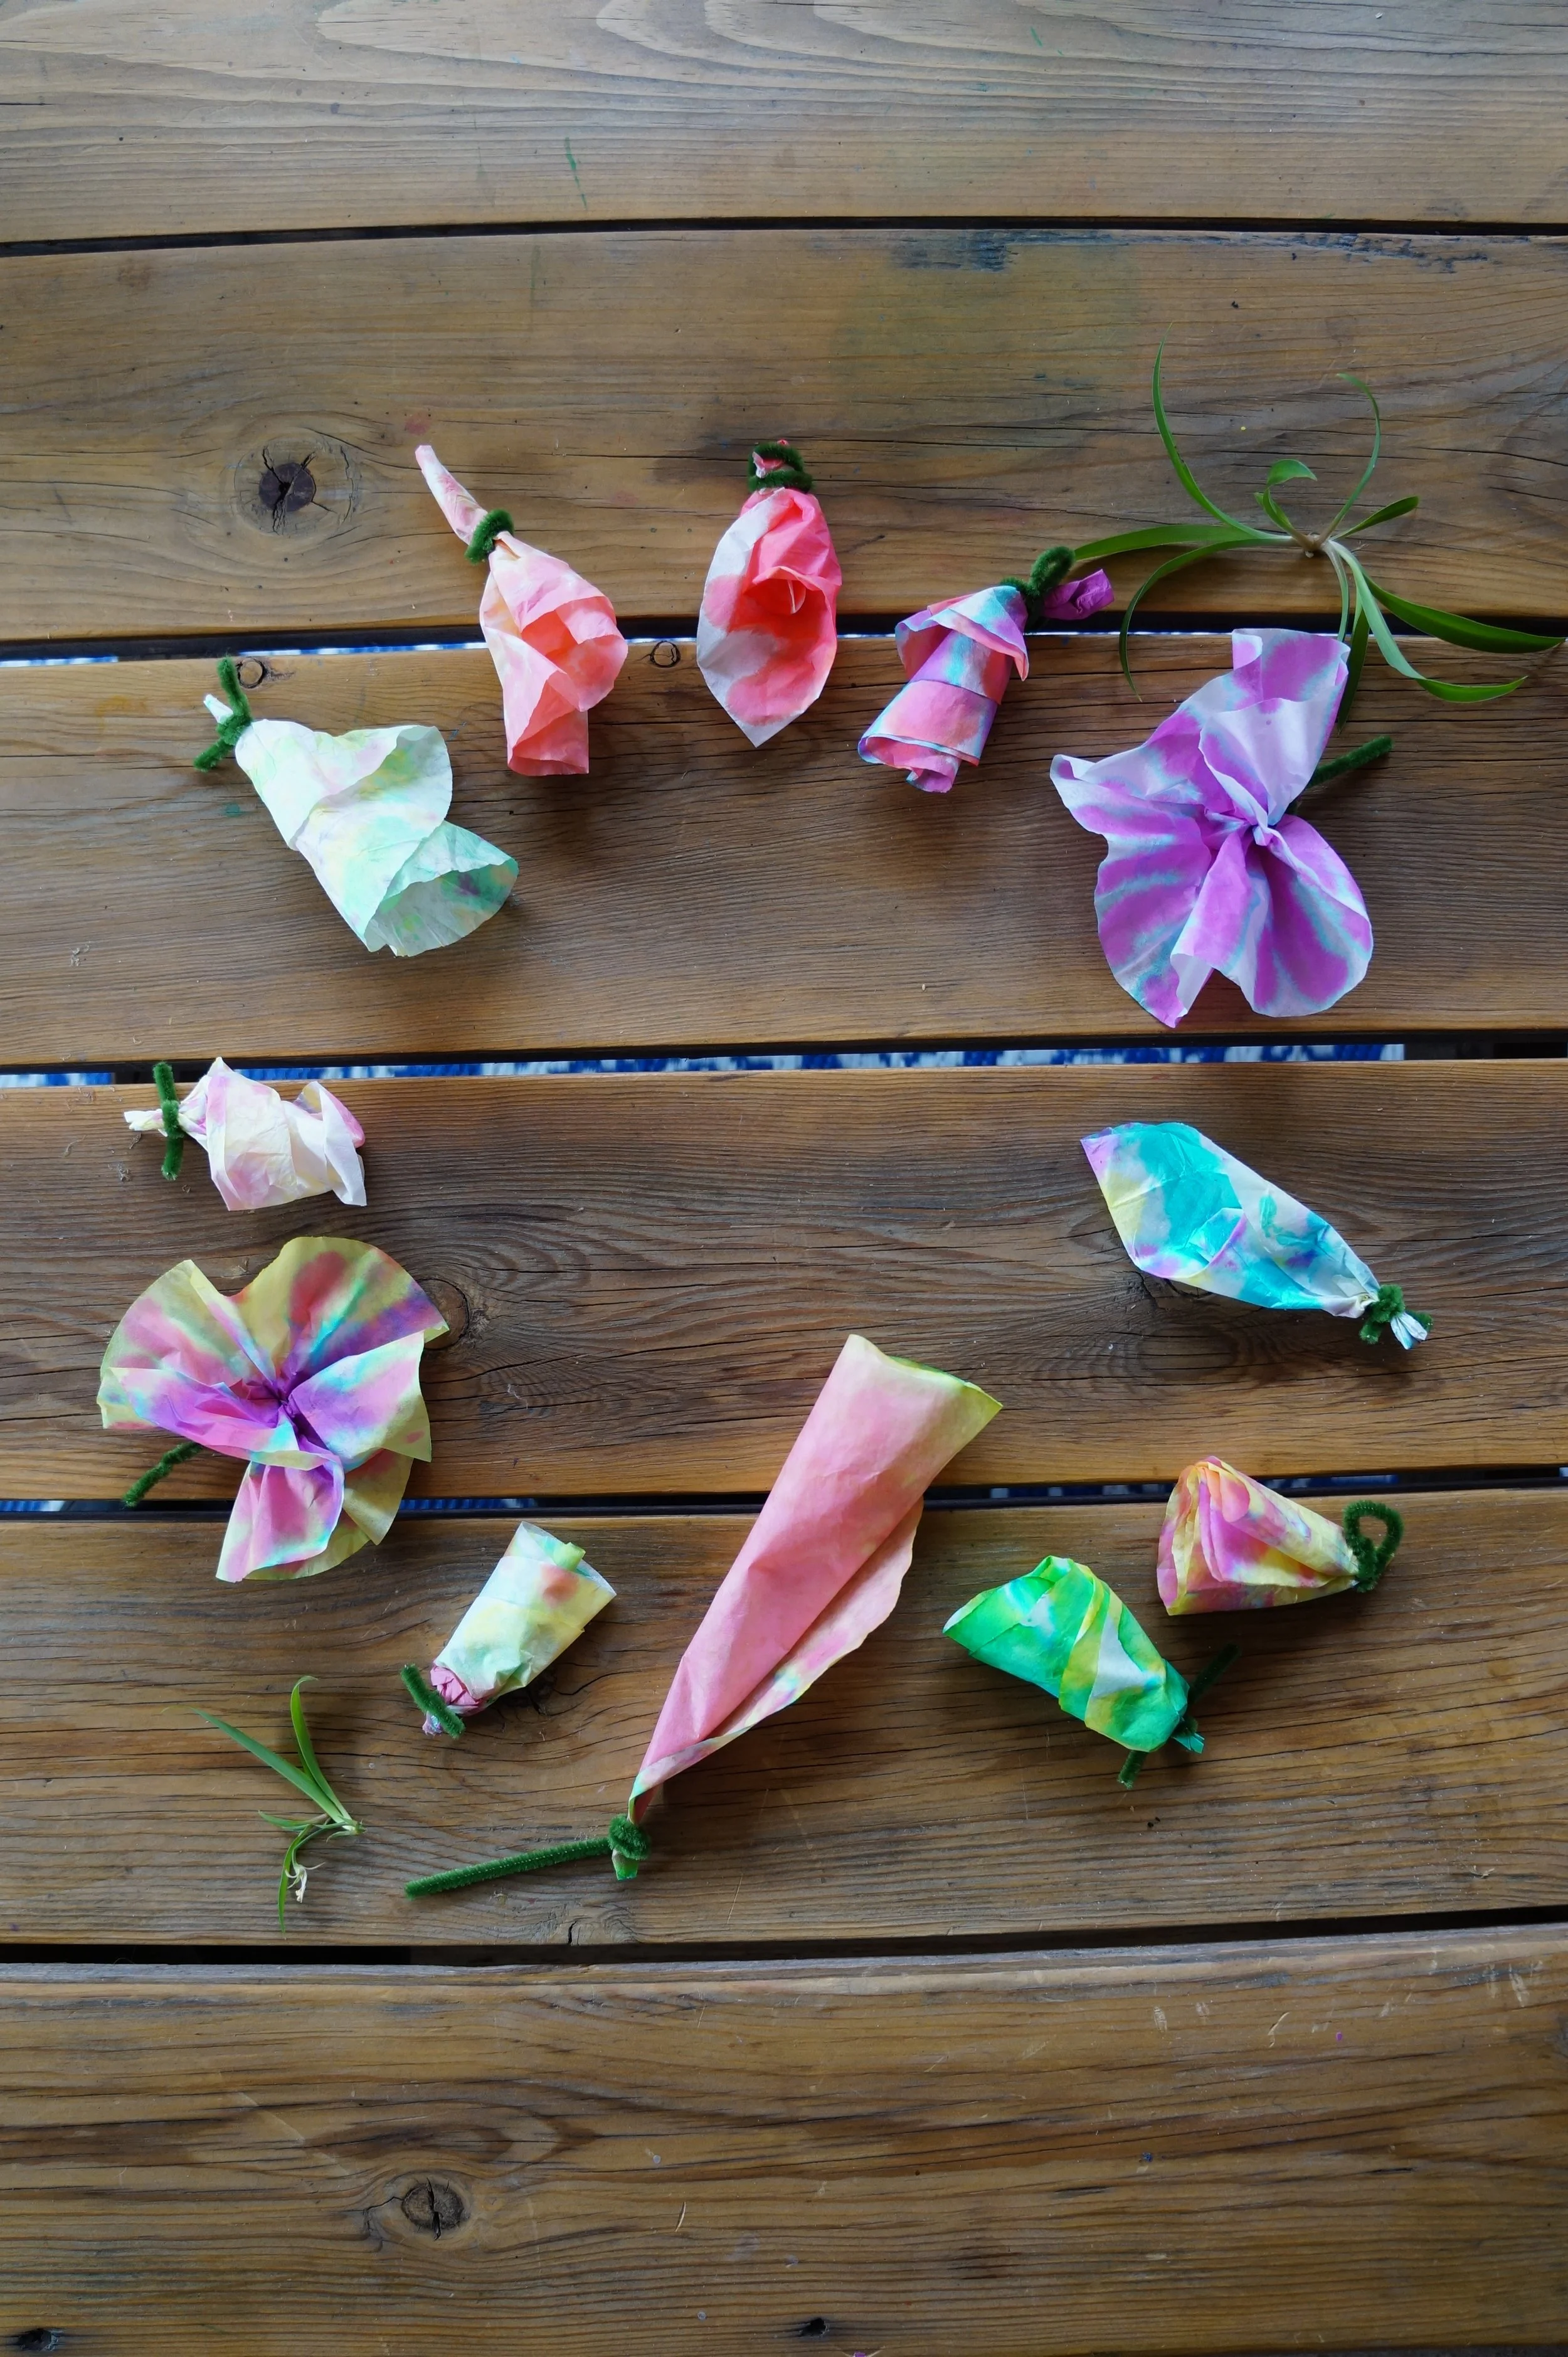
Enjoy your last week of summer friends :)
Happy crafting!
Amanda and Naomi
To share: take a photo of your craft click on photo submission and submit the photo


