

Hi friends,
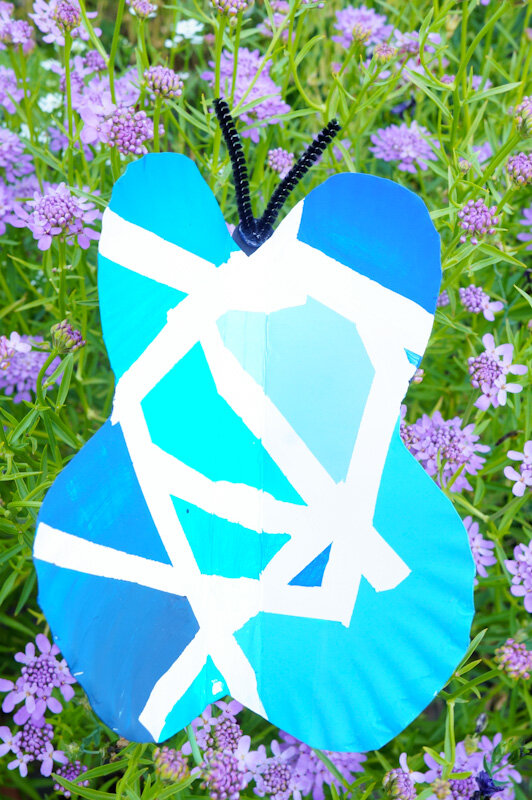
Today we have 3D Tape Resist Butterflies. We used craft paints, but these could easily be made with crayons, markers, or colored pencils. We had some glitches with our tape(it was older than we thought), but we enjoyed the process and the results anyway. We’ve included a tip on how to make hanging butterflies. Check it out below!
*Click on the photos for a closer look
What You'll Need
White Paper Plate
Med/Lg Craft Stick
Glue Gun
Craft Paints & Brushes
Painter’s Tape
Pencil
Scissors
Pipe Cleaner
Optional: 24-30 in. String/Twine
The Steps
We want to see your craft! Click on PHOTO SUBMISSION and submit

PREP
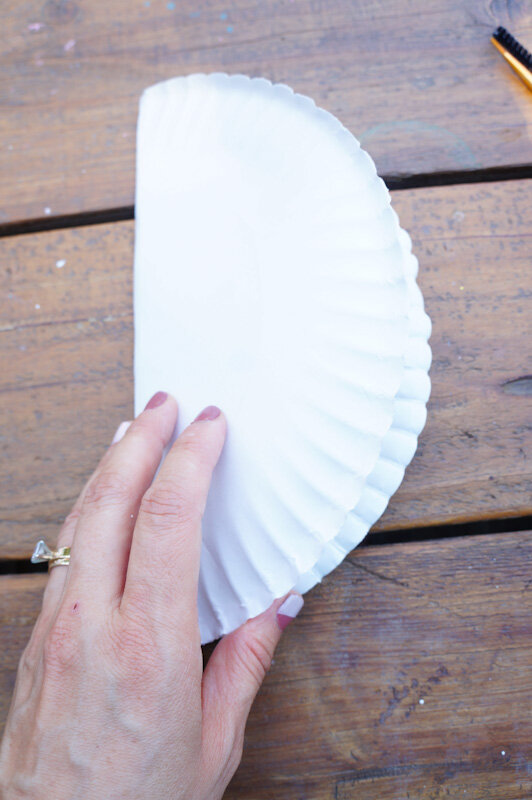
Fold the plate in half.
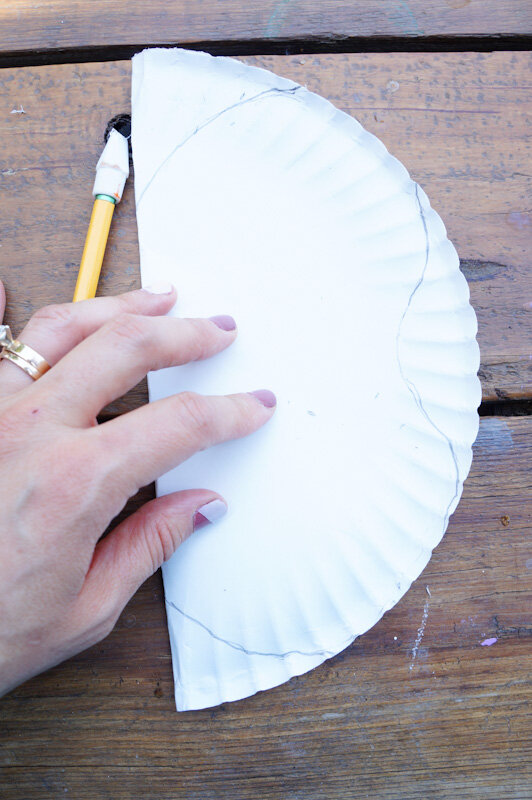
Draw your wings and cut them out.


3. Open the butterfly wings, center your craft stick, and trace it.
4. Fold the plate where the craft stick was traced.

WINGS
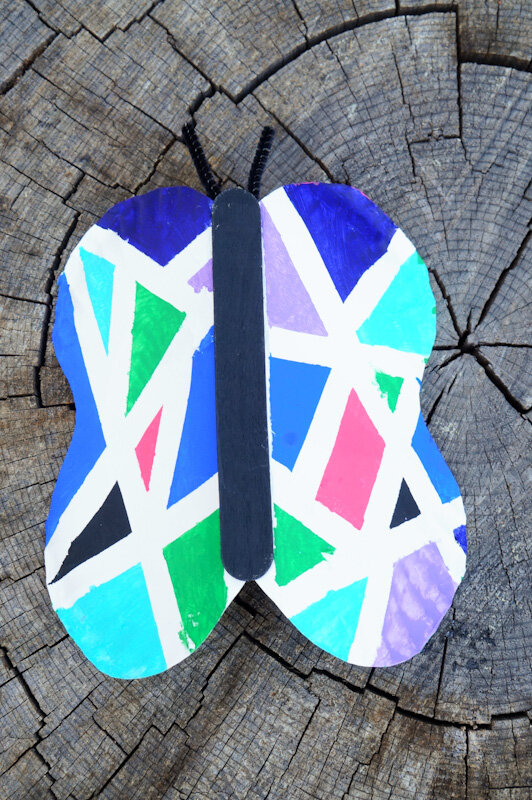
Paint the craft stick black on both sides and the edges.
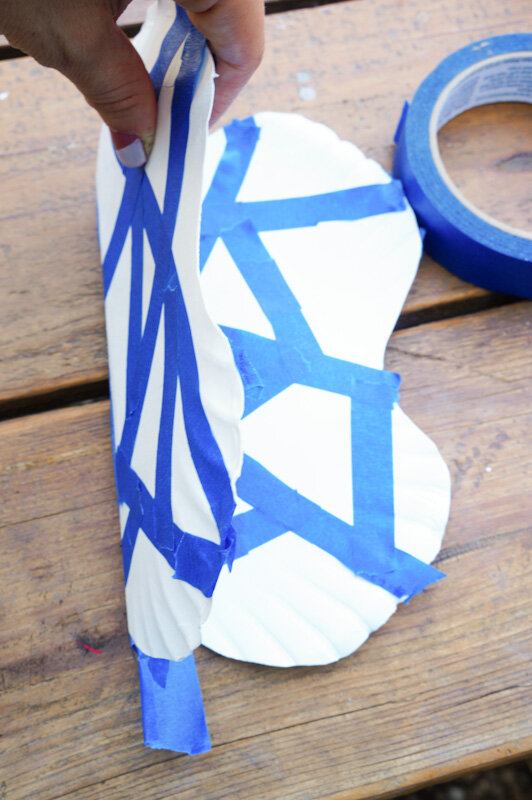
Cut varying sizes of tape and tape over the wings.
*We cut our tape in half to create narrow lines and also taped the inside.


Naomi’s butterfly and mine
3. Begin to paint using different colors or just one. Create a border if you’d like as well.
4. Paint the craft stick black and let it dry.


5. Carefully remove the tape and touch up any areas if necessary.
ANTENNA
Cut 4-5 inches from a pipe cleaner and bend it in half.
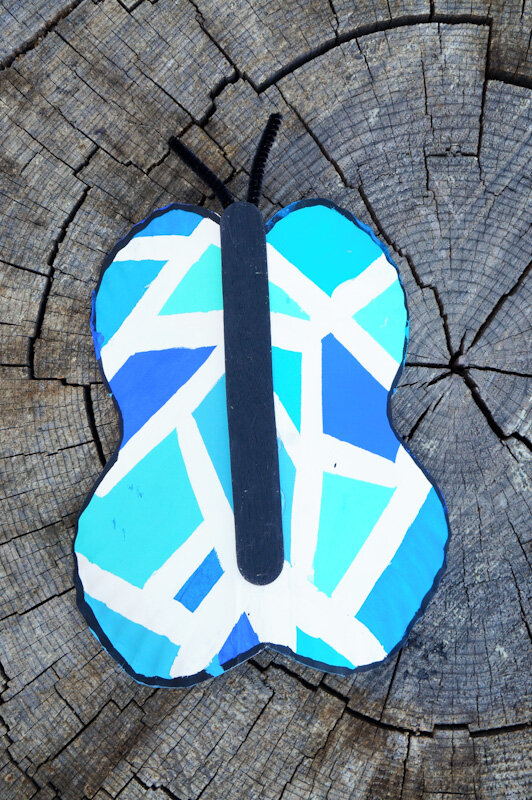
Add hot glue to the stick, attach the antenna at the top,
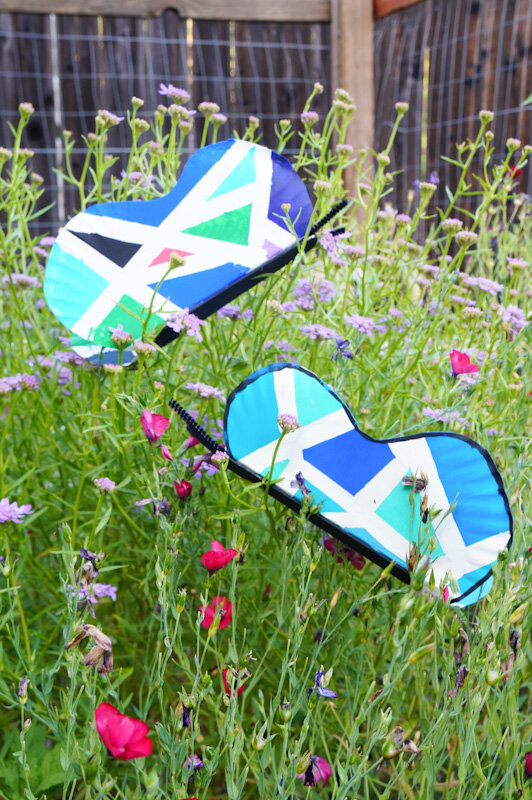
OPTIONAL: To hang the butterfly, cut 24-30 inches of string, knot the ends, and lay the knotted end of the string along the glue.
Lastly, press the butterfly onto the body firmly.
That’s it!
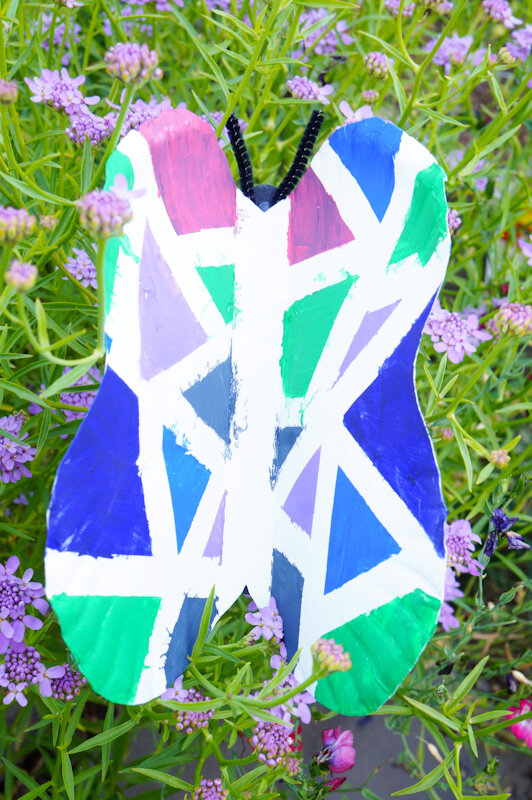
Naomi’s outer and inner side of the wings.
My outer and inner side of the wings.

Happy crafting,
Amanda and Naomi
To share: take a photo of your craft and let us see it! Click on photo submission and submit the photo.


