


Hi friends,
Today we’re showing you how to make your own leprechaun bag and hat with felt and glue. They can be decorated with different colored jewels, beads, coins, and/or moss. The bag and hat are great as decor, gift bags, or treat bags. Check out our easy leprechaun bag & hat below.
*Click on photos for a closer look
What You'll Need
For each item
(2) Sheets Green Felt
Yellow Felt
Black Felt
Scissors
Hot Glue
Optional: Moss, Jewel Rings, Coins
The Steps

BAG
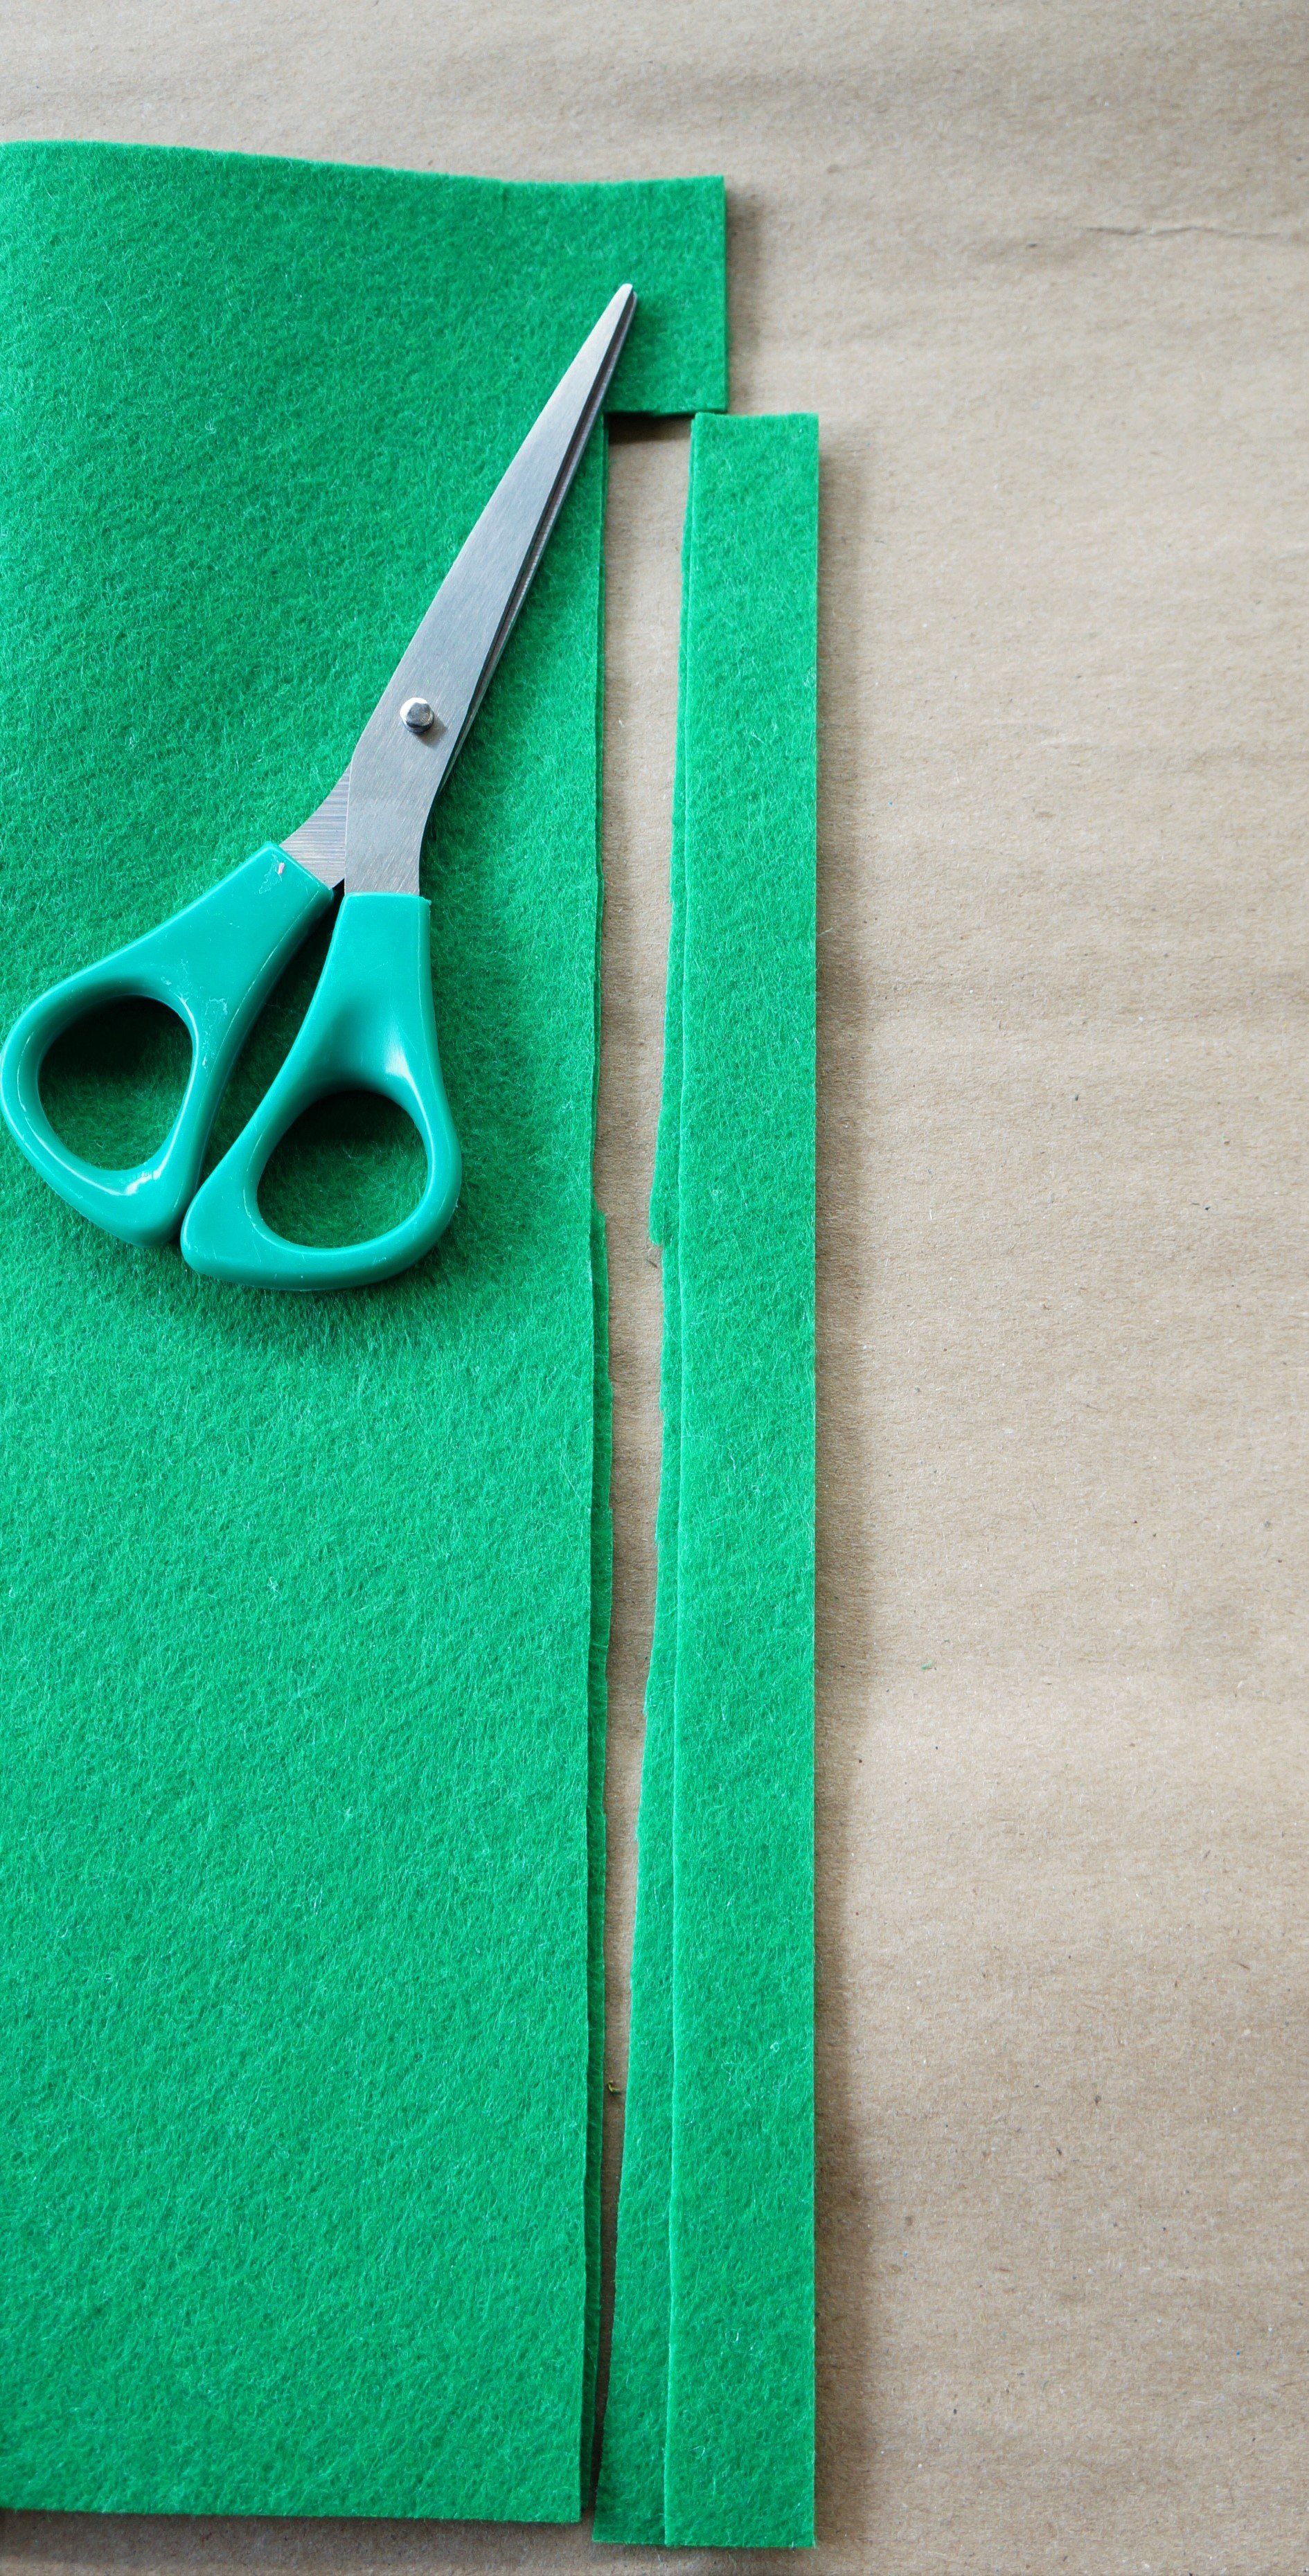
(photo 1) Face 1 sheet vertically, fold it in half, and cut off 1/2-inch strips from the edge. Reserve those strips for the handle.
HAT
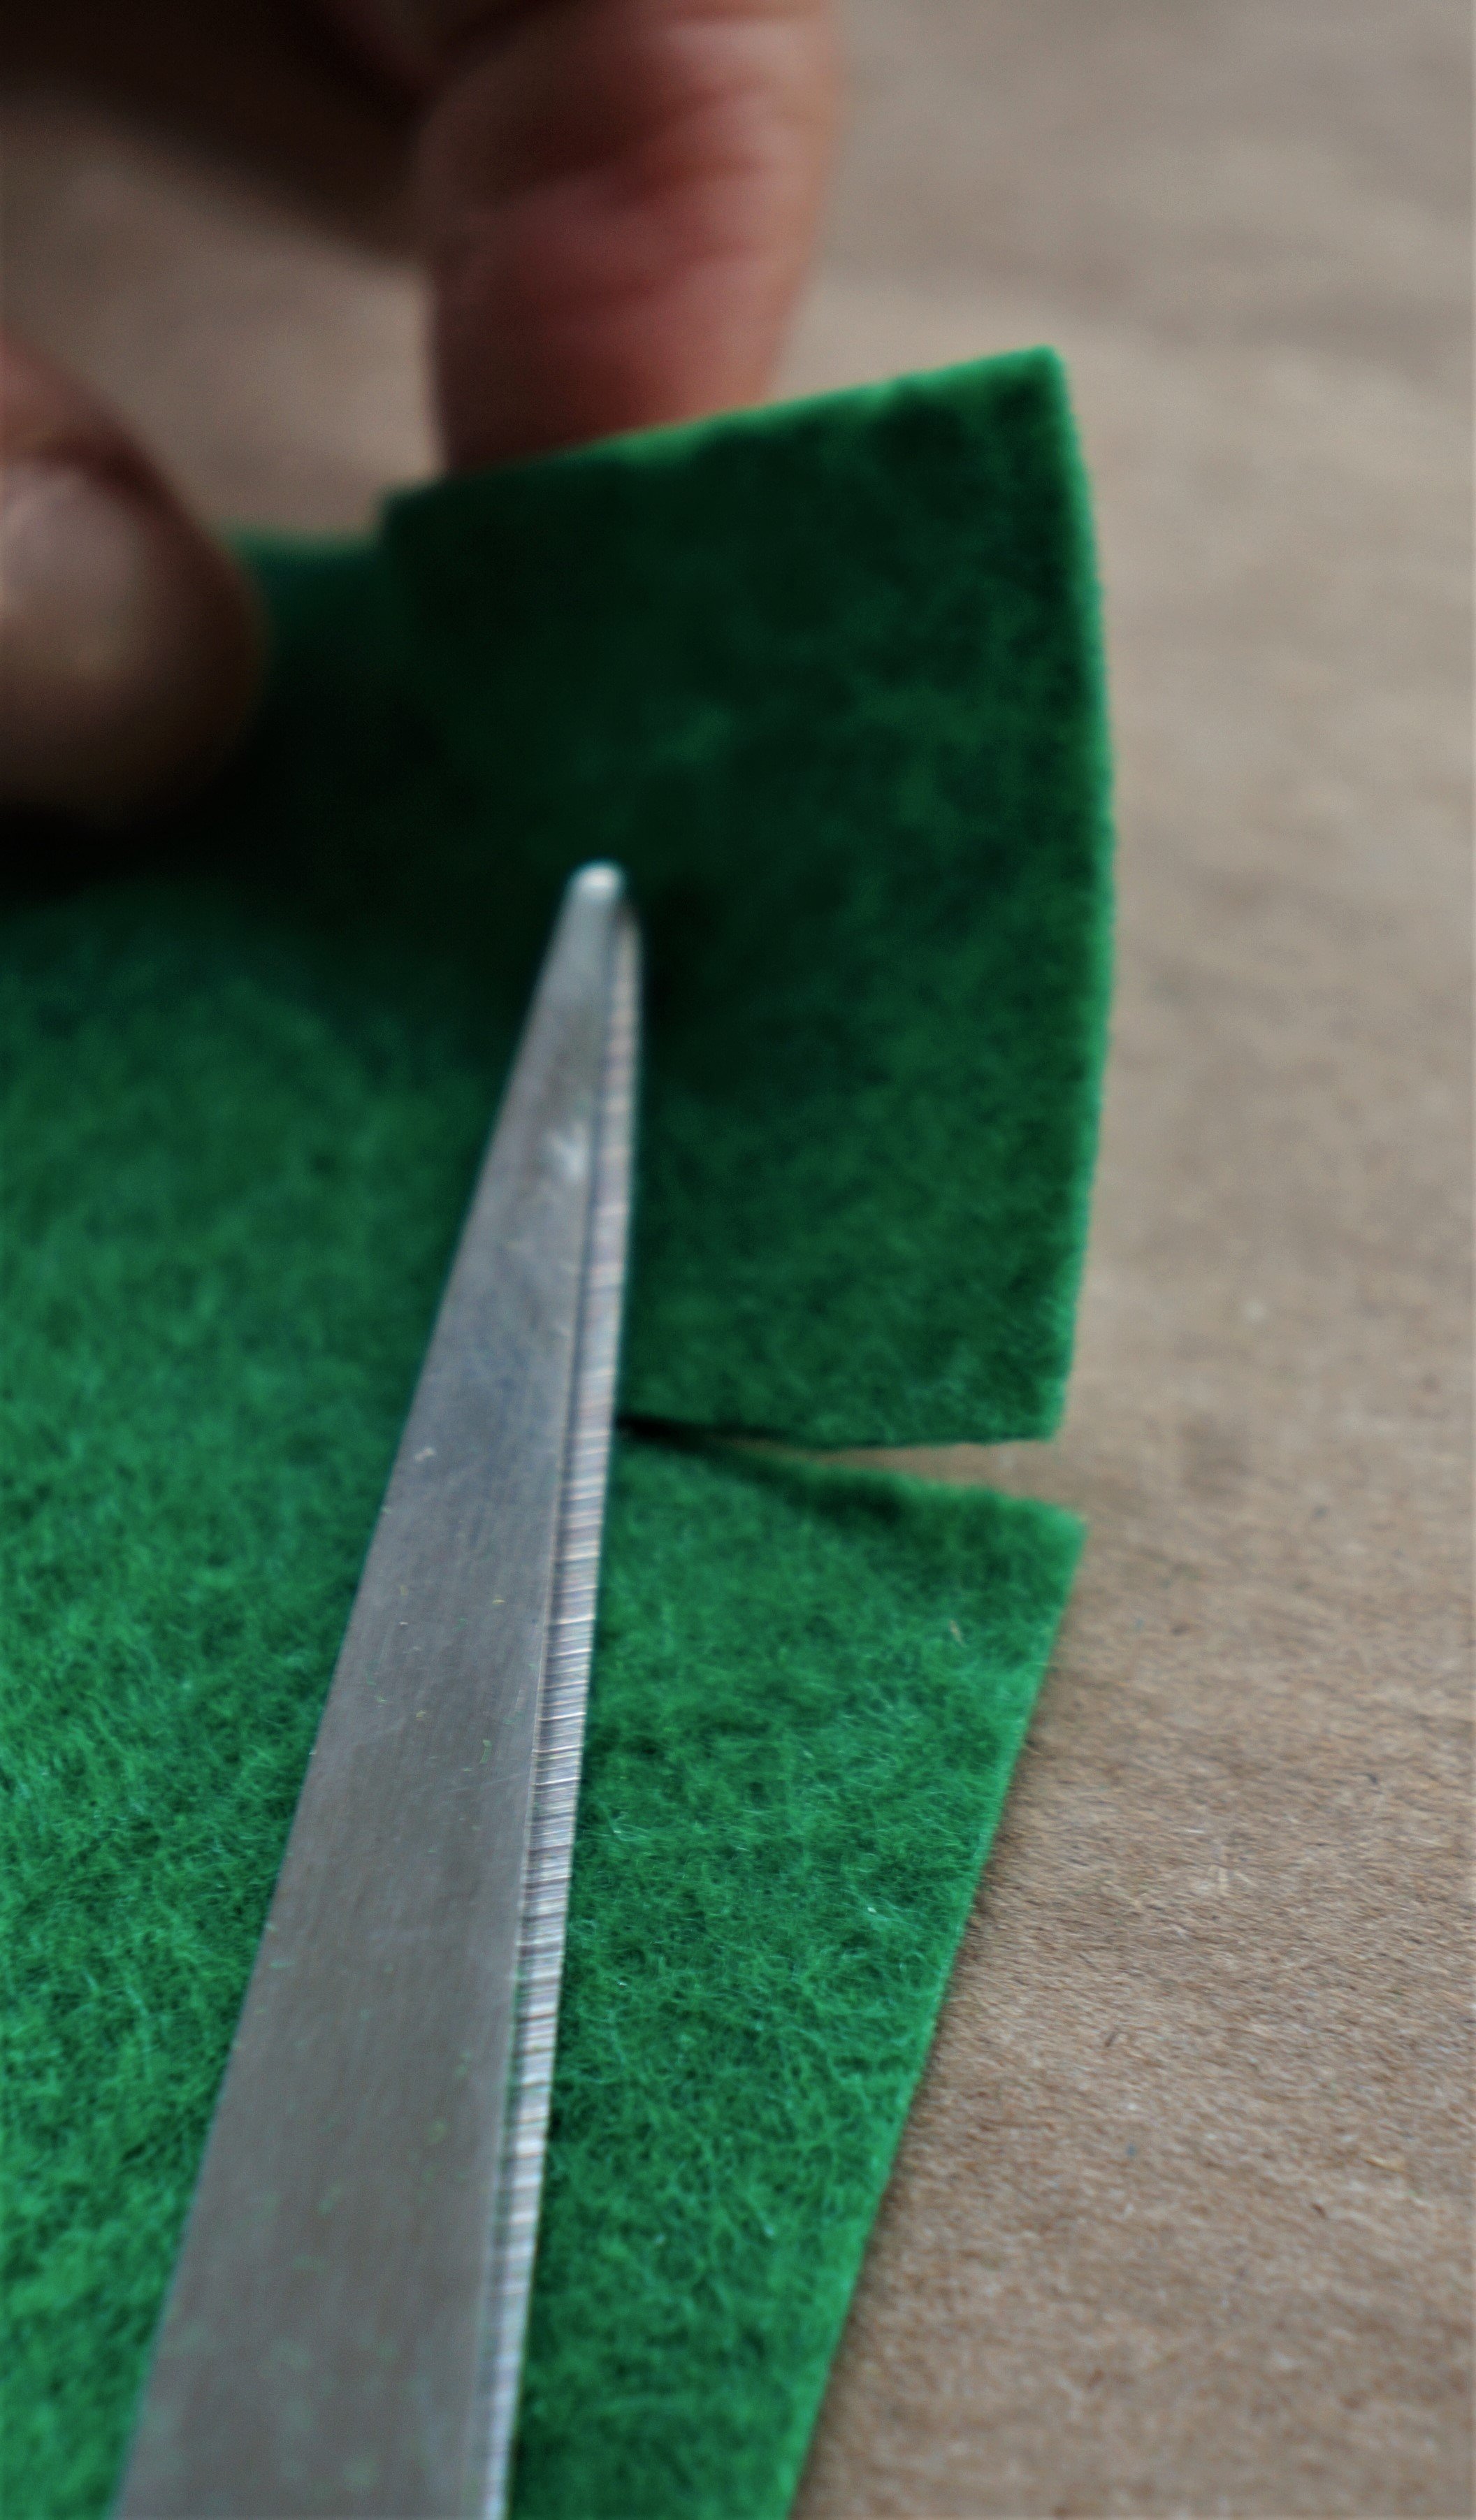
(photo 2) Face 1 sheet vertically and fold it in half. From the top right side, go down 1.5-inches and make a cut about 1/2 inches deep. From the cut, continue cutting down until those 2 strips are removed. It’ll look like a wide T.
(photo 3) Face the 2nd sheet vertically as well, fold it in half, and cut a notch that lines up with the 1st piece.


—BLACK BAND—
BAG/HAT
(photo 1) Cut a 1-inch strip of black felt, long enough to lay across the bigger felt piece, and place it between the 2 pieces.
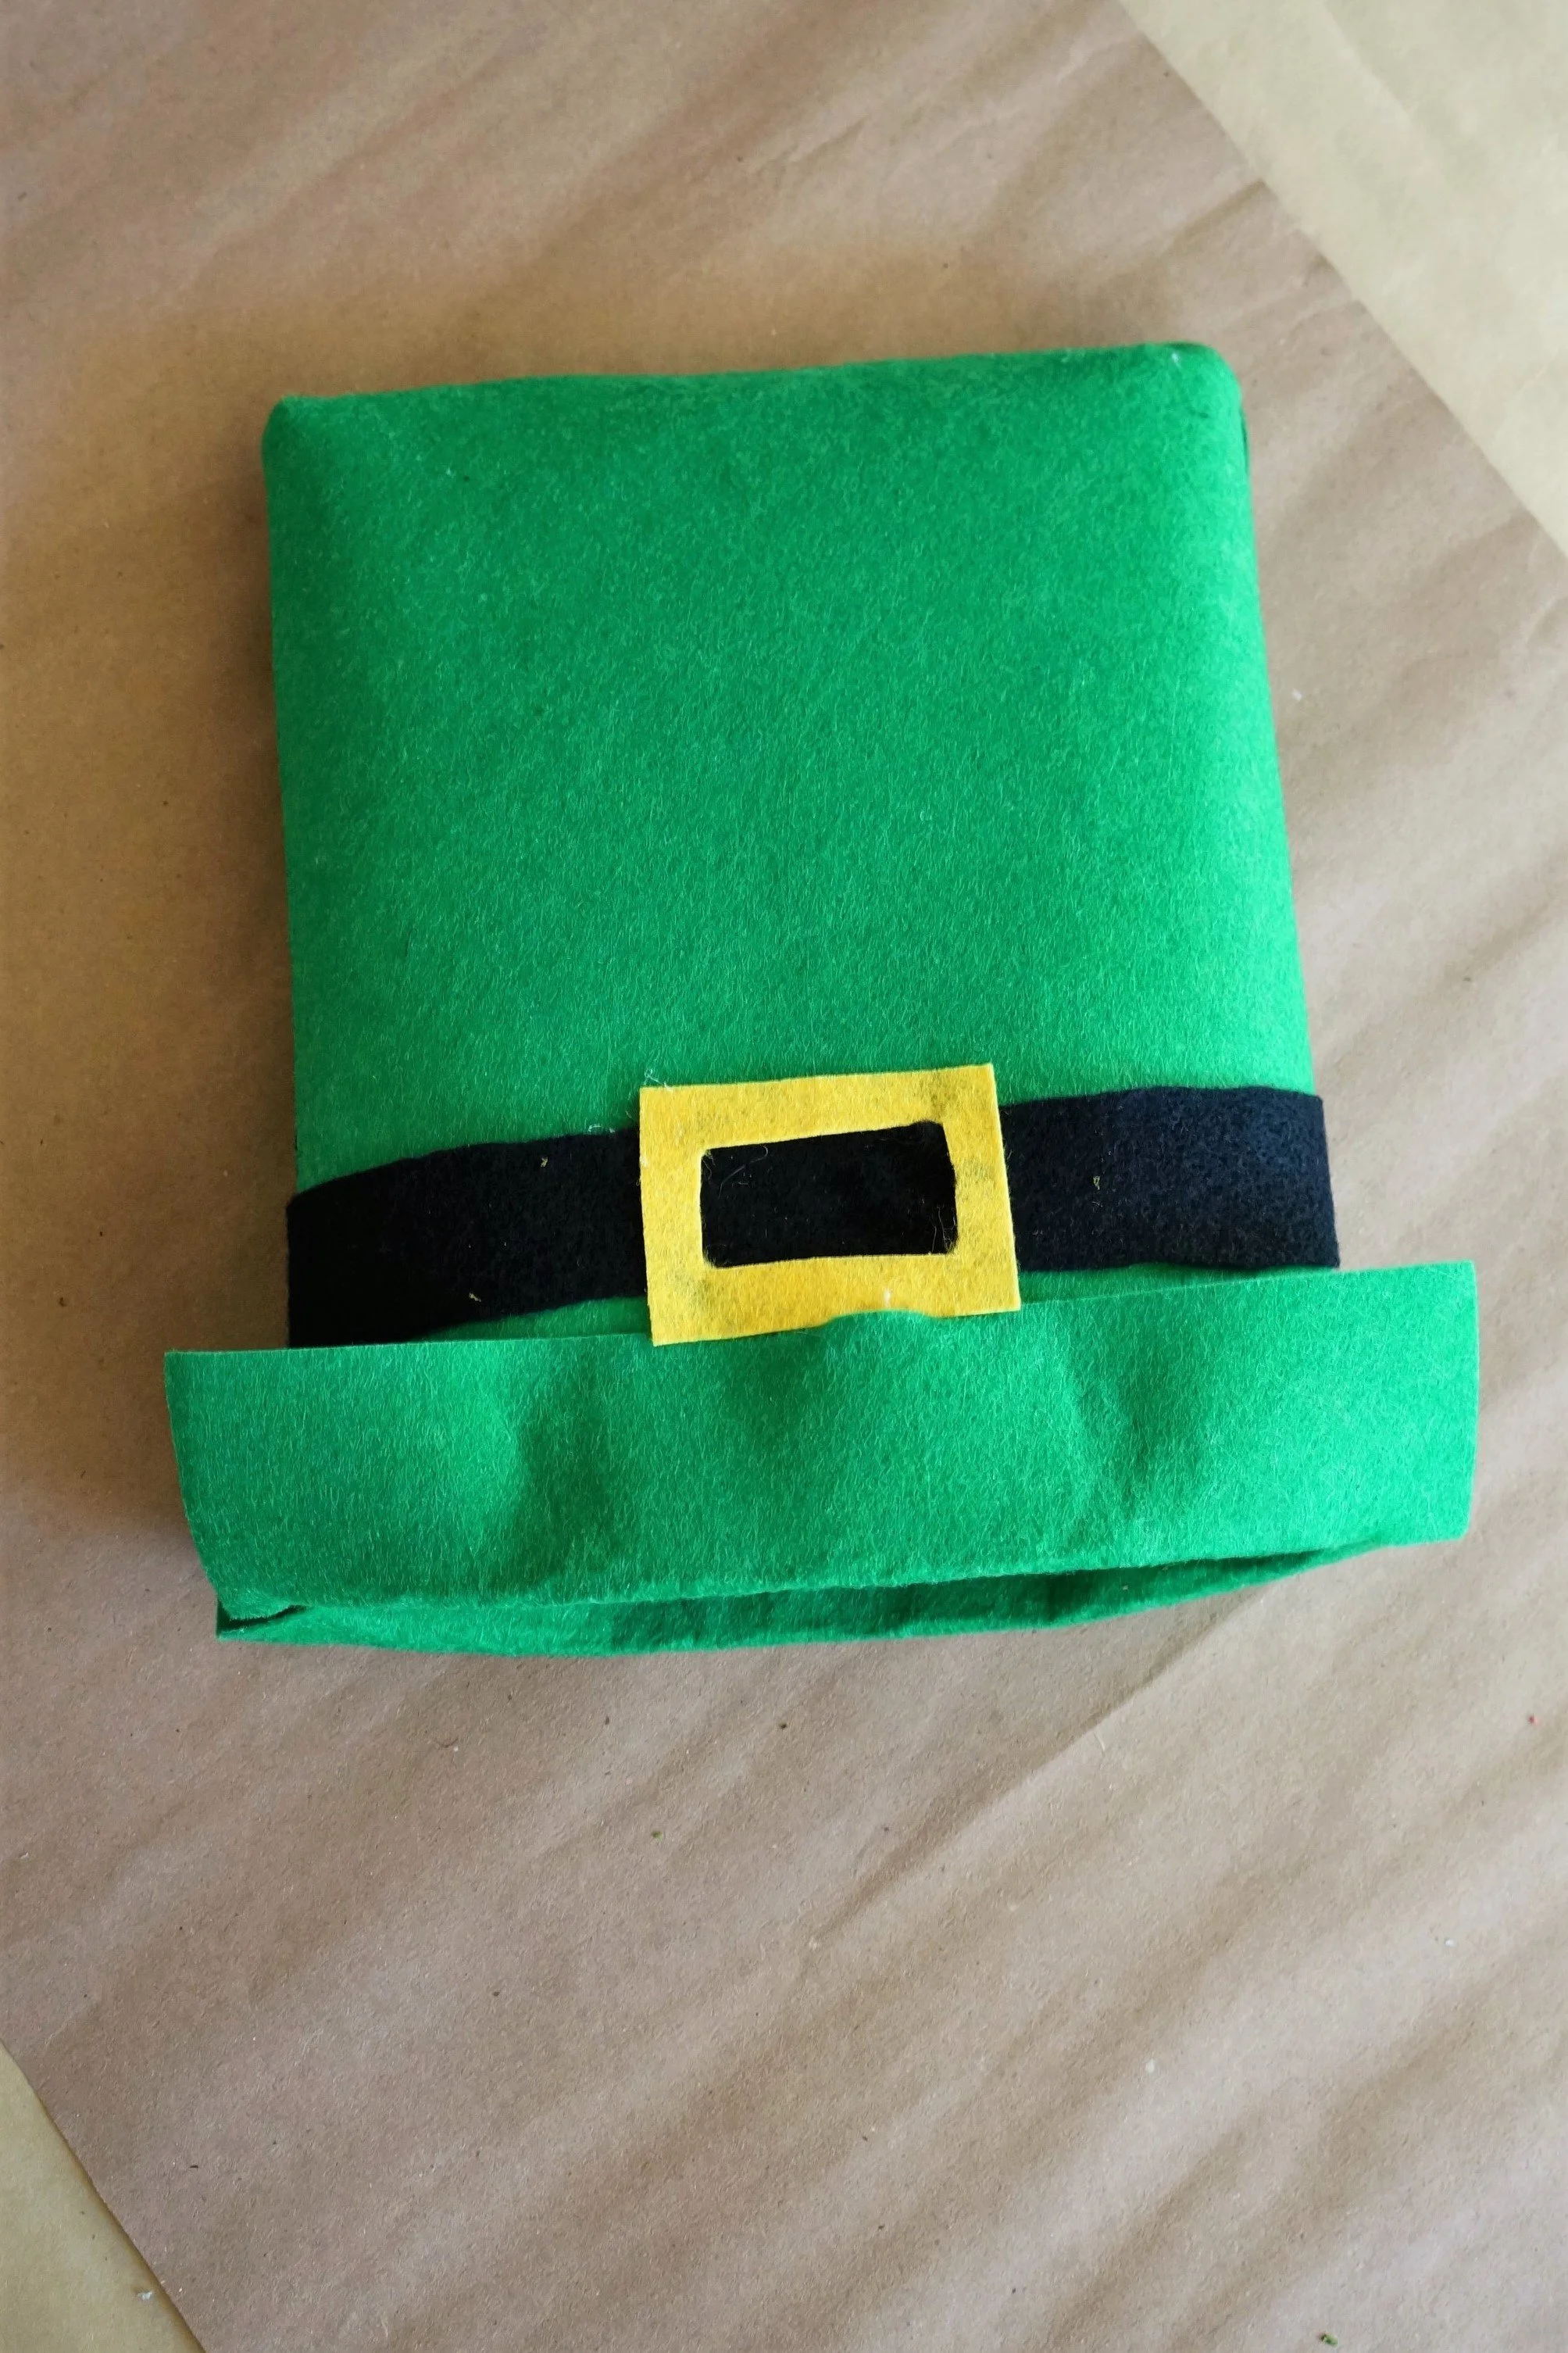
(photo 1) Center the narrow felt over the bigger piece(bottom) with the black strip about 3ish inches down & in between both. Glue the edges of the bottom around the top piece, and decide: whether to leave the bottom corners pointed (photo 4) or folded in and glued(photos 2, 3).
Flip the inside of the bag or hat out, fix the black strip if necessary, and fold the top edges down.


—BUCKLE—
BAG /HAT
Cut a rectangle from the yellow felt, fold it in half twice, and cut the inner rectangle out.
Glue the buckle onto the front of the bag or hat.
That’s it for the hat!


—BAG HANDLE—
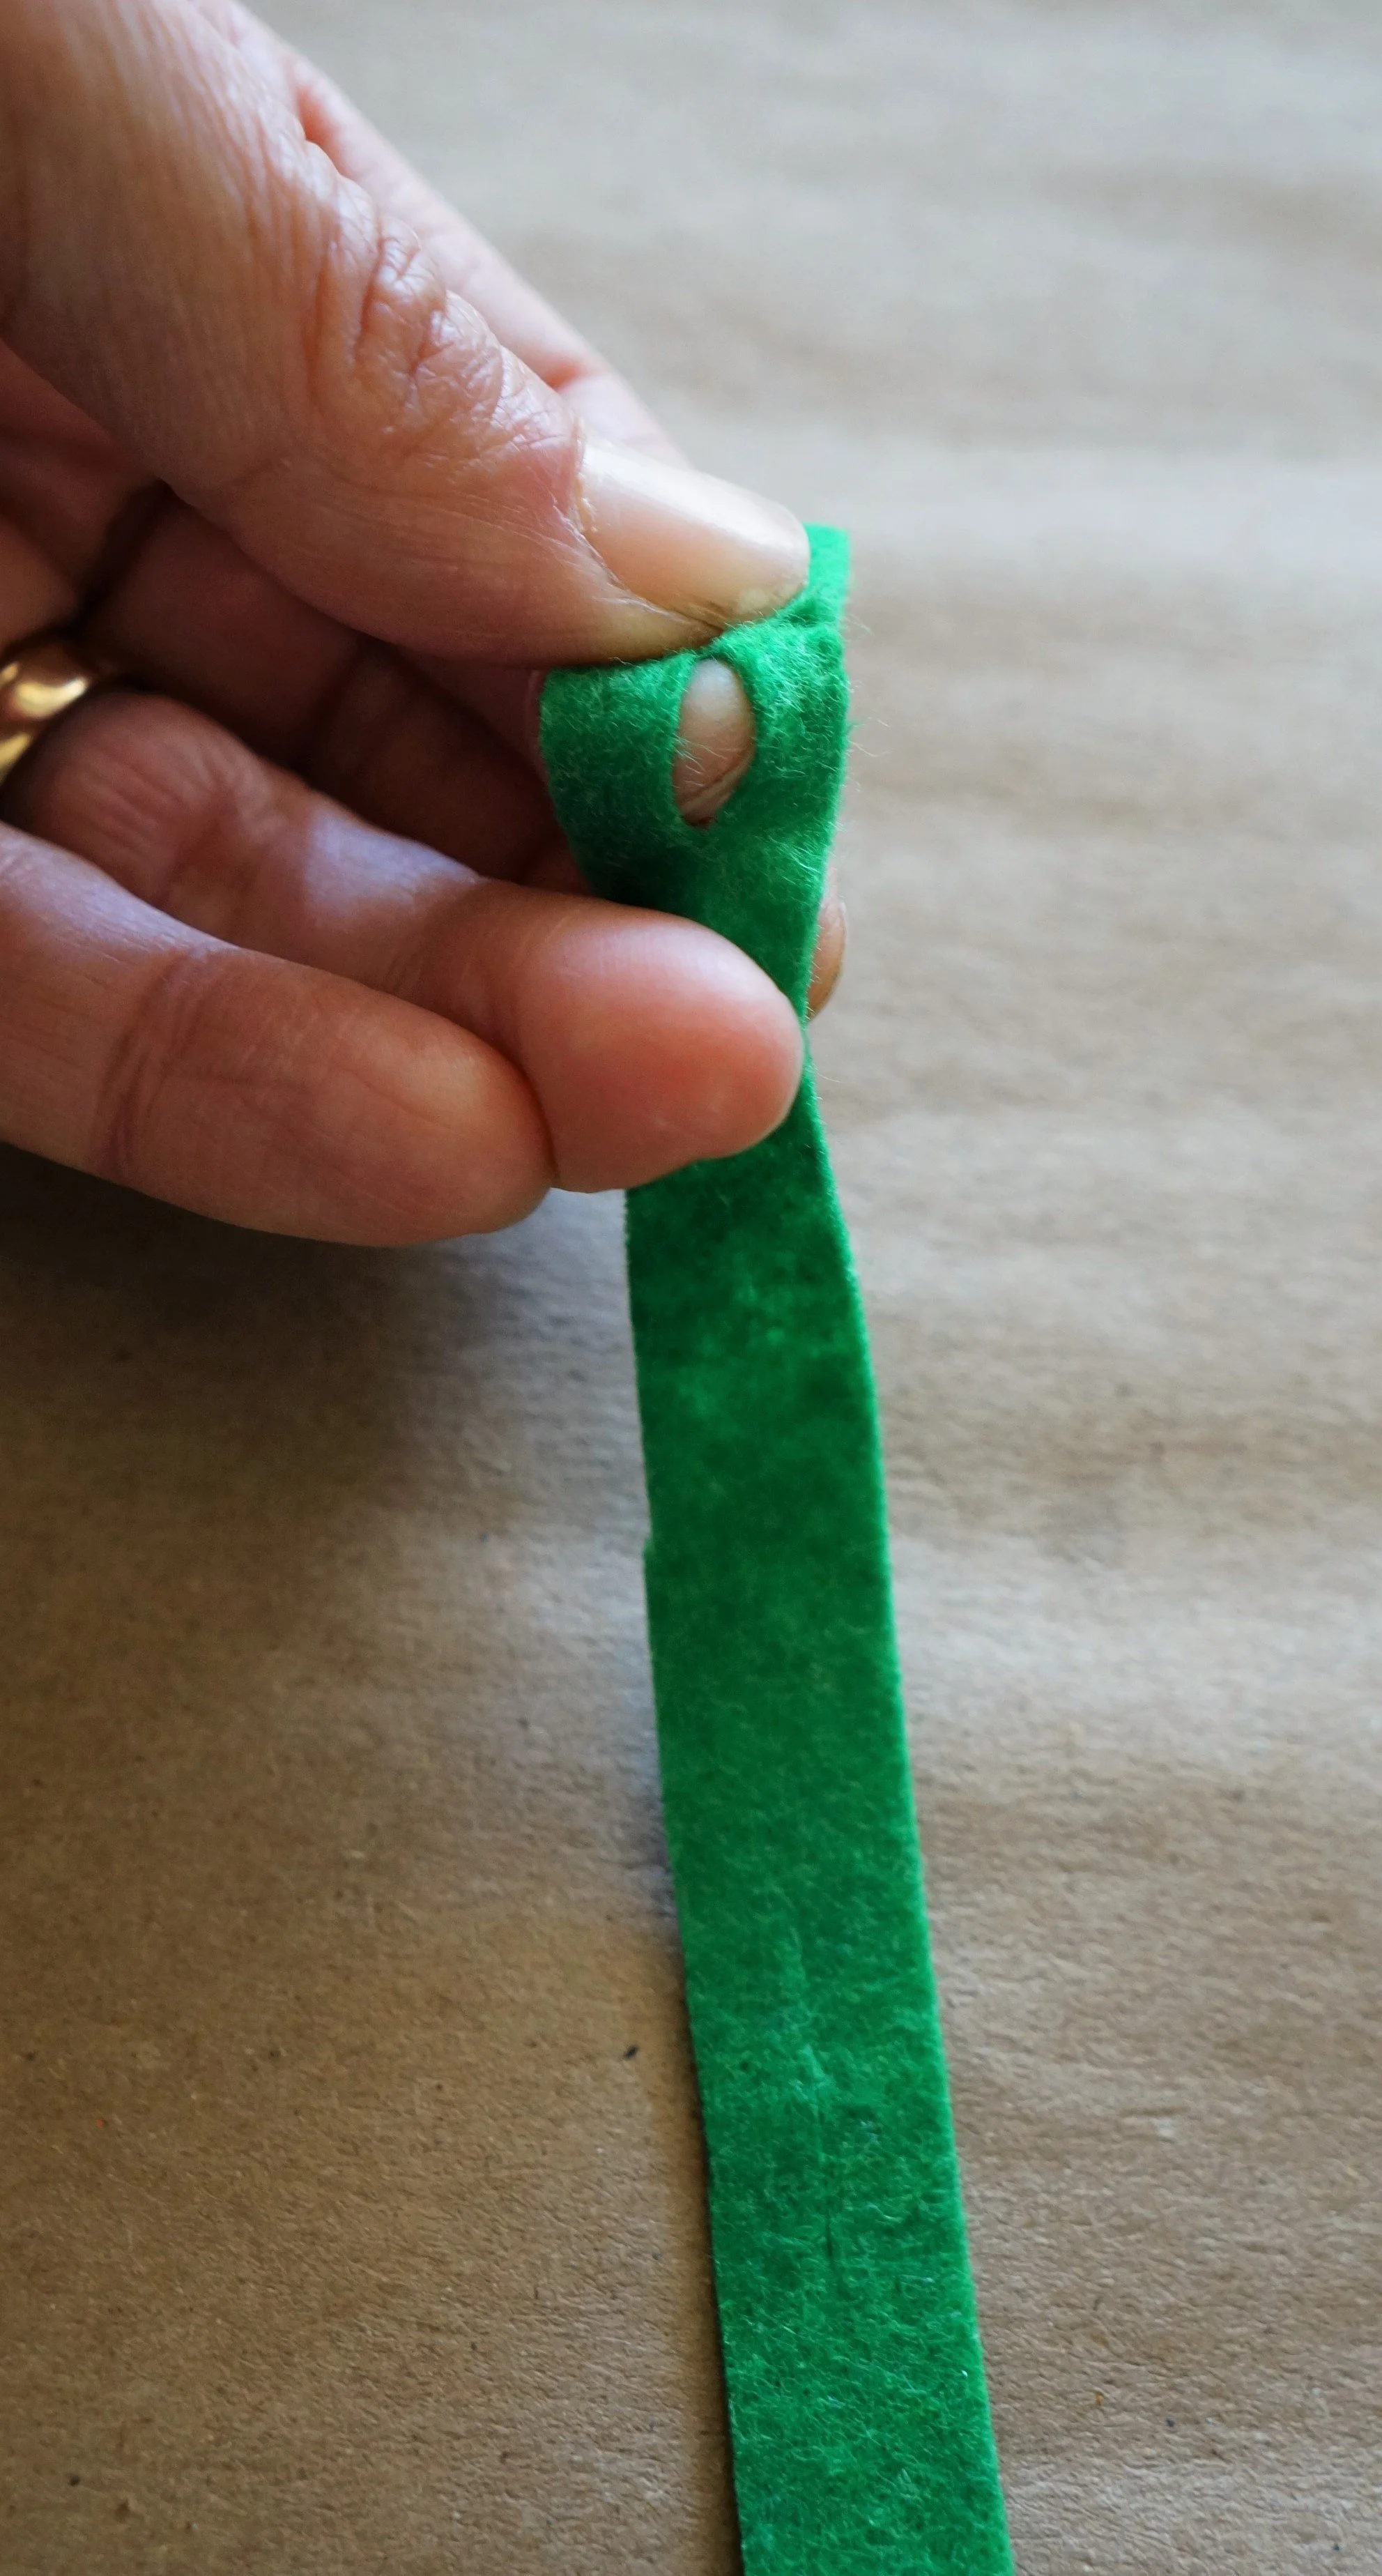
Take one leftover strip and make 7—8 vertical cuts, down the length of it.
Weave the 2nd strip through the 1st and glue to the inside of the bag. Gluing the handle on the back layer creates a leaning bag, gluing it to the sides stabilizes it for a more upright bag.
That’s it for the bag!


—ACCESSORIZE—optional
a) Make small horizontal cuts on the hat/bag to add jewel rings and hot glue from the inside.
b) Add beads, coins, and/or moss with hot glue.


Happy crafting!
Amanda and Naomi
To share: take a photo of your craft and let us see it! Click on photo submission and submit.


