
Hi friends,
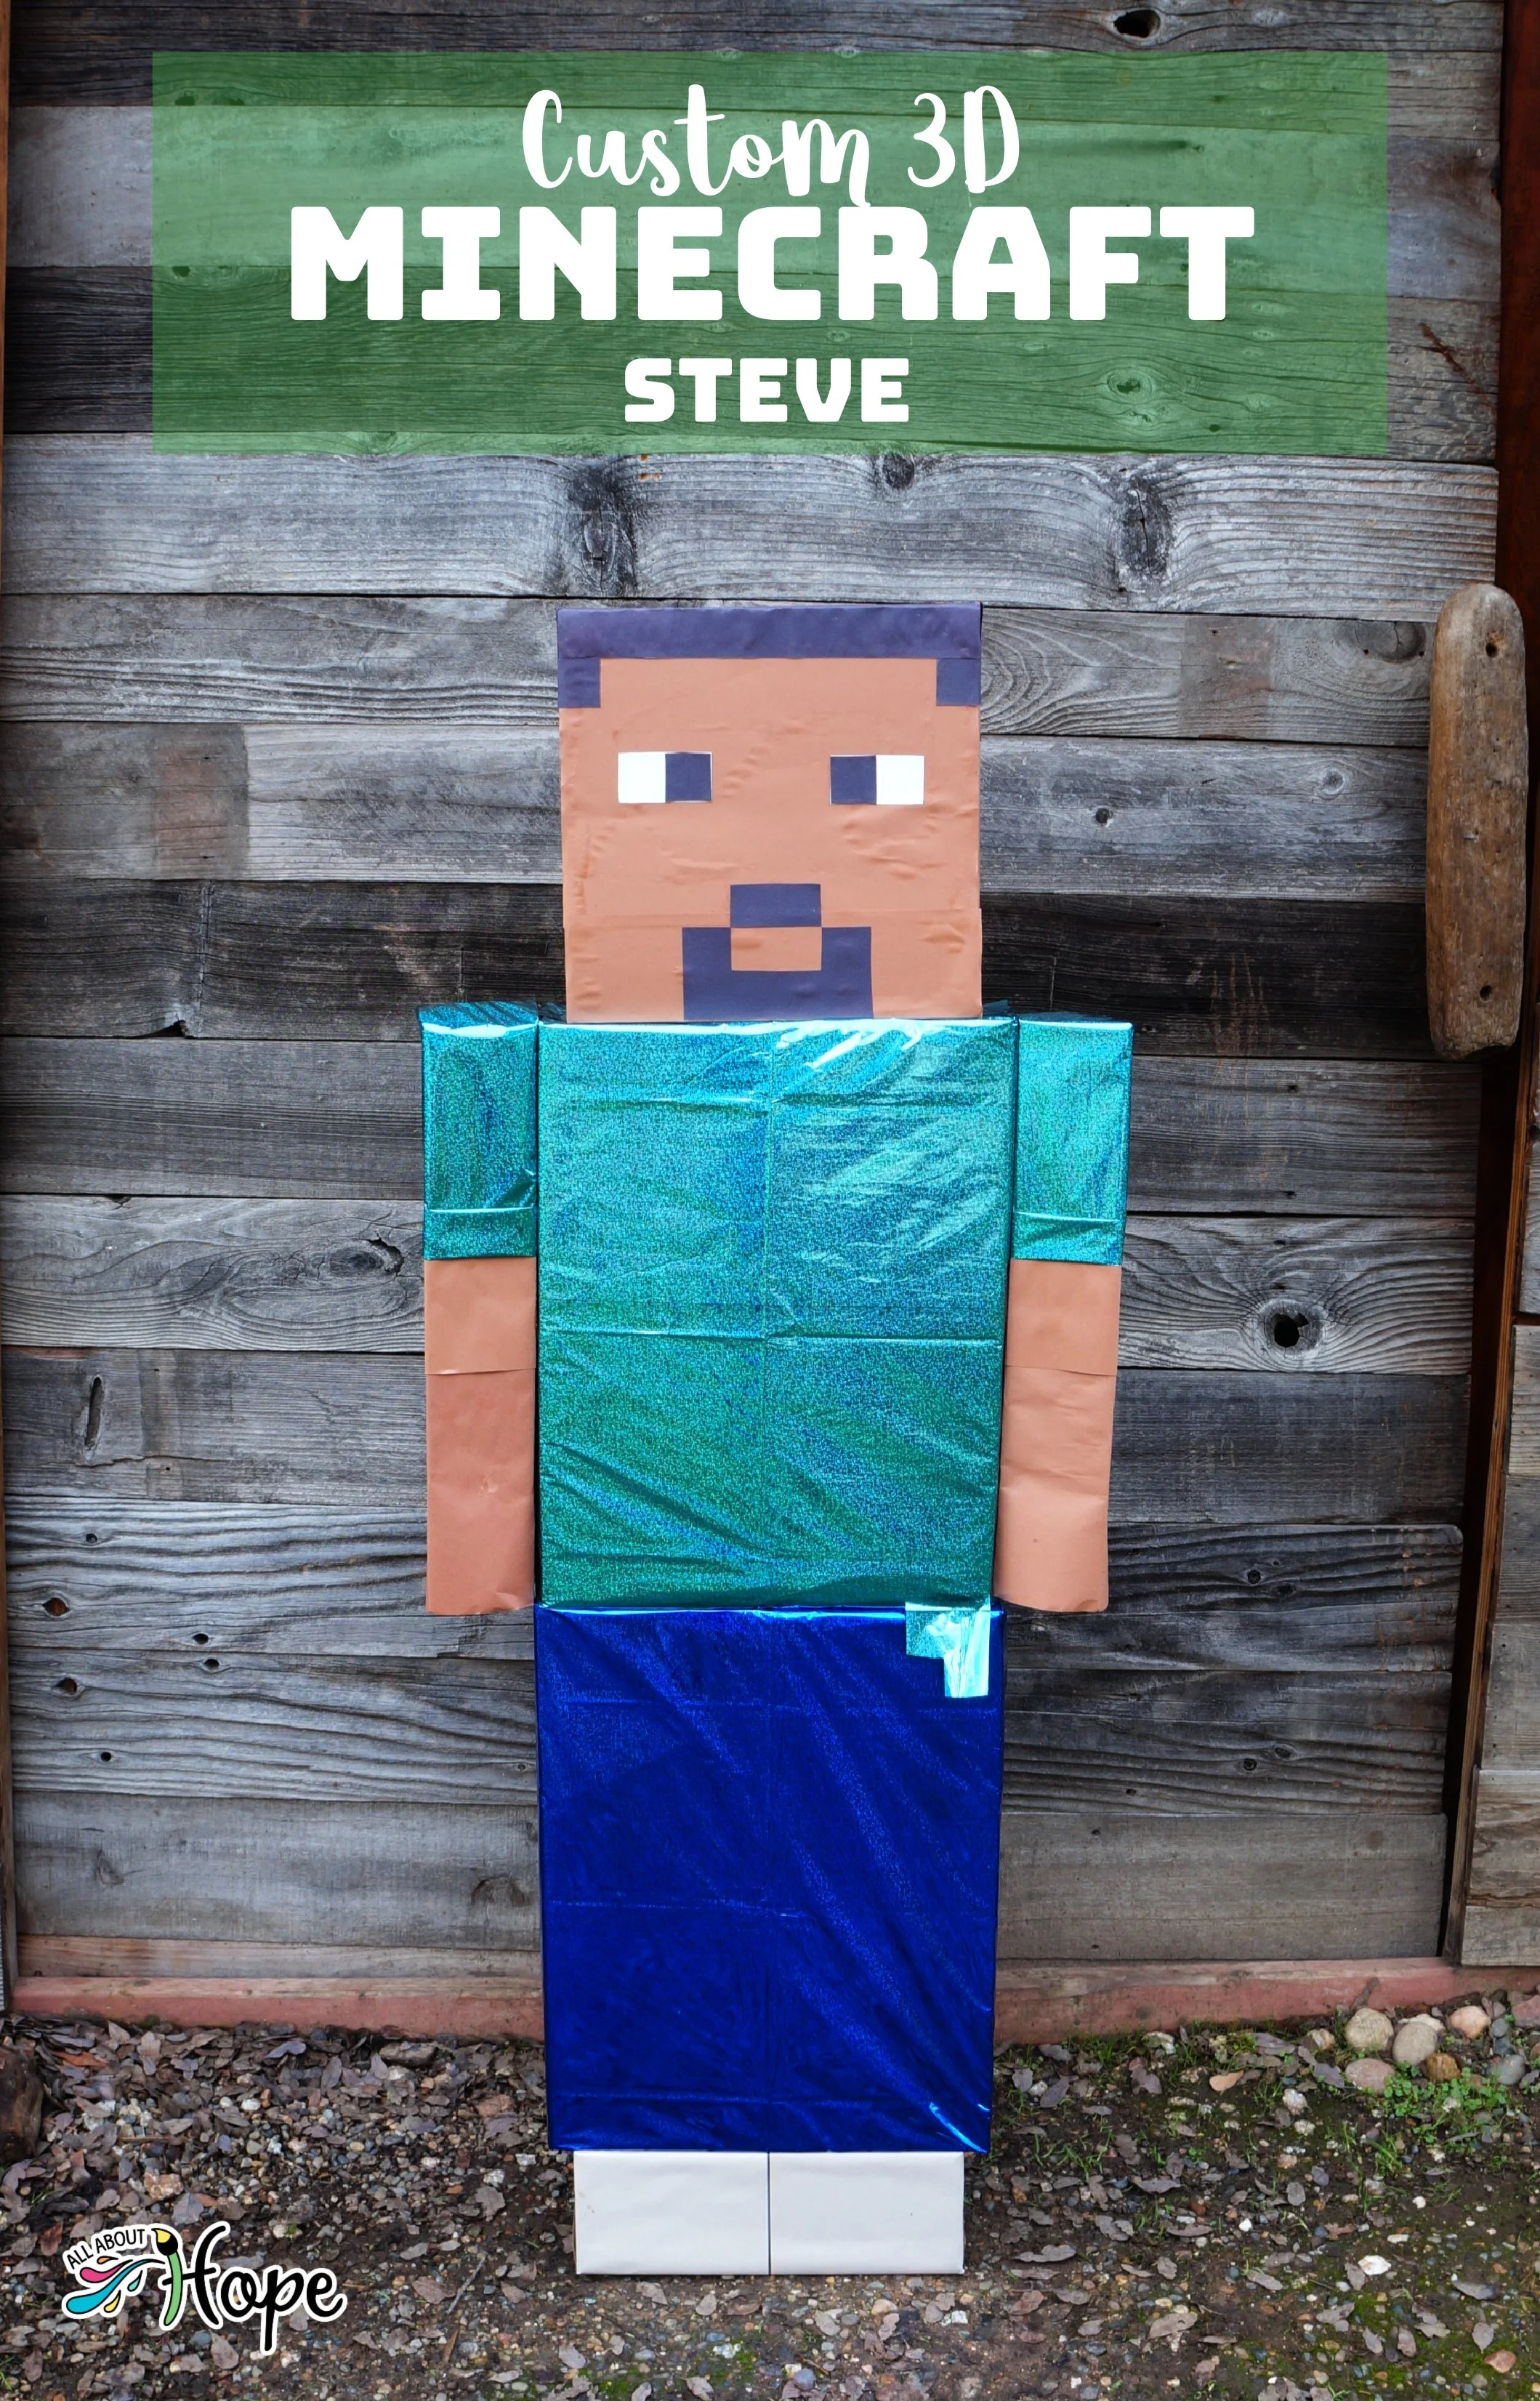
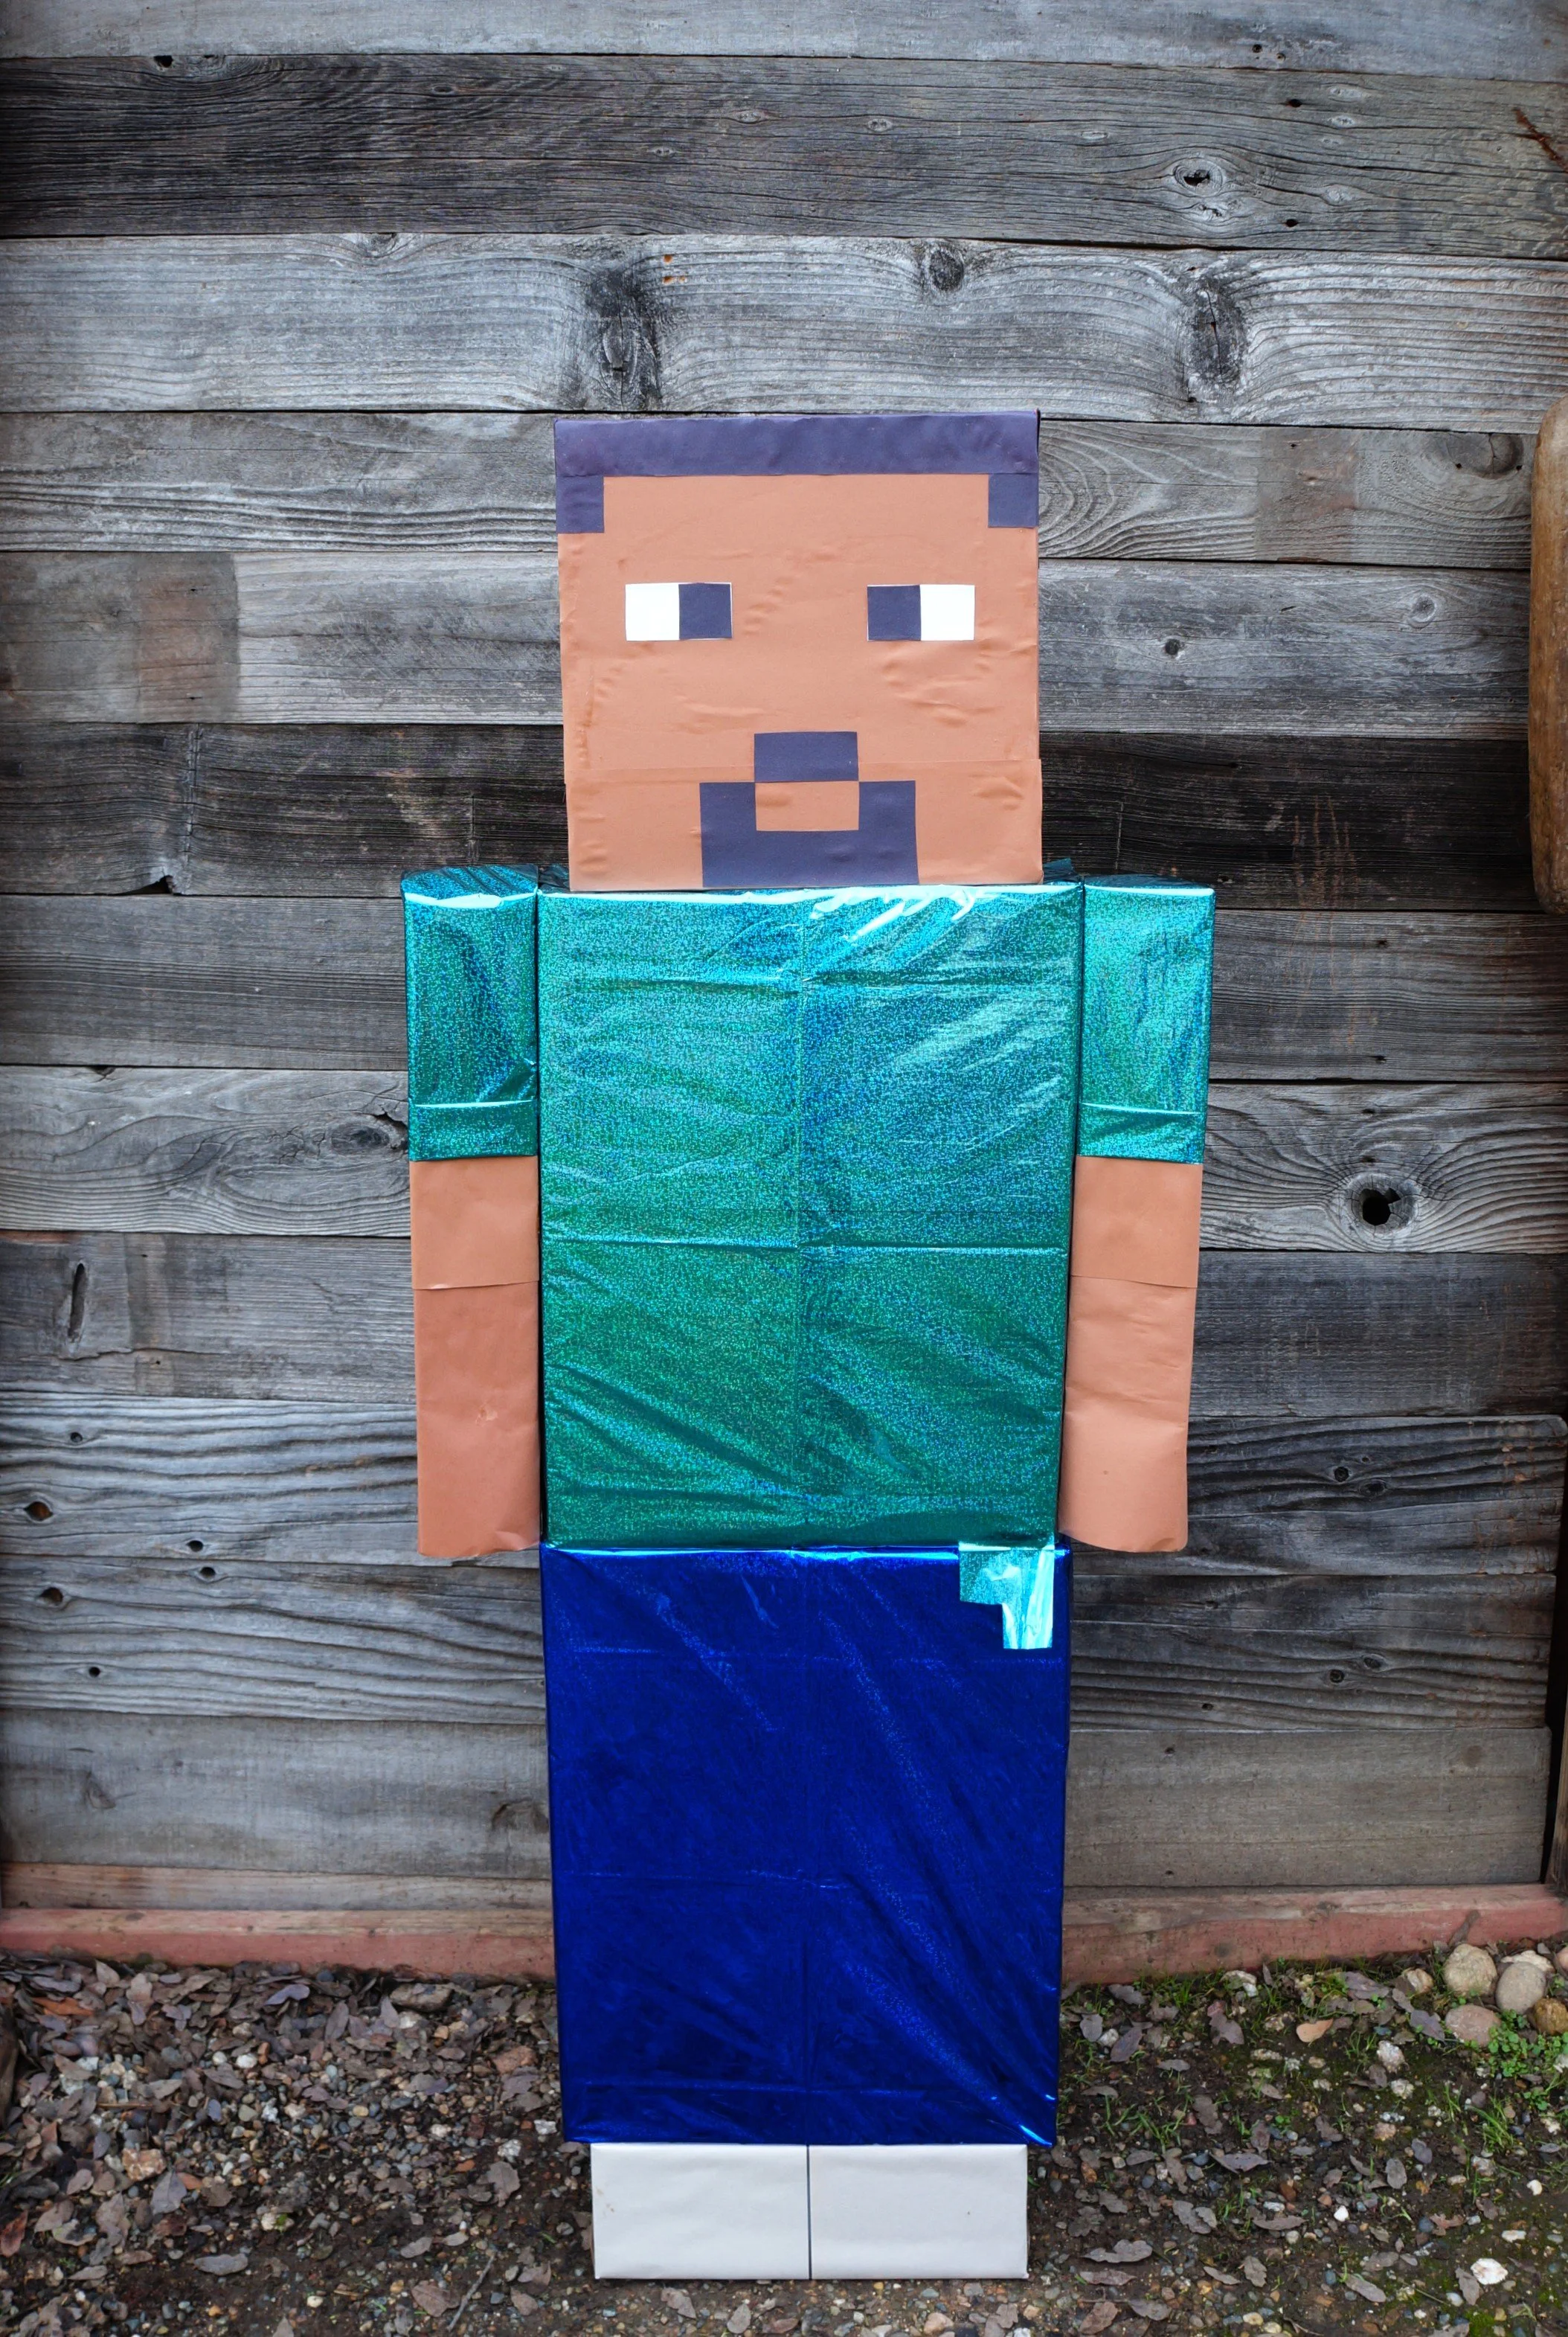
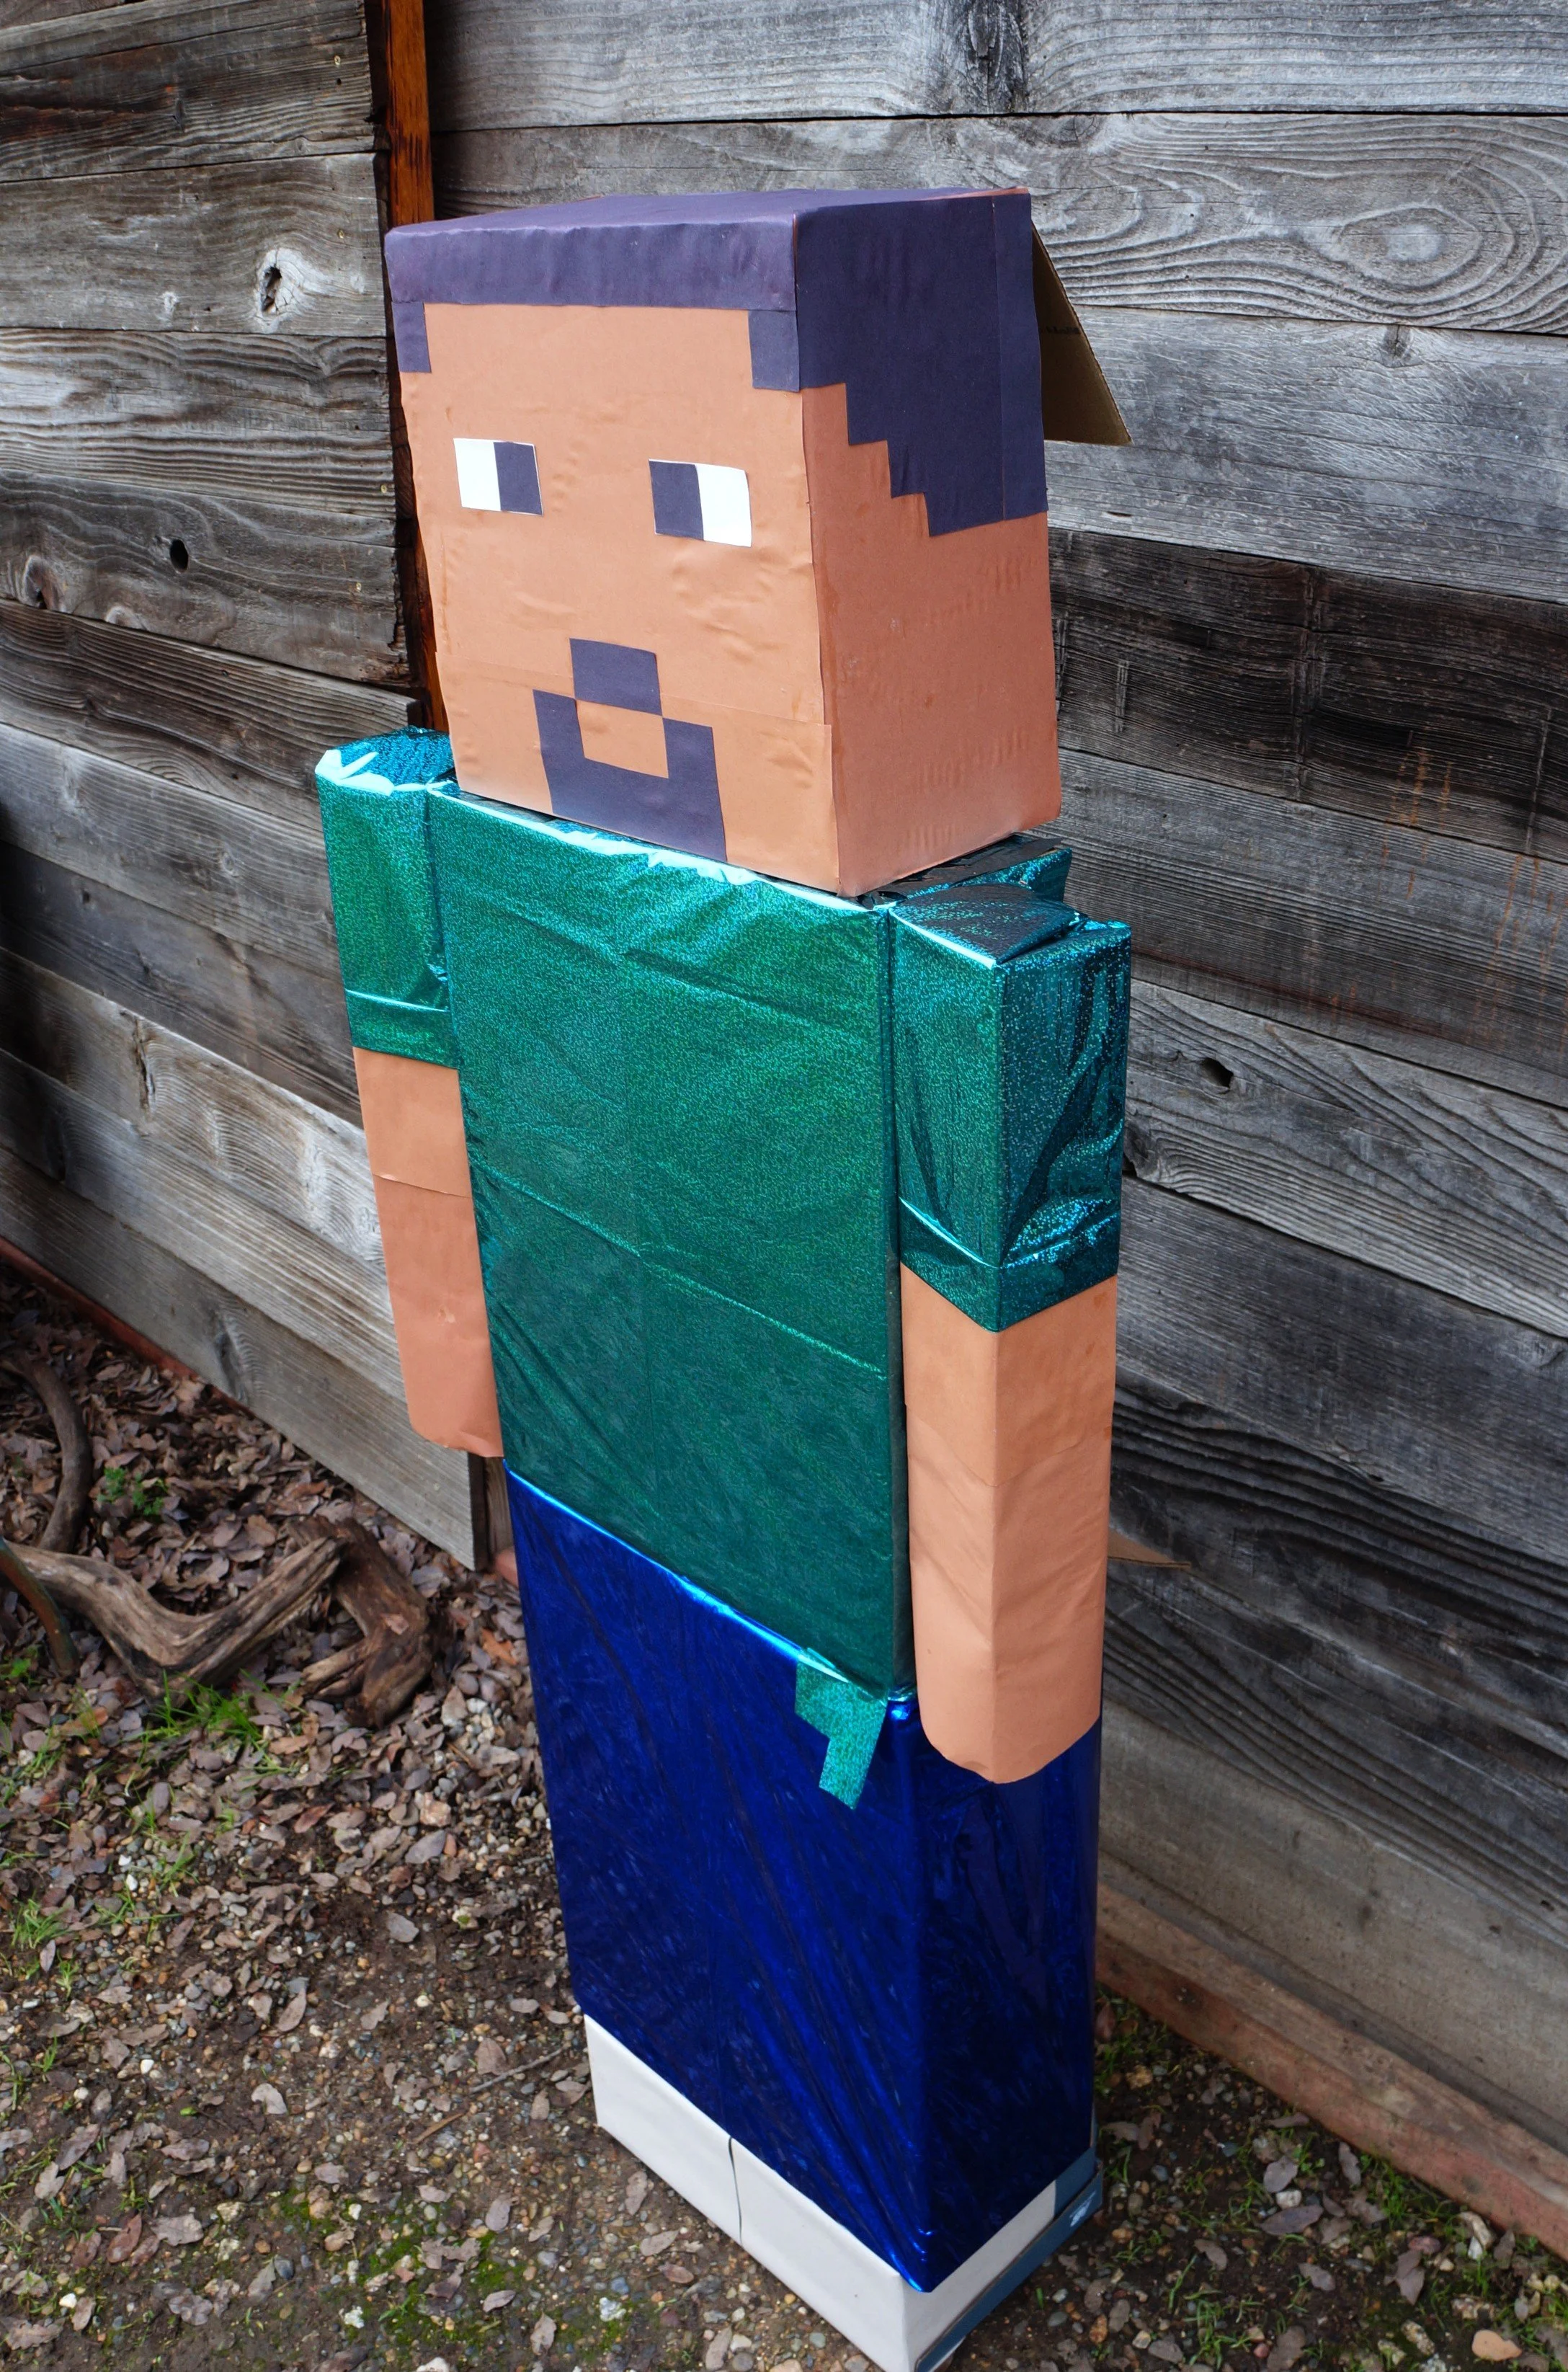
We’re sharing how to make a Custom 3D Minecraft Steve, which you can make in your child’s likeness.
My son is having a Minecraft-themed birthday, so we created a custom Steve for him with darker features. To customize yours, decide on the box sizes, materials used, and the colors for the hair, skin, and facial details. Check it out below.
*Click on the photos for a closer look
What You'll Need
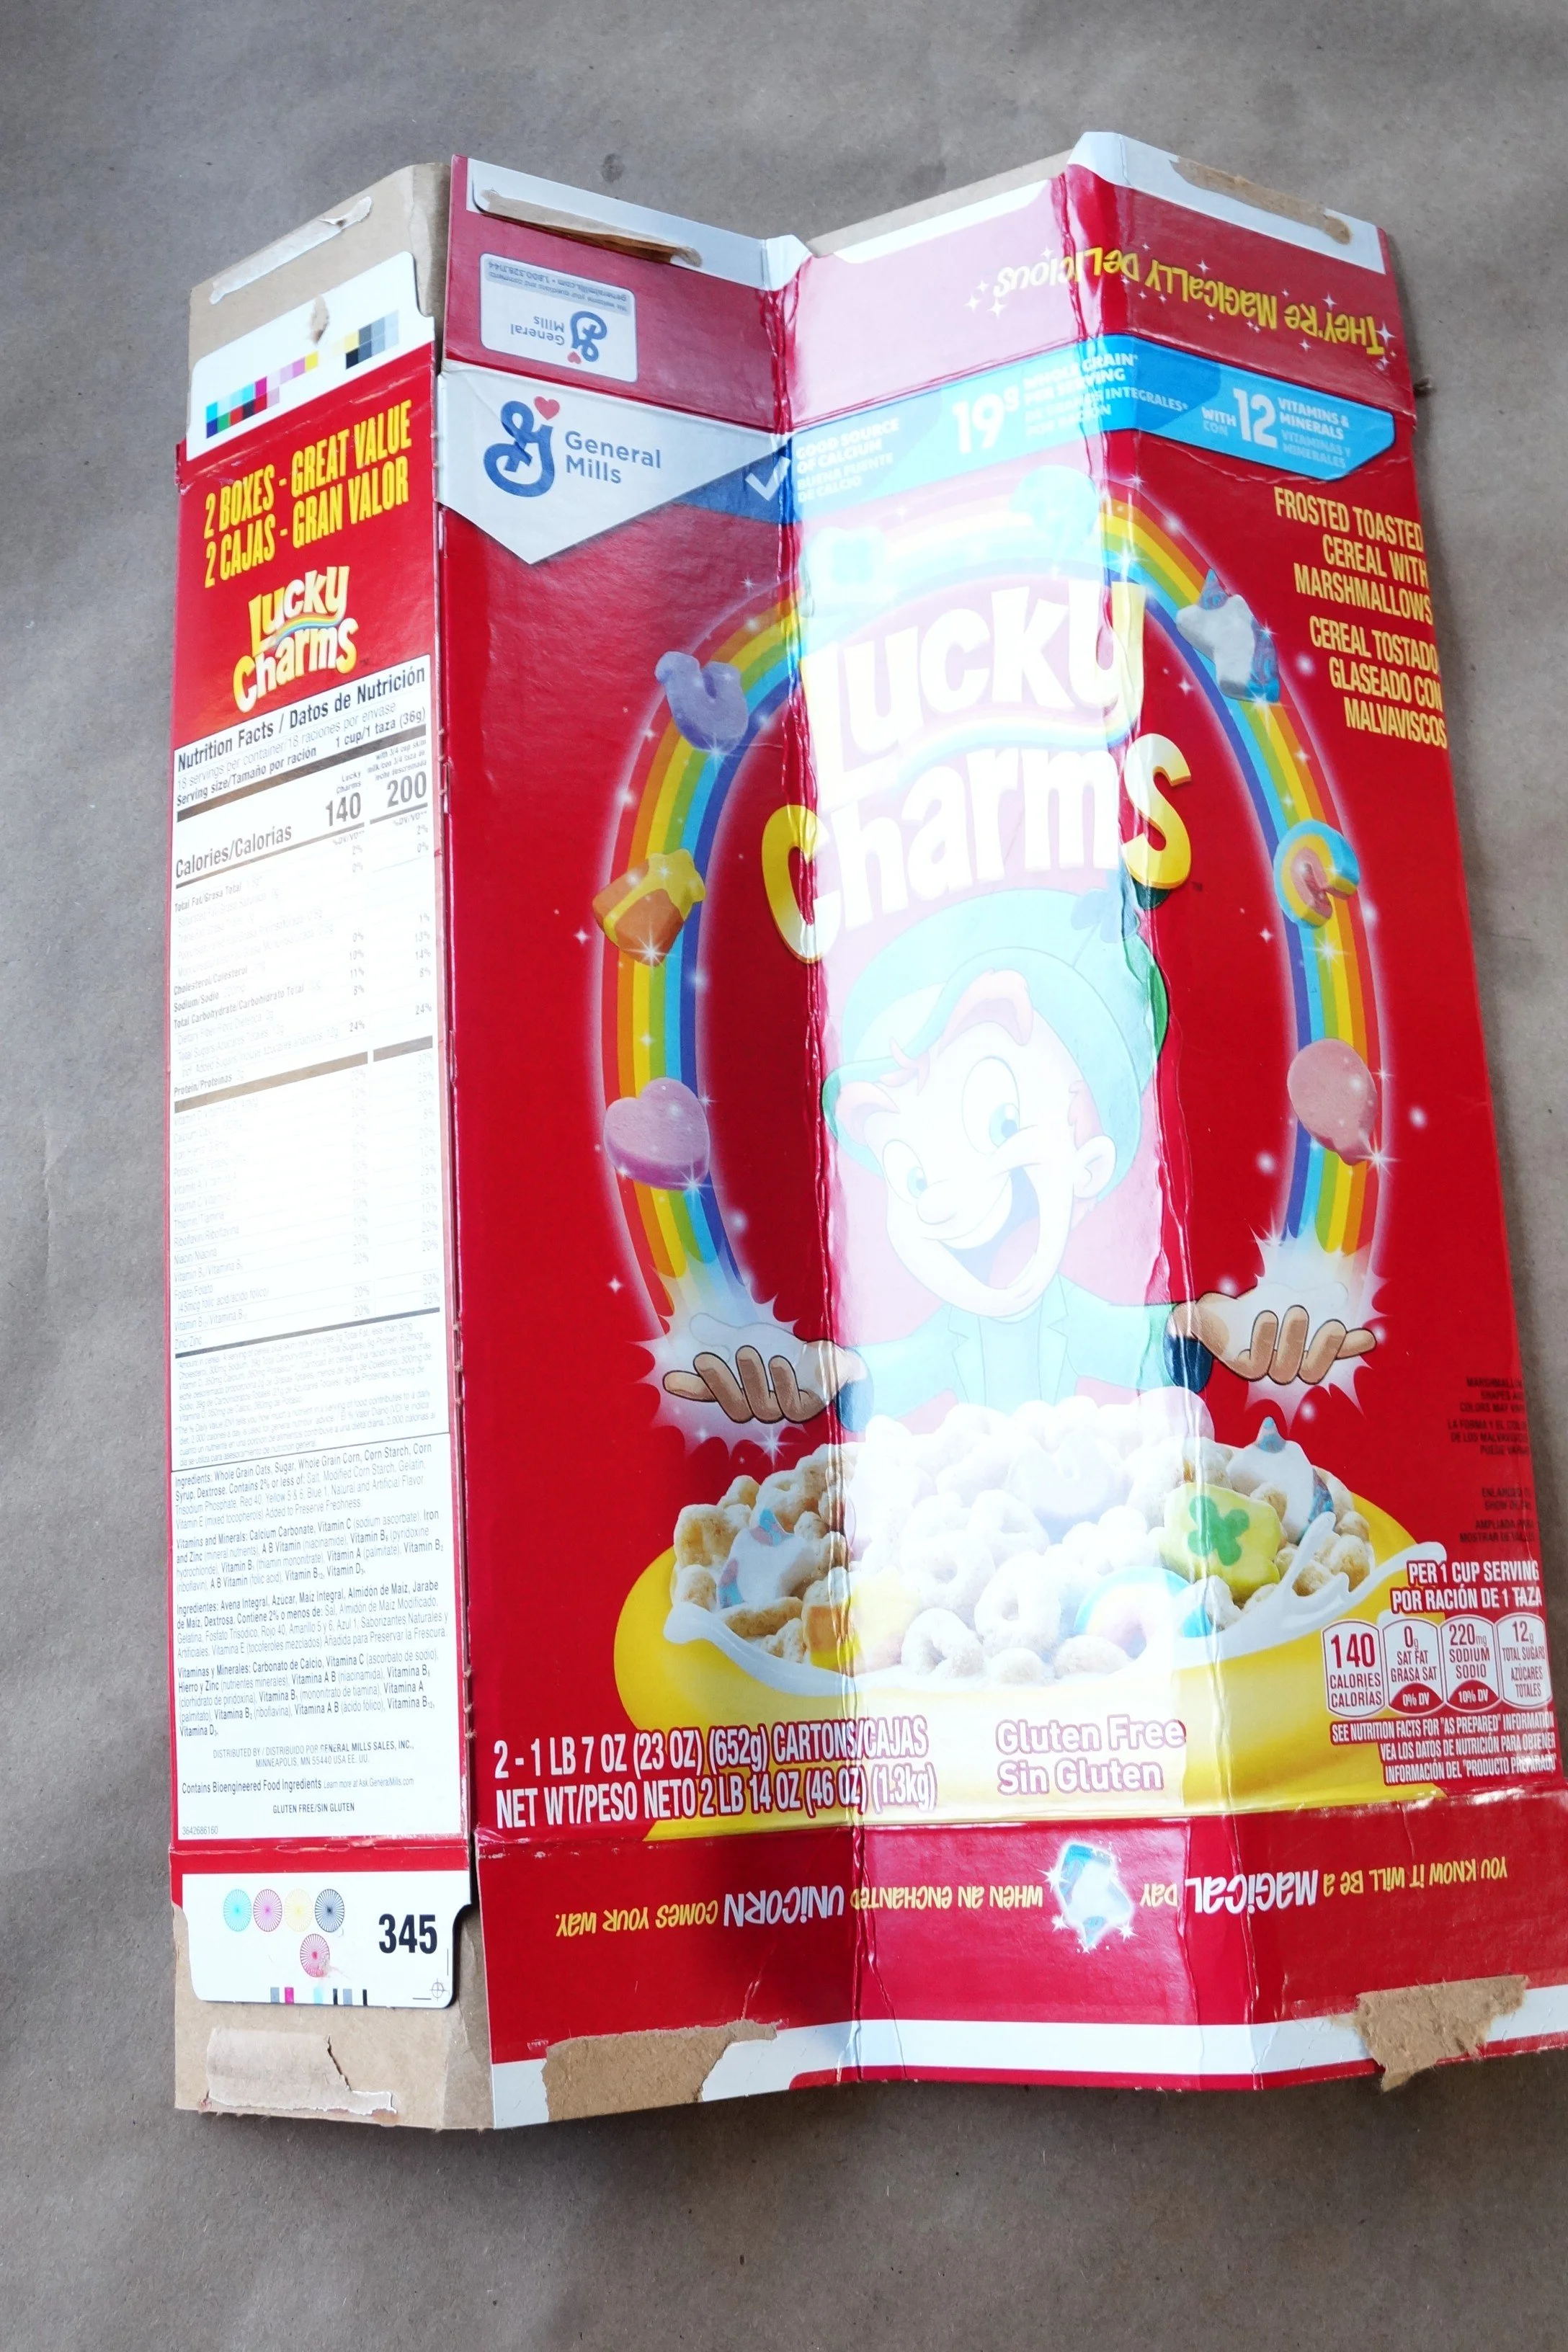
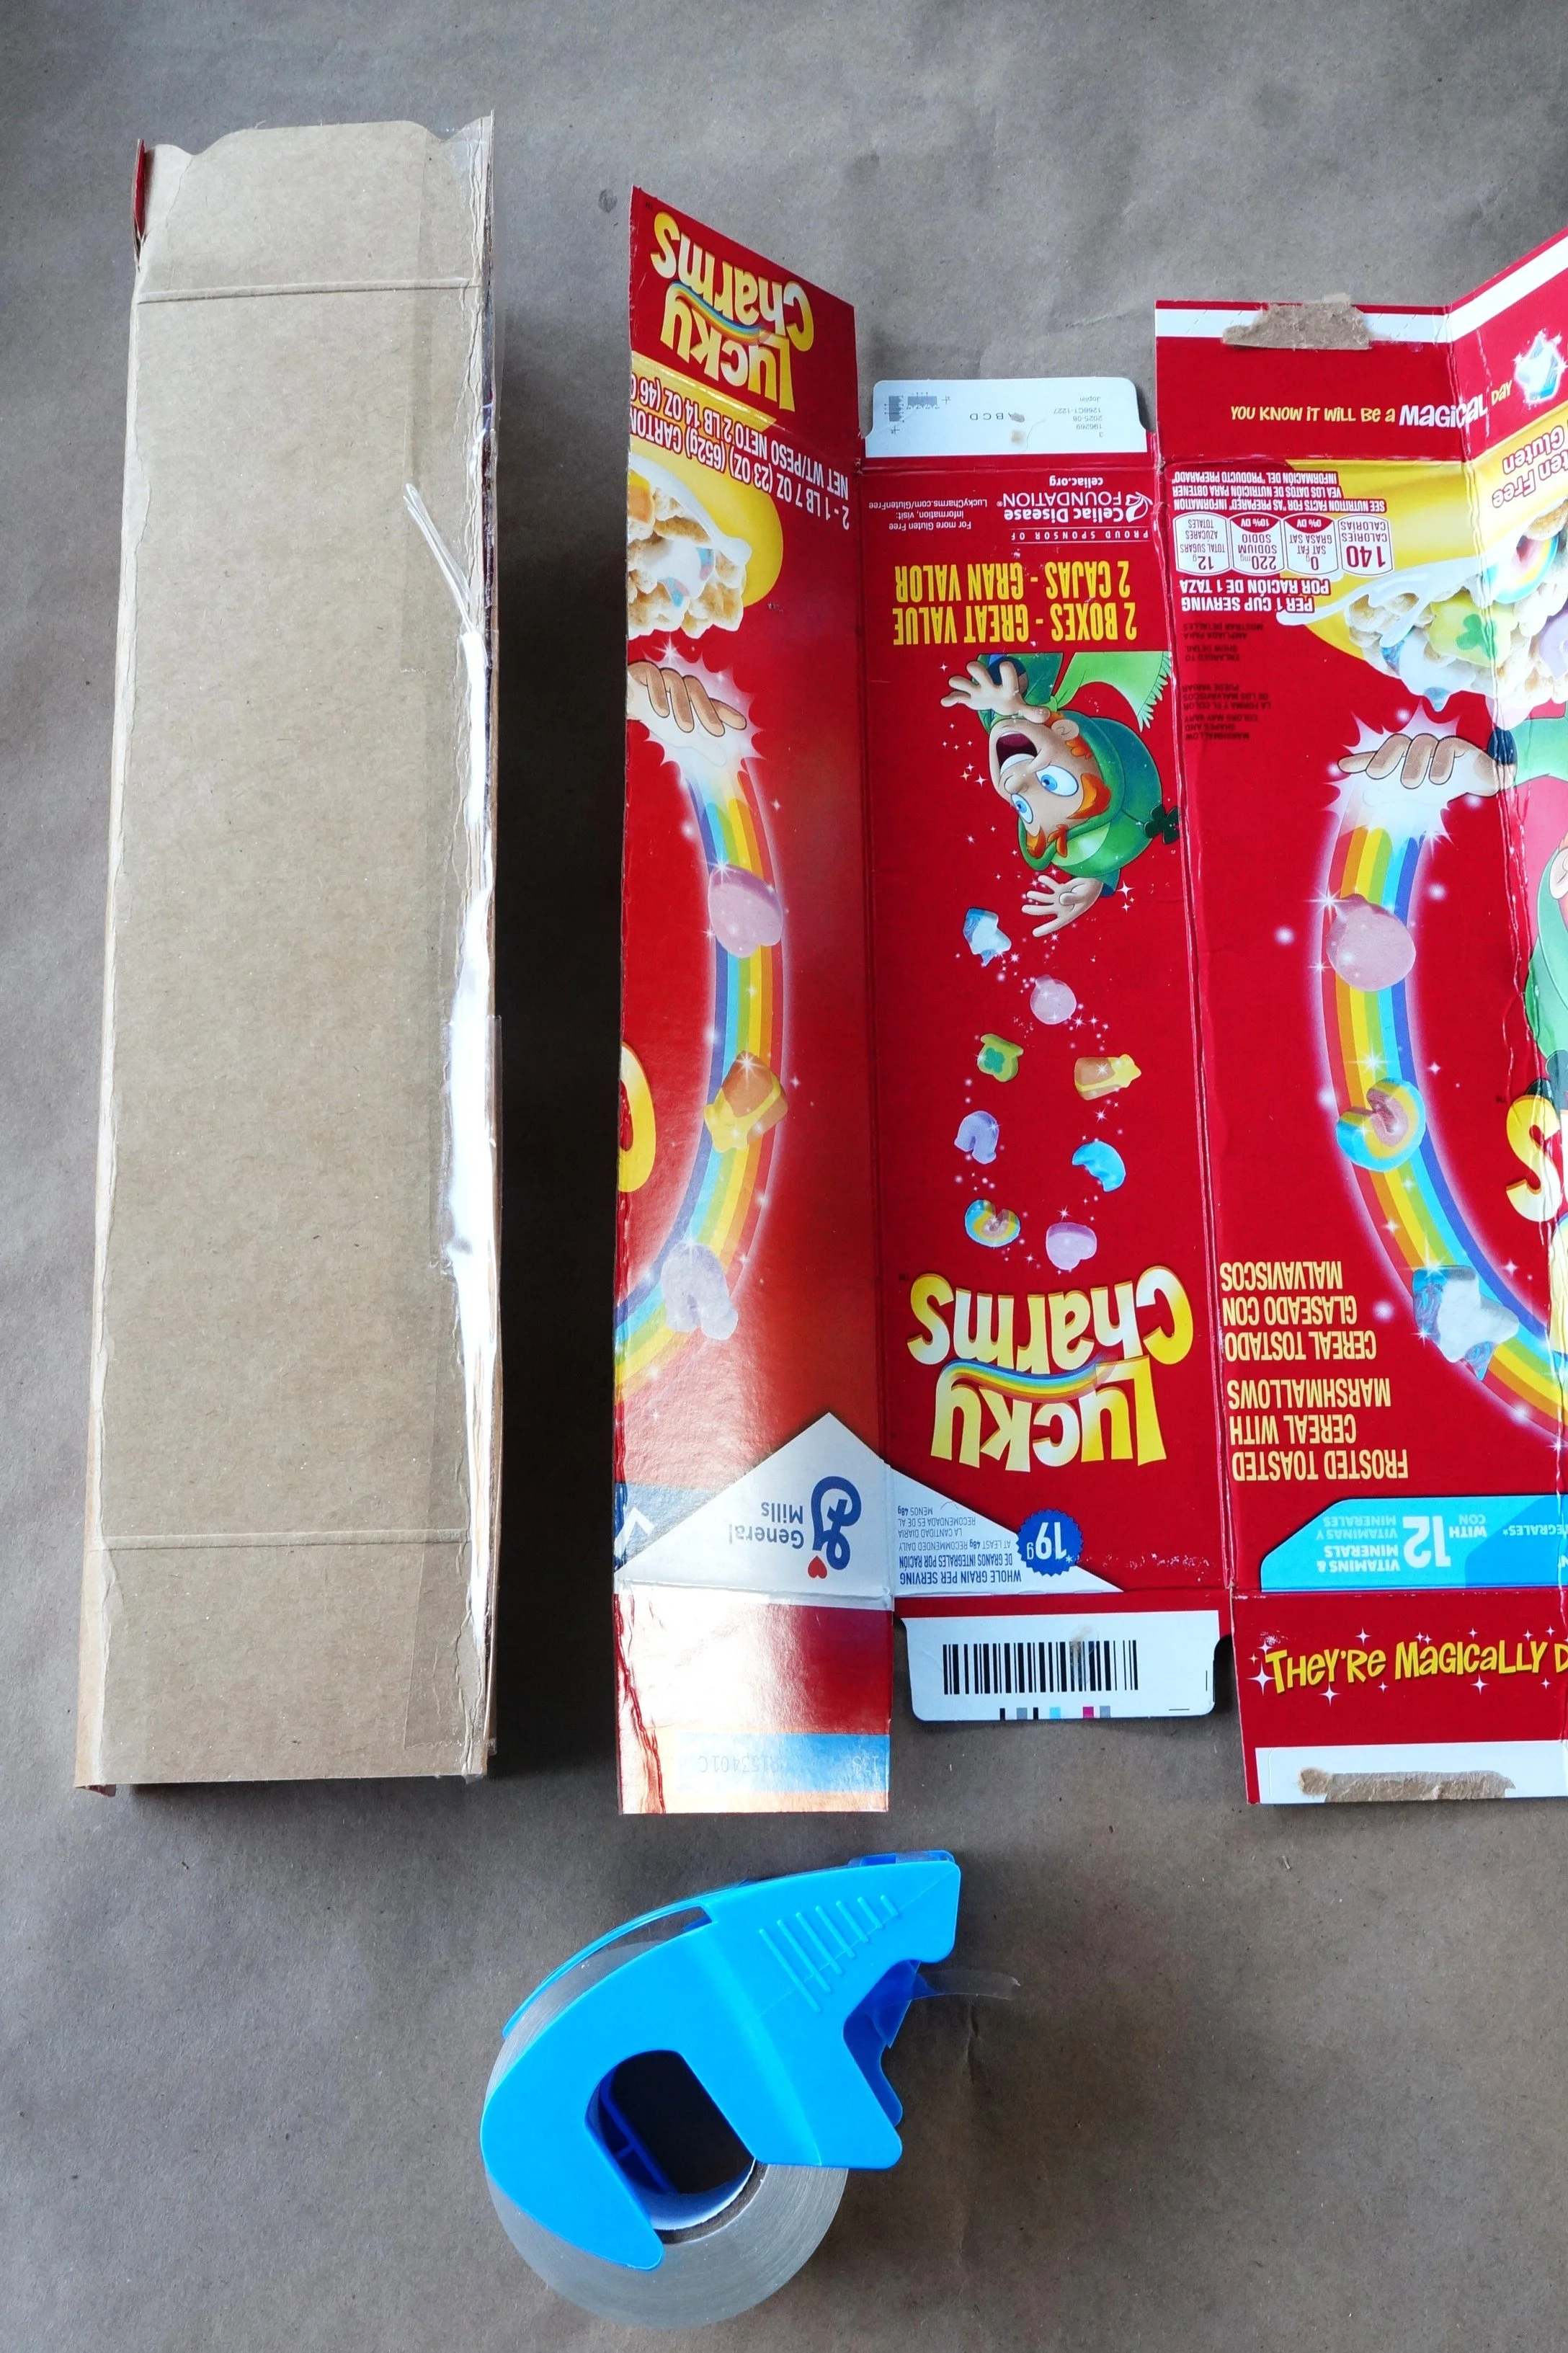
*Boxes
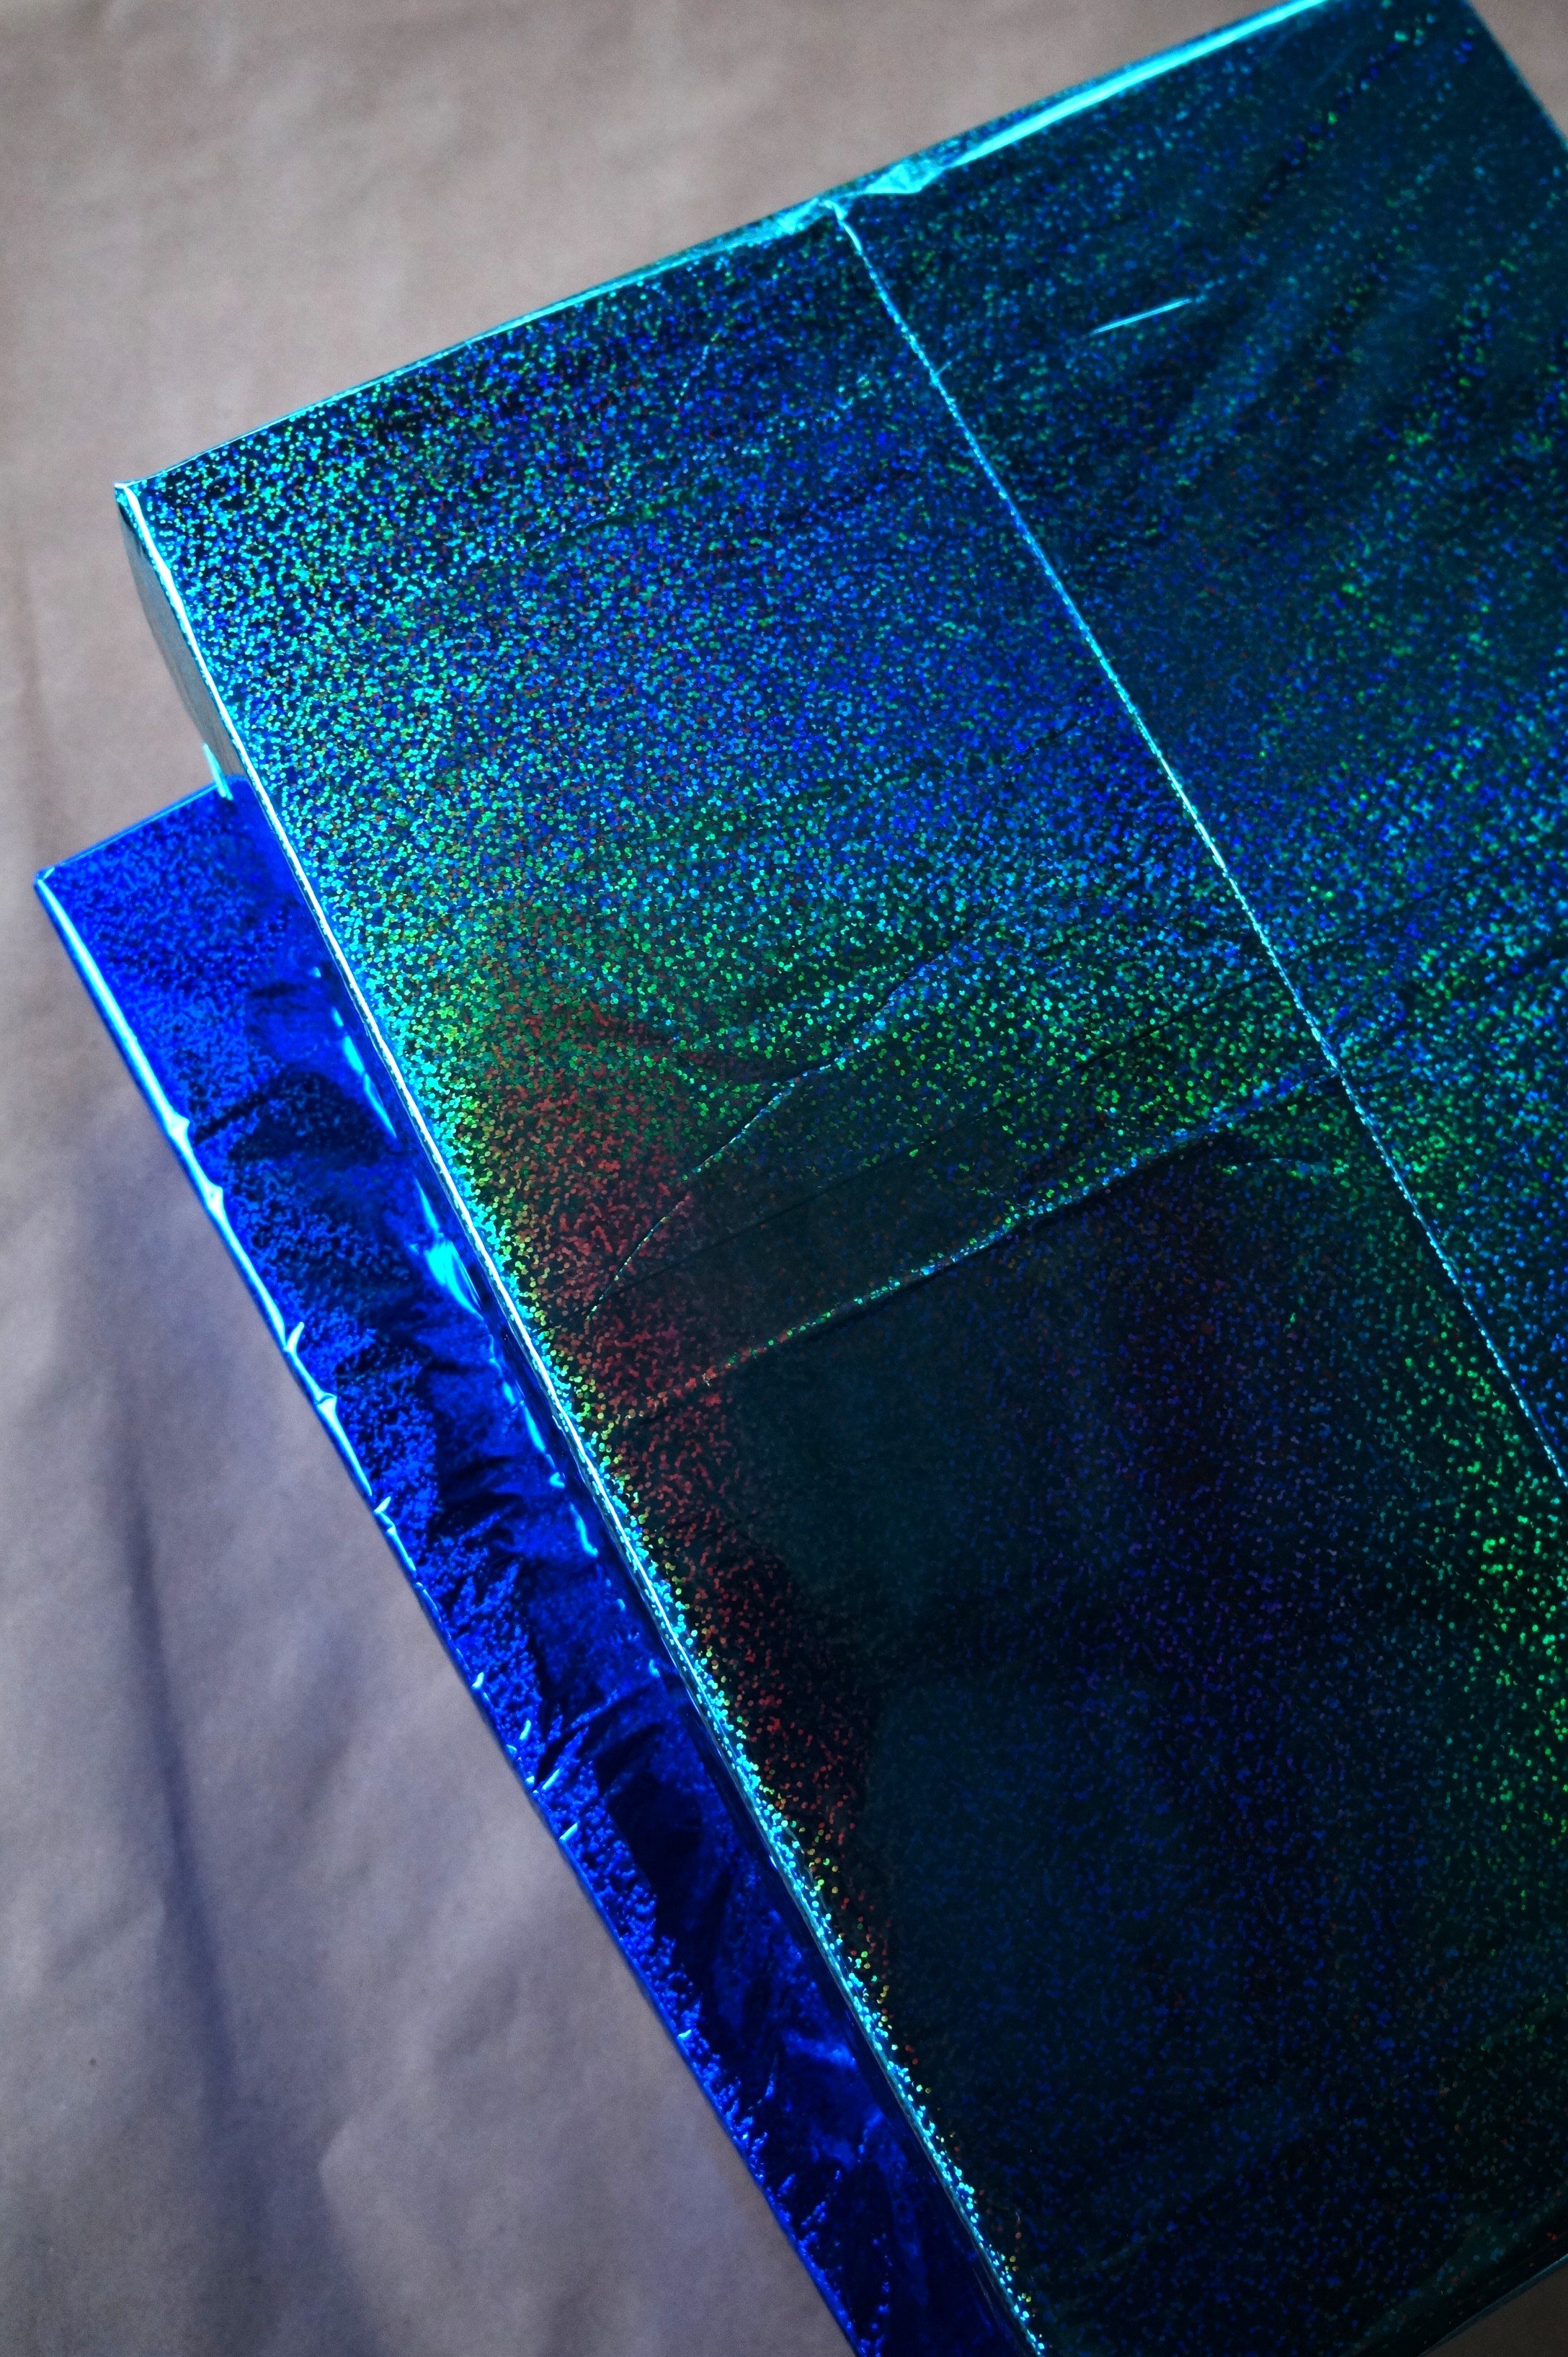
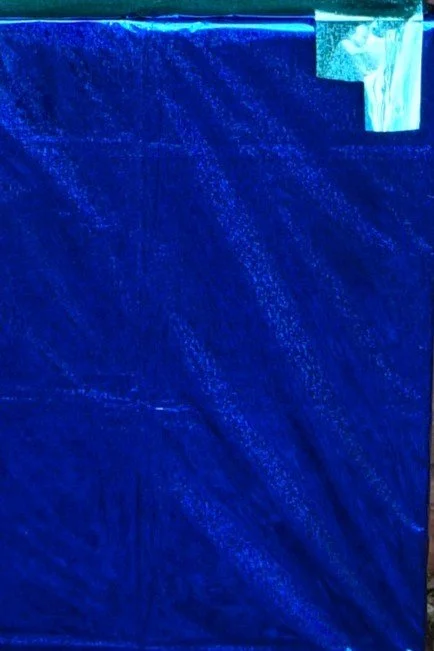
Colored Wrapping Paper/Foil Table Cover: Blue, Turquoise
Construction Paper: Skin Color, Grey, White, Hair Color, Eye Color
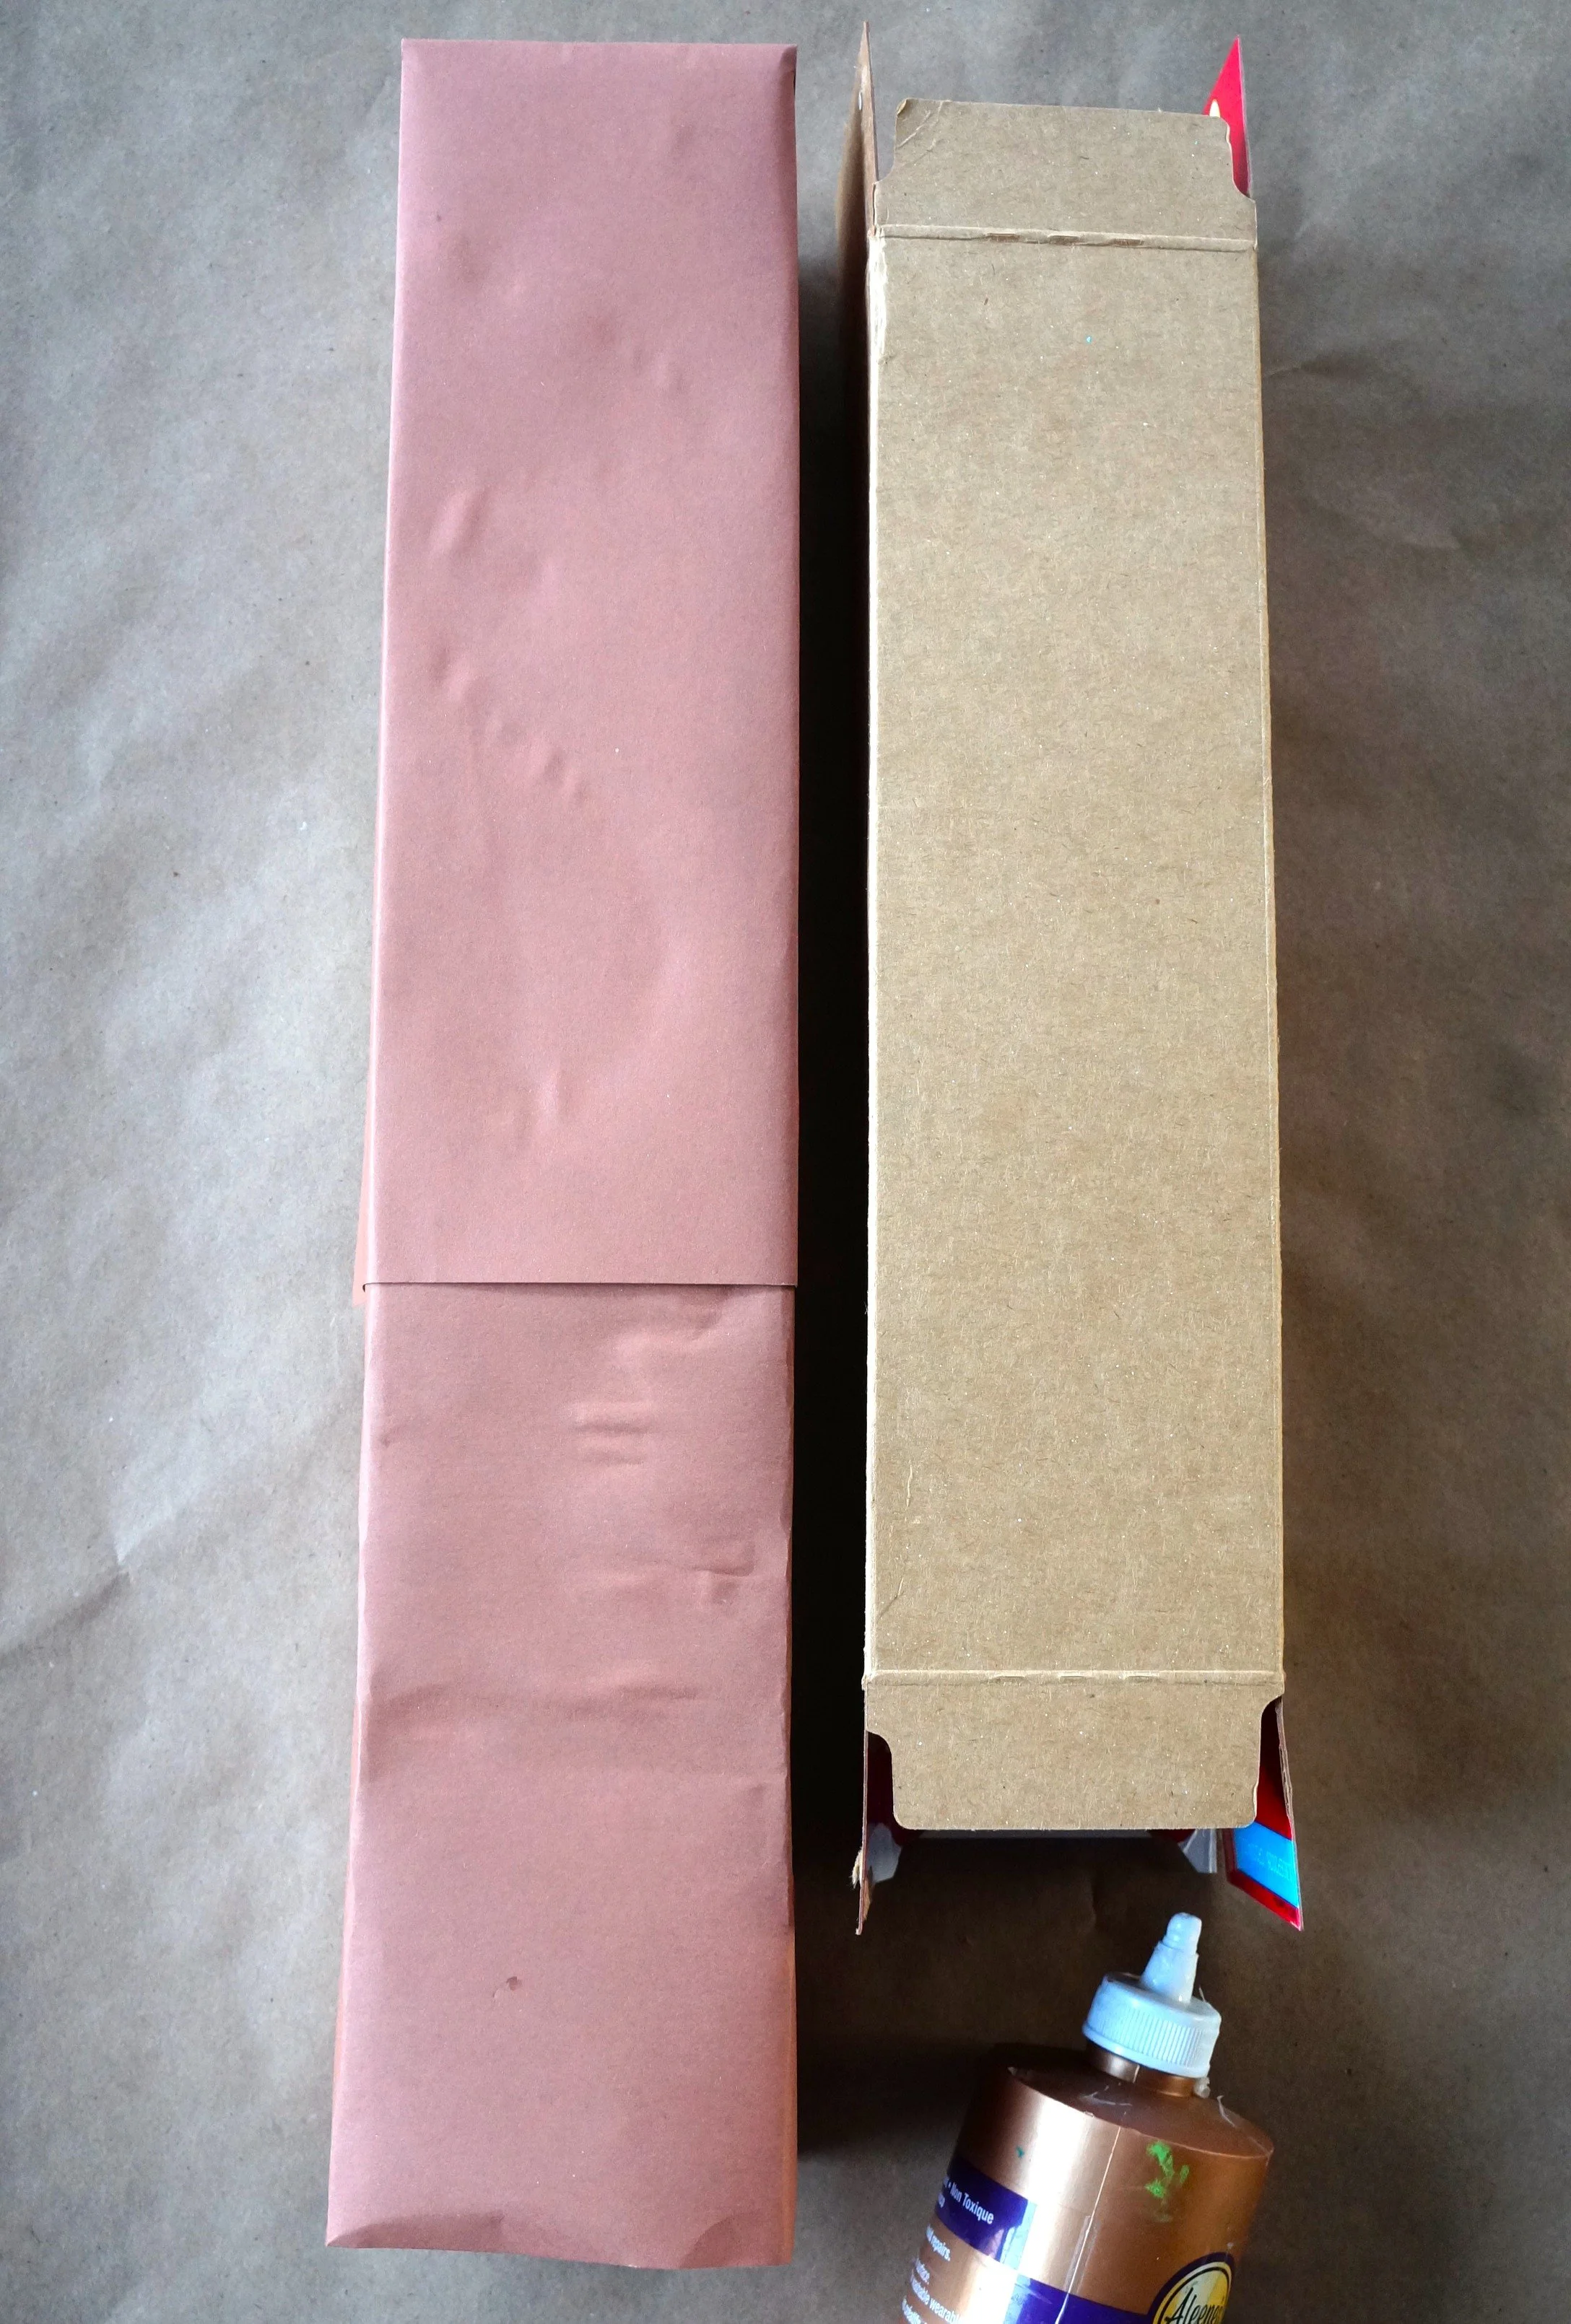
Tacky Glue
Glue Stick
Scissors
Pencil
1-inch Fasteners
Optional: Packing Tape
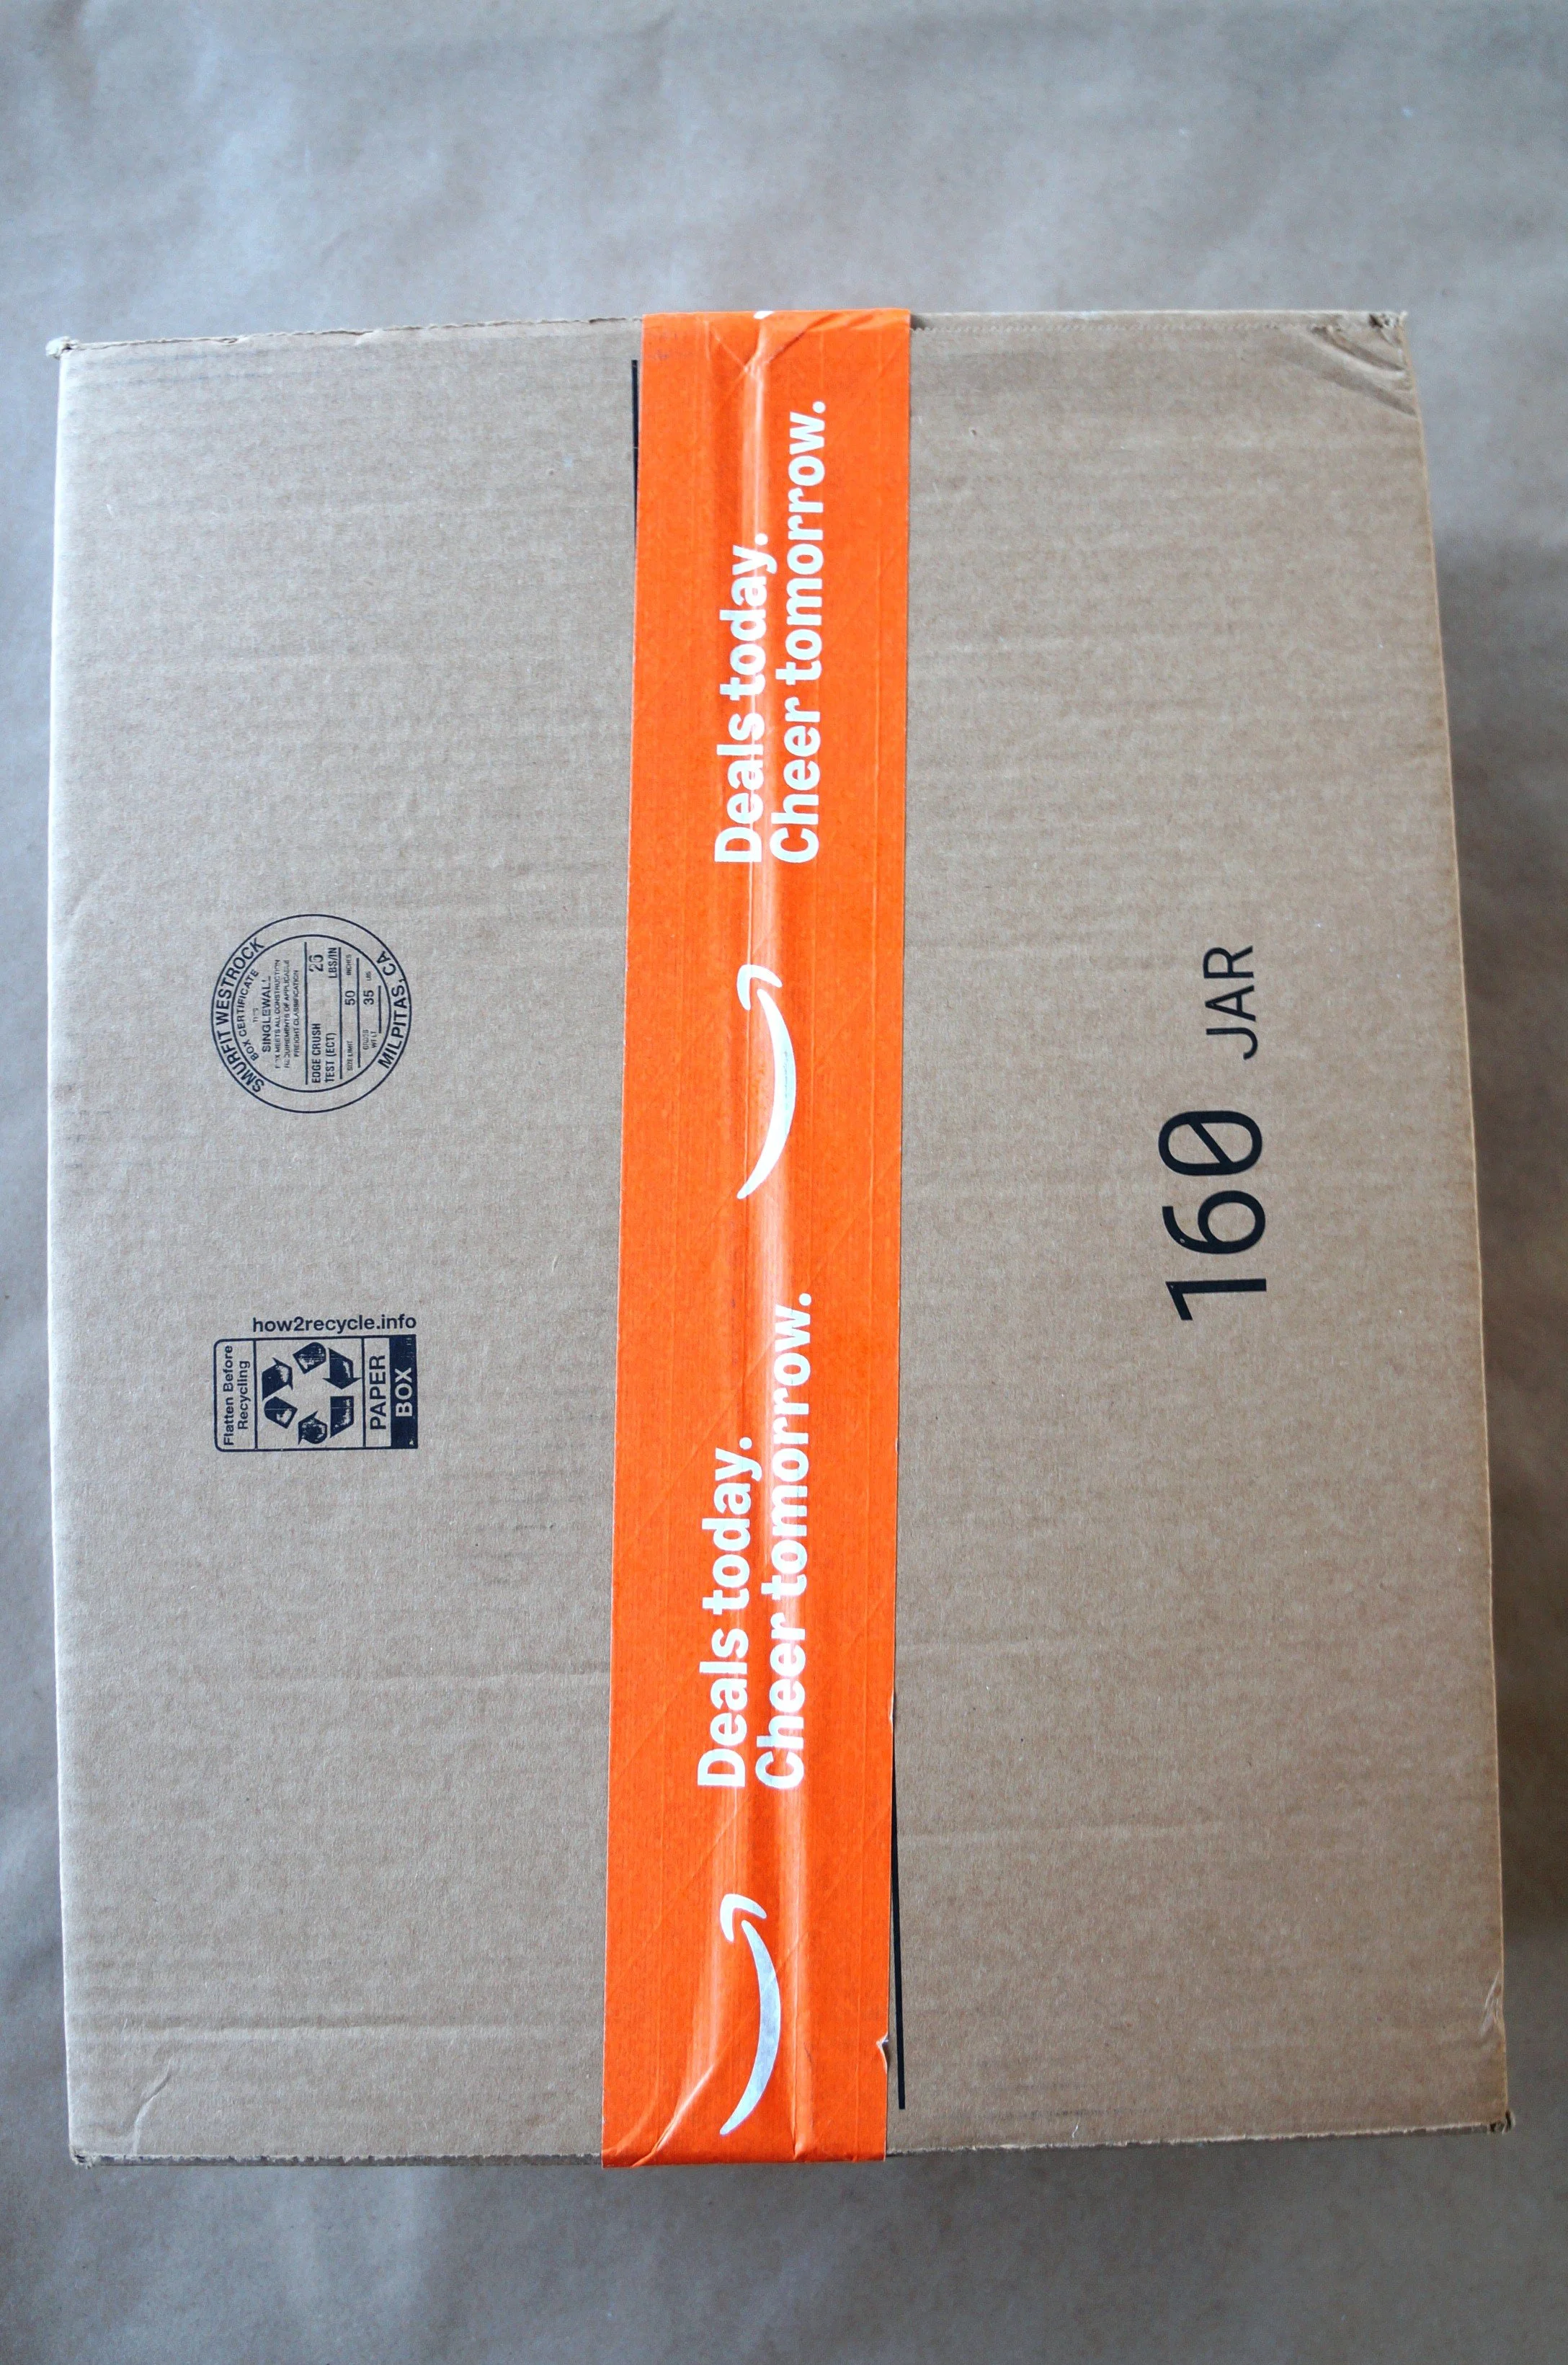
*Box options: shoe boxes, cereal boxes, diaper boxes, Amazon boxes, etc.
The Steps
We want to see your craft! Click PHOTO SUBMISSION, then submit the photo
SHOES
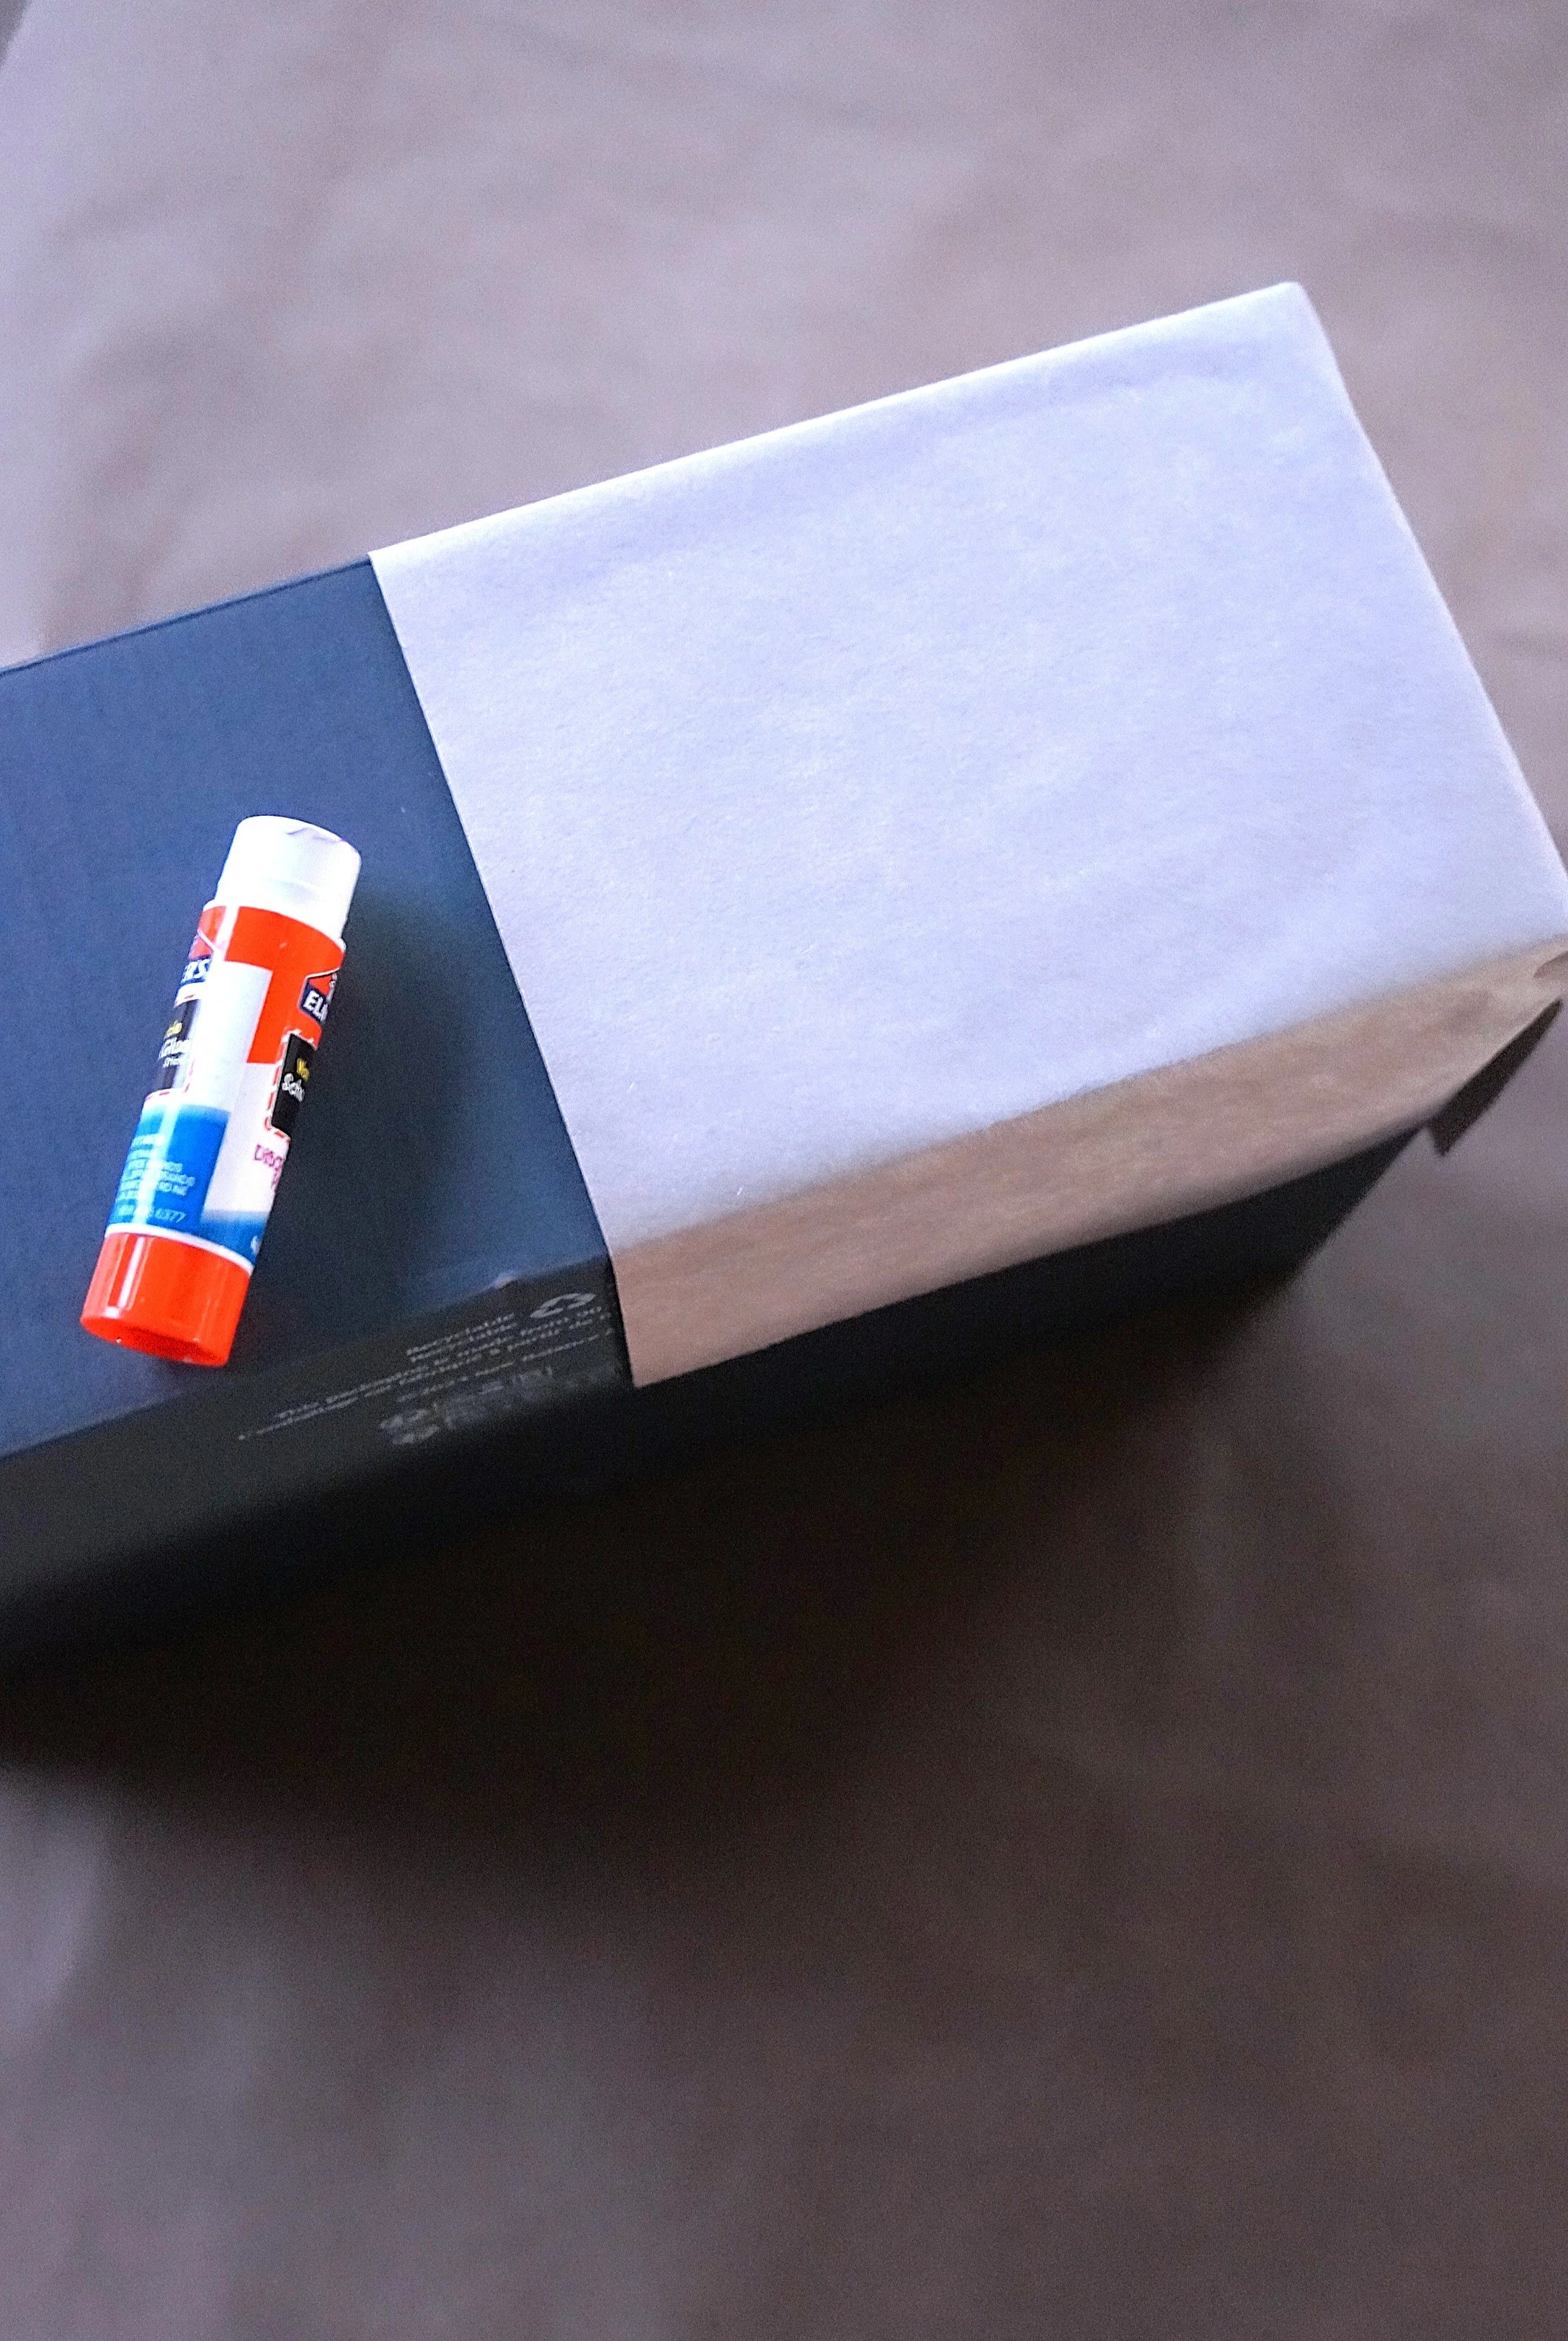
Face the opening/flap of the box for the shoes down and cover the front and sides with glue and grey paper. We left a narrow gap between the papers to show separation in the shoes.
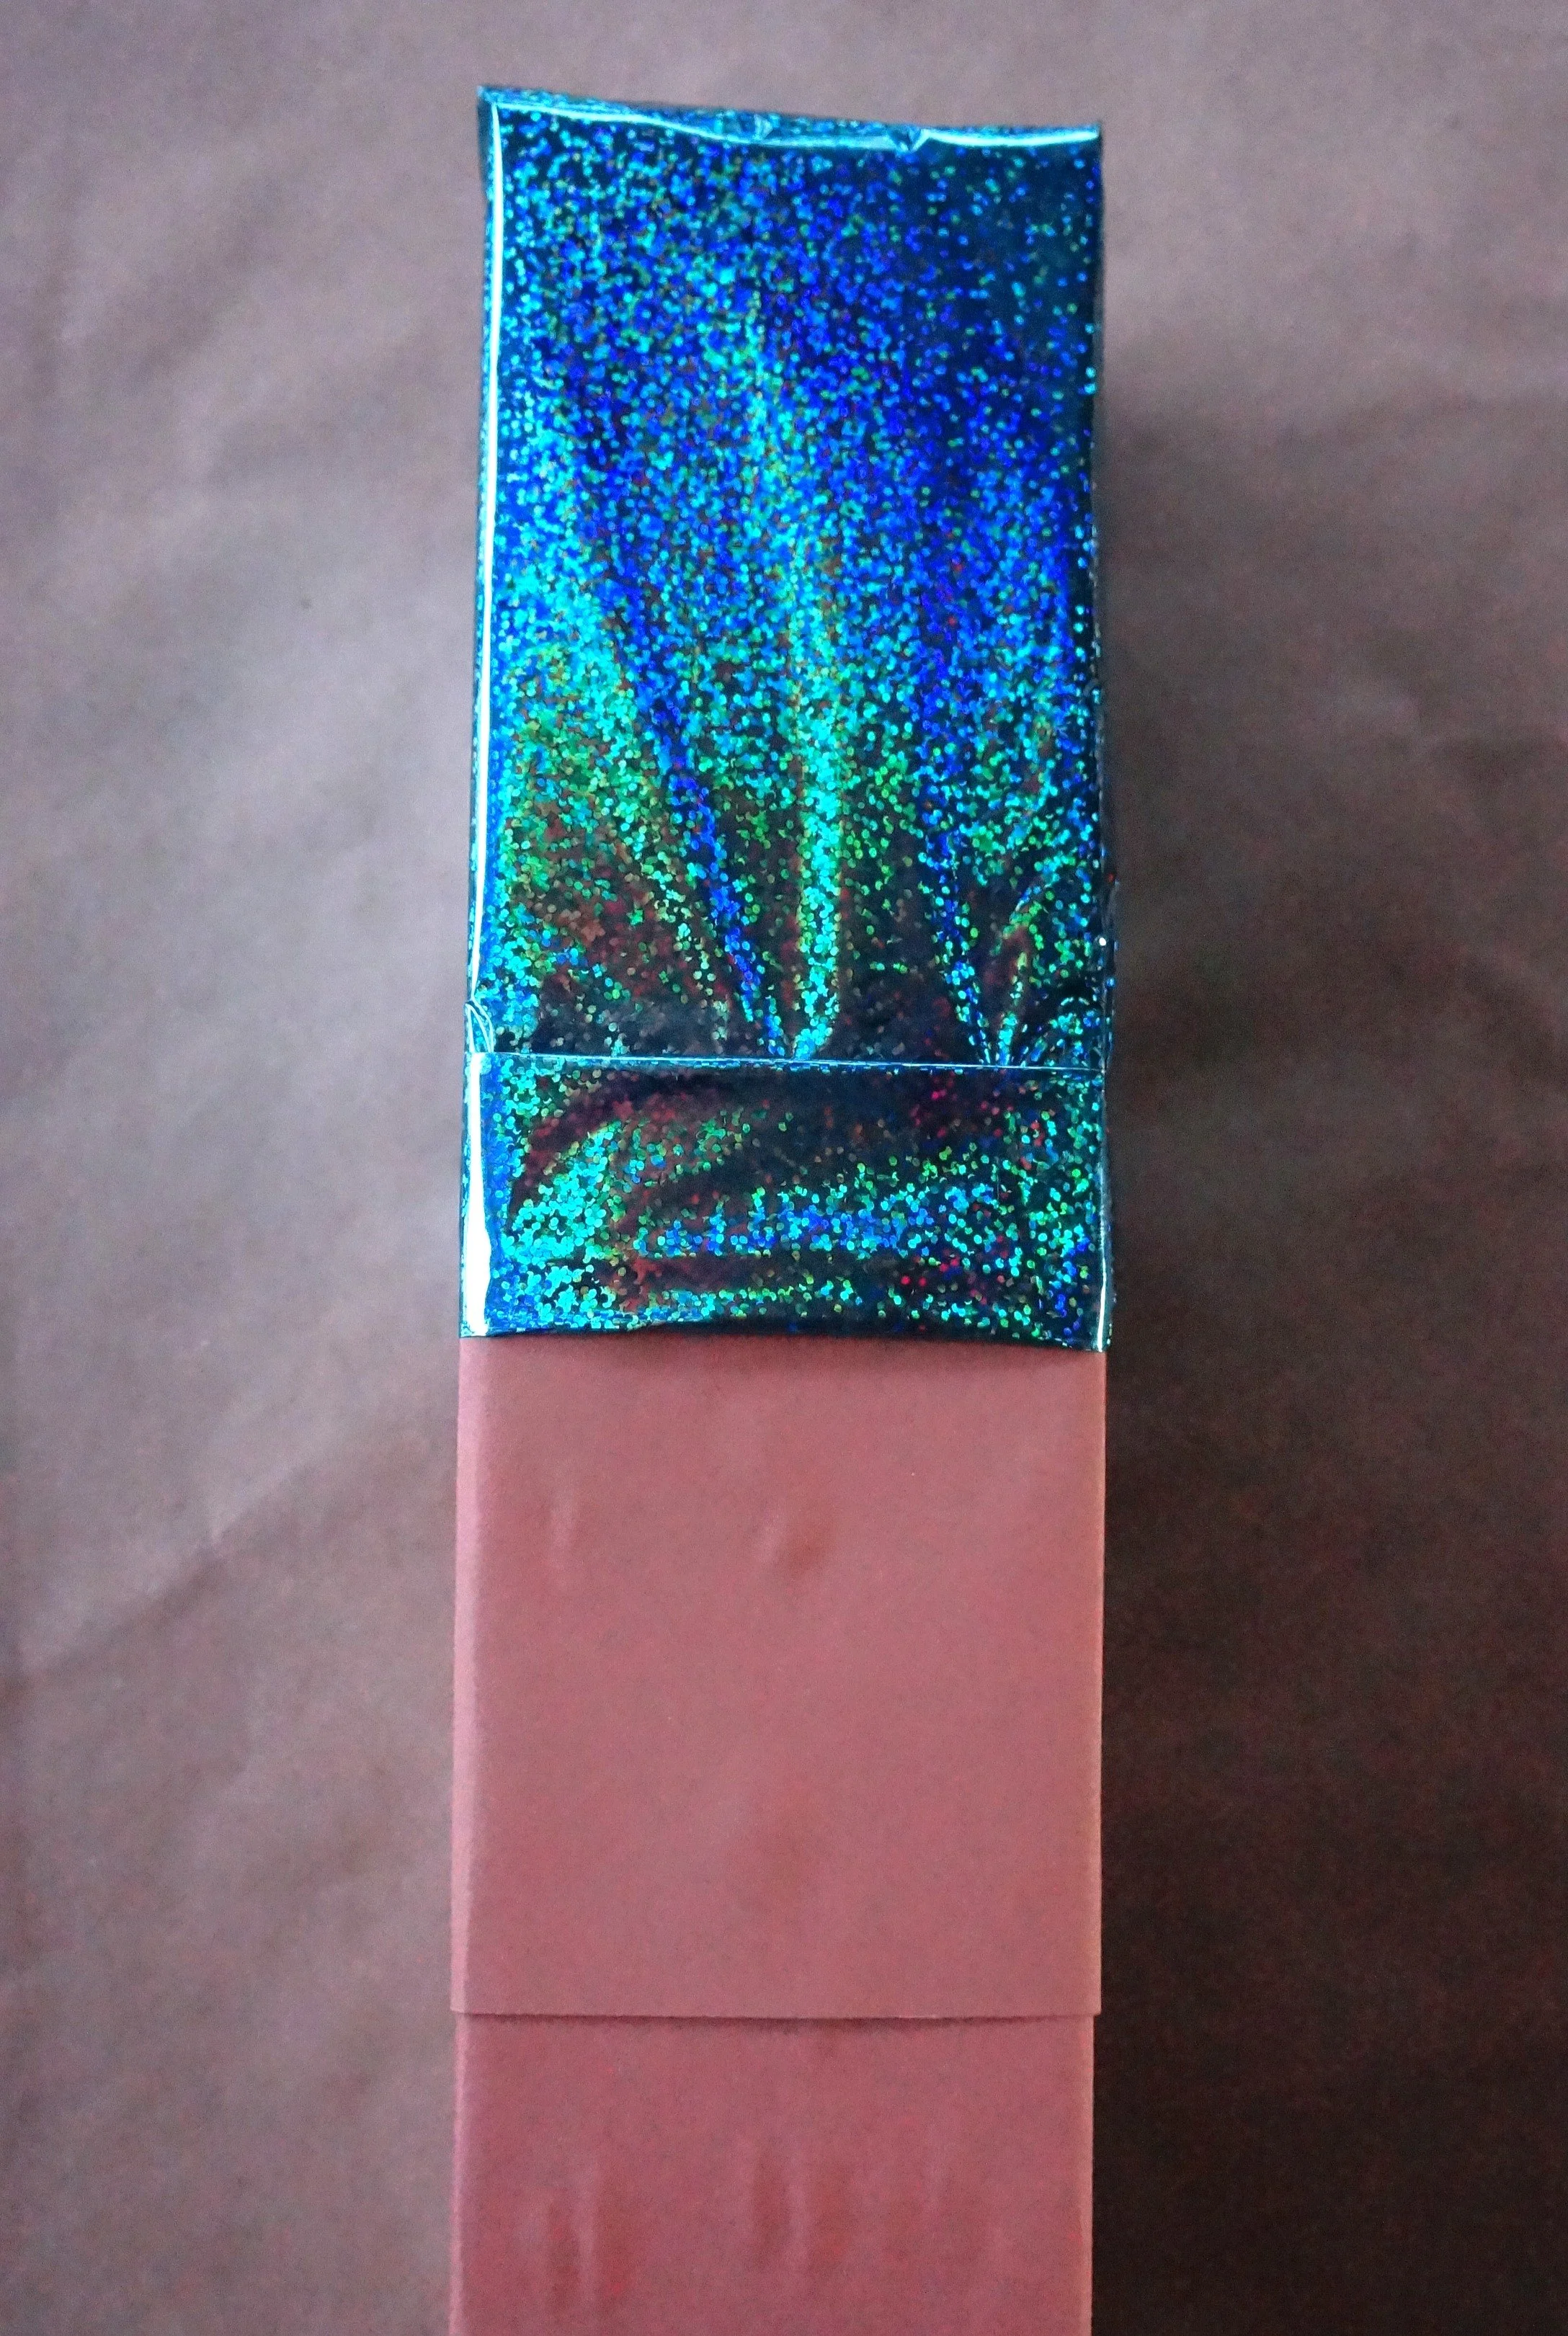
PANTS & SHIRT
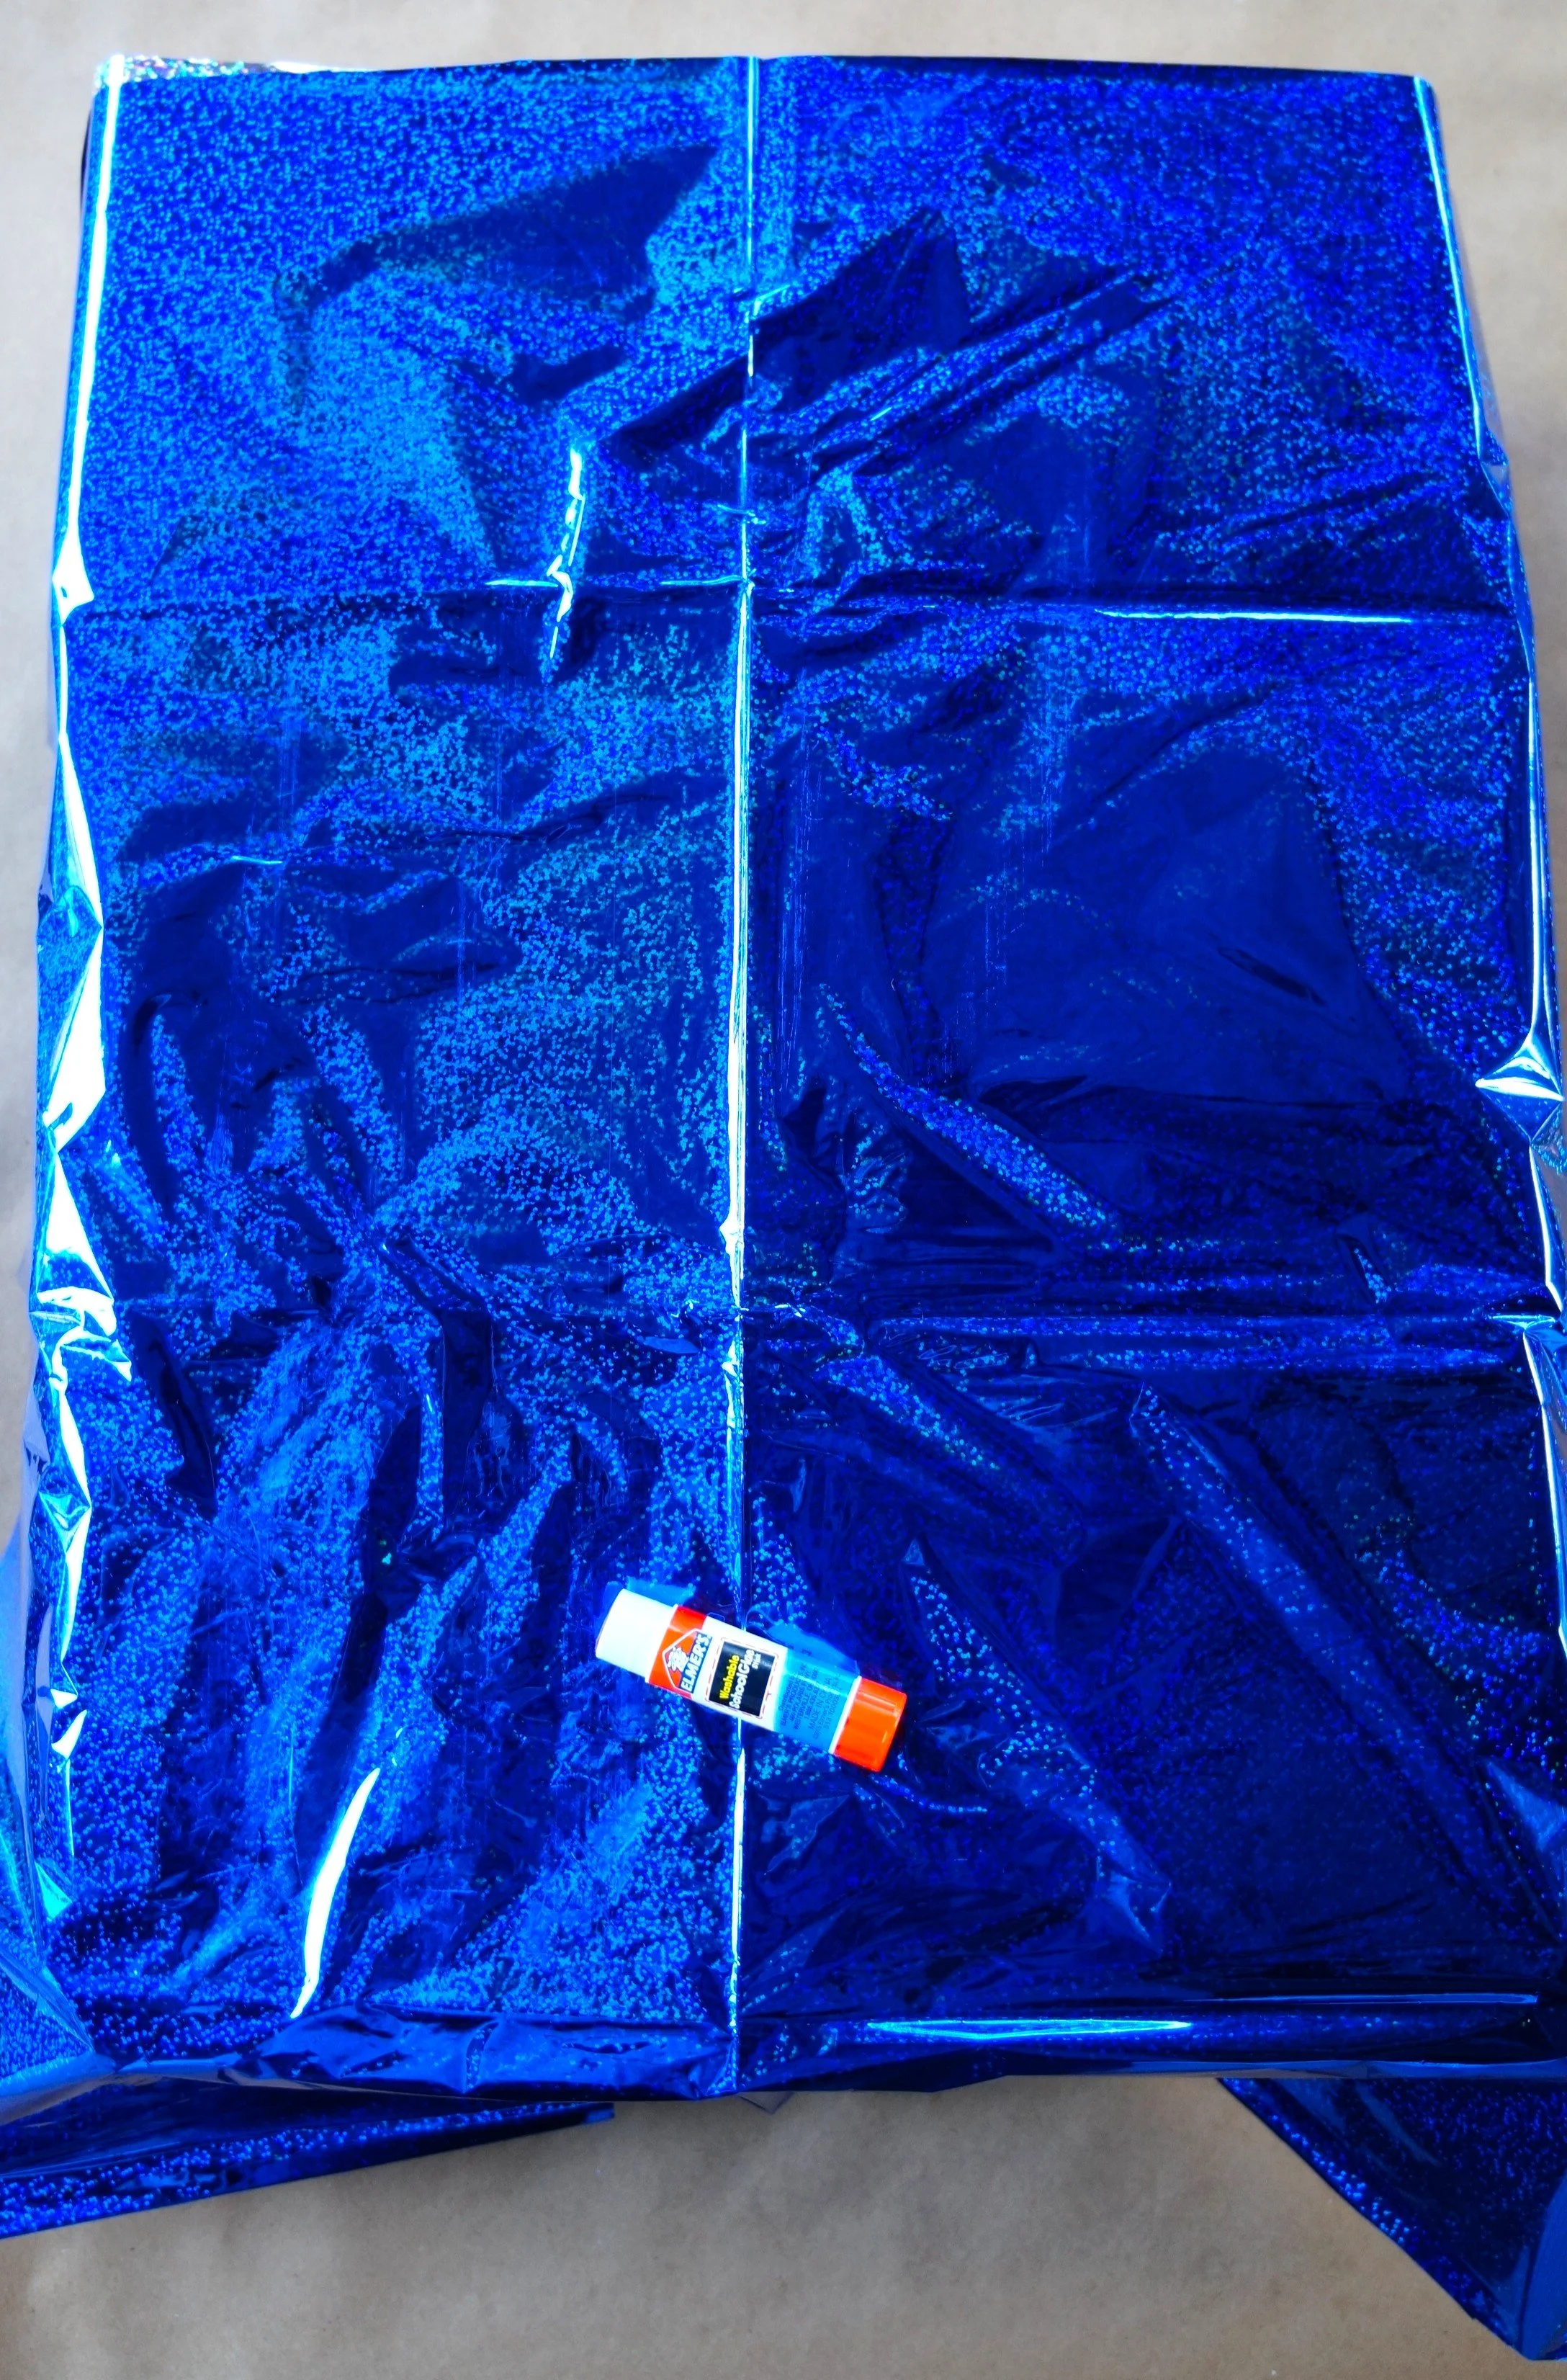
Face the unsealed sides of the boxes down on the table.
Cut the amount of paper/table cover needed for each box.
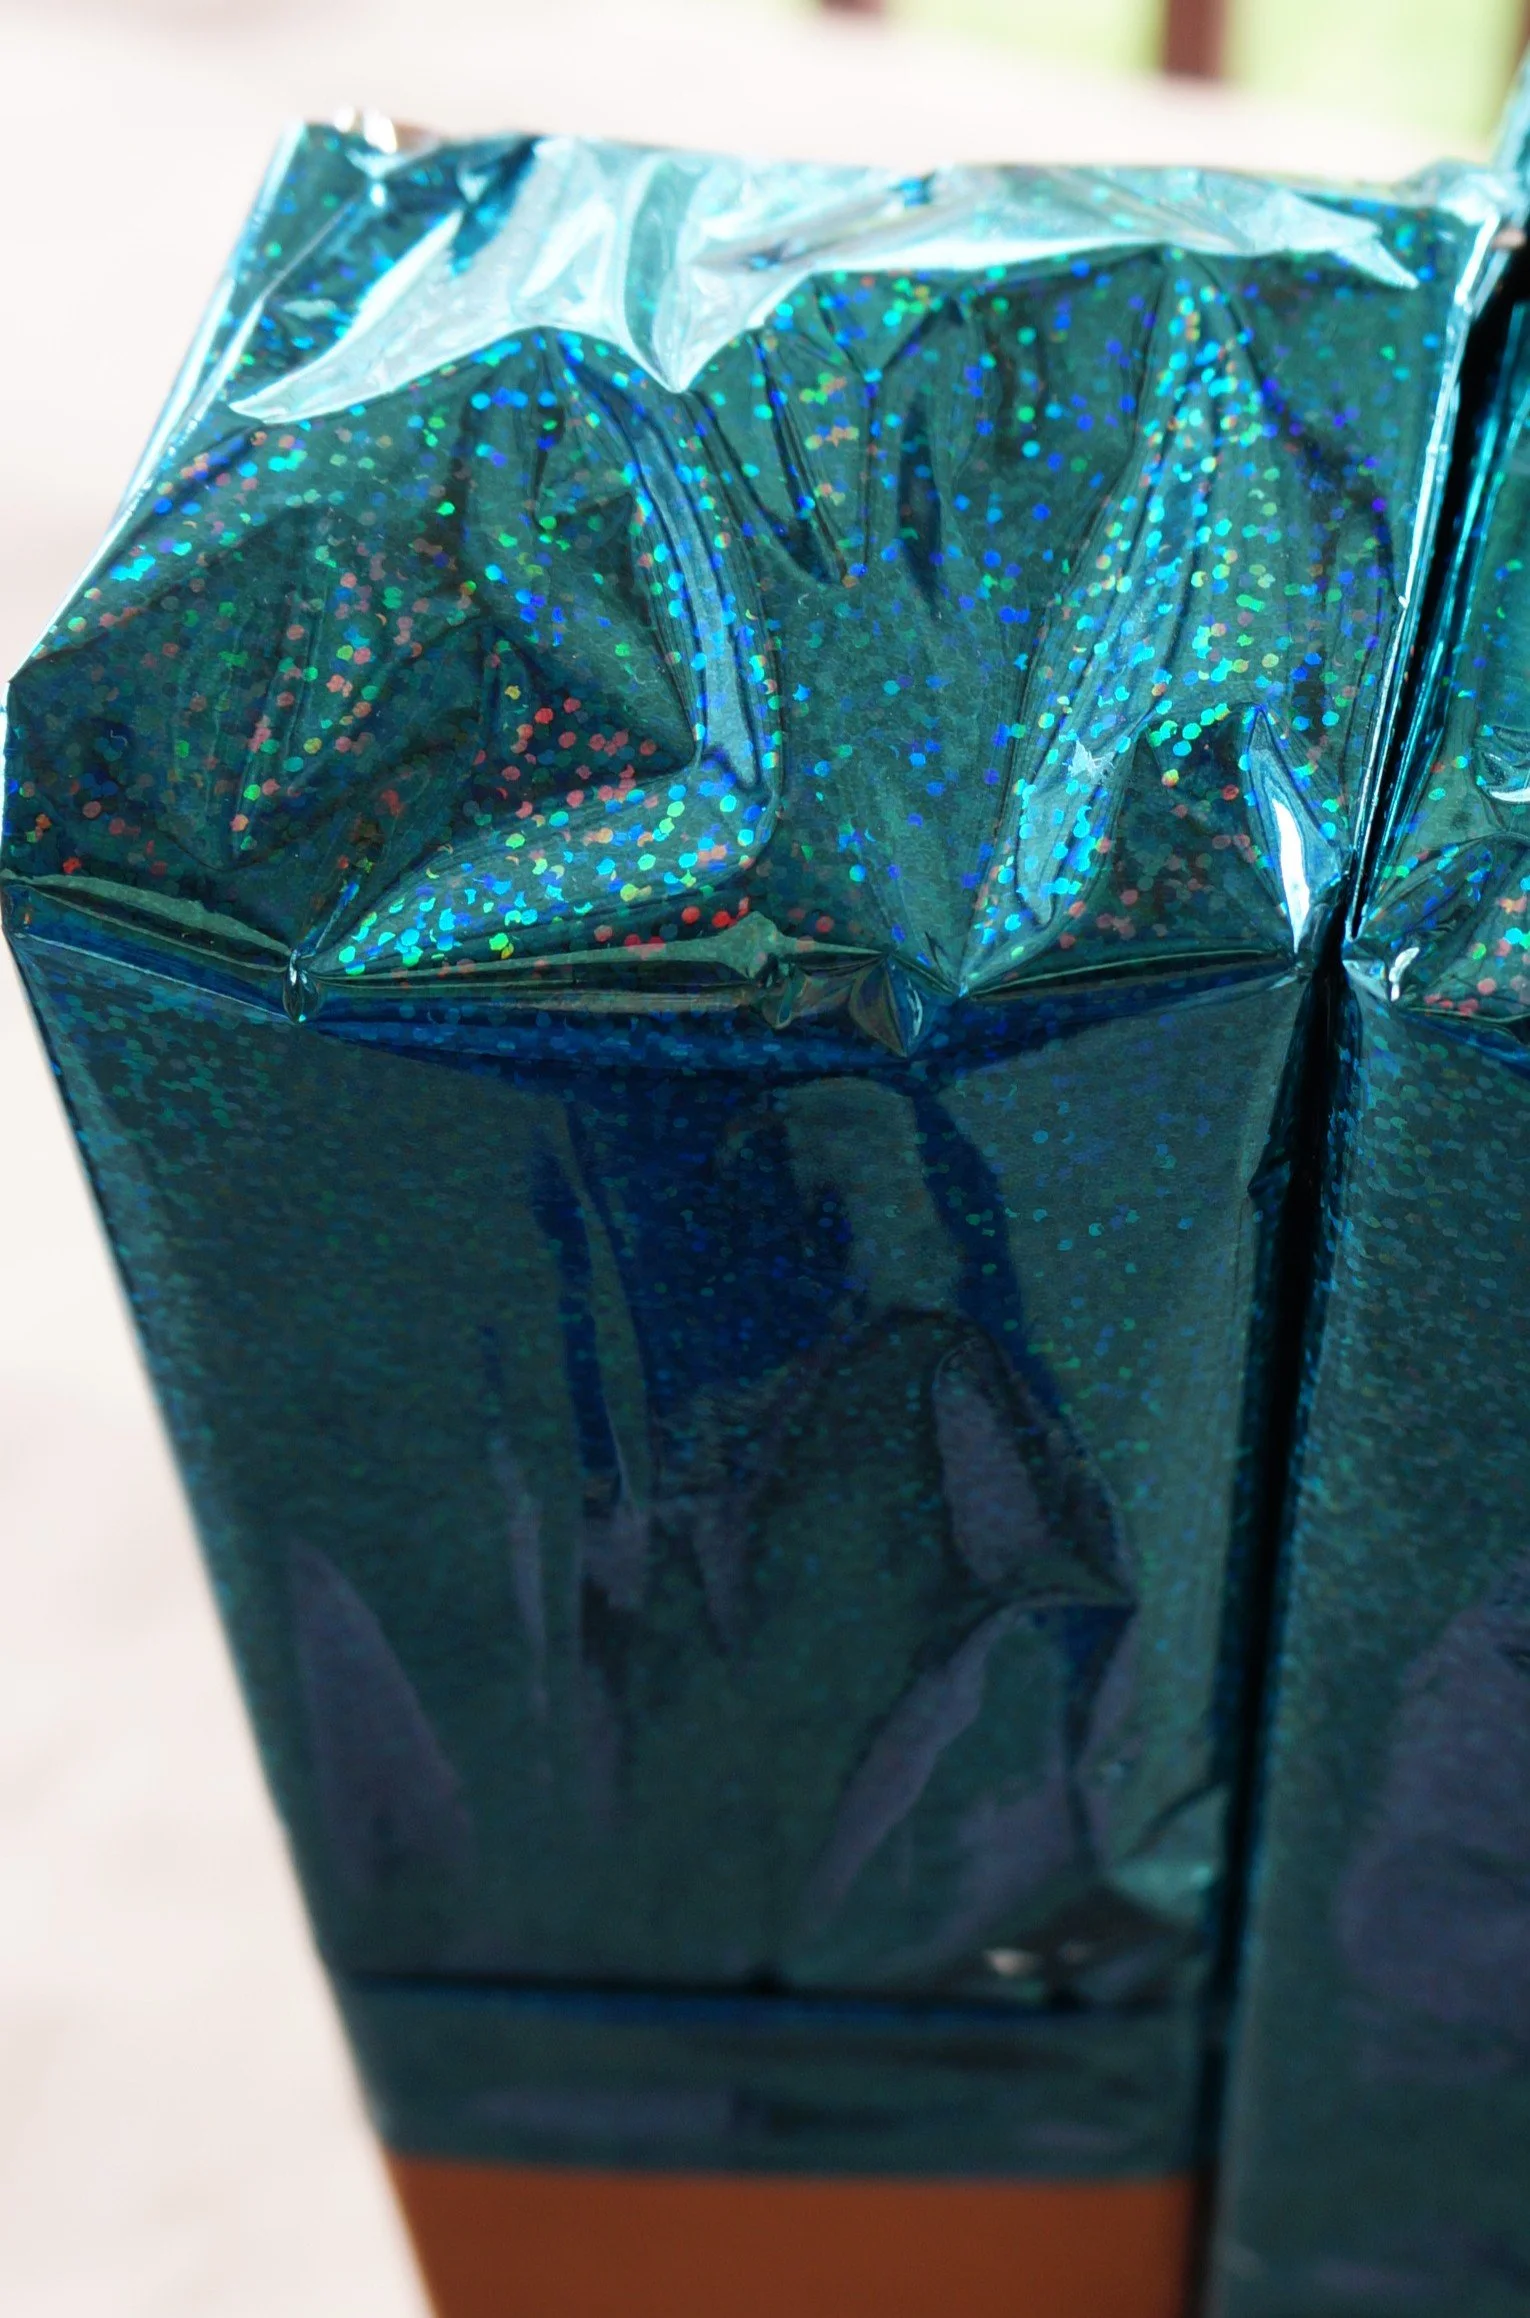
Apply glue to the sides of the boxes only(eliminates warping), then cover the center and sides of the pants/shirt boxes.
Options:
Cut a wide T from the skin-colored paper and glue it to the front of the shirt (shirt opening).
Cut a sliver of black paper and glue it to the center of the pants for separation.
ASSEMBLE
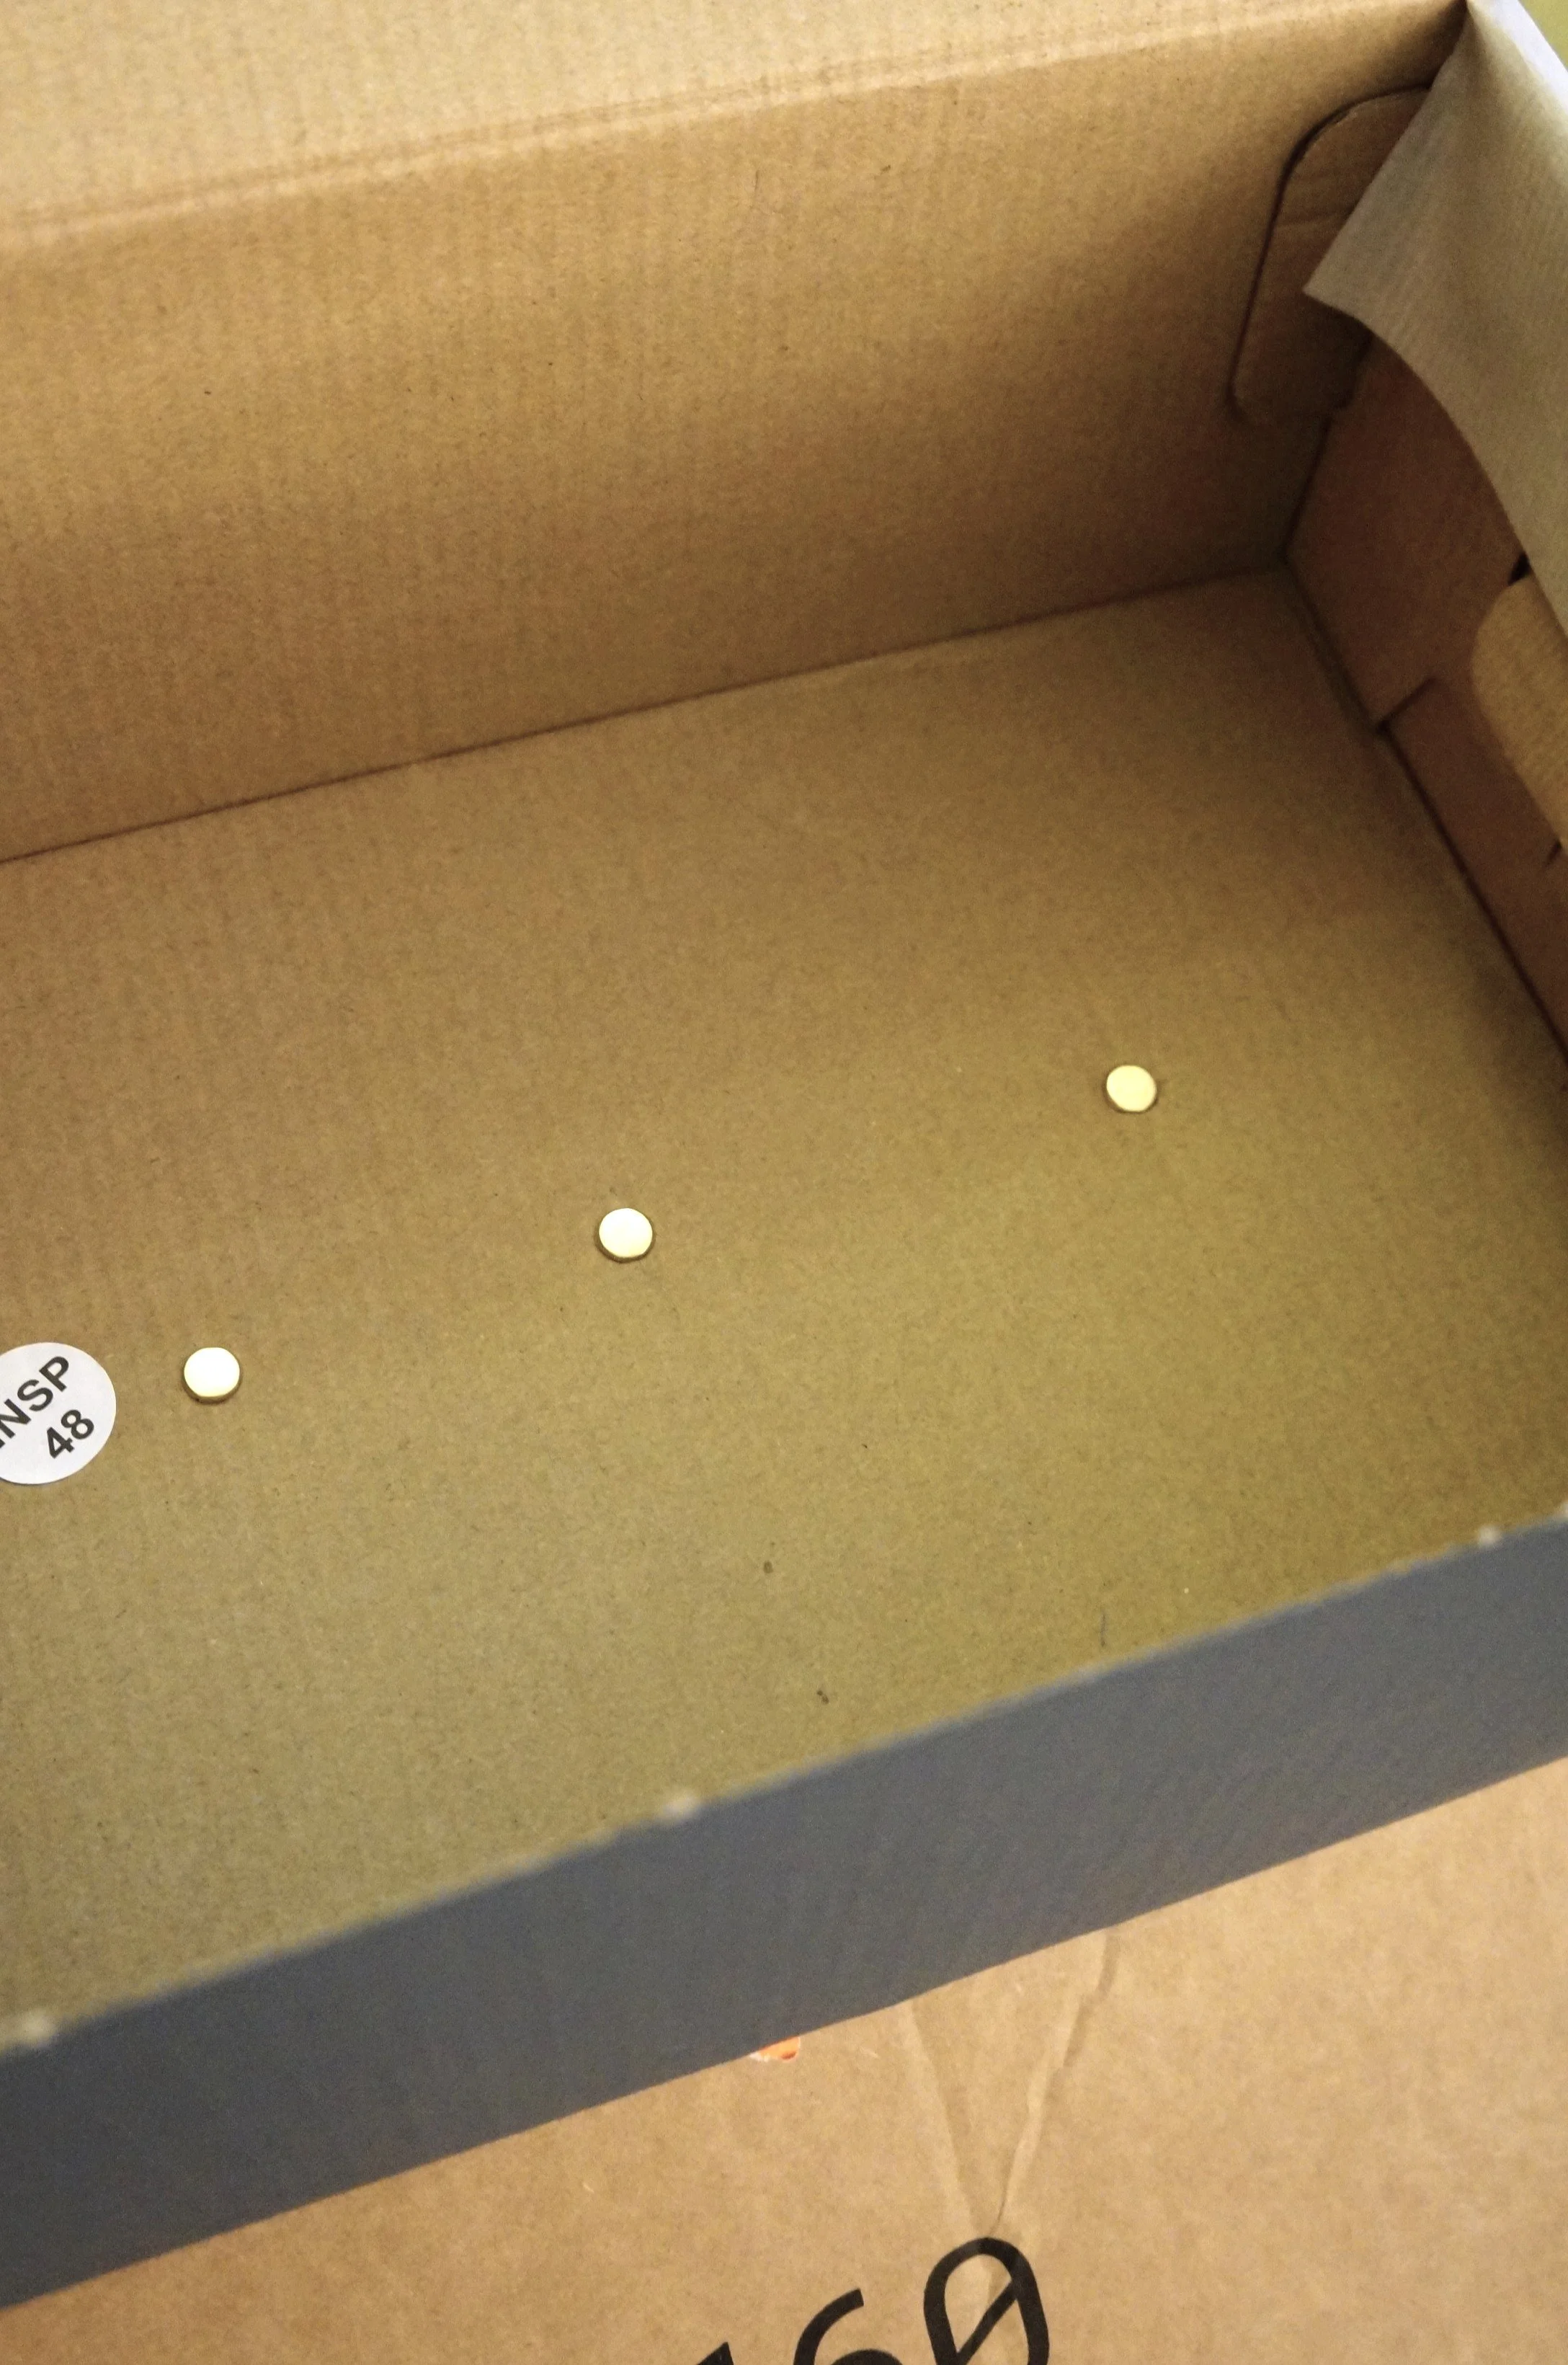
Place the pants vertically onto the ground and the shoes on top, with both openings/flaps facing you.
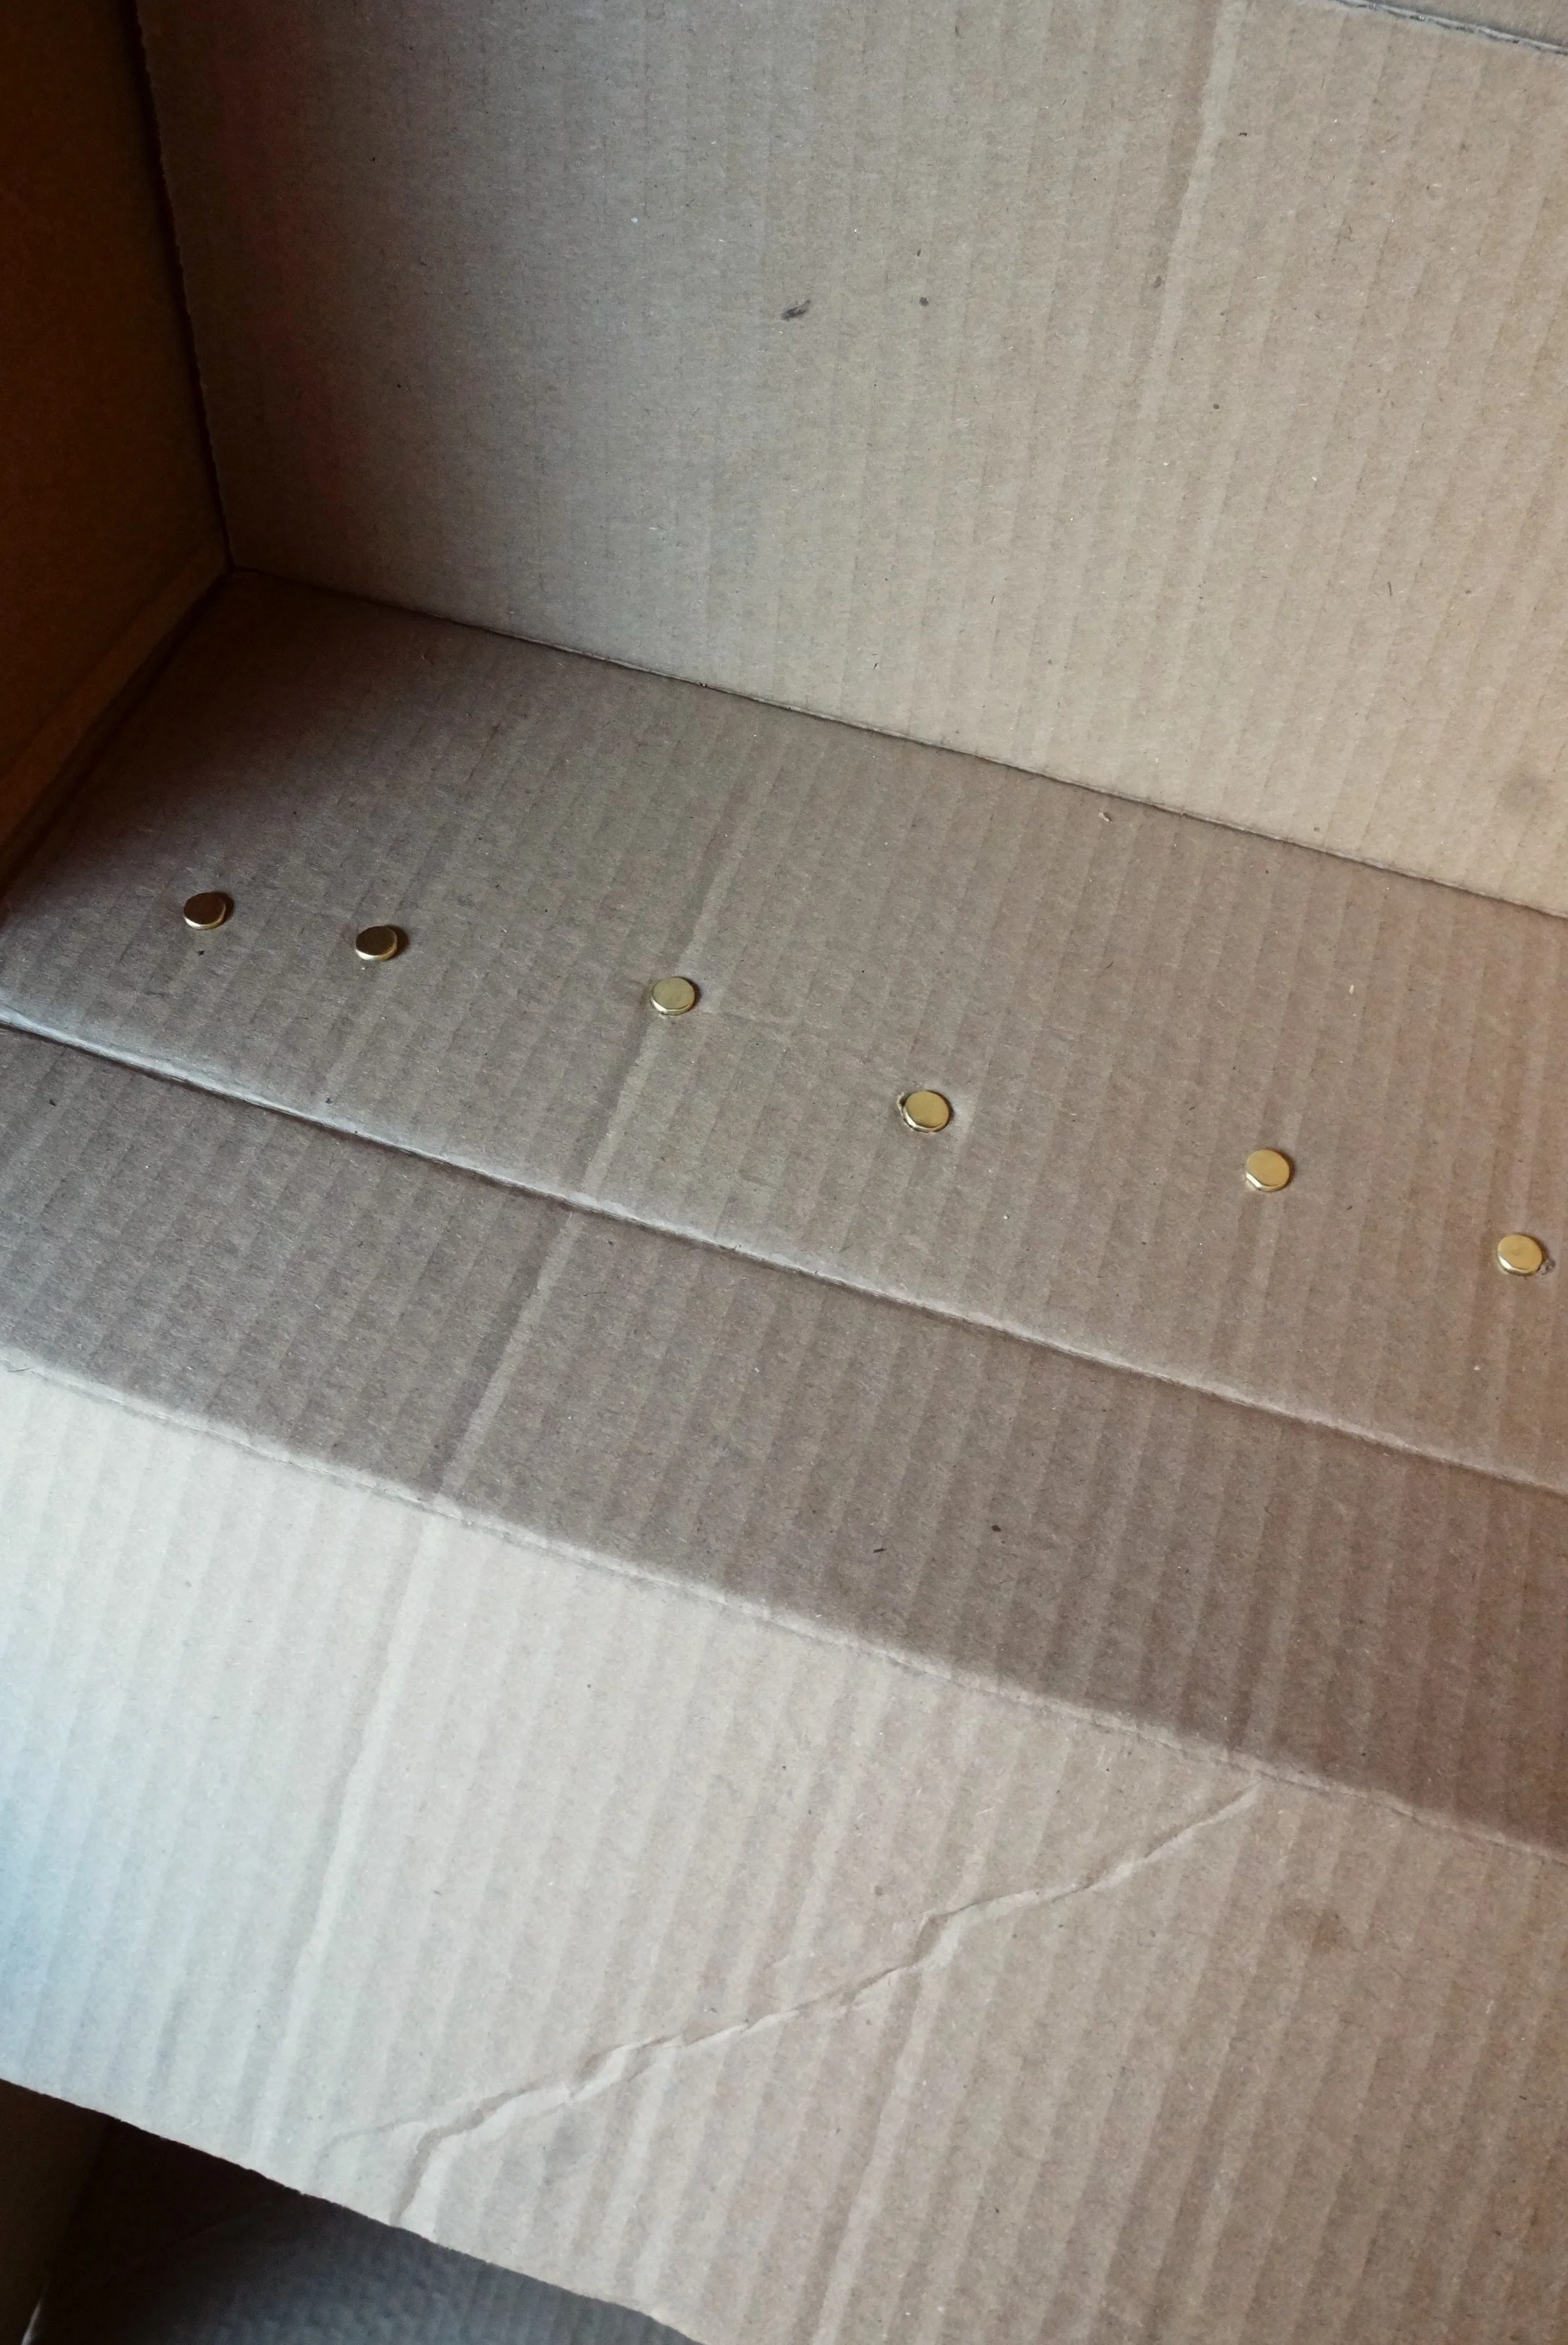
With the pencil, poke small holes through the shoes and pants, feed the fasteners, and spread the ends.
Now flip the boxes, with the pants on top, place the shirt over the pants, and repeat the process.
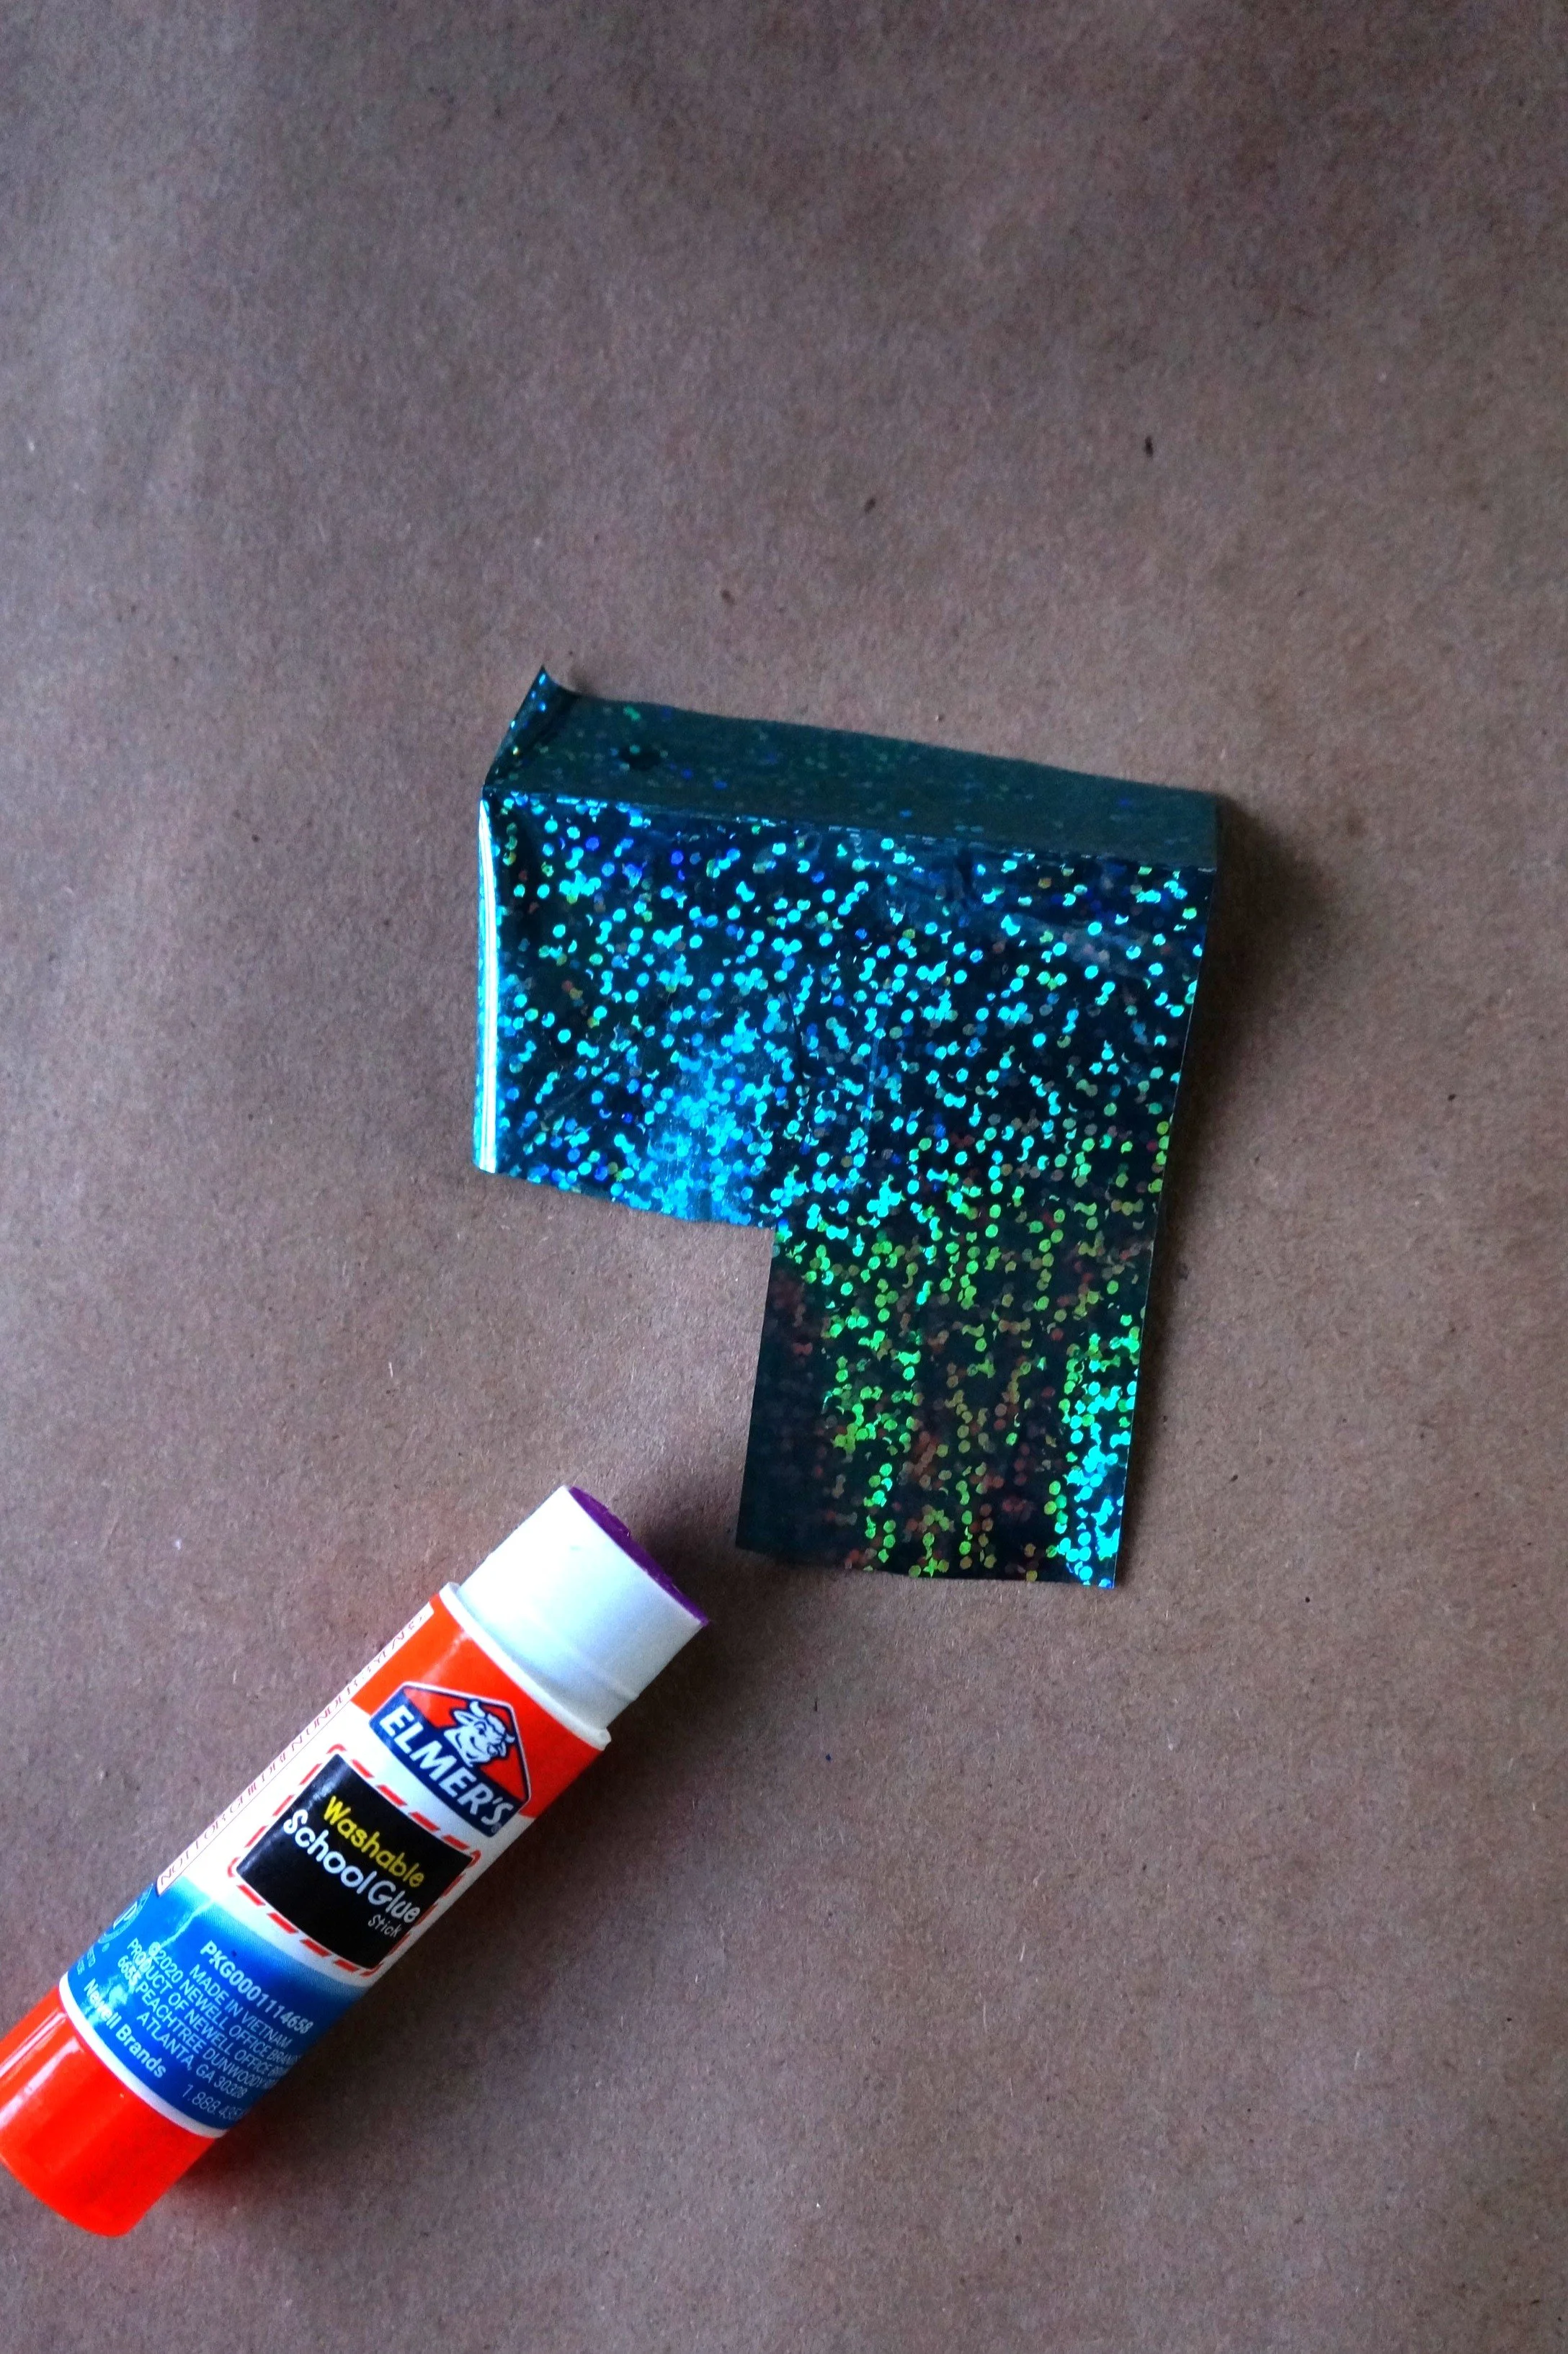
Cut a 7 from the turquoise paper/table cover and glue it onto the front, right lower corner of the shirt.
ARMS
If you’re having to create your own arms, cut pieces from thinner cardboard, score them, and tape them together.
Cover the arms in the skin tone paper, overlapping the paper to cover them completely and lengthen them if necessary. Only the top parts of the arms need to be closed off.
Cut some of the turquoise paper/table cover for each upper arm, fold up one end creating a cuff, then glue the cuffs down.
Glue the cuffs to the upper arms and then use plenty of tacky glue to attach each arm to the upper body. Hold the arms in place by pressing one arm against a wall, and with slight pressure, use a chair back against the other.

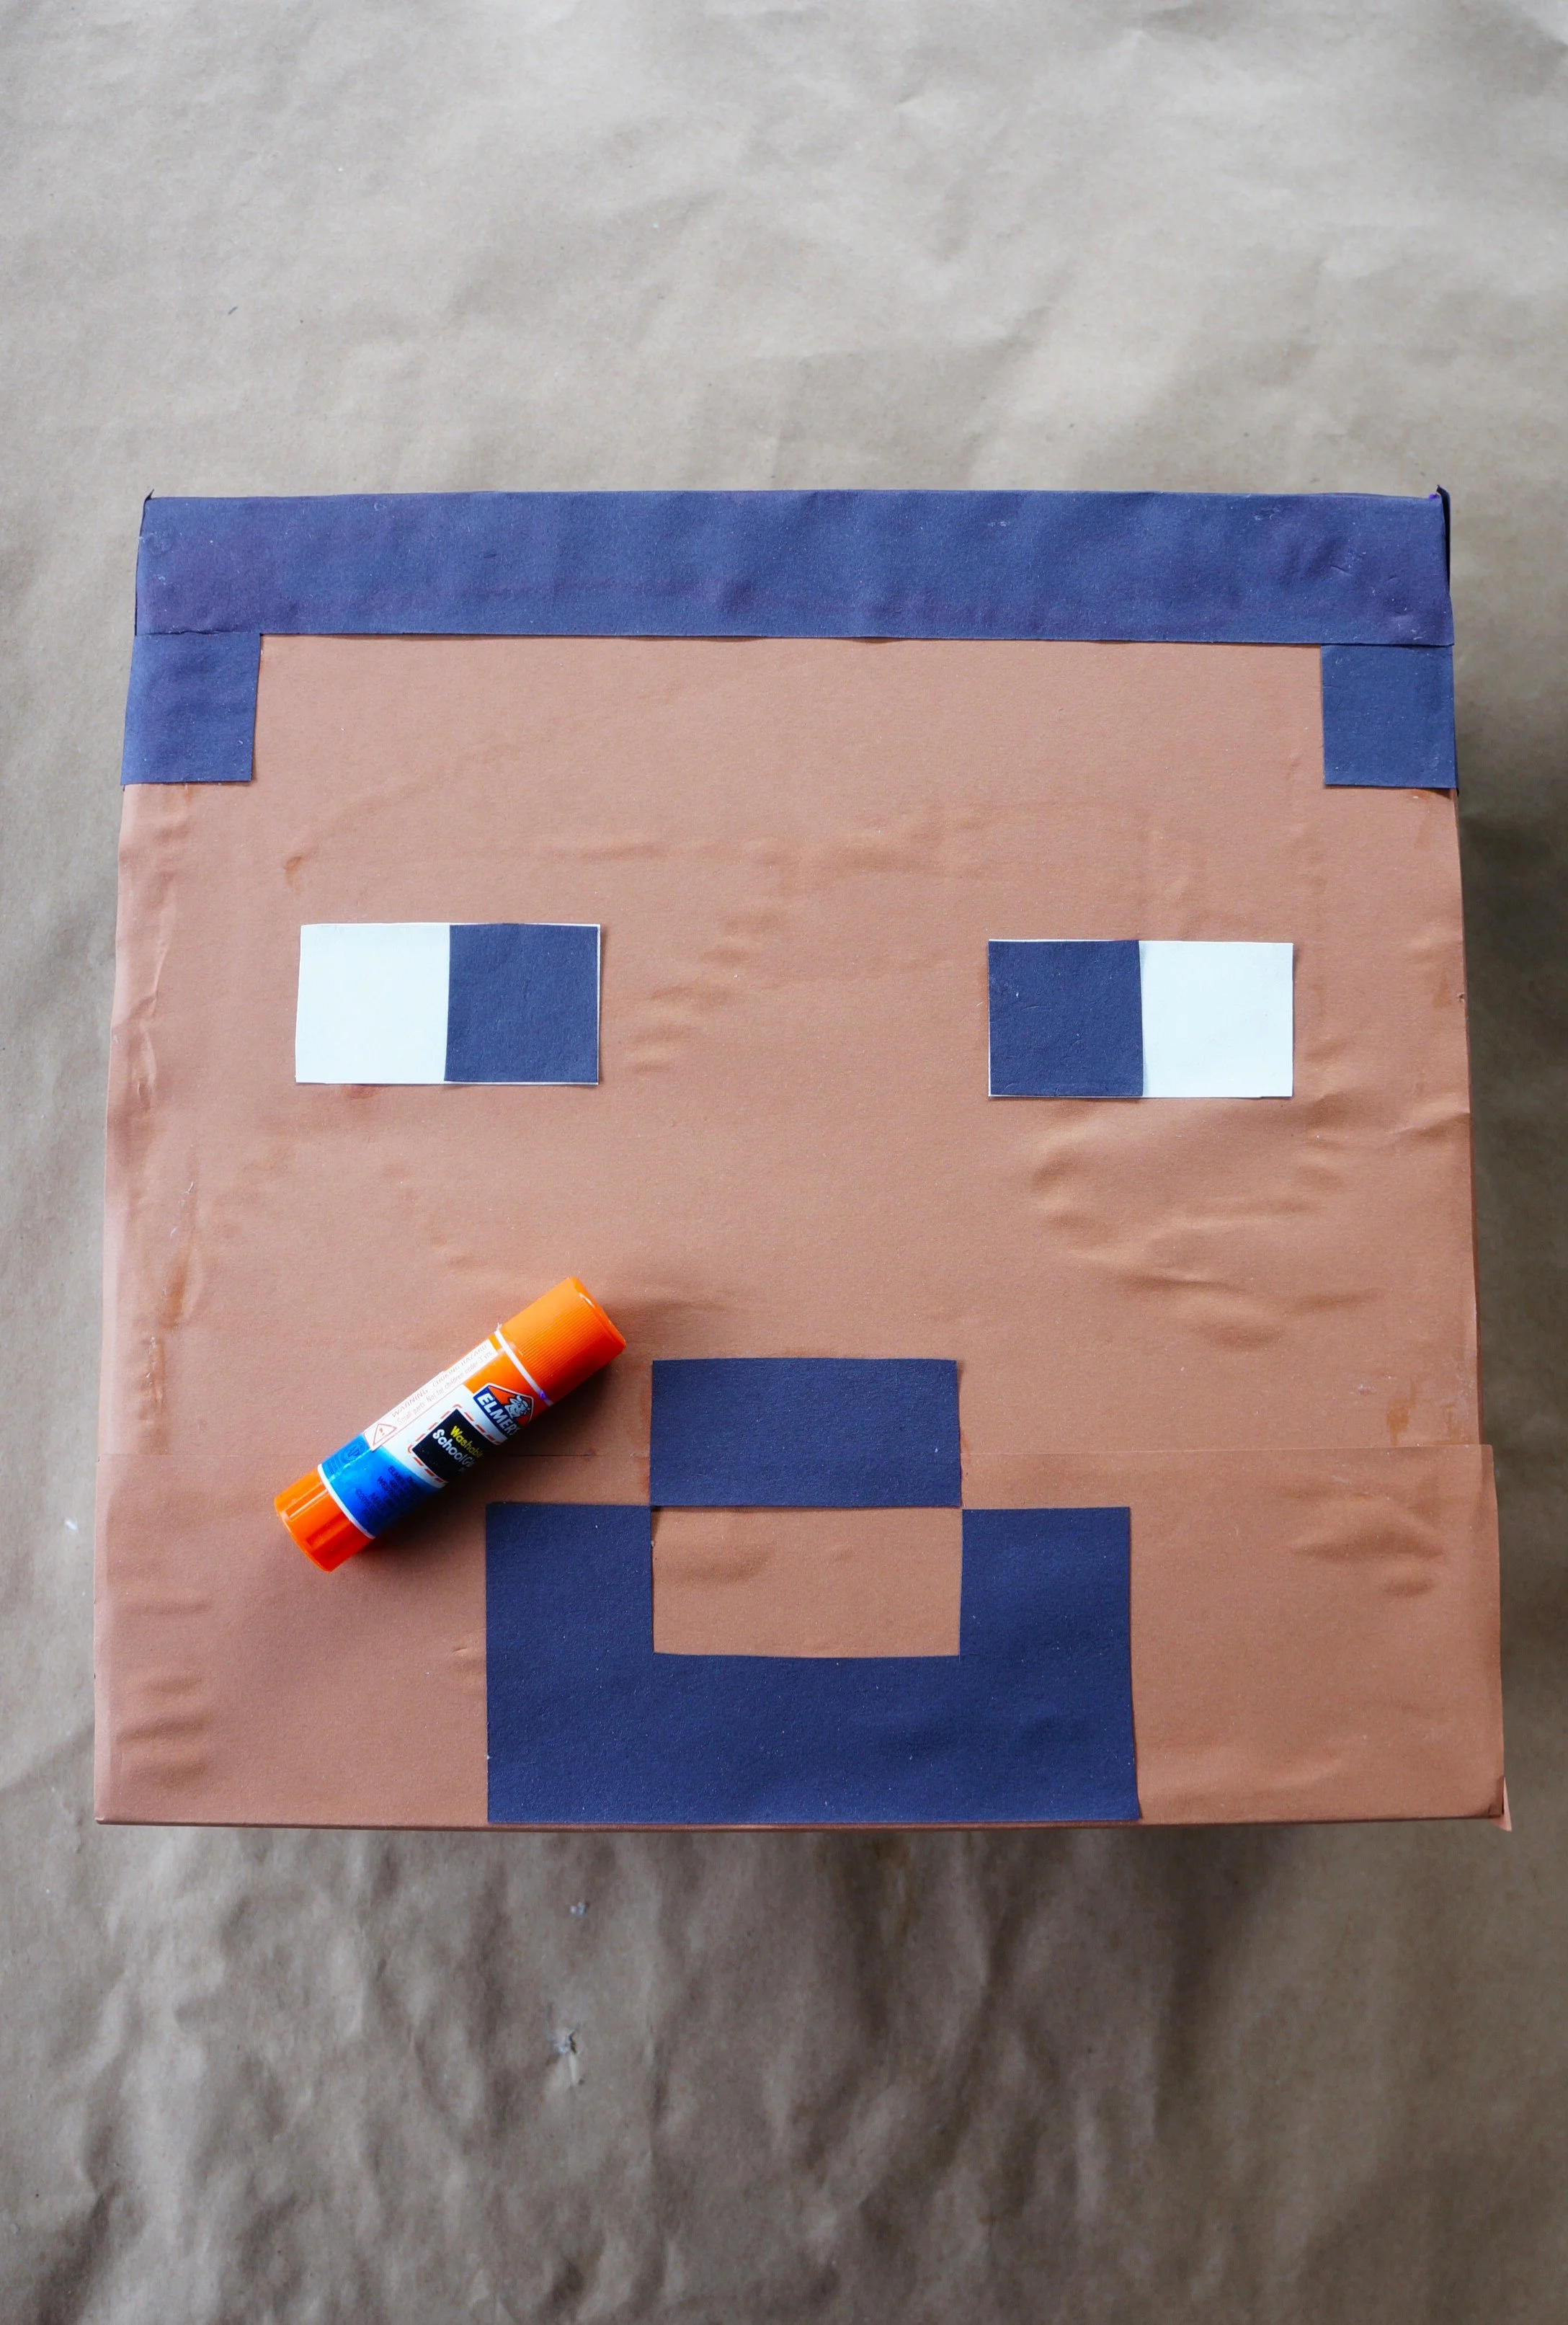
HEAD
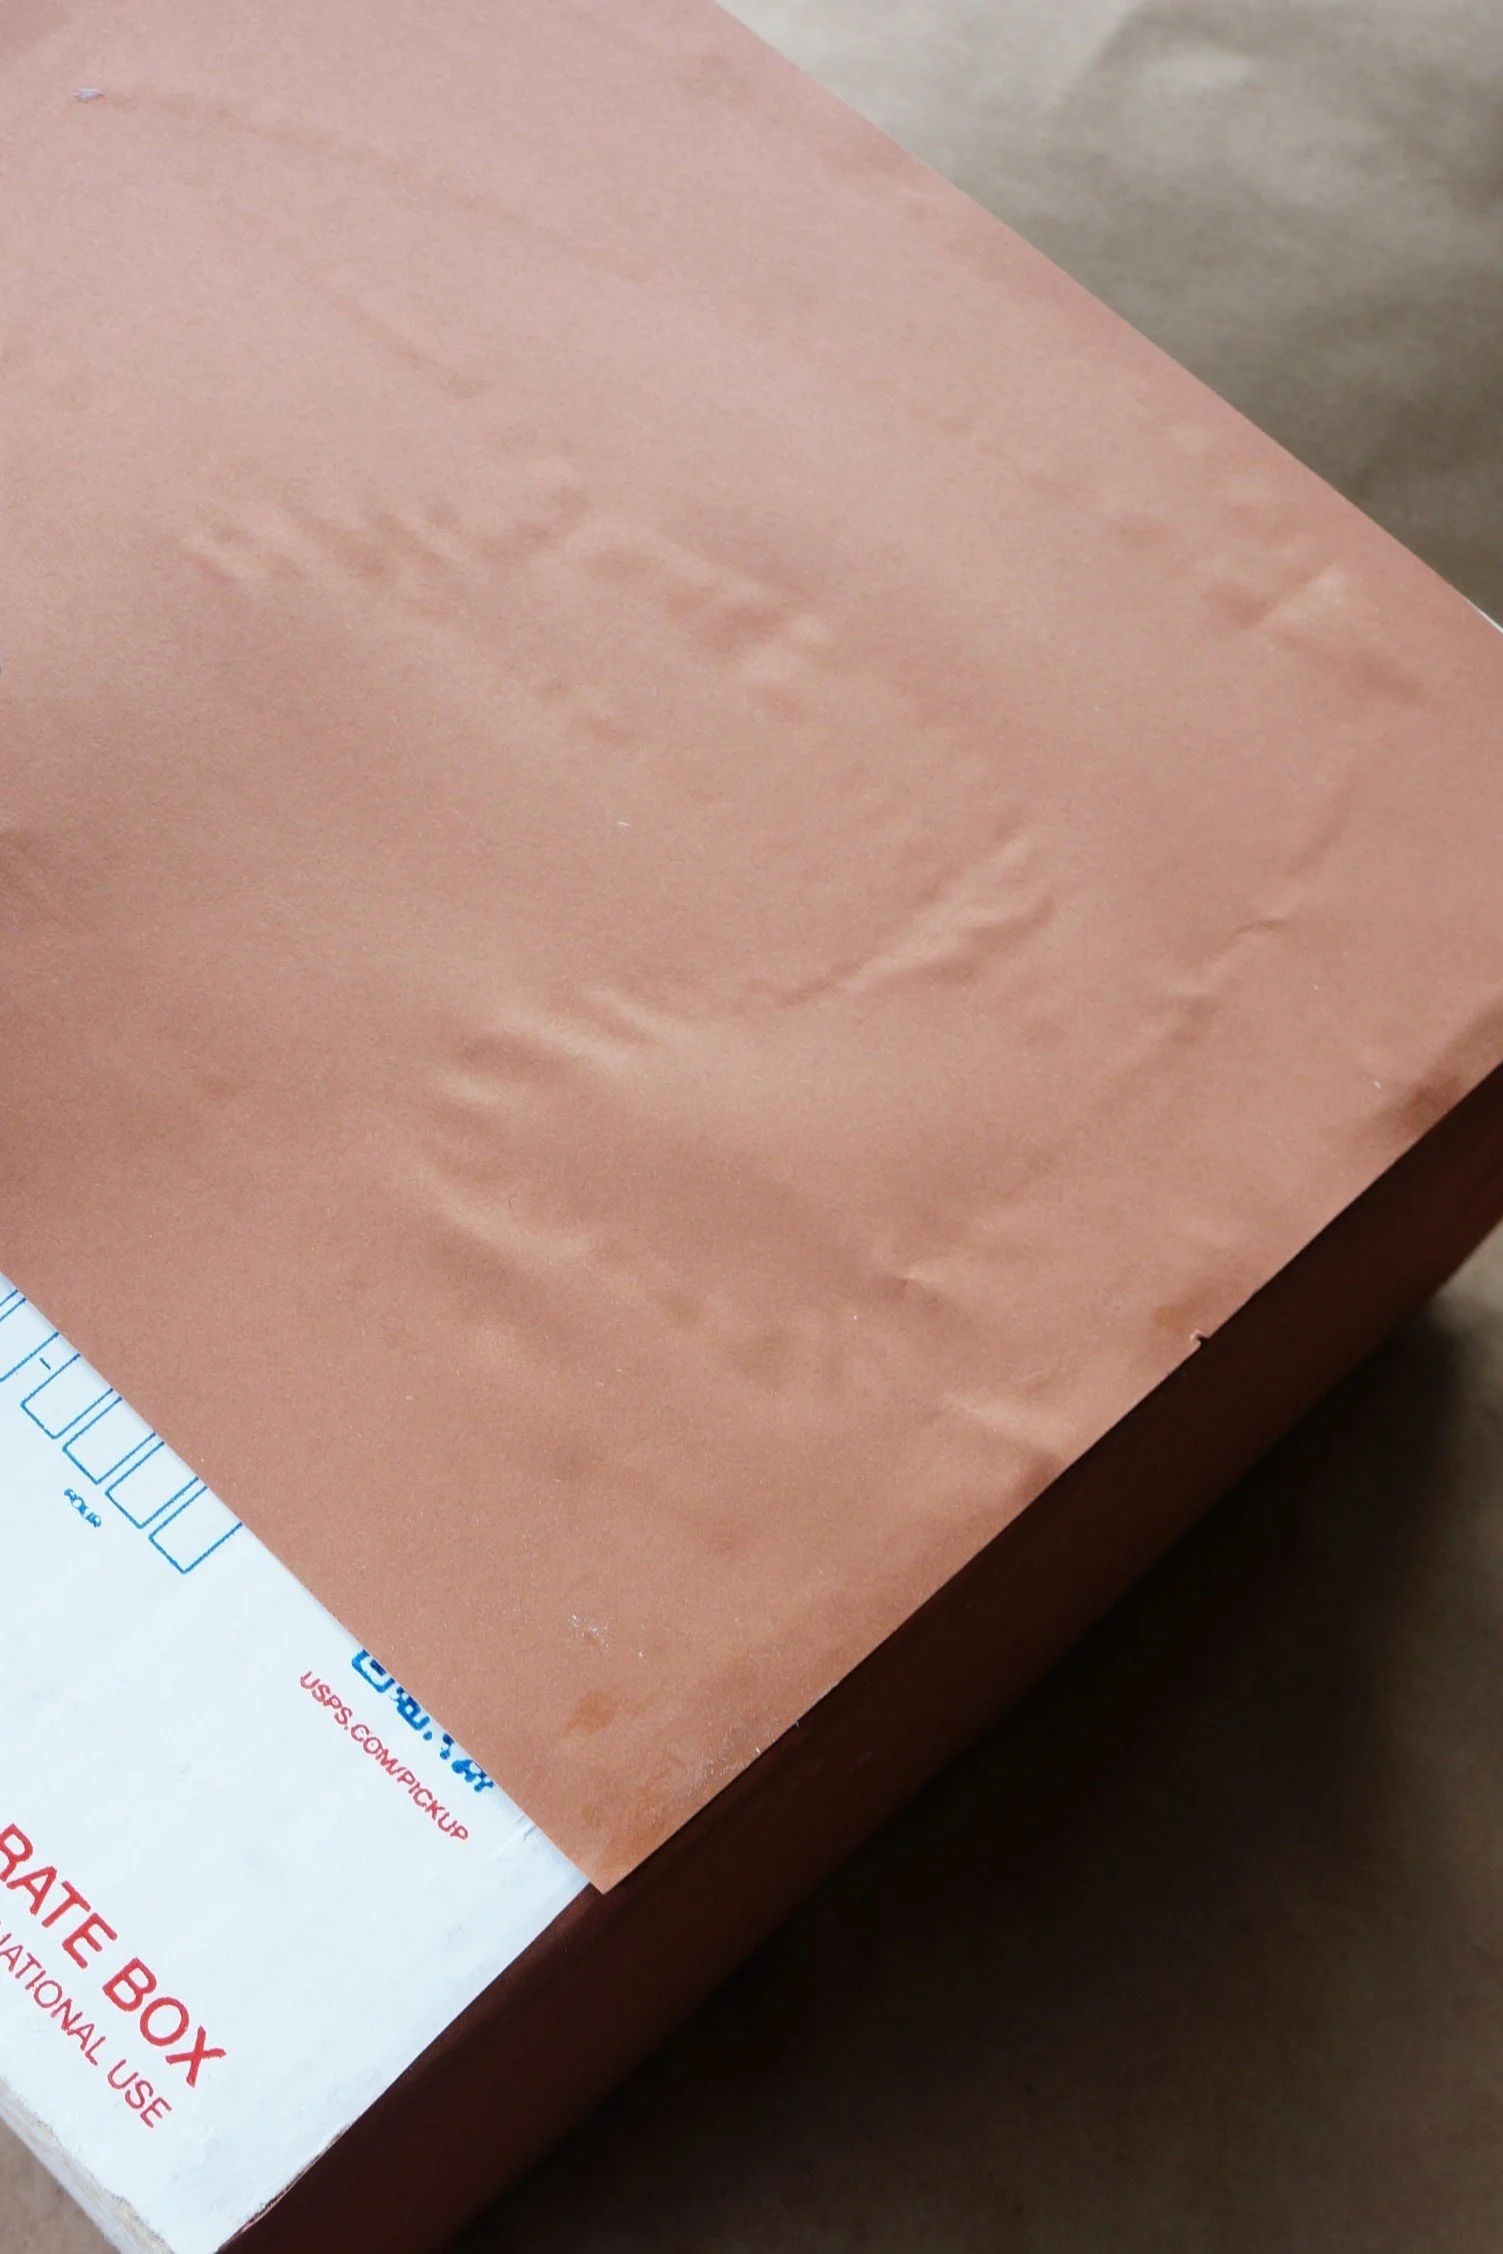
Lay the box with the opening down, then cover the front and sides with skin-colored paper.
Glue your choice of paper on the top of the box for hair, on the front, and on the sides of the head.
Cut out the whites and colored parts of the eye, the nose, and the beard/smile, then glue them onto the face.
COMPLETE
You can stack the head onto the upper body or attach it with the fasteners.
Close up the flaps in the back with some packing tape or leave the upper body open for easier transport.
That’s it!
Happy crafting,
Amanda and Naomi
To share: take a photo of your craft and let us see it! Click Photo Submission, then submit the photo.


