

Hi friends,
This week’s Spanish Helmet is lightweight, inexpensive, and a fun addition to historical costumes or playtime.
Our 5th grader is tasked with learning about a historical figure, presenting as the person, in costume, and sharing facts. Costumes can get pricey, so we’re sharing our version of the Spanish conquistador helmet, also known as a morion. Check it out below.
*Click on photos for a closer look
What You'll Need
Large Foil Pan
Child’s Helmet
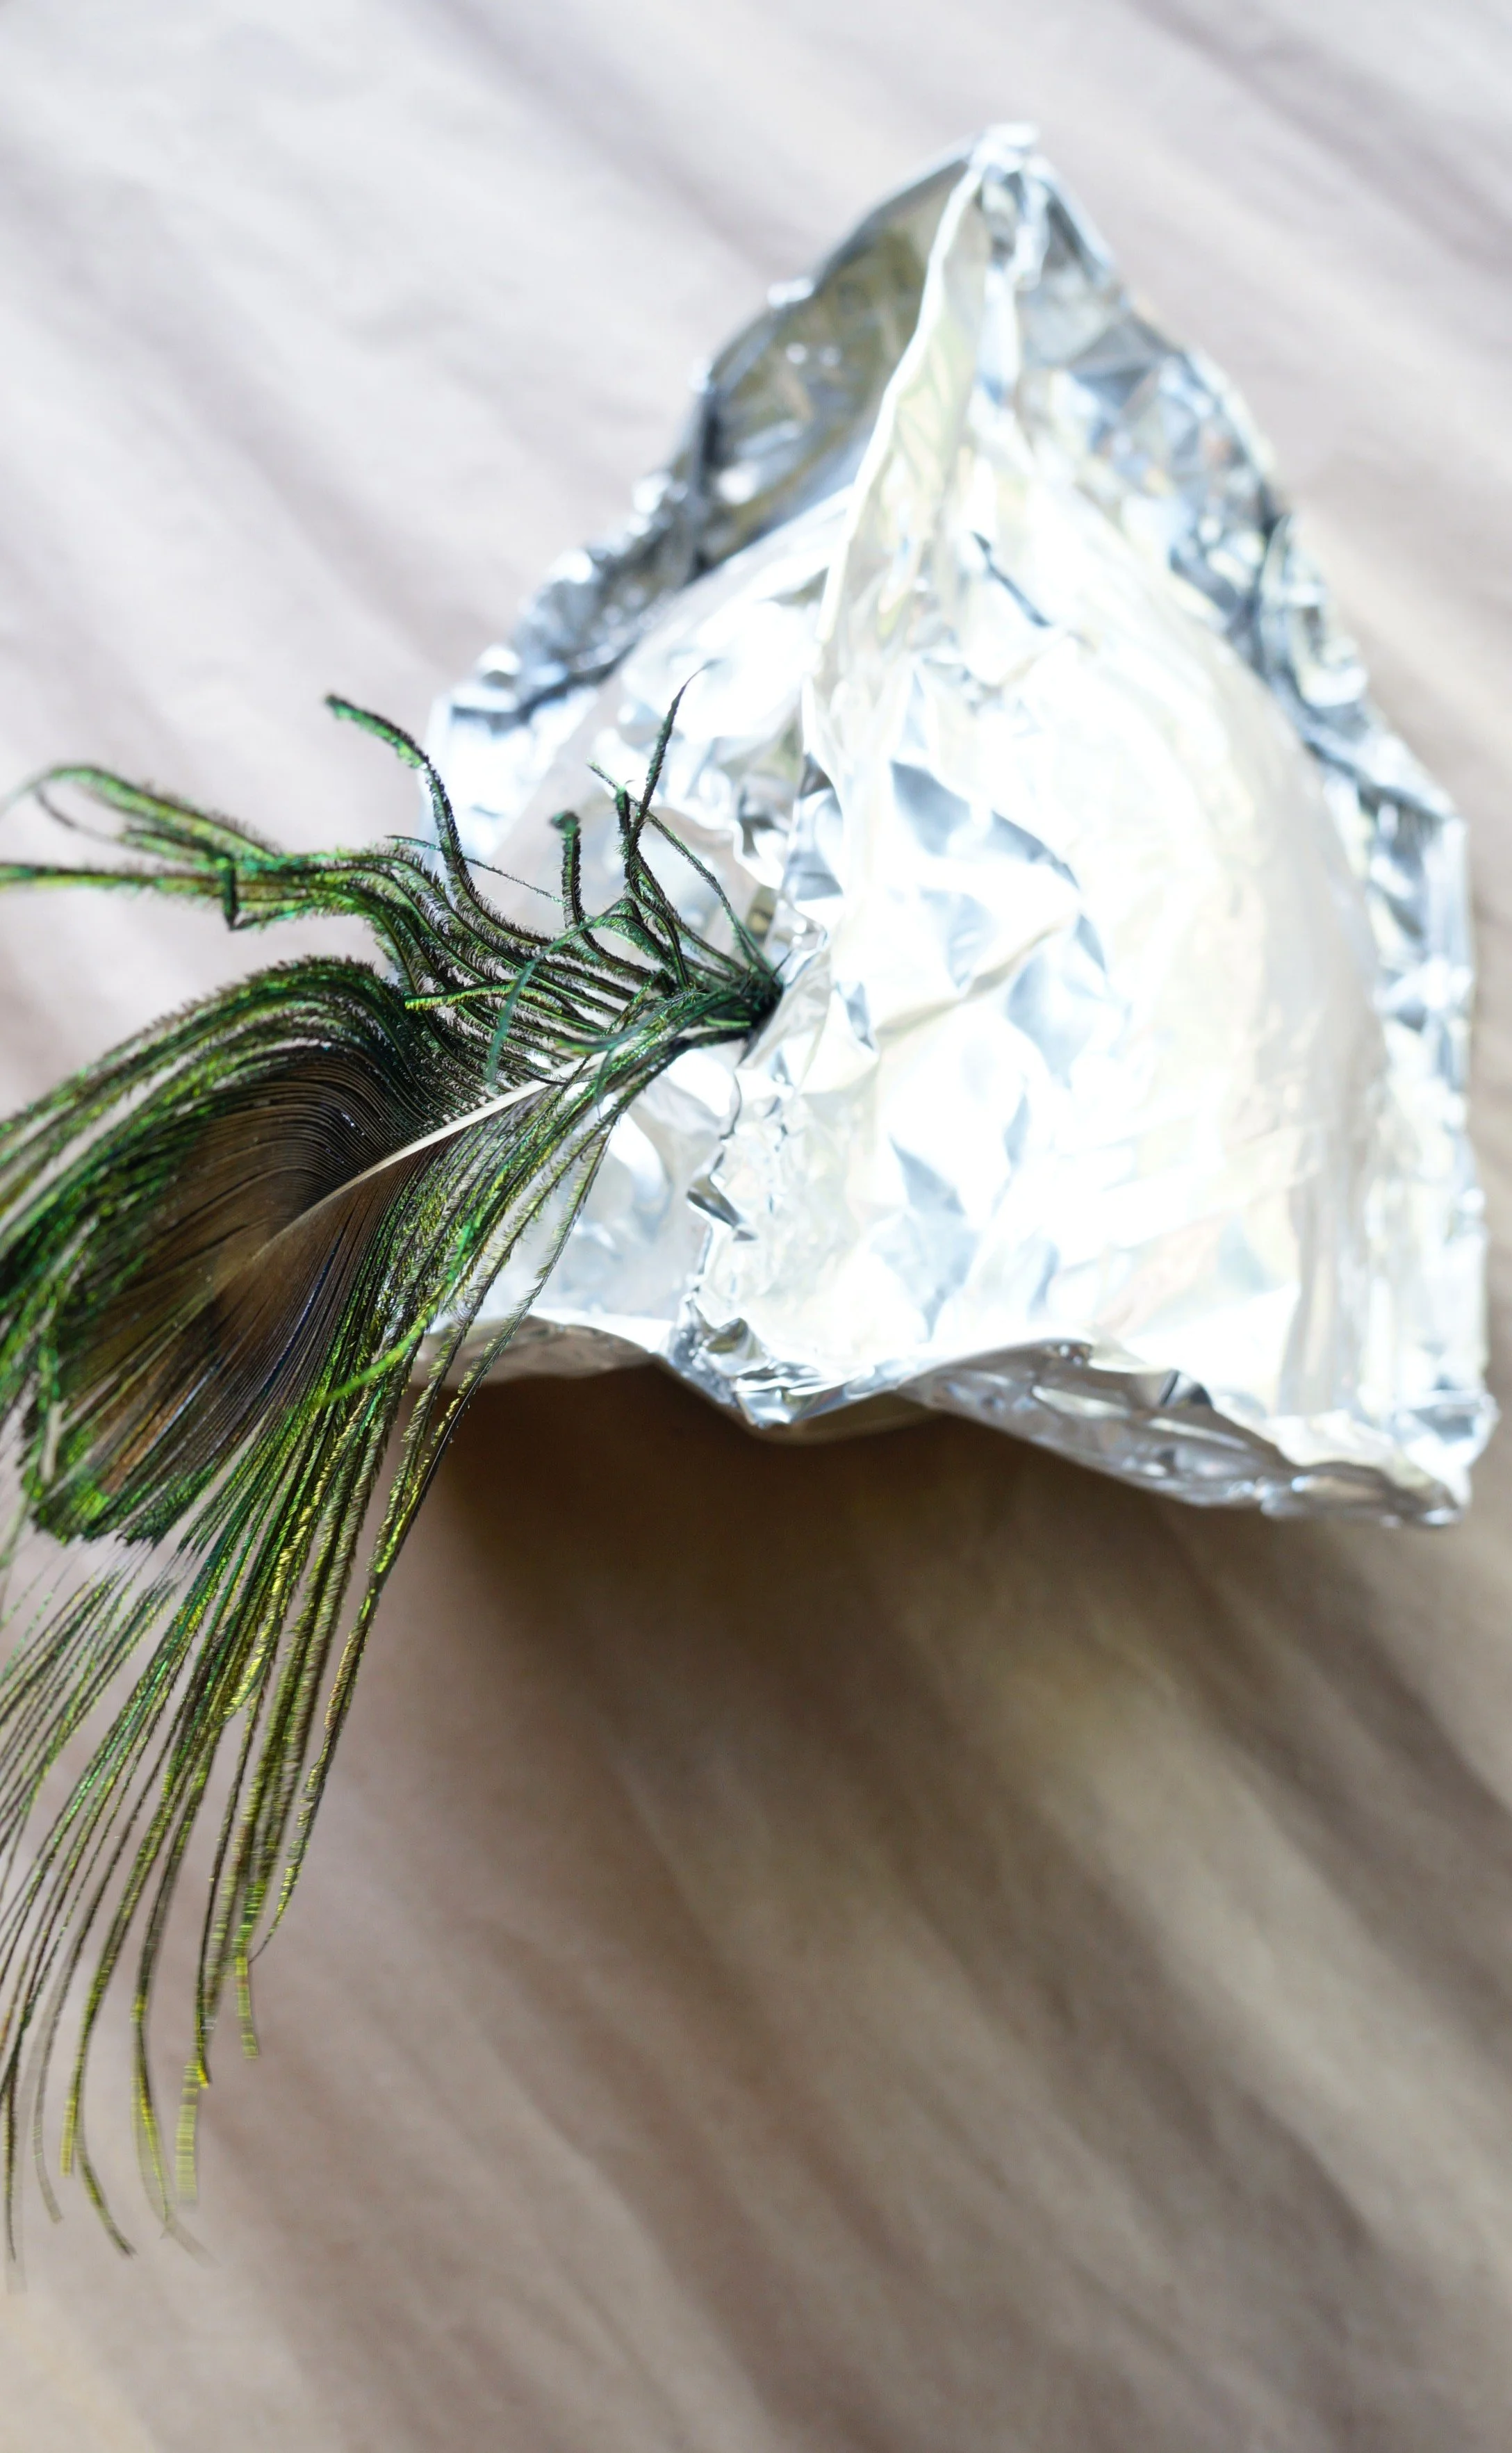
Larger Feather
Scissors
Hot Glue
Ribbon
Optional: Gloves
The Steps
We want to see your craft! Click on PHOTO SUBMISSION and submit.


PREP
Remove the label, turn the foil sheet horizontally, and fold it in half(the edges can face inward or out).
Open the sheet and cut a 2-inch wedge from the top and bottom center line.
Fold the foil in half again (wear gloves for precaution), carefully hold the cut edges on one end, and fold over twice. Repeat on the opposite end.
Open up the foil slightly and spread out the edges, if your foil edges were originally facing down.


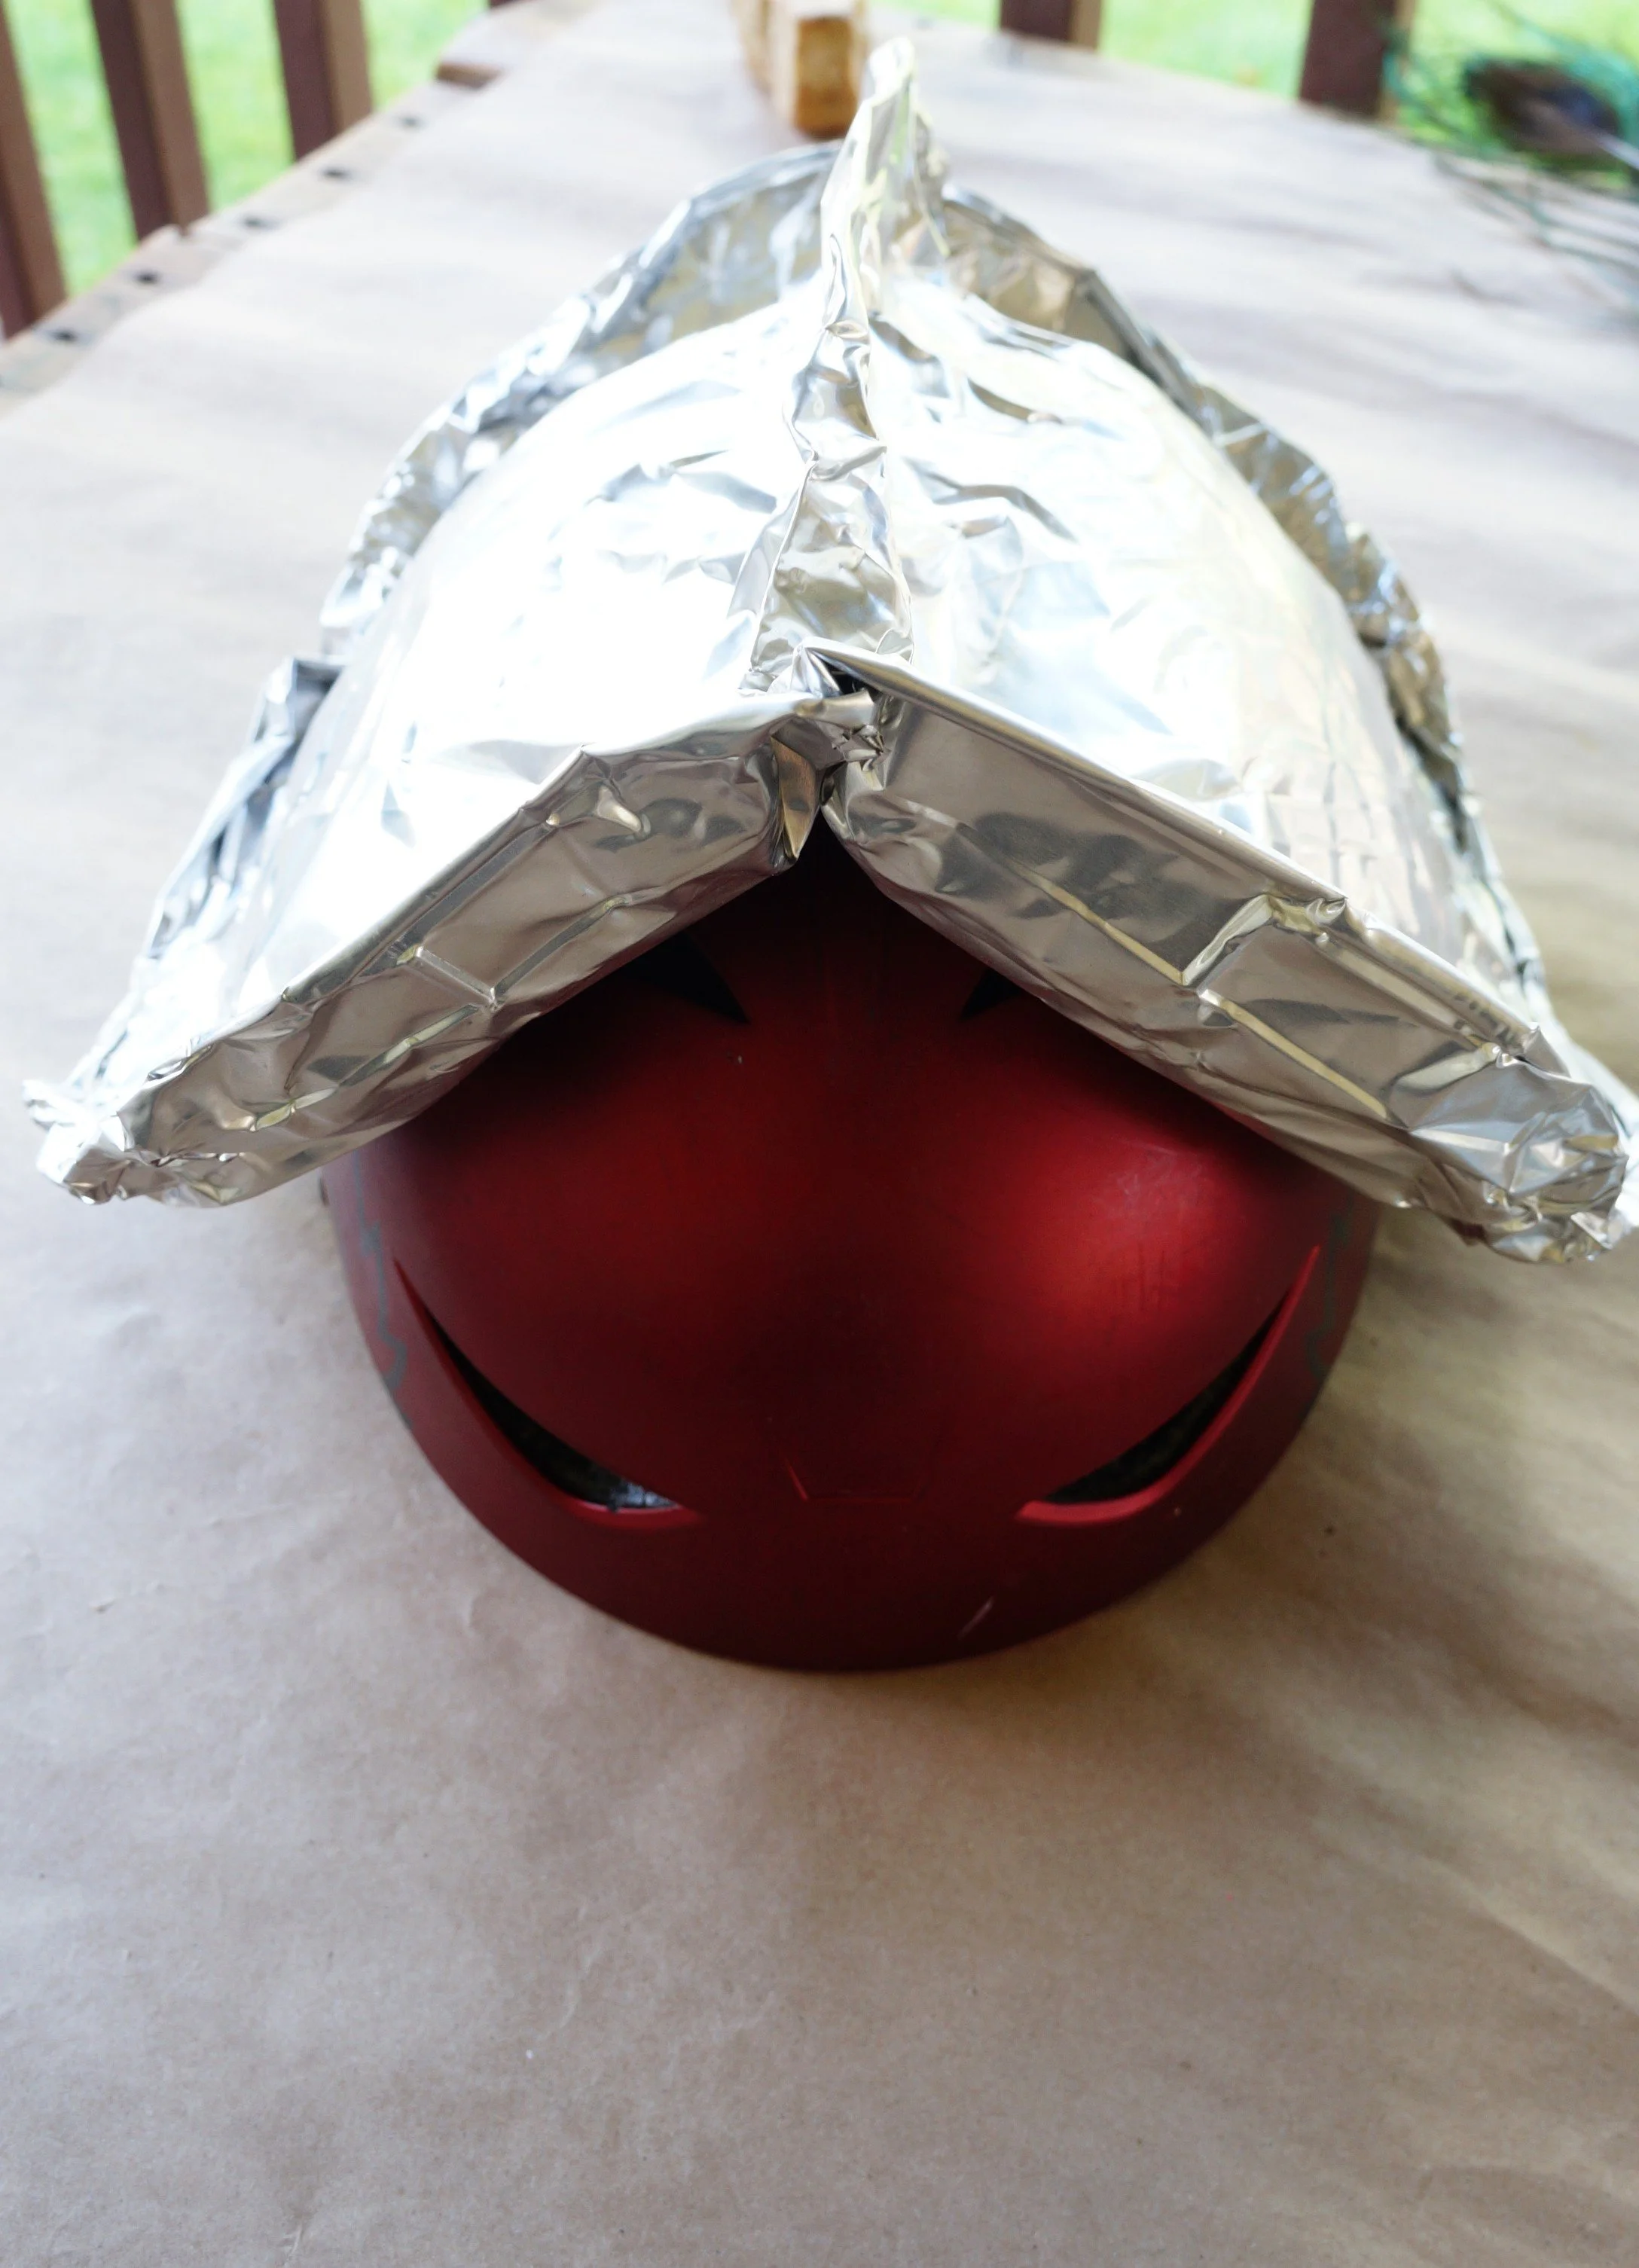
FORM
Go back over the fold and press firmly together.
Place the slightly opened sheet around the helmet and form the shape of it. Keep at least 1 inch of the folded area on top pressed together.

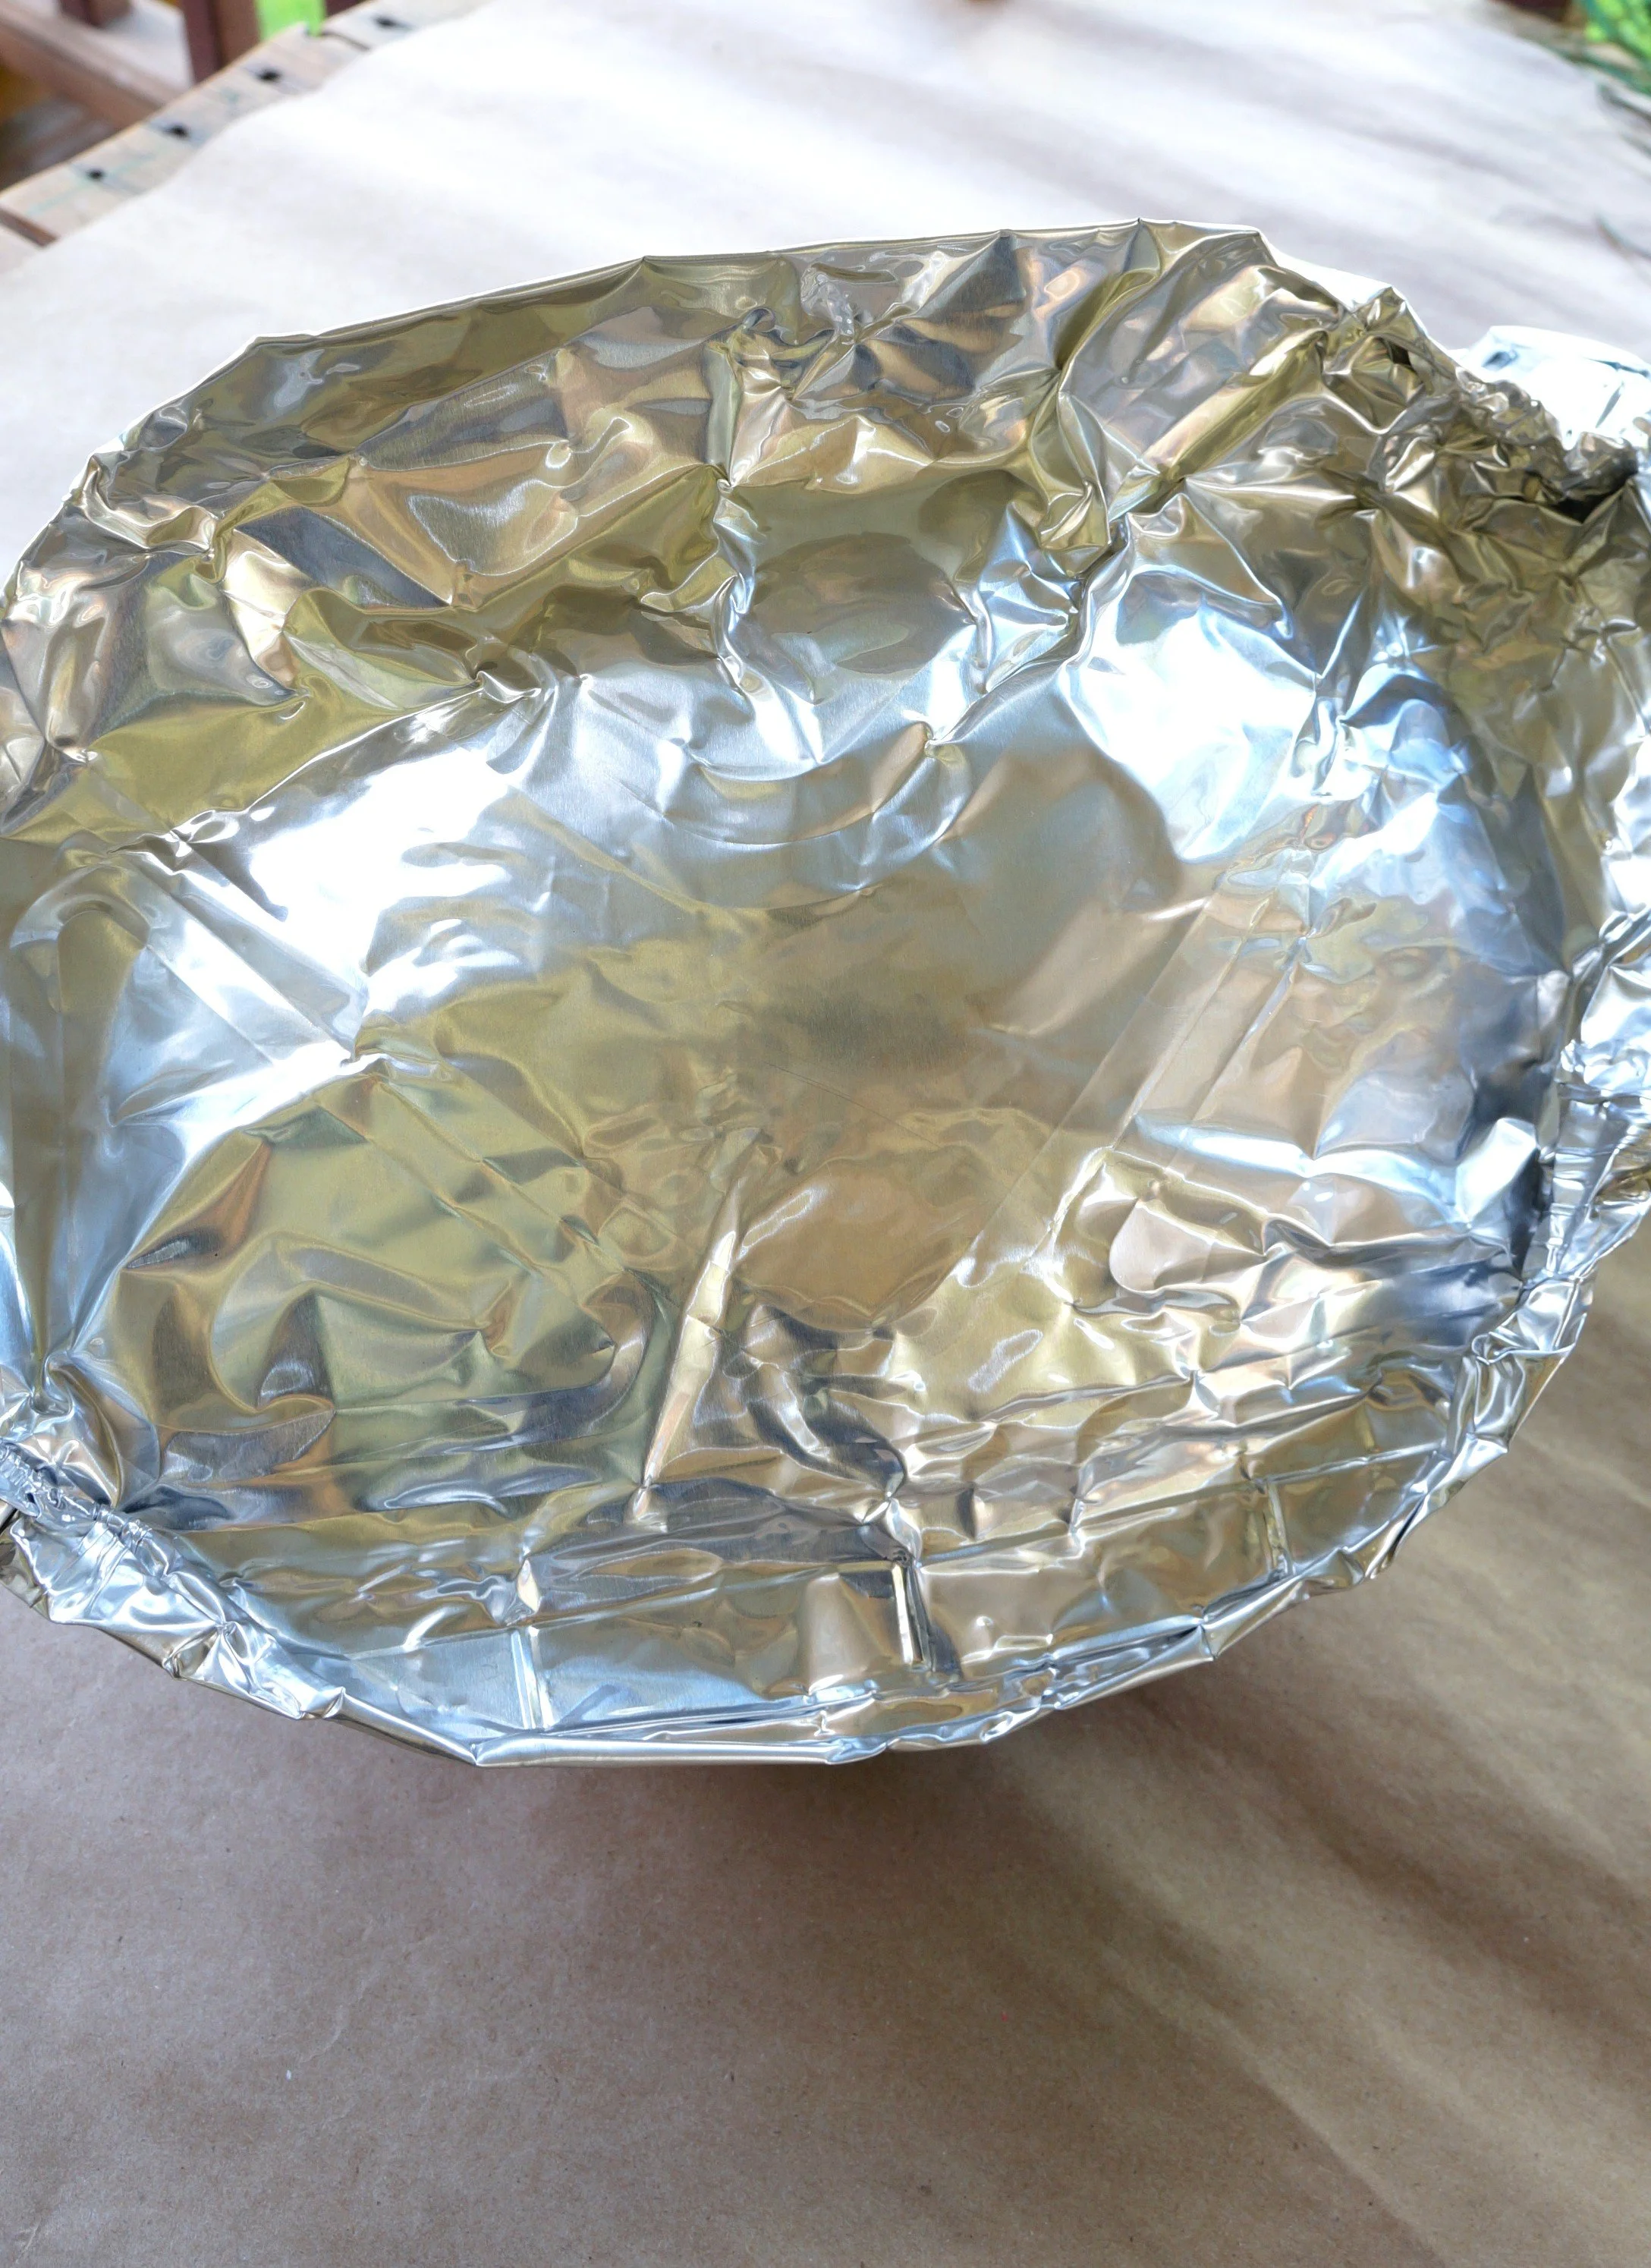
EDGES
Fold up the edges all around the foil, rounding the corners in the front and back a bit more.
Unfold the sections between the front and back a bit to create a rounded effect.
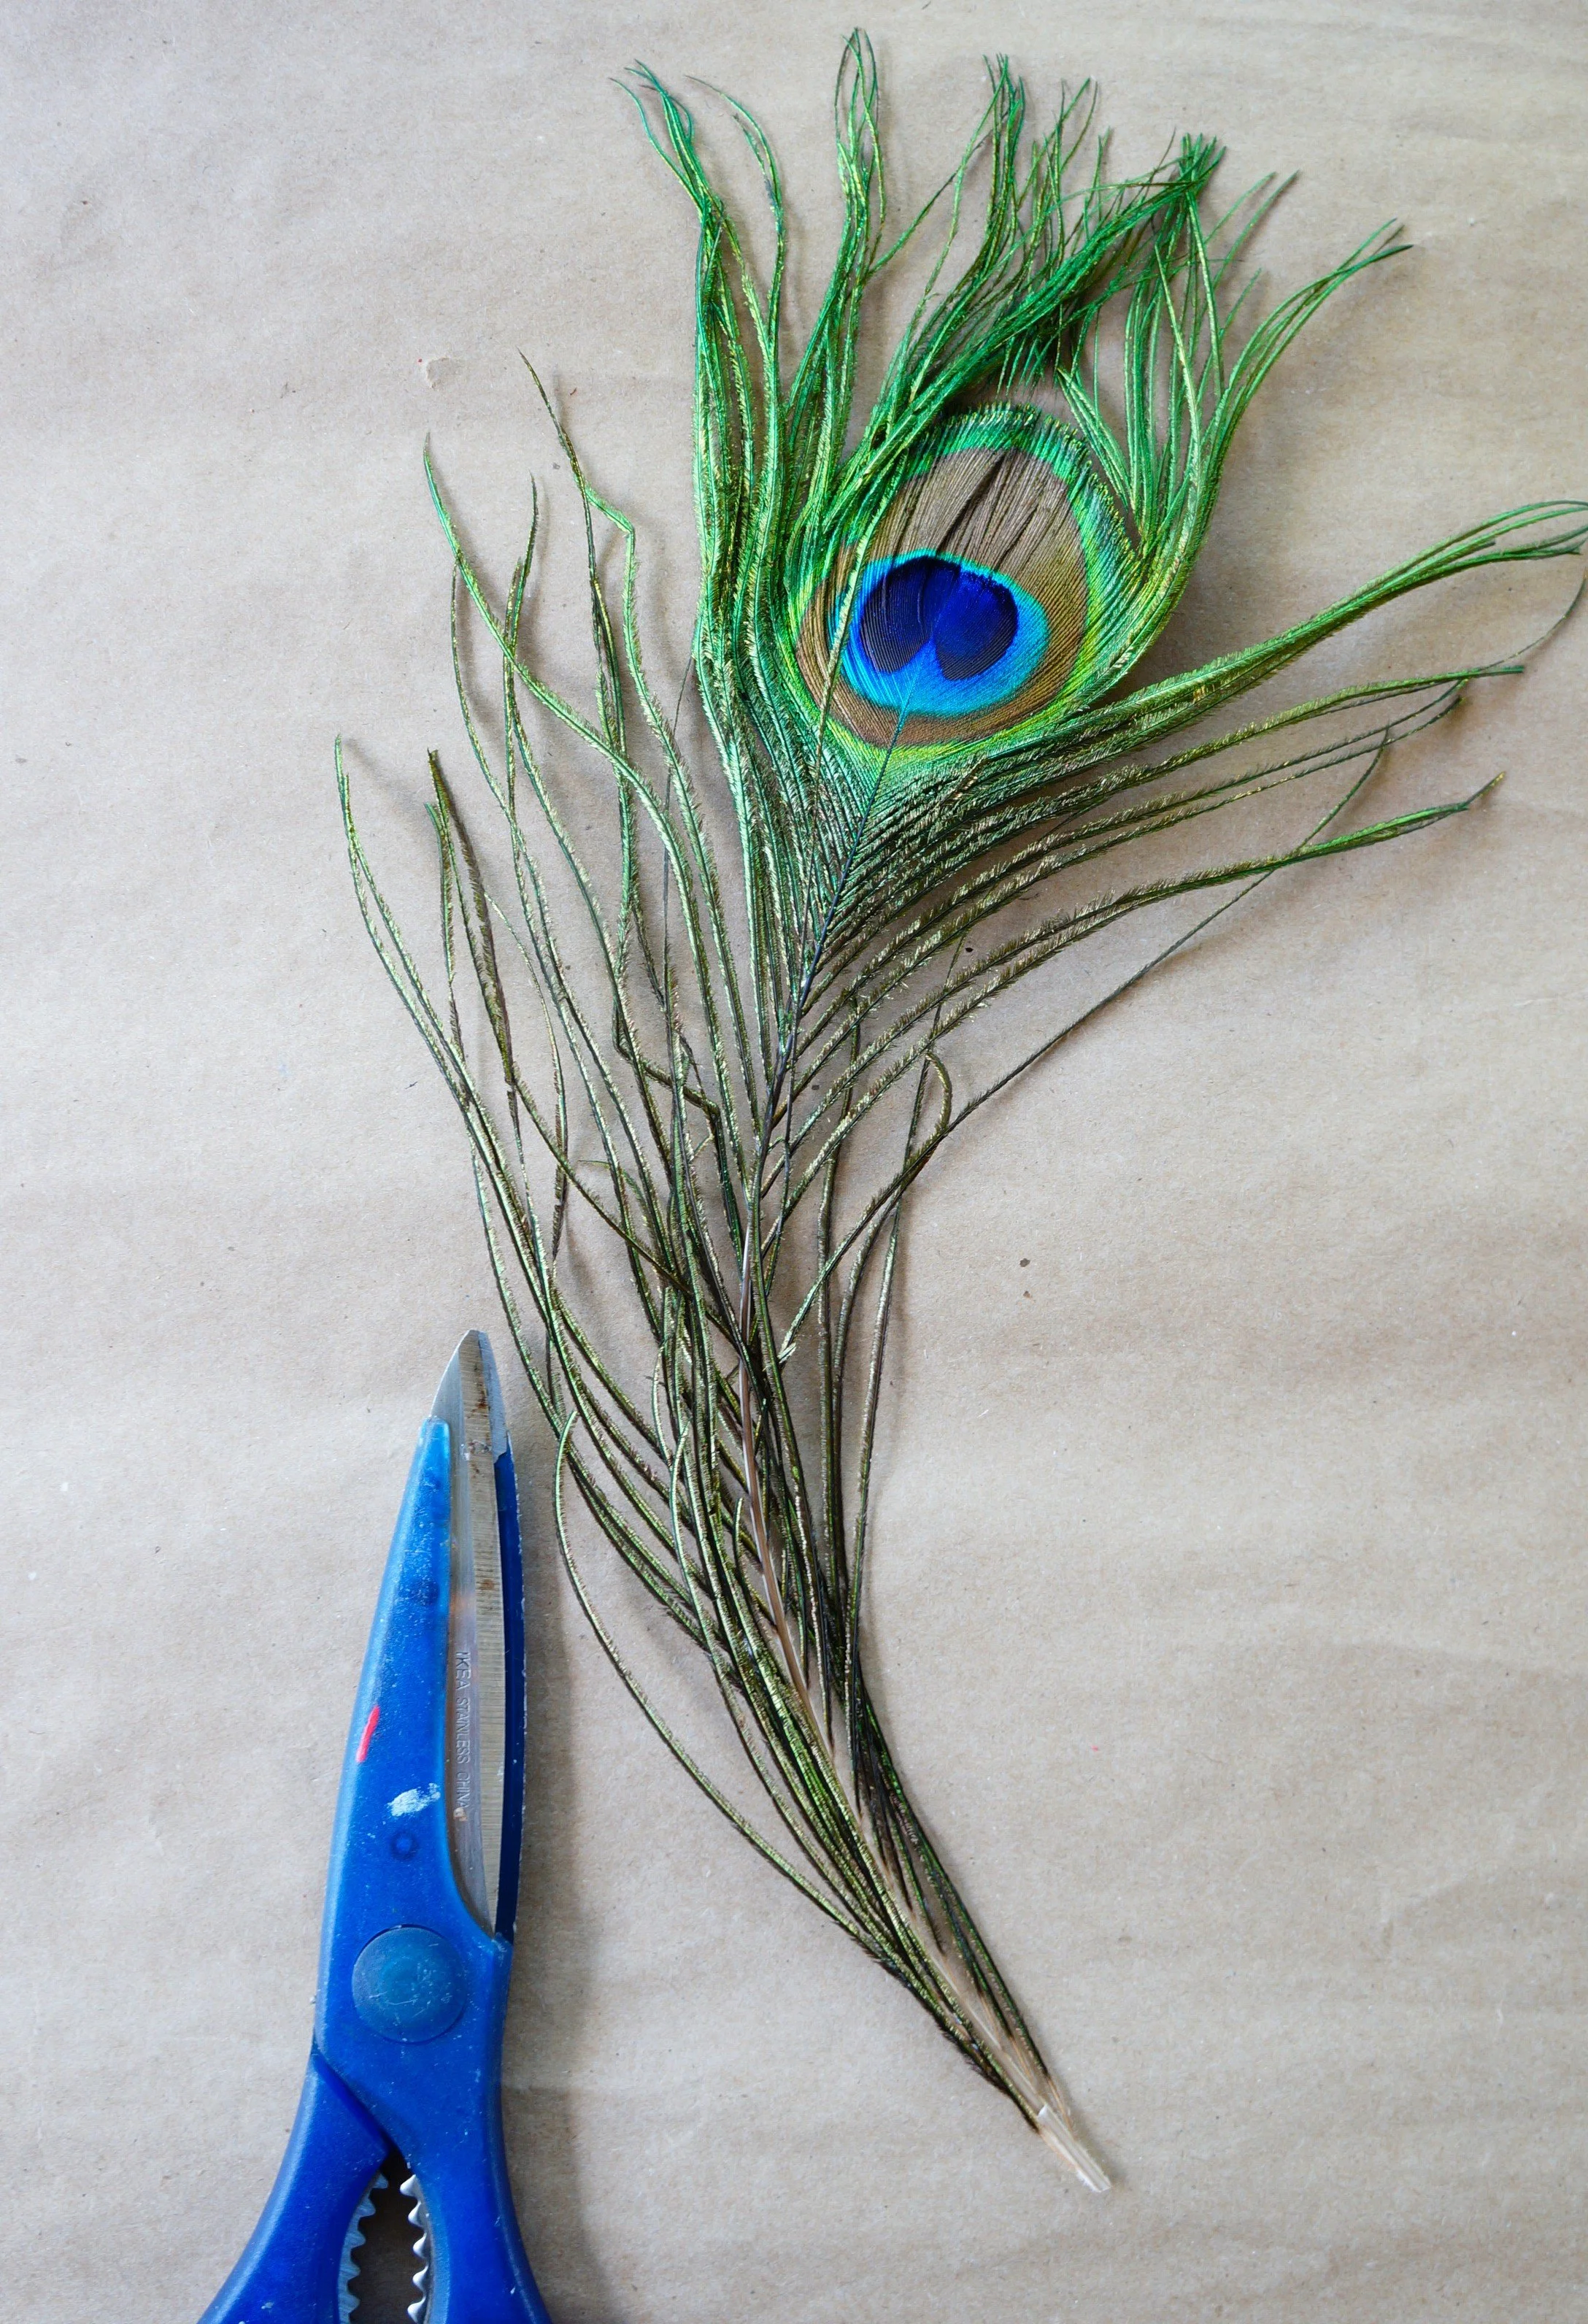


FEATHER & STRAPS
Cut your feather shorter if necessary.
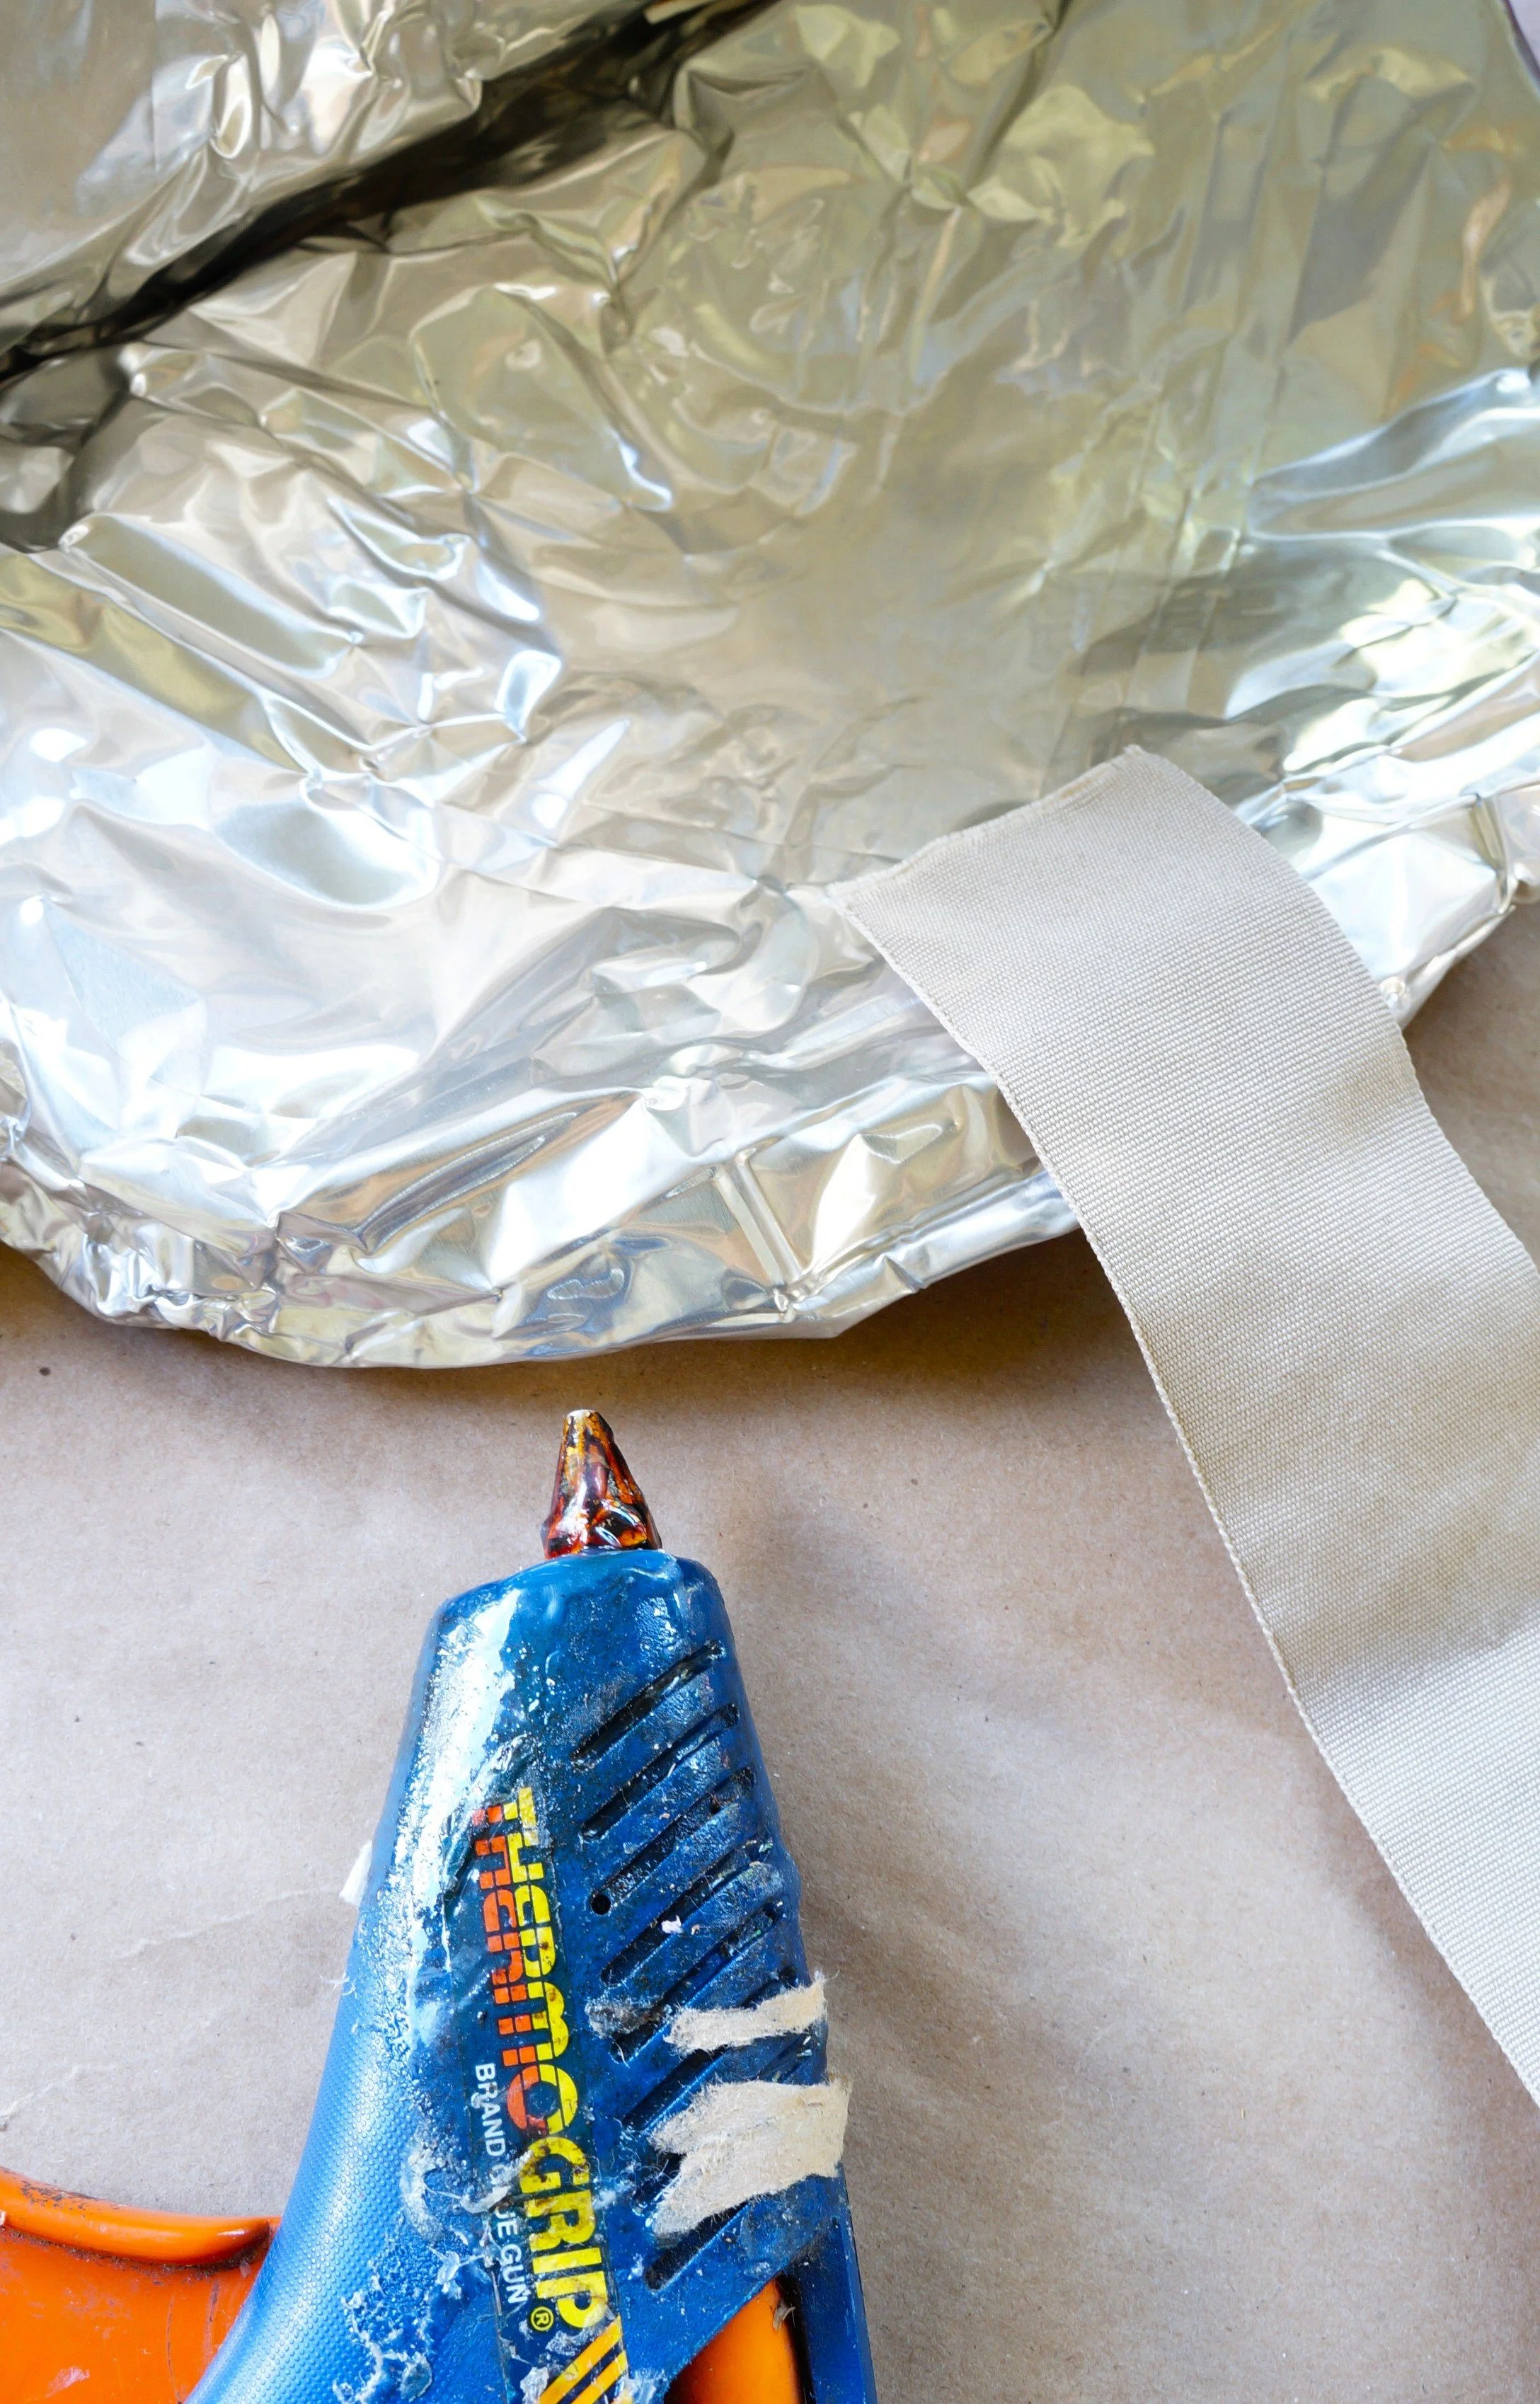
With the scissors, poke a small hole into the back of the foil helmet.
Poke your feather through the hole and tuck the end into the fold from the inside (hot glue if necessary).
Have your child try on the helmet first and figure out where the straps should be glued, then glue them on from the inside.
That’s it!


It’s not perfect, but it works! : )
Happy crafting
Amanda and Naomi
To share: take a photo of your craft, click on PHOTO SUBMISSION on the upper right, and submit.
We’ll share it with everyone here!


