
Hi friends,
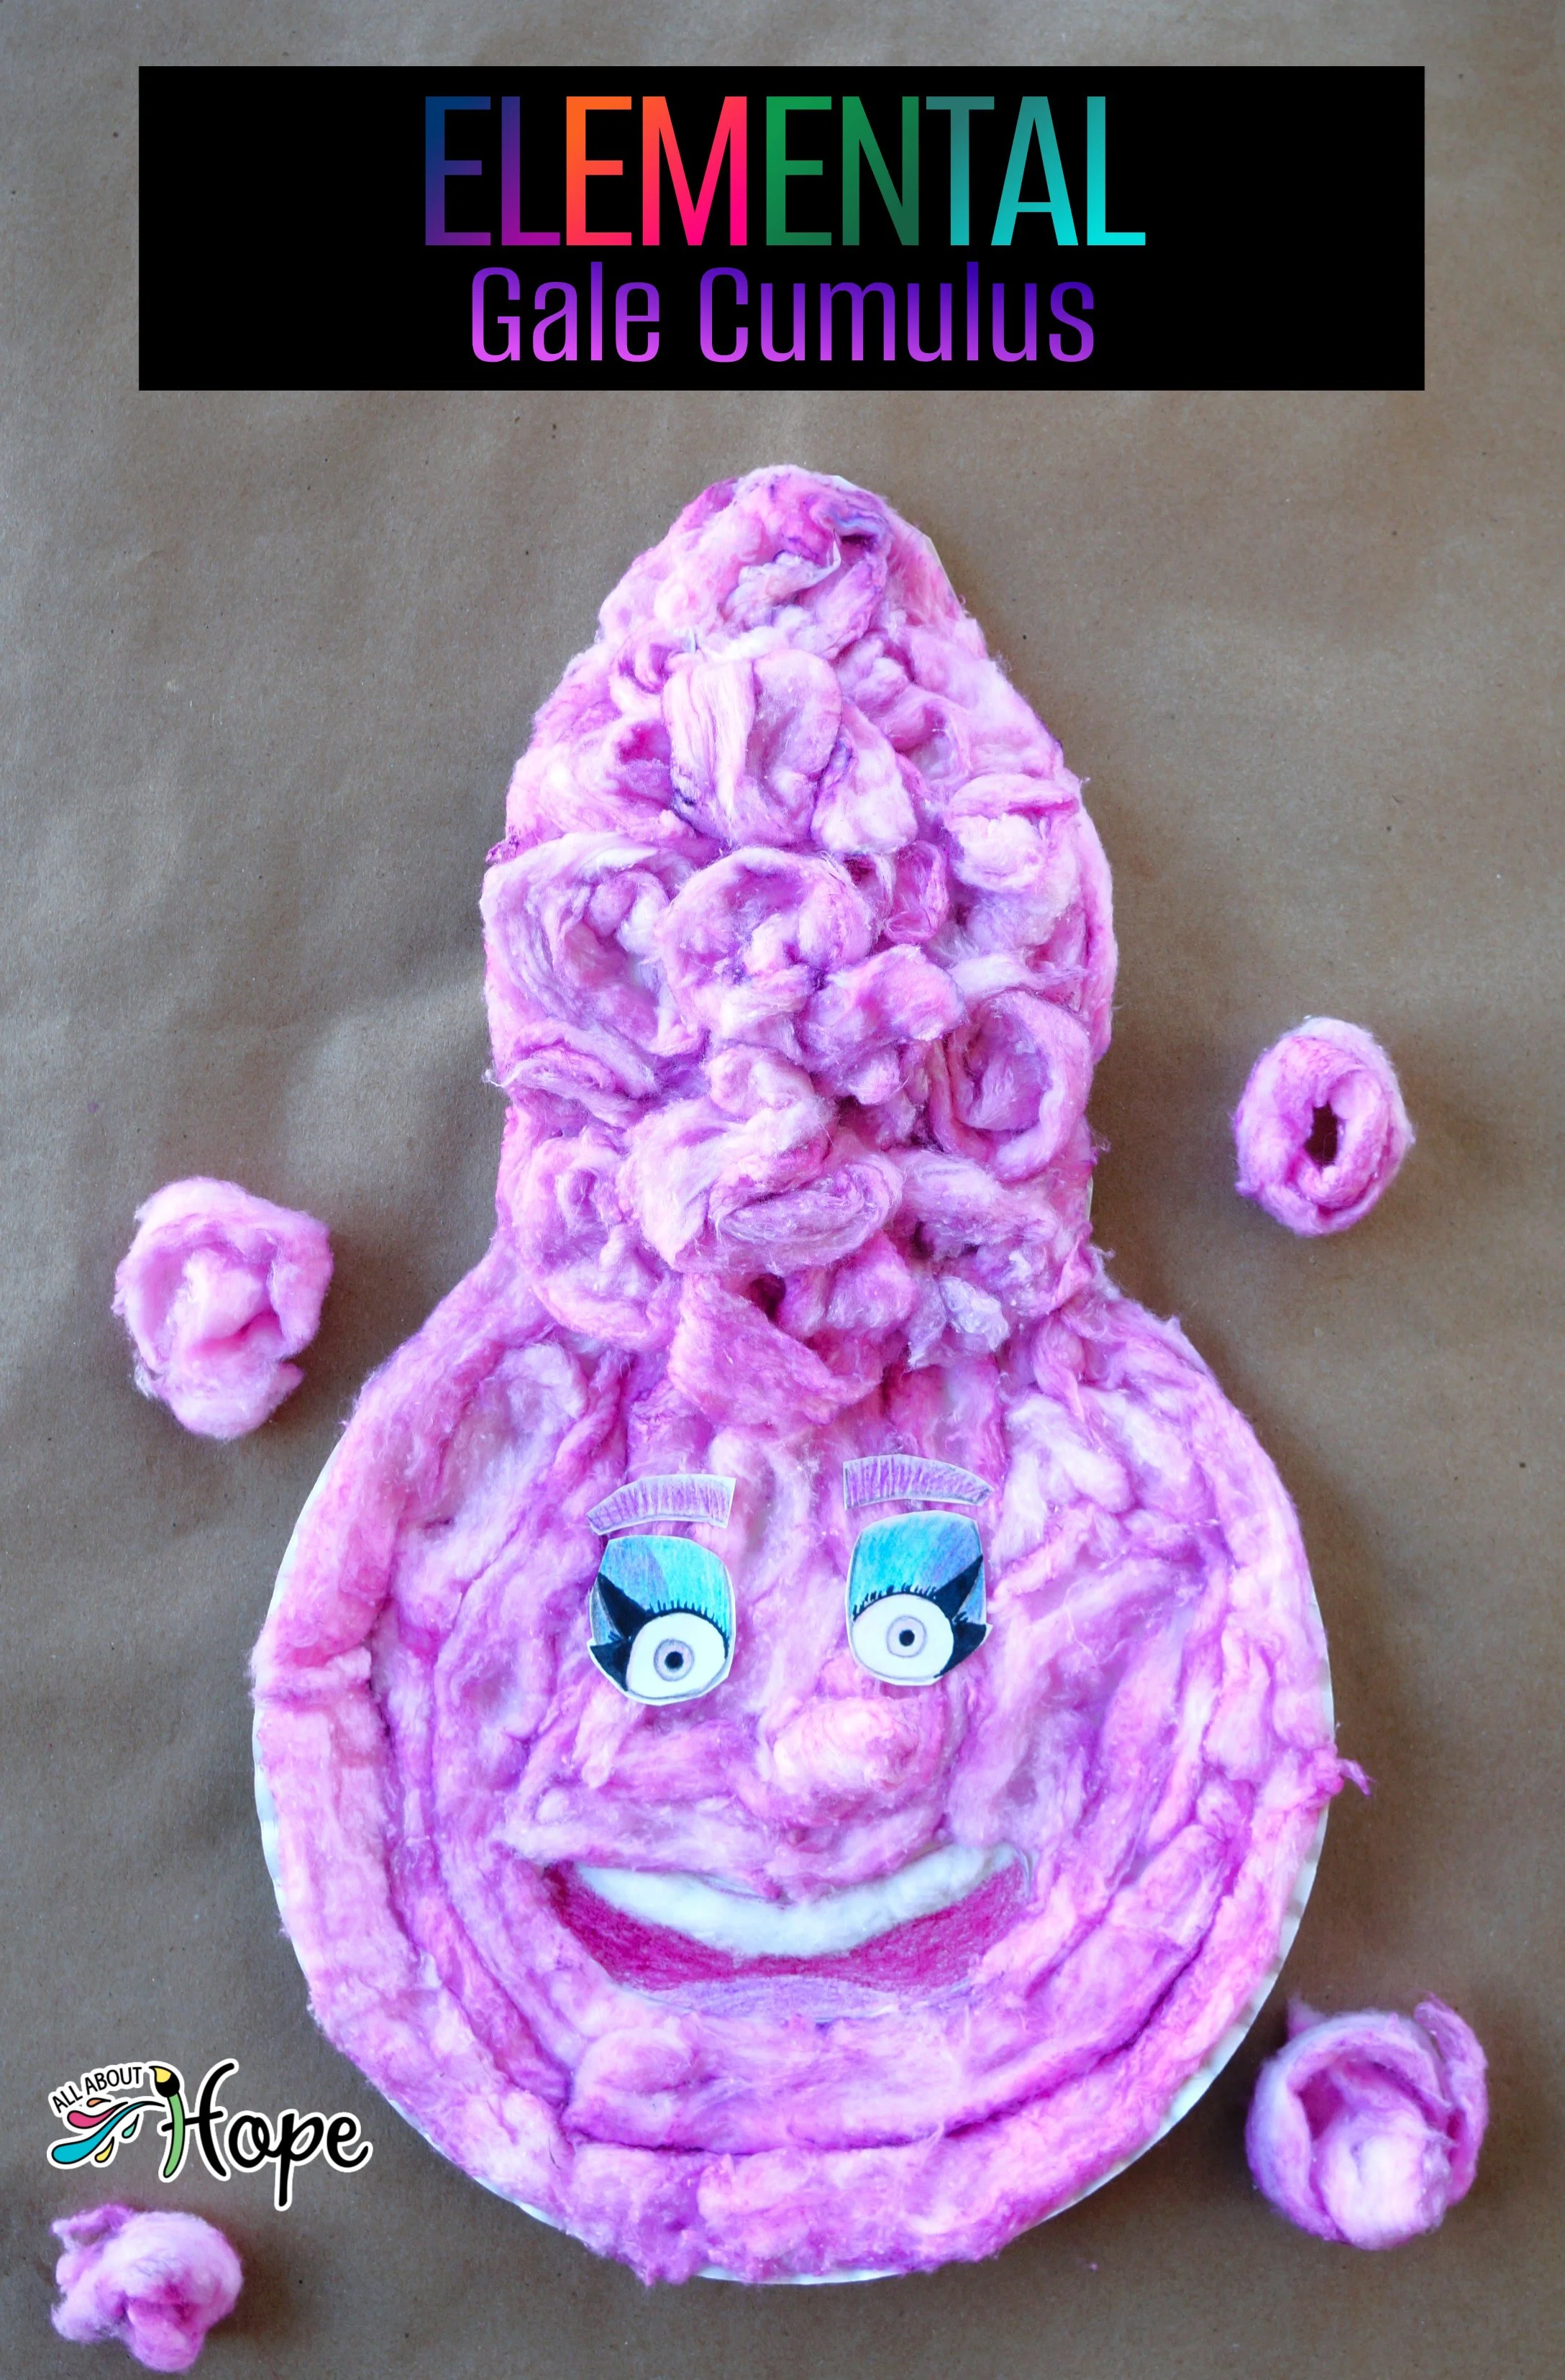
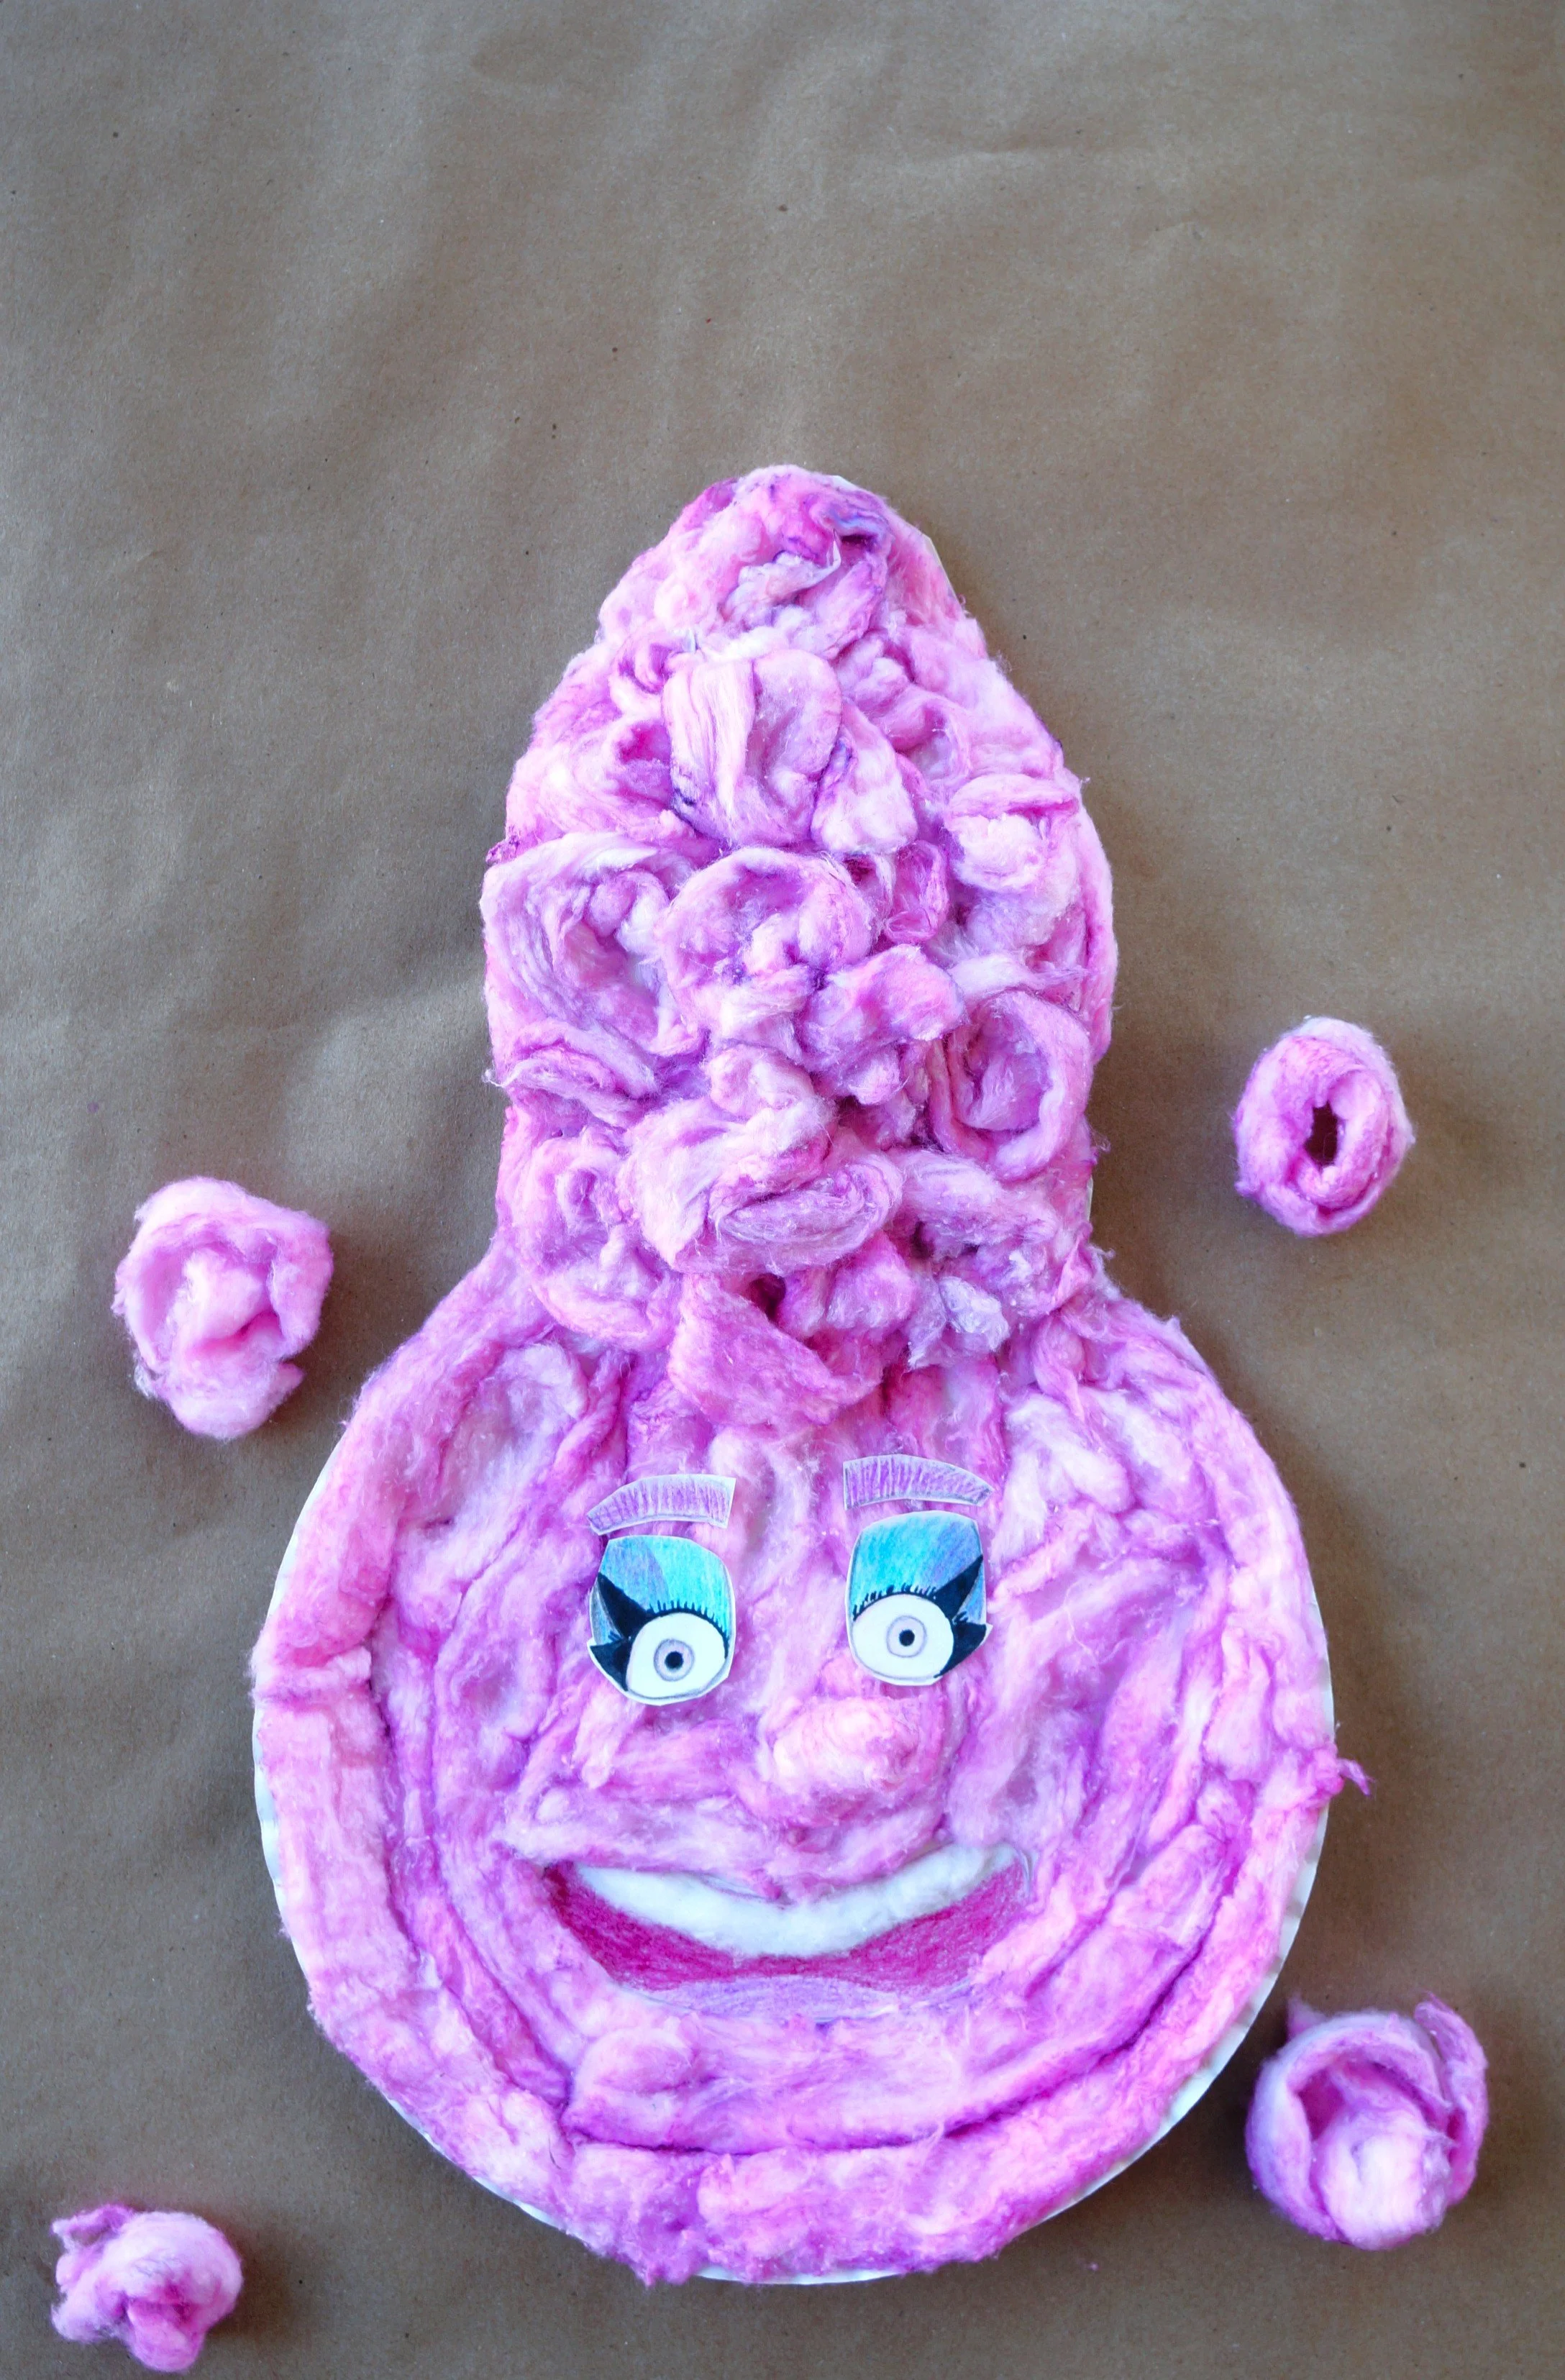
This week, we’re sharing how we made our Elemental Gale Cumulus with cotton balls and dye.
What You'll Need
Construction Paper: (1) White, blue not needed
(2) White Paper Plates
Tacky Glue
(25) Cotton Balls
Scissors
Colored Pencils: Purples & Light Blue
Pencil
Black Marker
White Pipe Cleaner
Neon Purple Food Dye
Bowl + 1 Cup Water
Gloves
Cookie Tray
Optional: Parchment Paper
The Steps
We want to see your craft! Click PHOTO SUBMISSION, then submit the photo
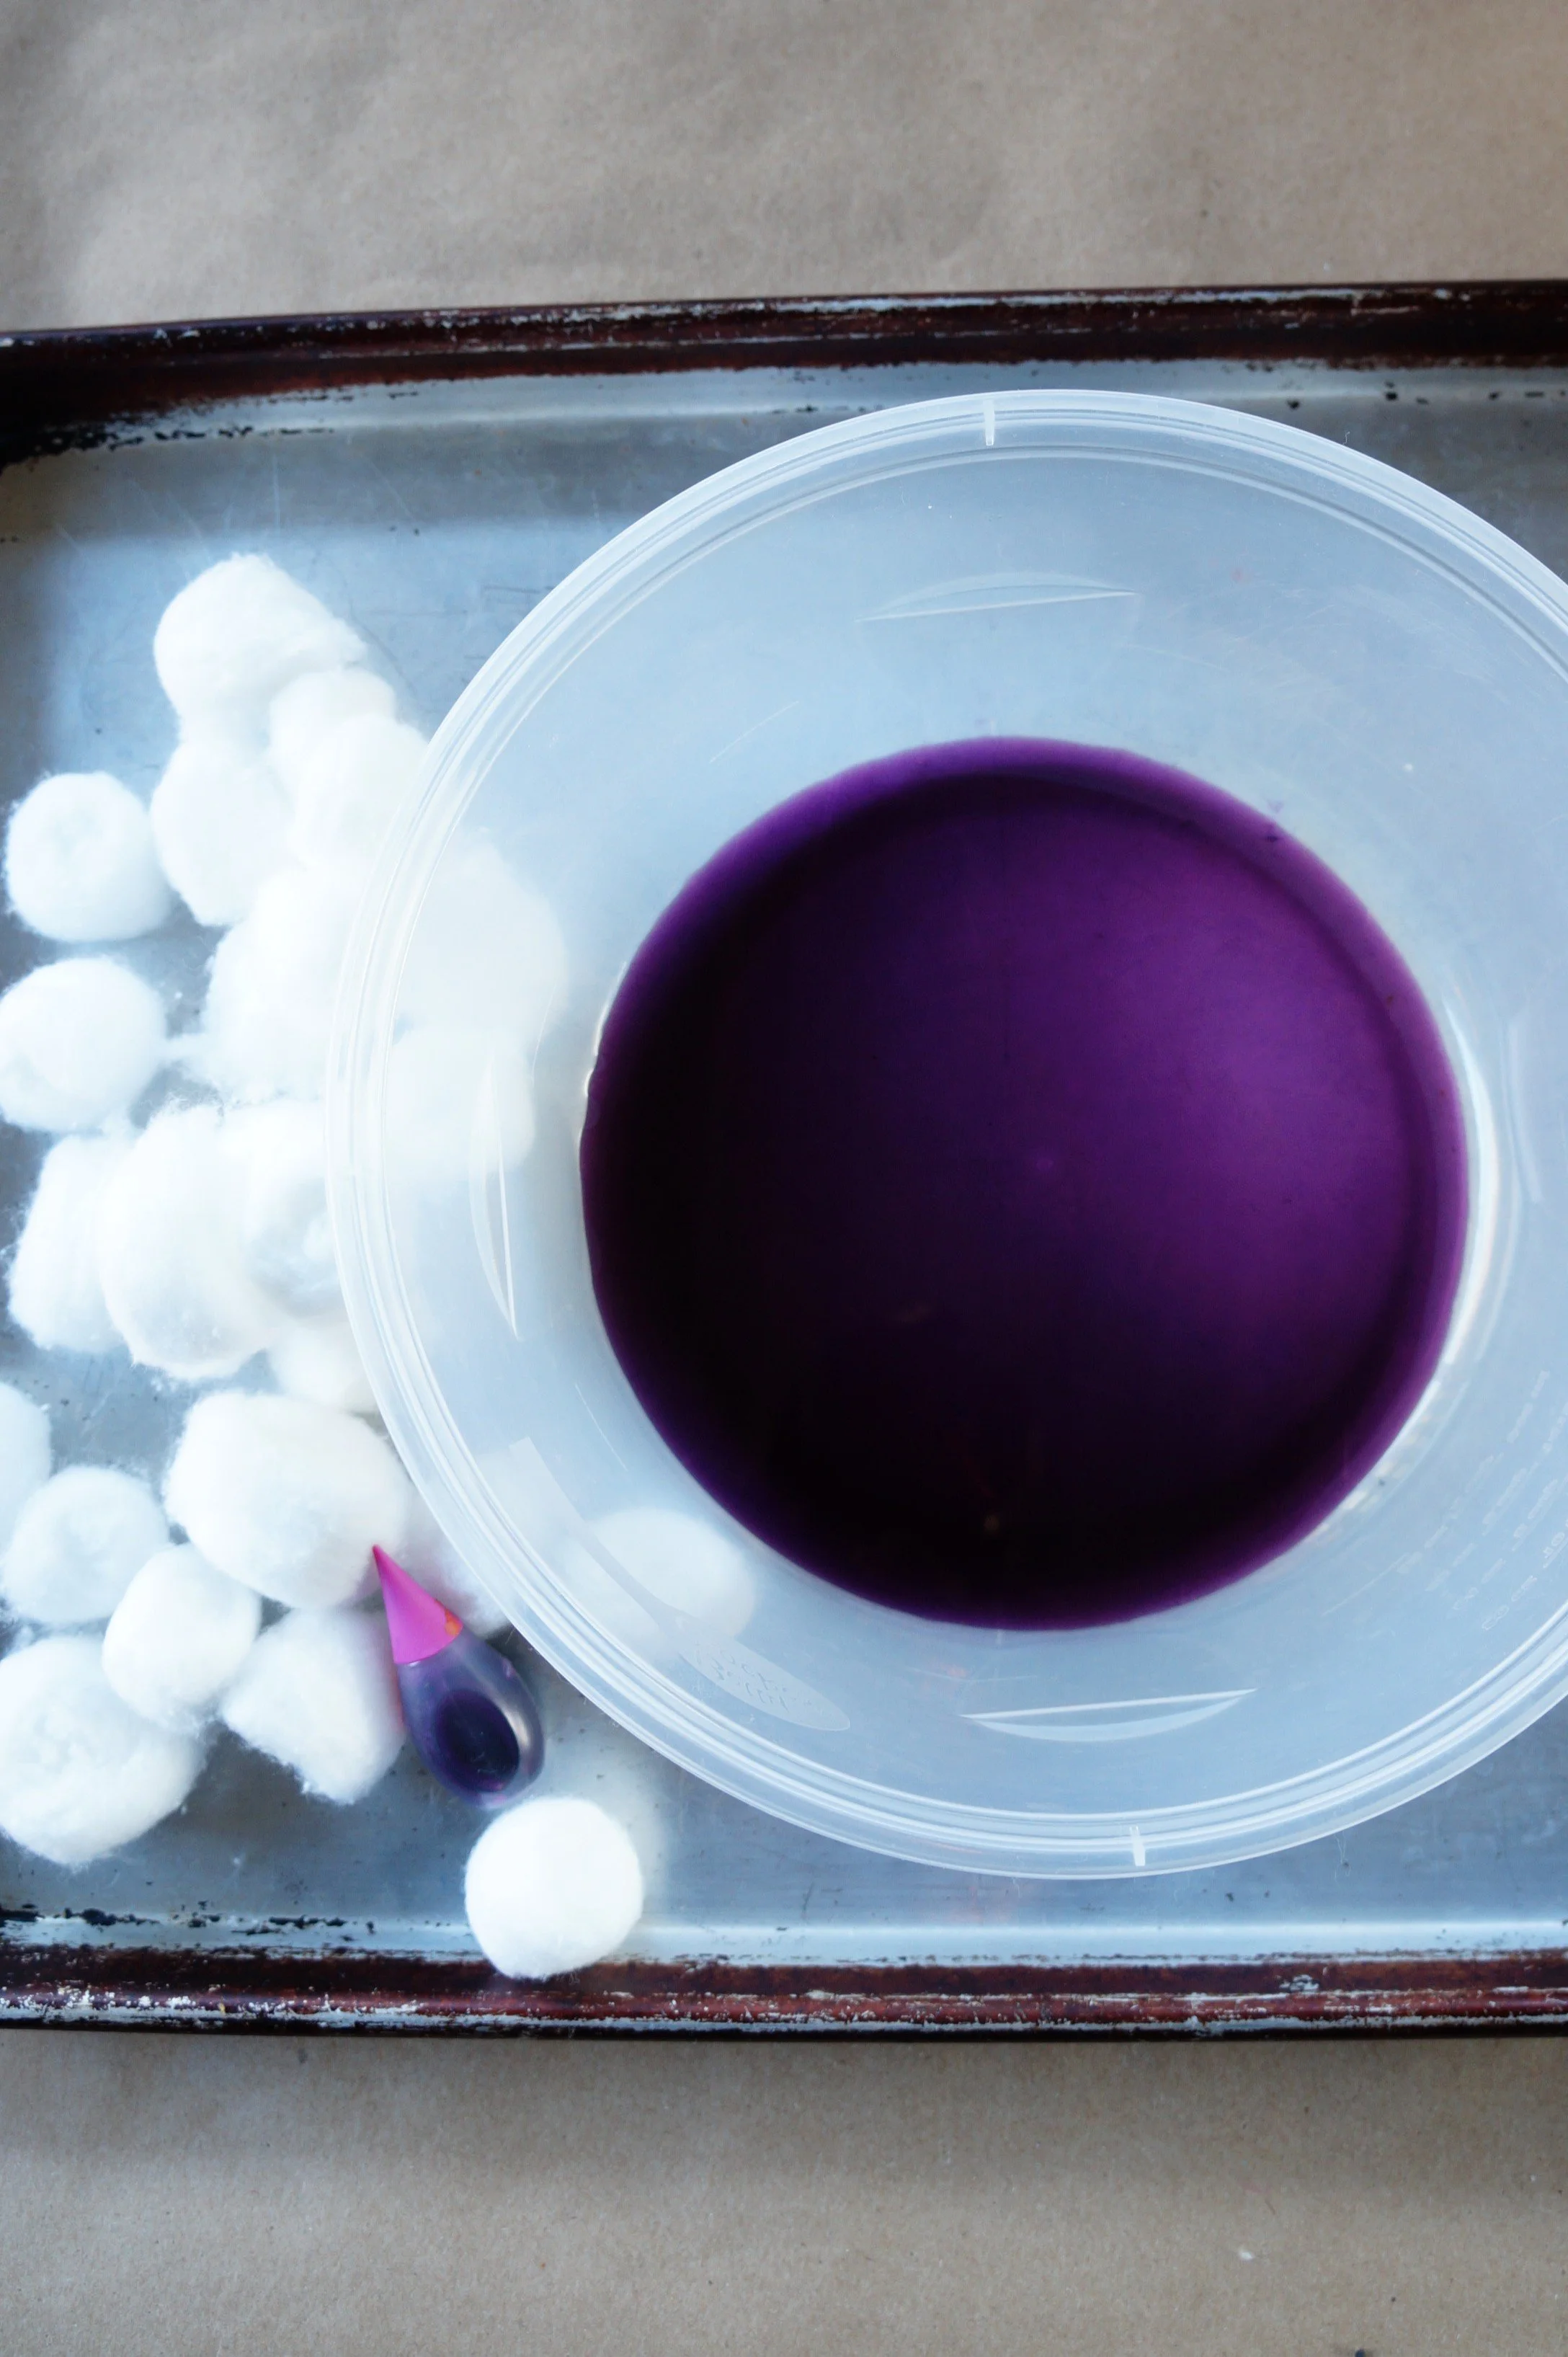
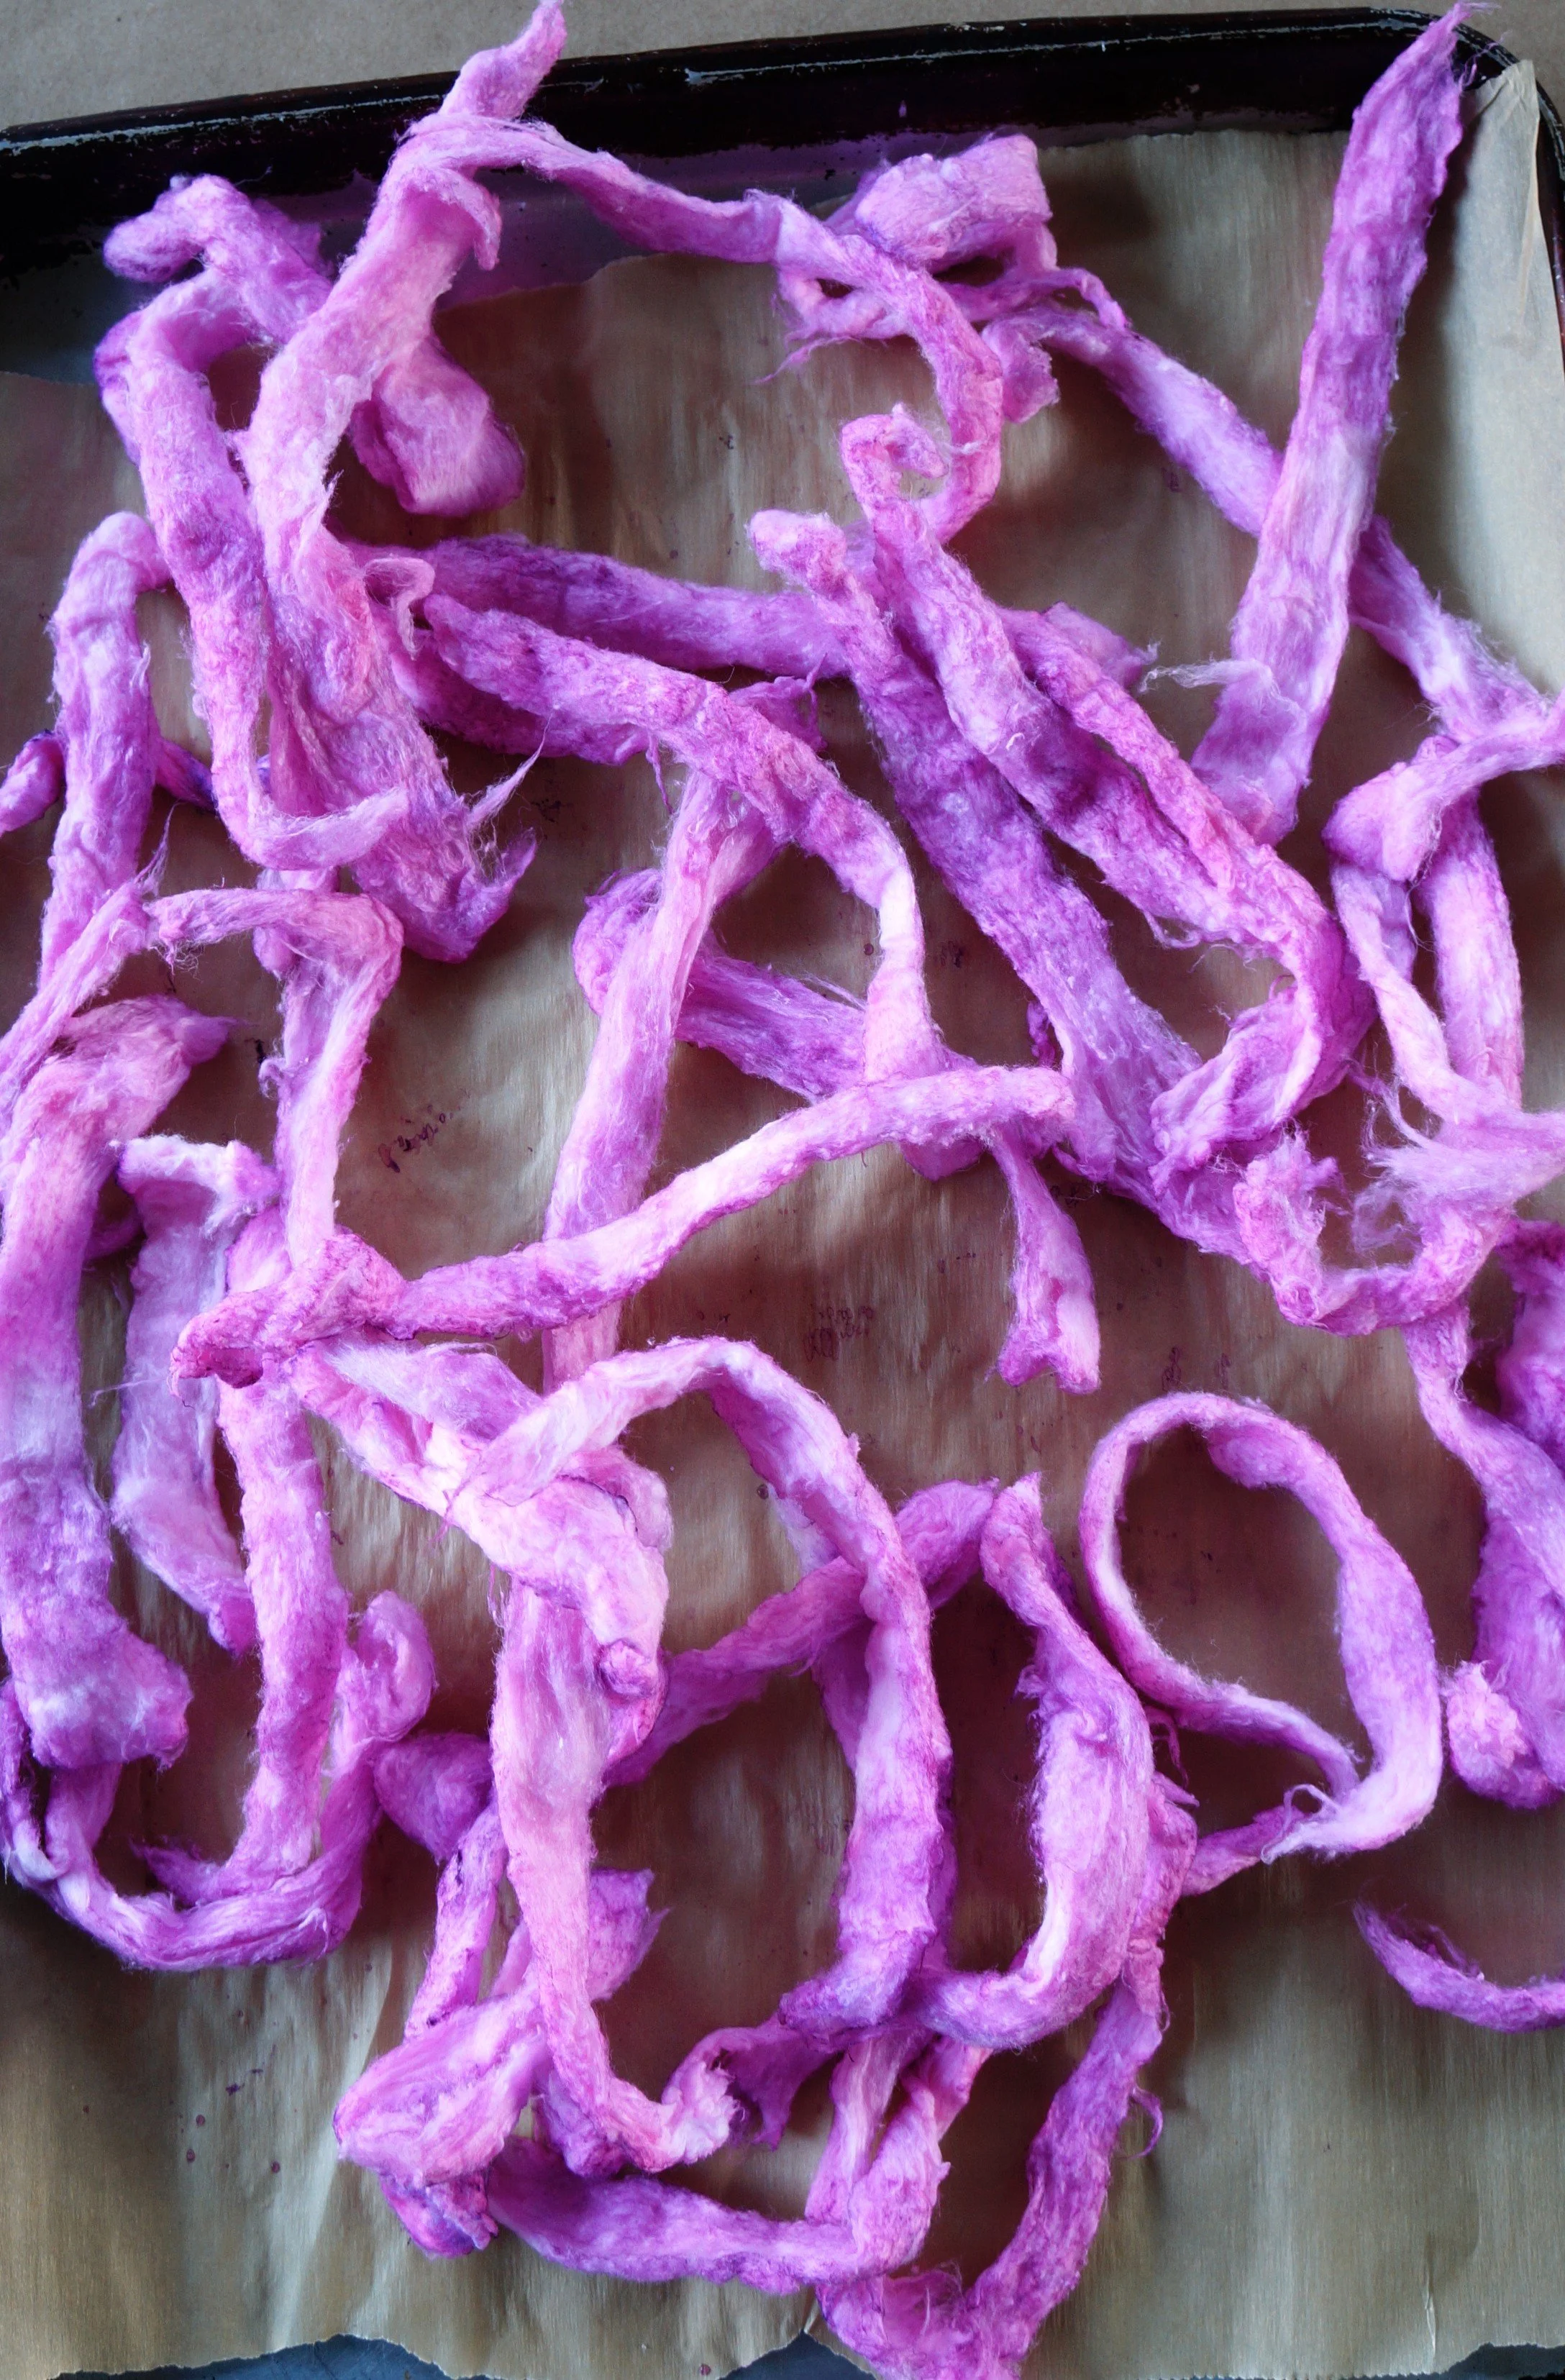
COTTON
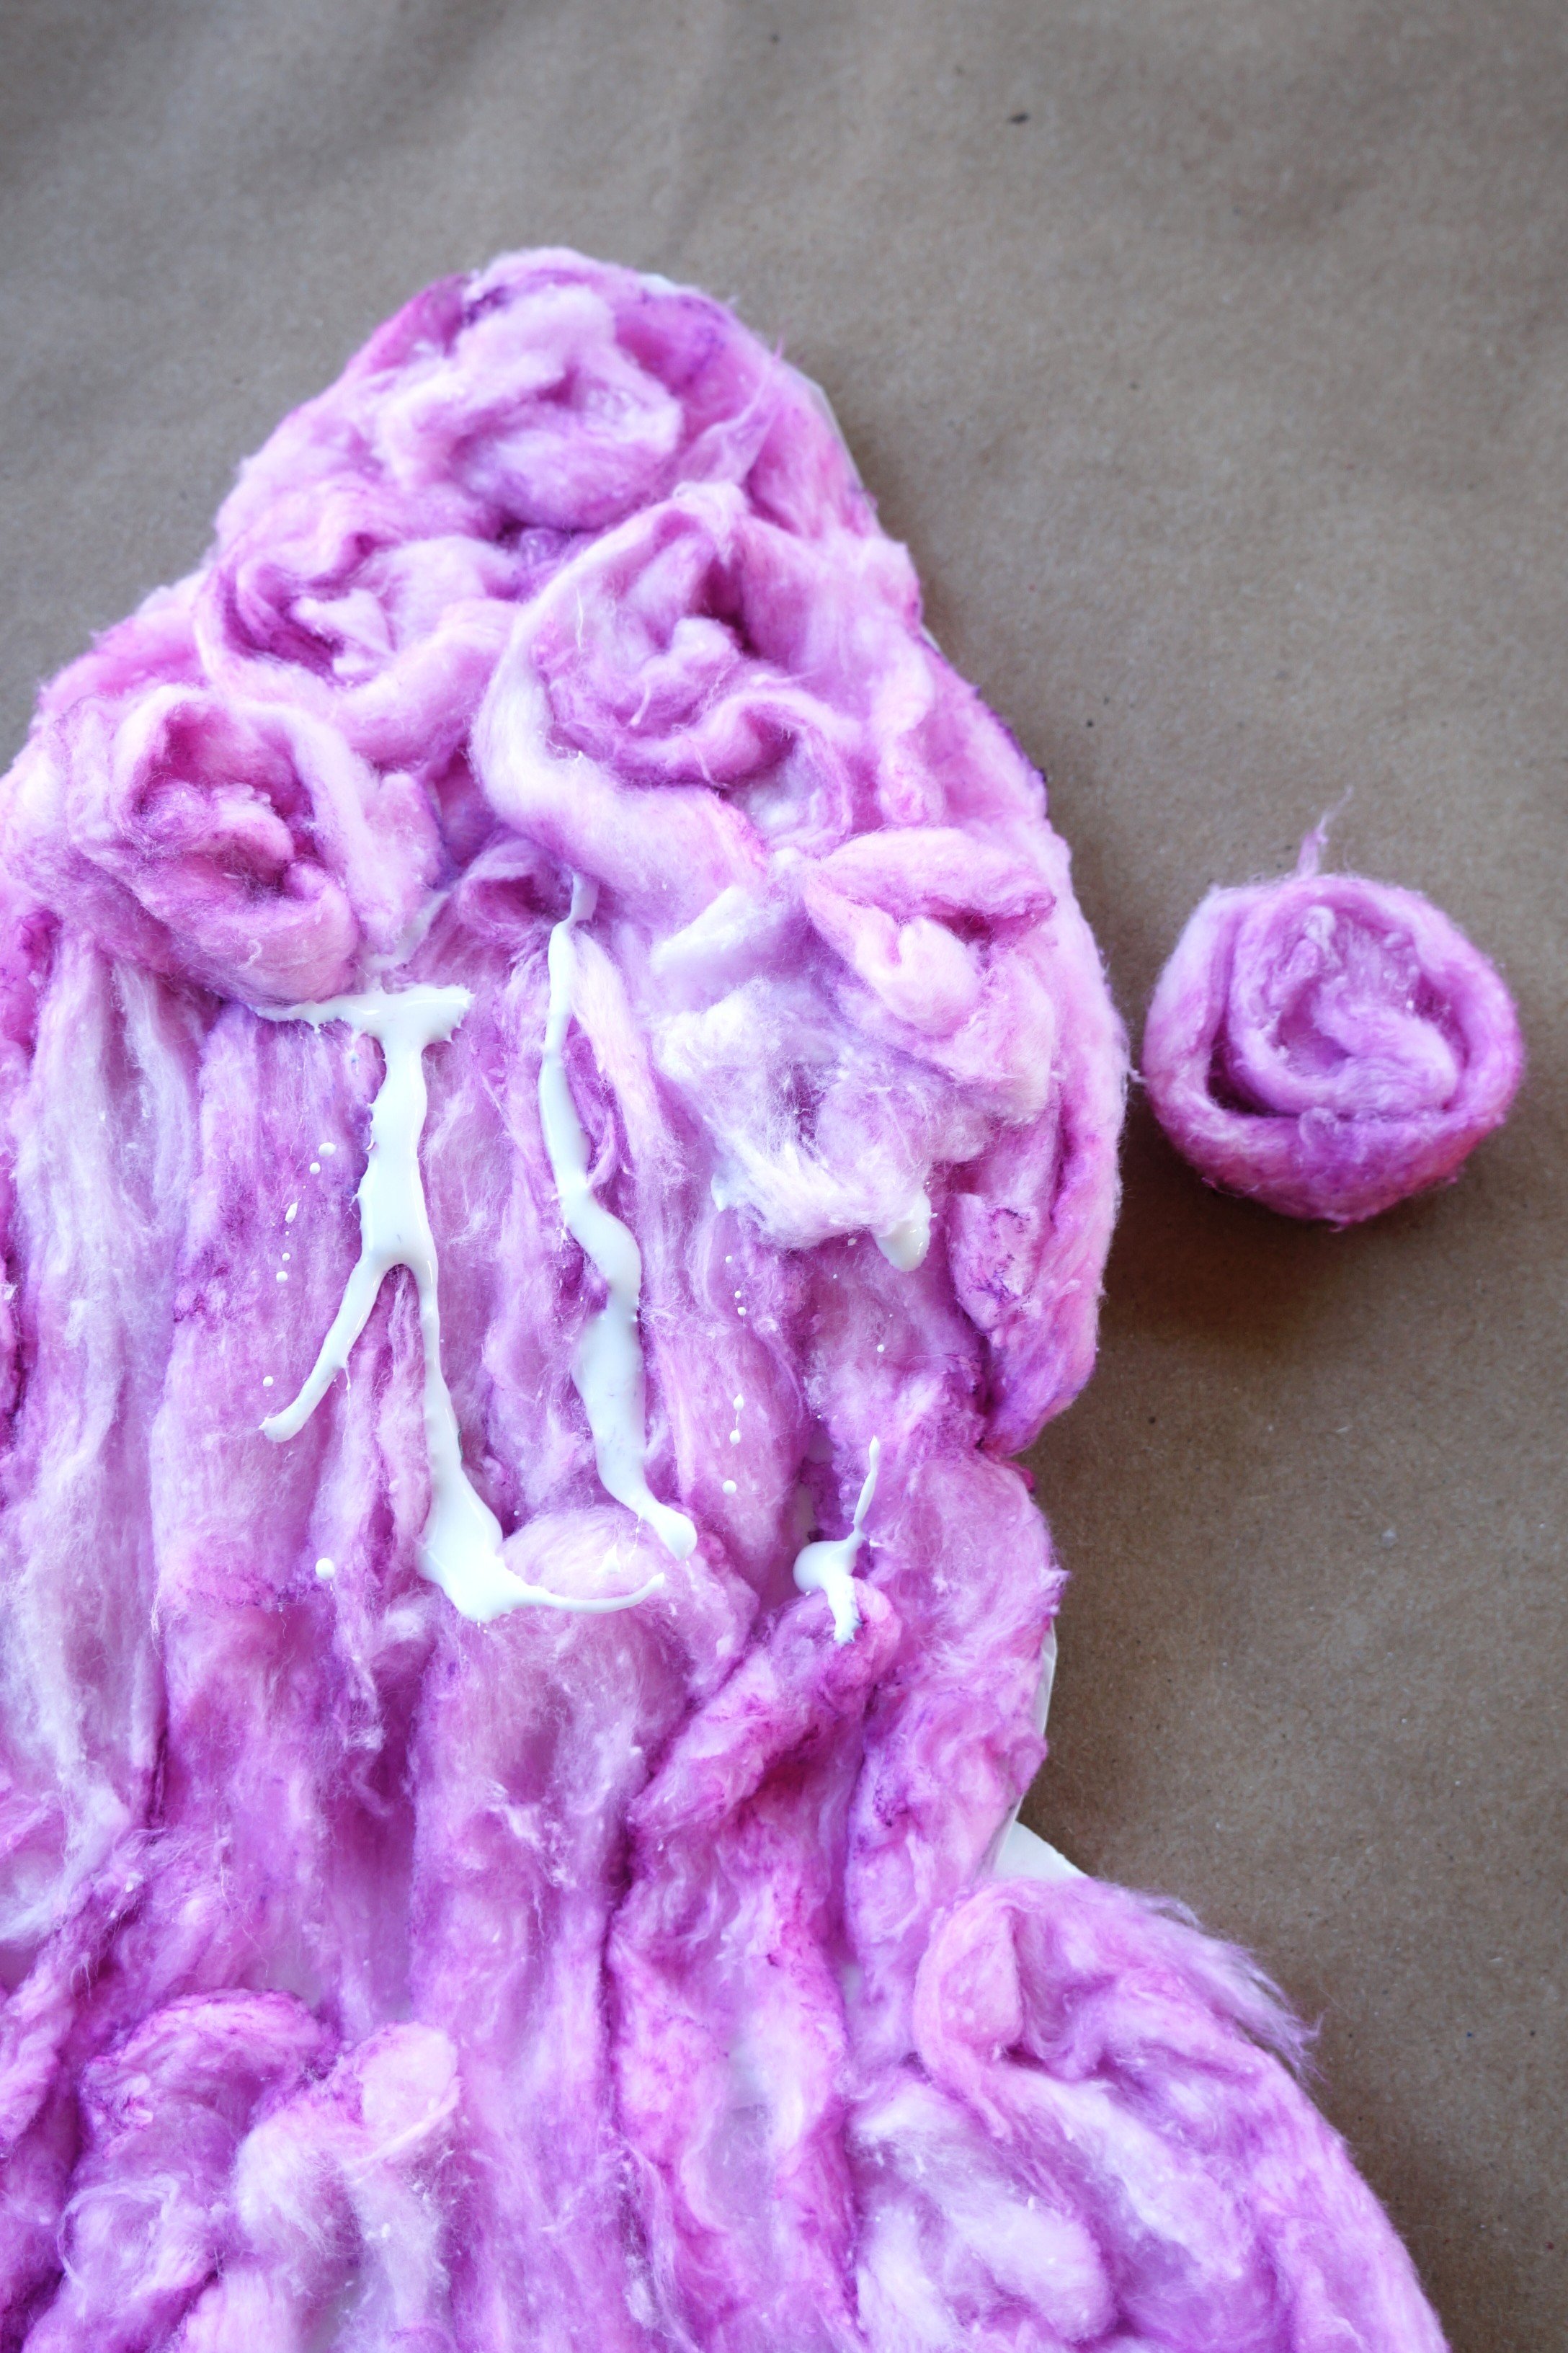
Add a few drops of the neon purple dye to the bowl with the water and swirl it around.
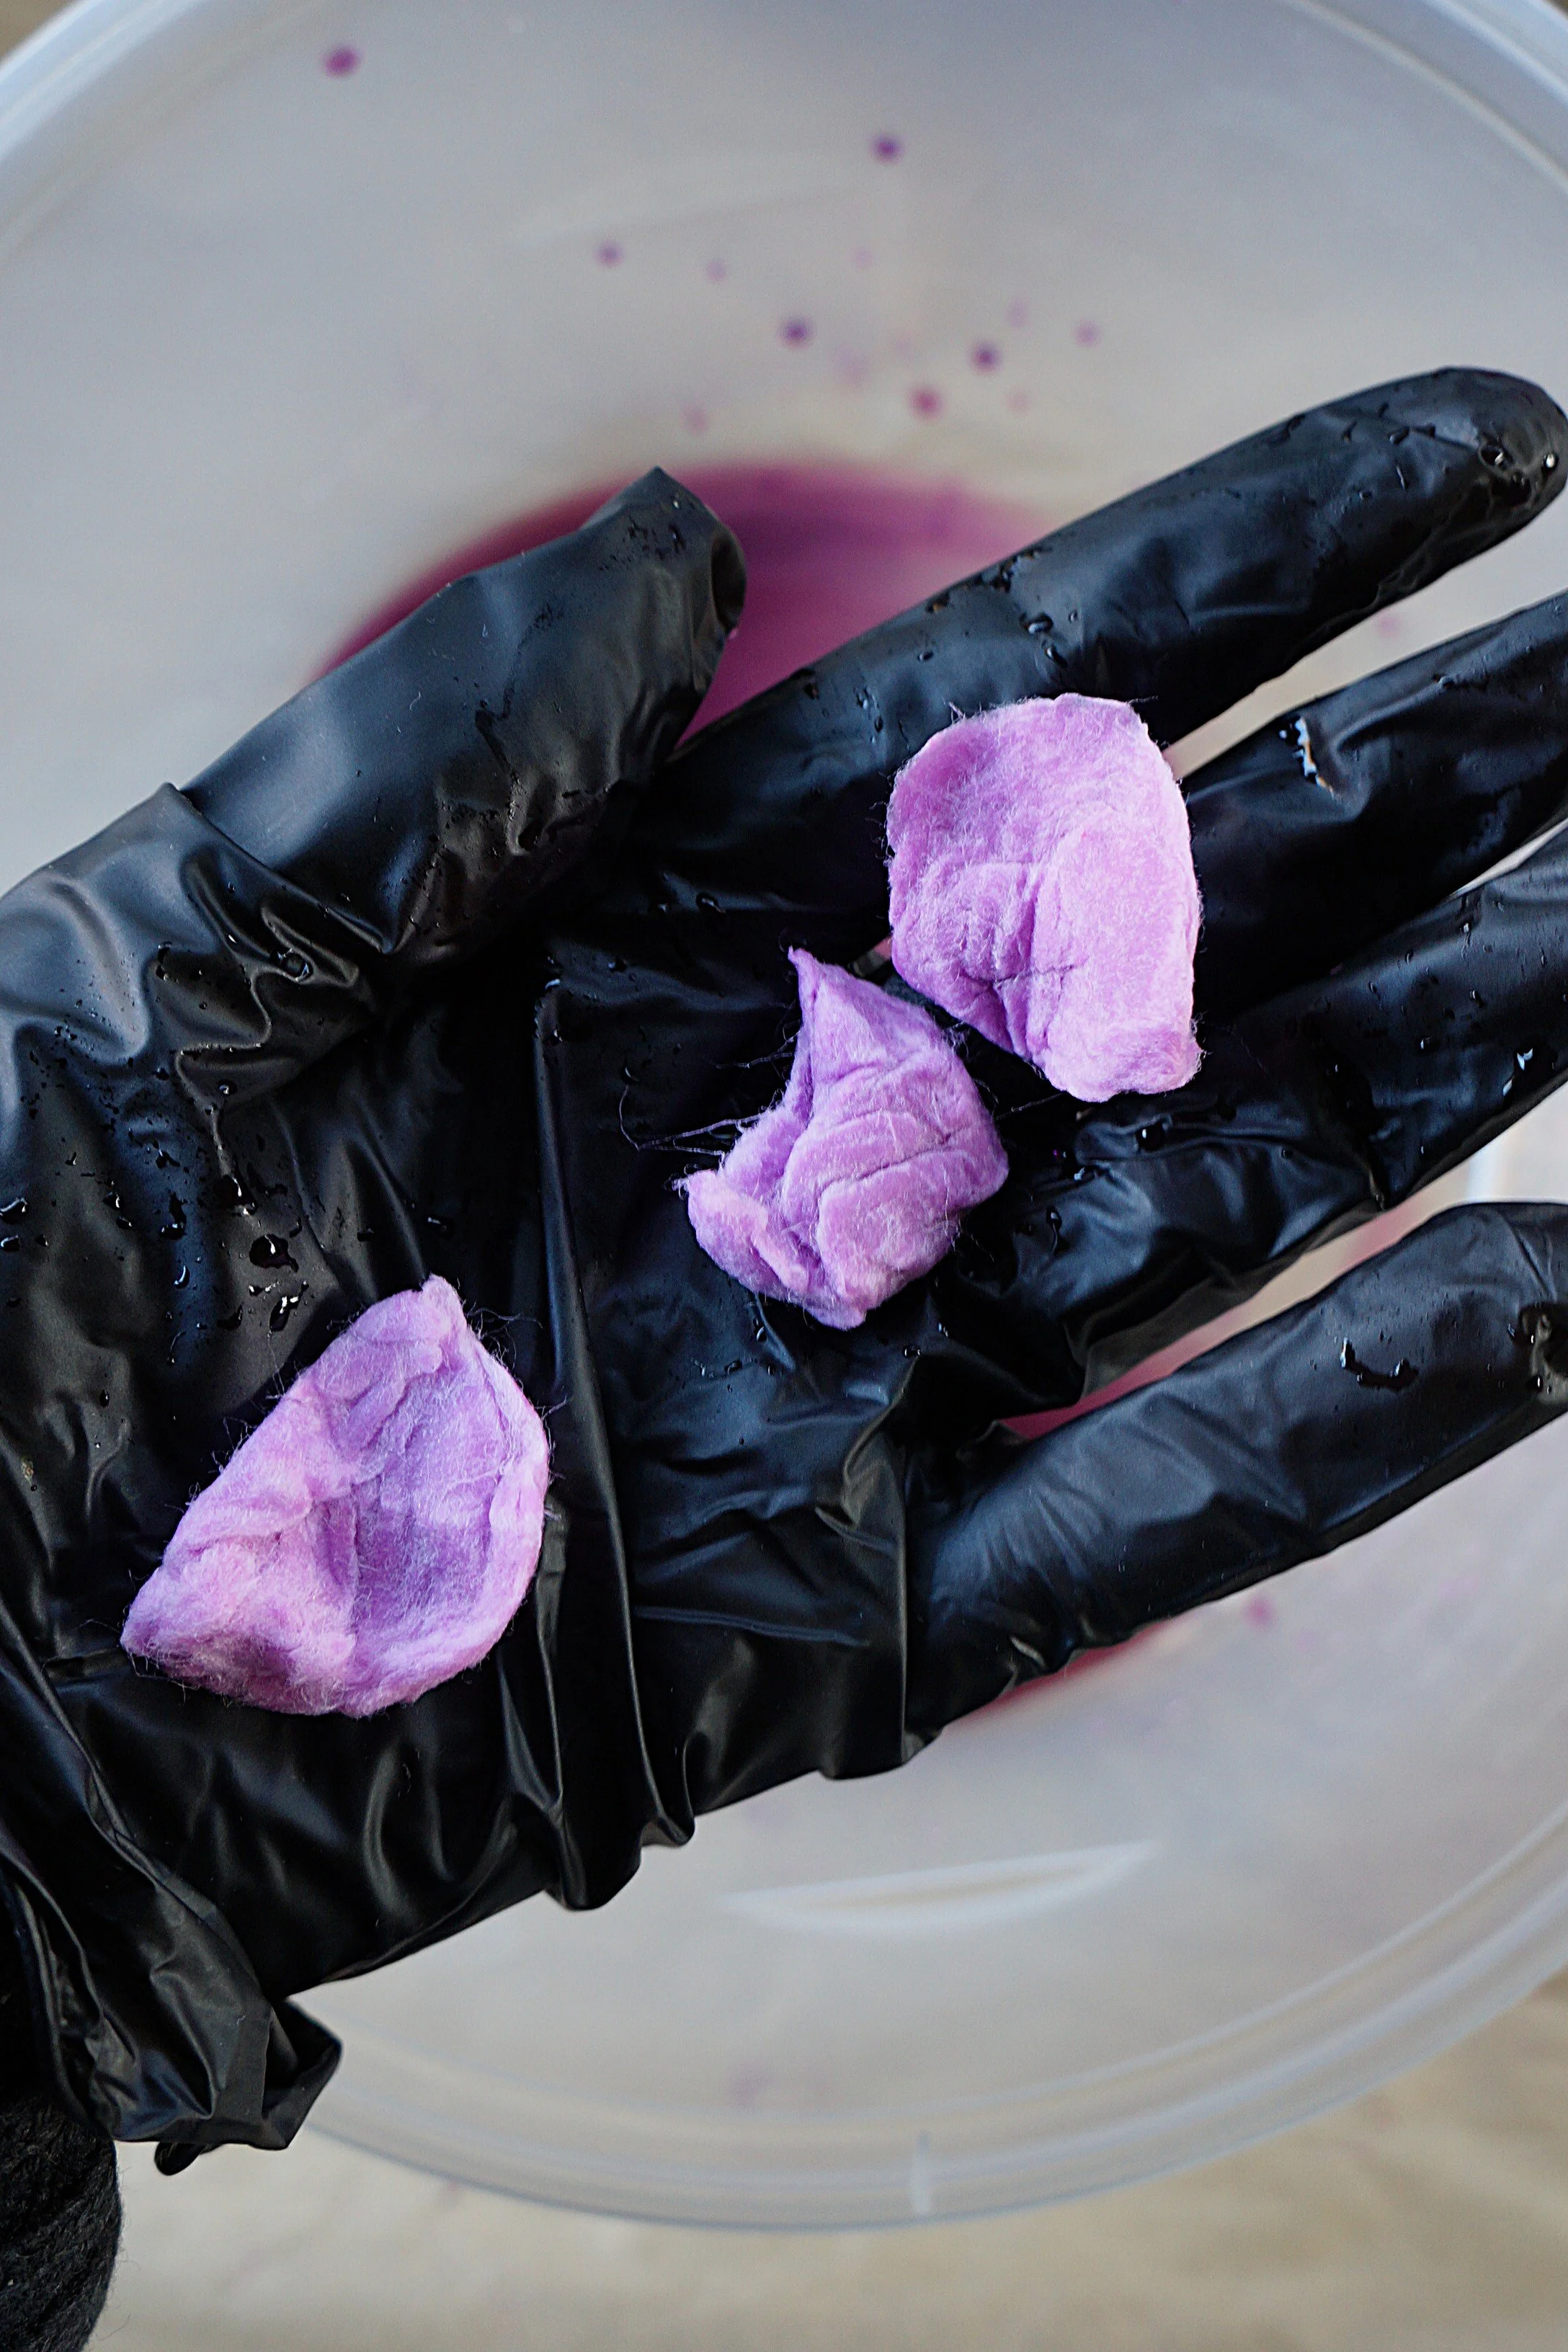
Place 24 of 25 cotton balls inside the bowl and squeeze them until each ball is covered with dye.
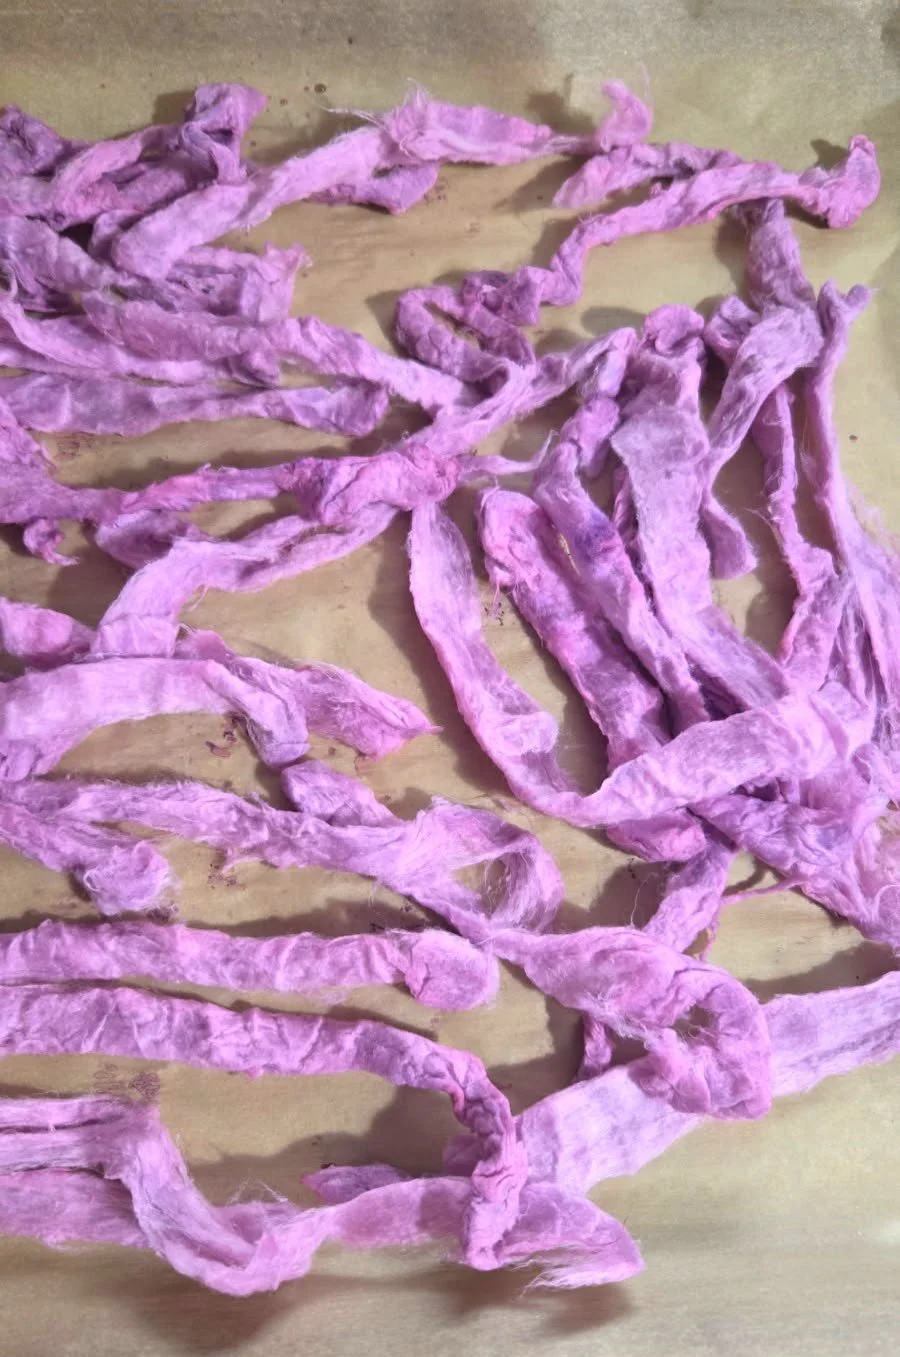
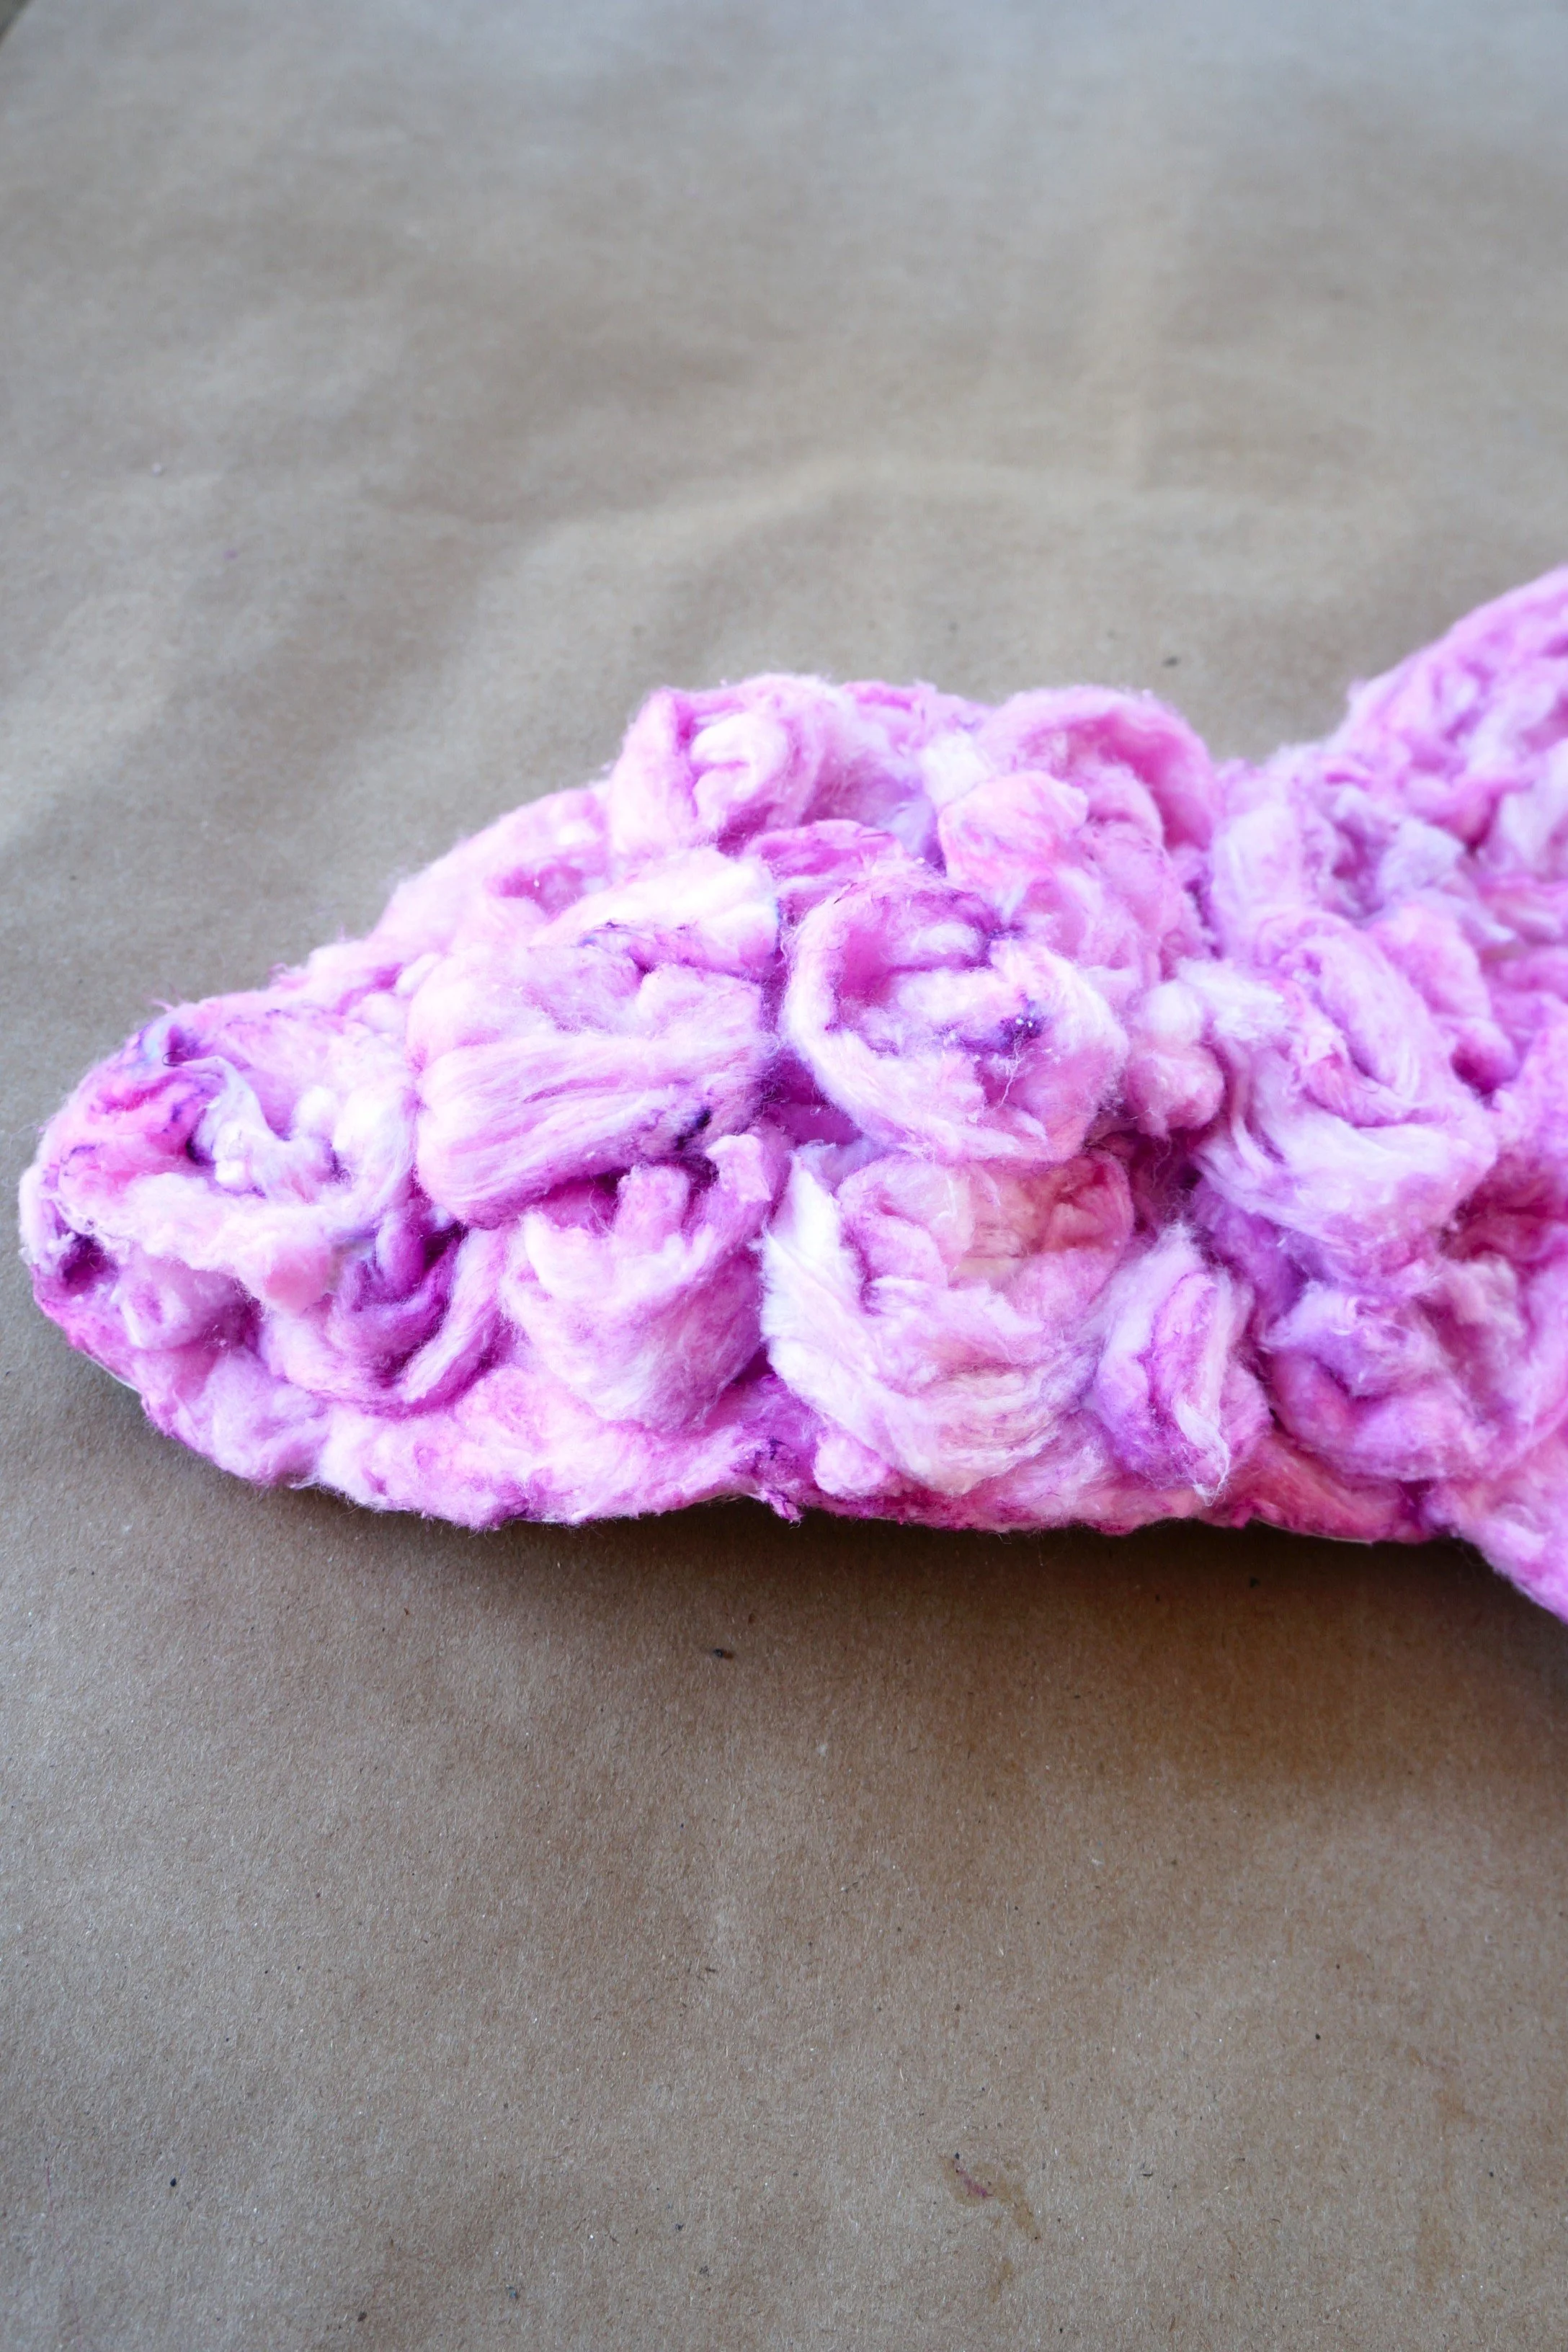
Squeeze all the *dye from cotton balls before placing them on the tray, then unroll them. It’s ok if they break apart.
Place the tray in the oven at 350 degrees for 15 minutes to dry. They will fluff up once they’re dry.
*Discard the remaining dye.

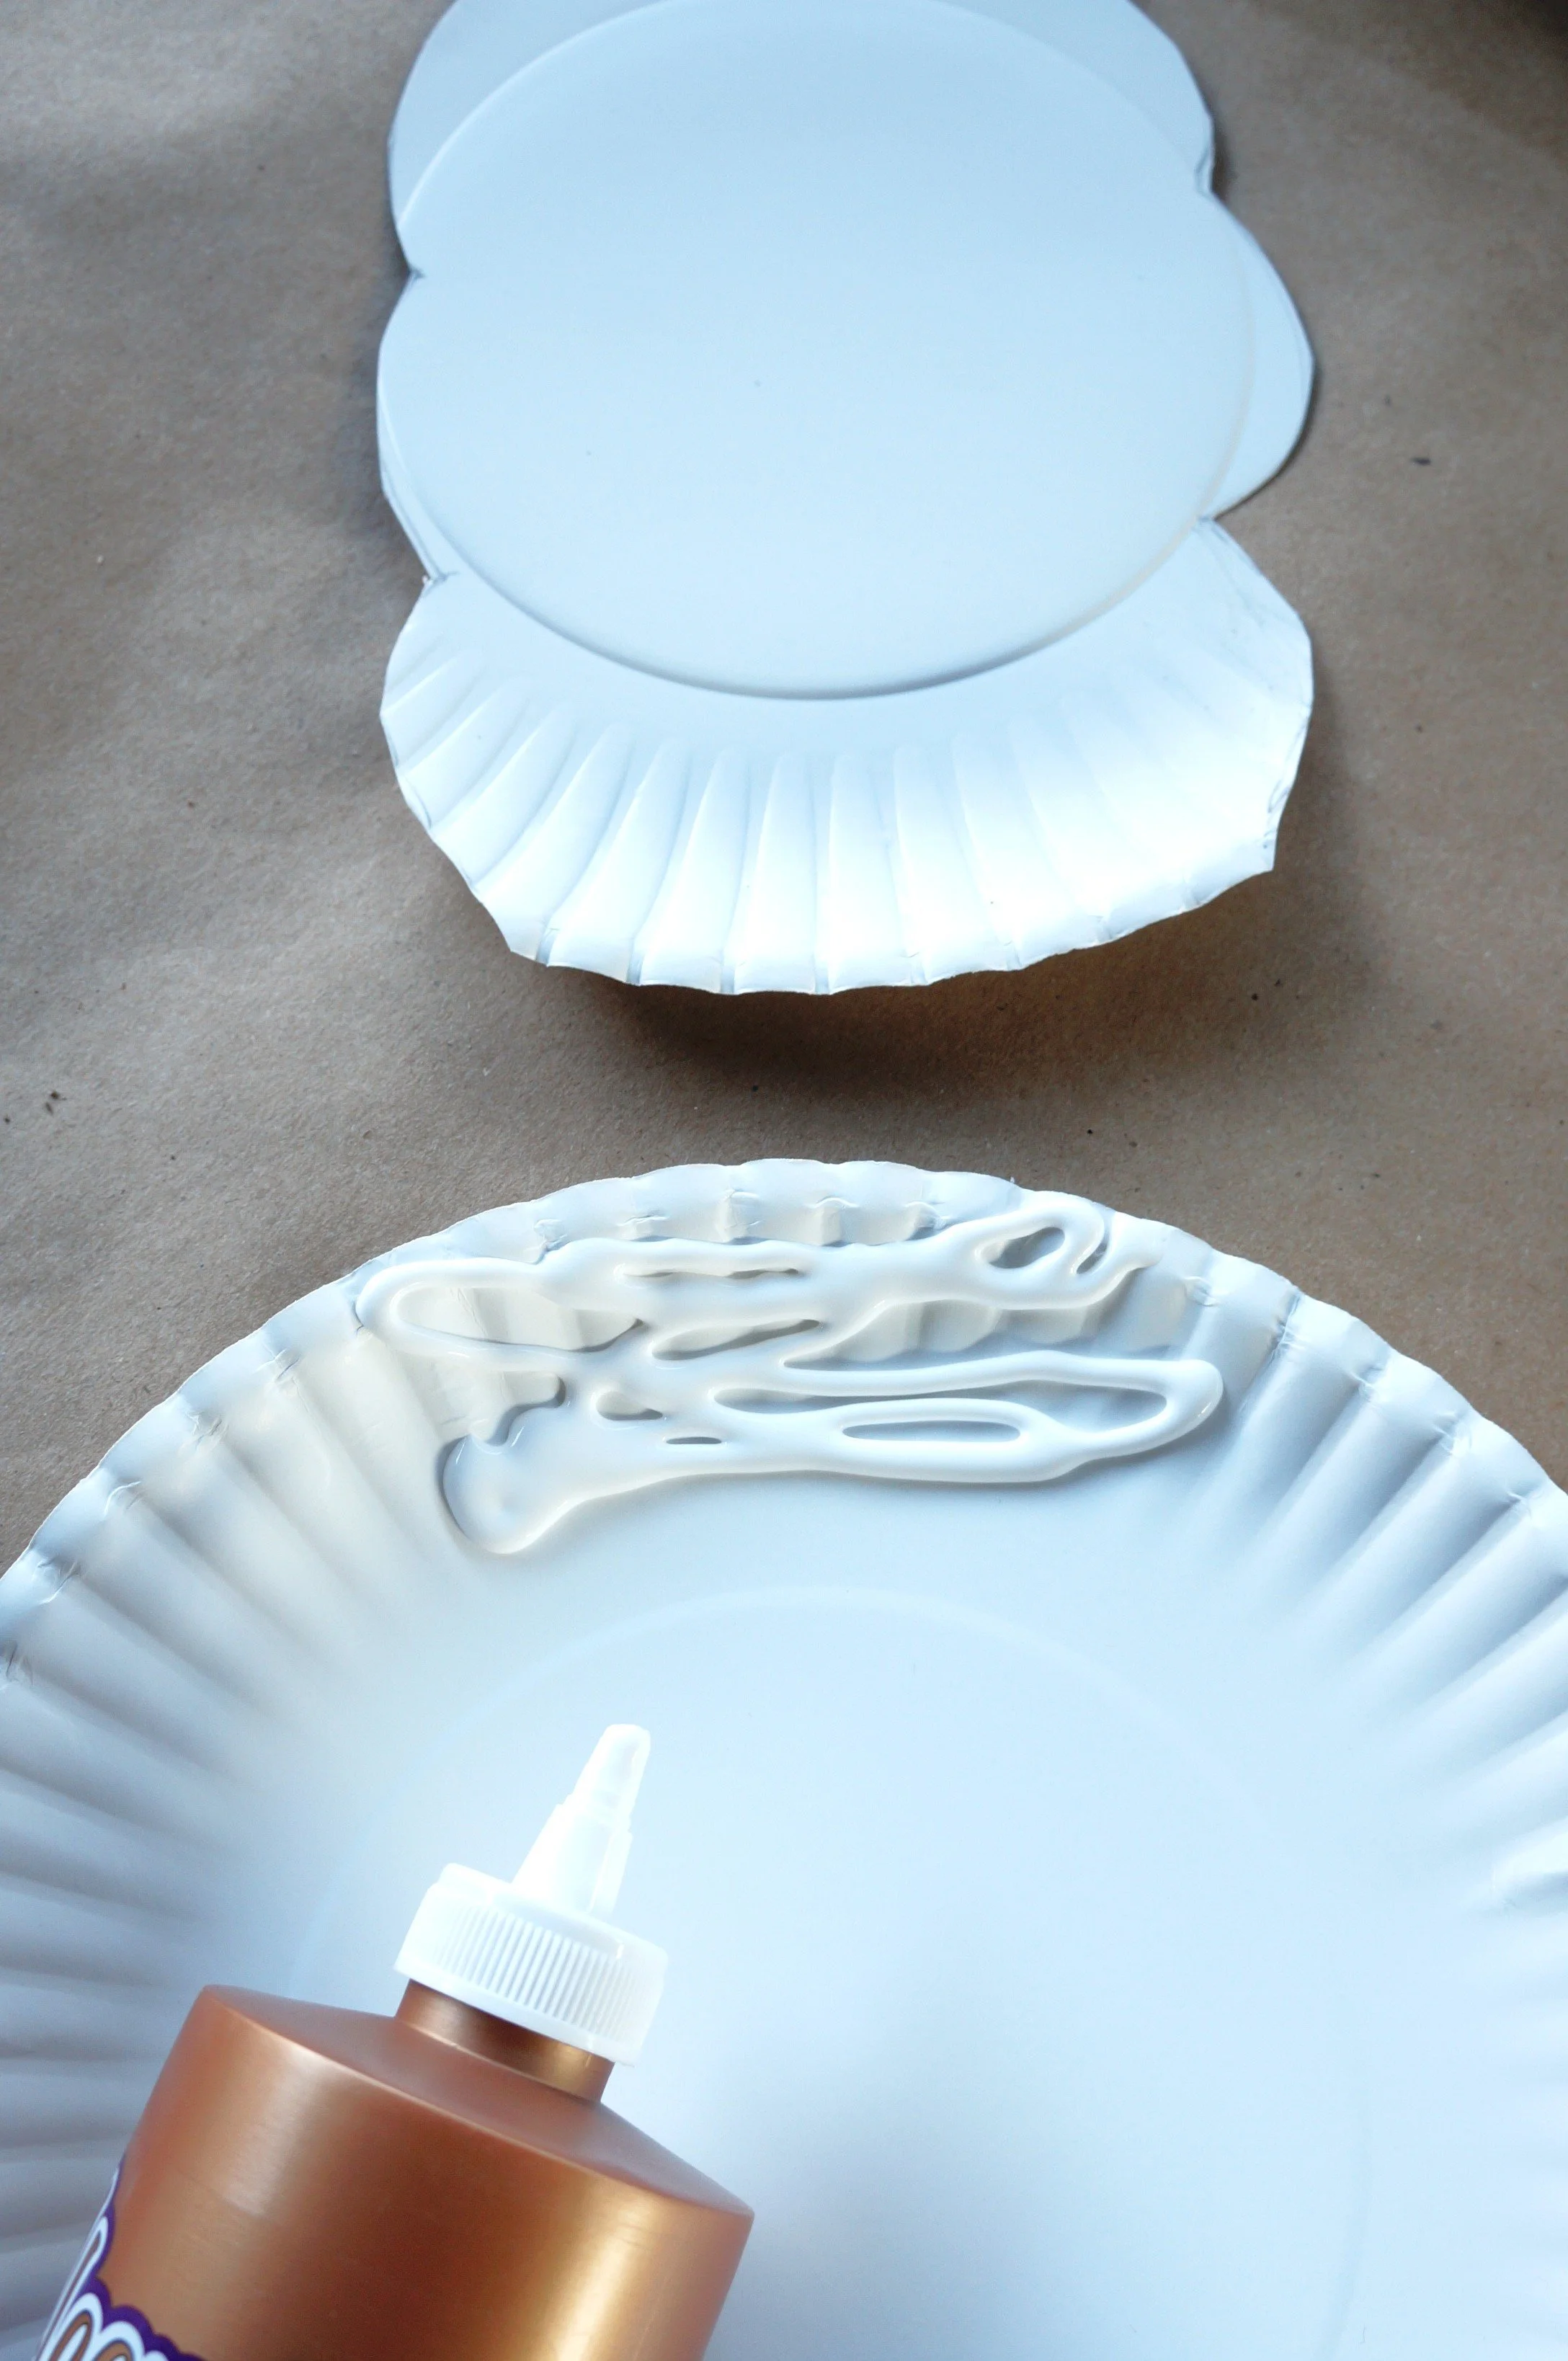


HEAD
Use one plate to draw a narrow, fluffy cloud, and then cut it out.
Add glue to the top of the second plate and glue the cloud to it. Place the glue bottle or something heavy on top to hold it together while it dries.
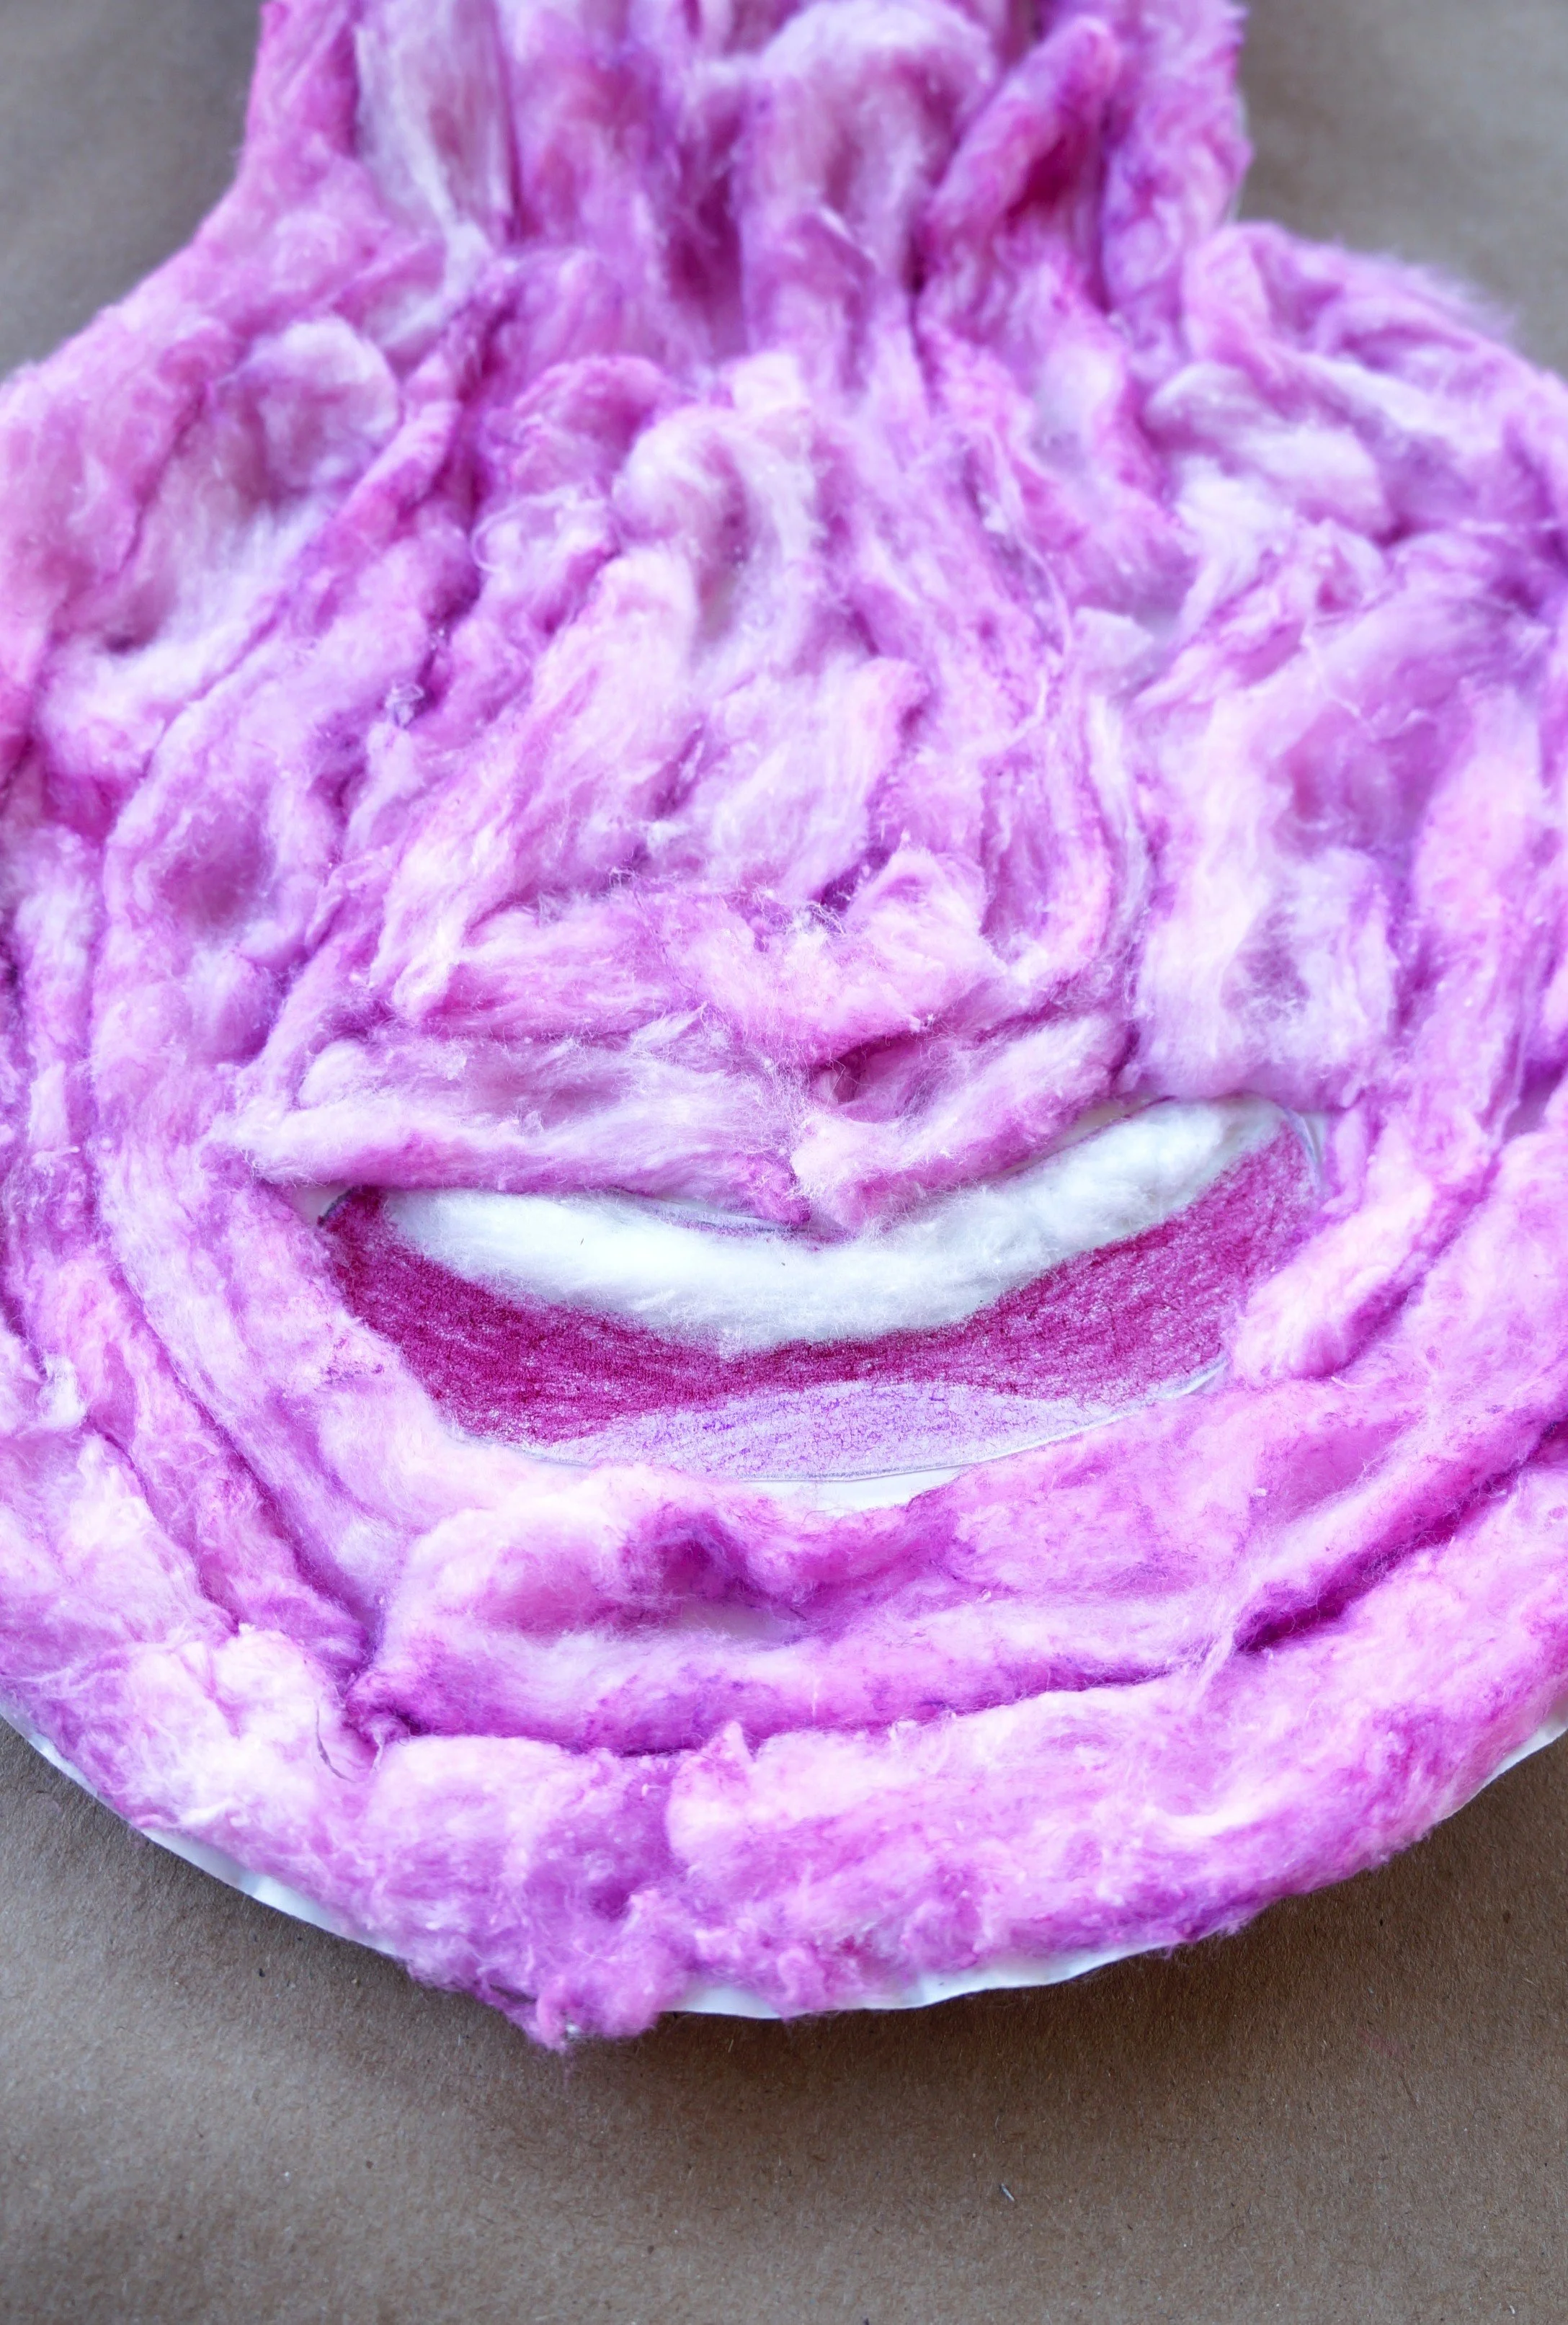
MOUTH
On the white paper, draw a 4-inch wide open smile, trace it with the lighter purple, and then glue a narrow strip from the last cotton ball to the upper part of the mouth(teeth).
Color the tongue in the lighter purple and the inside of the mouth with the darker one, then cut it out.
Glue the mouth above the bottom ridges of the plate(shown further below).
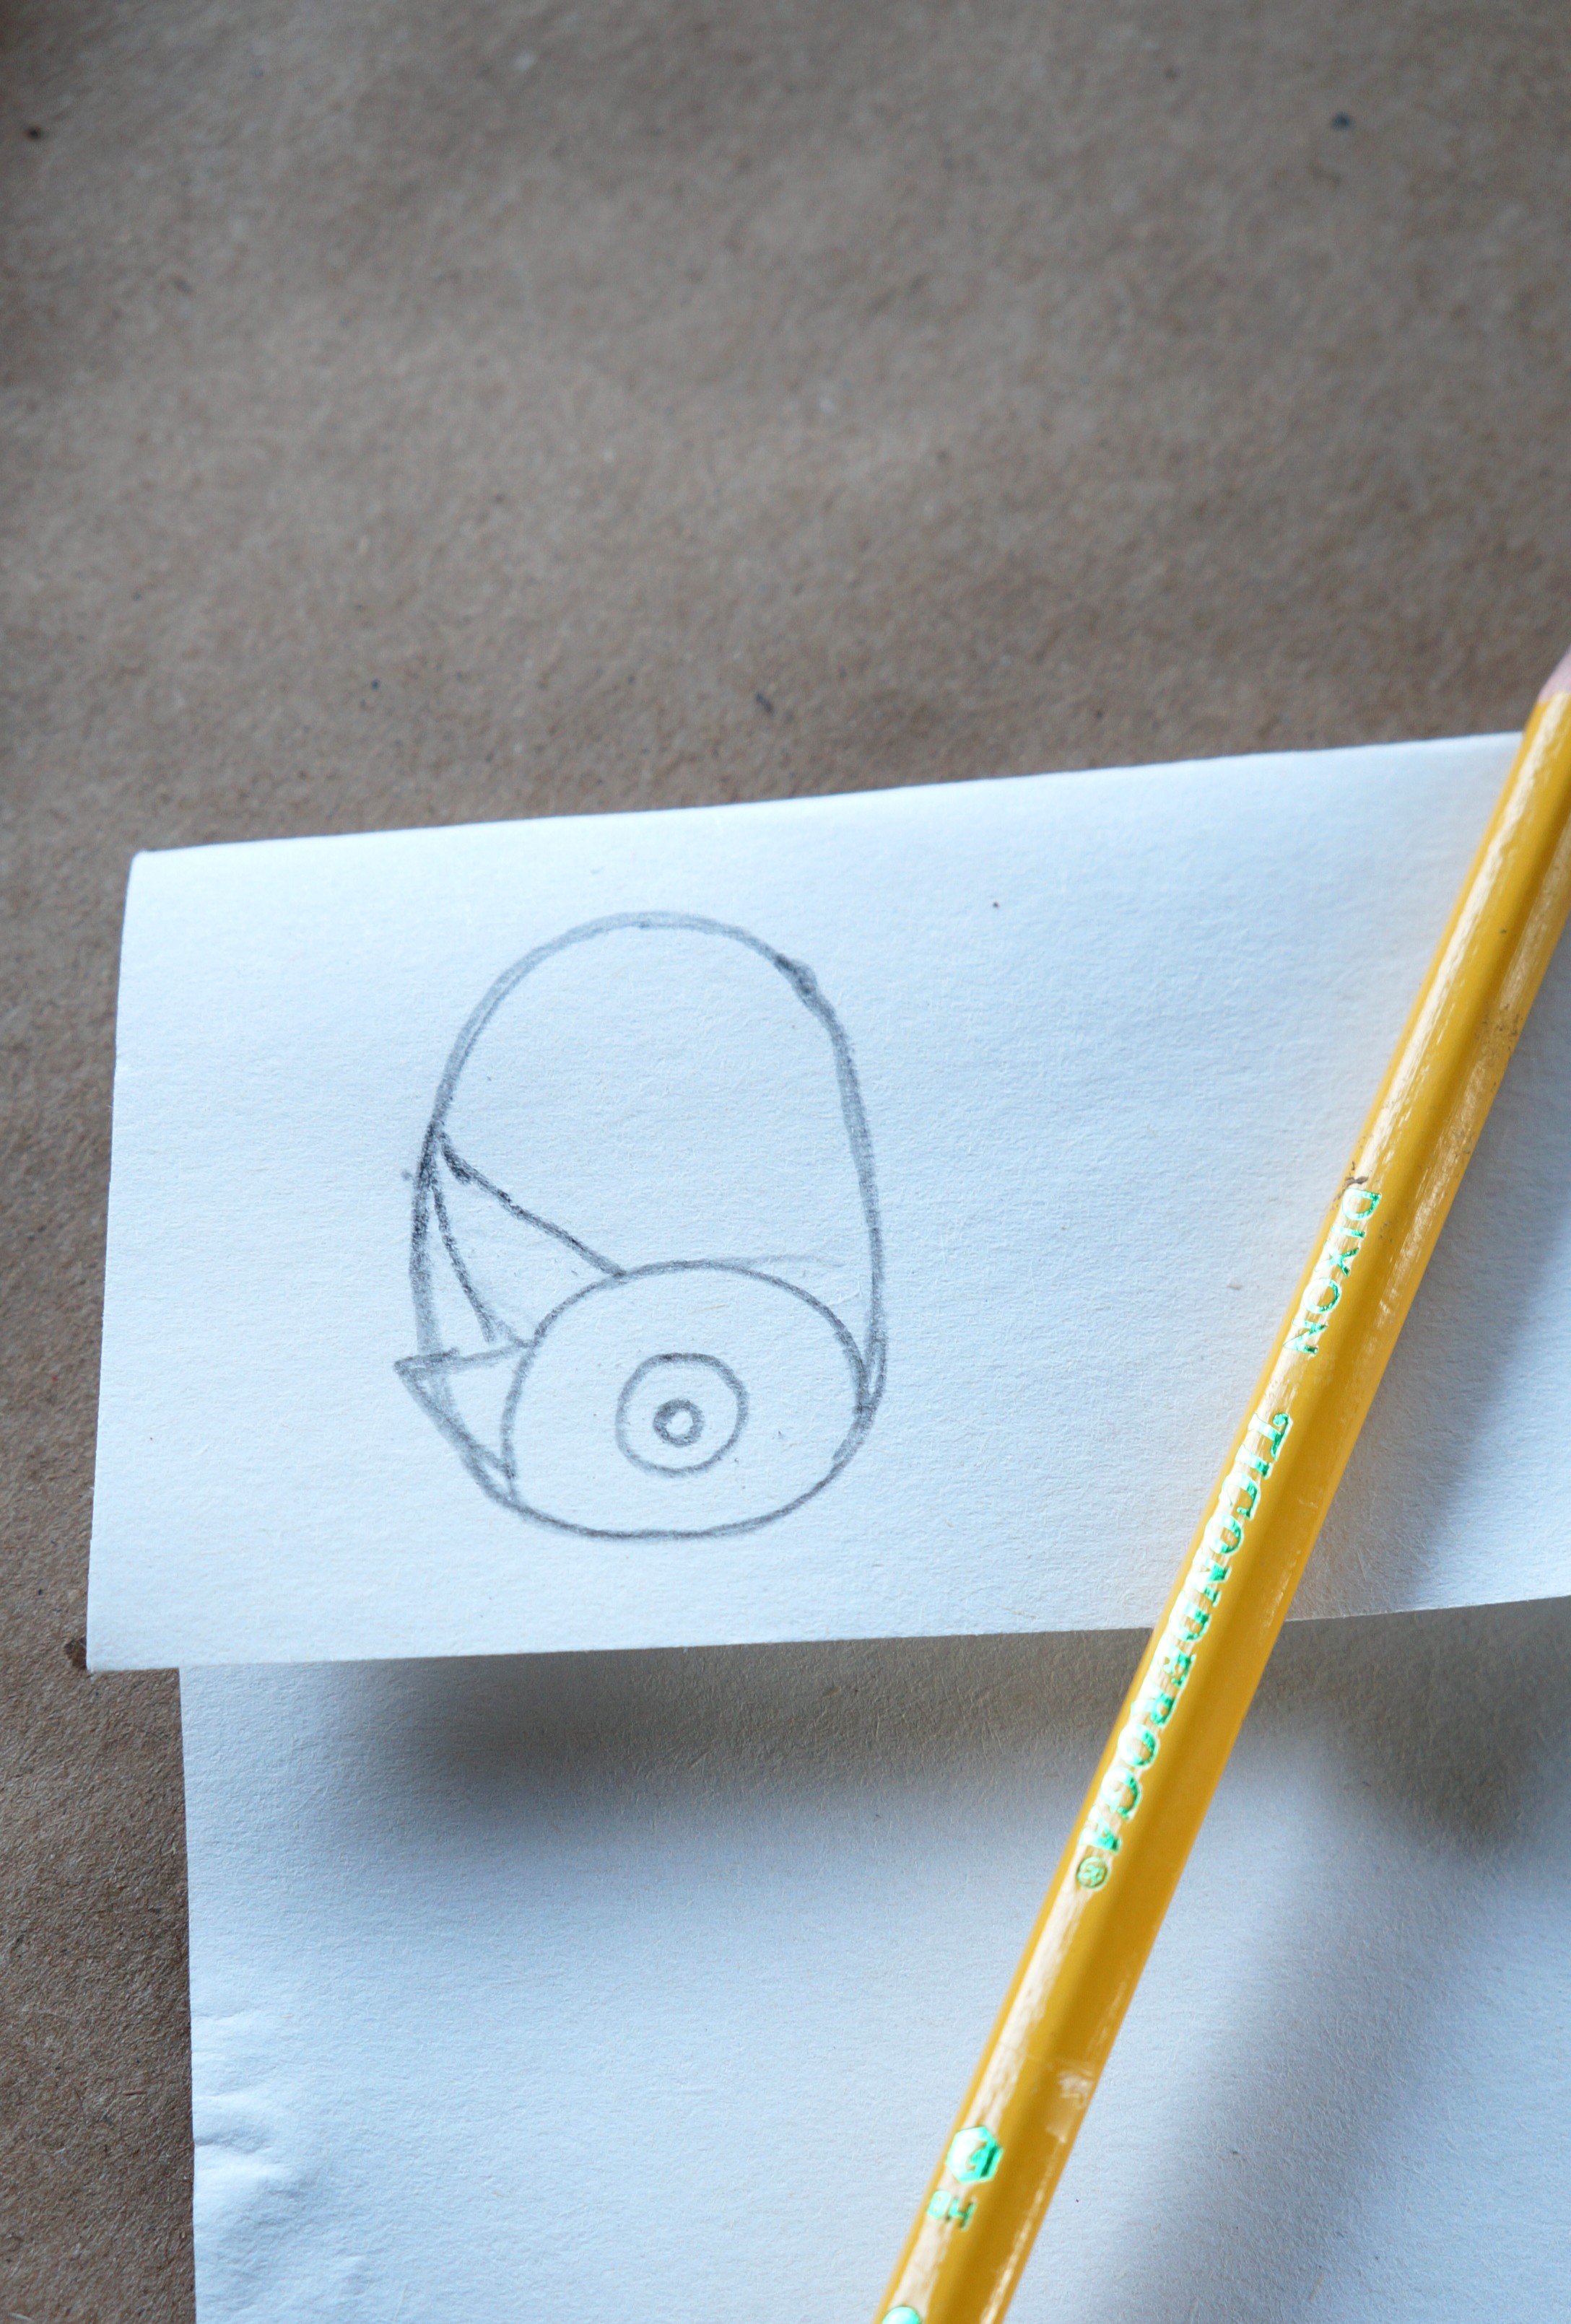
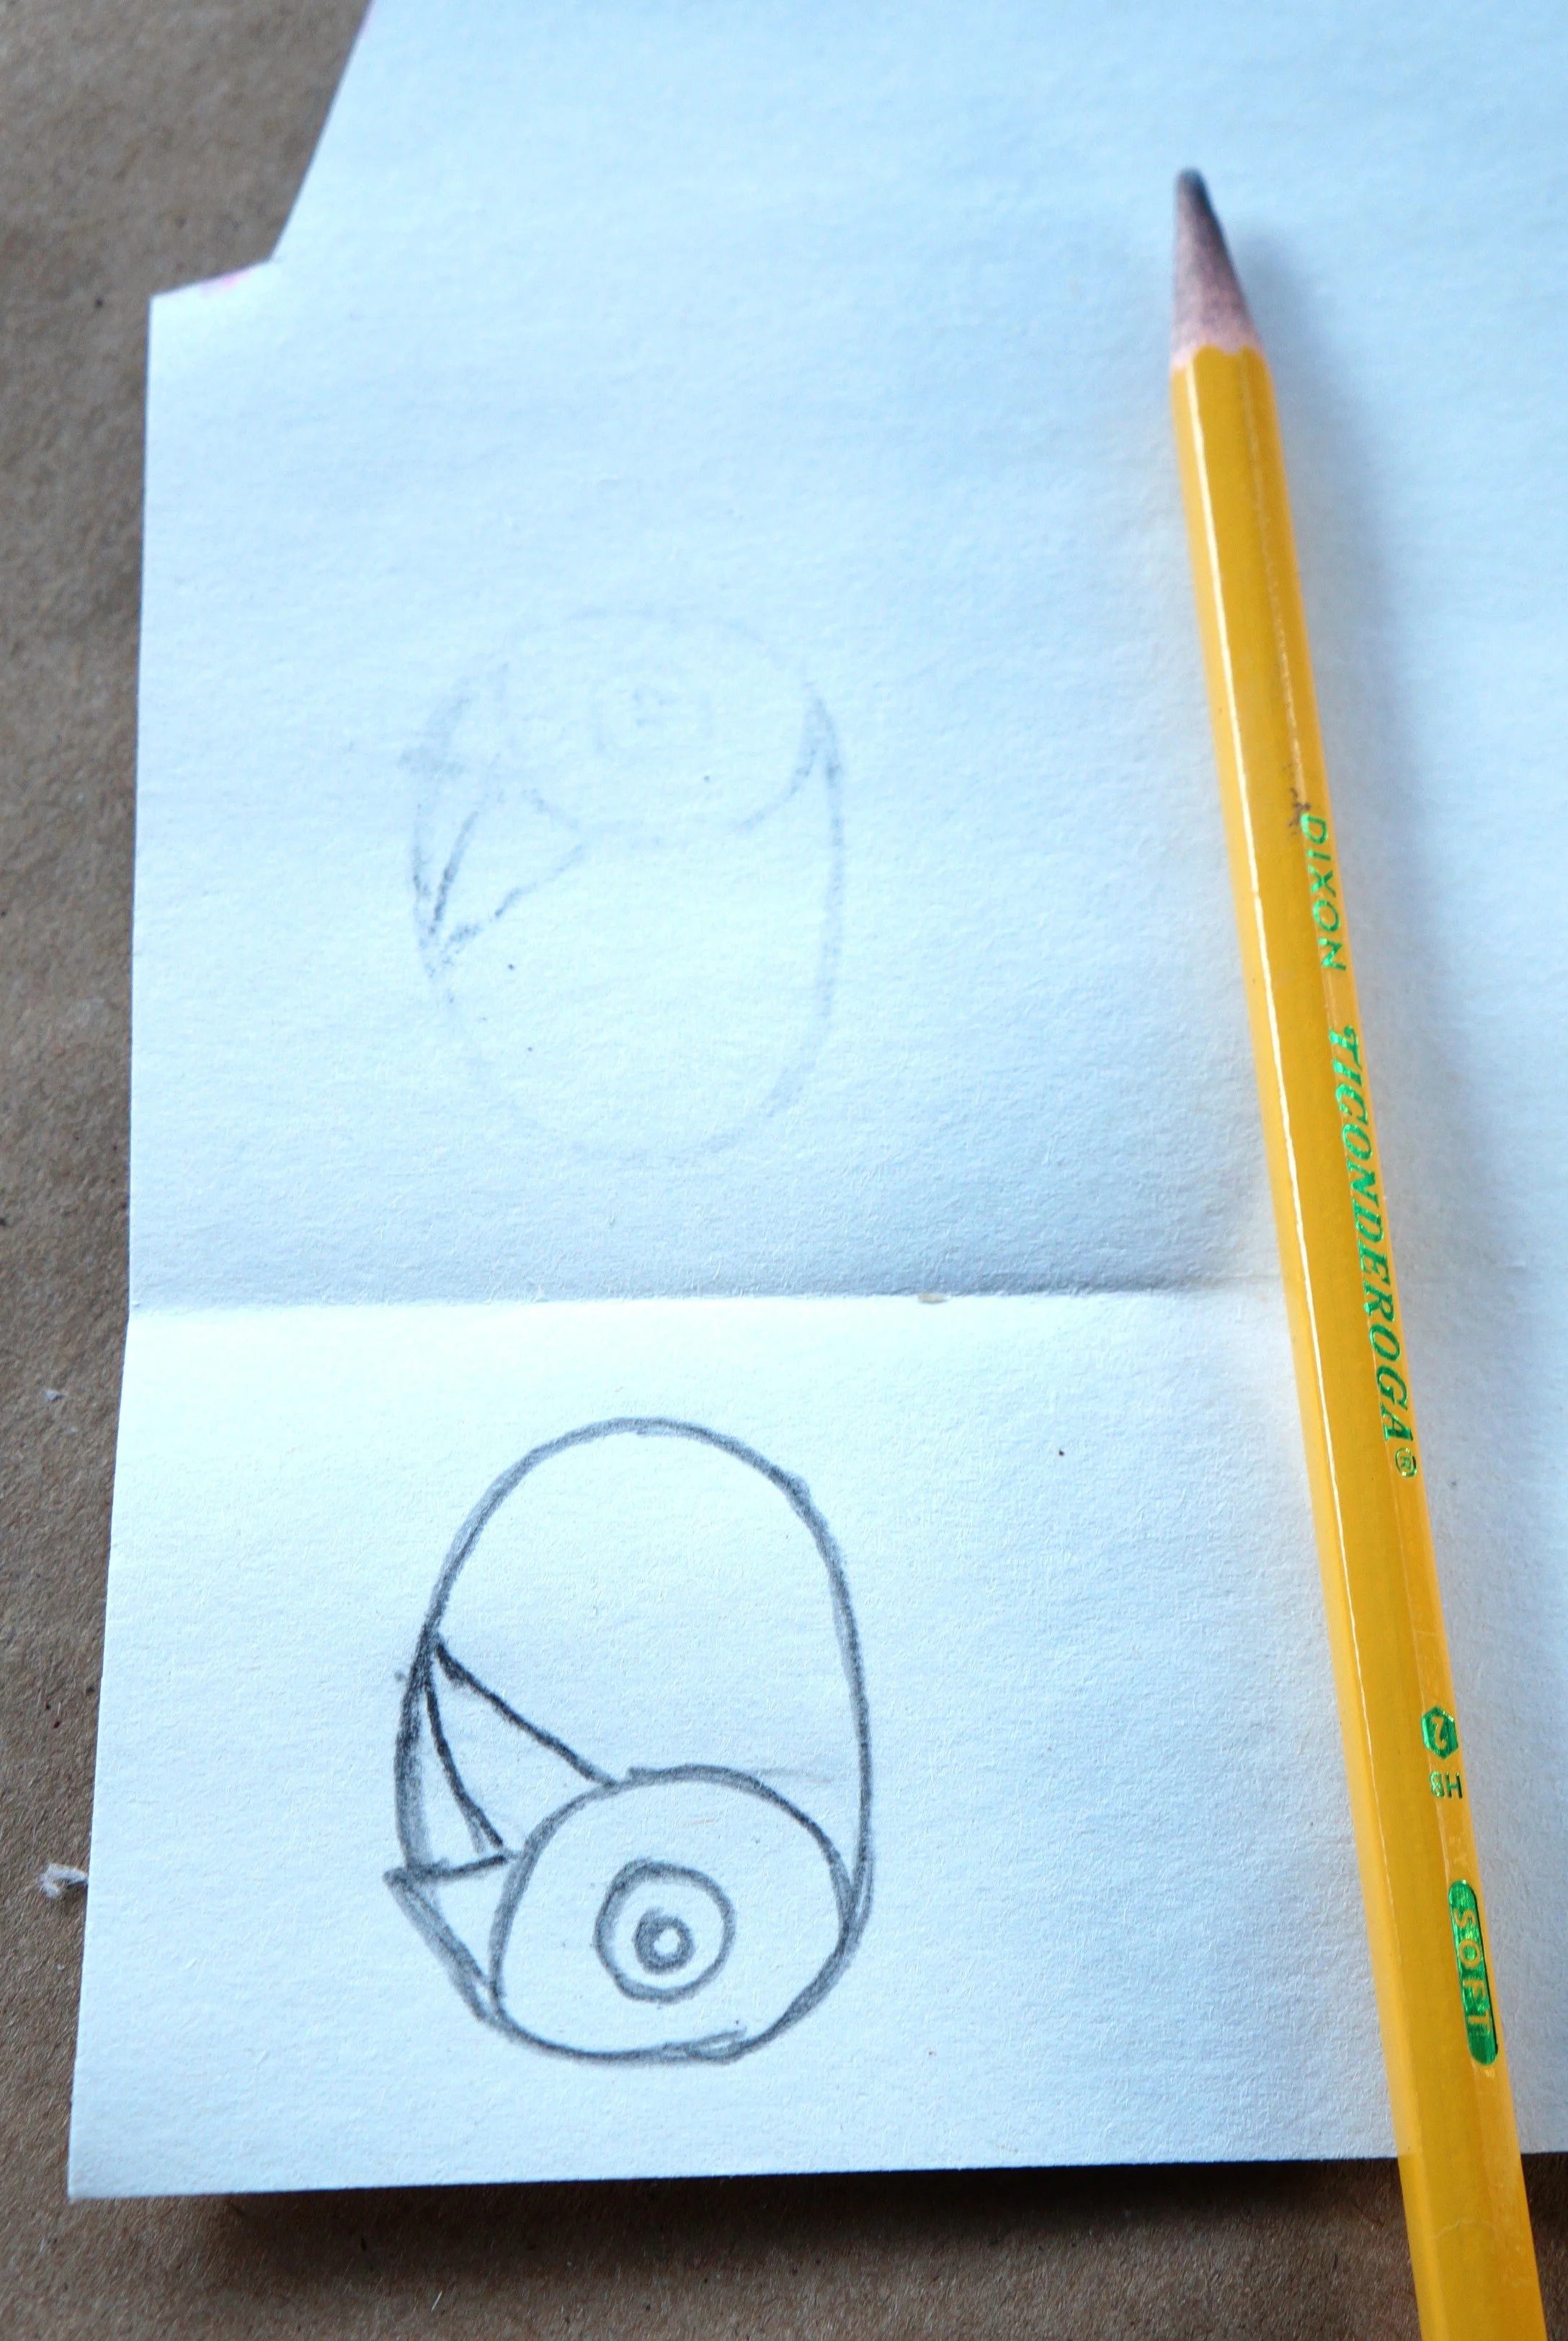
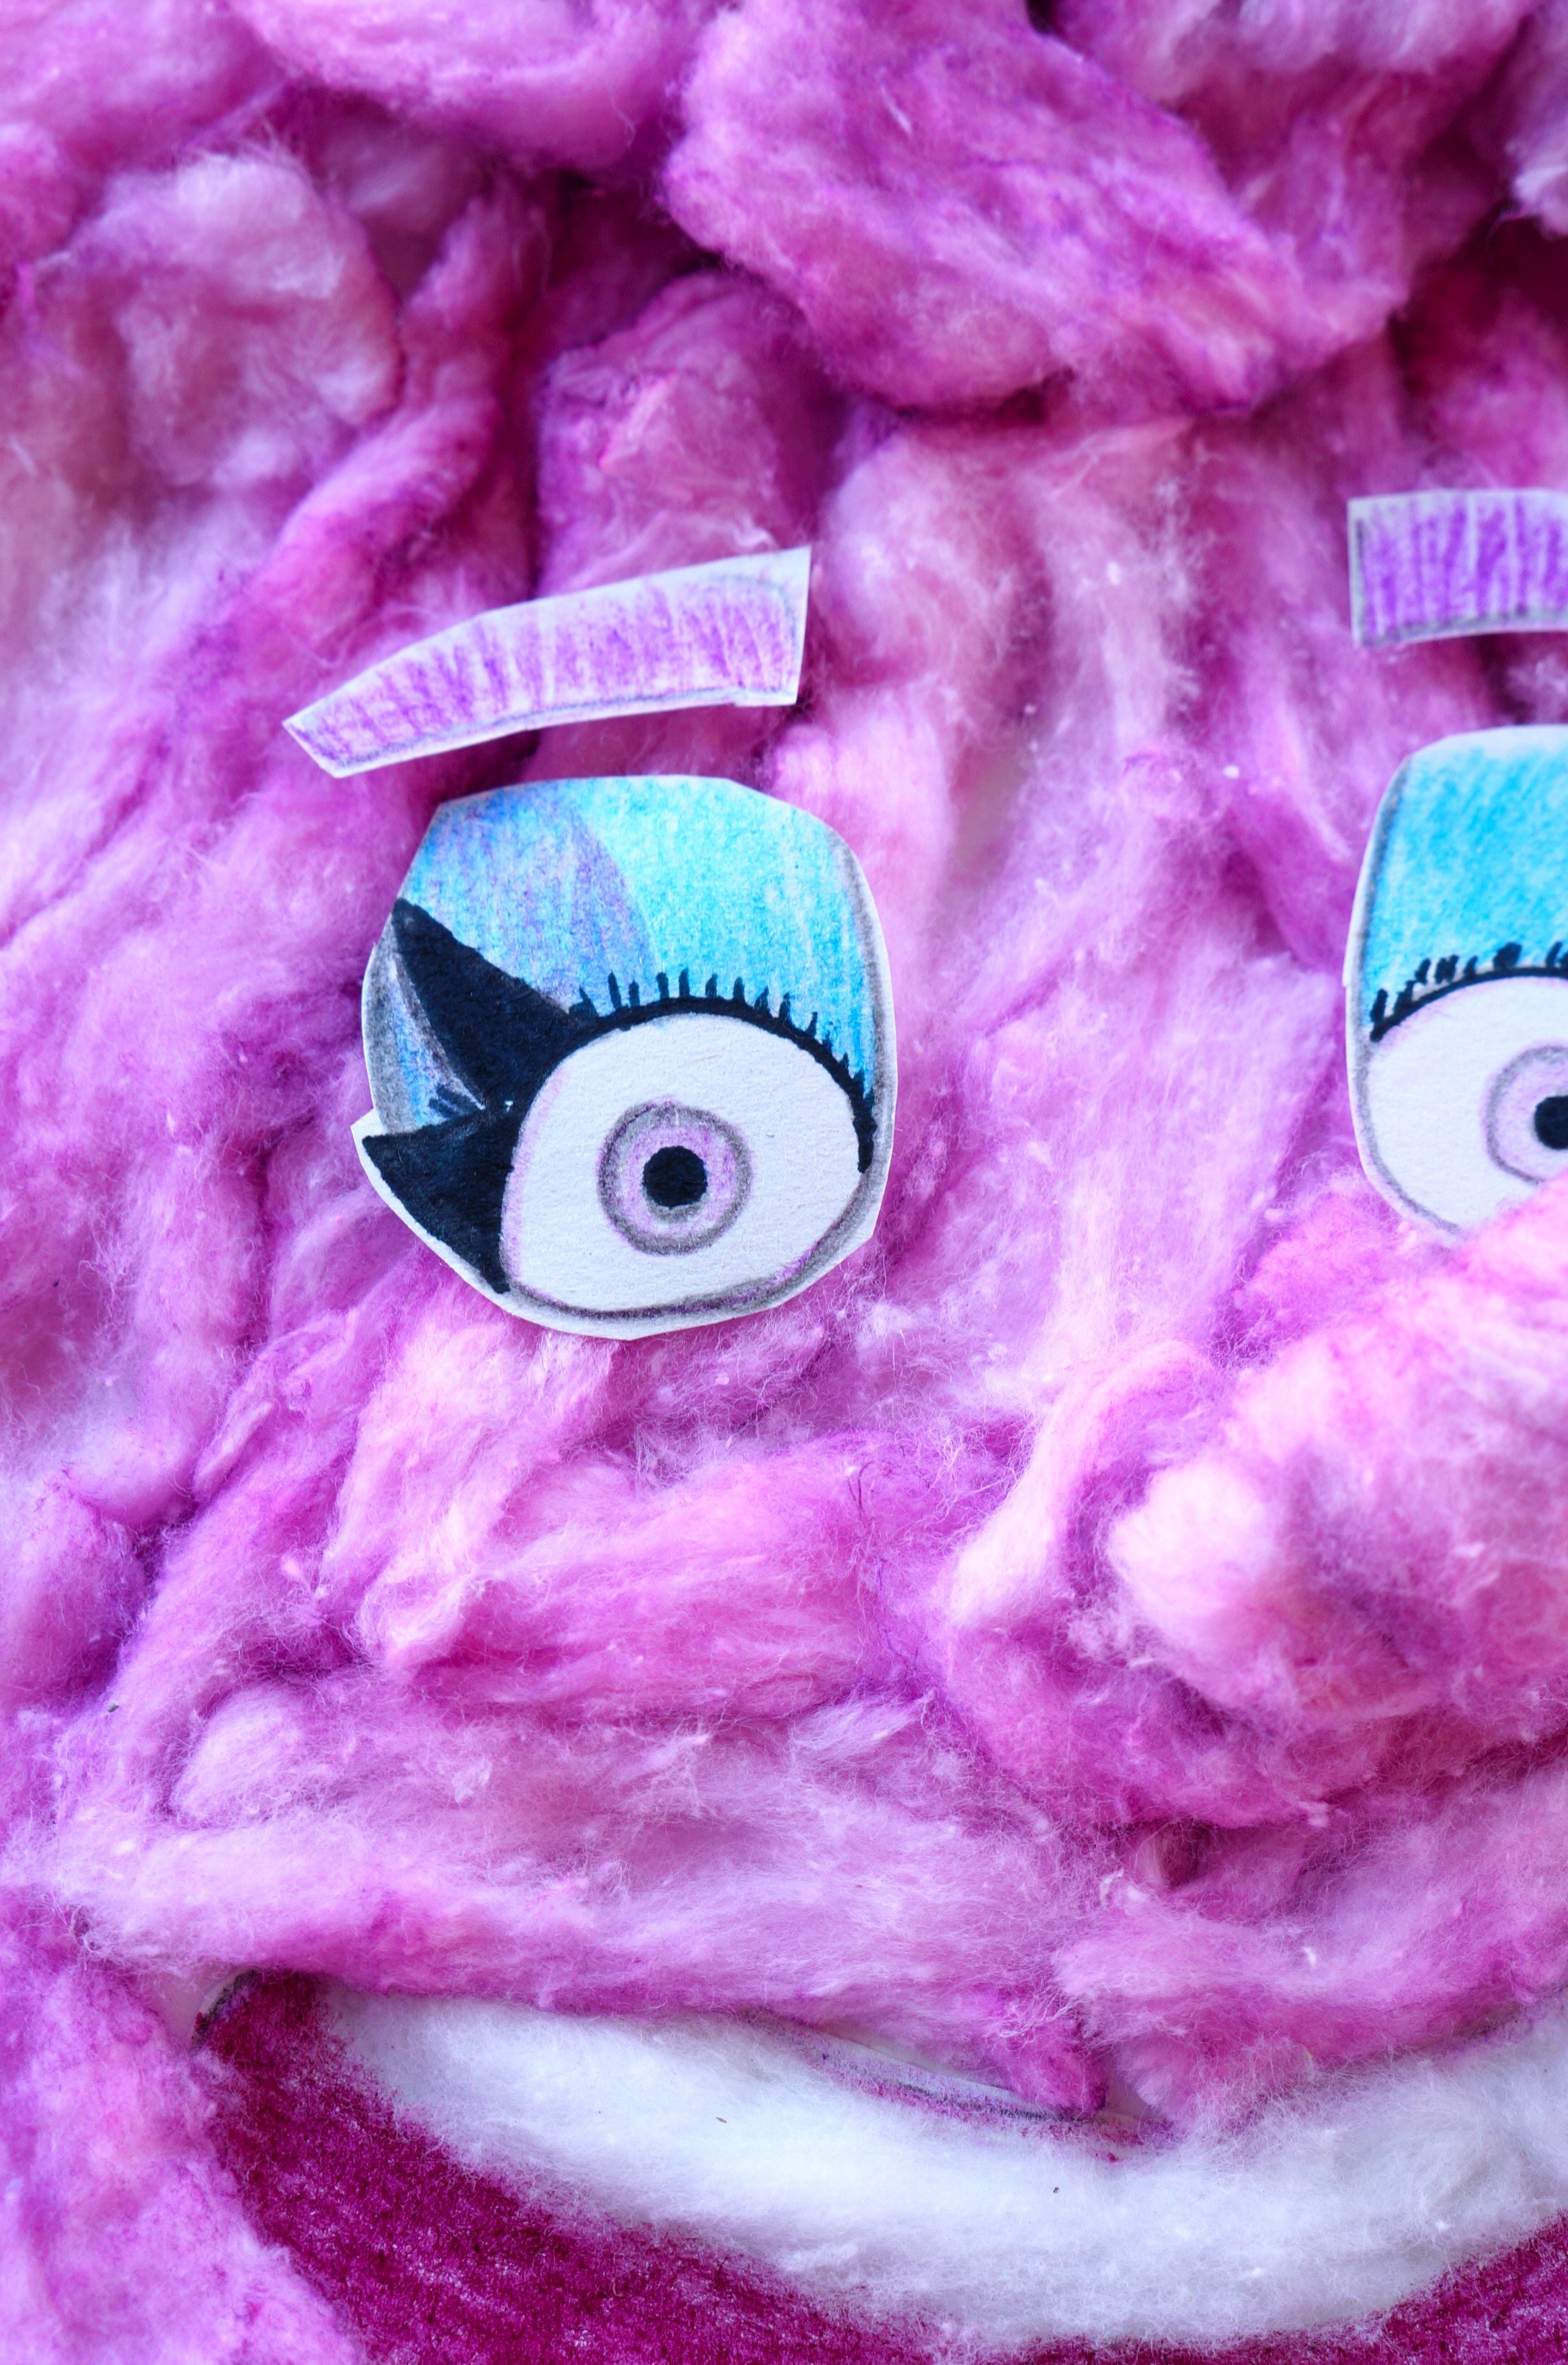
EYES
Fold over a portion of the white paper and draw 2-inch tall oval onto the flap, then draw the eyeball, iris, pupil, and two curved triangles (eyeliner).
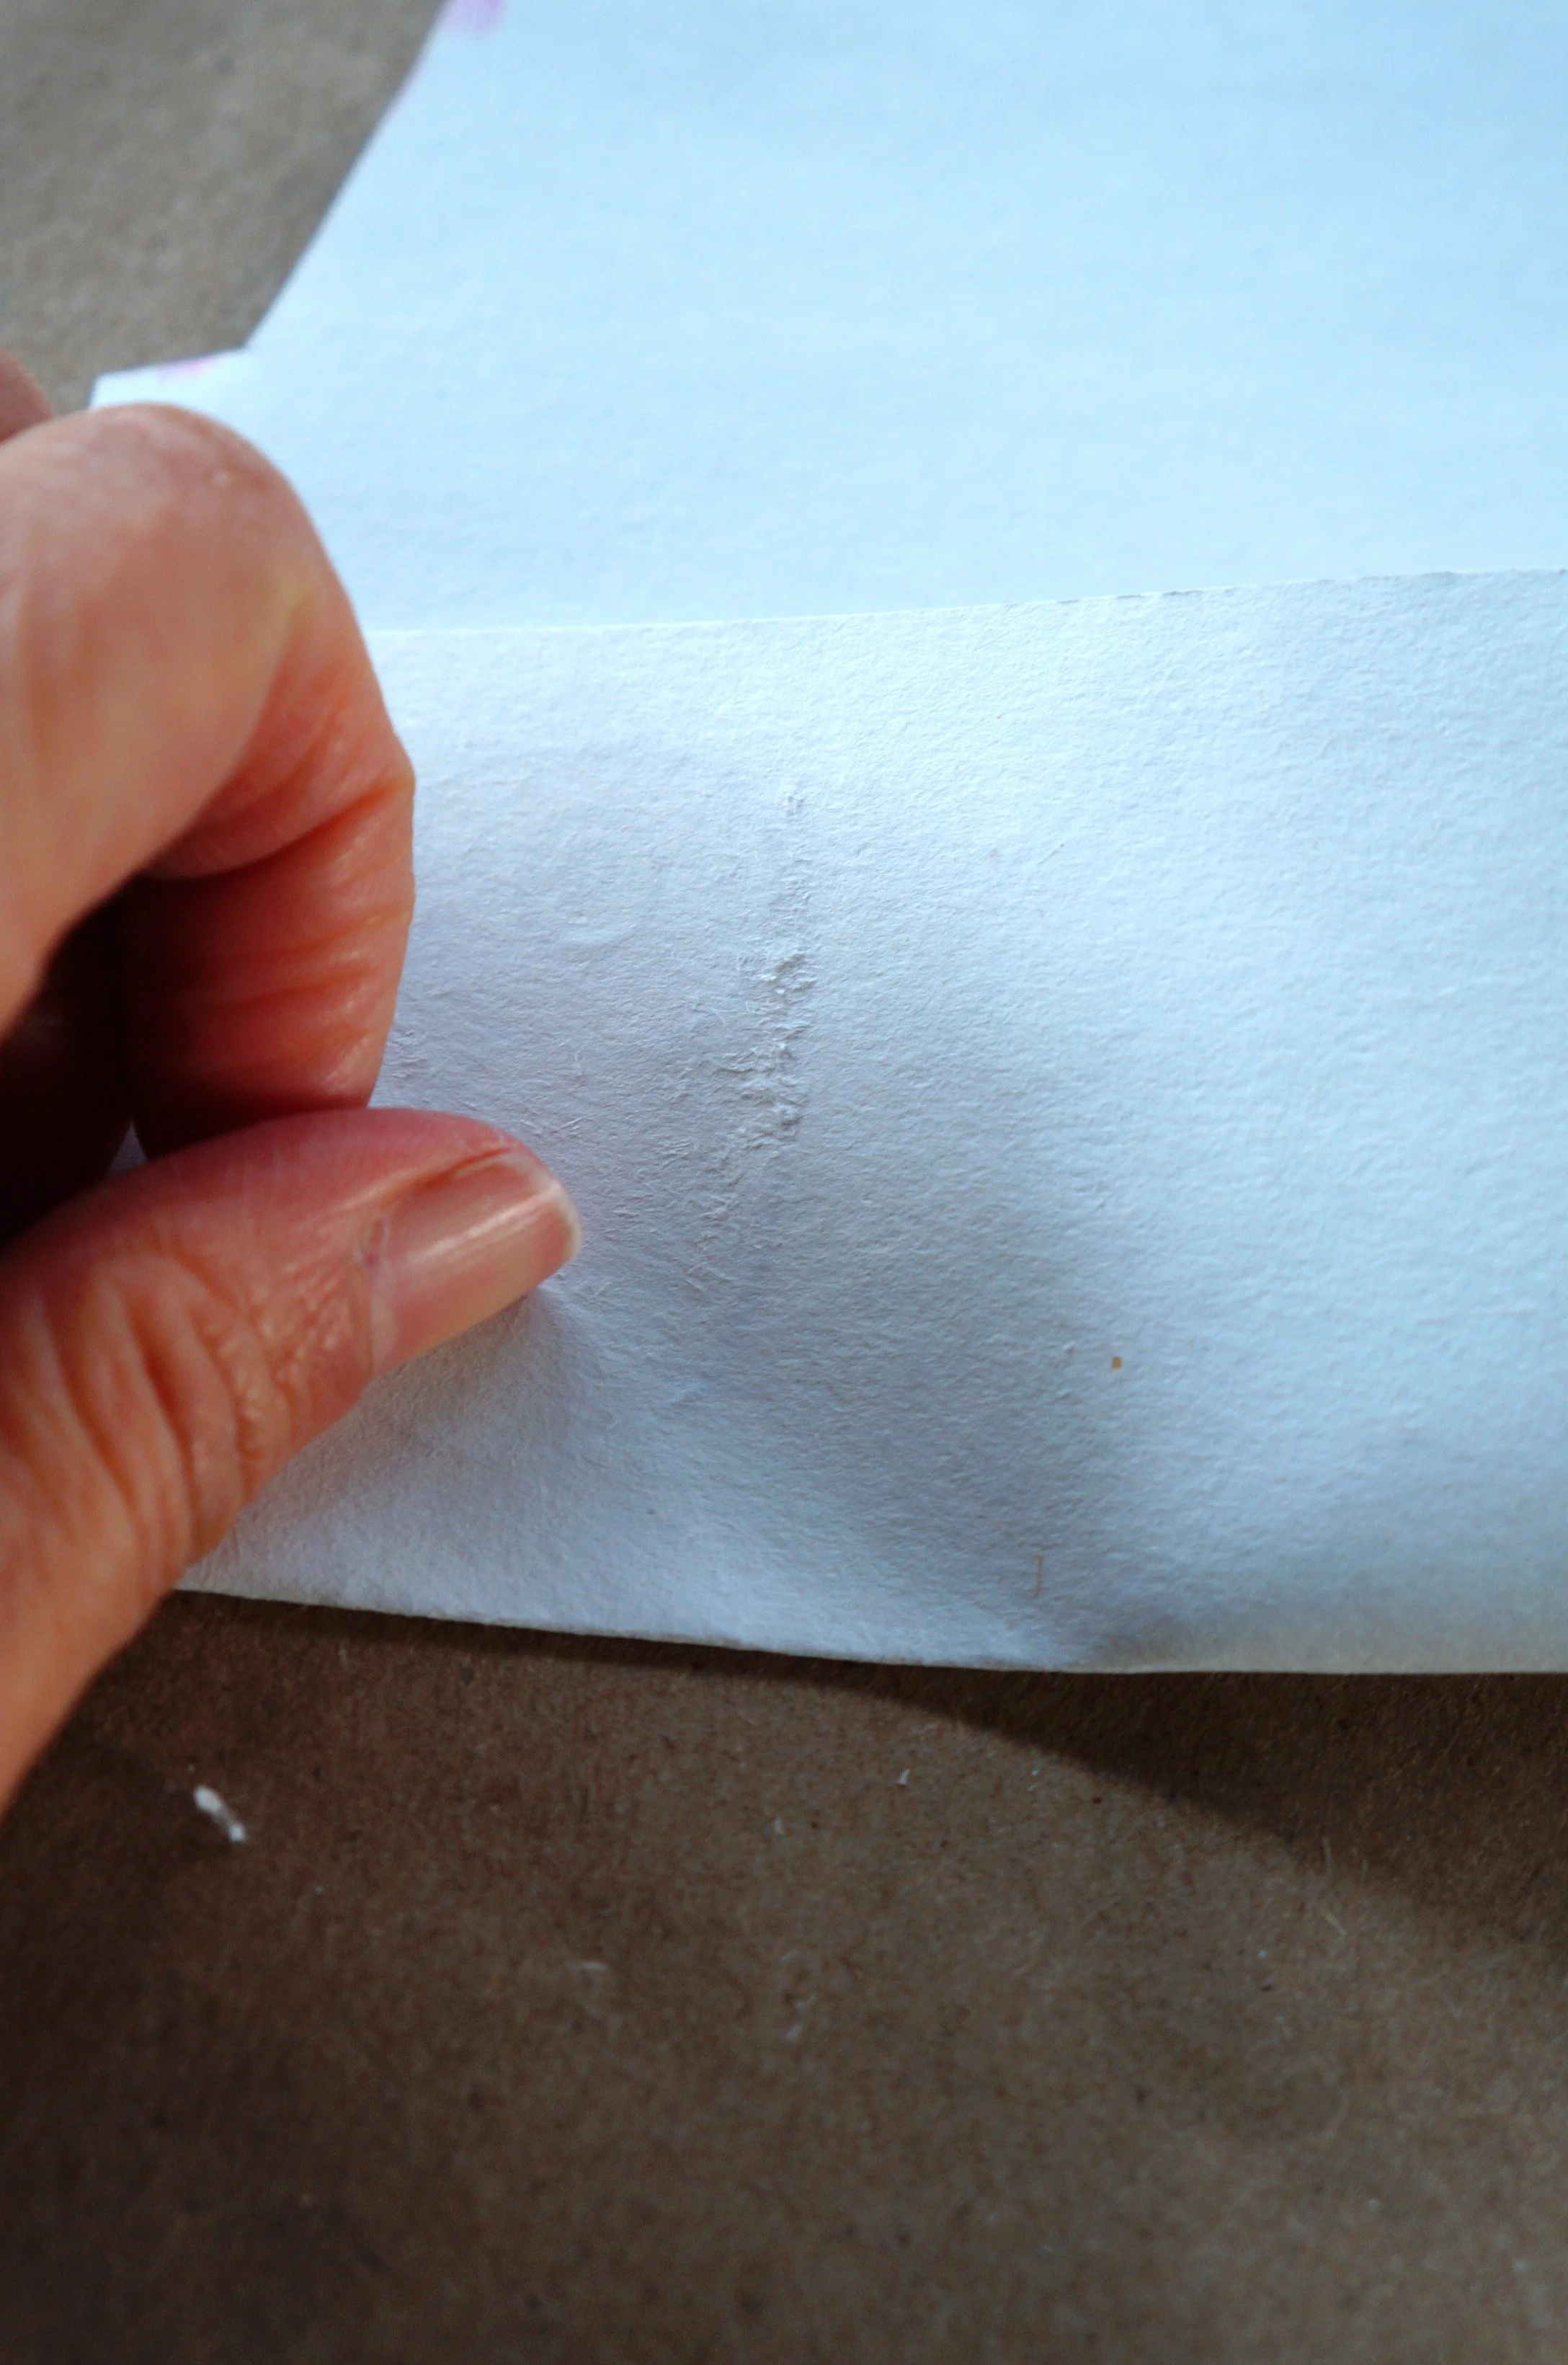
Fold the drawing back and rub your nail over the back of the eye to transfer the drawing.
Trace over the transferred eye so that all the lines are visible.
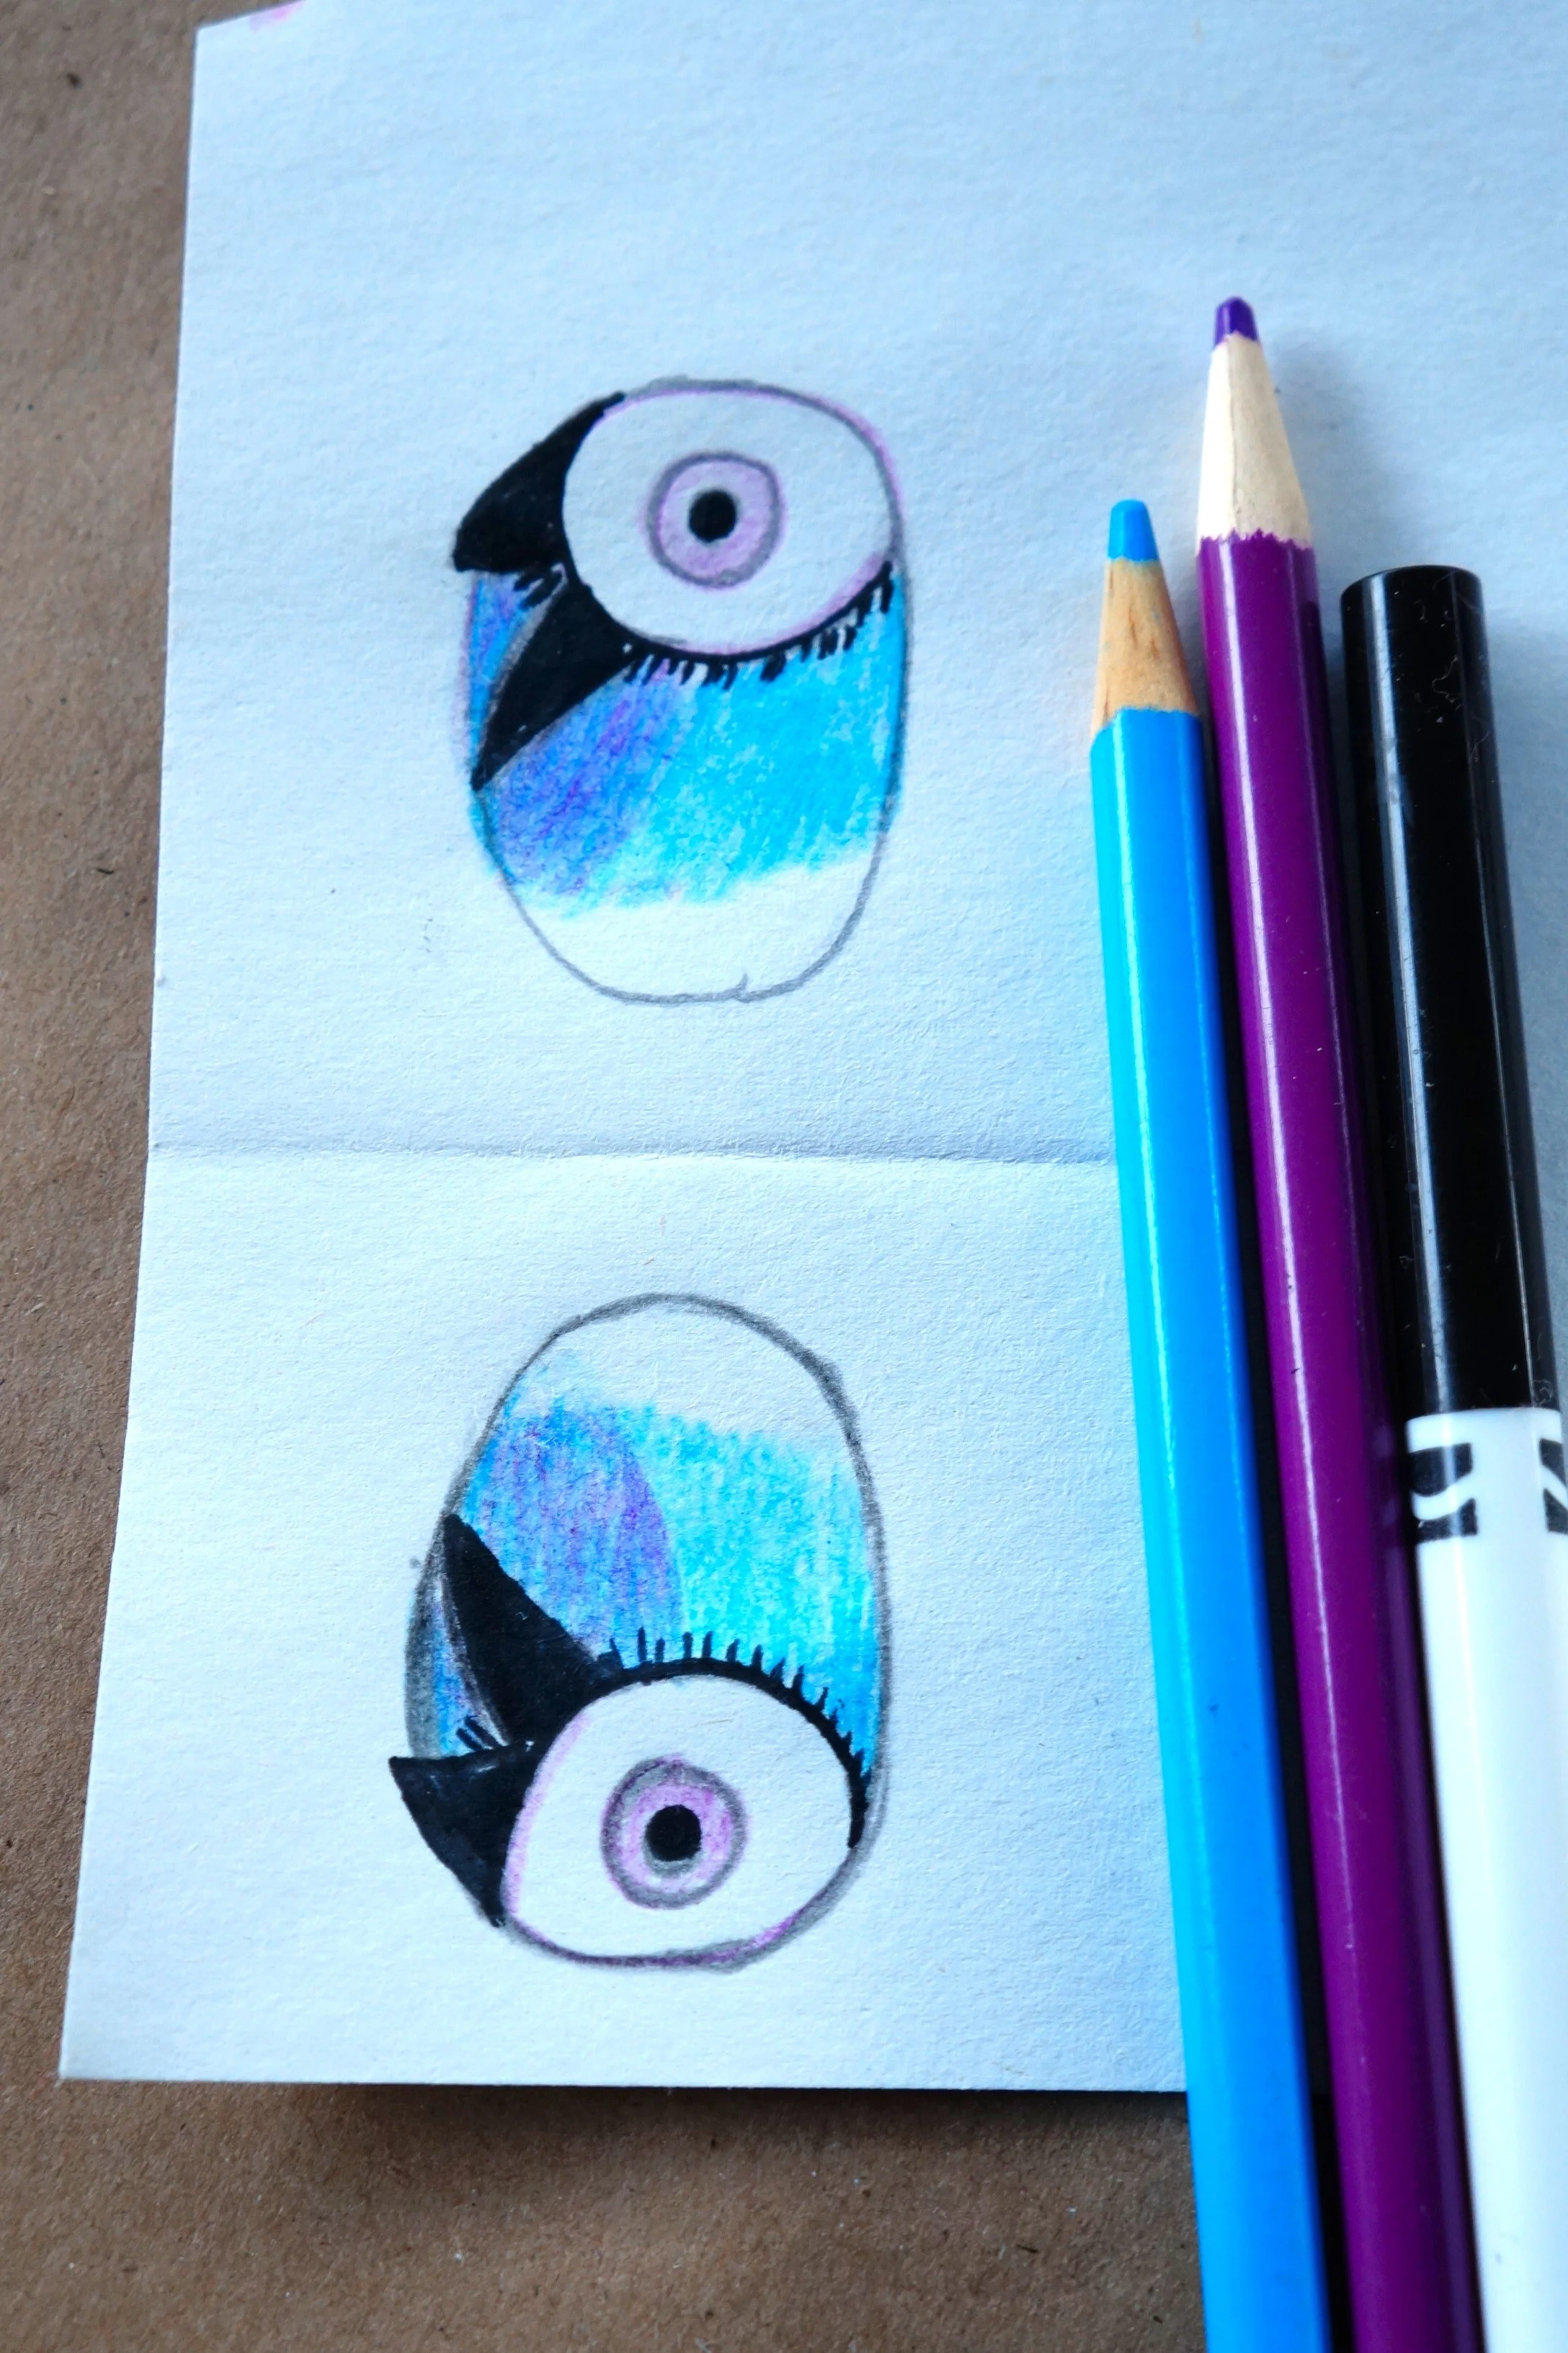
Use the light purple to color the iris, the black marker to color the pupil, then line the upper eye, fill in the eyeliner, and add short eyelashes.
Add the blue and purple eyeshadows, repeat the process with the second eye, and then cut them both out.
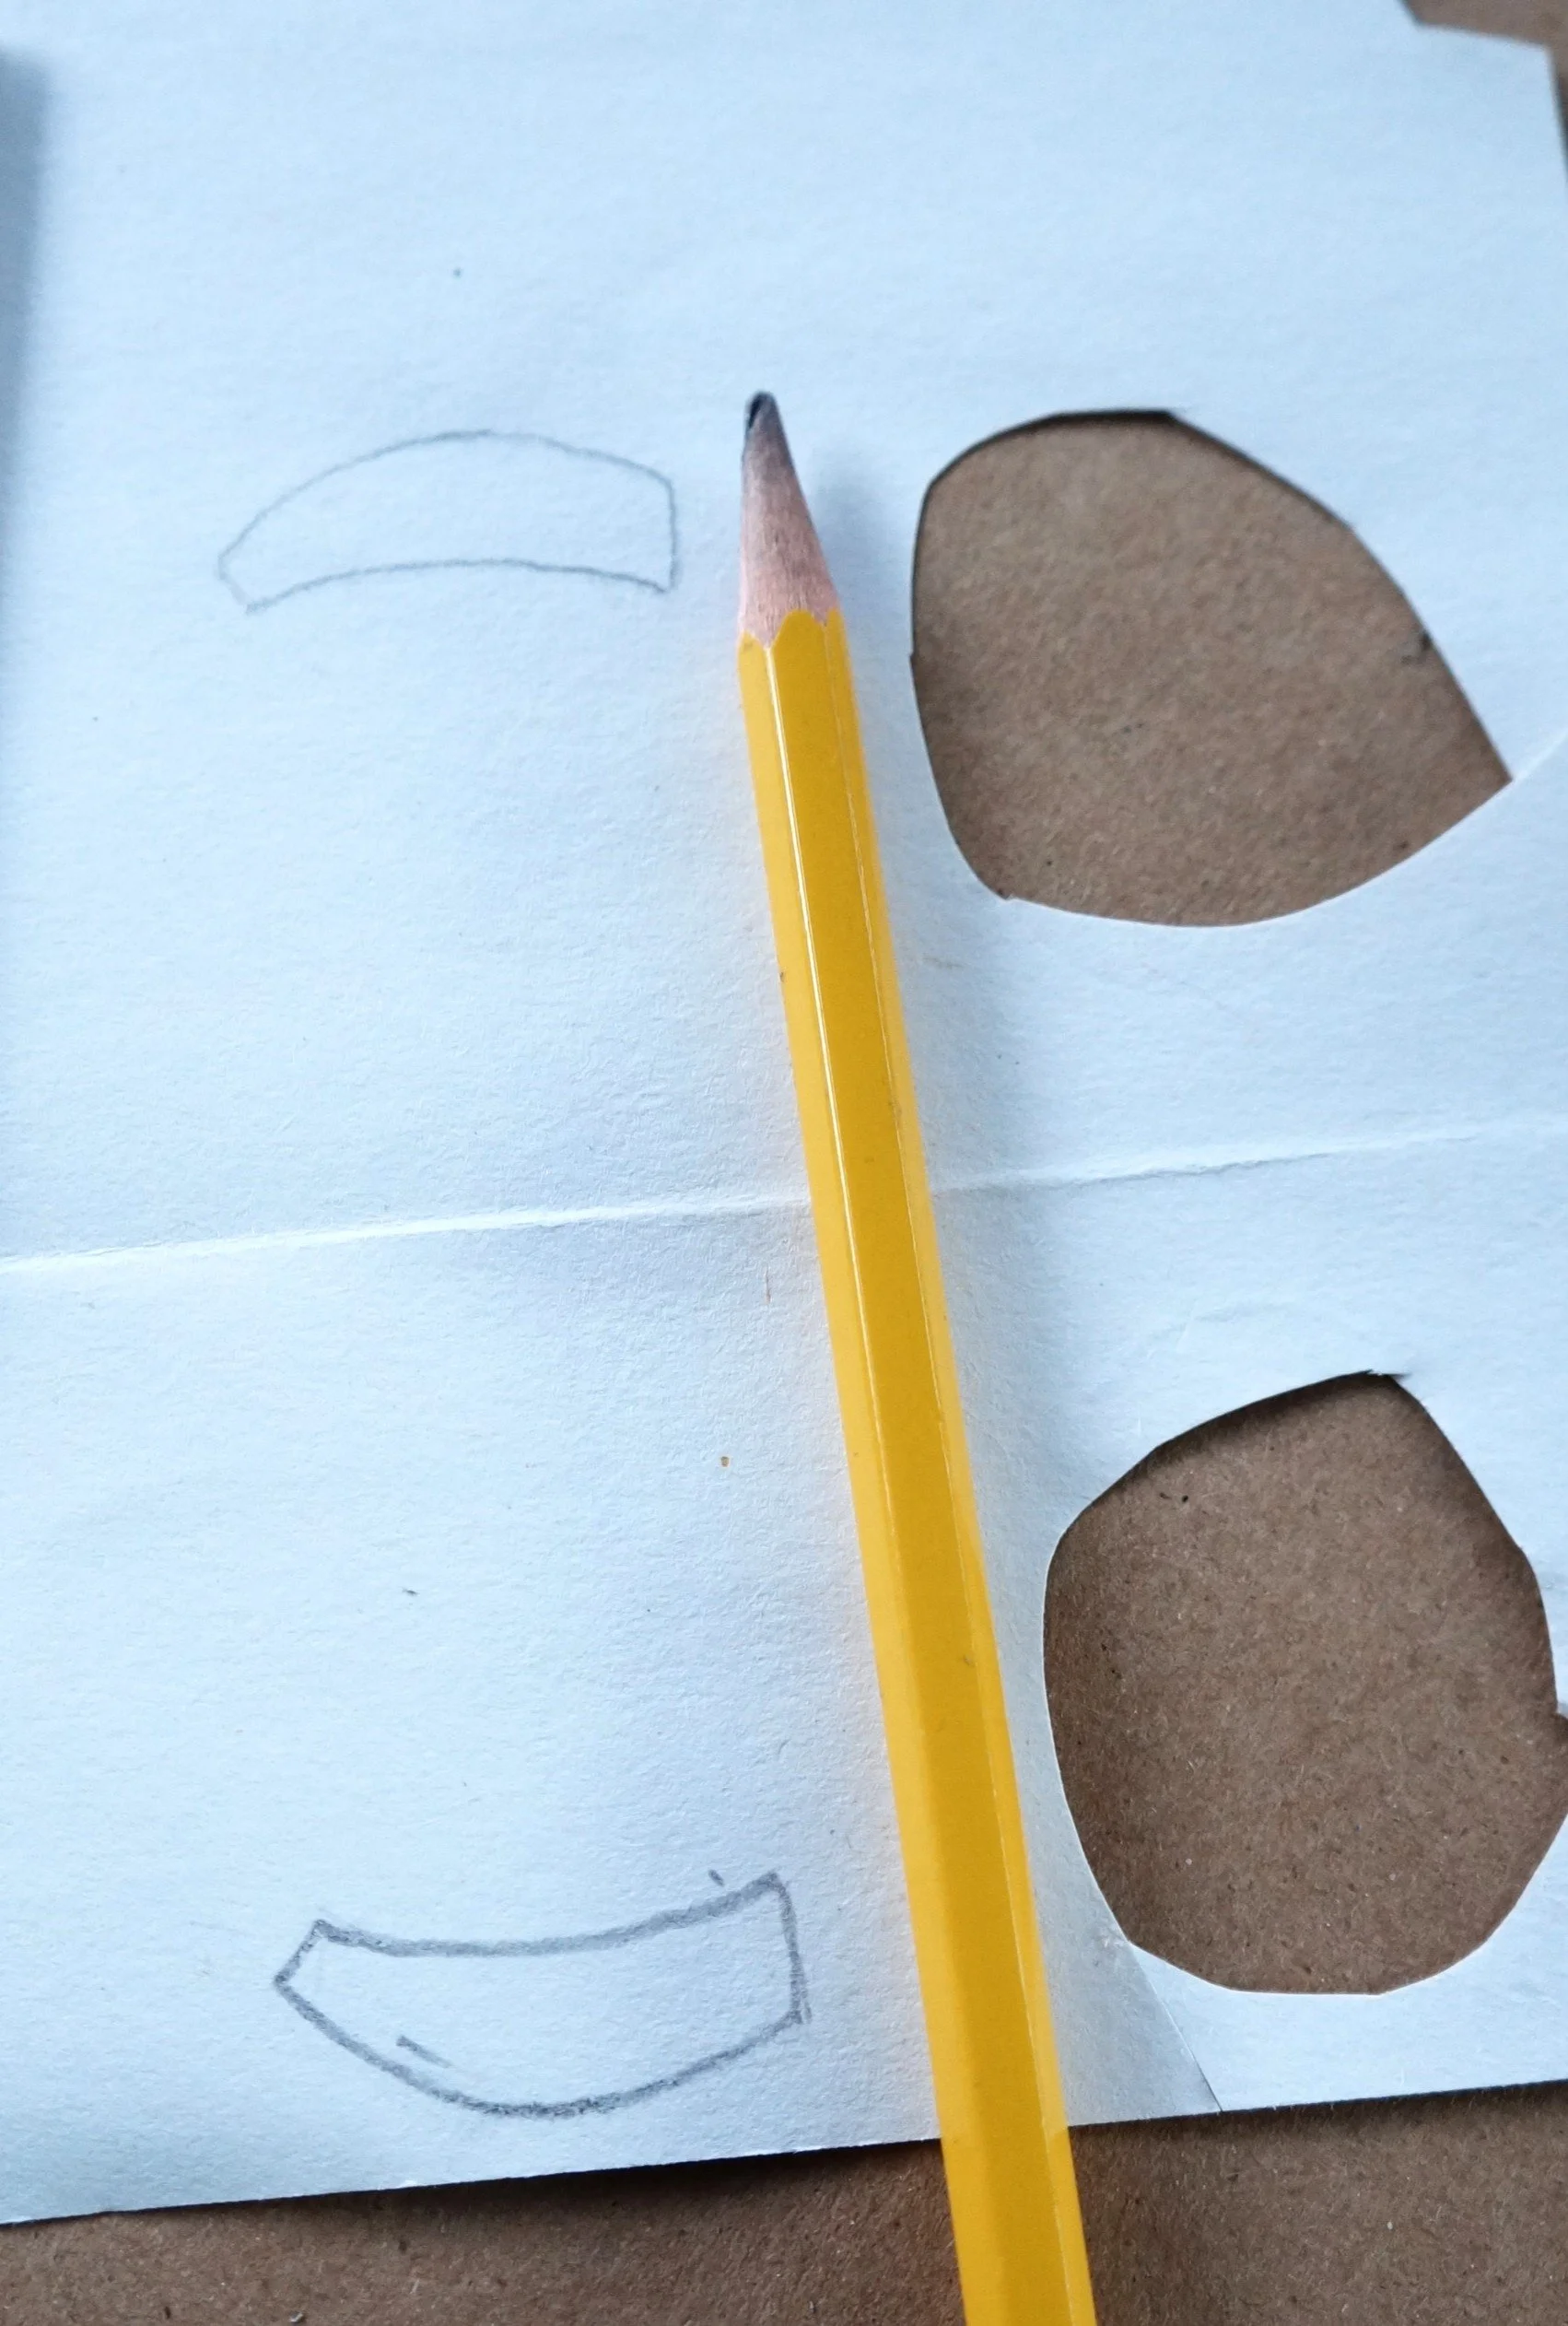
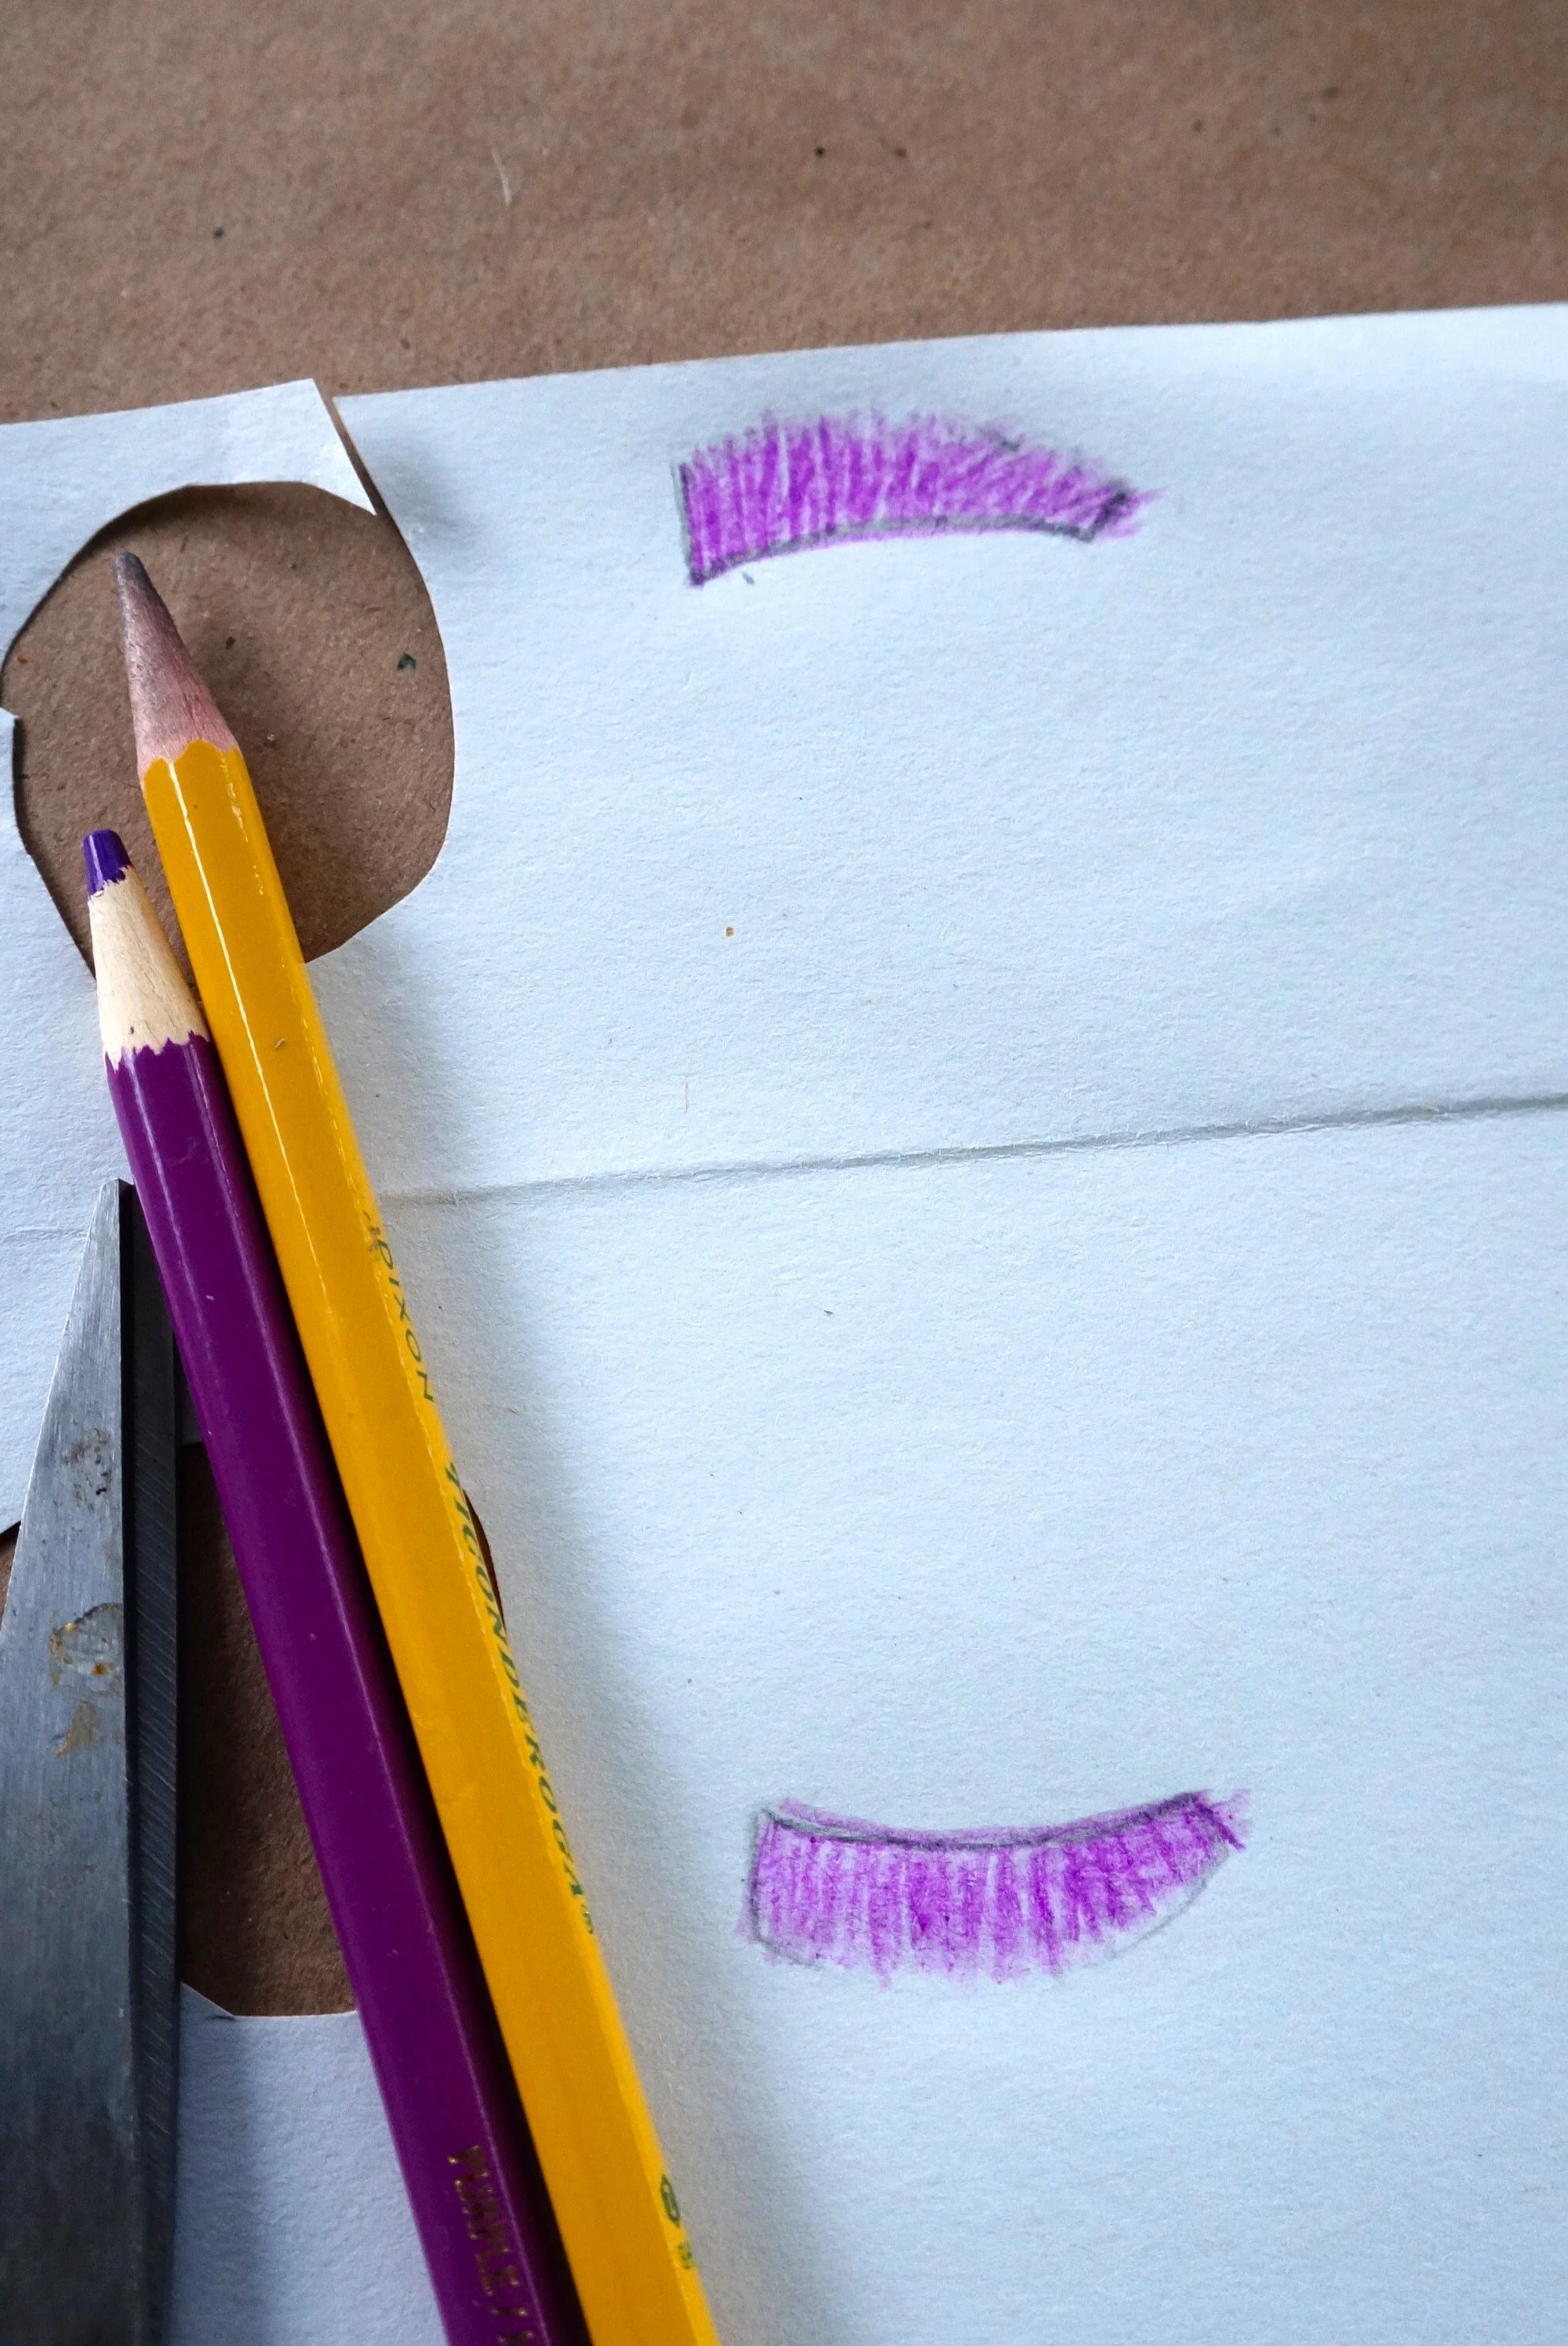
EYEBROWS
Repeat the process of drawing one eyebrow and transferring it.
Color both eyebrows and then cut them out.
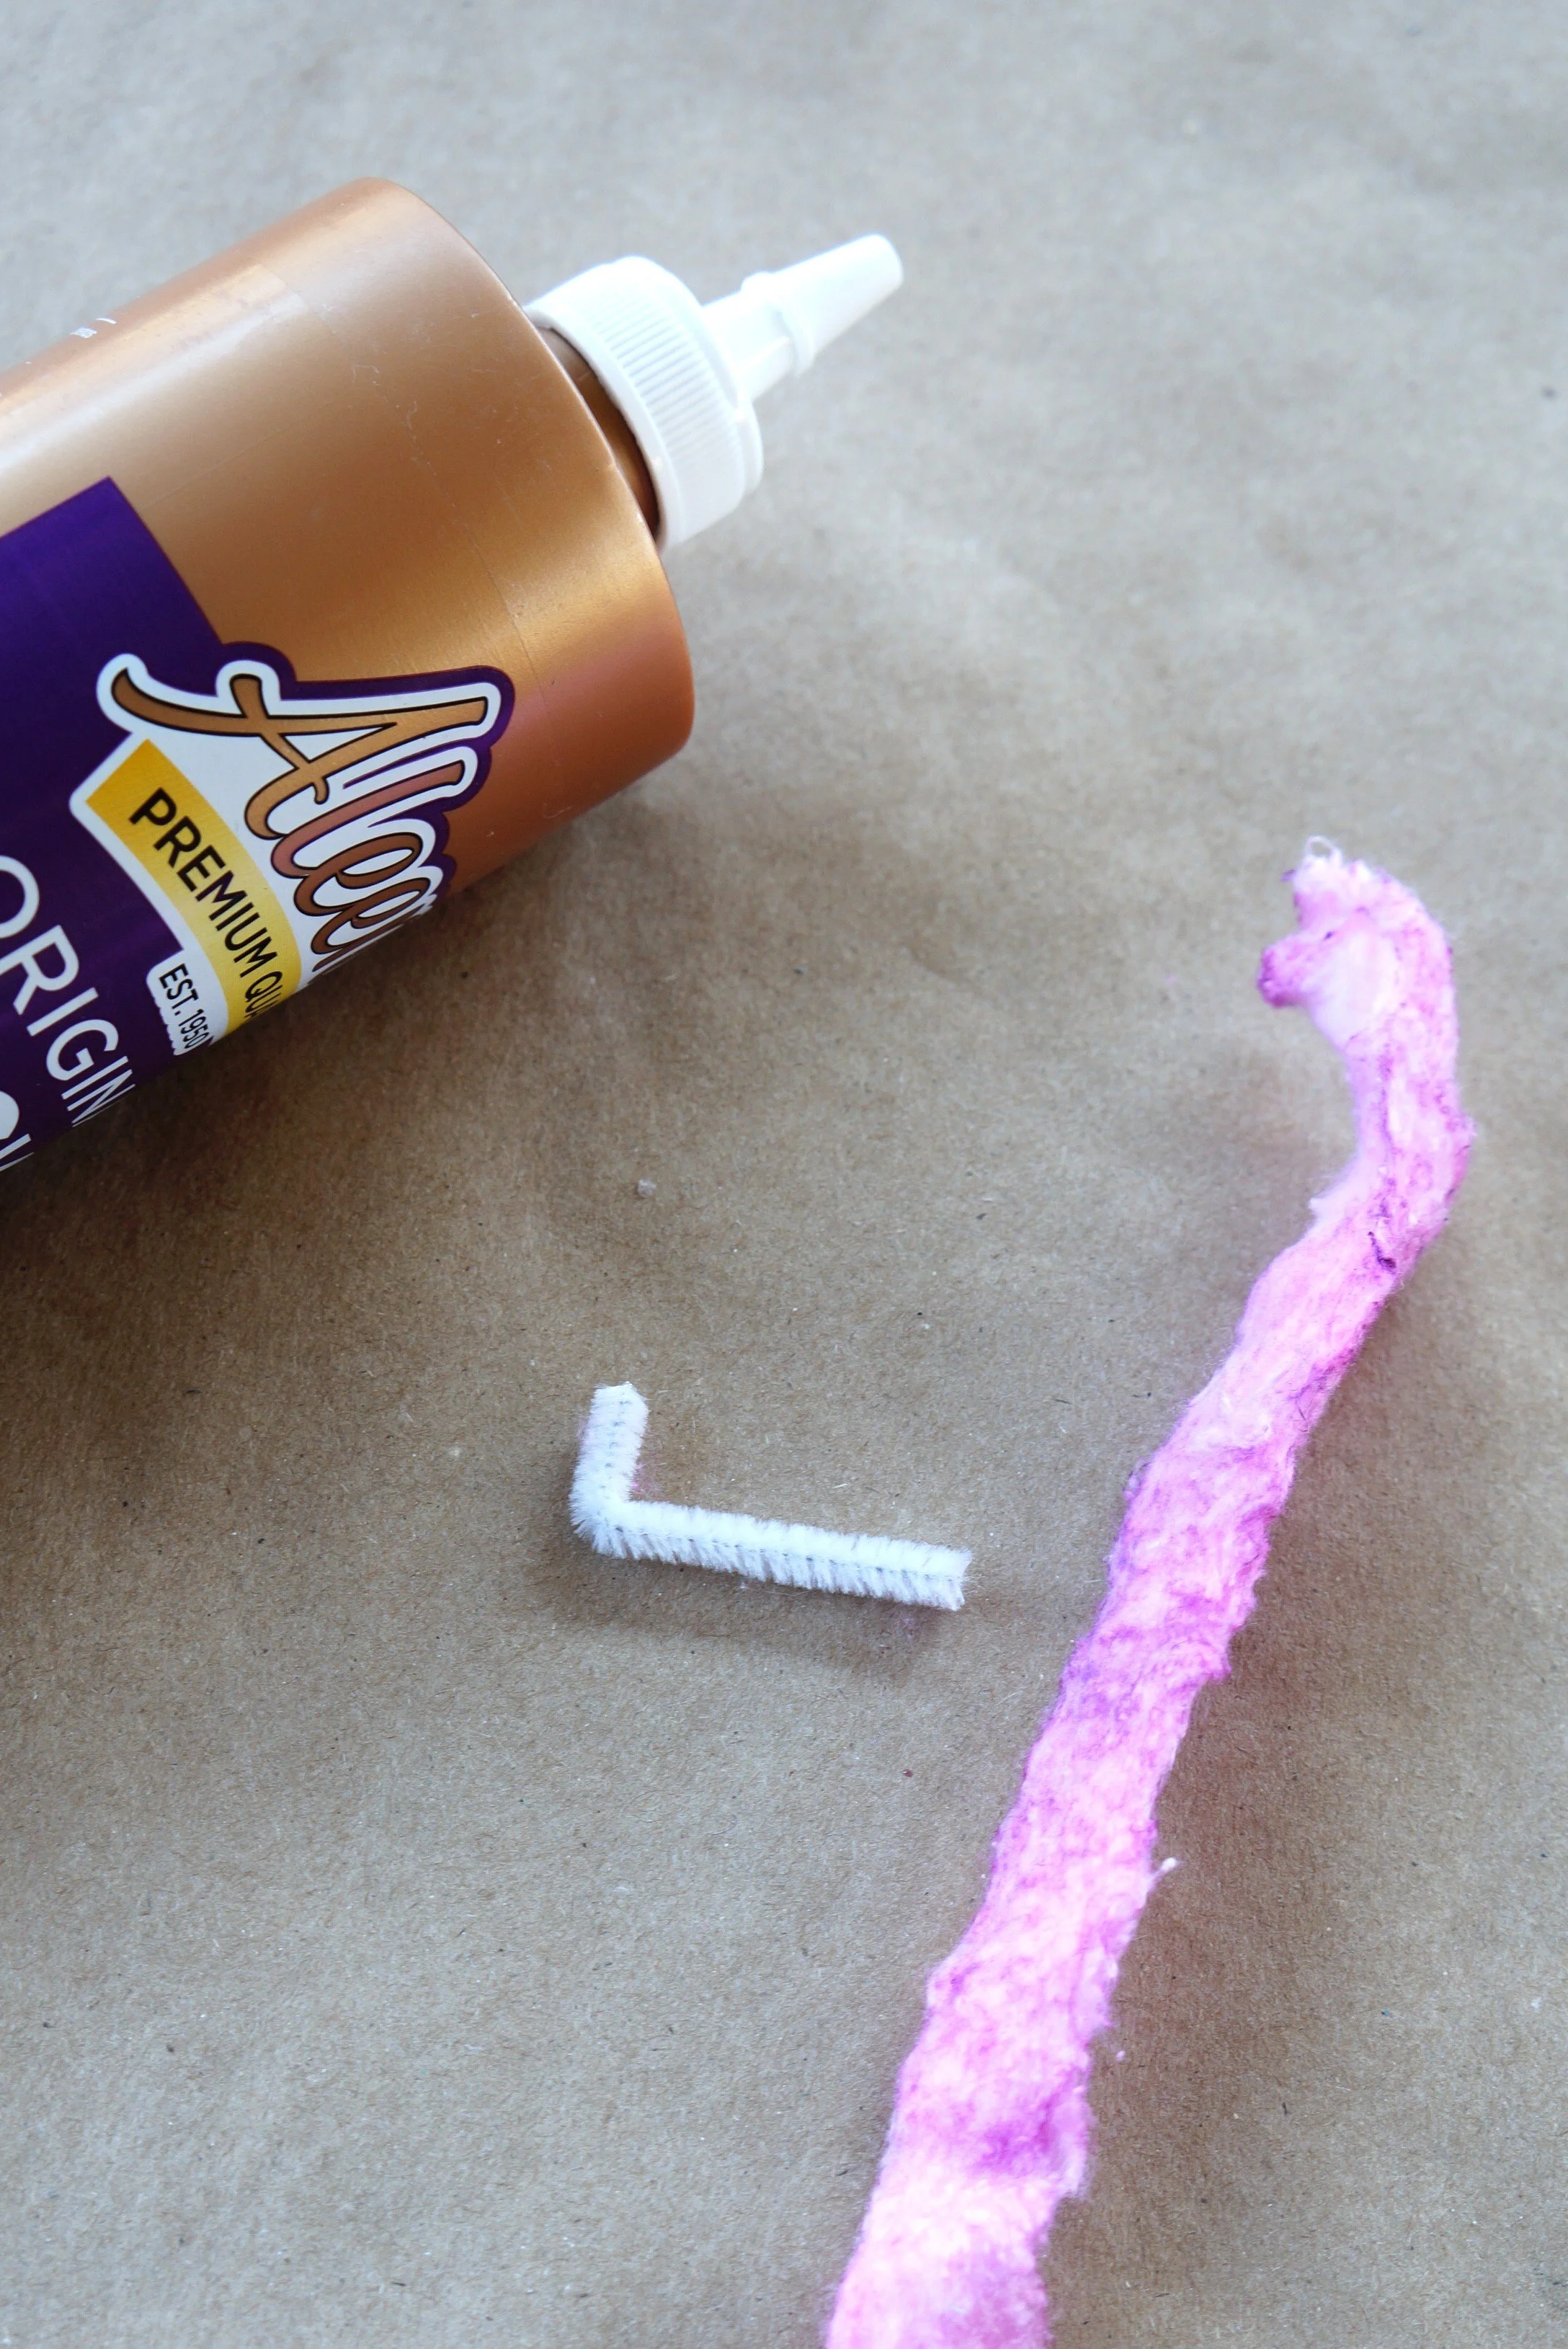
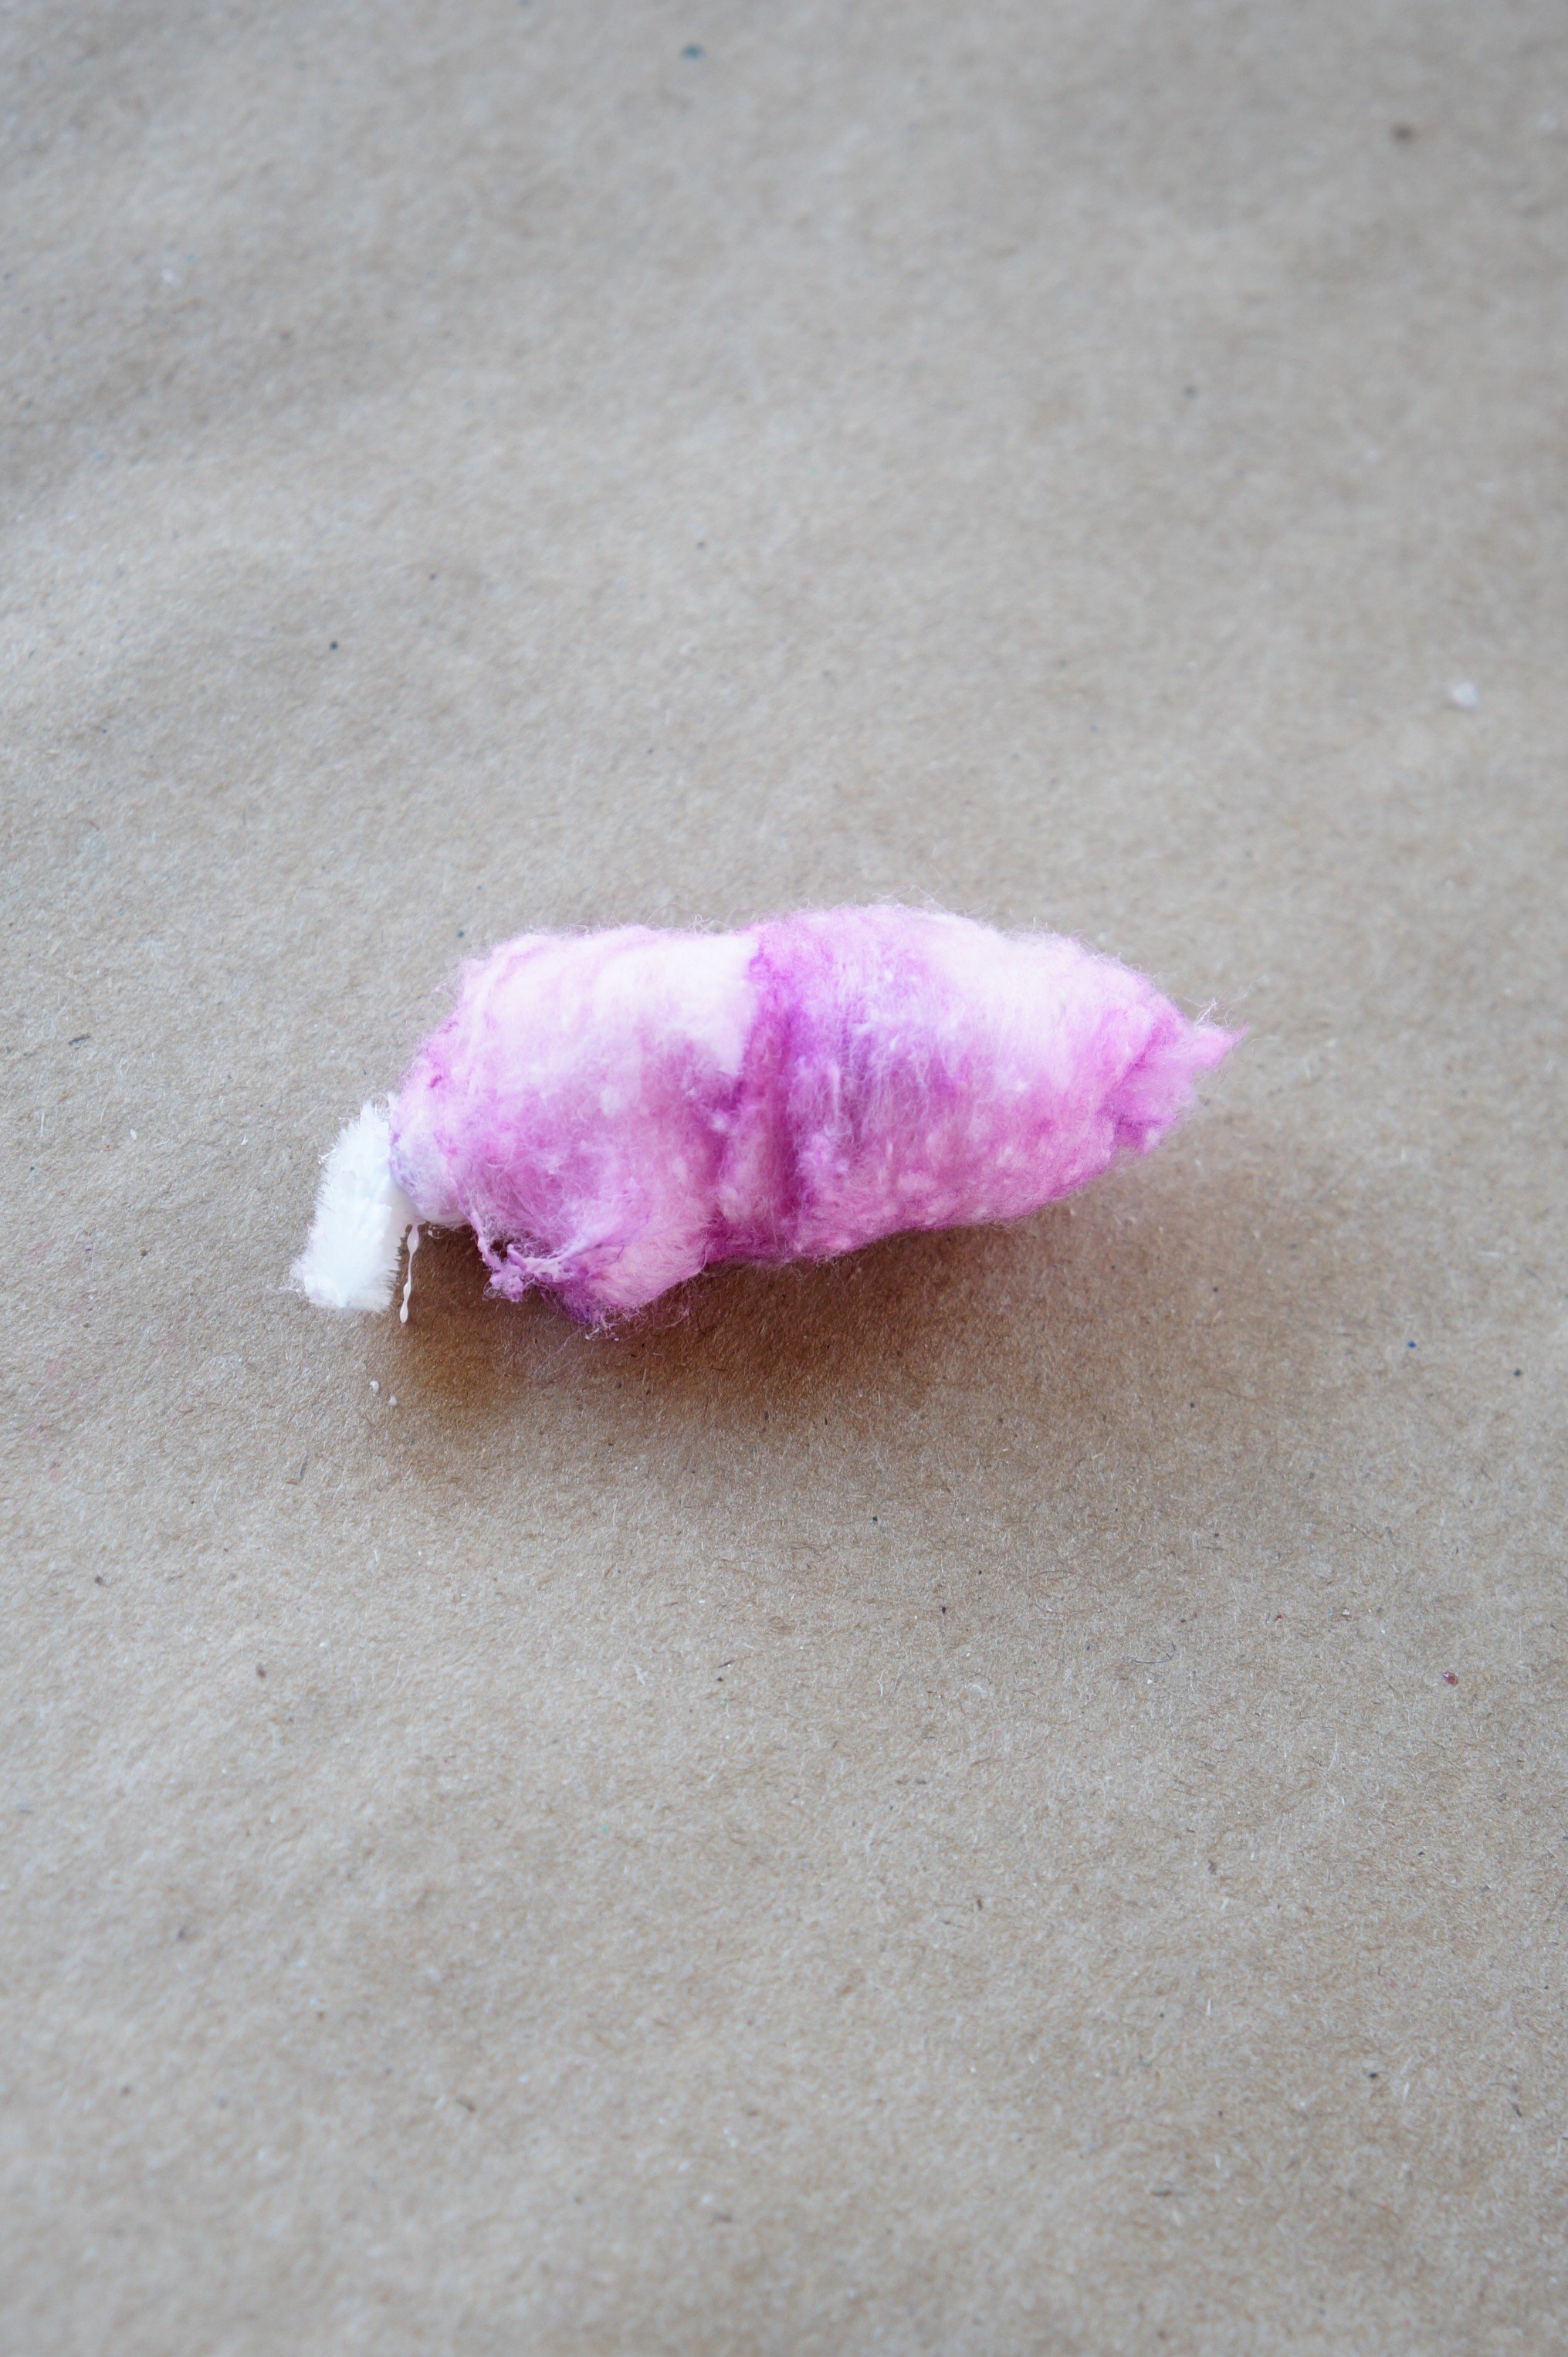
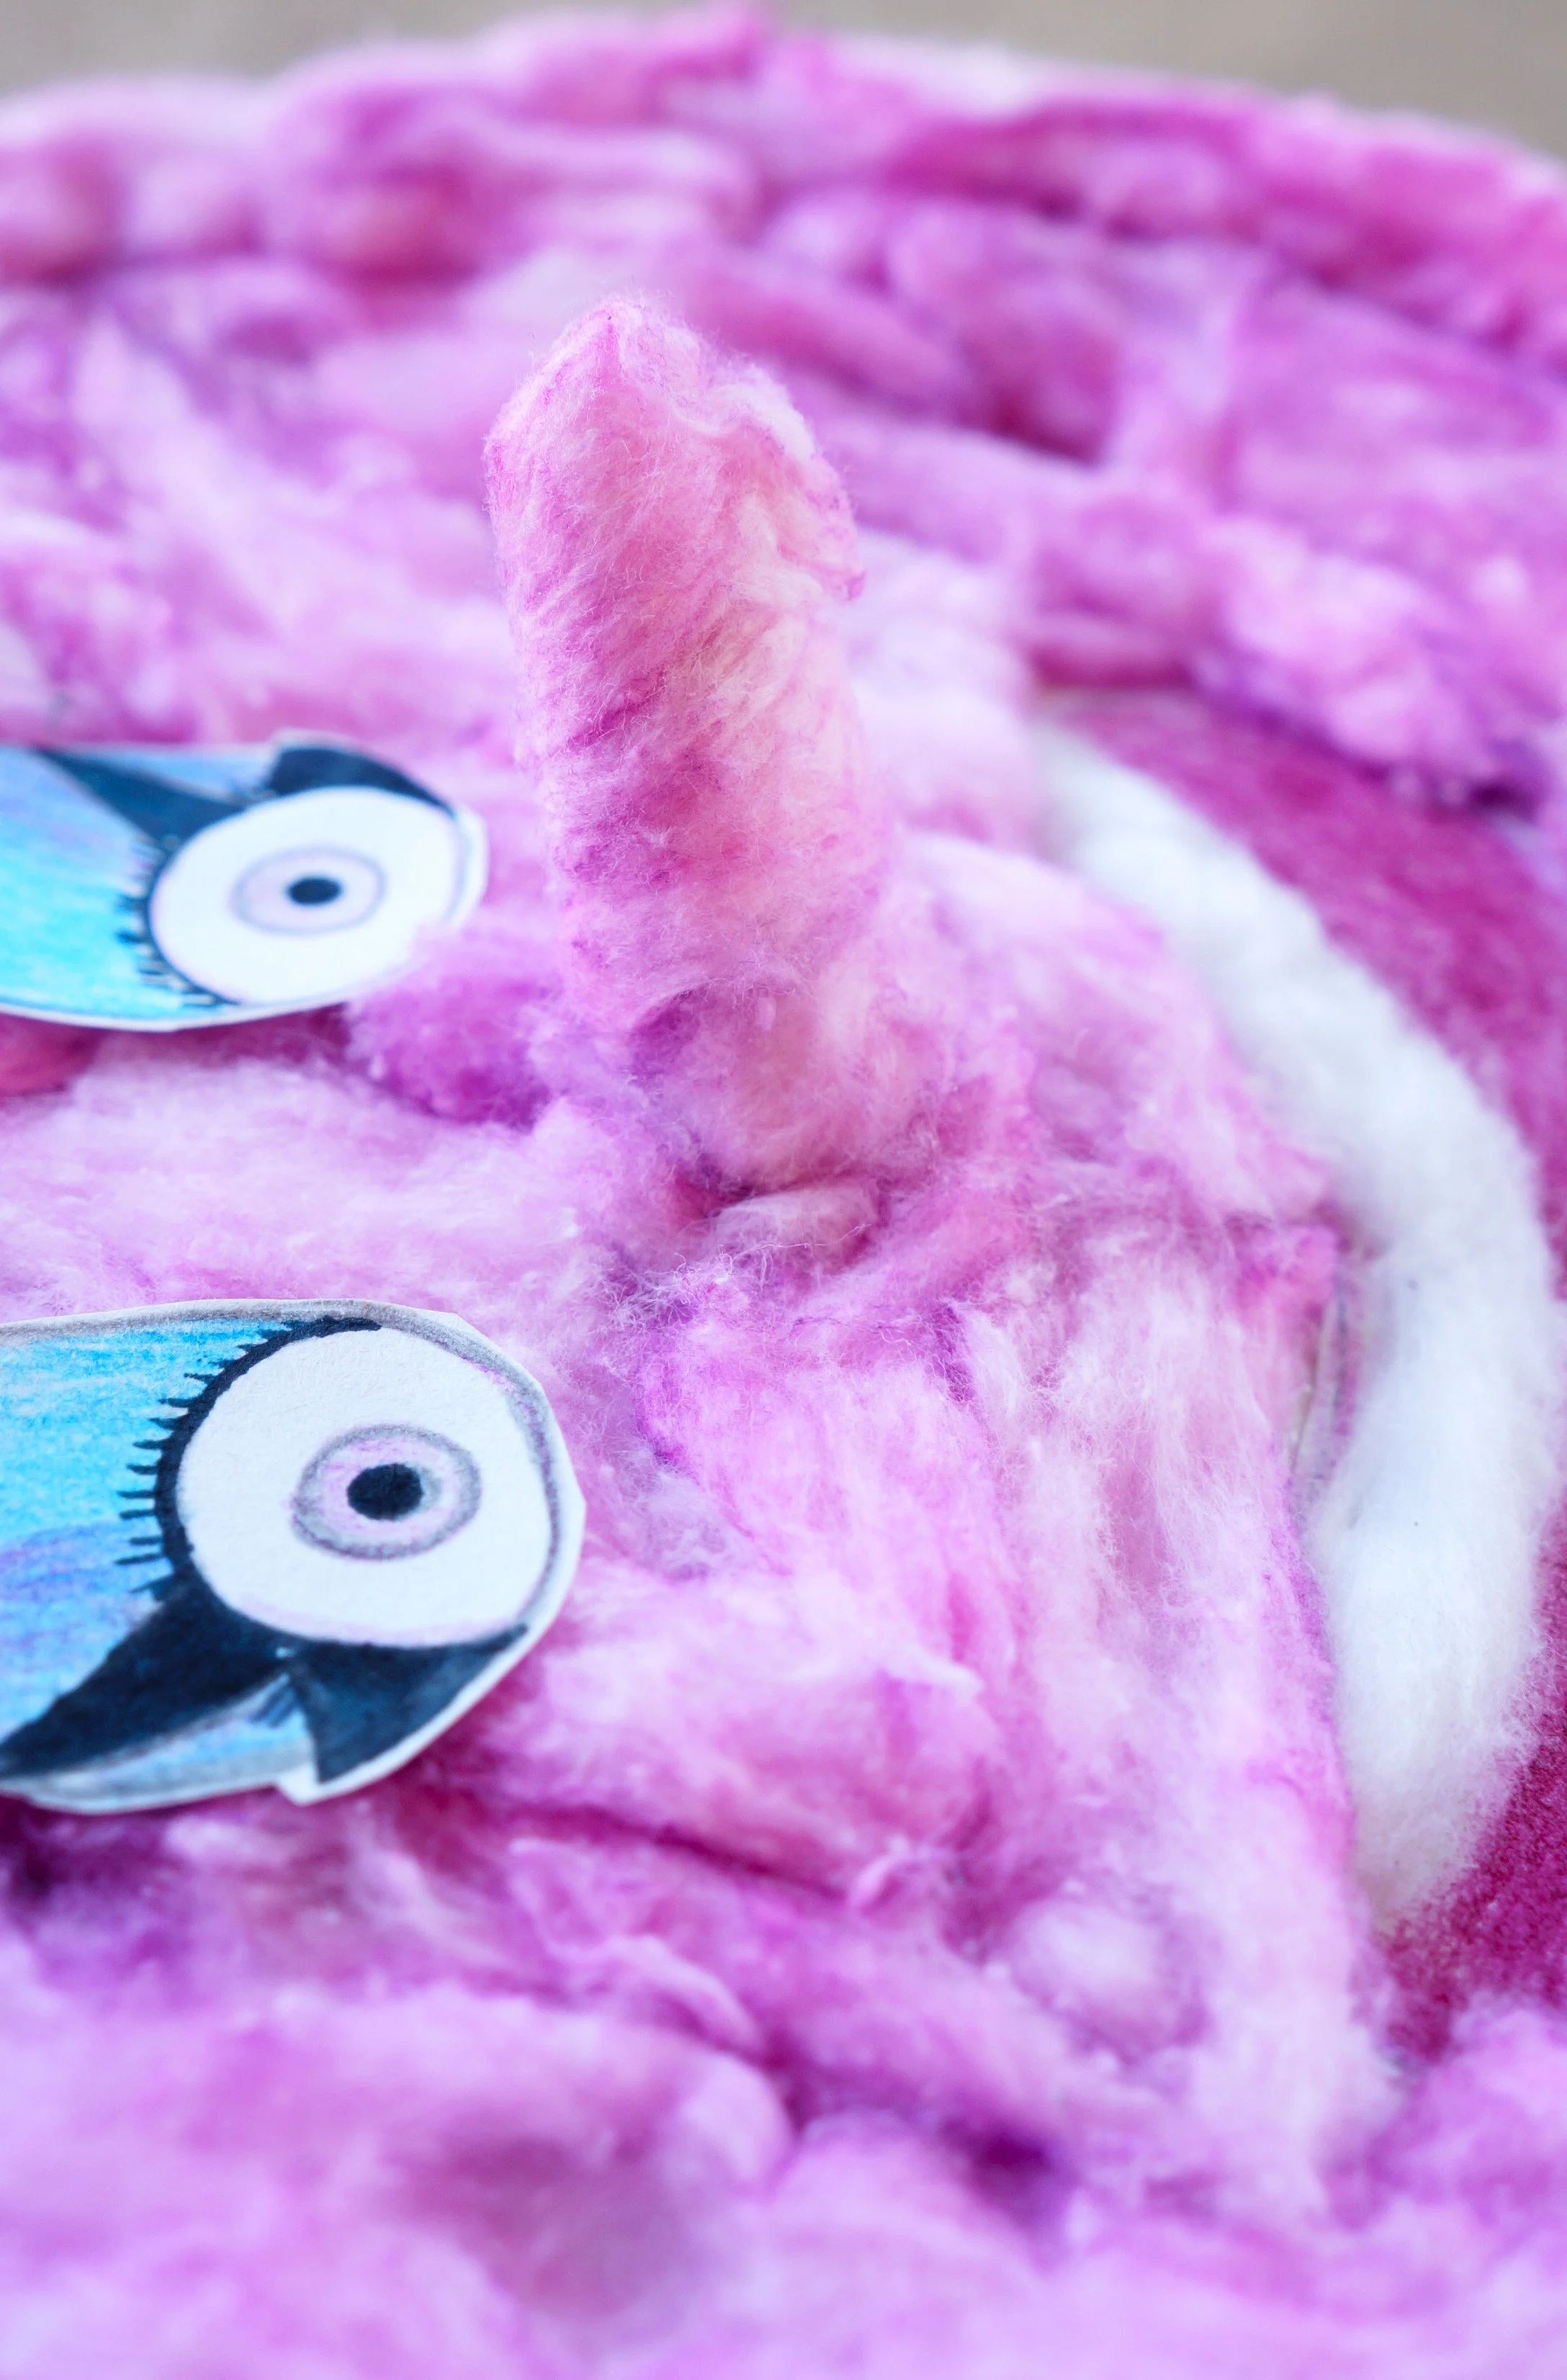
NOSE
Cut a 2- inch strip from the pipe cleaner, fold it into an L, and then glue a strip of dyed cotton around the nose.
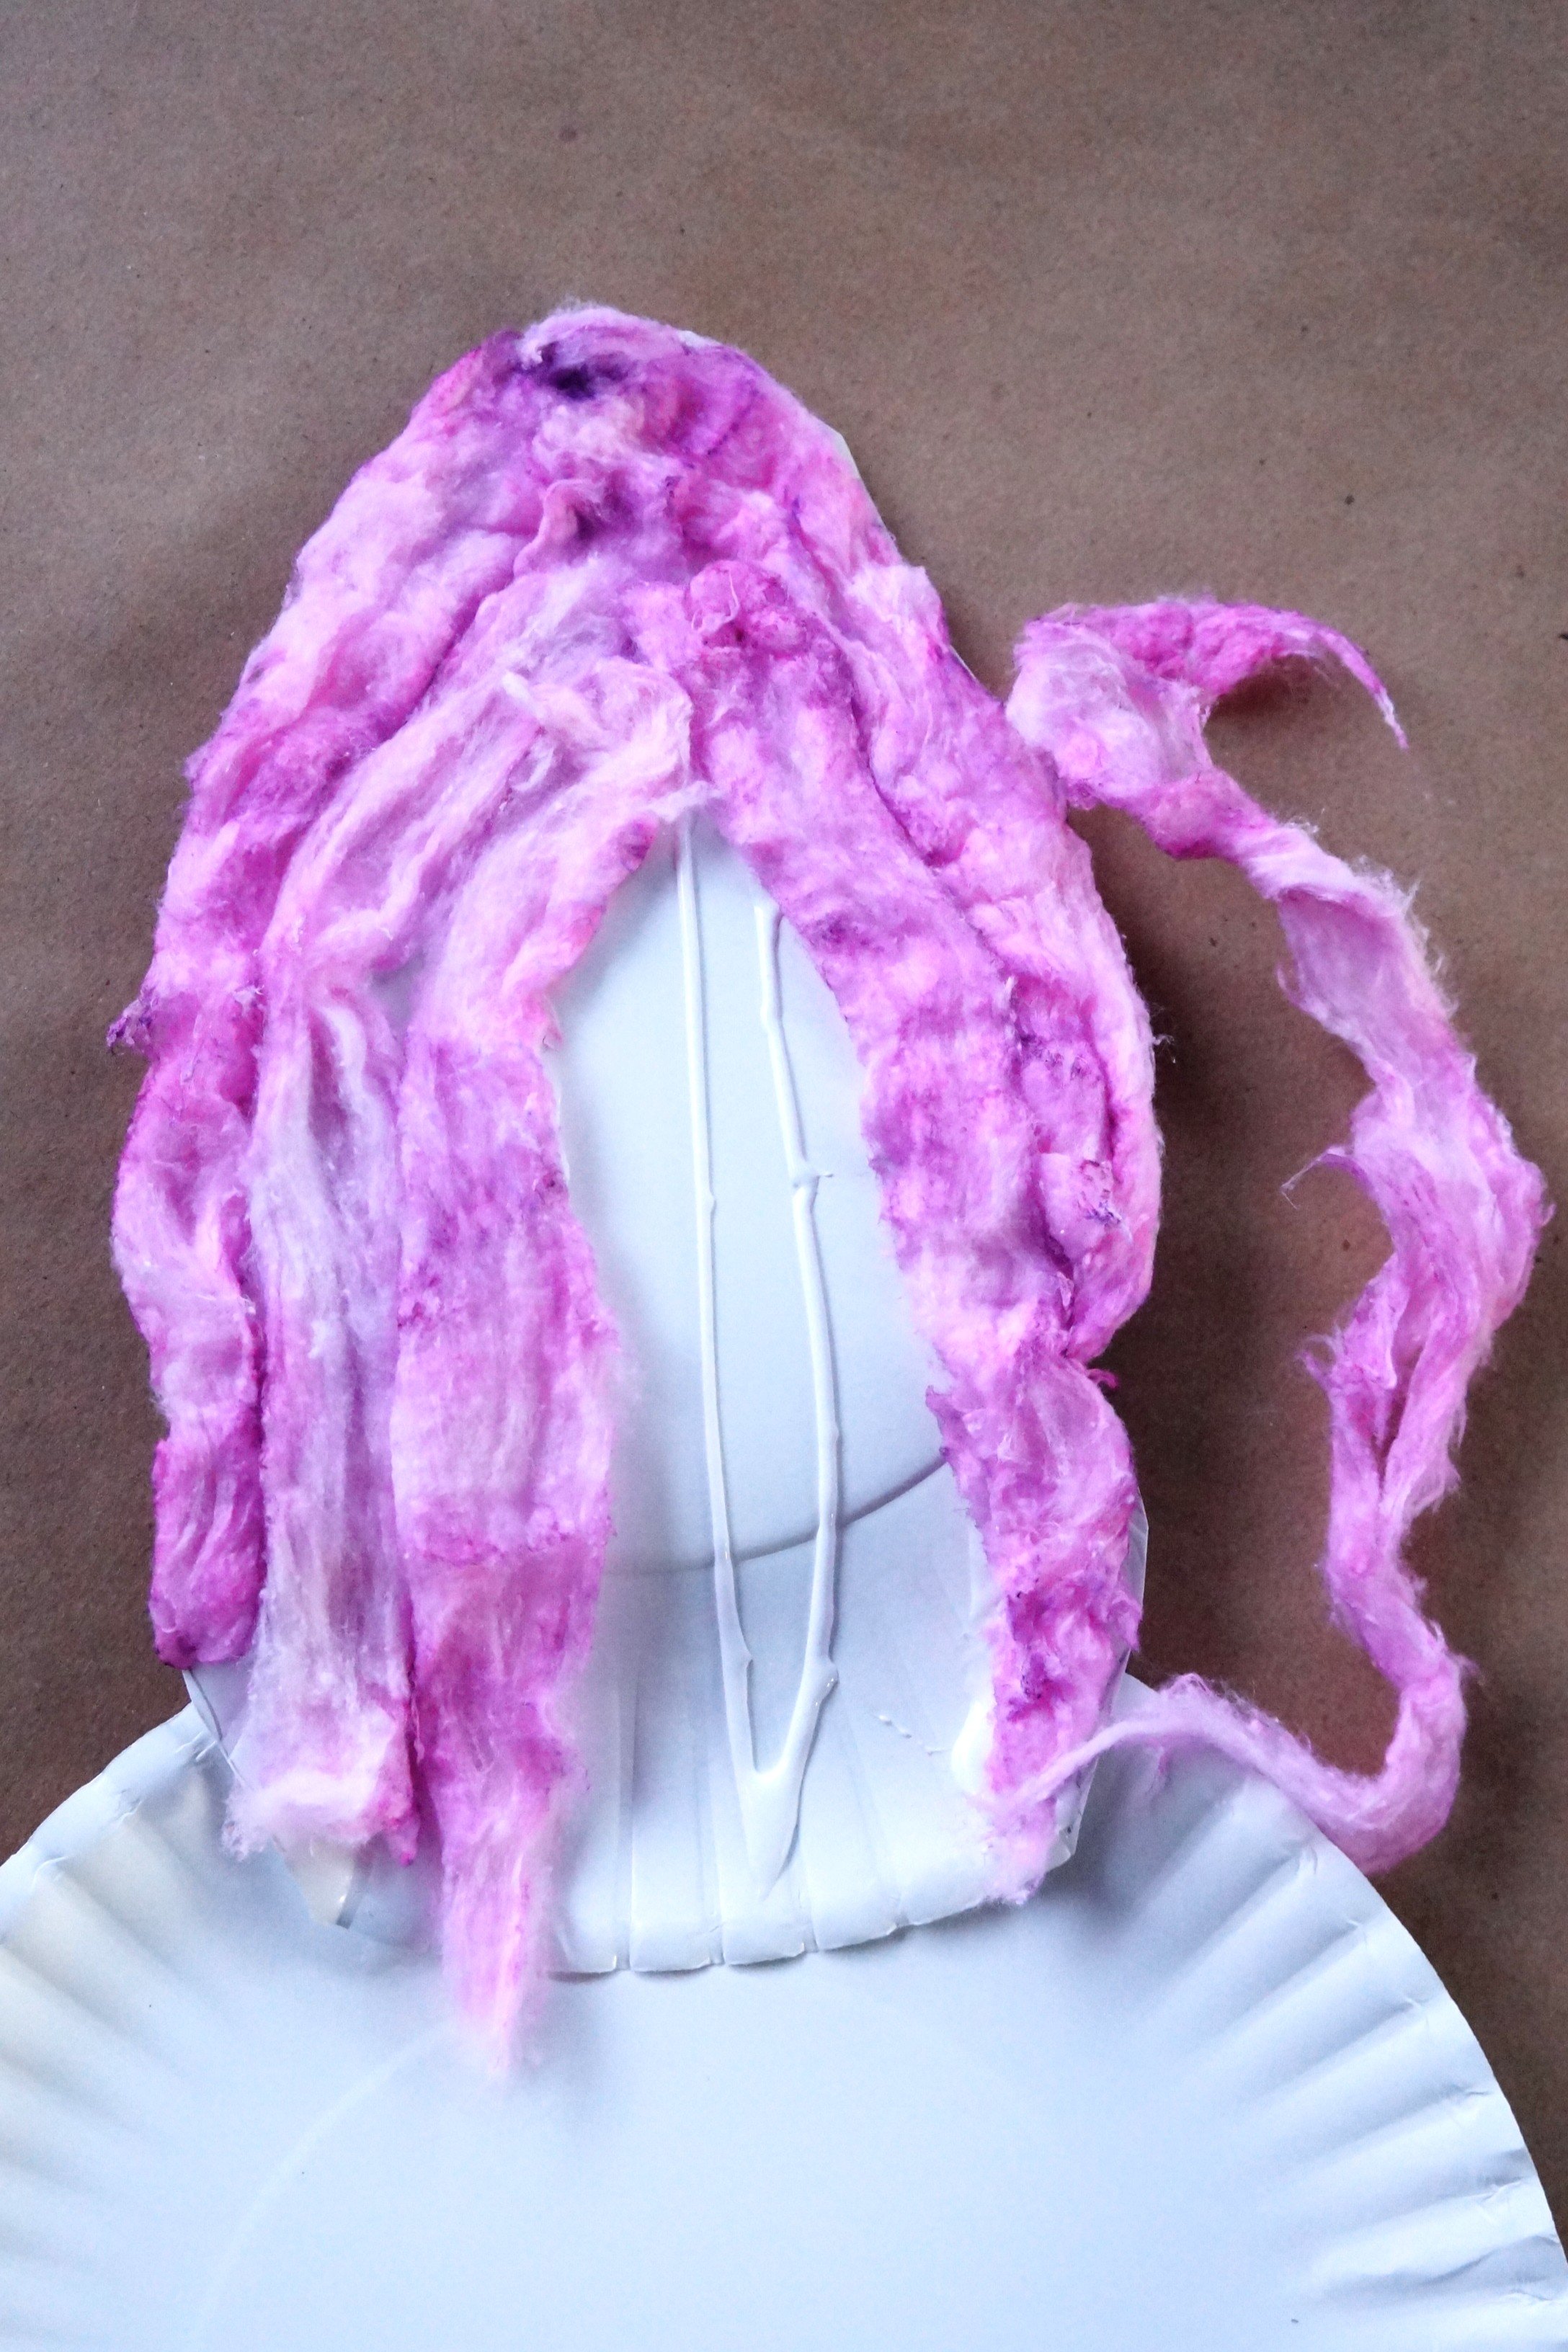
ASSEMBLE
Widen the strips of cotton and glue them from the top(hair) down to the rest of the face.
Once everything is covered, use the extra strips to add a second layer of curled cotton to the top.
Create a wave with the top portion by slightly bending it back.
FACE
Glue the eyebrows and eyes near the hair.
Tuck the exposed pipe cleaner into the glued cotton, and glue it to secure it.
Let everything dry for about 15 minutes.
That’s it!
Happy crafting!
Amanda and Naomi
To share: take a photo of your craft and let us see it! Click on photo submission and submit.


