
Hi friends,
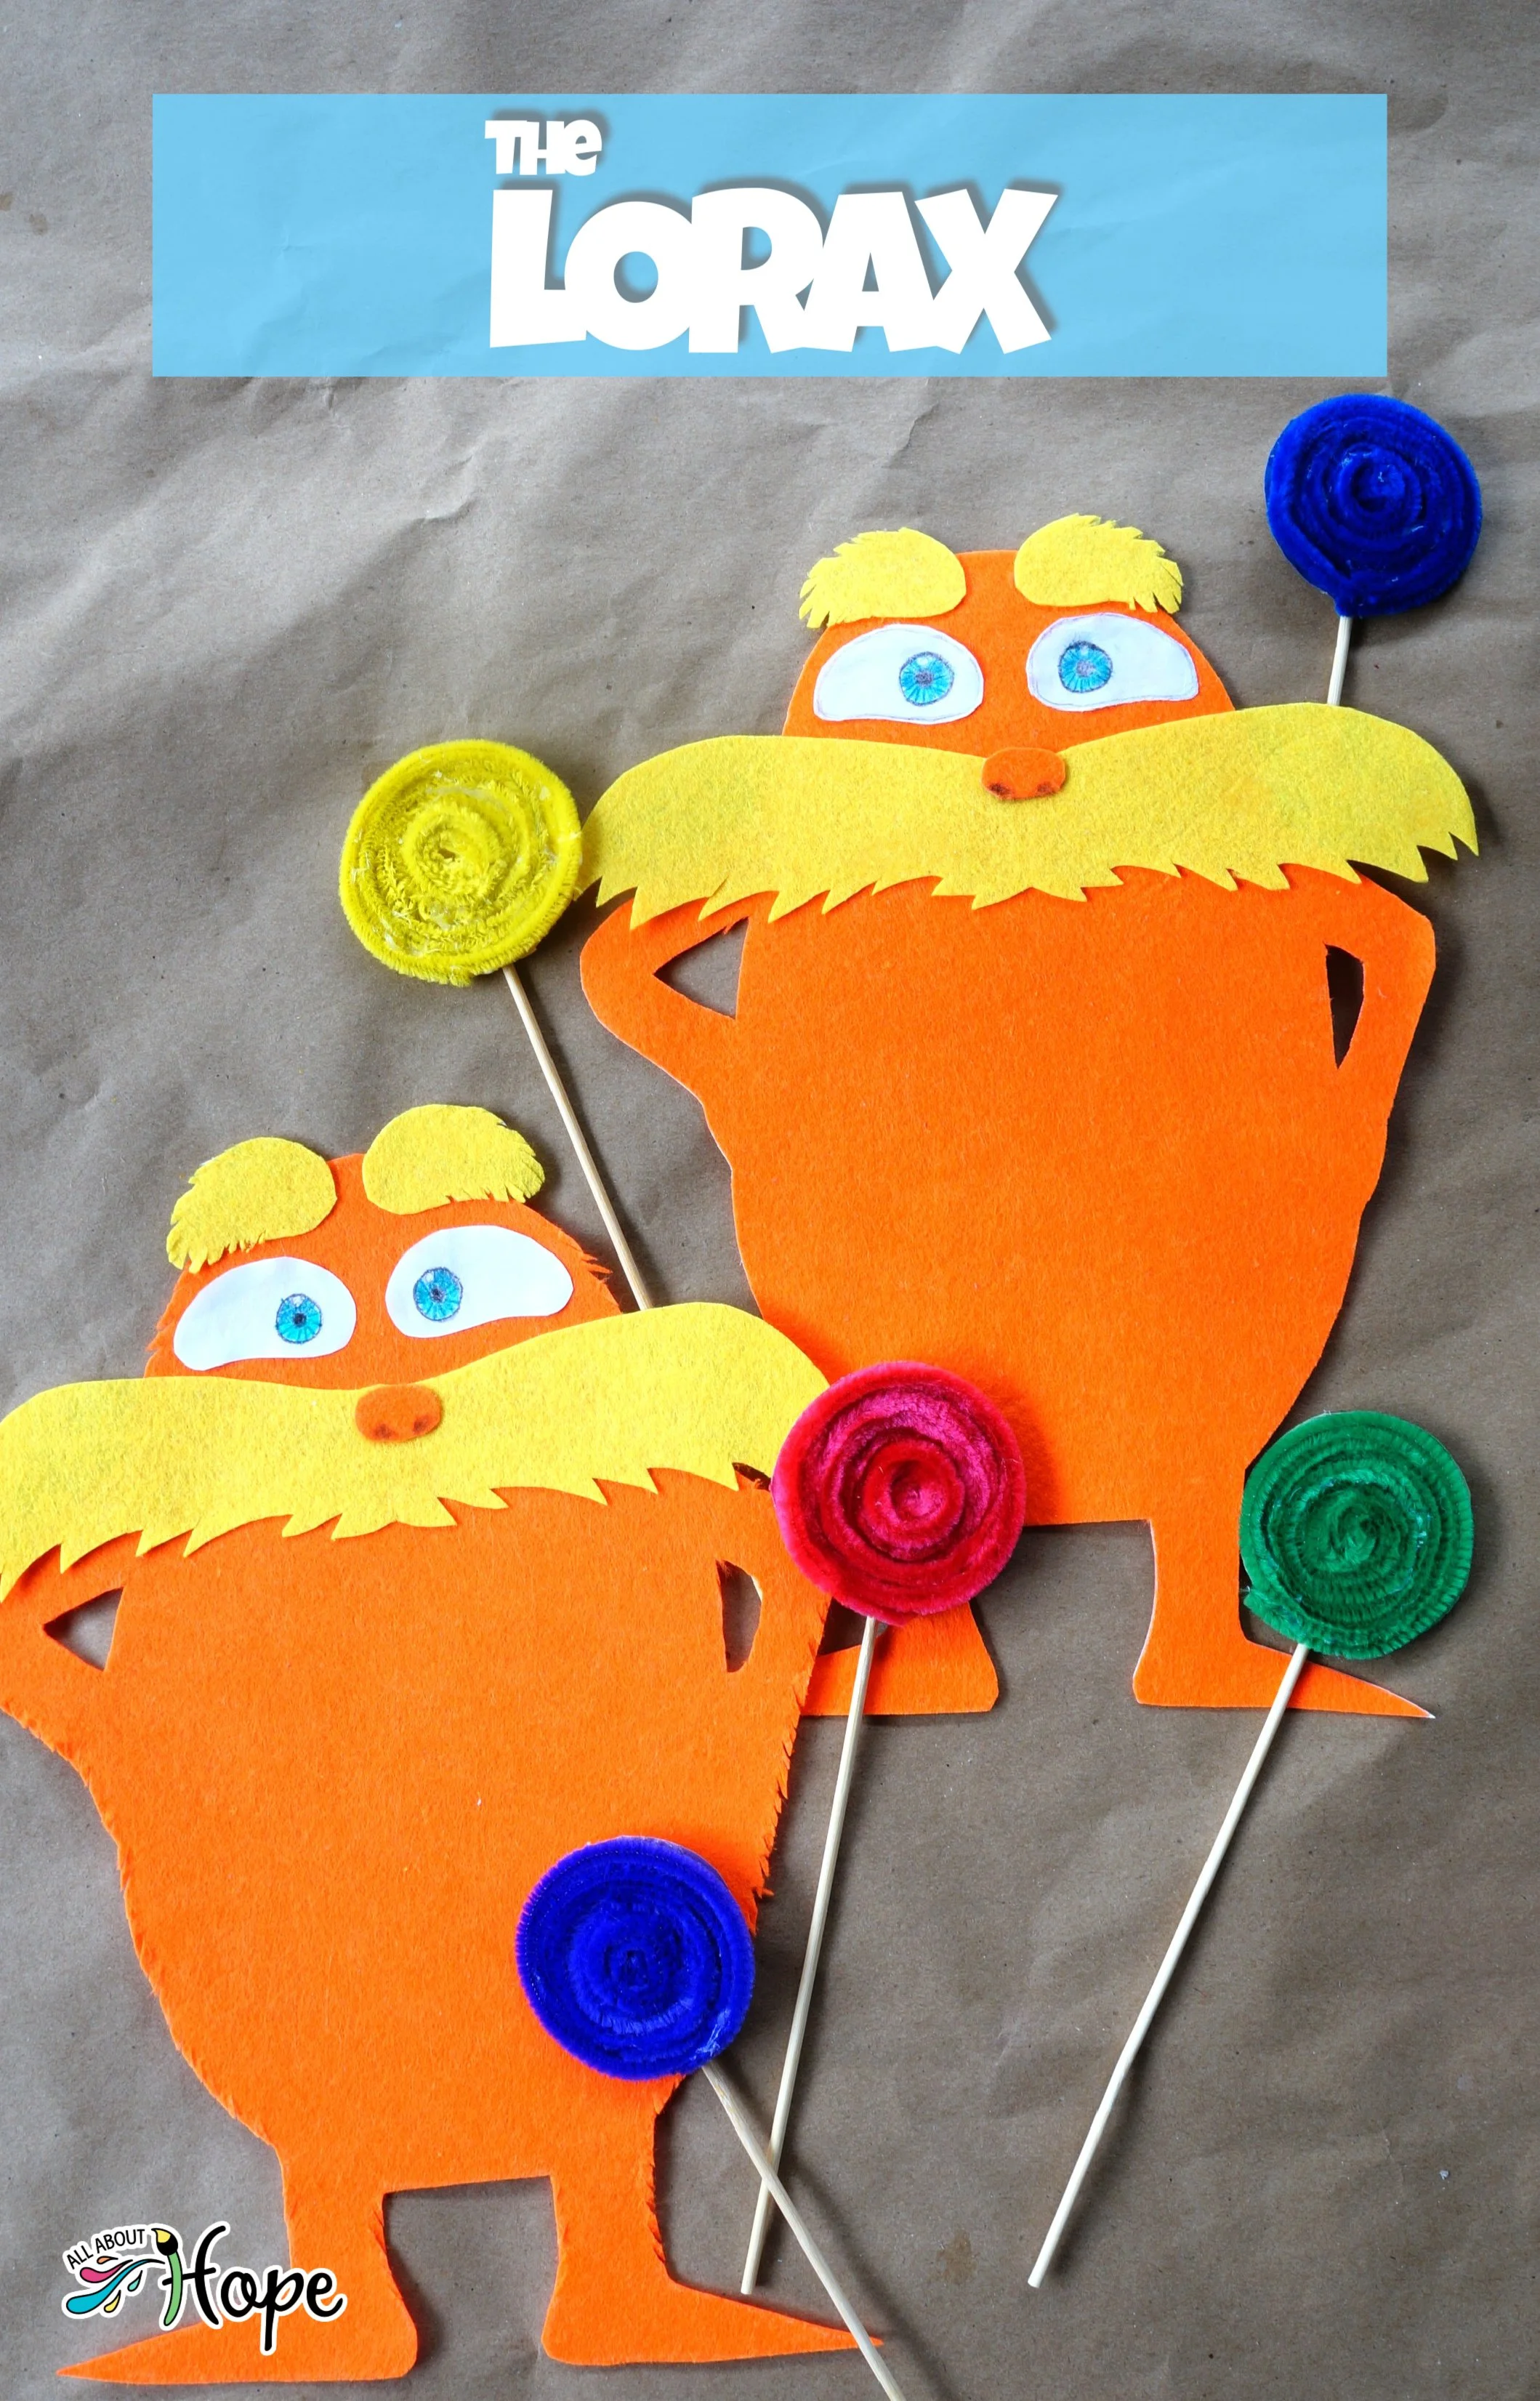
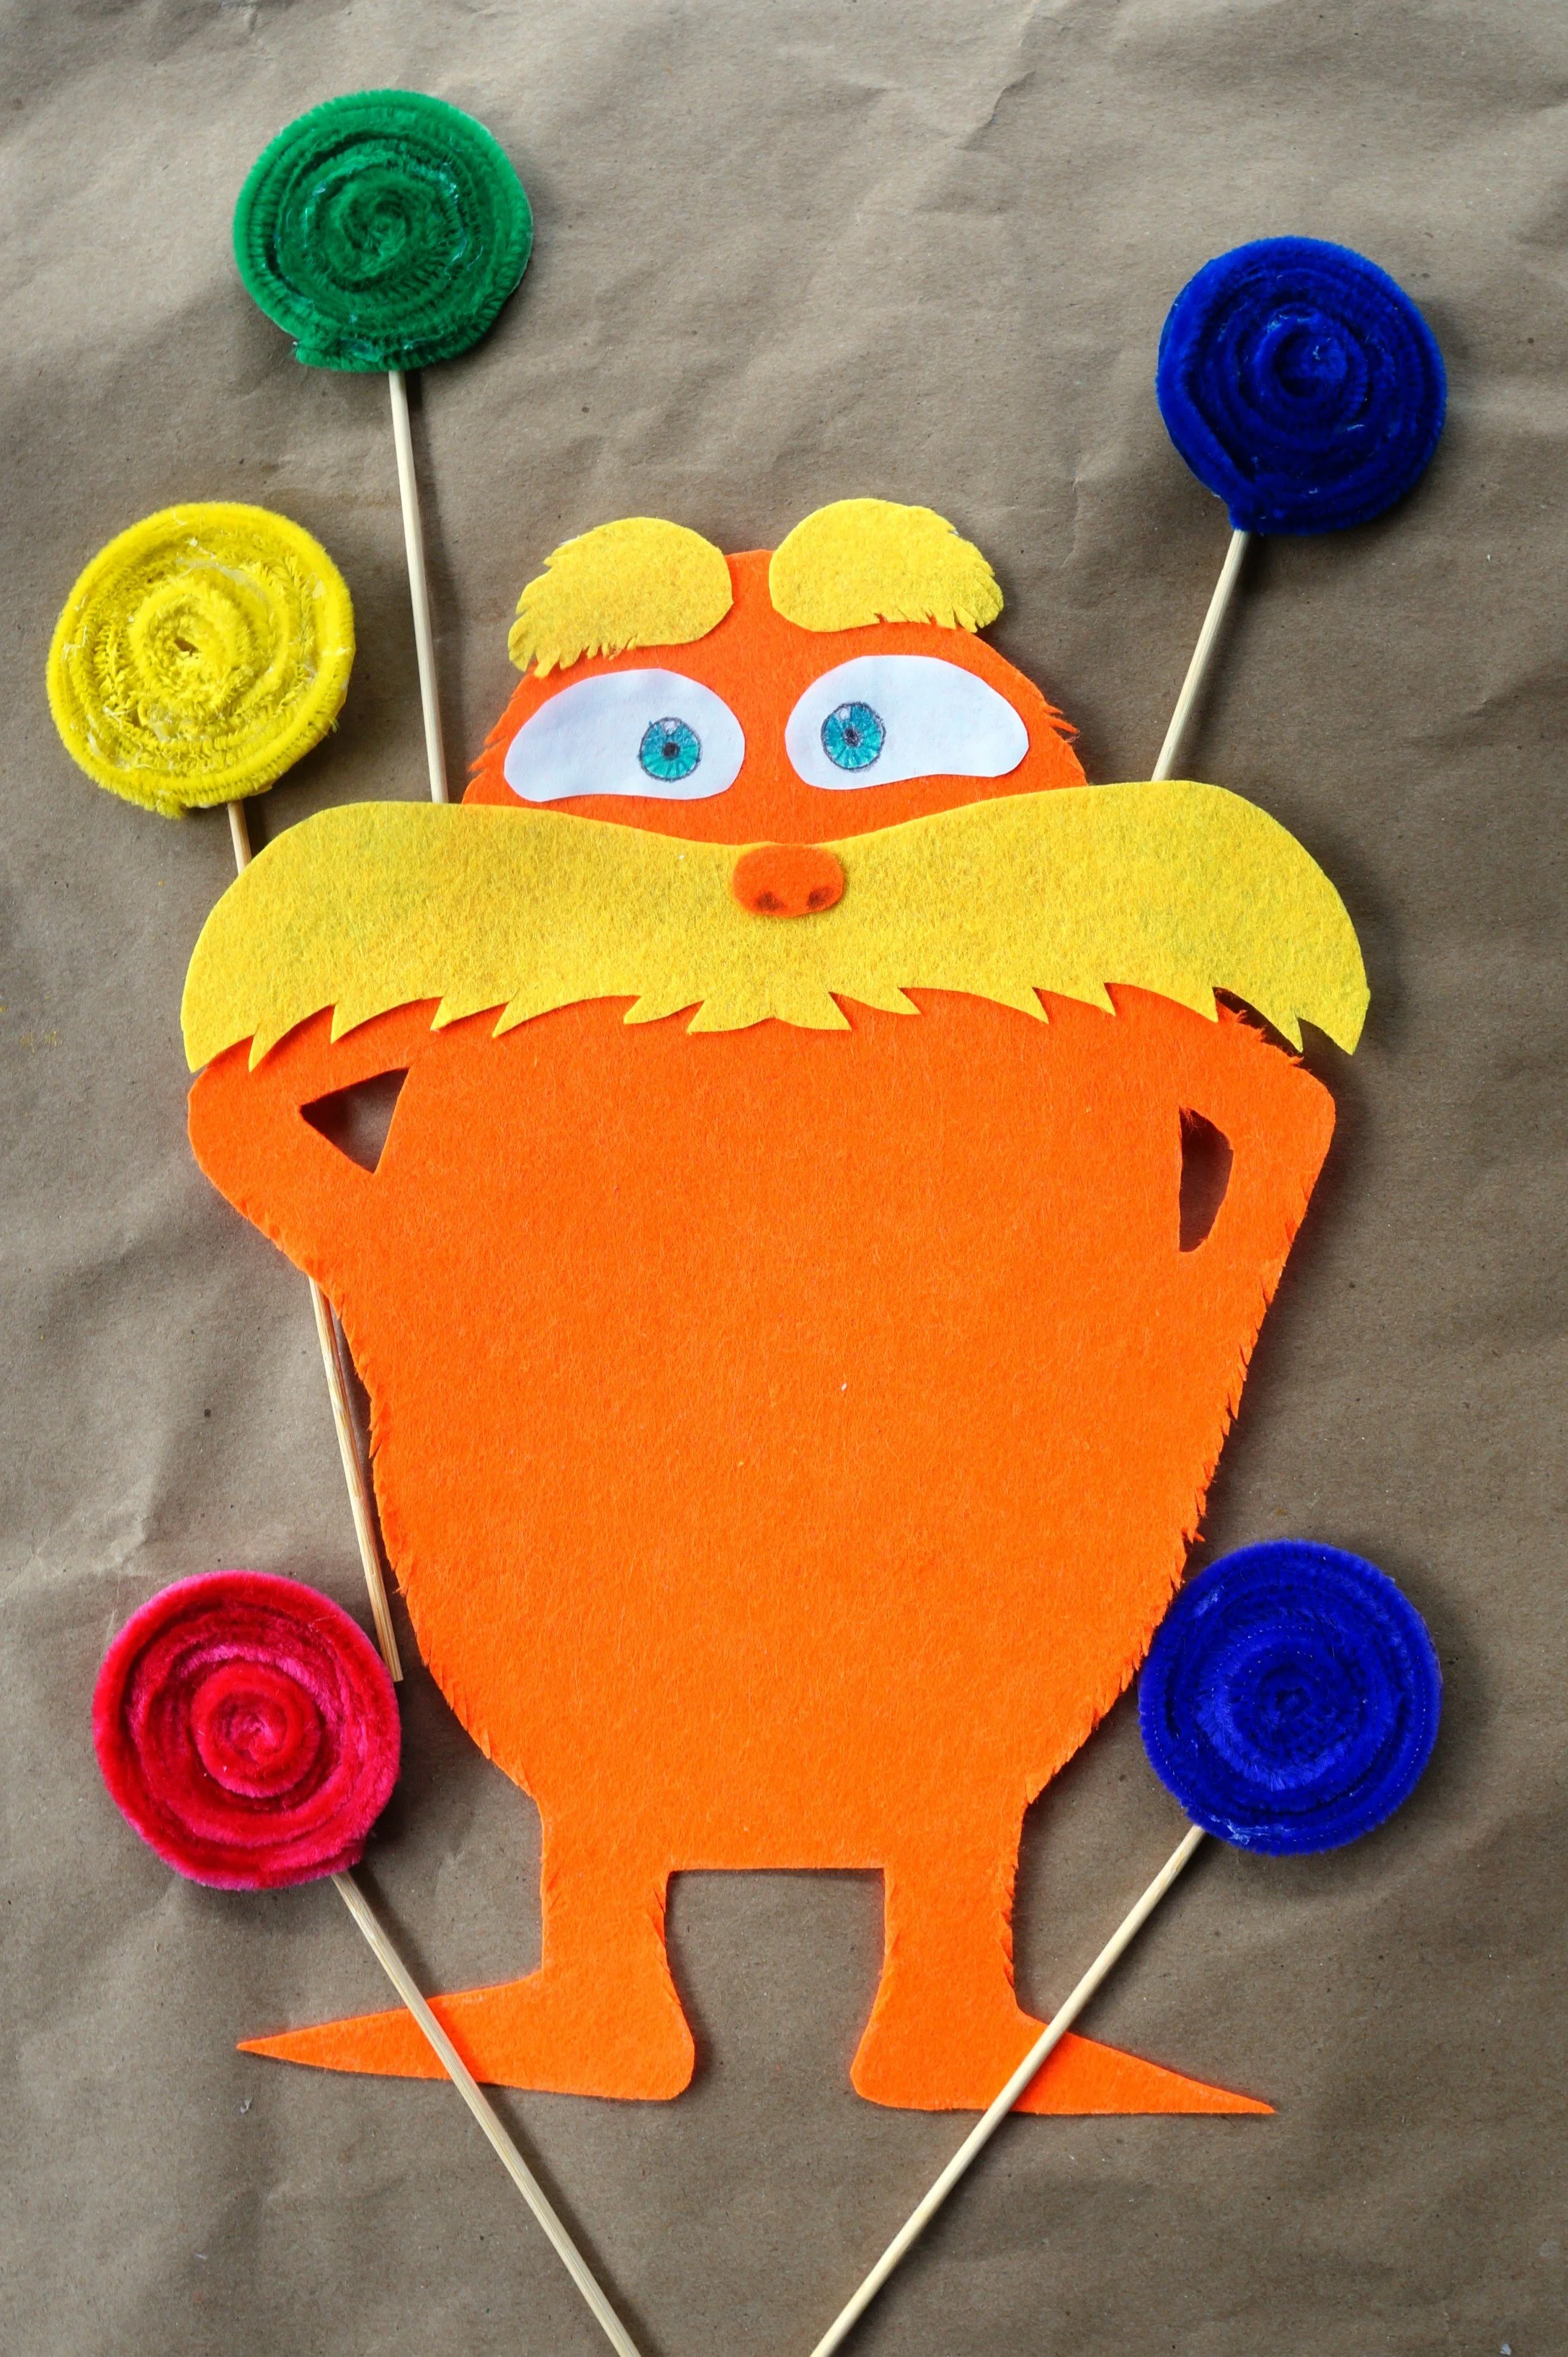
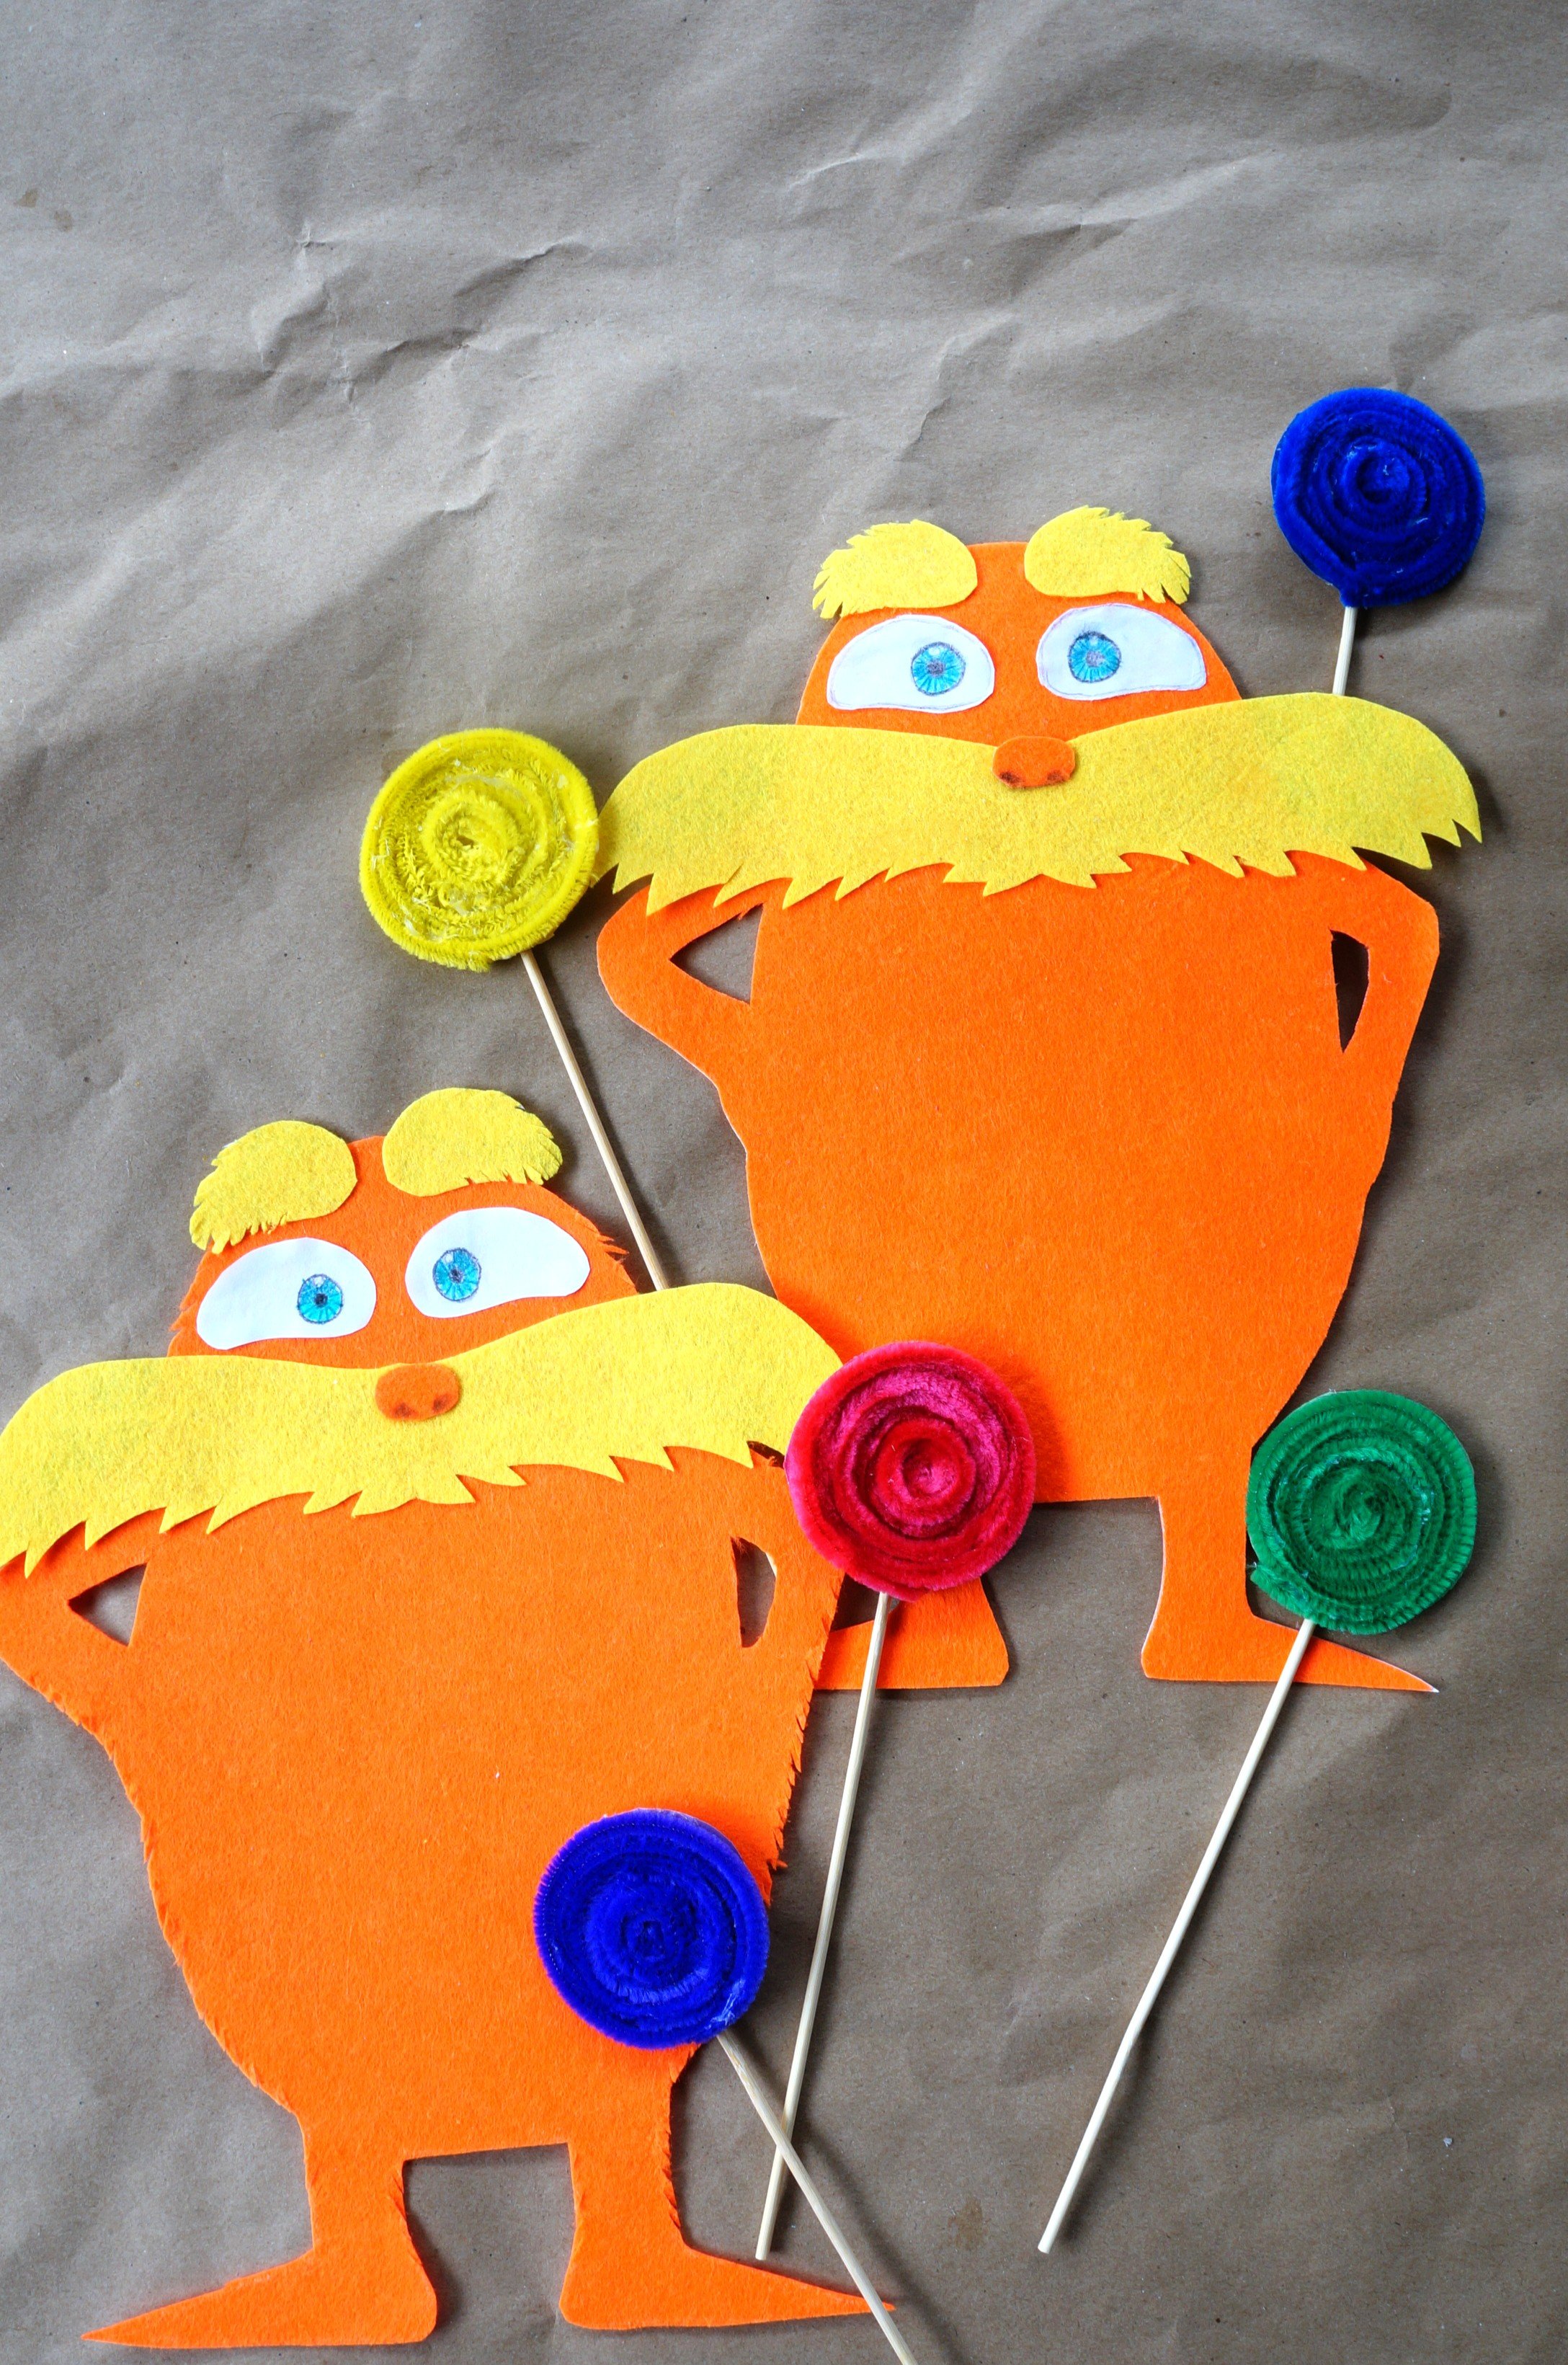
This week, we’re sharing our version of The Lorax, the little orange guy with a big mustache, in honor of Dr. Seuss’ birthday.
We created our Lorax with stiff felt, but regular felt works, with a little extra step. For your Lorax, you’ll get to choose finished edges or add lots of notches to create his fur. Check it out below.
*Click on the photos for a closer look
What You'll Need
Construction Paper: (2) White
Felt: (1)Orange, (1)Yellow
Tacky Glue
Scissors
Colored Pencils: Dark Turquoise, Turquoise, Black, White
Pencil
The Steps
We want to see your craft! Click PHOTO SUBMISSION, then submit the photo.

BODY
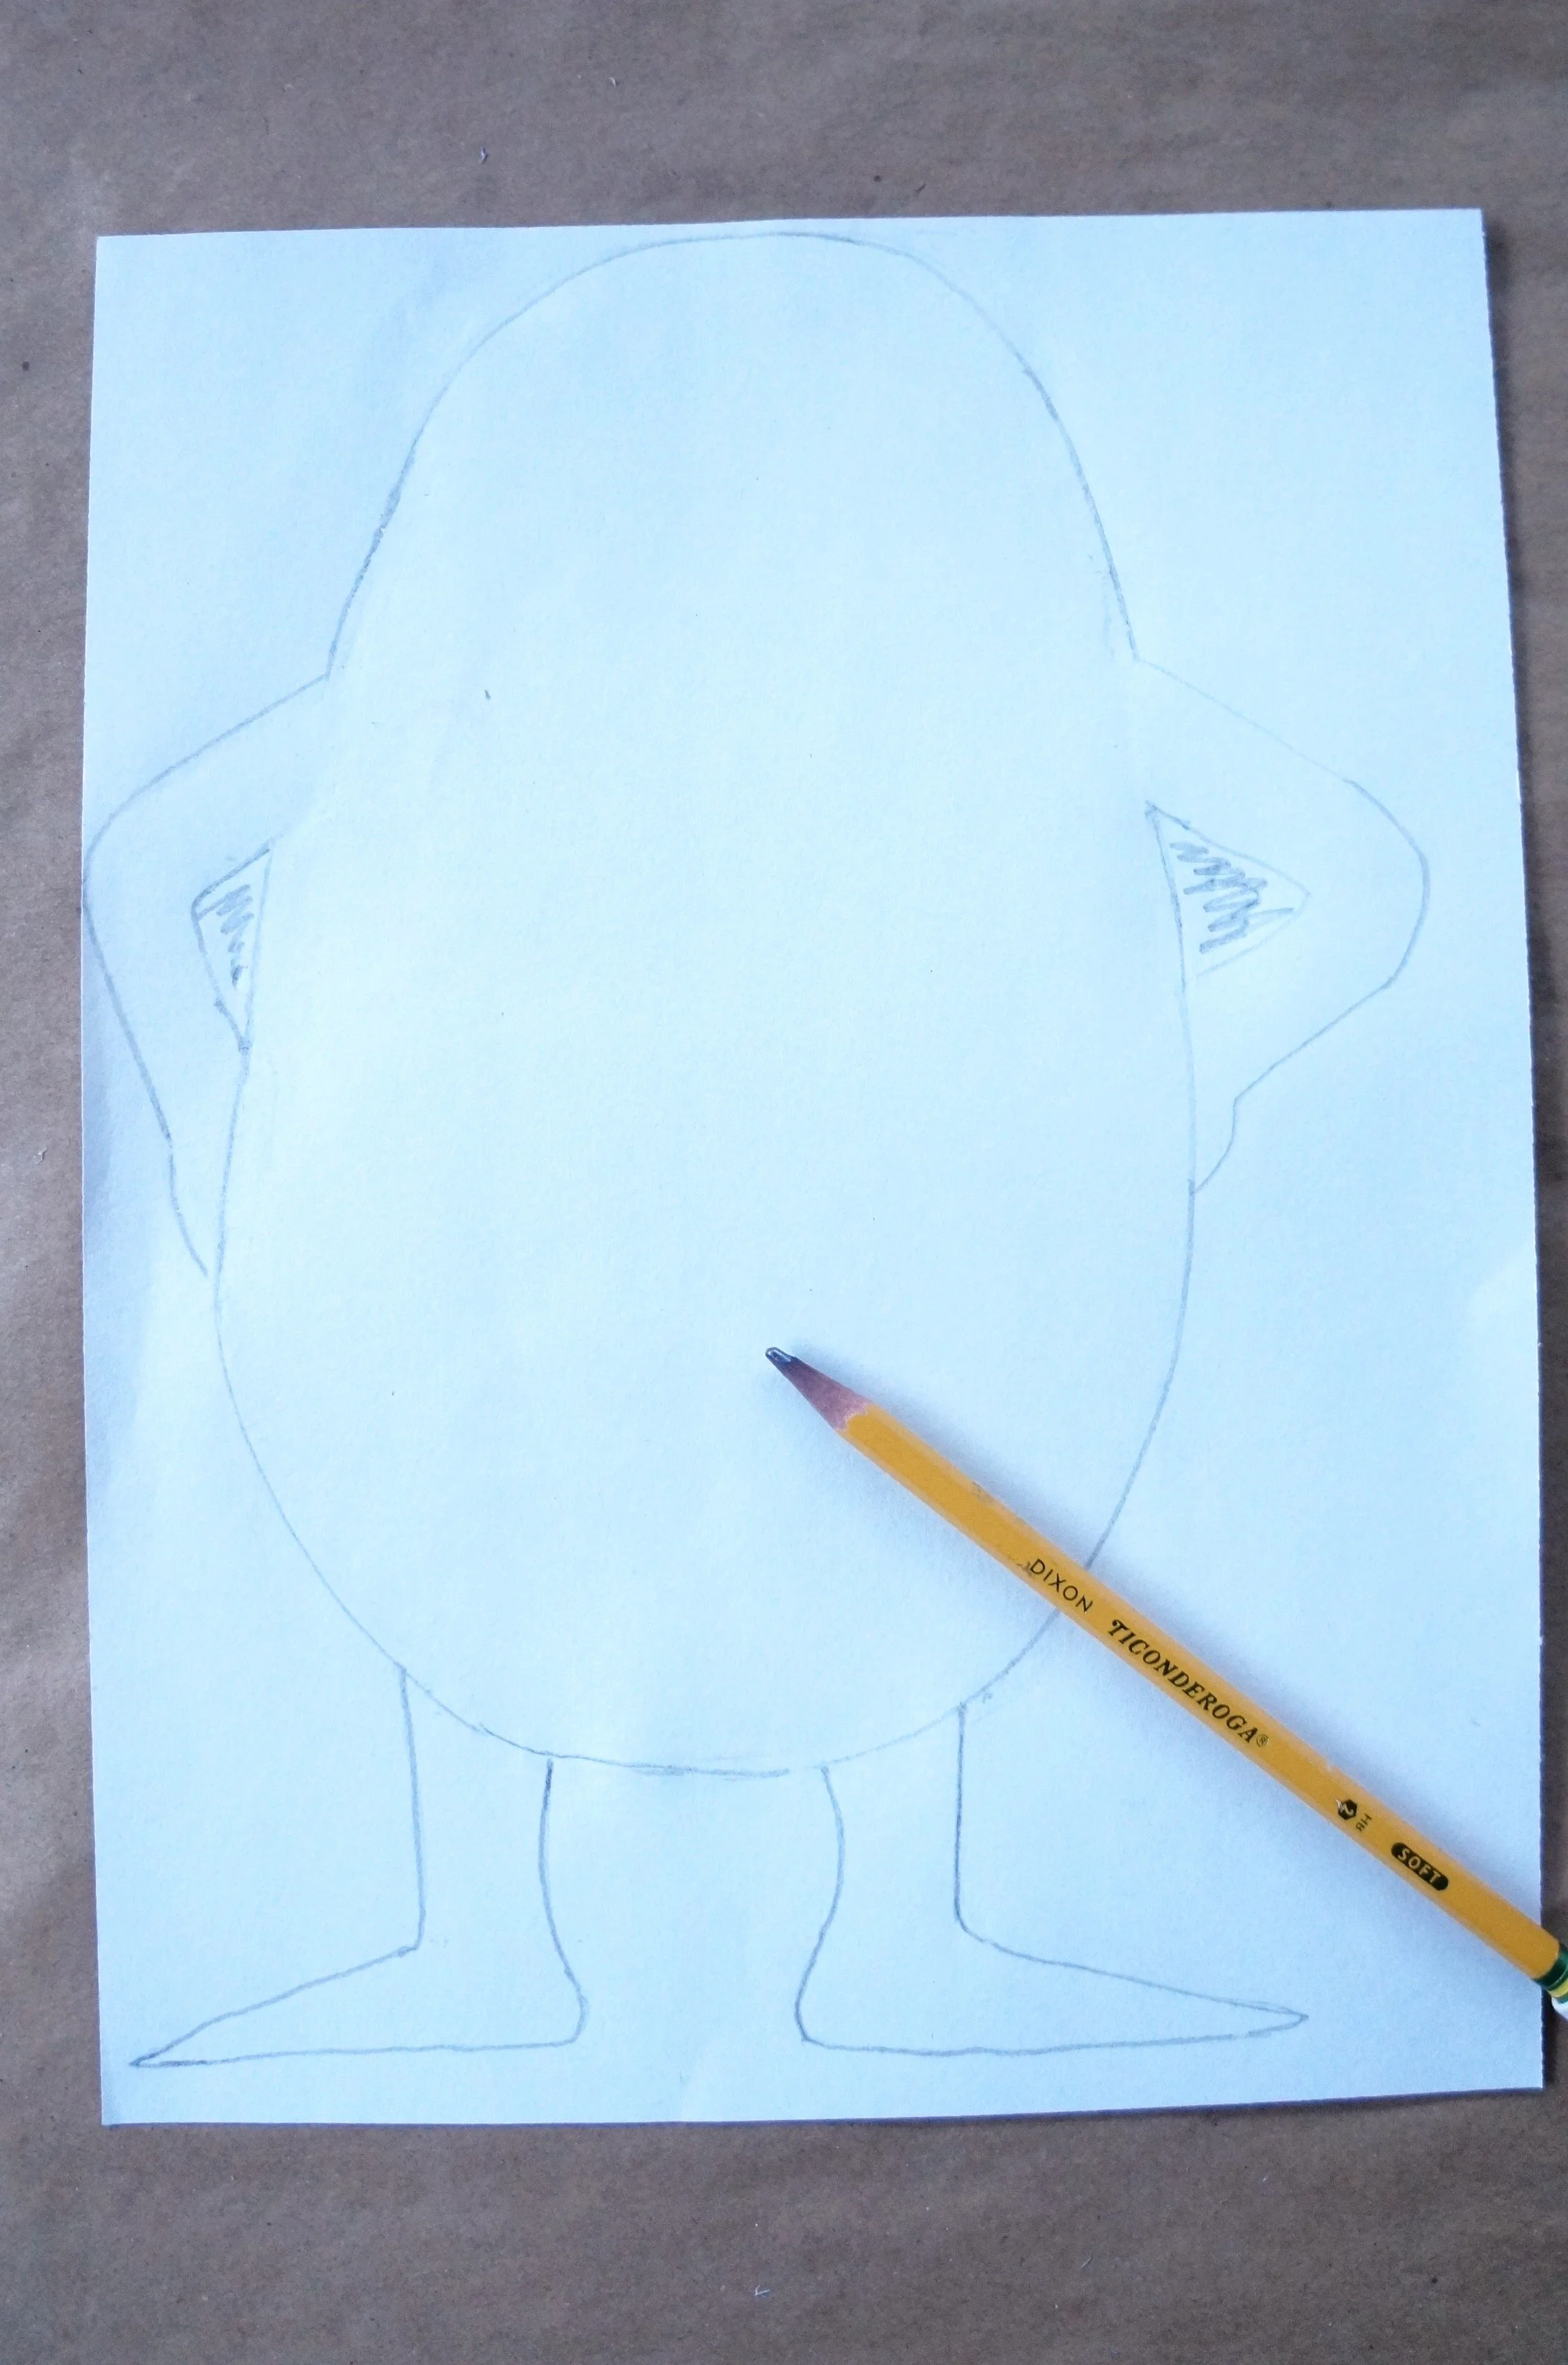
Turn your paper vertically, draw a large egg with bent arms, short legs, and pointy feet.
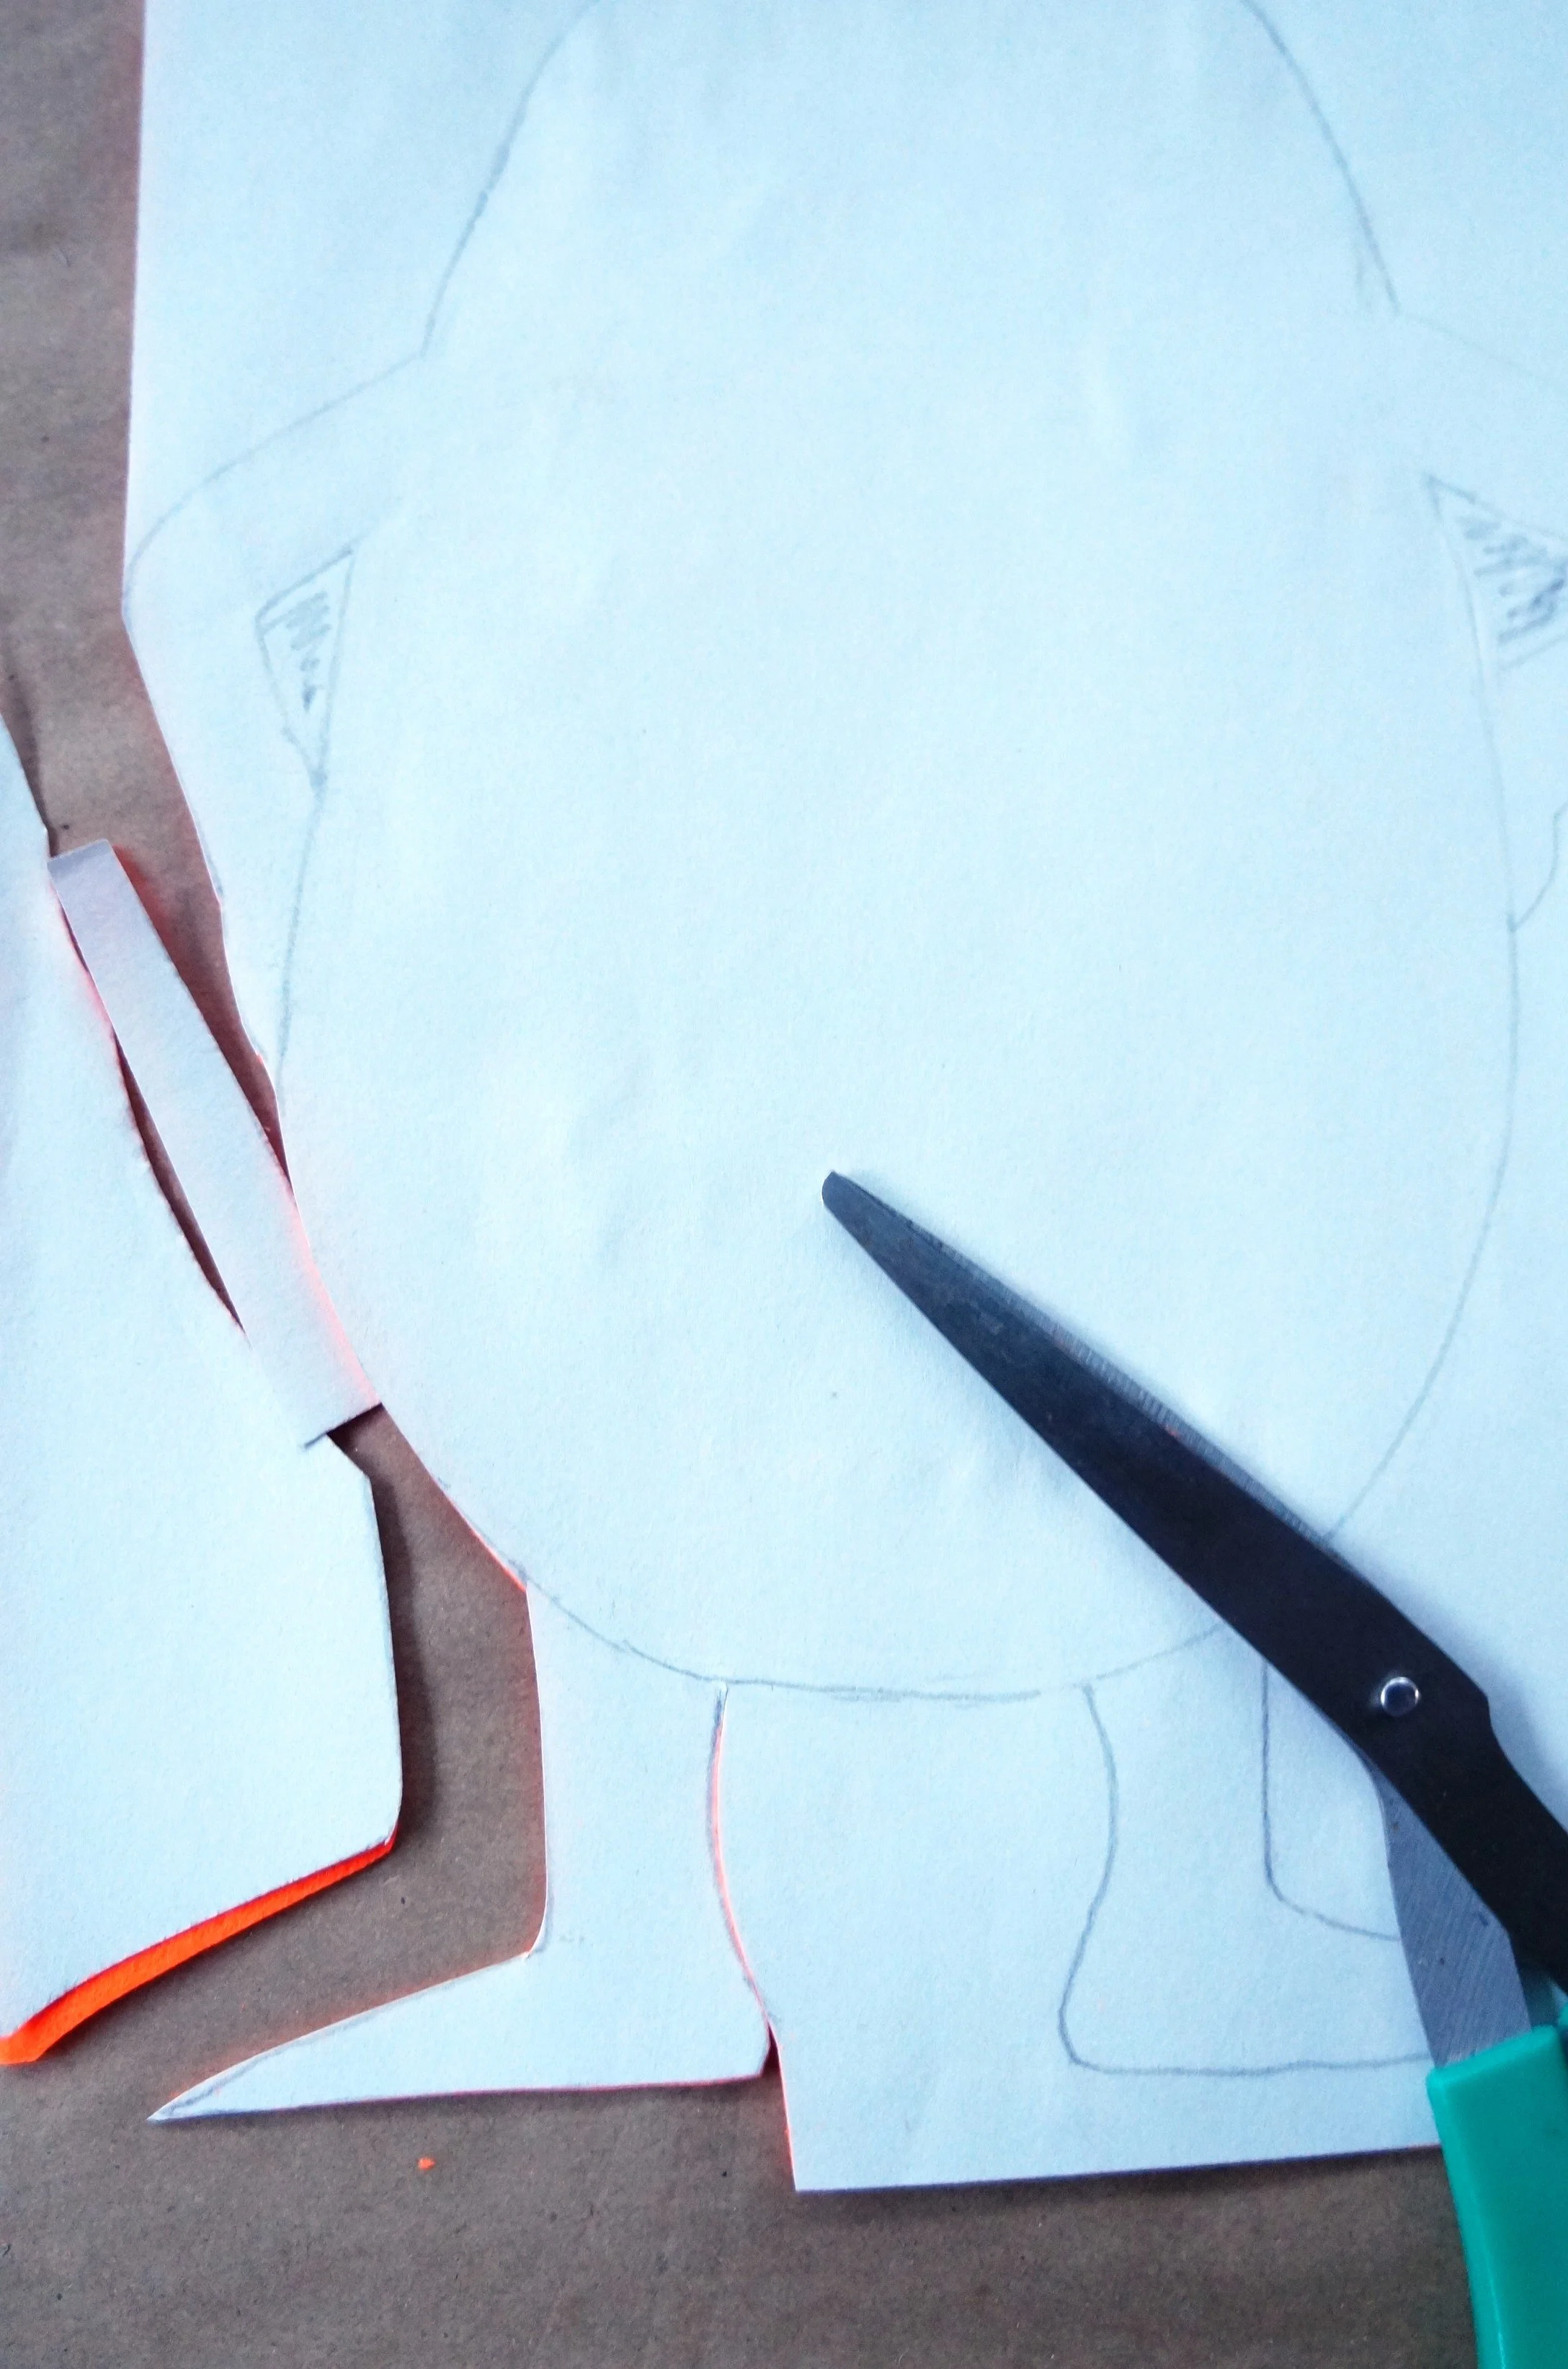
Add light glue to the felt(stiff or soft felt) and press the drawing onto it.
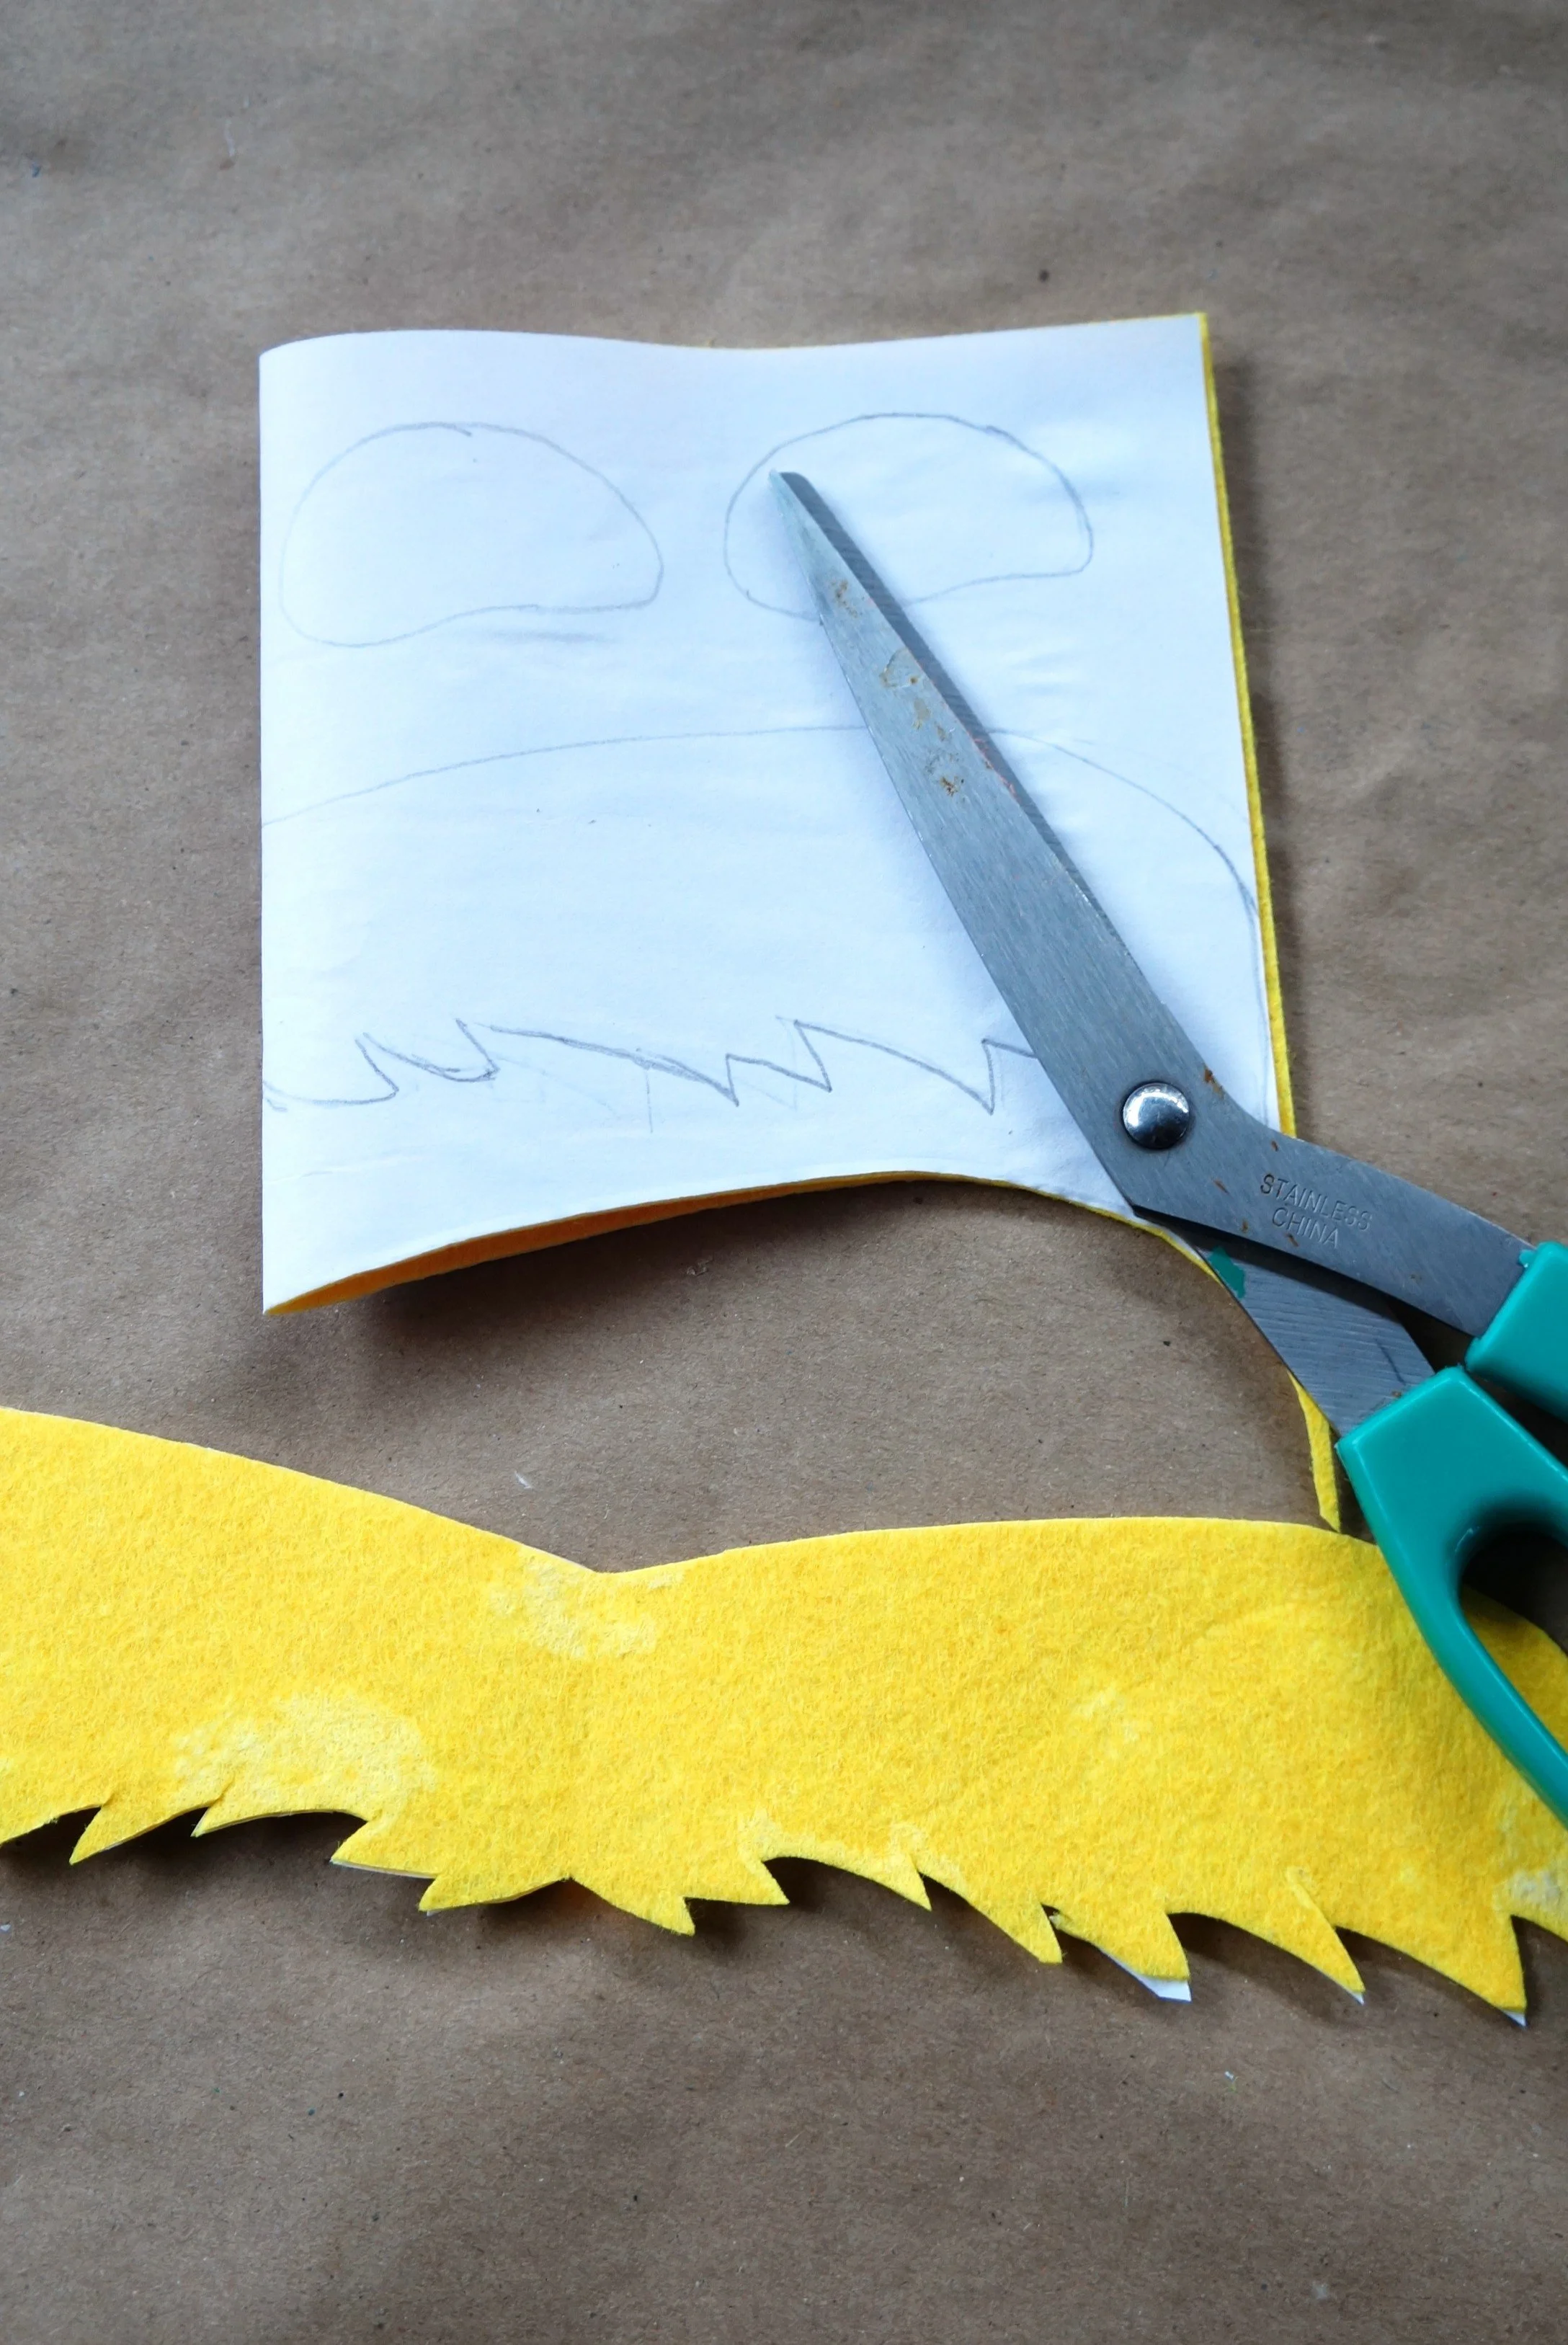
Cut out the body, arms, legs, feet, and the gap between the body and arms (set aside the scraps).
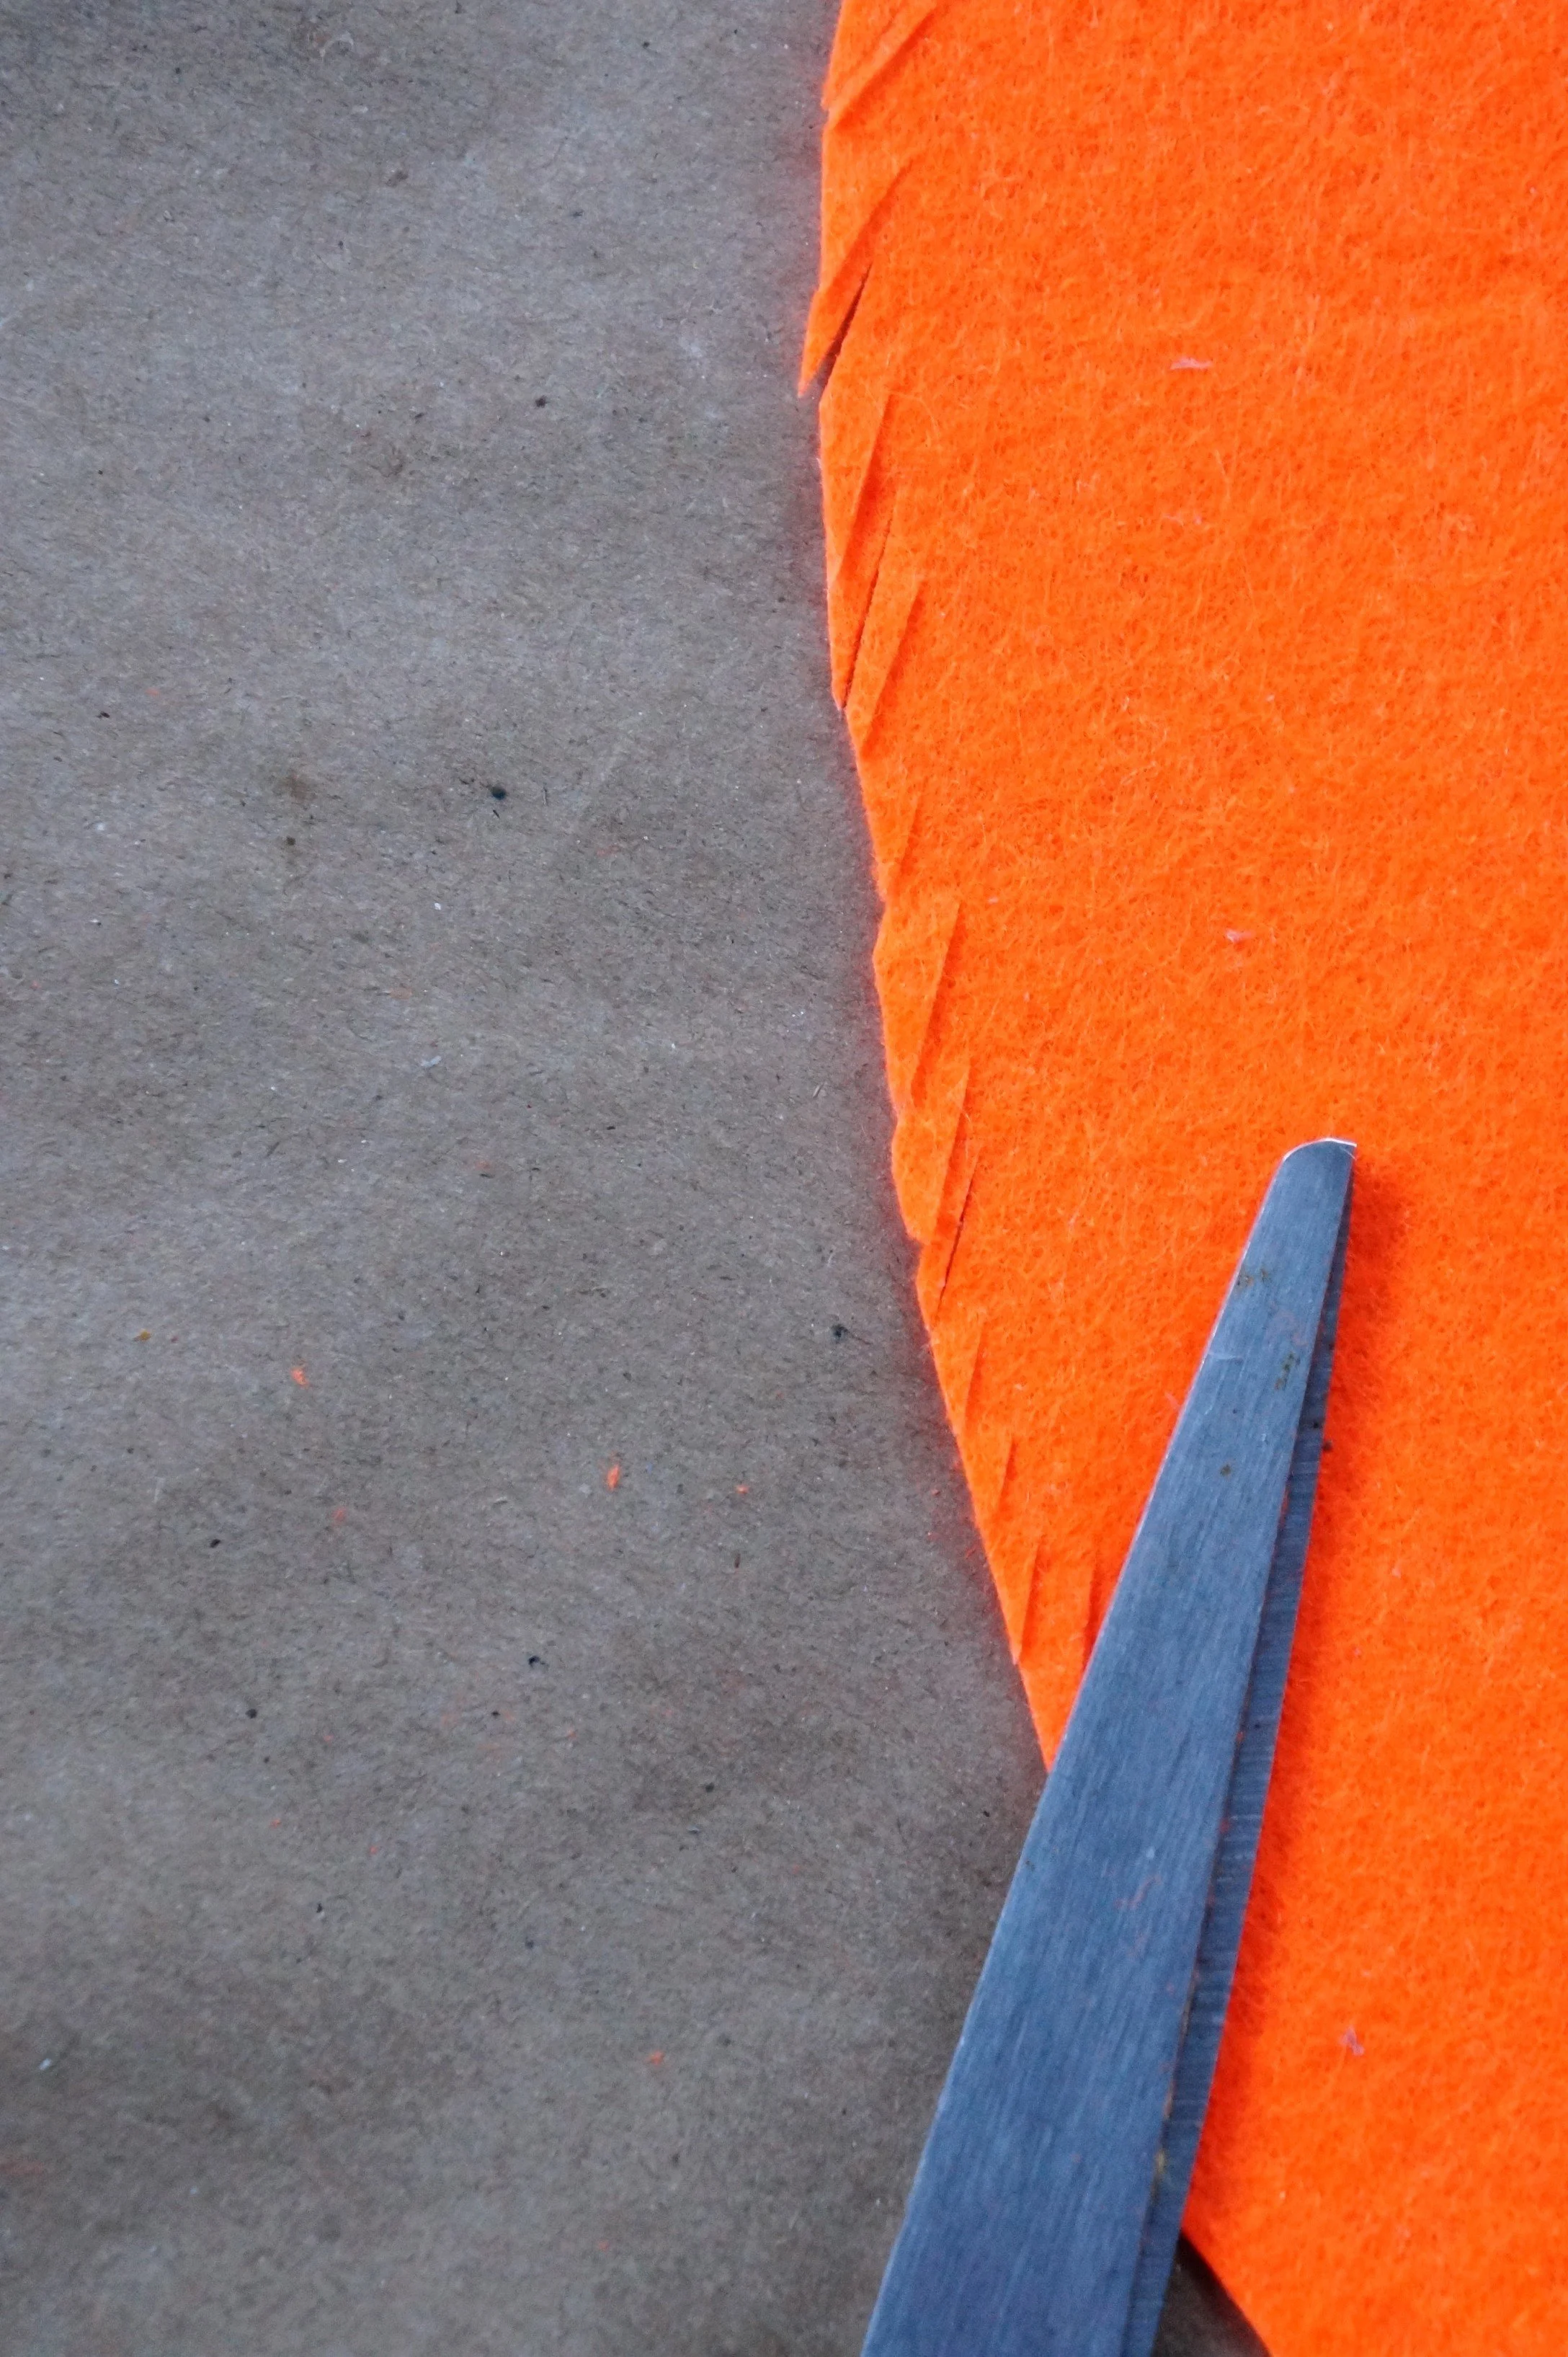
Optional: Cut many thin, angled notches around the body, arms, and legs.
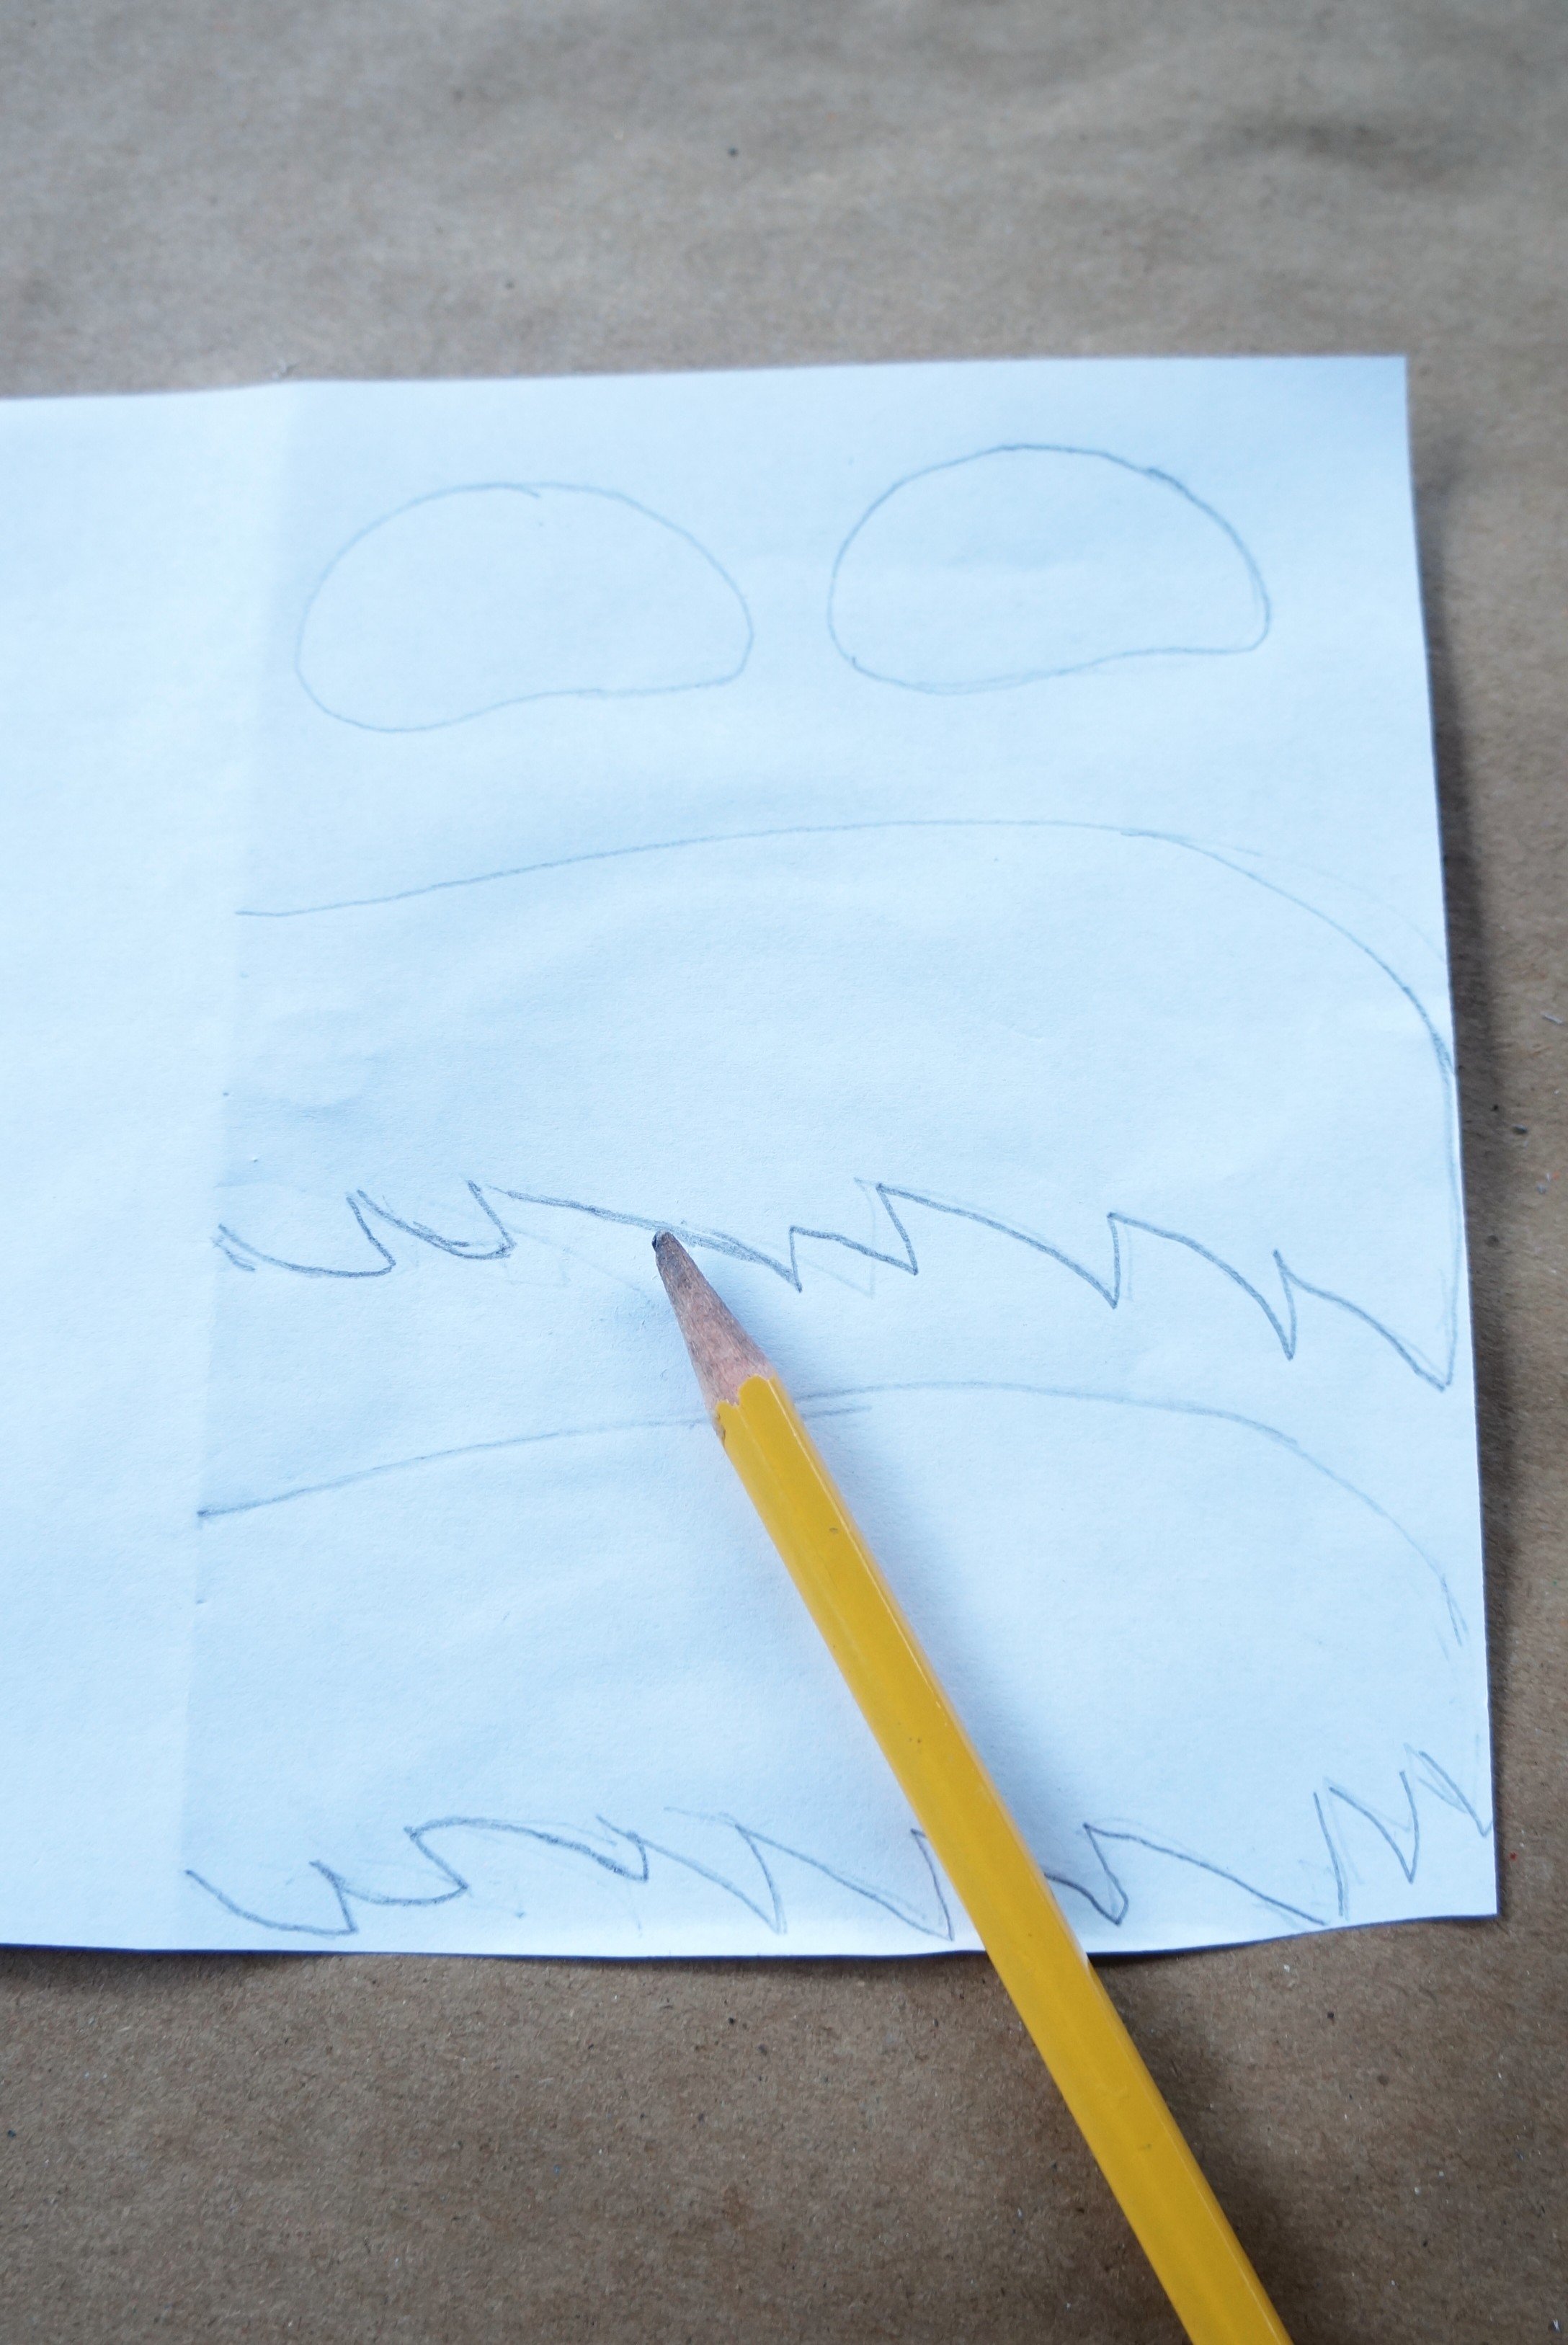
MUSTACHE & EYEBROWS
Use 1/3 of the second white paper, fold it in half, and draw half a mustache and one bean-shaped eyebrow(we drew two for a second Lorax).
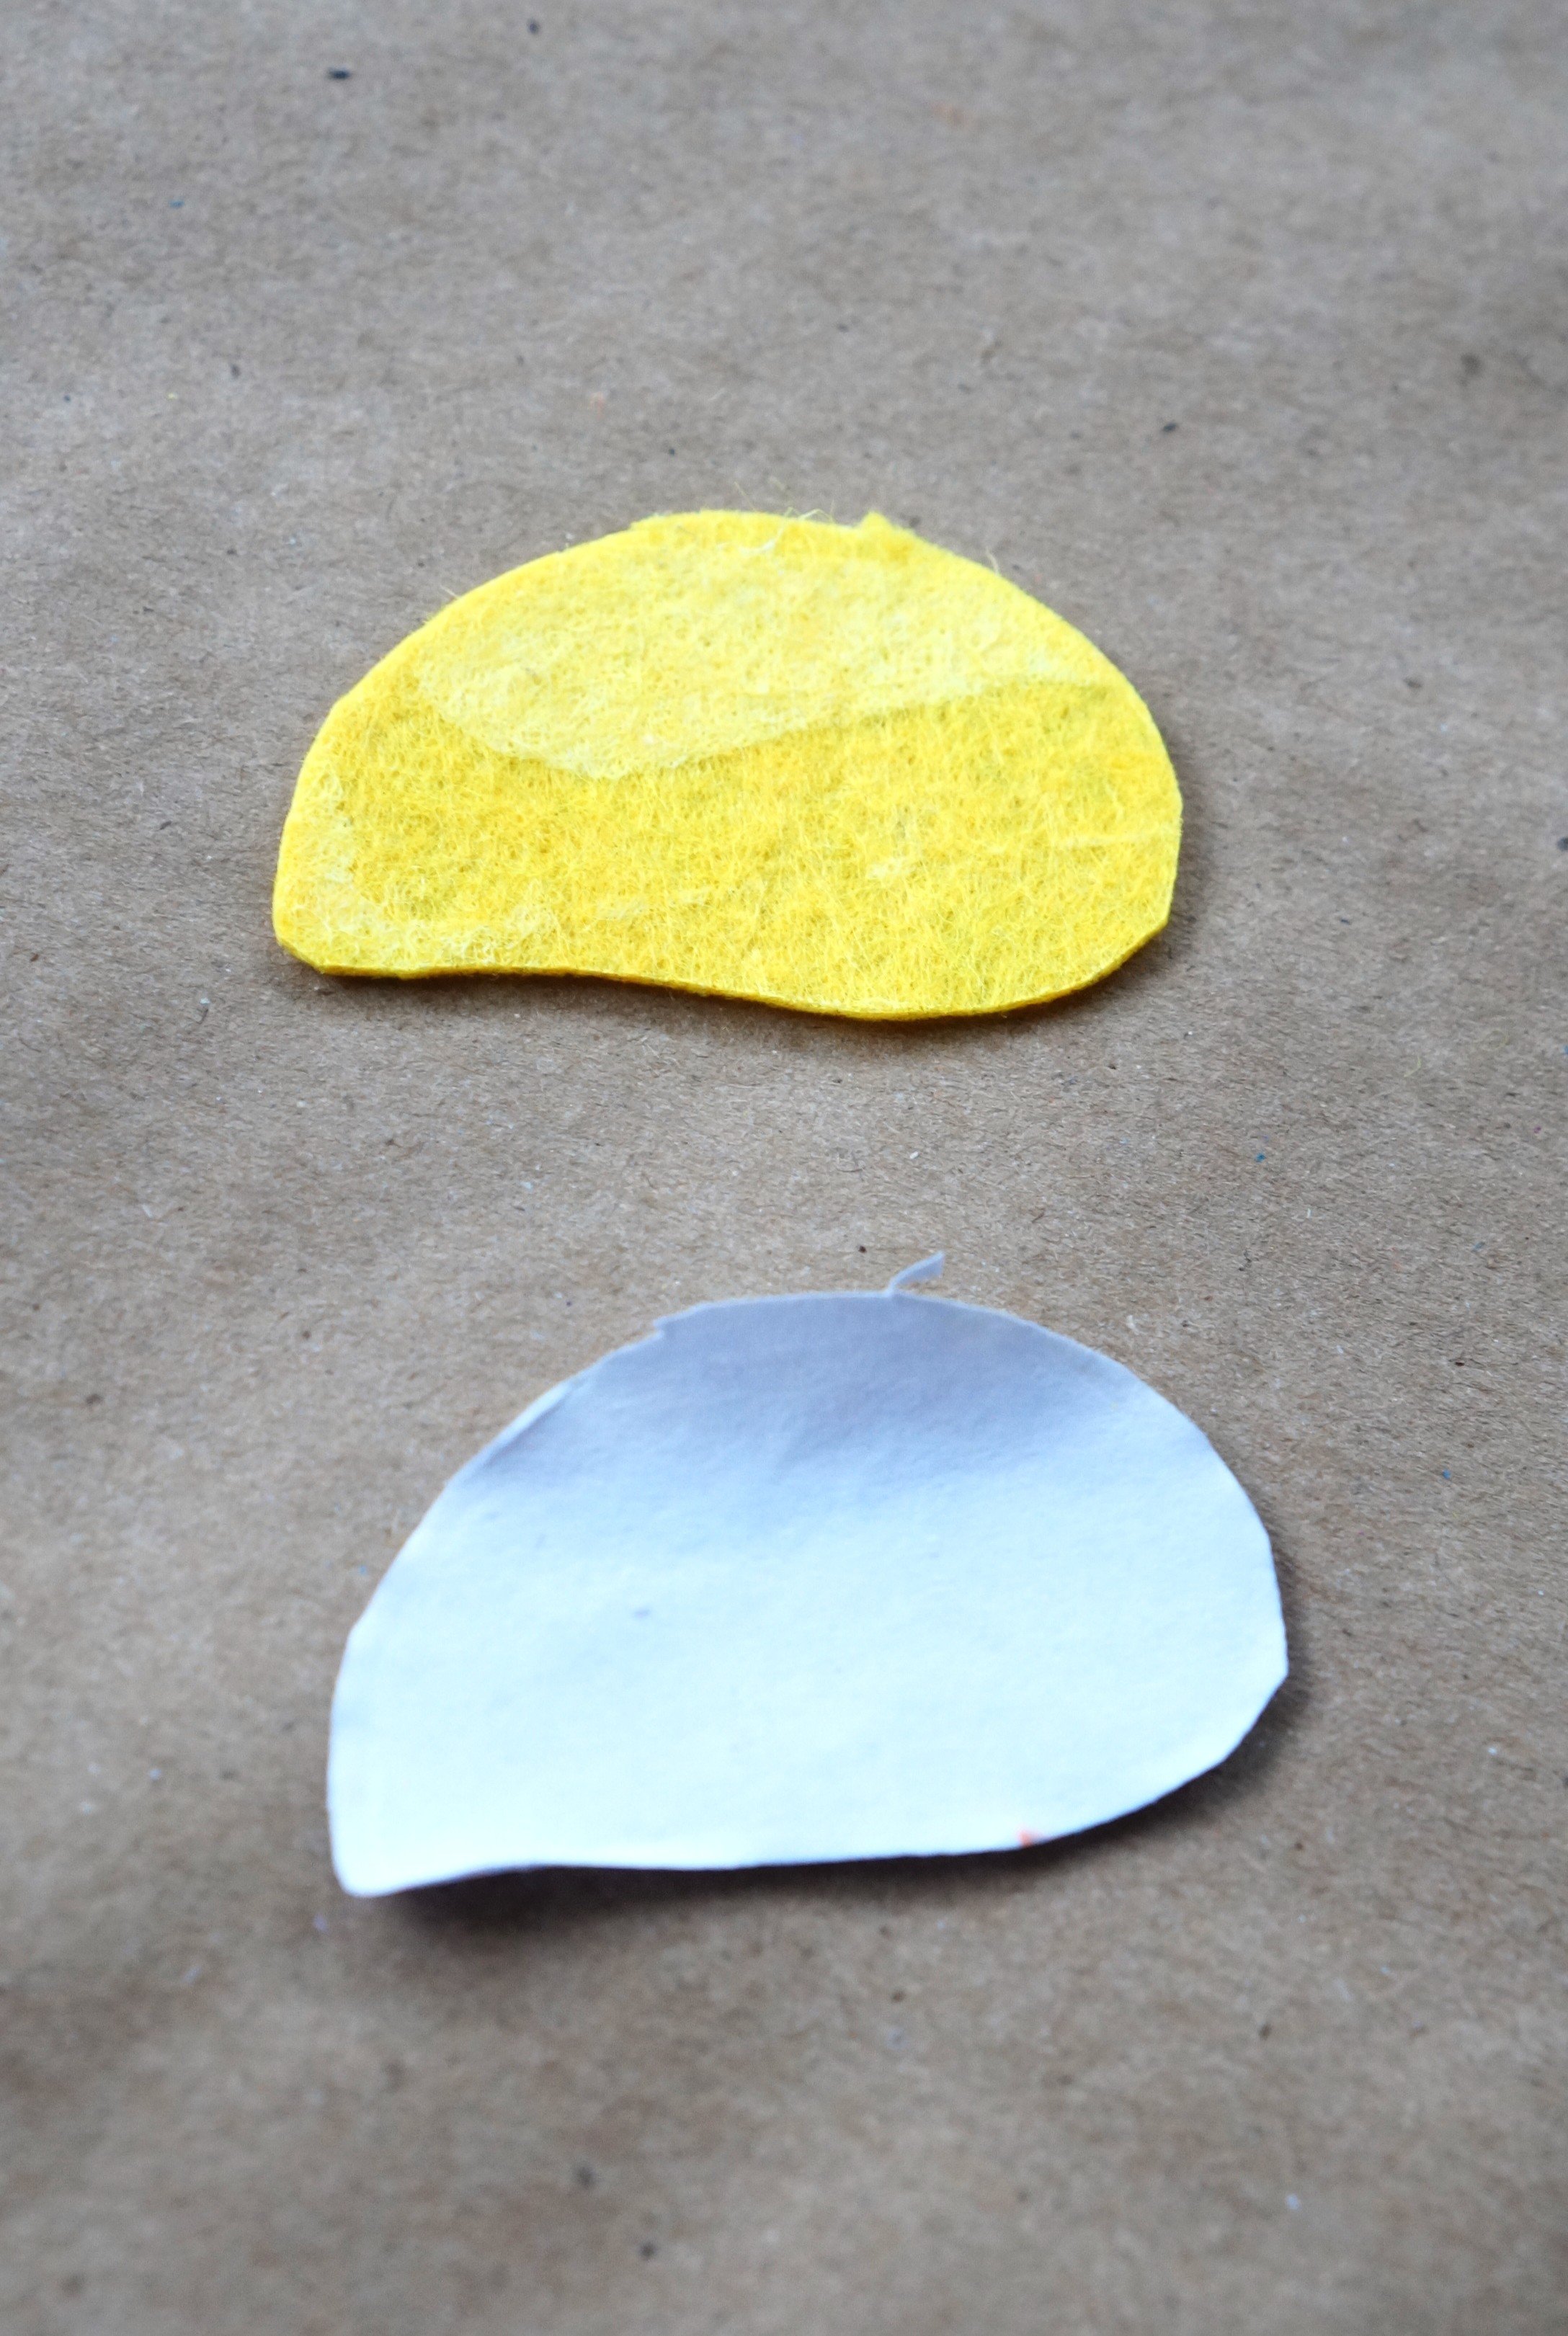
Use 1/3 of the yellow felt, lightly glue the 1/3 sheet of paper onto it, fold it in half, and cut around the eye and the mustache.
Separate the white paper from the eyebrows (if it won’t separate, draw two more beans onto the white paper) and set it aside.
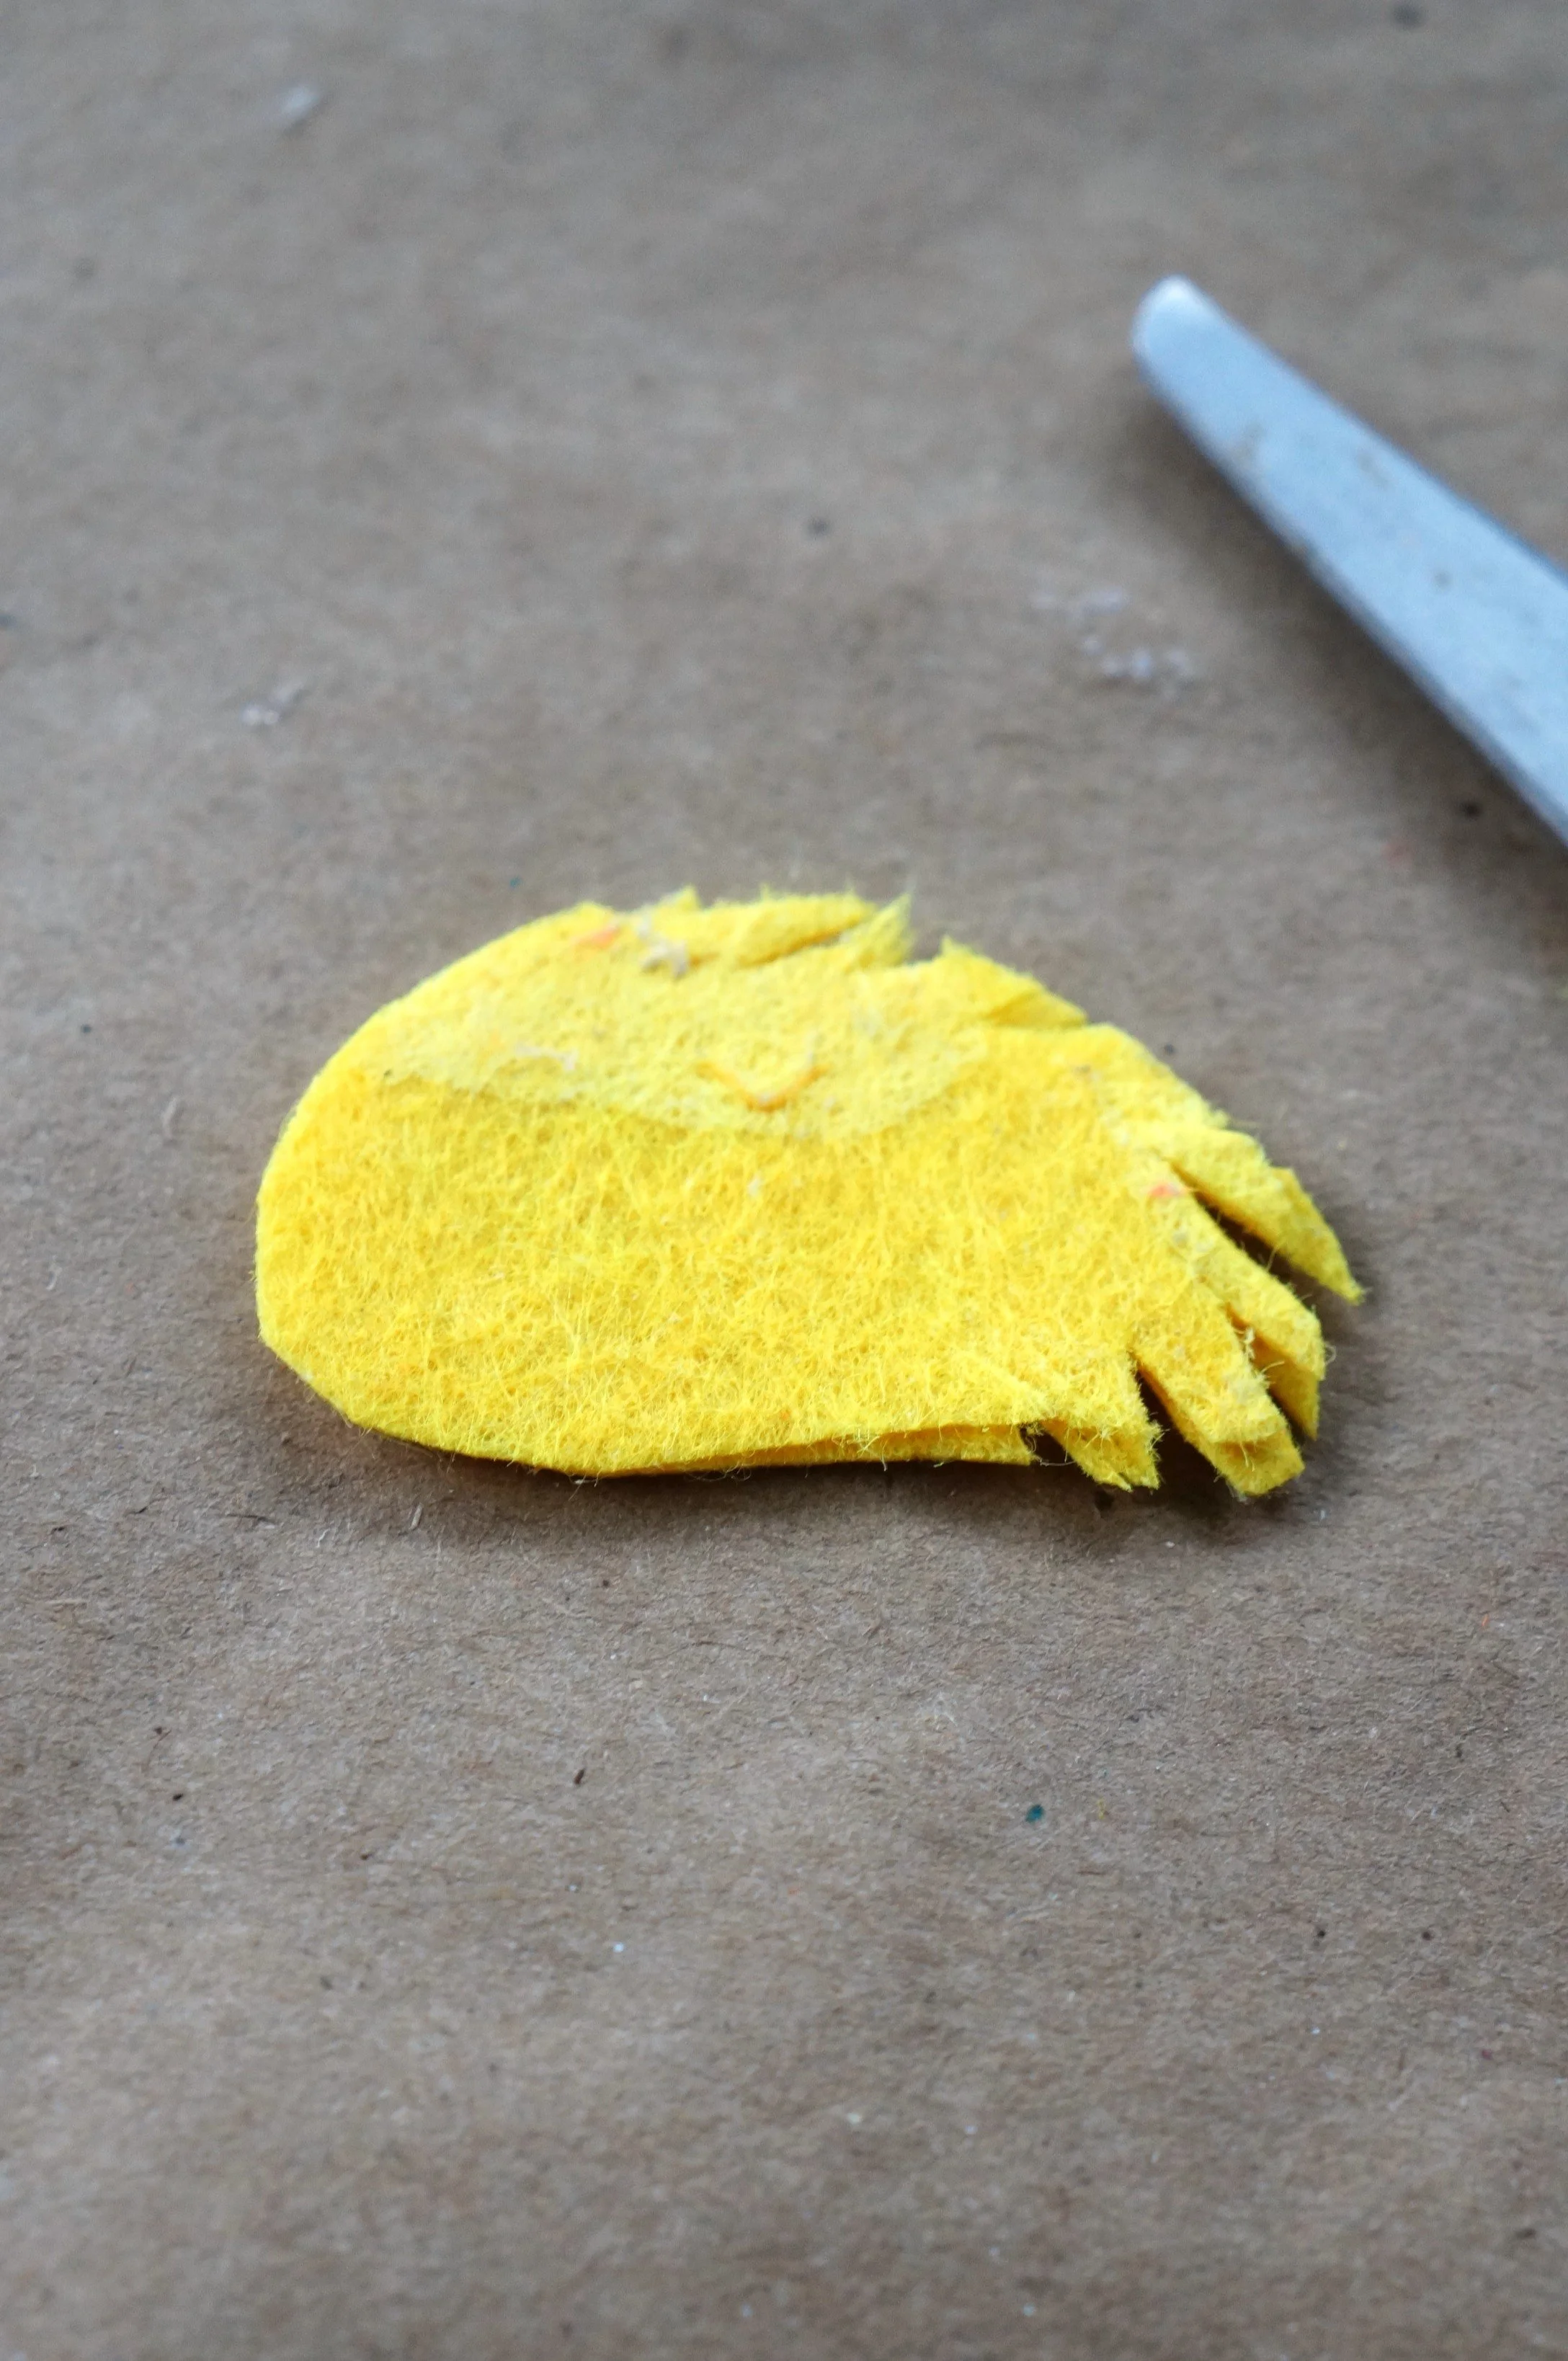
Stack the eyebrows and cut notches into the smaller end and the top part.
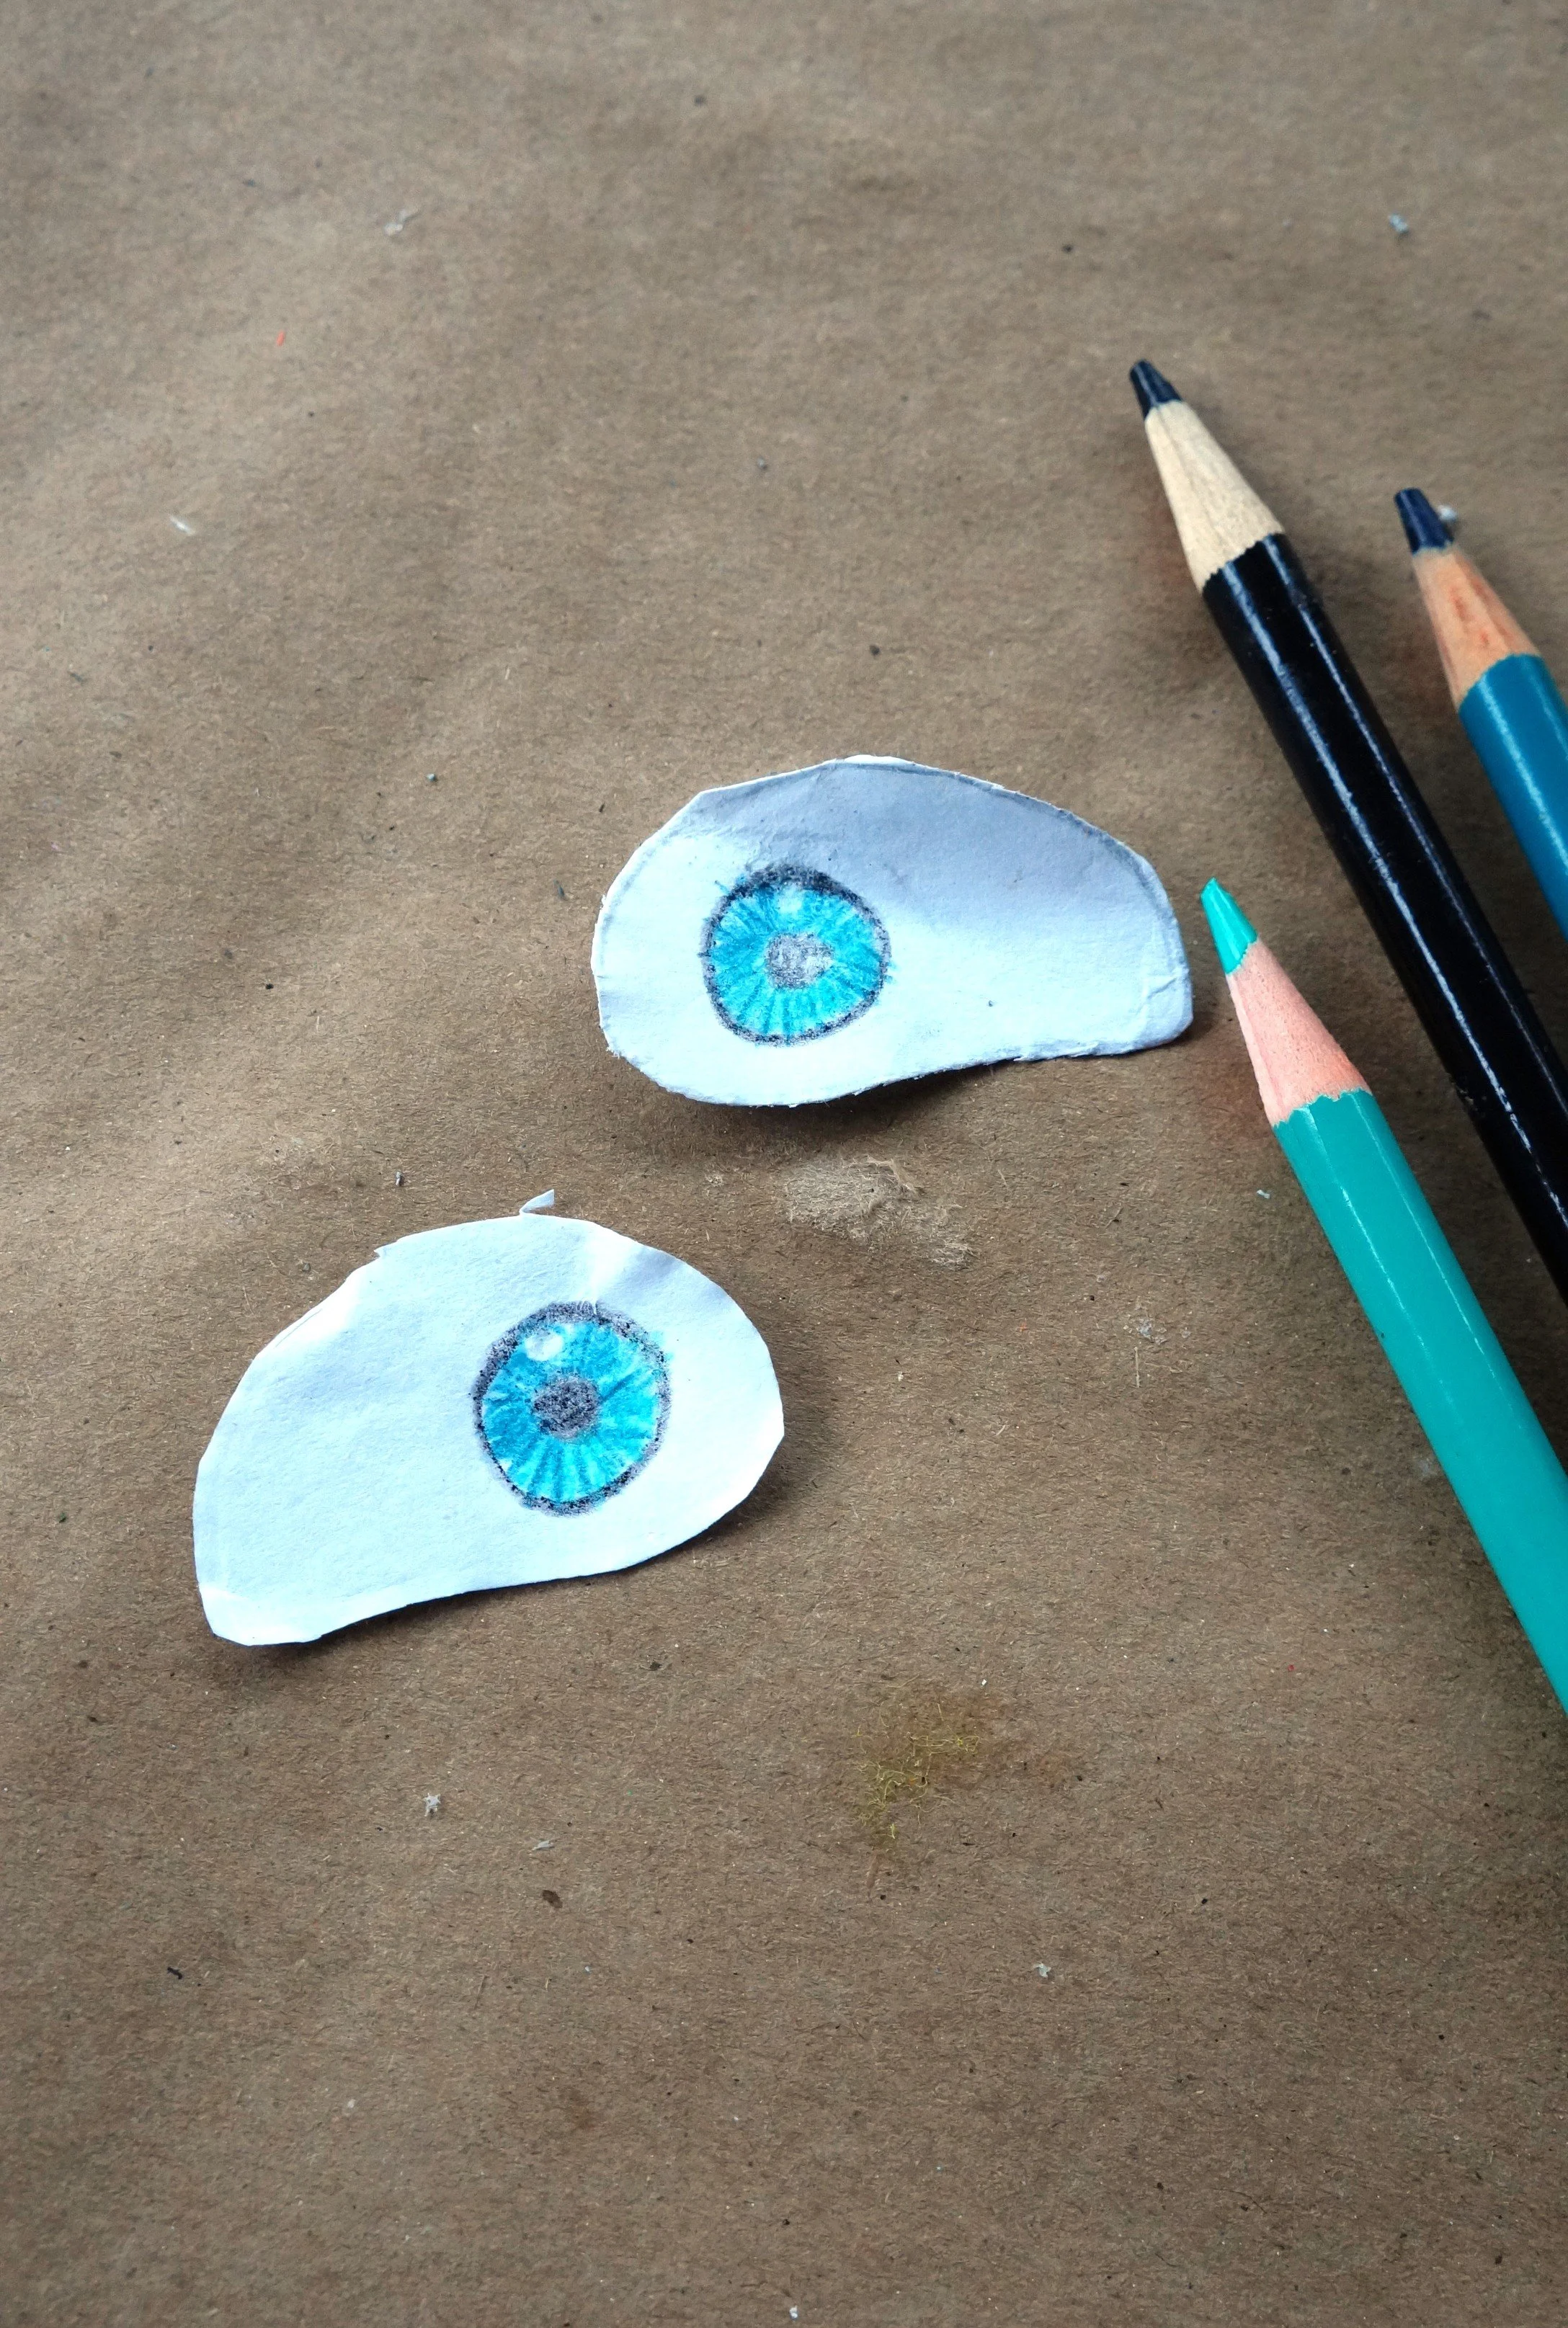

EYES & NOSE
Draw the two-toned turquoise irises and black pupils on the white bean-shaped papers. The white pencil can be used on the glare in each eye.
Draw a small oval on the white side of the orange felt scraps, cut it out, and then draw the nostrils with the black pencil.
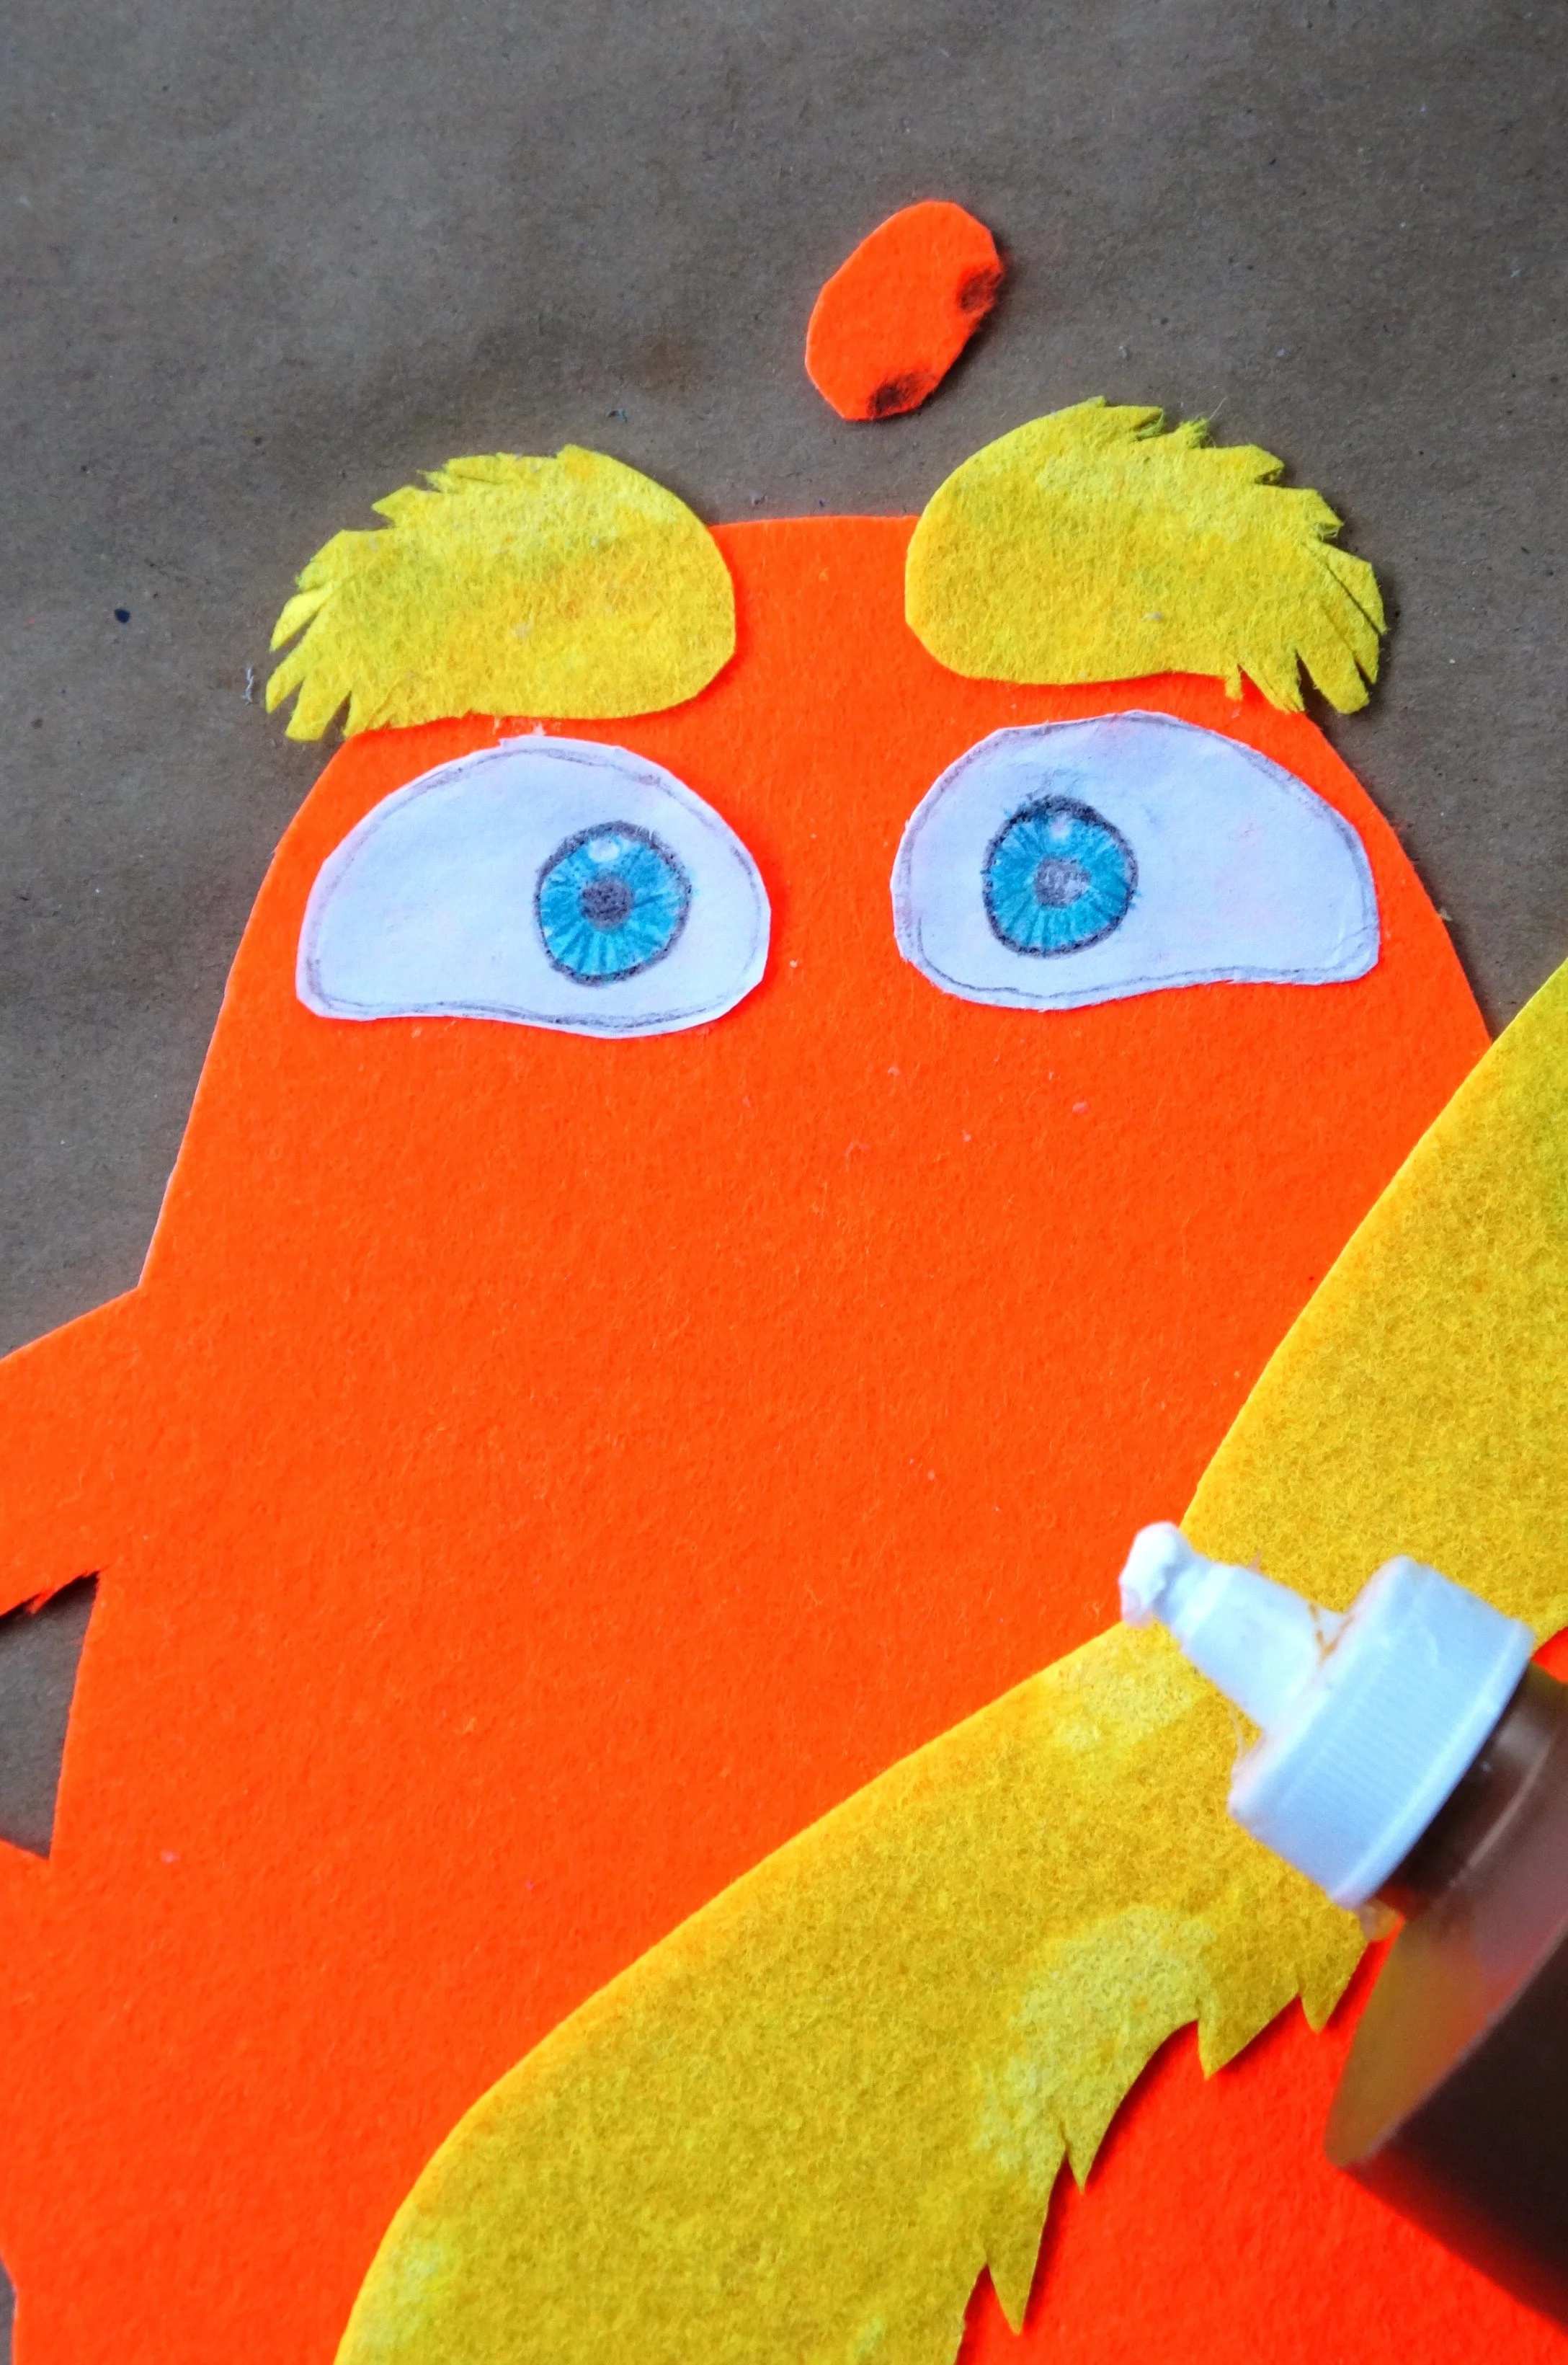
ASSEMBLE
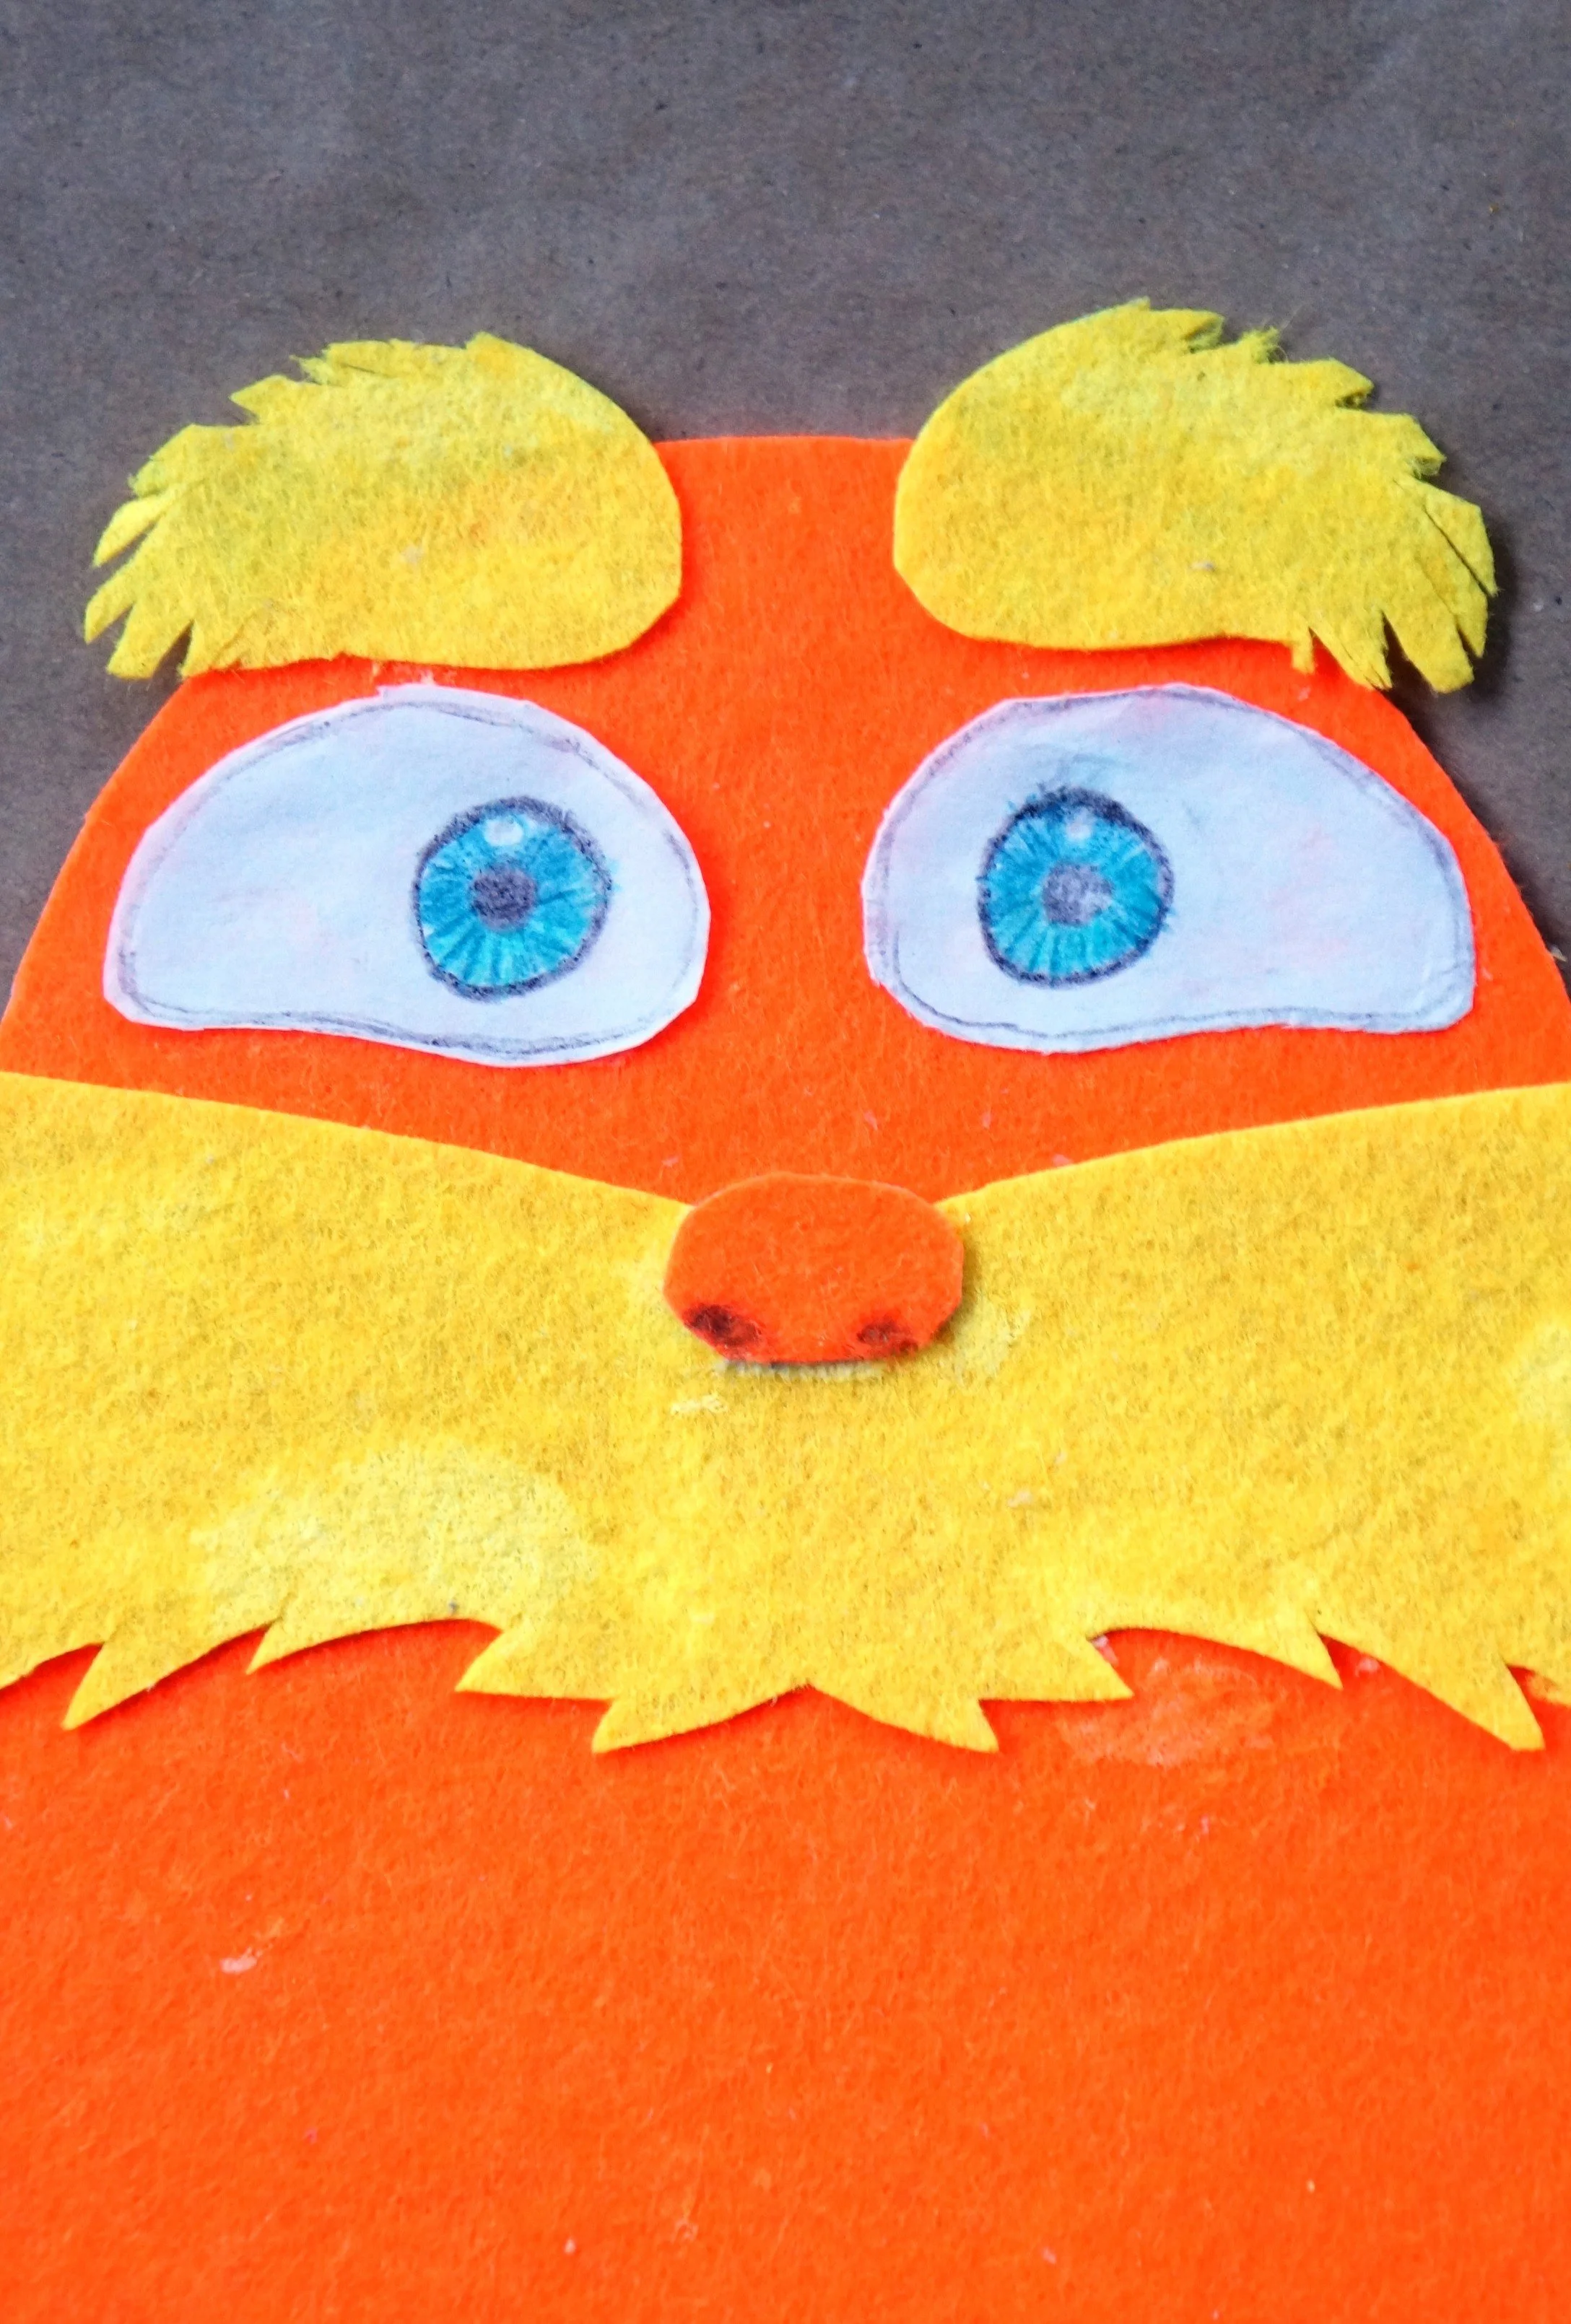
Separate the eyebrows, glue them slightly above the head, then eyes underneath, the mustache next, and the nose right onto the mustache.
Let everything dry for about 15-20 minutes.
That’s it!

Happy crafting,
Amanda and Naomi
To share: take a photo of your craft and let us see it! Click Photo Submission, then submit the photo.


